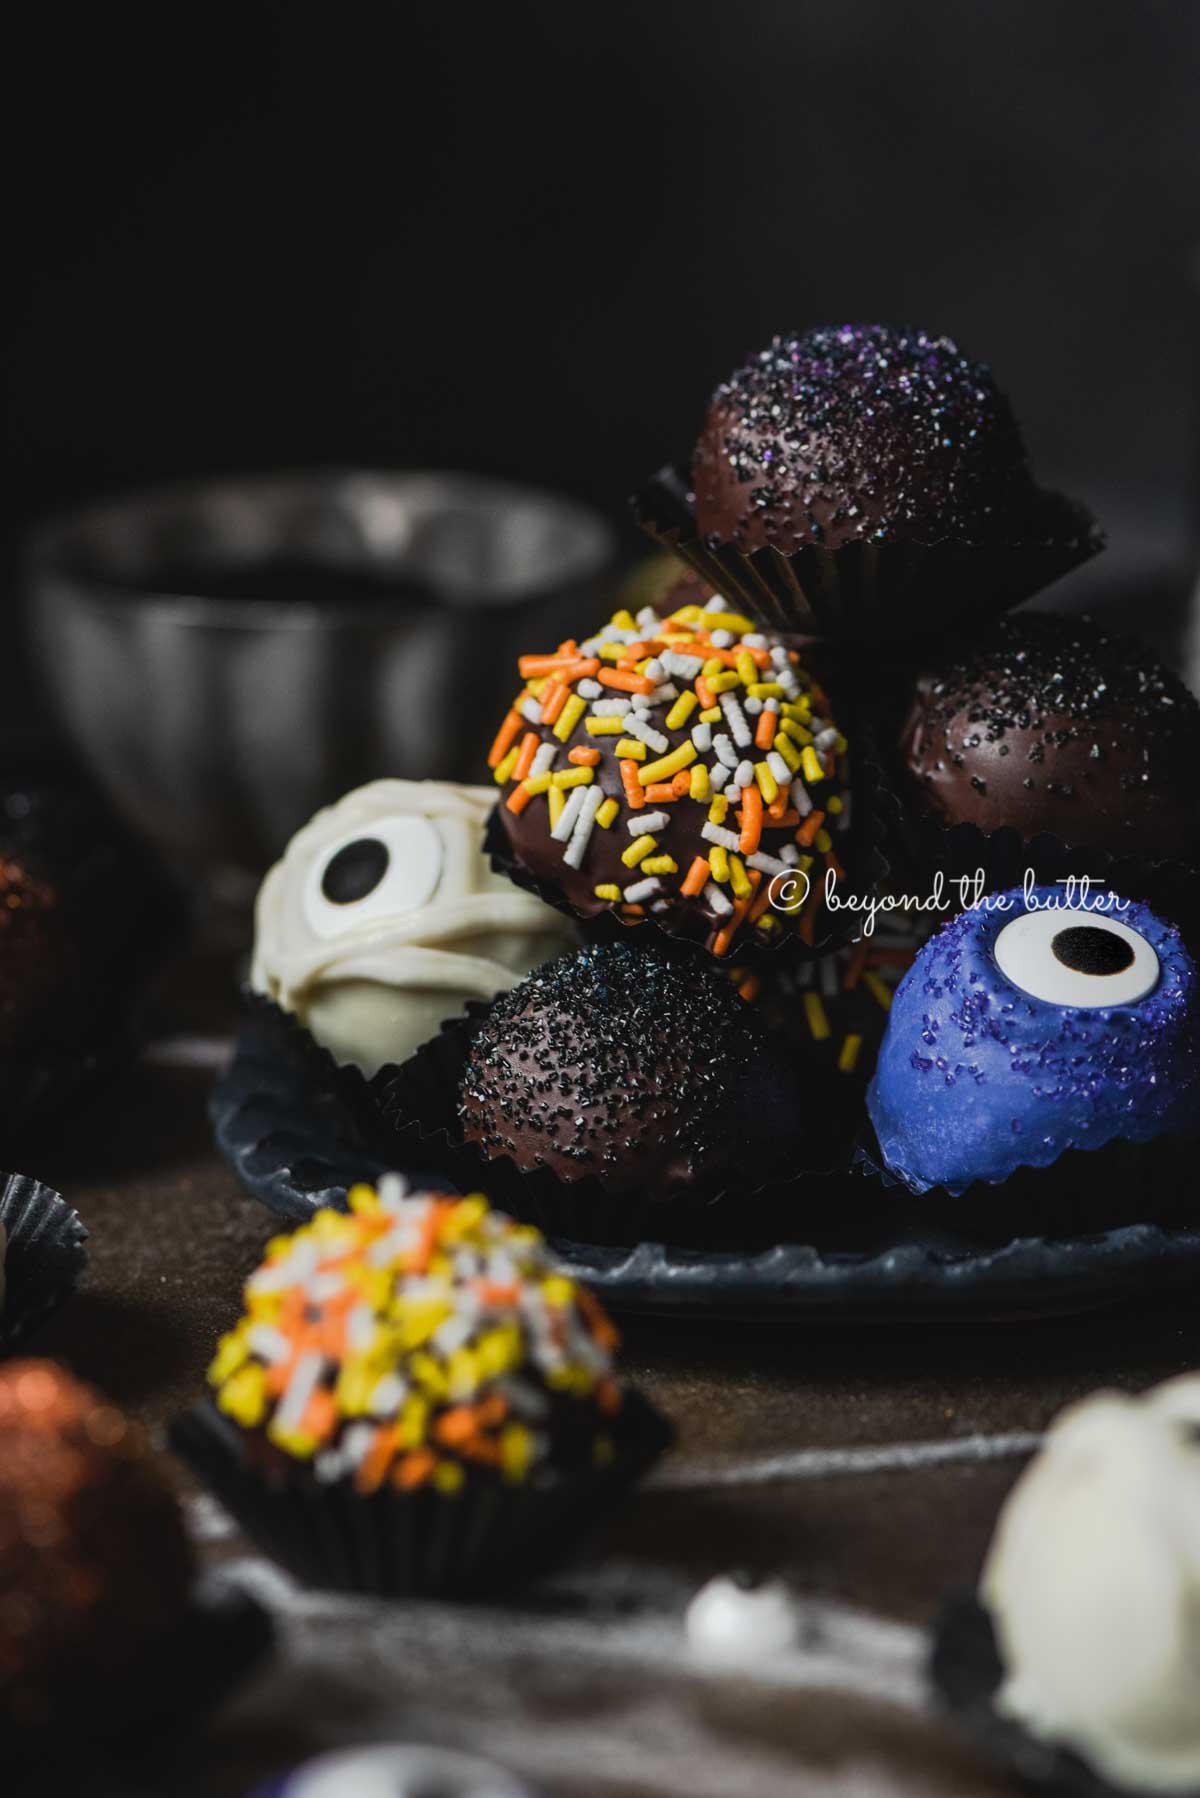
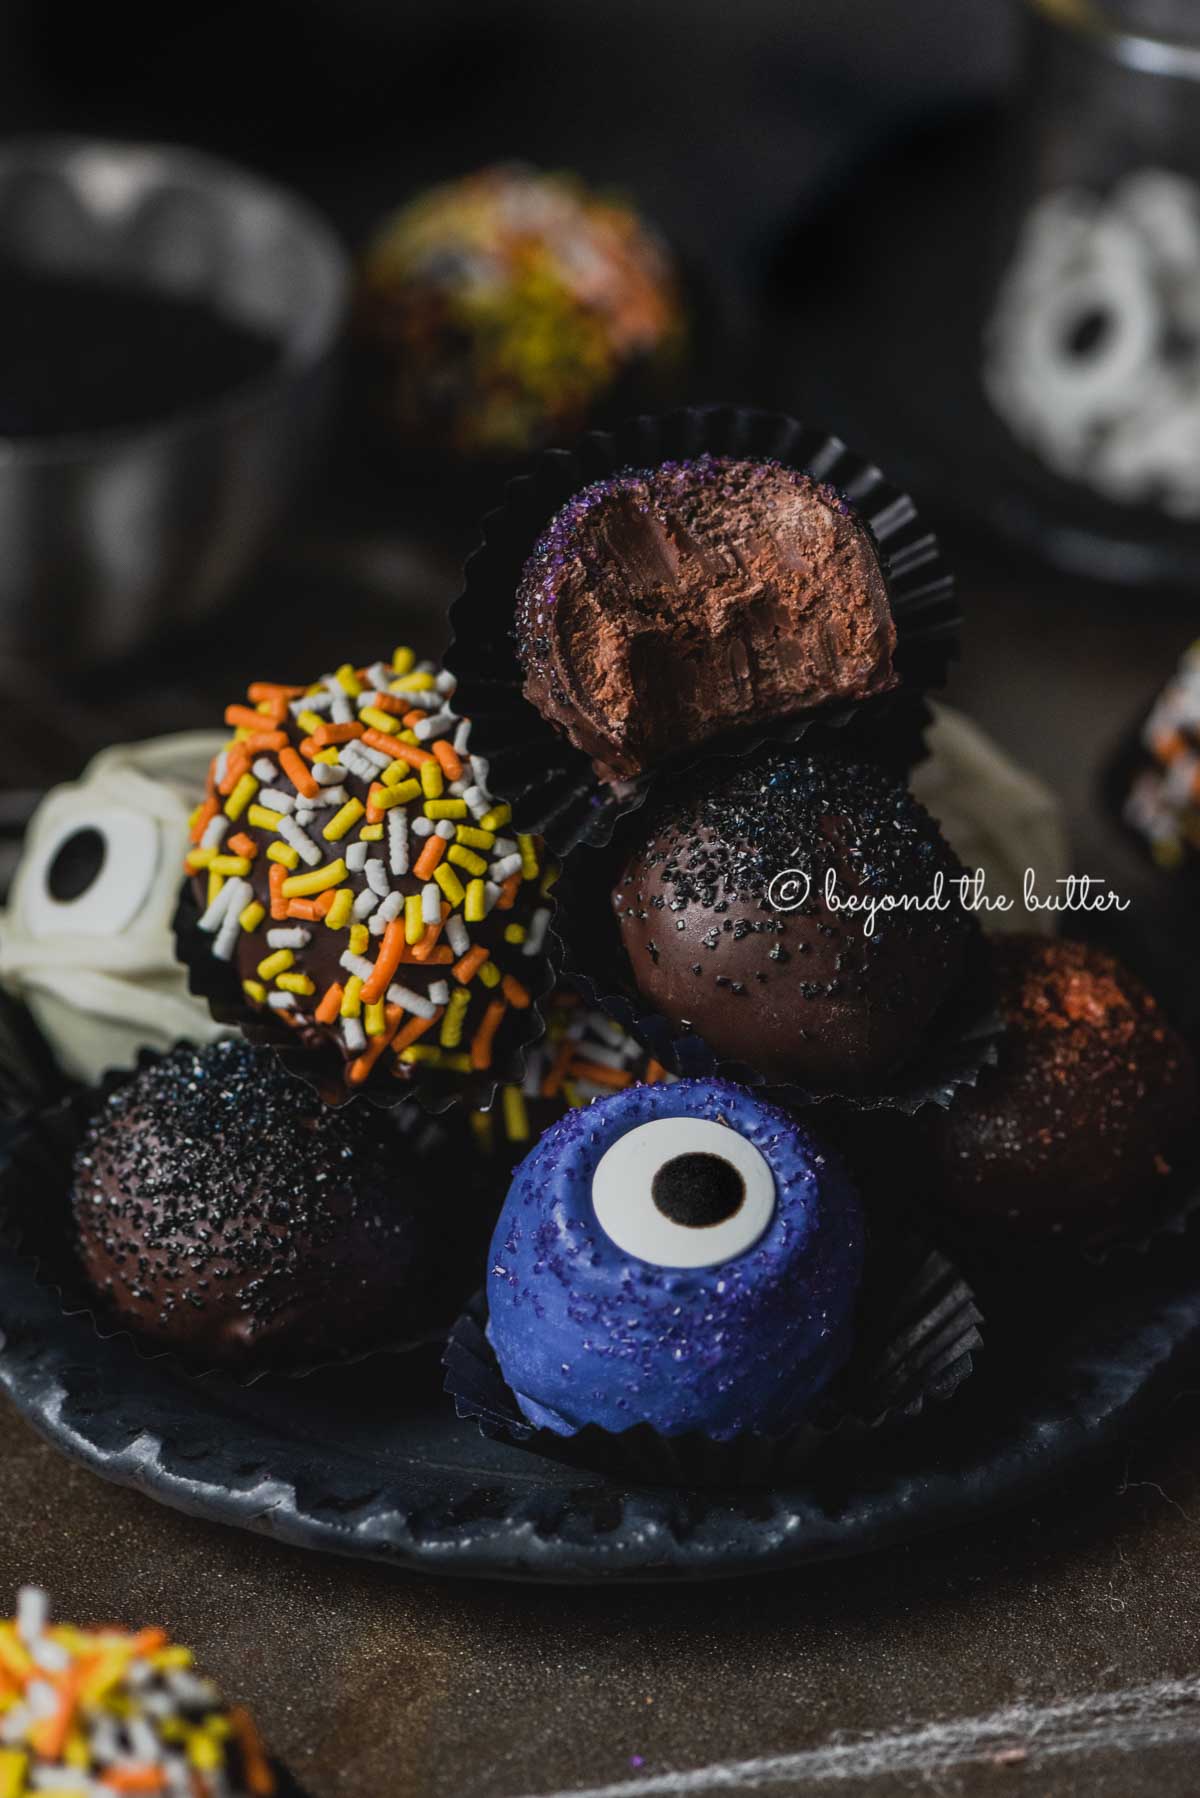
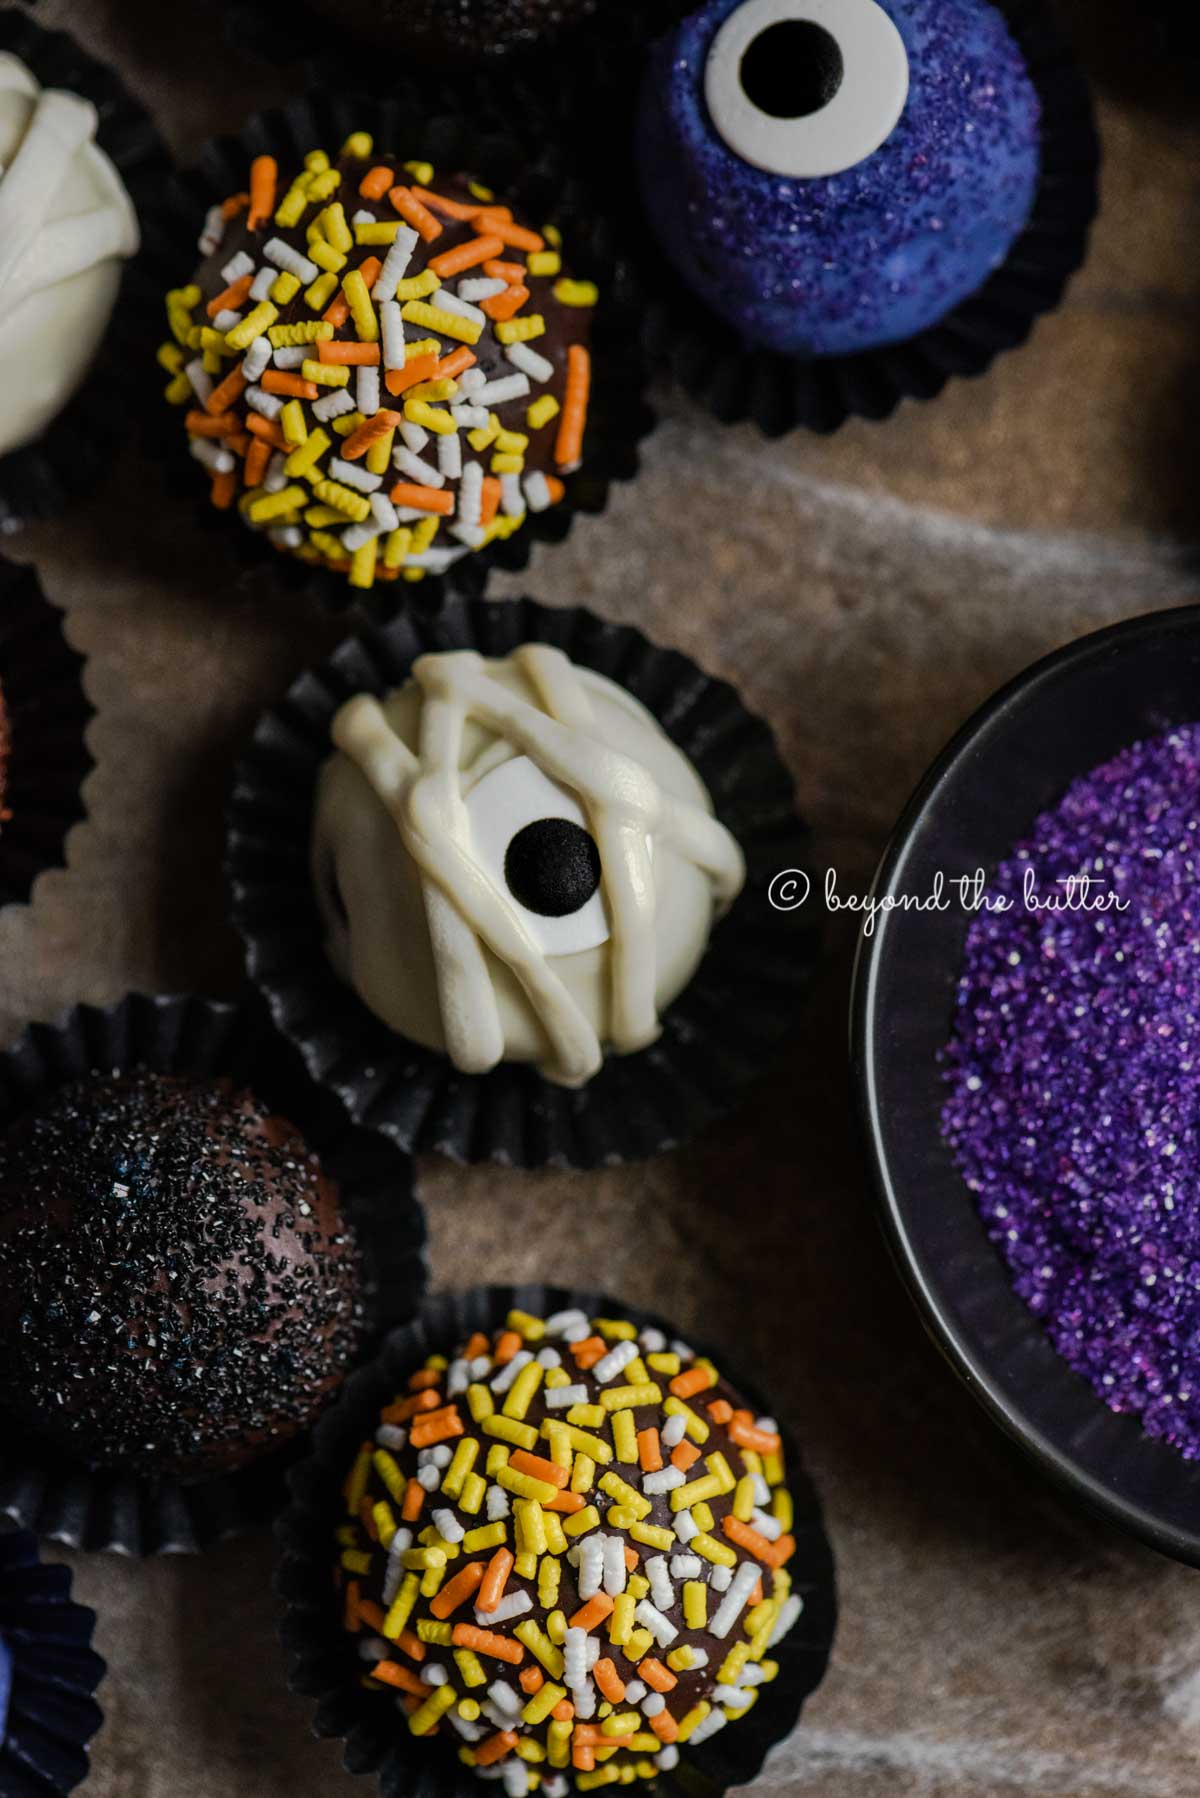
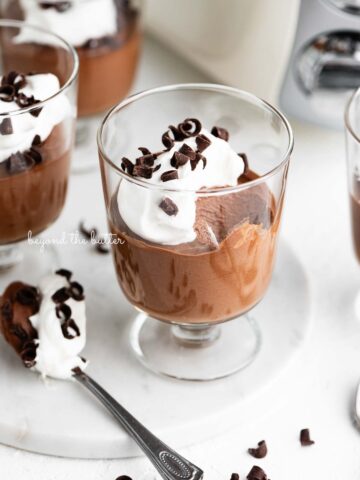
These Homemade Chocolate Truffles are no-bake, bite-sized chocolate confections that require only three ingredients! With their creamy chocolate ganache centers, these delicious treats are super easy to make for Halloween, as shown here, or for any holiday you fancy!
Jump to:
Reasons to Love This Recipe
- Perfect for Halloween, Valentine's Day, or any holiday
- Only three ingredients needed to make the soft, creamy chocolate ganache centers
- Coated in melted dark and white chocolates
- Fun to make as a family
- For decorating your truffles, you can use a variety of sanding sugars, cocoa powder, and more!
- No bake and super easy to make
These homemade chocolate truffles keep perfectly in the refrigerator for up to 1 week or up to 2 in the freezer. Another bonus, like my chocolate covered peanut butter eggs, homemade peppermint patties, and chocolate covered coconut buttercream eggs, they don't take up much space in your refrigerator either.
Ingredients Needed
You'll need the following six ingredients to make these easy homemade chocolate truffles.
- Semi-Sweet Chocolate Chips. I recommend getting two bags of your favorite chocolate morsels. Milk chocolate chips are another option. You'll need 3 cups total.
- Sweetened Condensed Milk. One 14-ounce can is perfect. Don't confuse this with evaporated milk. You want the nice, thick sweet stuff!
- Vanilla Extract. Just one tablespoon is needed to help round out this chocolate truffle recipe! Always go for pure over imitation.
- Unsweetened Cocoa Powder. For rolling the truffles in!
- Dark or White Chocolate Melting Wafers. Baker's Corner from ALDI makes a good melting wafer.
- Finely Chopped Peanuts or Crushed Cookies. If you're using melted dark or white chocolate to coat your chocolate truffles, consider topping them with either one of these garnishes. You can get creative with adding salted or honey-roasted peanuts, crushed Oreos, or chocolate chip cookies!

Chocolate Truffle Decorations
Consider these additional decorations for coating your chocolate truffles!
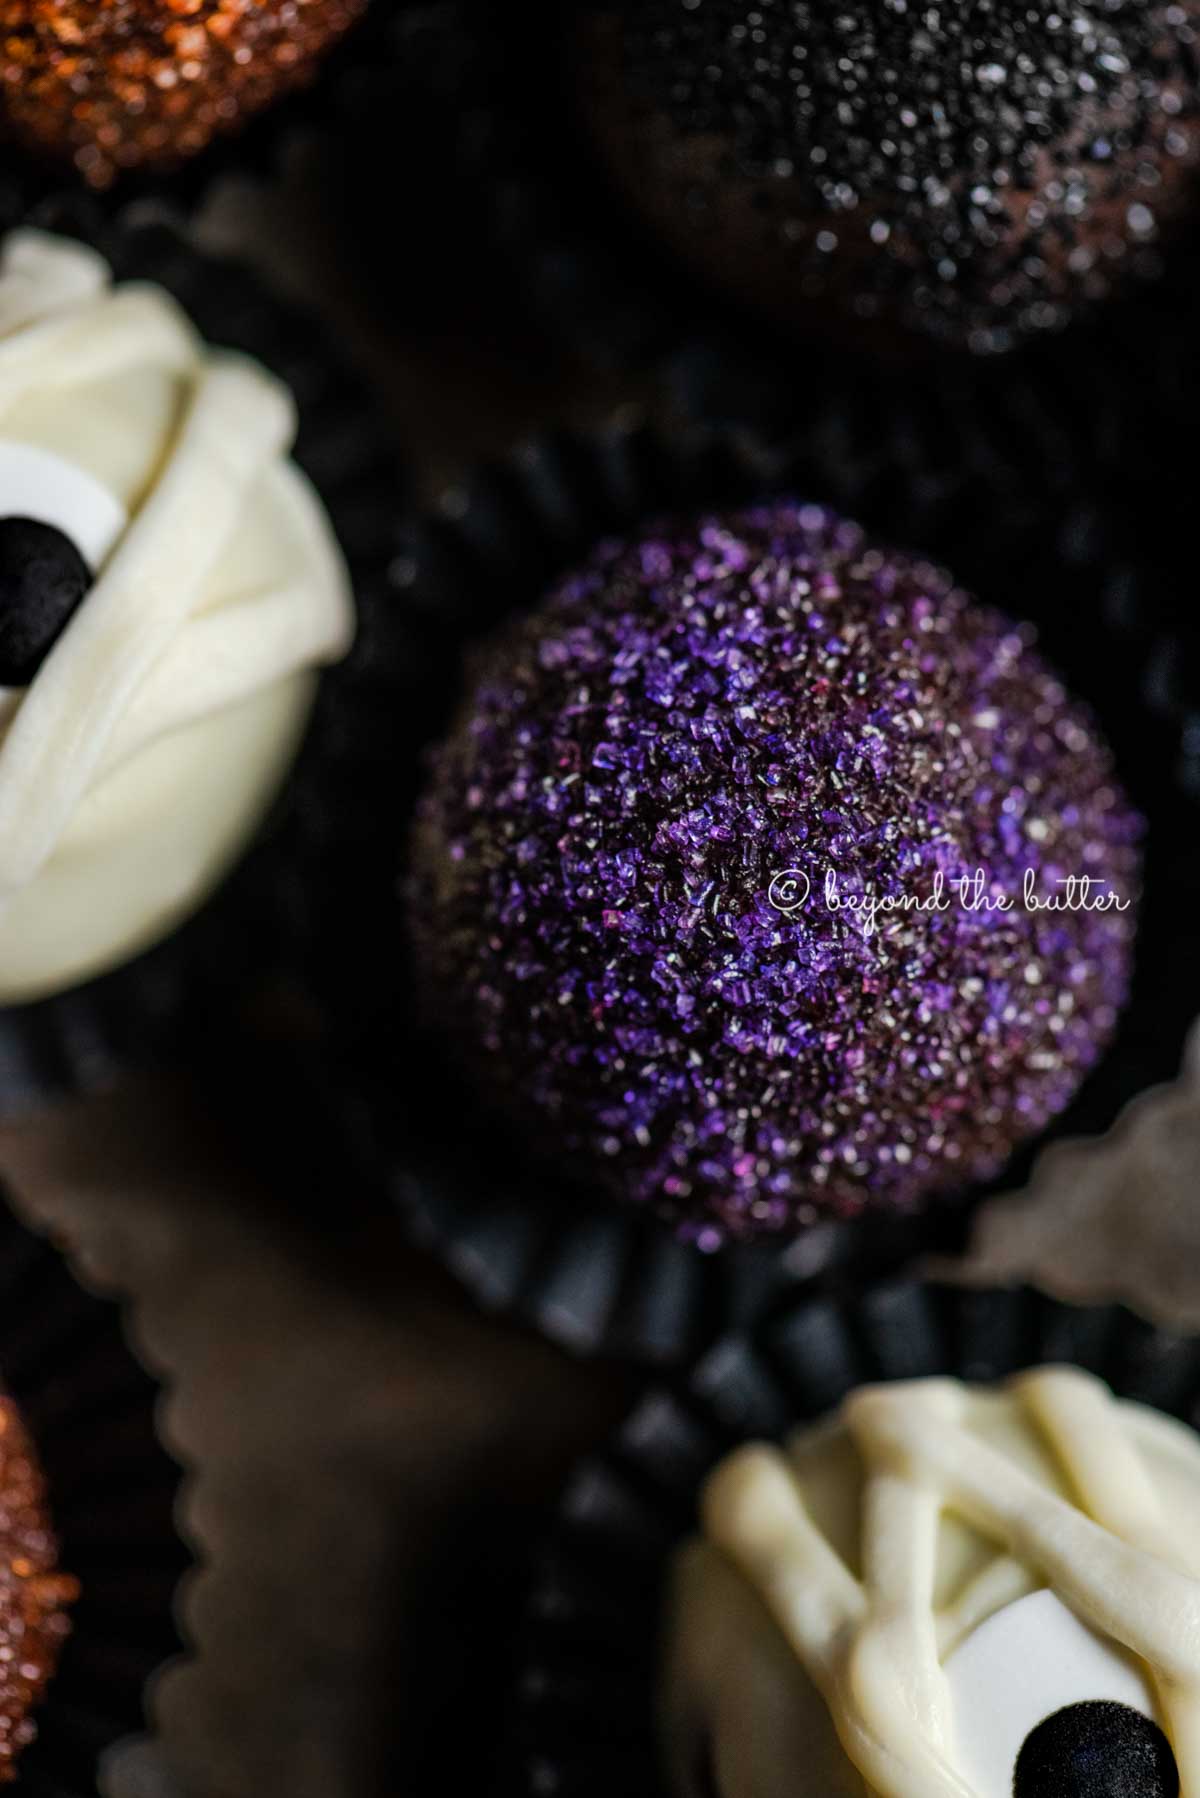
- Sanding Sugars. Use whatever holiday colors you'd like from any brand! Mine have been purchased from all over and online. You want some good concentrated colors that will show up and shine against dark chocolate.
- Sprinkles. My candy corn sprinkles come from one of my favorite sprinkle suppliers, Sprinkle Pop!
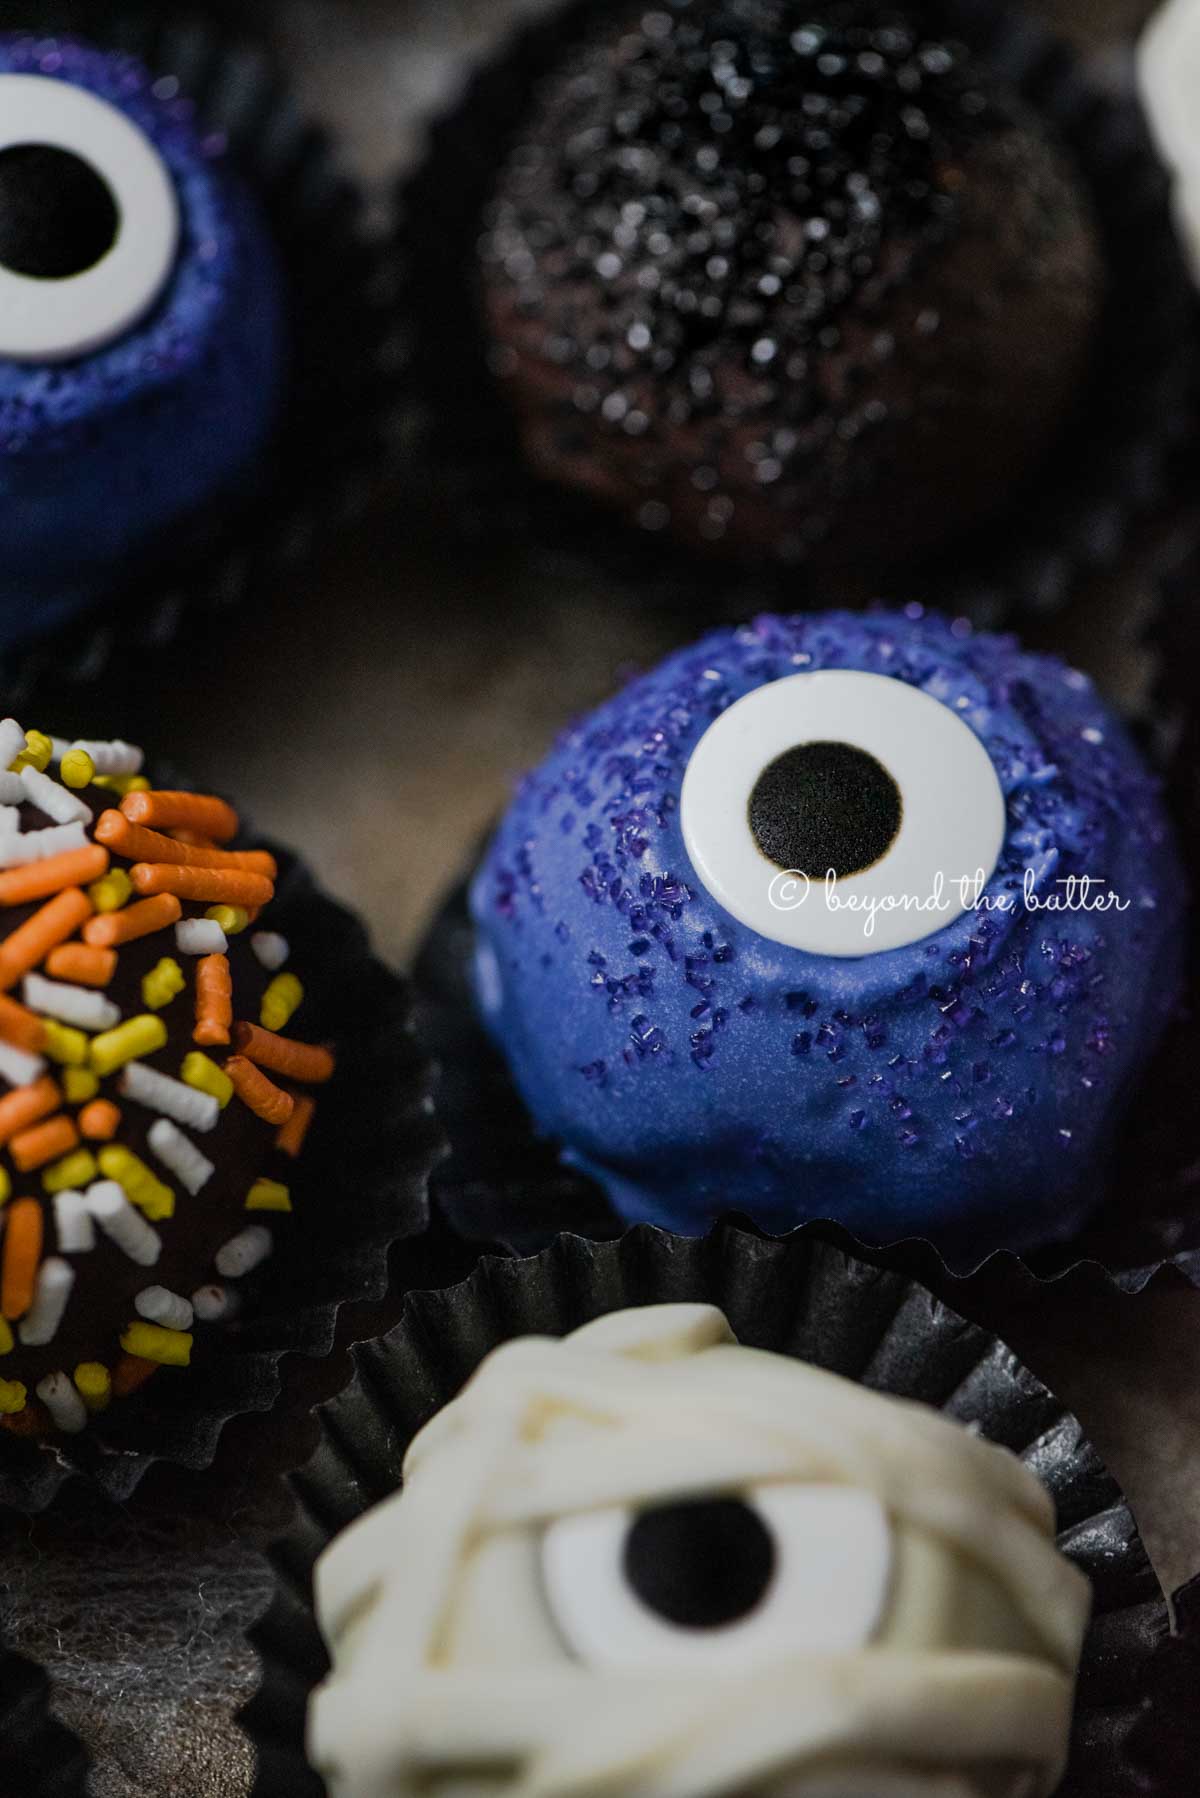
- Candy Eyes. I used these on my mummy and monster Halloween chocolate truffles. Both small and jumbo-sized candy eyes can be found at most craft supply stores and online. I tried both sizes but ultimately only used the jumbo candy eyes.
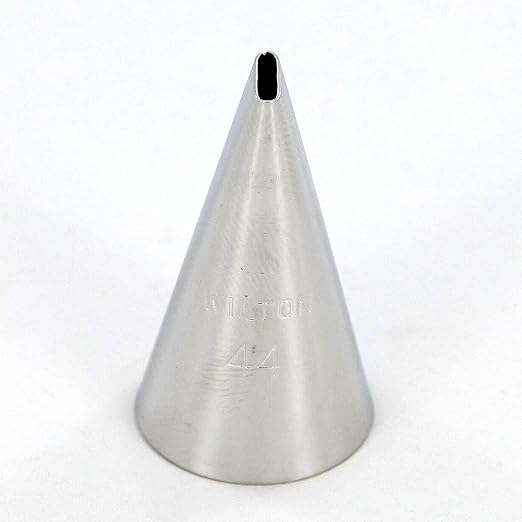
- Decorating Tip. I used a Wilton 44 basketweave decorating tip with some of melted white chocolate to show the wrapping around the mummy chocolate truffles. With the decorating tip, I also used an 8-ounce Sweet Sugarbelle piping bottle instead of a piping bag. The bottles are mainly used for cookie icing decorating, but they work well with melted chocolate.
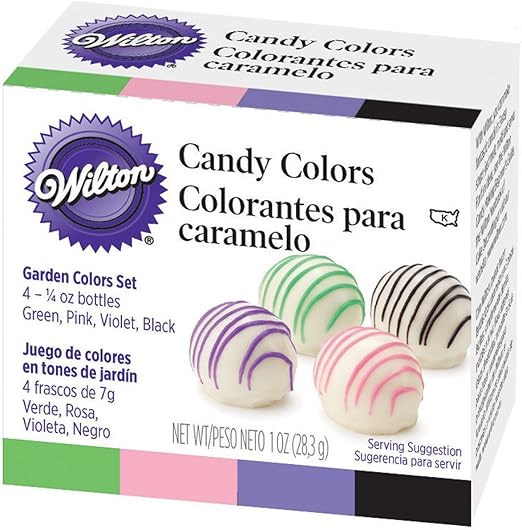
- Candy Food Coloring. I used the color violet from the Wilton Candy Color 4 pack and white chocolate for the monster truffles. It's an oil-based food coloring that works really well with coloring white chocolate. Powder-based also works well too. I do not recommend using water-based or gel food coloring. It will cause your chocolate to seize up, and that's not good.


How to Make the Recipe
Let's take a quick walkthrough to show you the overview of how these chocolate truffles are made! The full recipe is at the bottom of this page.
Make the chocolate ganache. Super simple and takes only a few minutes. Cover it up and refrigerate it for about 2 hours until you can easily form the 1-inch size truffle balls.
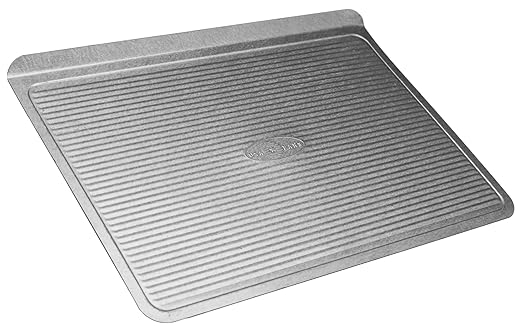
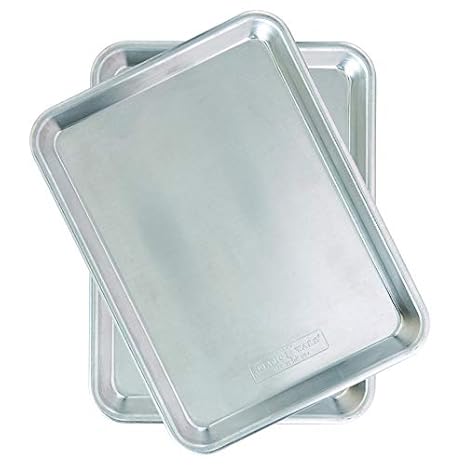
Form the truffle balls. Place them onto a wax paper-lined baking sheet—something that will easily fit into your freezer or refrigerator. Chill them for 15-20 minutes in the refrigerator or (my preference) the freezer. If you're just coating them in cocoa powder, you don't really need to chill them, but it's up to you!
Decorate! Have fun and be creative!
Storing. These chocolate truffles will keep for up to a week in the refrigerator in a sealed food container. They'll keep in the freezer for up to 2 months. Bring them to room temperature before biting into them, though!

Chocolate Truffle-Making Tips
Sketch out your ideas. This tip may seem silly to some, but it was helpful to sketch out what I wanted some of my Halloween chocolate truffles to look like. There are many cool ideas to be inspired by over on Pinterest too. For example, my monster chocolate truffles were inspired by Chelsea's Messy Apron.
Use a cookie scoop. If possible, the best tool I can recommend for forming the homemade chocolate truffles into the balls is a cookie scoop. My preference is a 1-tablespoon size scoop. Any larger and coating them in the chocolates or even placing them onto candy liners (if you choose to use these) can be a pain. Keep them in the smaller size.
Consider using gloves. Forming chocolate truffle balls in your hand—yeah, it can get kind of messy, so consider using disposable kitchen gloves! Washing your hands in between each kind of truffle is recommended to avoid mixing the coatings!
Chill the truffles. After rolling the chocolate ganache into 1-inch size balls, I chilled them in the freezer for 15-20 minutes. It helped as I dipped them into the melted chocolates.
If you're planning just to coat them in unsweetened cocoa powder, there's no need to chill them before starting.
Prep your decorations before getting started. I set up a workstation with all the decorations I would use beforehand. Once the chocolate truffles were done chilling in the freezer, it was time to dip them into the chocolate.
Have paper towels or clean dish towels on standby. As you dip the chocolate truffles into the melted chocolates, the chocolate will start to set a little on the fork you use to transfer each truffle.
Simply wipe it off every few truffles you work through, and you'll be good. It can prevent your truffle from easily coming off the fork and onto the wax paper if left on.
Candy liners. If you plan to share these at a small gathering or gift them to someone, consider placing the chocolate truffles on small candy liners. I've seen them in almost every color, but I chose black for Halloween!
Have fun! This is supposed to be a fun activity, so don't get stressed if they don't come out exactly how you thought they might. Mine didn't! 🙂 Another idea—get your family involved in the decorating. Assign each kid a specific Halloween chocolate truffle!
More Yummy Chocolate Recipes
If you tried this Homemade Chocolate Truffles Recipe or any other recipe on my website, please leave a 🌟 star rating and let me know what you thought in the 📝 comments below. Thanks for visiting!
📖 Recipe

Homemade Chocolate Truffles
Author:Ingredients
chocolate truffles
- 3 cups Semi-Sweet Chocolate Chips
- 14 oz Can of Sweetened Condensed Milk
- 1 tablespoon Vanilla Extract
decoration options
- Unsweetened Cocoa Powder
- Dark or White Chocolate Melting Wafers (+ 1 tablespoon Coconut or Vegetable Shortening)
- Chopped Peanuts
- Crushed Cookies
- Sanding Sugars
- Sprinkles
- Candy Eyes
Instructions
- In a large glass mixing bowl, microwave the semi-sweet chocolate chips and sweetened condensed milk for 1 minute on full power. Stir and continue to heat for 30-45 seconds at 60% power until the mixture is fully melted and smooth.3 cups Semi-Sweet Chocolate Chips, 14 oz Can of Sweetened Condensed Milk
- Stir in the vanilla extract.1 tablespoon Vanilla Extract
- Cover tightly with plastic wrap and place in the refrigerator to chill for about 2 hours or until you can easily shape the chocolate ganache into 1 inch size truffle balls.
- Line a small baking sheet with wax paper and, using a 1 tablespoon size cookie scoop or spoons, form approximately 1 inch truffle balls. Place close together on the baking sheet. Freeze or chill in the refrigerator for 15-20 minutes while you prepare your truffle coatings.
- If using the dark or white chocolate melting wafers, melt them according to the package instructions. Add 1 tablespoon of coconut oil or vegetable shortening to thin the chocolate out a little.Dark or White Chocolate Melting Wafers
- Coat the truffle balls in the melted chocolate one at a time. Turn to coat the truffle balls with a spoon. When fully coated, lift up with a fork and gently tap it along the edge of bowl. Top with sanding sugar, sprinkles, chopped peanuts, or crushed cookies. For Halloween, you can top some with a candy eye.Chopped Peanuts, Crushed Cookies, Sanding Sugars, Sprinkles, Candy Eyes
- Place back on the wax paper to set. Repeat until all the truffle balls have been coated and decorated to your liking, then place in the refrigerator to chill. Optional step: For a nice presentation, you can place each chocolate truffle in a small candy liner.
- If using the unsweetened cocoa powder, coat the truffle balls one at a time in the small bowl of cocoa powder until fully covered. Then place back onto the wax paper lined baking sheet. When finished, place in the refrigerator to chill.Unsweetened Cocoa Powder
- Keep the chocolates in a sealed food container in the refrigerator for up to 1 week or in the freezer for up to 2 months. Separate each layer of chocolate truffles with a sheet of wax paper to prevent sticking. Bring the frozen truffles to room temperature before serving.
Recipe Notes
- Nutrition is for only the three main ingredients and does not include the additional decoration options.
- A prep time of 30 minutes includes making the chocolate ganache center and rolling them into the truffle balls.
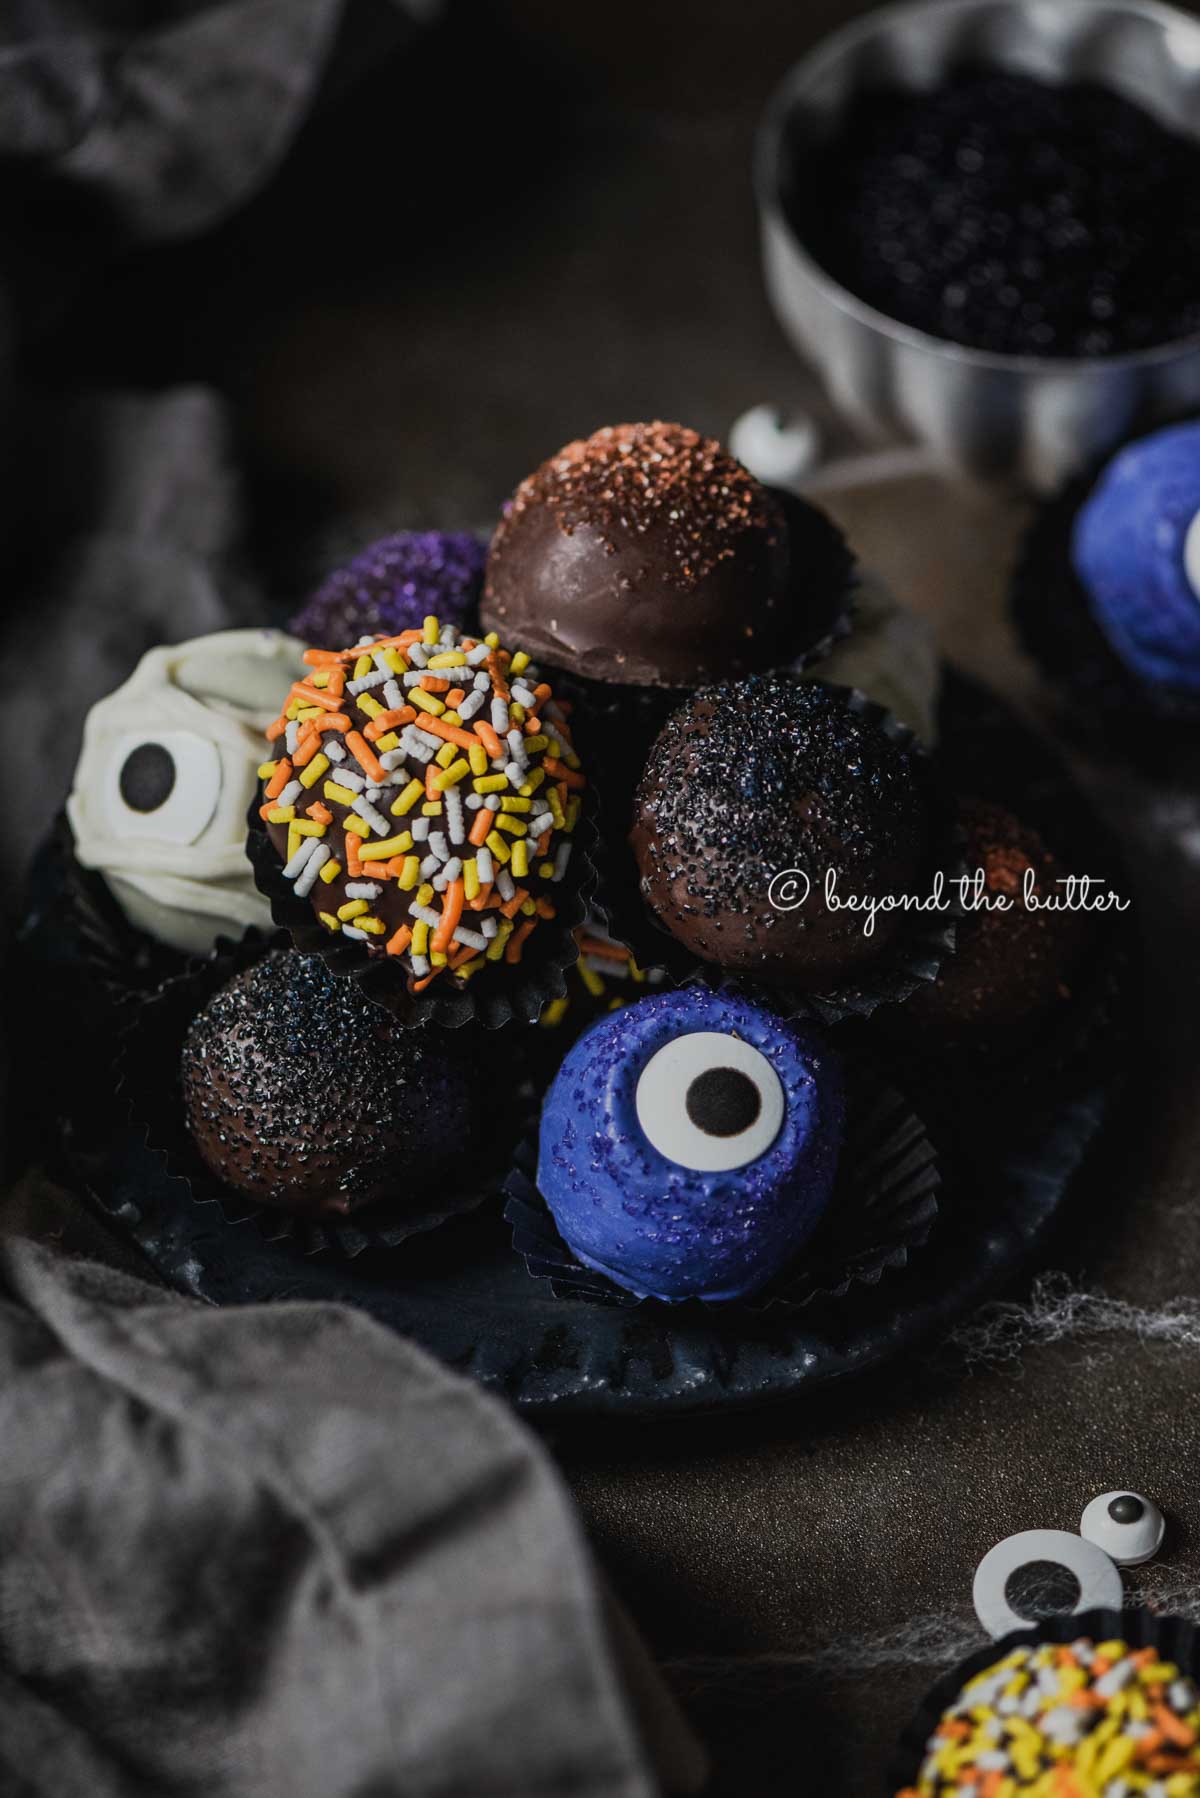
- For the mummy chocolate truffles: Coat in the melted white chocolate, place onto the wax paper lined baking sheet, then gently press a jumbo candy eye onto the top of the truffle and let it set. Go back with the piping tip to create the wraps across the "face" in a somewhat criss-cross pattern, keeping some of the eye visible.
- For the monster chocolate truffles: Color the melted white chocolate with an oil-based or powder-based food coloring in the color of your choice. Coat the truffles in the melted colored chocolate, place onto the wax paper lined baking sheet, then sprinkle with a little sanding sugar. Gently press a jumbo candy eye onto the top of the truffle and let it set.
Nutrition
Nutritonal information provided above is an estimate only and will vary based on specific ingredients used.
Comments
No Comments