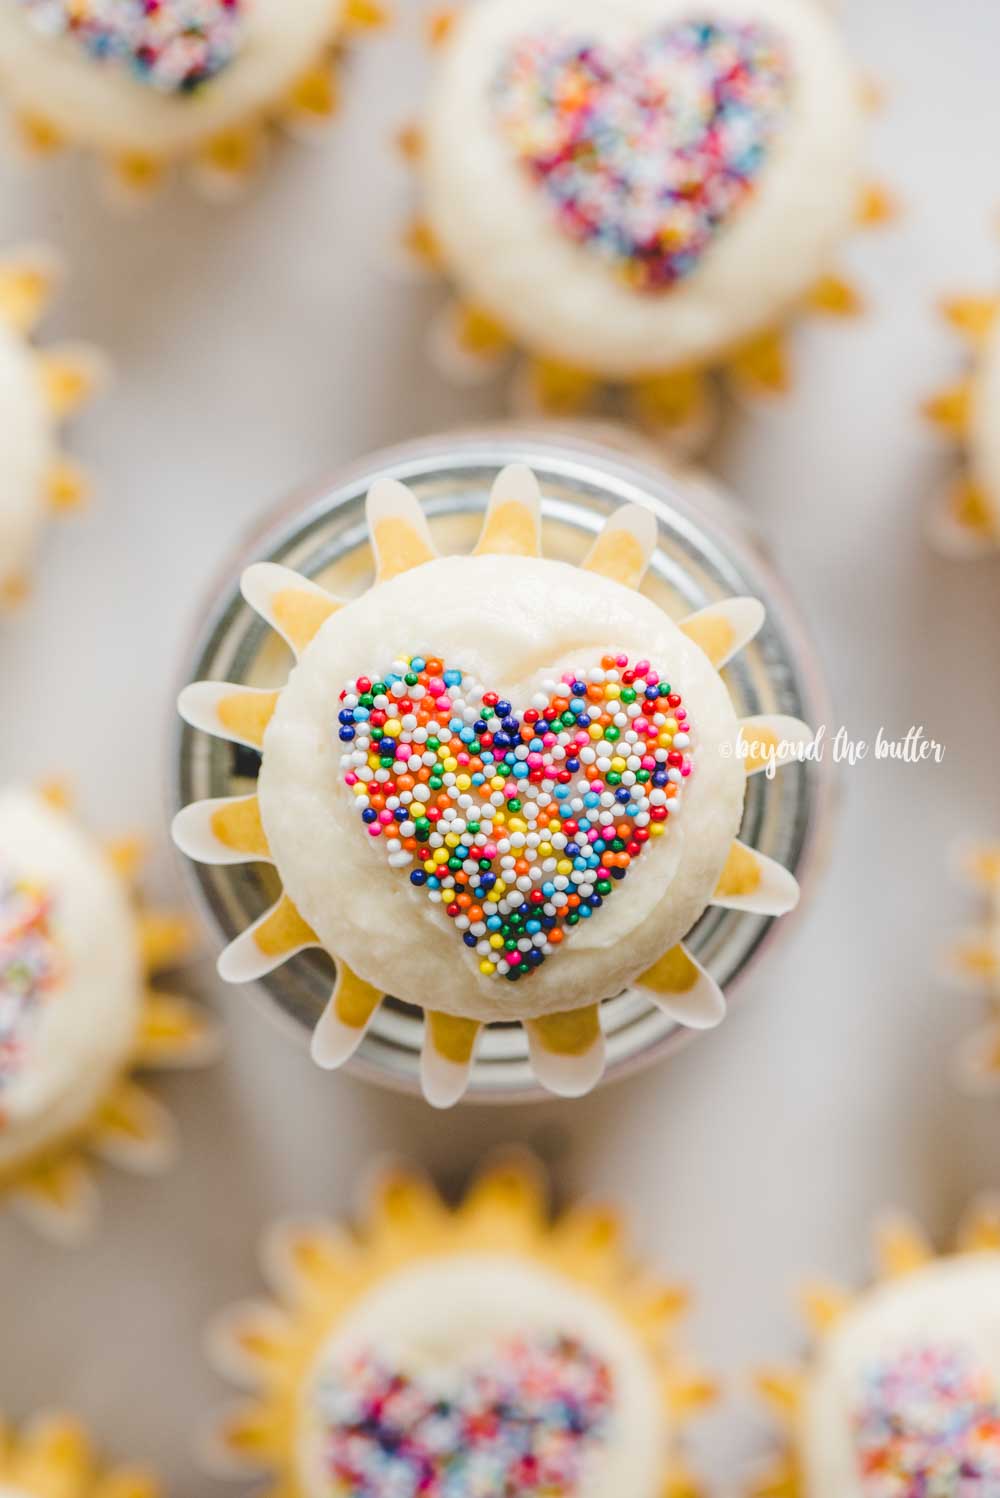
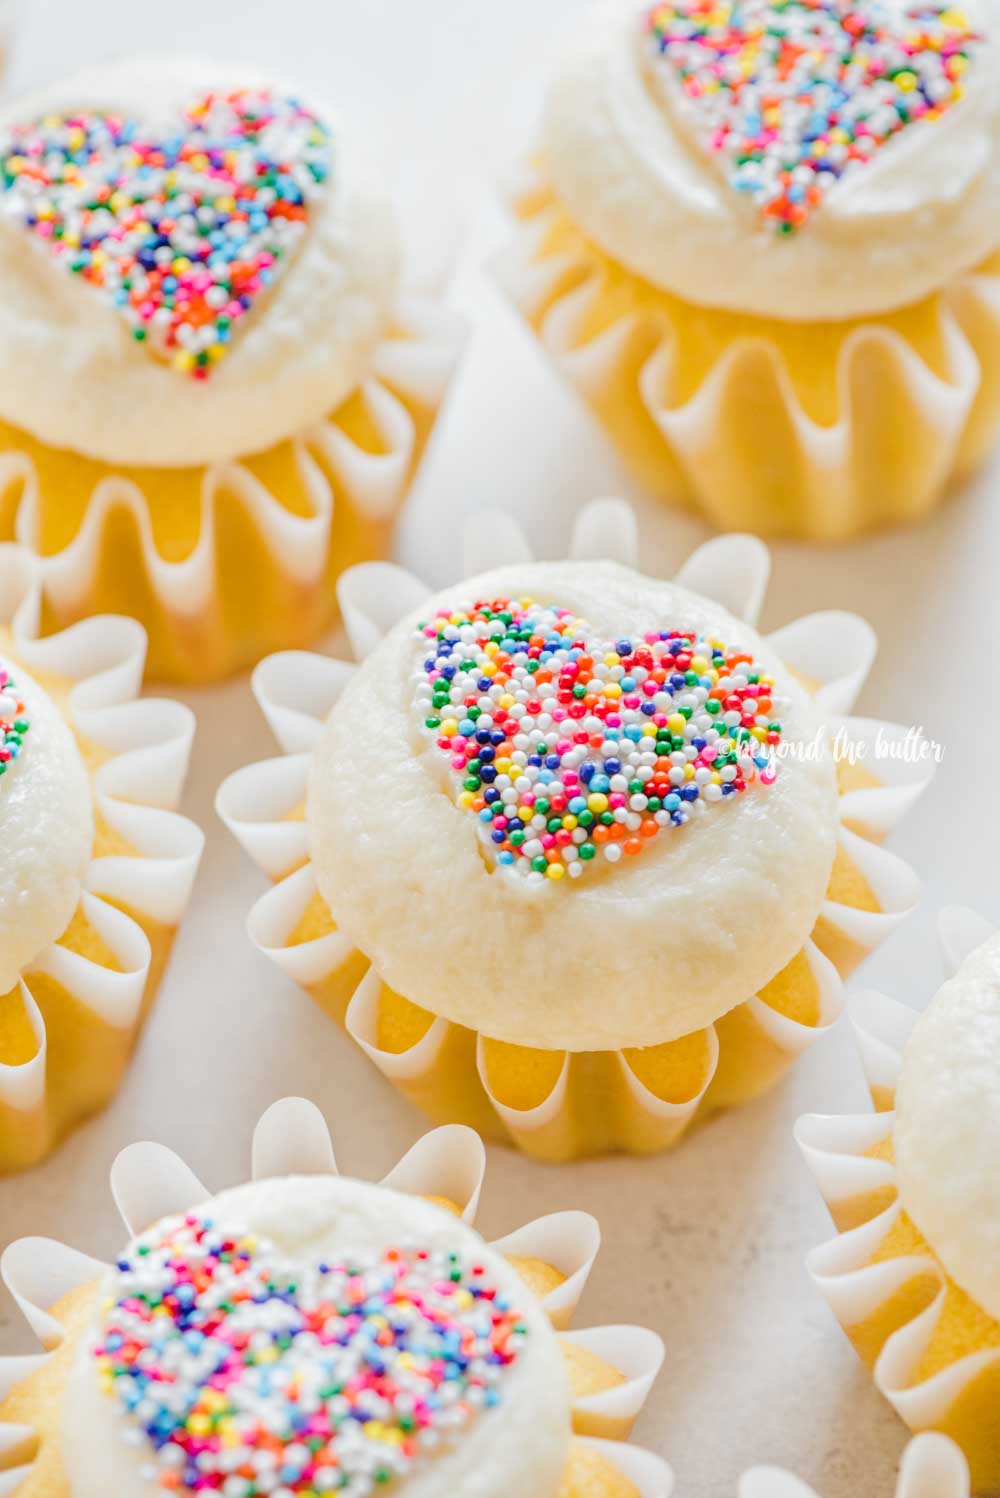
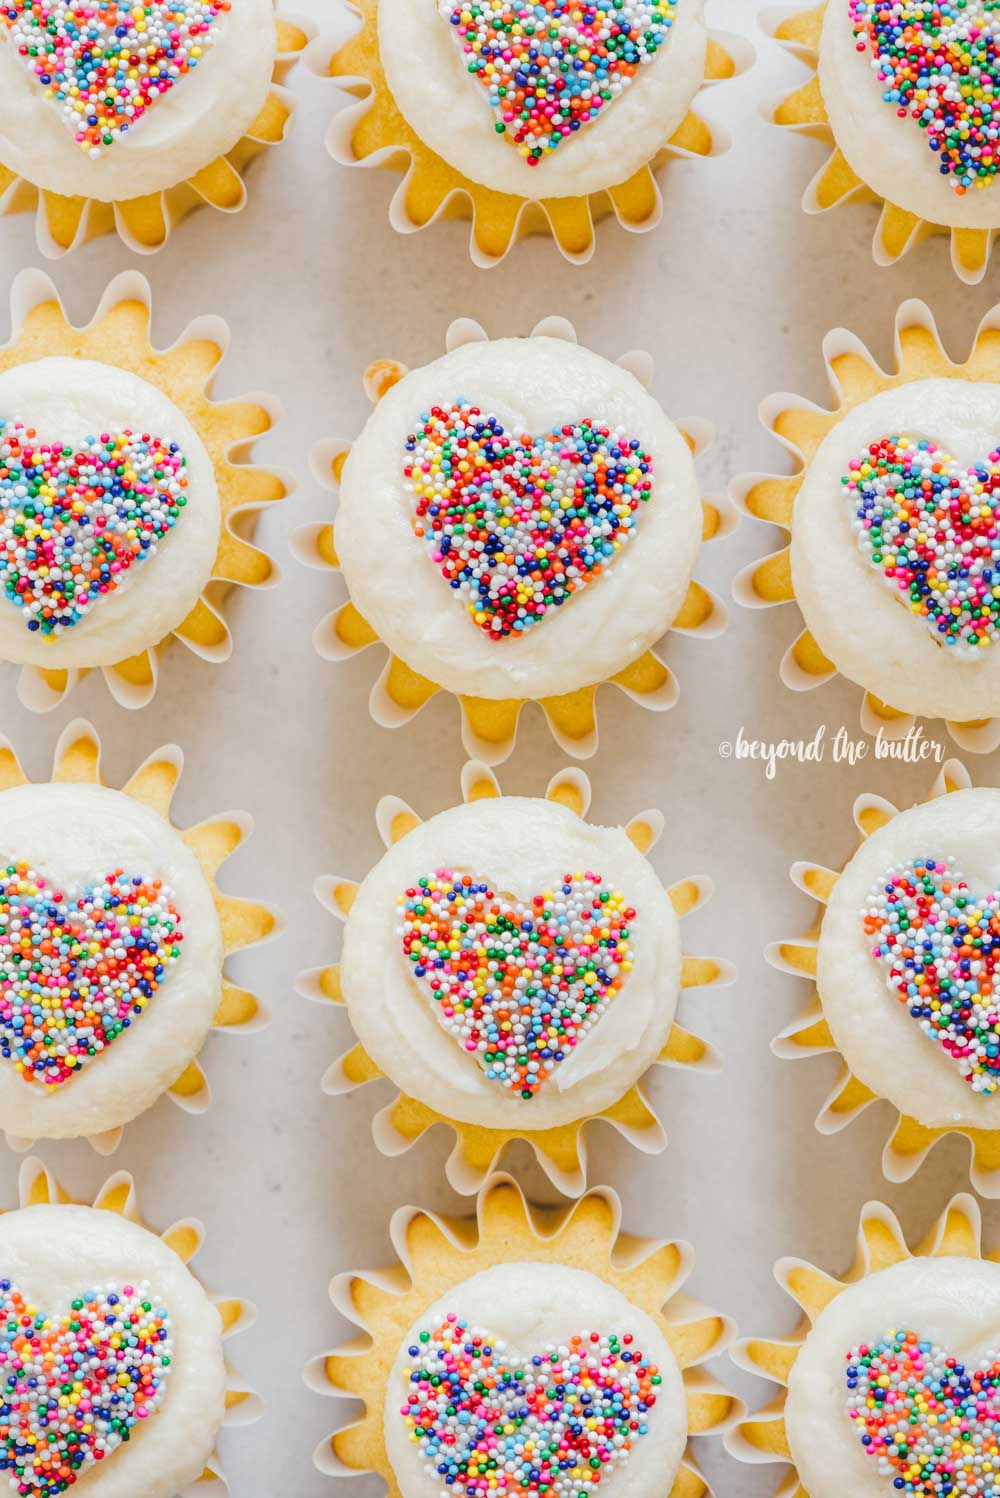
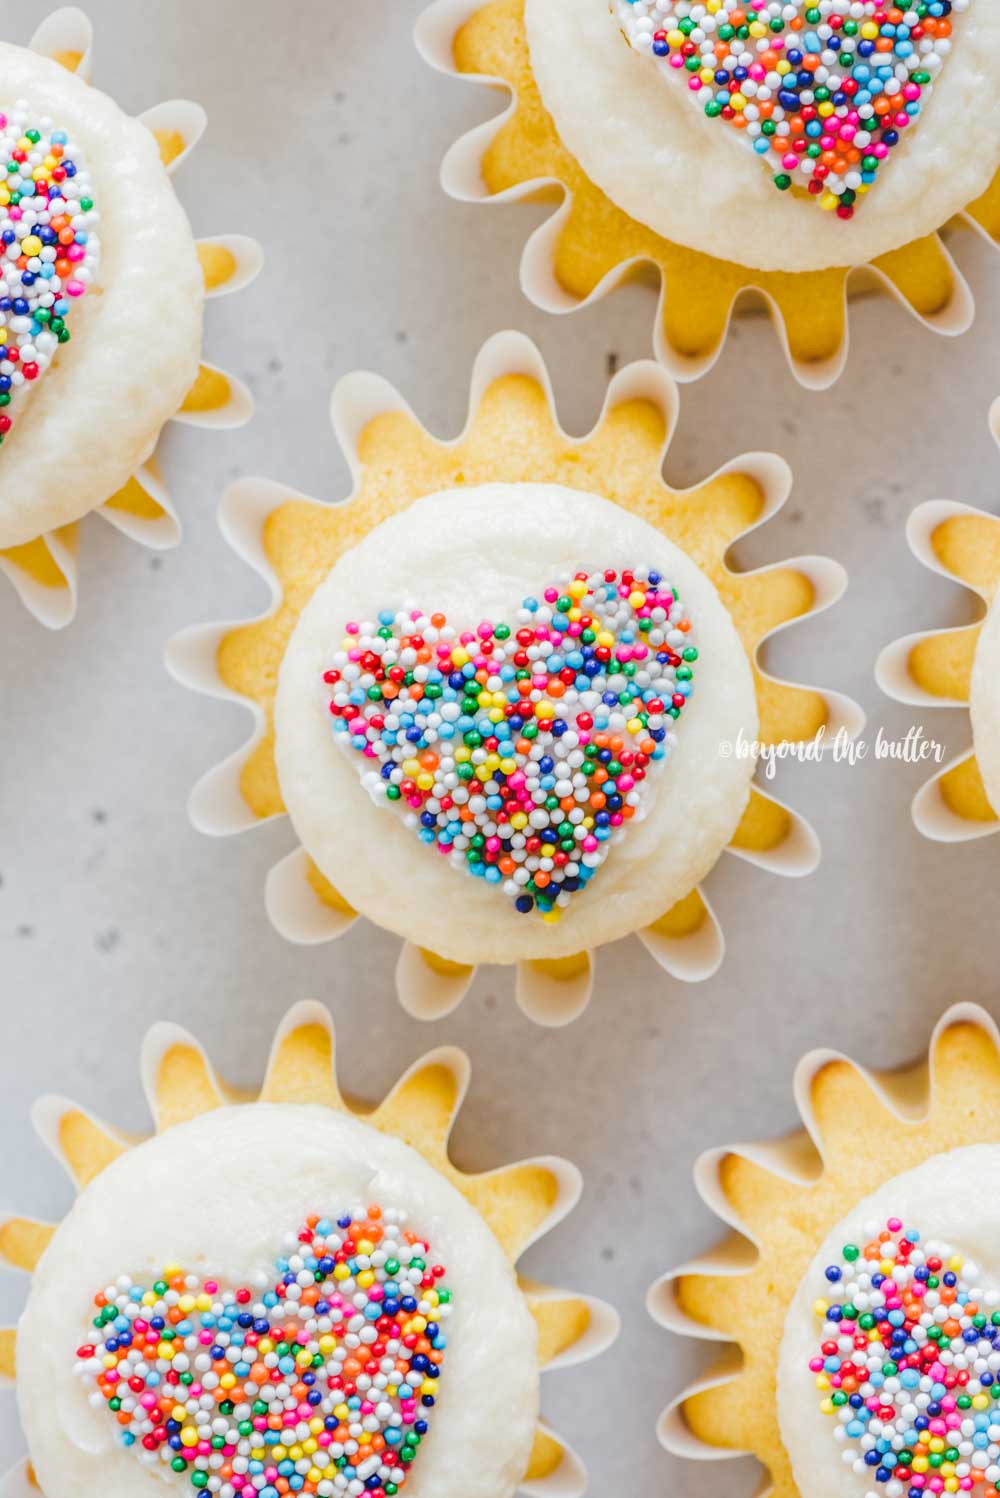
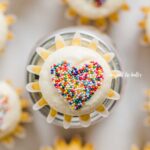
This Sprinkled Heart Cupcakes tutorial shows you how to decorate cupcakes using a small, heart-shaped cookie cutter, sprinkles, and your favorite cupcakes! It's easy, it's fun, and the recipient of your cupcakes will absolutely love them!
Jump to:
Decorating Tools Needed
Your favorite cupcake and frosting recipe. Choose whatever cupcake and frosting recipes you like! You can also use a box of cake mix and a container (or two) of frosting. And one other idea—buy some already-made cupcakes from the bakery section of the grocery store! Just make sure they're not already decorated.
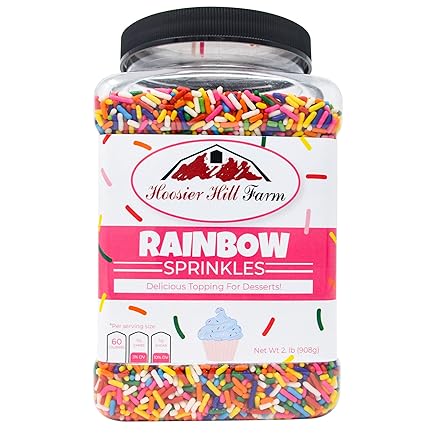
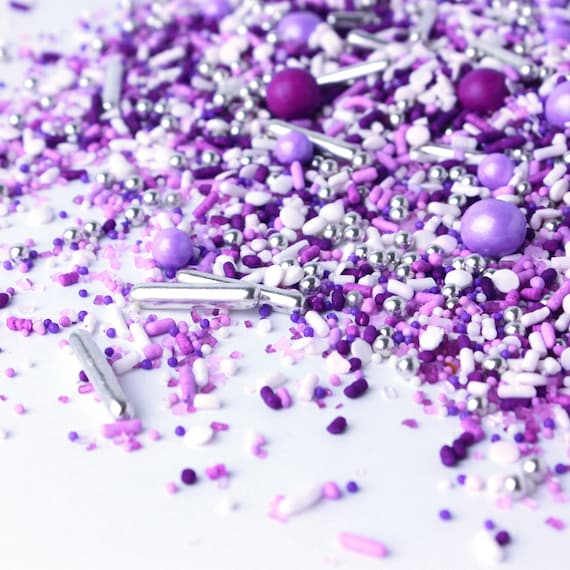
Your favorite sprinkles. You can use any kind that you like—sprinkles, jimmies, nonpareils, or sanding sugar. My favorite is the nonpareils because they work really well for this type of decoration. They fit nicely into the small cookie cutters and leave no gaps.
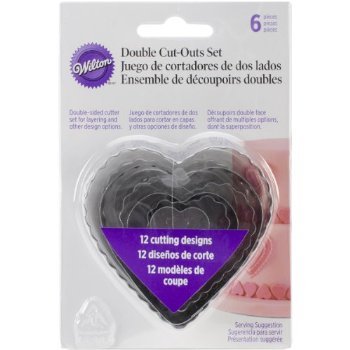
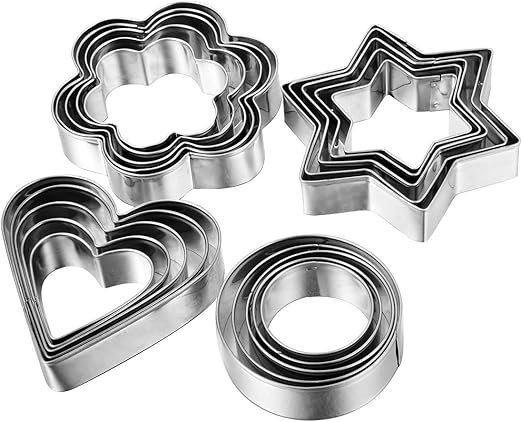
Small heart-shaped cookie cutter. My small heart shaped cookie cutter is from Wilton, but anyone will do, so long as it fits on top of the cupcake.
Long-handled teaspoon. Works perfectly for adding the sprinkles inside the cookie cutter! Any small spoon works well for this cupcake decorating project!
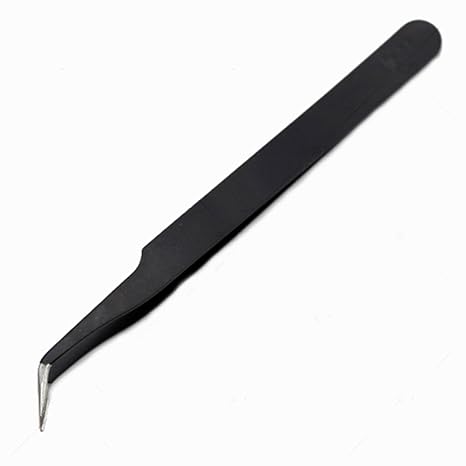
Food tweezers. These come in really handy when placing any loose sprinkles that didn't land directly into the frosting. You can easily use your fingers as well, but the food tweezers are nice for getting into the hard-to-get areas inside the cookie cutter.


Cookie Cutter Alternatives
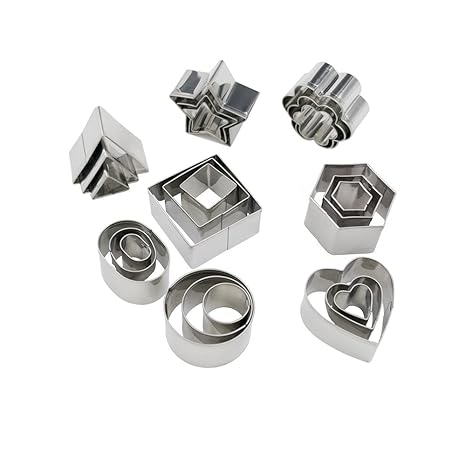
Super small cookie cutters. I've used this small set of cookie cutters for cutting out pie dough shapes, but you can use them here too!
Alphabet cookie cutters. Another fun idea—use these alphabet cookie cutters to spell out a message! These are only 1" tall letters, though, so I would definitely recommend using the nonpareils or sanding sugar.
Cupcake Recipe Ideas
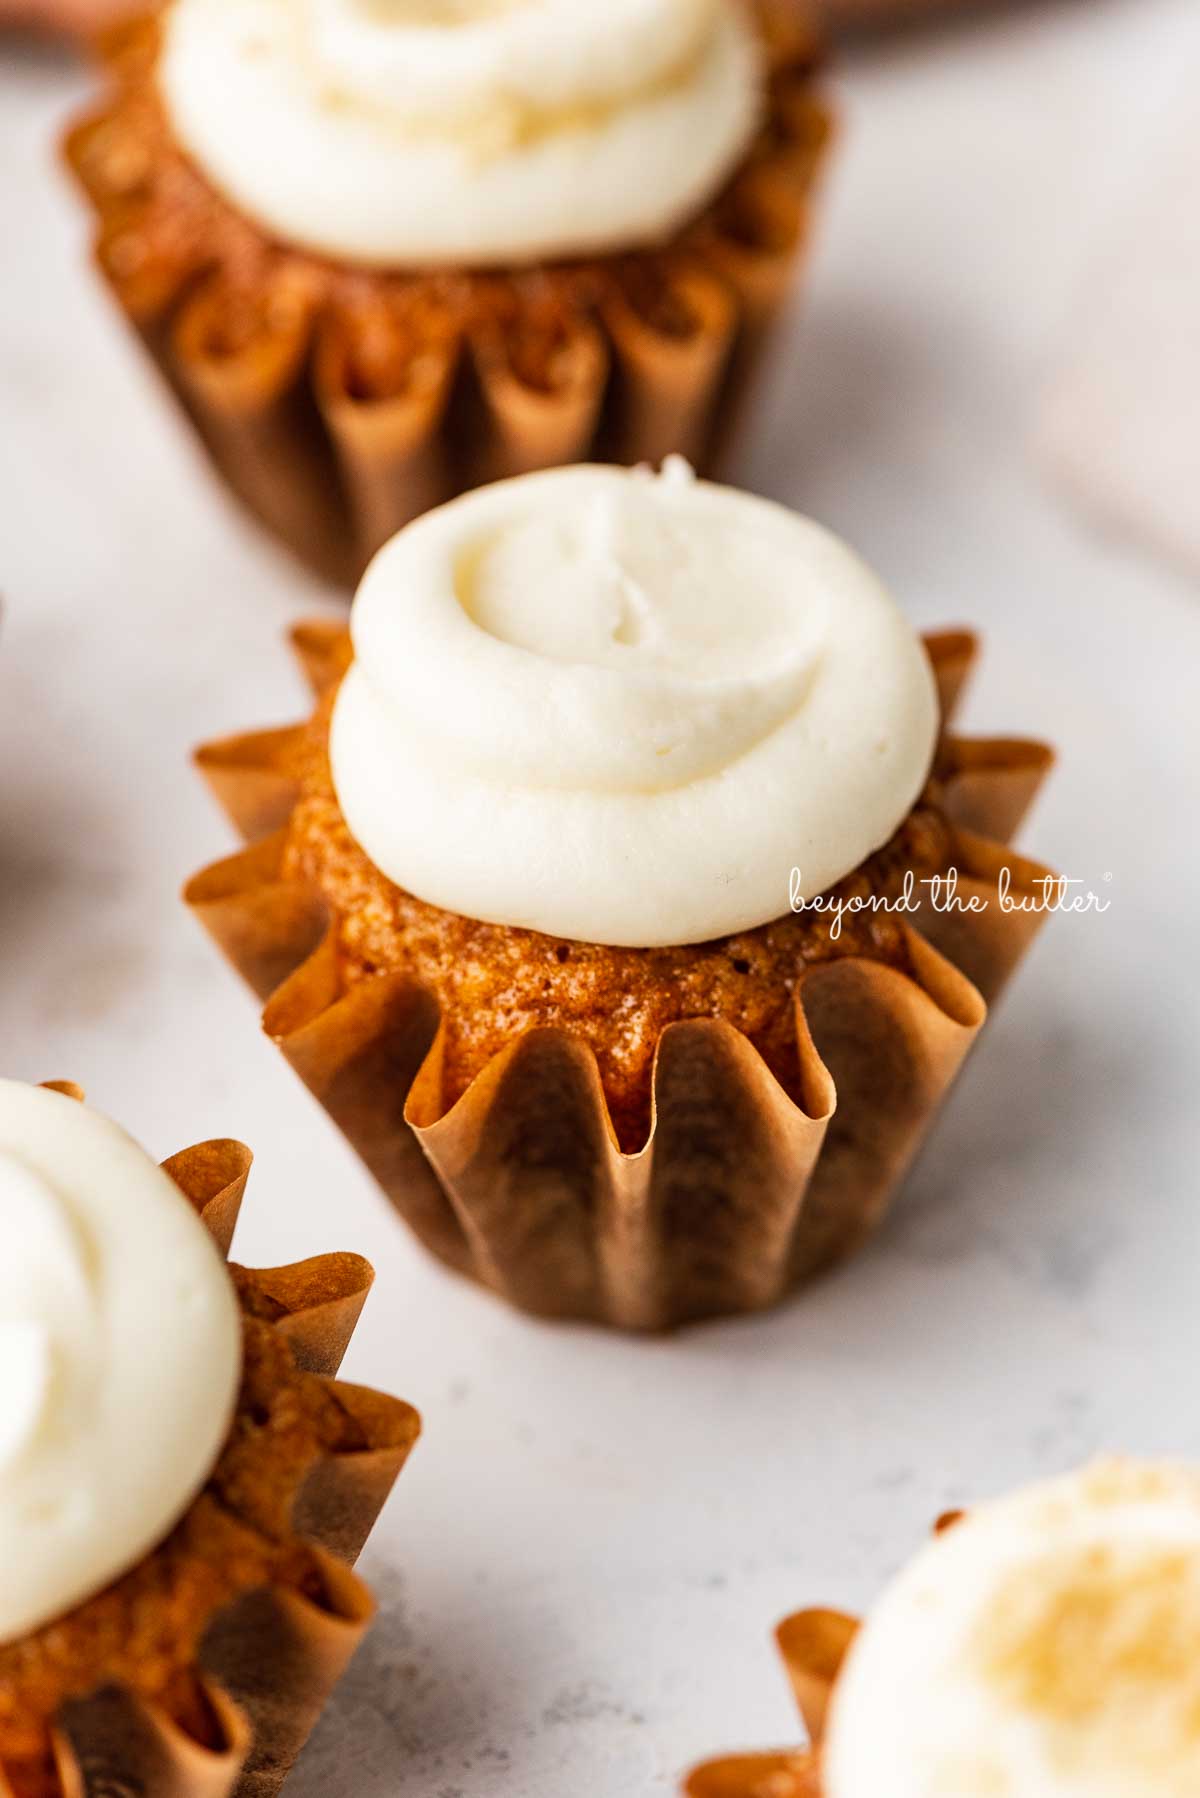
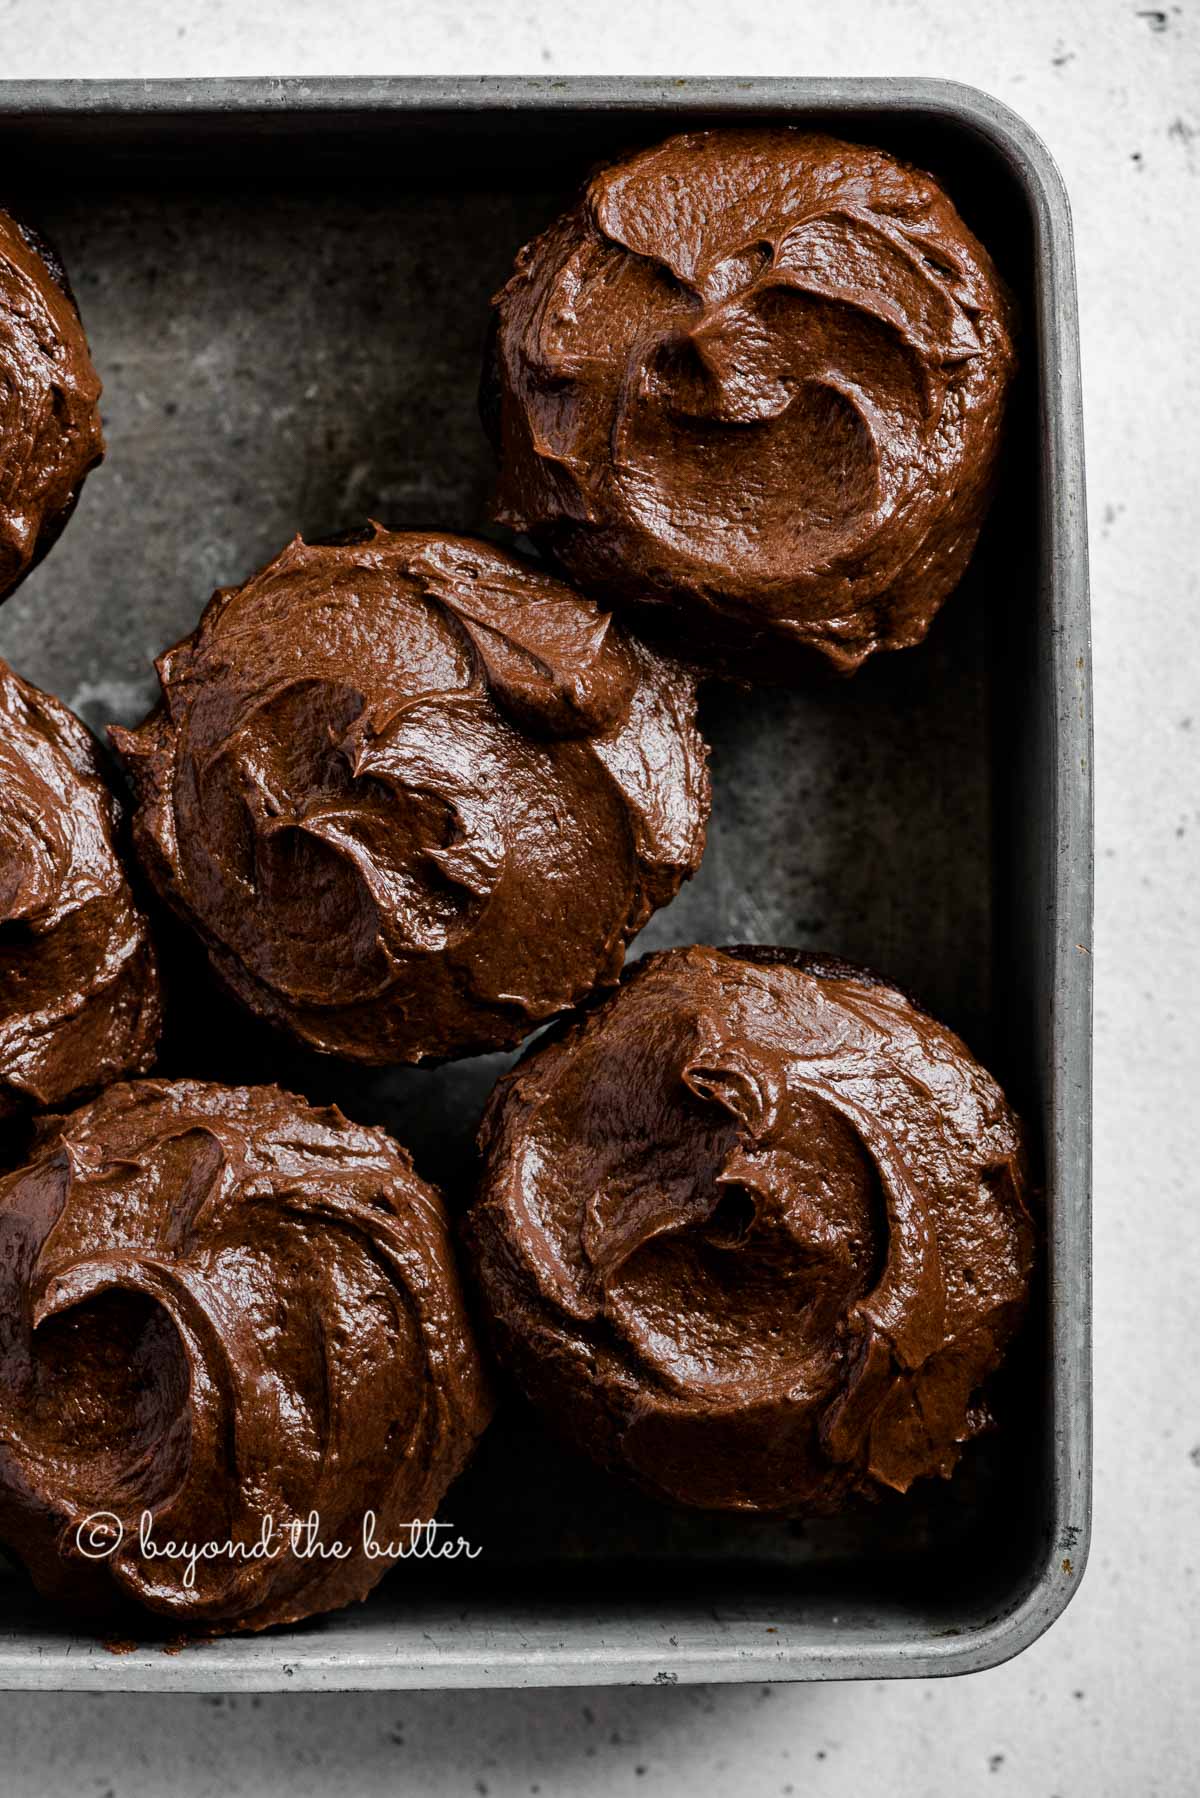
For this sprinkled heart cupcake tutorial, I doubled my small batch vanilla cupcakes recipe. If you're stuck on what kind of cupcakes to make for this decorating tutorial, let me make it easy on you with these four favorites from my recipe box!

Decorating Cupcakes with a Sprinkled Heart
Below is a simple overview of how to decorate your cupcakes with a sprinkled heart. Scroll down for the detailed instructions as well as the video tutorial!
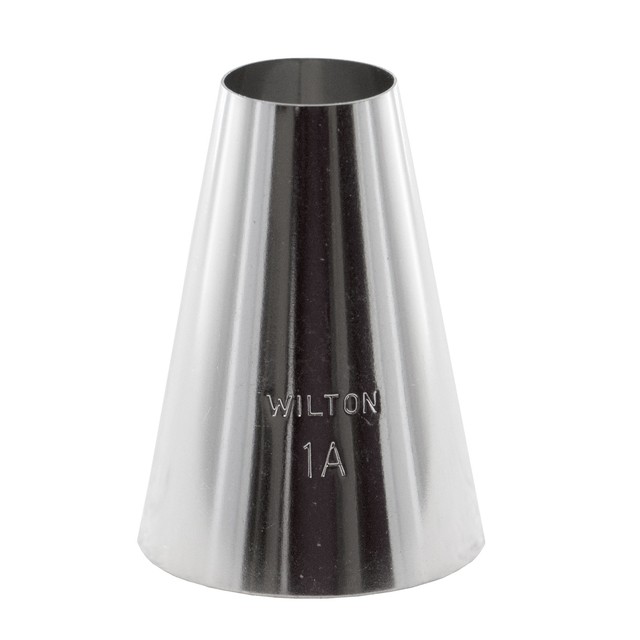
- Pipe the frosting onto the cupcakes. You can use a large round decorating tip like the Wilton 1A.
- Smooth and level the tops. I used an offset spatula to do this. You will need a relatively flat surface to place the cookie cutter on.
- Place your heart-shaped cookie cutter on top. Gently press it down far enough, so there are no open gaps between the cookie cutter and the frosting.
- Add a small amount of sprinkles. I used a teaspoon with a long handle because it helped me steady the spoon as I placed them inside the cookie cutter. A small size spoon will work fine too.
- Rotate and tilt the cupcake. This helps to cover any open areas with sprinkles. Add more sprinkles if you have any bare spots. Gently tap them into place with your finger or food tweezers.
- Remove any excess sprinkles. Even with the previous step, you will still have some loose sprinkles. This is okay. Simply place a finger on top of the cookie cutter and carefully tilt it over the top of the bowl.
- Remove the heart-shaped cookie cutter. Use both hands to gently lift the cookie cutter up and away from the cupcake. Pat down any remaining loose sprinkles.
- That's it! It really is an easy way to decorate your cupcakes, and they look super cute!
Helpful Decorating Tips
Below are five helpful tips for decorating cupcakes with sprinkled hearts.
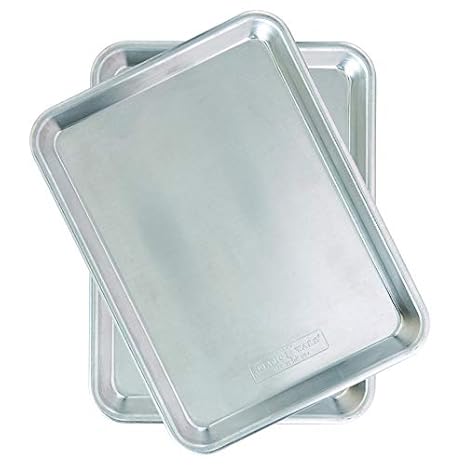
Tip No. 1. It's best to decorate the cupcakes on a surface like a baking sheet or jelly roll pan—something that has a lip or sides to it to catch any rogue sprinkles from rolling off the table.
Tip No. 2. Do not get frustrated if you have a few sprinkles that simply don't want to stay put. Watching my sprinkled heart cupcakes tutorial video, you'll see I even had a few! I'm looking at you, blue sprinkle!
Tip No. 3. When you pull up the cookie cutter, you'll have frosting and some sprinkles stuck to the inside and, possibly, outside. Use a paper towel to wipe that off before adding it to your next cupcake!
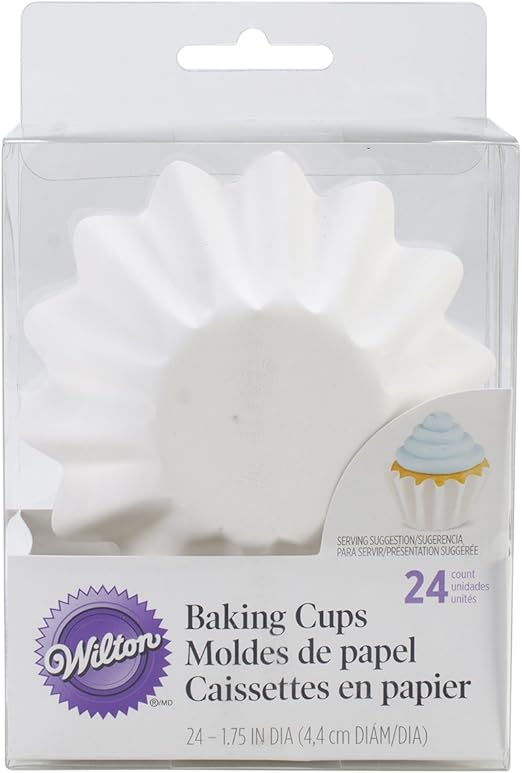
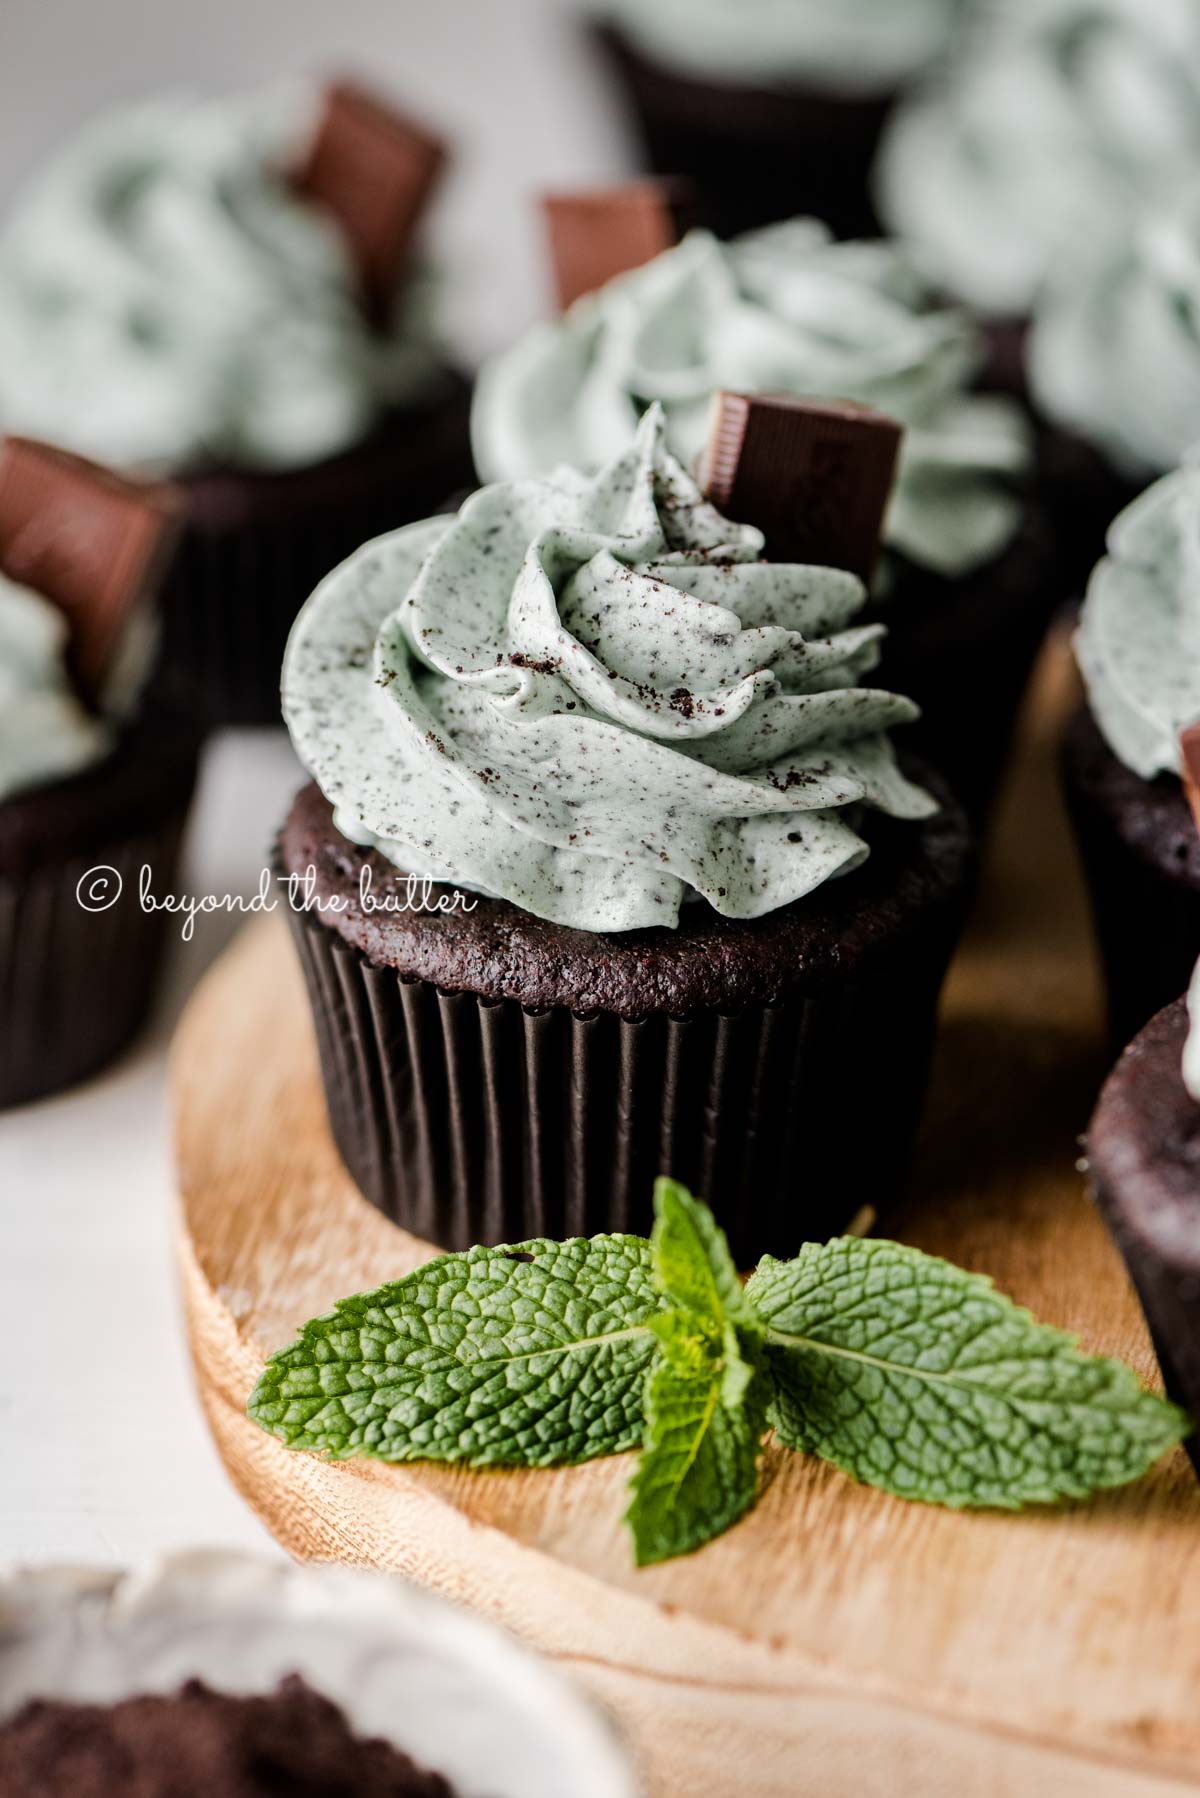
Tip No. 4. The wavy cupcake liners I used are a favorite of mine from Wilton! I've used them before in black for my Devil's Food Cupcakes! They also come in a few other random colors, but they are a little harder to find!
Tip No. 5. Decorating cupcakes shouldn't leave you feeling stressed out. This way of decorating cupcakes is meant to be fun! And if you have a few loose sprinkles or your frosting isn't perfectly smooth—it's okay! Your friends and family will still love these cupcakes!
Fun Tutorials to Try From Beyond the Butter!

If you tried this Sprinkled Heart Cupcakes Tutorial or another tutorial on my website, please leave a 🌟 star rating and let me know what you thought in the 📝 comments below. Thanks for visiting!
📖 Recipe
How to Add a Sprinkled Heart to Cupcakes
Author:Ingredients
- Your favorite cupcake and frosting recipe
- Sprinkles (nonpareils or sparkling sugar)
- Small spoon
- Food tweezers
- Jelly roll pan
Instructions
- Pipe the frosting onto the cupcakes using a large round piping tip like the Wilton 1A decorating tip.
- With an offset spatula, smooth and level out the top of each cupcake. You will need a relatively flat surface to place the cookie cutter on to.
- Gently place your heart shaped cookie cutter on top. You don't need to push it down super far—just enough so there are no open gaps between the cookie cutter and the frosting.
- Add a small amount of sprinkles inside the cookie cutter using a teaspoon or a small spoon, preferable with a long handle works well.
- Rotate and tilt the cupcake around to move the sprinkles into place. This helps to cover any open areas. If you need to add in more sprinkles though, go for it.
- When finished, tap the sprinkles gently into place using your finger or food tweezers. If you don't get all the sprinkles, the next step will help remove them!
- Remove any excess sprinkles by simply placing a finger on top of the cookie cutter and carefully tilting it over top of the bowl.
- To remove the cookie cutter, gently lift the cookie cutter up and away from the cupcake using both hands. With your finger or the food tweezers, you can pat down any remaining loose sprinkles.
- Repeat again until all of your cupcakes are decorated, then enjoy!
Video
Recipe Notes
- It's best to decorate the cupcakes on a surface like a baking sheet or jelly roll pan—something that has a lip or sides to it to catch any rogue sprinkles from rolling off the table.
- Do not get frustrated if you have a few sprinkles that simply don't want to stay put. Watching my sprinkled heart cupcakes tutorial video, you'll see I even had a few! I'm looking at you, blue sprinkle!
- When you pull up the cookie cutter, you'll have frosting and some sprinkles stuck to the inside and, possibly, outside. Use a paper towel to wipe that off before adding it to your next cupcake!
- The wavy cupcake liners I used are a favorite of mine from Wilton! I've used them before in black for my Devil's Food Cupcakes! They also come in a few other random colors, but they are a little harder to find!
- Decorating cupcakes shouldn't leave you feeling stressed out. This way of decorating cupcakes is meant to be fun! And if you have a few loose sprinkles or your frosting isn't perfectly smooth—it's okay! Your friends and family will still love these cupcakes!
Nutritonal information provided above is an estimate only and will vary based on specific ingredients used.
Comments
No Comments