


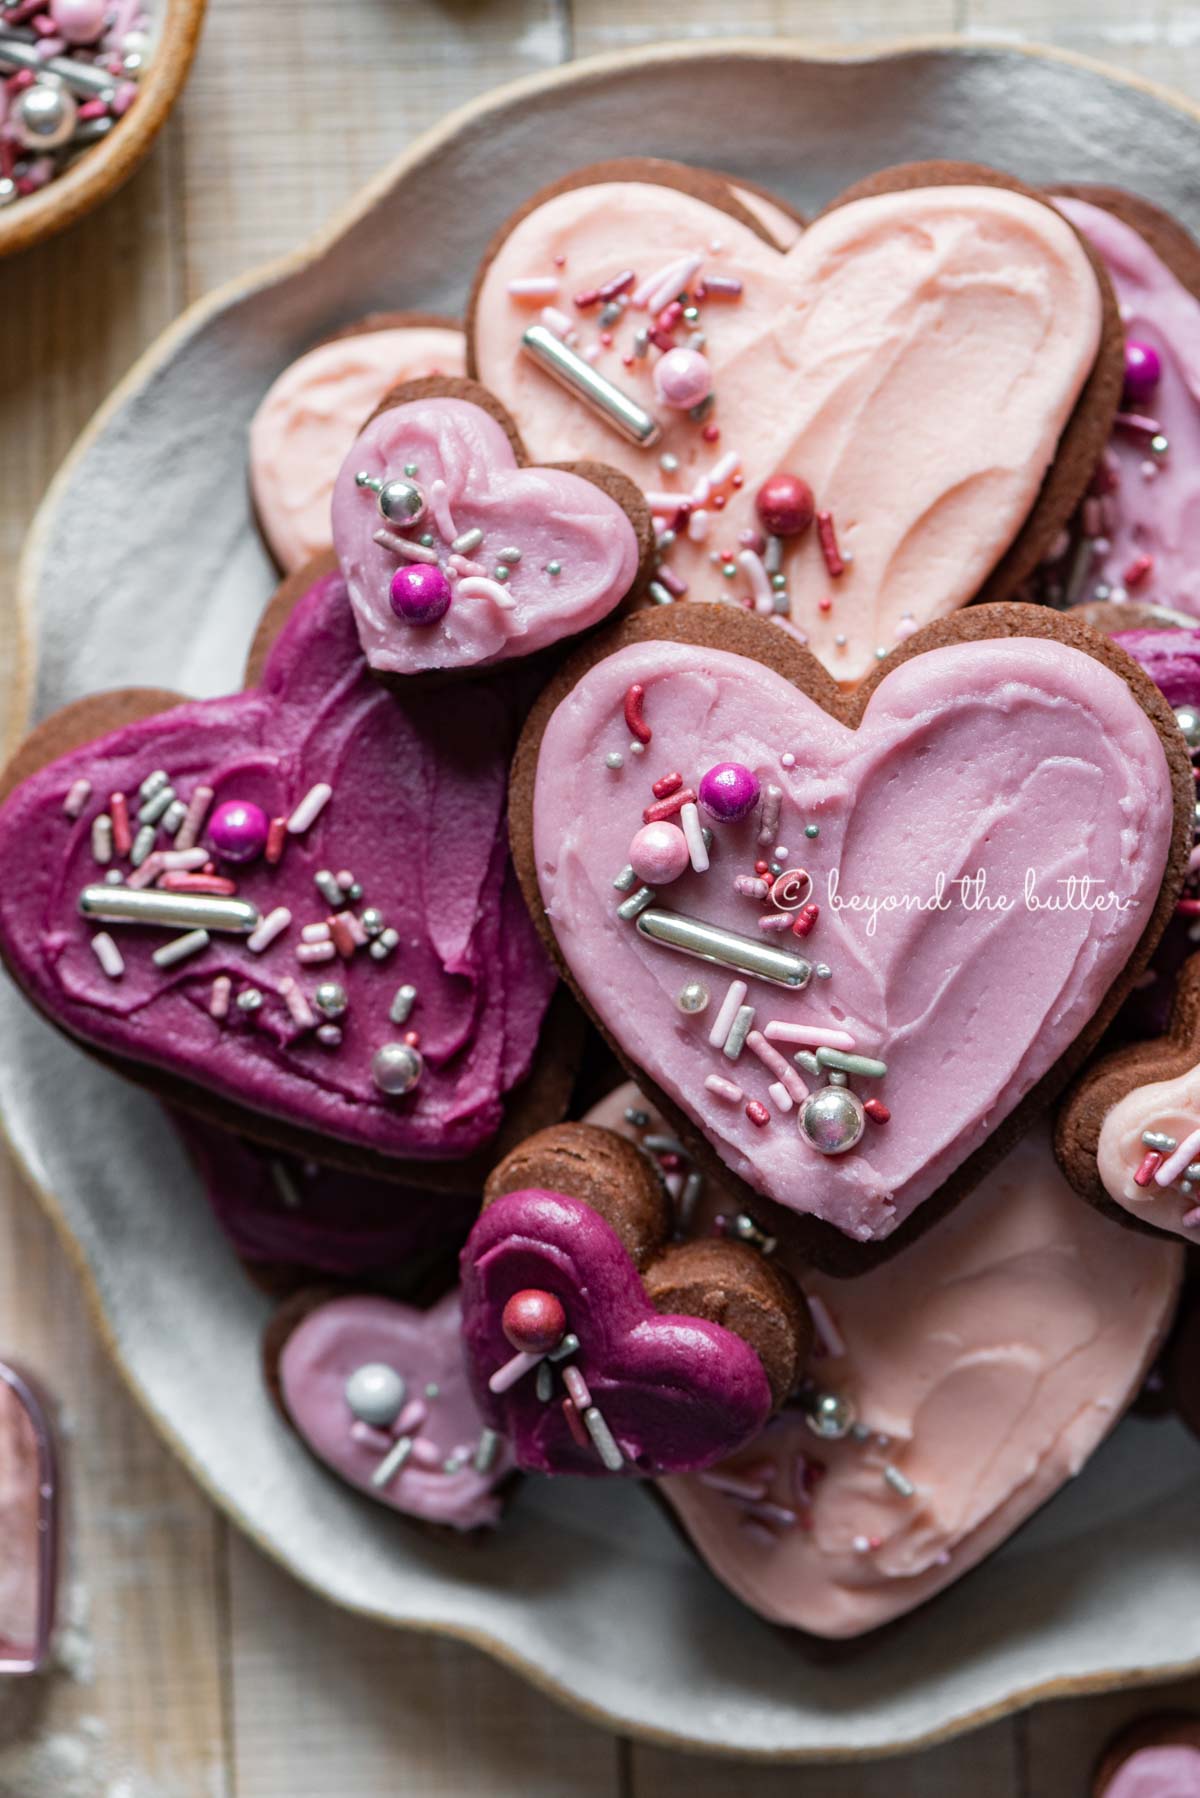
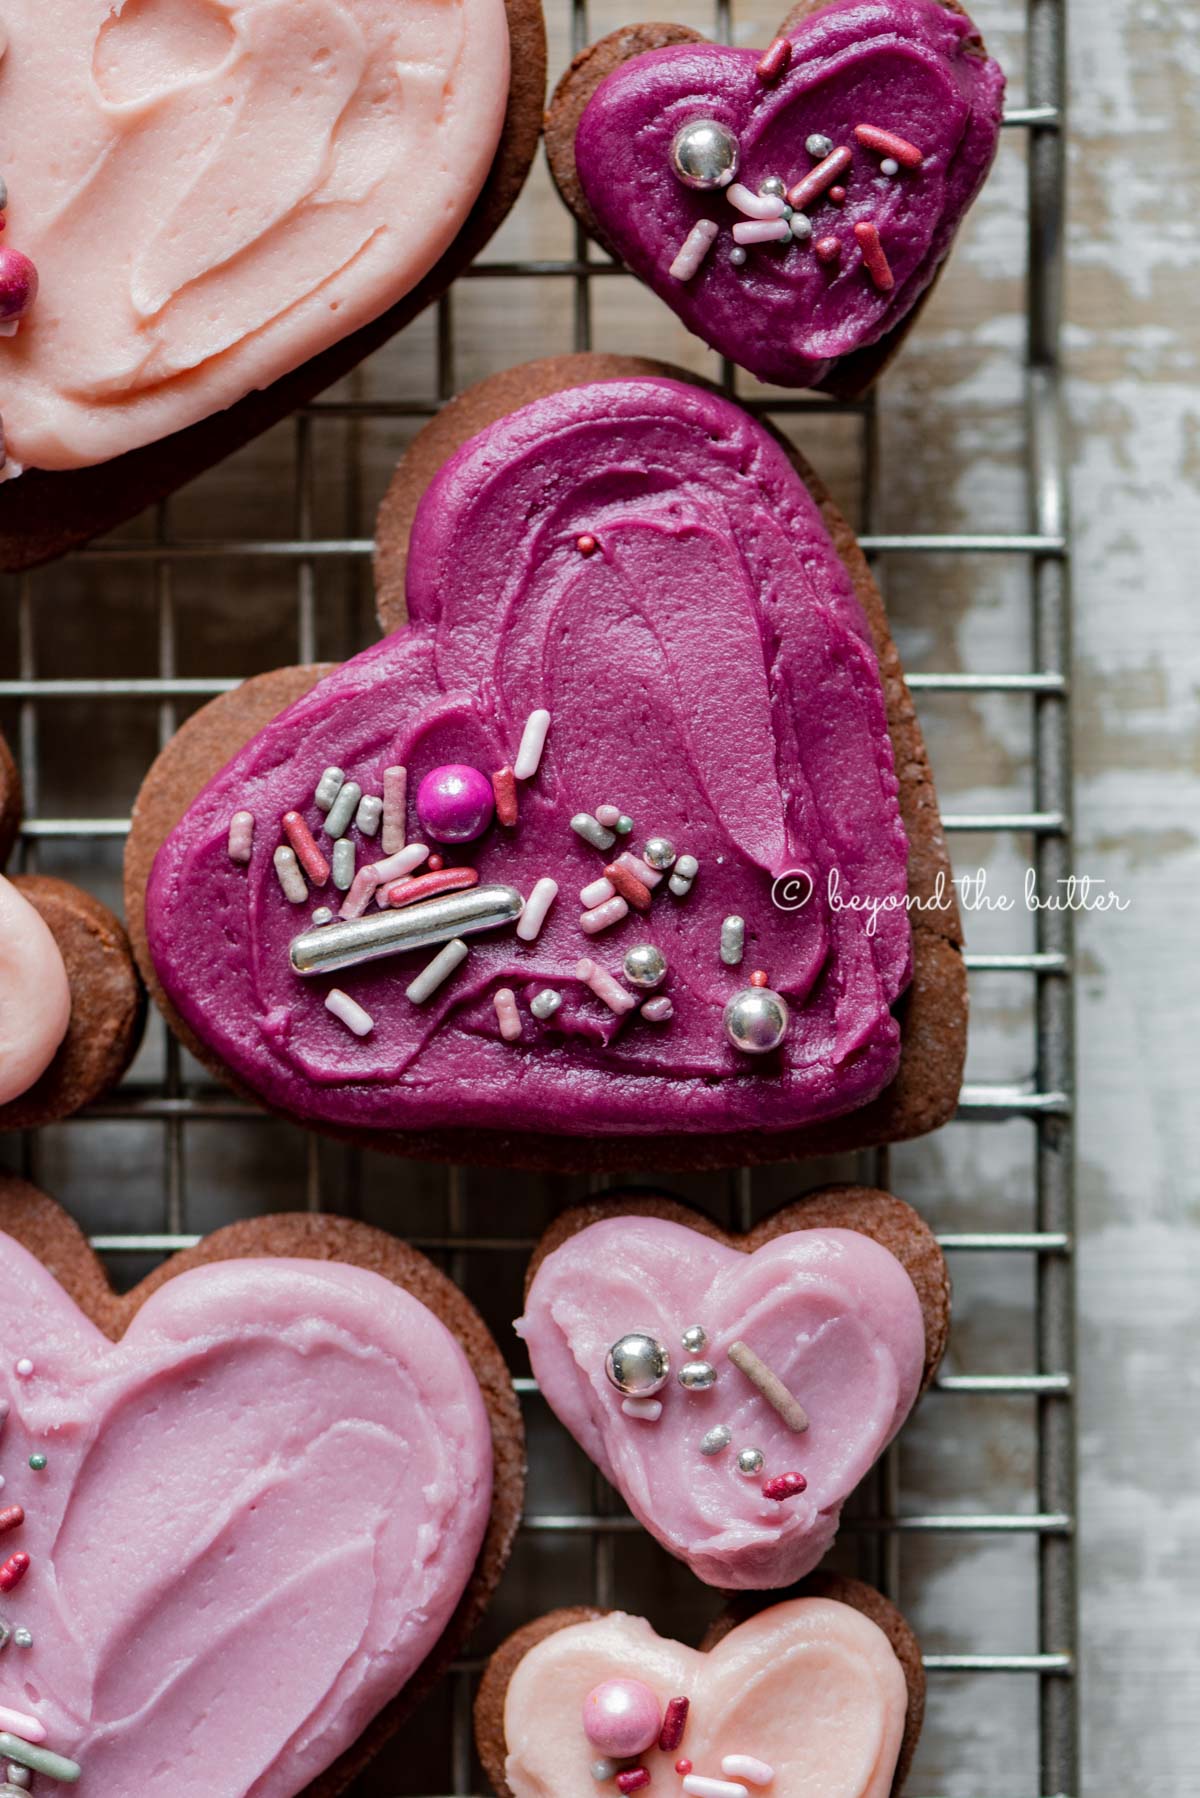
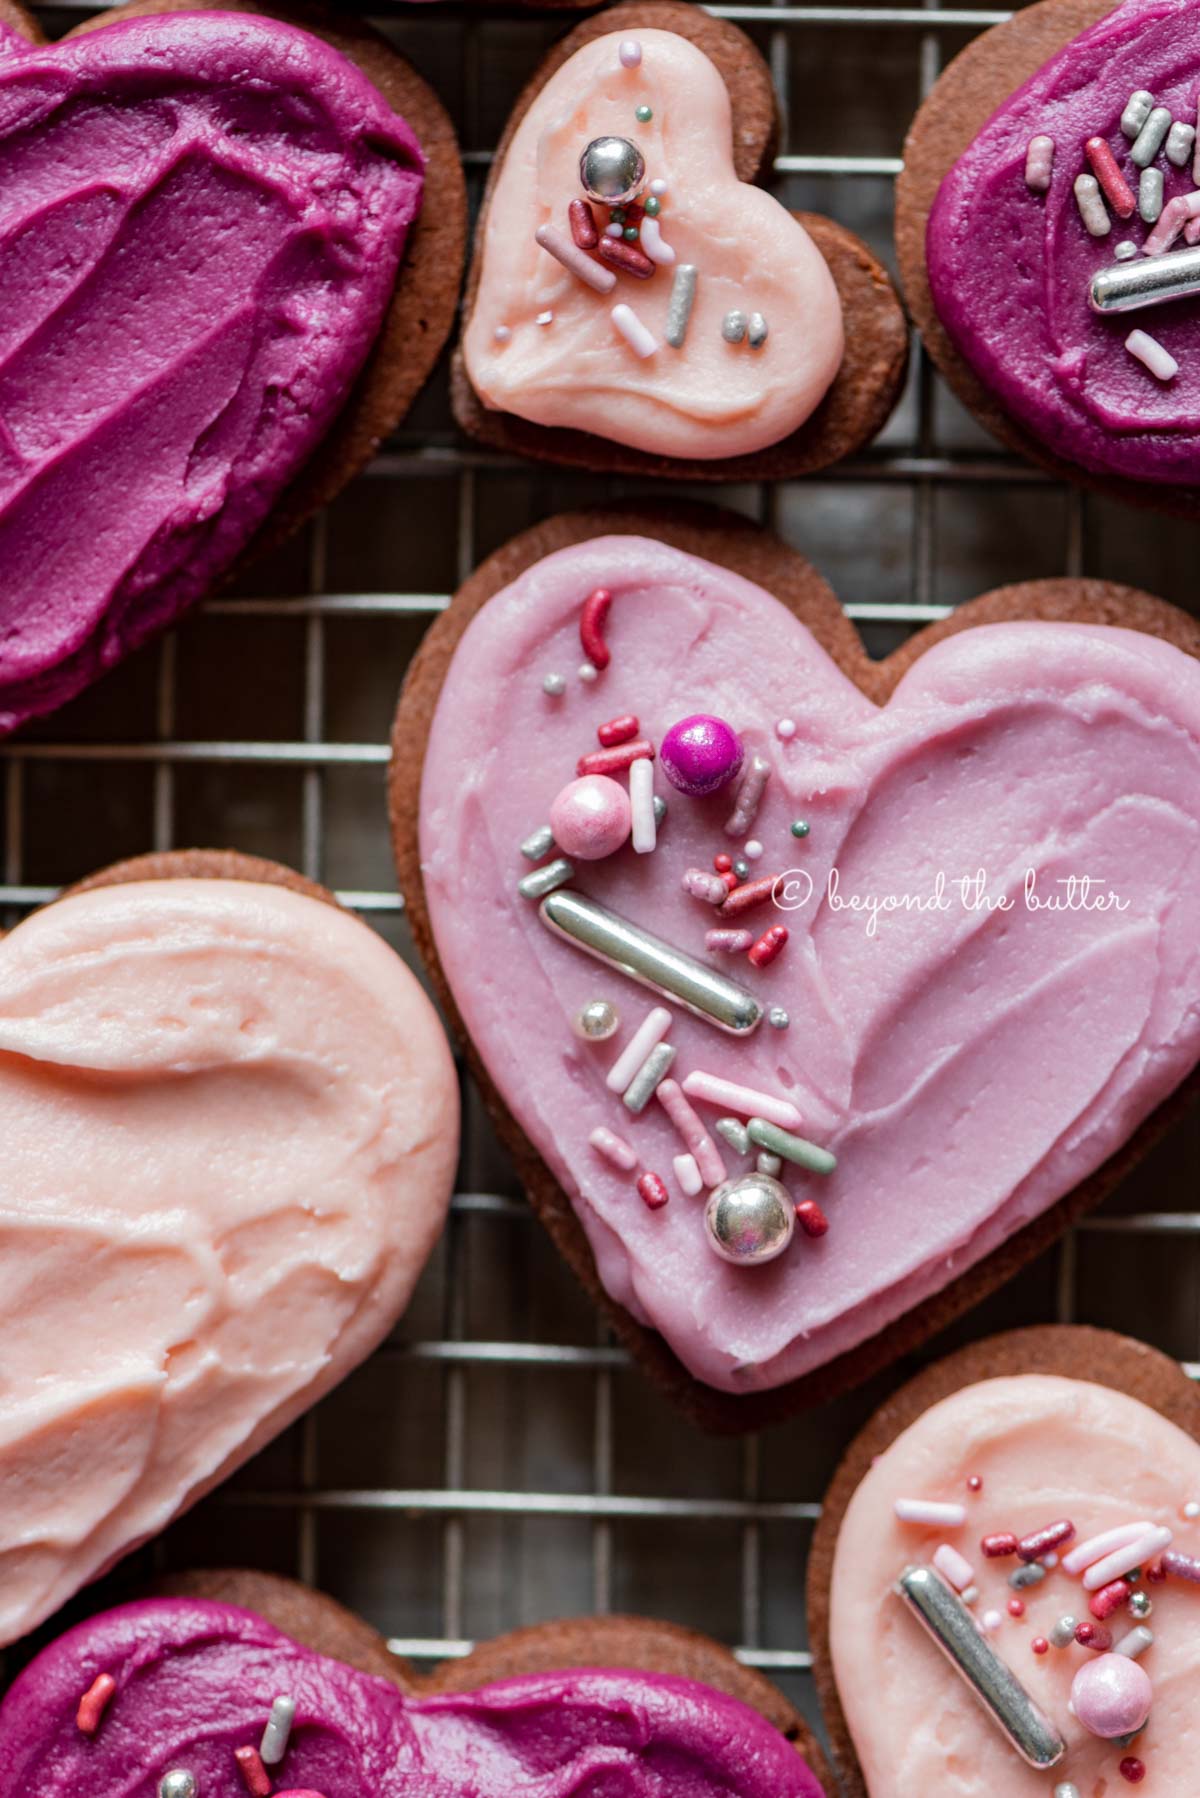
These Chocolate Cut Out Sugar Cookies put a fun spin on the classic we all know and love! They're super soft and chocolatey and hold their shape well. Decorate with colorful sanding sugars or with an easy buttercream frosting and sprinkles for a sweet treat to show someone you care.

Jump to:
What Ingredients You'll Need
- Dry Ingredients. You'll need all-purpose four unsweetened cocoa powder, baking soda, cream of tartar, and salt.
- Wet Ingredients. Unsalted butter, powdered sugar, vanilla extract, and one large egg.
Helpful Tips for Making Chocolate Cut Out Sugar Cookies
Room temperature ingredients. Ingredients, like your unsalted butter and eggs, will blend with the other ingredients a lot easier when they are at room temperature.
For the butter, it should be soft enough to gently press your thumb into it. If you smoosh the butter down with your thumb using no effort, it's probably too soft.
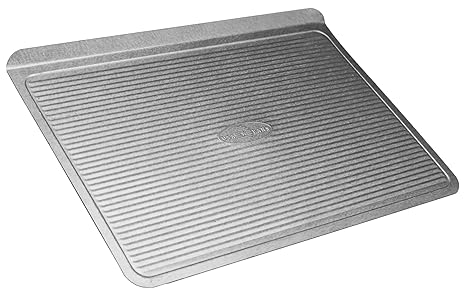
The right size baking sheet. Ensure the baking sheet or jelly roll pan you use to chill your dough fits easily into your refrigerator.
Use parchment paper. You can use plastic wrap to roll out the chocolate sugar cookie dough, but I prefer parchment paper. Why? Because you can reuse it later to bake your cut out cookies! If you're planning to make the cookie dough in advance —use wax paper.
Divide then roll. Once the chocolate cookie dough is made, you will shape it into one big ball, then divide it in half—like you would when making pie dough.
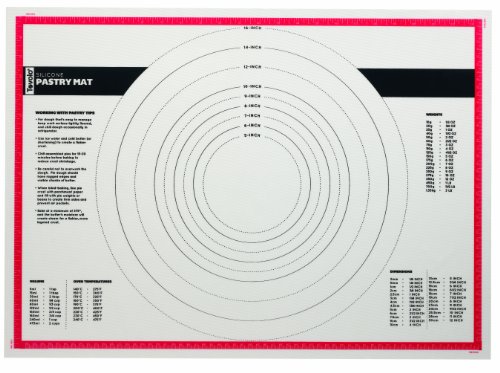
Roll each half out onto a lightly floured parchment paper. I also place a silicone baking mat underneath to keep the parchment paper from sliding all around.
You will stack the second parchment sheet of rolled out cookie dough on top of the other.
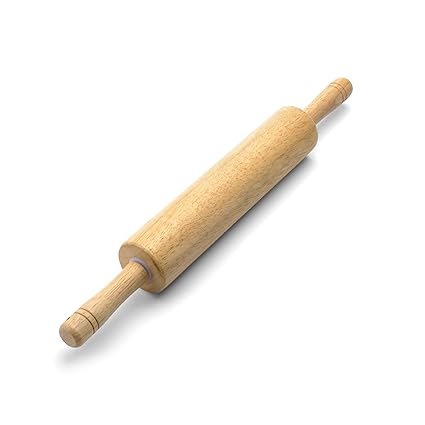
Rolling out the dough. I recommend rolling out the dough to a ¼ inch thickness. If you prefer to roll yours out thinner, make sure to adjust your baking time because they will bake quicker than the 7-8 minutes.
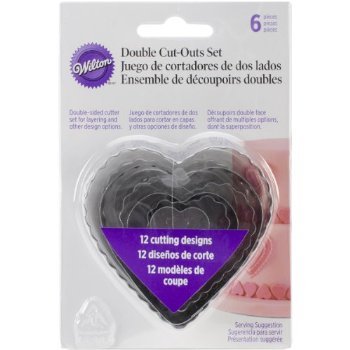
Flour the cookie cutters. Dipping your cookie cutter every 2-3 cookies in some flour will help release the cookie easier.
Don't over bake the cookies. The recommended baking times for these chocolate cut out sugar cookies recipe is 7-8 minutes. My preference is to bake them for 7 minutes. The cookies edges and bottoms should have the same uniform color as the top, not darker in color or burnt.
Darker brown, brittle, and hard cookies are a sign you have over baked them. Also see my next tip!
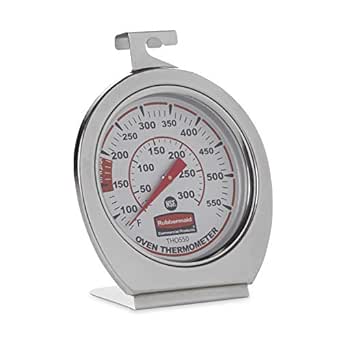
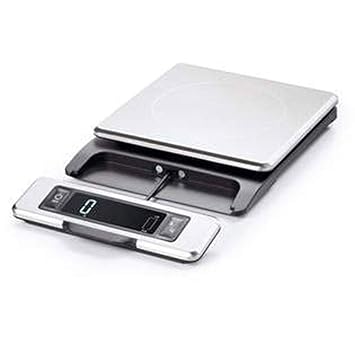
Use an oven thermometer. Every oven is different. To make sure yours is heating to the correct temperature, get yourself an oven thermometer!
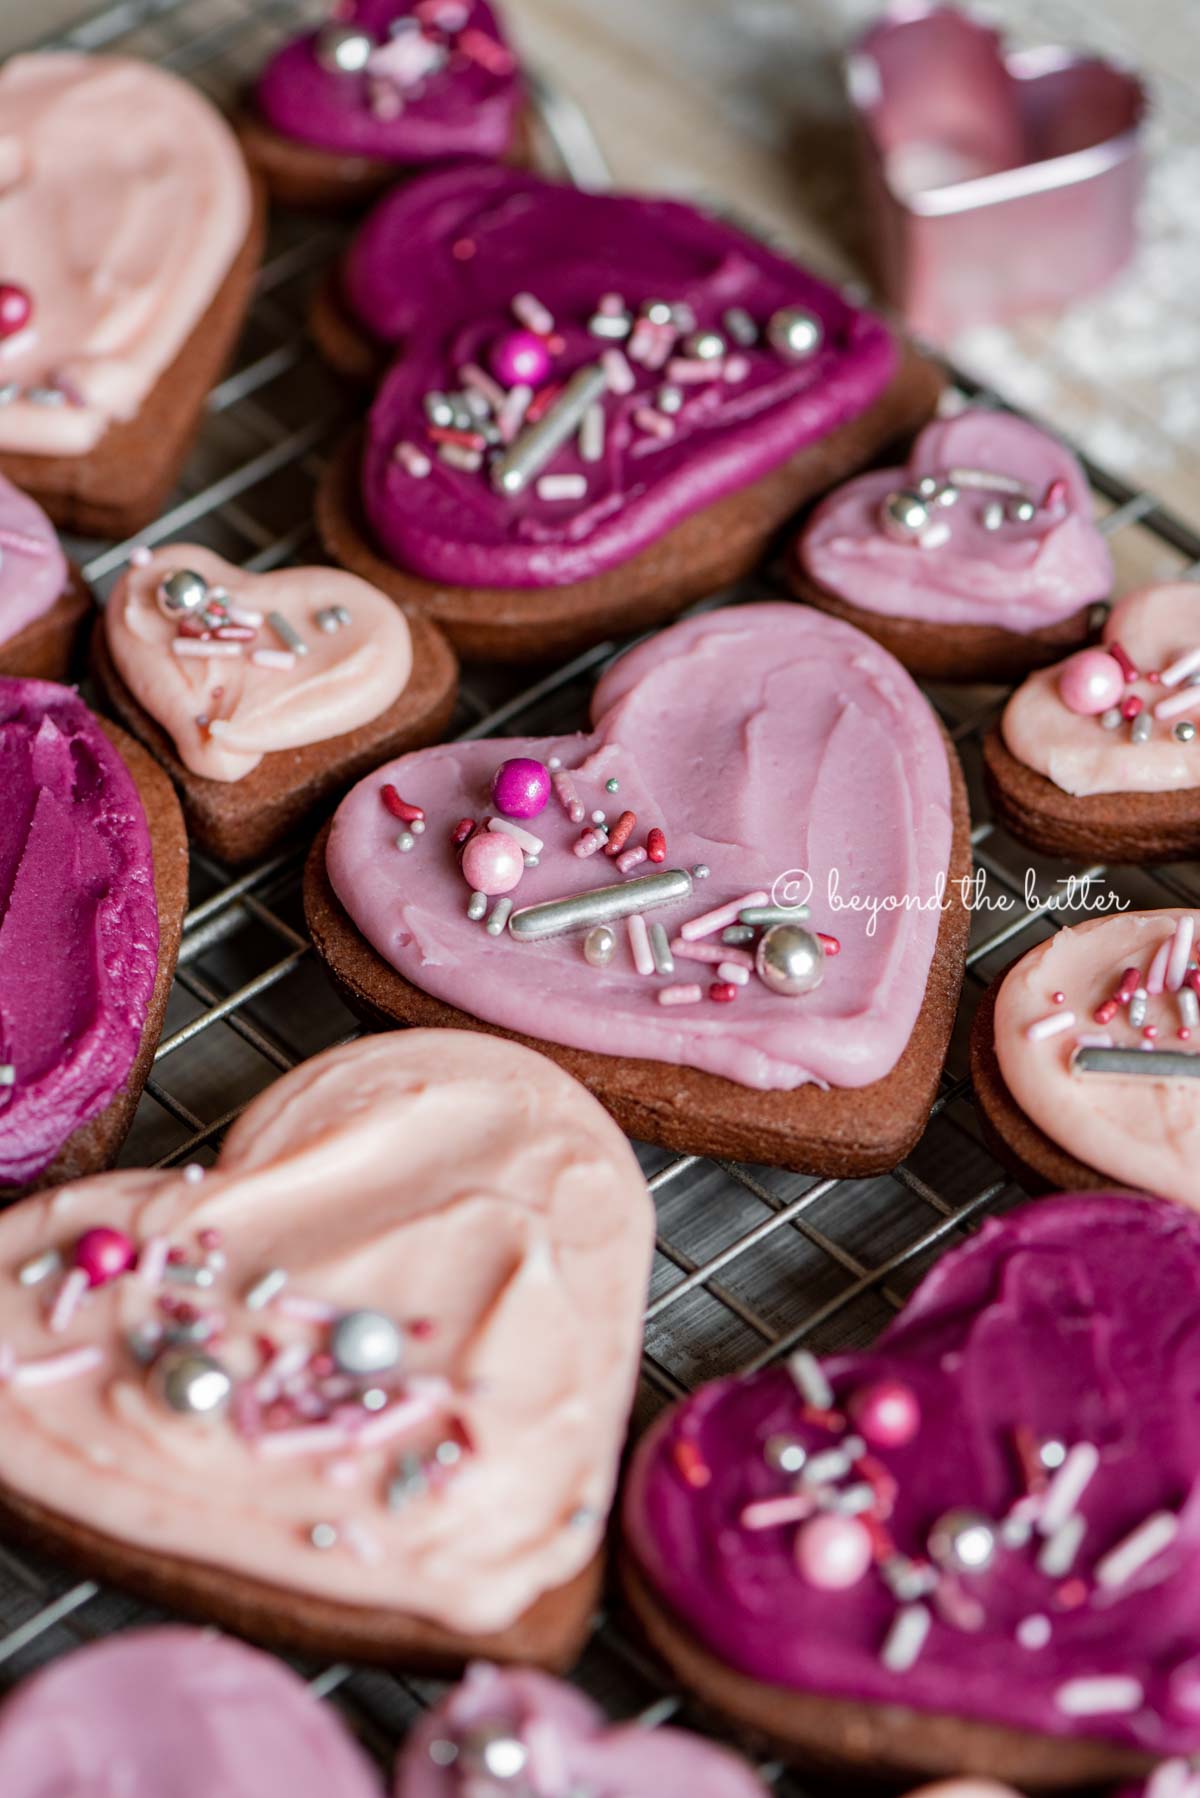
Cool the cut out sugar cookies completely. Before you add your buttercream frosting icing, make sure the cookies have cooled completely.
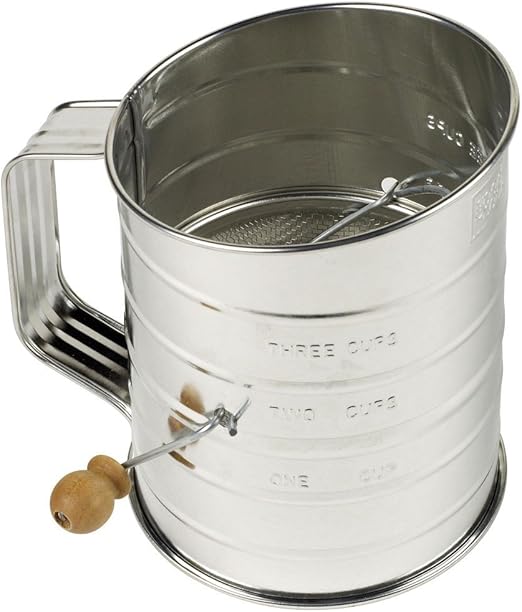
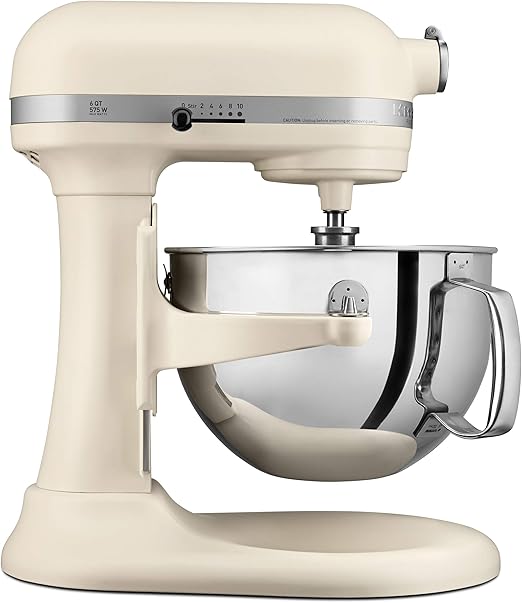
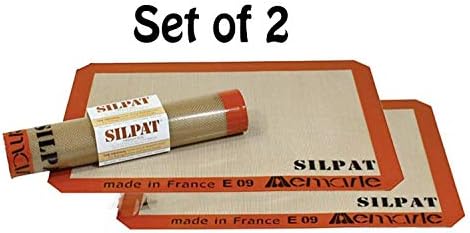
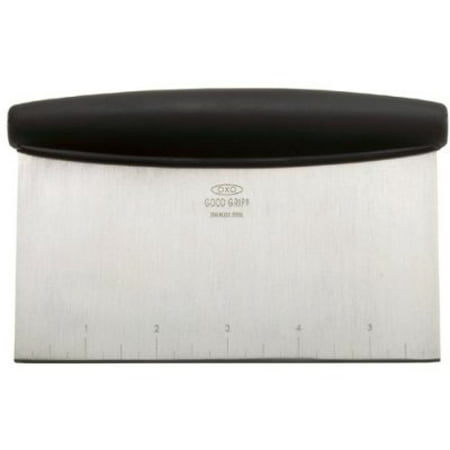
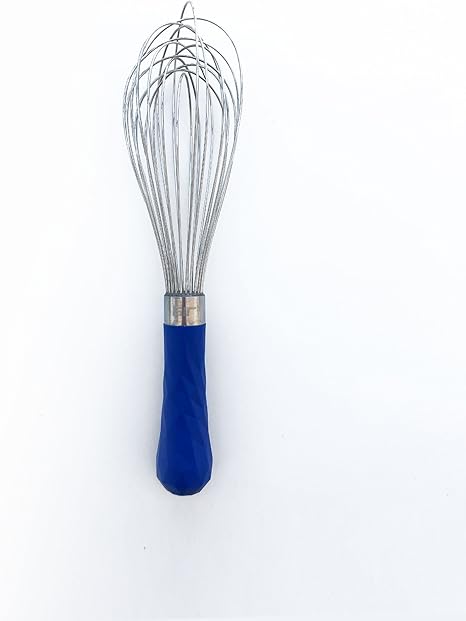
Recommended Cookie Making Tools


3 Ways to Decorate Cookies
Below are three ways to decorate your chocolate cut out sugar cookies!
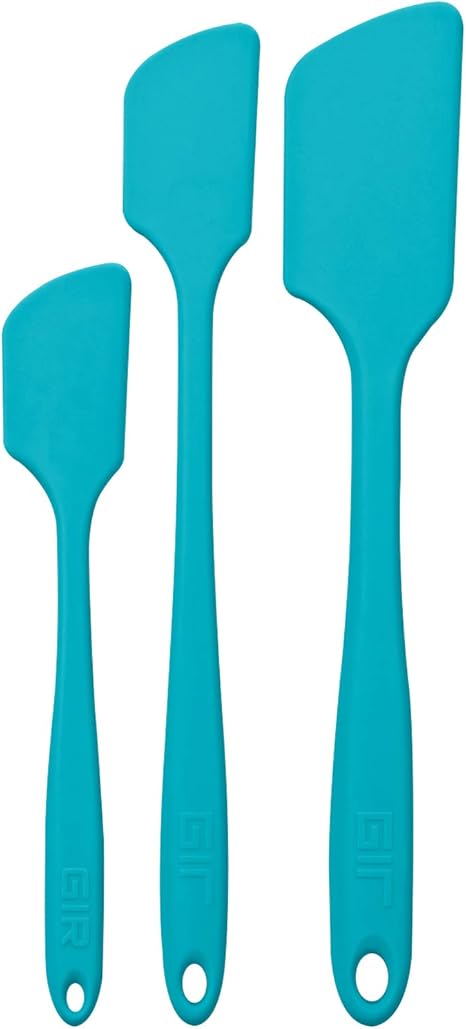
Buttercream frosting. This is a fairly easy and fun way to decorate your cut out cookies. I highly recommend using medium size piping bags and an offset spatula to apply the buttercream frosting.
You don't need to use any decorating tips with the bags. Just snip the ends off when you're ready to begin. The other alternative is to use just an offset spatula.
For more advanced bakers and cookie decorators, I recommend experimenting with different decorating tips and piping techniques.
Royal Icing. There are a number of fun techniques with royal icing you can try. Some beginner, some more advanced. You can see how I used royal icing with my classic cut out sugar cookies recipe.
Sanding Sugars and Sprinkles. This is the easiest way to decorate your sugar cookies. They can be applied before baking your cookies or you can add them after for on top of either the buttercream frosting or royal icing.
Essential Cookie Decorating Tools
The tools you'll need to decorate your cookies with buttercream frosting. To see the tools you'll need for royal icing, visit my super soft cut out sugar cookies recipe.
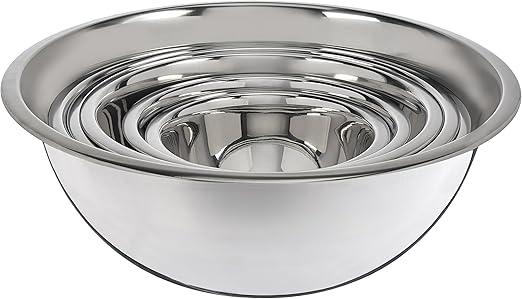
- Mixing Bowls. Perfect for coloring your vanilla buttercream frosting. Metal, glass, or plastic bowls are great.
- Piping Bags. I love my reusable piping bags from Wilton, but there is also different types of plastic piping bags out there. Use what feels best in your hands. I recommend using medium-size piping bags.
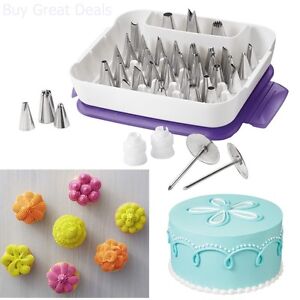
- Decorating Tips. I did not use any decorating tips for decorating my chocolate cut out sugar cookies. If you would like to create a more advanced look, definitely look at the Wilton Master Decorating Tip Set. I love mine and use it for piping cupcakes, cakes, and the occasional cut out sugar cookie.
- Offset spatula. Perfect for applying buttercream frosting to cookies. You can use this with or without the piping bags.
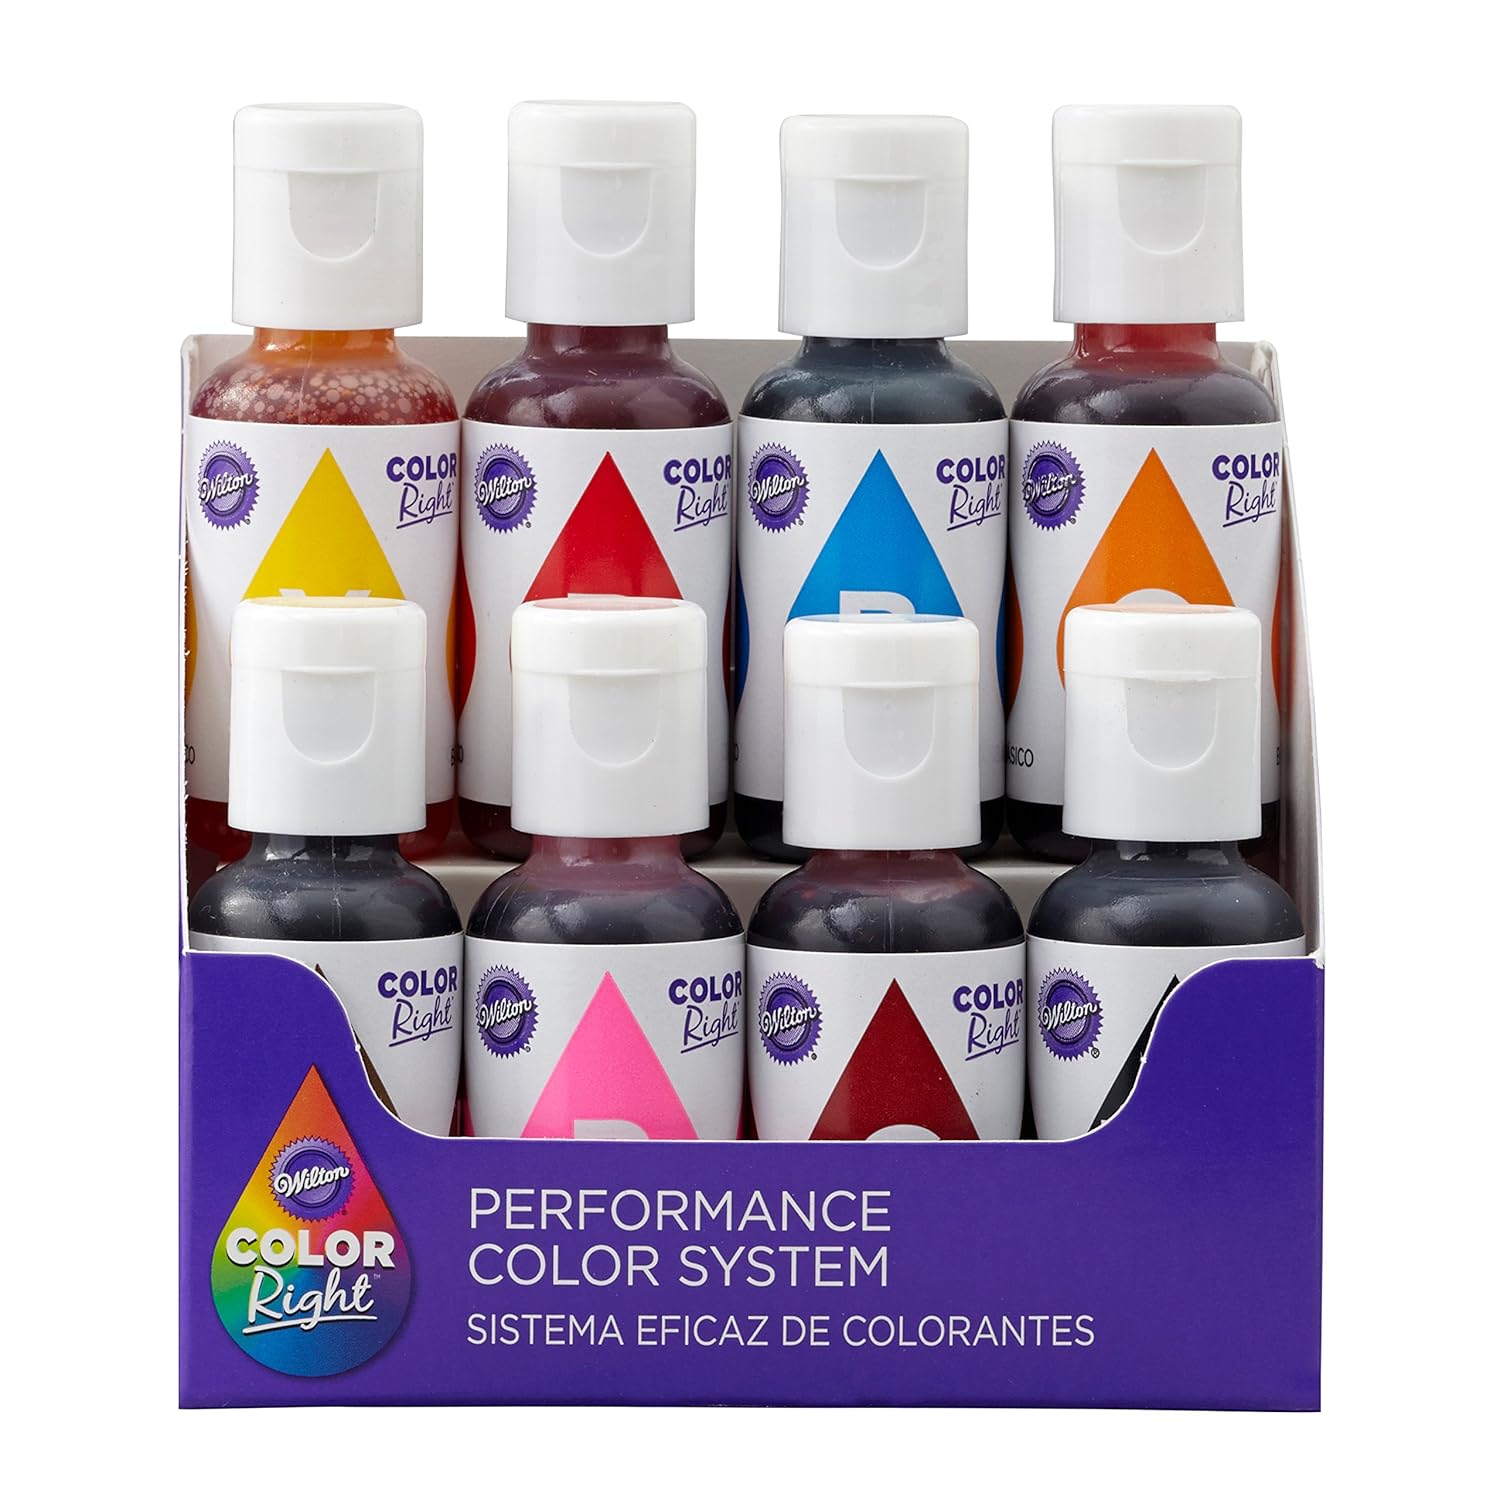
- Food Coloring Gel. I used the Chefmaster Natural Food Coloring Set for coloring my vanilla buttercream frosting. There is also the Wilton Color Right System and McCormick brands. Powdered food coloring is also an option.
- Spatula. Great for mixing the food coloring gel with the buttercream frosting. A spoon can be used, but a spatula will do a better job at getting the sides of the bowl.
- Large pint glass. I use this for filling my piping bags. To use, place the piping bag in the glass, draping the bag over the sides.


Recipe FAQs
Have a question about making this chocolate cut out sugar cookies recipe? Check out the questions below. Don't see your question? Ask it in the comments below or DM Jennifer at Beyond the Butter® over on Instagram or Facebook.
No, I did not use or test this recipe with any substitutions.
Keep in mind this chocolate cut out sugar cookie dough will be soft. The sprinkling of flour you use when you roll it out will also be absorbed into the cookies. If you still feel it's too soft for your liking, you can try adding a little more flour to the dough—a tablespoon at a time.
Yes, absolutely. This helps to prevent the cookies from spreading from baking. It also helps when cutting the cookies out.
Sometimes the more you handle cookie dough air bubbles can appear in the cookie during baking. If this happens, remove them from the oven and gently tap the tops of them with a spatula/turner.
They'll come down after they cool or you can gently tap the tops of them with a spatula/turner immediately after you remove them from the oven.
I prefer to roll my cut out cookies to a ¼ inch thickness. If you would like to roll them out thinner, make sure to pay attention to the time you bake them because they'll bake faster than ¼ inch thick cookies.
Yes! Once made, place it into a tightly sealed container and keep it stored in refrigerator for up to a week. When ready to use, place it into the mixing bowl of a stand mixer (or hand mixer can be used) fitted with the paddle attachment and give it a few turns to bring it back to life.
Yes, absolutely! To learn how to make them in advance, visit my classic cut out sugar cookies recipe.
My heart shaped cookie cutters are from Wilton.
I used the Chefmaster All Natural Food Coloring Set (pack of 8).
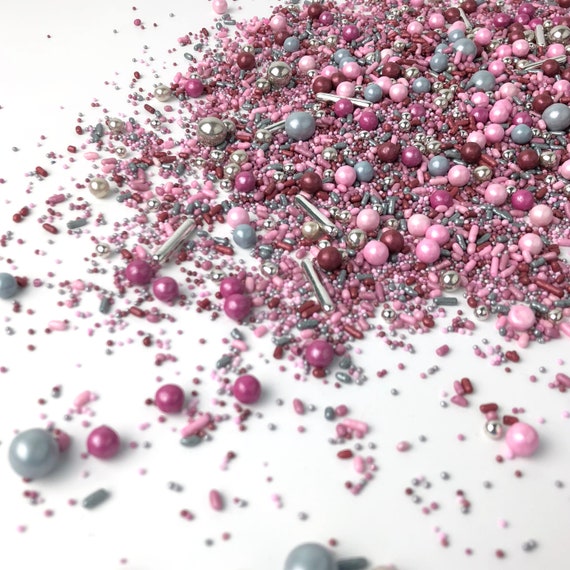
I used the Romance sprinkle mix from Sprinkle Pop Shop. I love their sprinkles!
While I would avoid the large ball shaped sprinkles, the tinier ones—when at room temperature—are fine to eat.
More Cookie Recipes to Enjoy!
- Fluffernutter Cookies37 Minutes
- Classic Spritz Cookies30 Minutes
- Soft and Chewy Gingerbread Cookies1 Hours 28 Minutes
- Easter Bunny Cut Out Sugar Cookies1 Hours 28 Minutes

📖 Recipe

Chocolate Cut Out Sugar Cookies
Author:Ingredients
Chocolate Cut Out Sugar Cookies
- 2 ½ cups All-Purpose Flour
- ½ cup Unsweetened Cocoa Powder
- 1 teaspoon Baking Soda
- 1 teaspoon Cream of Tartar
- ⅛ teaspoon Salt
- 1 cup Unsalted Butter (room temperature)
- 1 cup Powdered Sugar
- 1 Large Egg (room temperature)
- 1 teaspoon Vanilla Extract
Vanilla Buttercream Frosting
- 1 cup Unsalted Butter (room temperature)
- 4 cups Sifted Powdered Sugar
- ¼ cup Heavy Cream
- 2 teaspoon Vanilla Extract
- ⅛ teaspoon of Salt
Instructions
Chocolate Cut Out Sugar Cookies
- In a medium bowl, whisk together the all-purpose flour, unsweetened cocoa powder, baking soda, cream of tartar, and salt. Set aside.2 ½ cups All-Purpose Flour, ½ cup Unsweetened Cocoa Powder, 1 teaspoon Baking Soda, 1 teaspoon Cream of Tartar, ⅛ teaspoon Salt
- Using your hand mixer or stand mixer fitted with a paddle attachment, beat the unsalted butter on medium-high speed until smooth and creamy.1 cup Unsalted Butter
- Turn off your mixer and add in the powdered sugar. Blend it together with the butter over low speed until it's almost combined.1 cup Powdered Sugar
- Scrape down the sides of the bowl, then on medium-high speed, add in the egg and vanilla extract and mix until well blended.1 Large Egg, 1 teaspoon Vanilla Extract
- Switching the mixer speed low, gradually add in the whisked dry mixture until fully incorporated. The cookie dough will be on the softer side and should start to form a ball and pull away from the sides.
- Transfer the chocolate sugar cookie dough onto a clean work surface, then shape it into a ball and divide it into 2 sections. Roll out the first section of cookie dough to a ¼ inch thickness slab on a lightly floured sheet of parchment paper (or wax paper if you plan to freeze the dough for later).
- Place onto a baking sheet or jelly roll pan. Repeat with the second section, placing it on top of the first layer. Refrigerate the cookie dough slabs for a minimum of 1 hour or (my preference) overnight.
- After chilling is complete, adjust your oven rack to the 2nd level position (just above center) and preheat your oven to 350ºF. Line two cookie sheets with parchment paper or silicone mats and set aside.
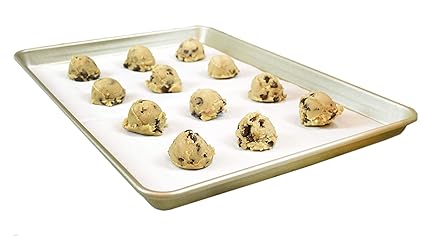
- Flour your cookie cutters and cut out your shapes. Place each cut out shape about 1"- 1 ½" apart on the cookie sheet. If only using sanding sugar or sprinkles, now is the time to add them. Place any cut out cookies not yet baked into the refrigerator or freezer to chill while the first set bakes.
- Bake the cookies for 7-8 minutes at 350ºF. Allow the chocolate cut out sugar cookies to cool on the cookie sheet for about 5 minutes before transferring them with a spatula (or server) to a wire cooling rack. Let them cool completely before decorating them with the vanilla buttercream frosting.
- If baking the cookies in advance, keep them stored in an airtight container with a slice of bread for up to 3 days. You can also freeze baked cookies for up to 3 months. Let them cool completely before placing into a well-sealed container or freezer bag.
Vanilla Buttercream Frosting
- Using your hand mixer or stand mixer fitted with a paddle attachment, beat the unsalted butter for about 1-2 minutes on medium-high speed until smooth and creamy.1 cup Unsalted Butter
- Switching the mixer speed to low, alternate between adding in the sifted powdered sugar one cup at a time with a little of the heavy cream. Repeat until you've added all of the powdered sugar and heavy cream, and the buttercream is to the consistency of your liking. If you prefer to have a thicker frosting, add in more powdered sugar 1 tablespoon at a time.4 cups Sifted Powdered Sugar, ¼ cup Heavy Cream
- Add in the vanilla extract and pinch of salt, mixing until on medium-high speed until well blended.2 teaspoon Vanilla Extract, ⅛ teaspoon of Salt
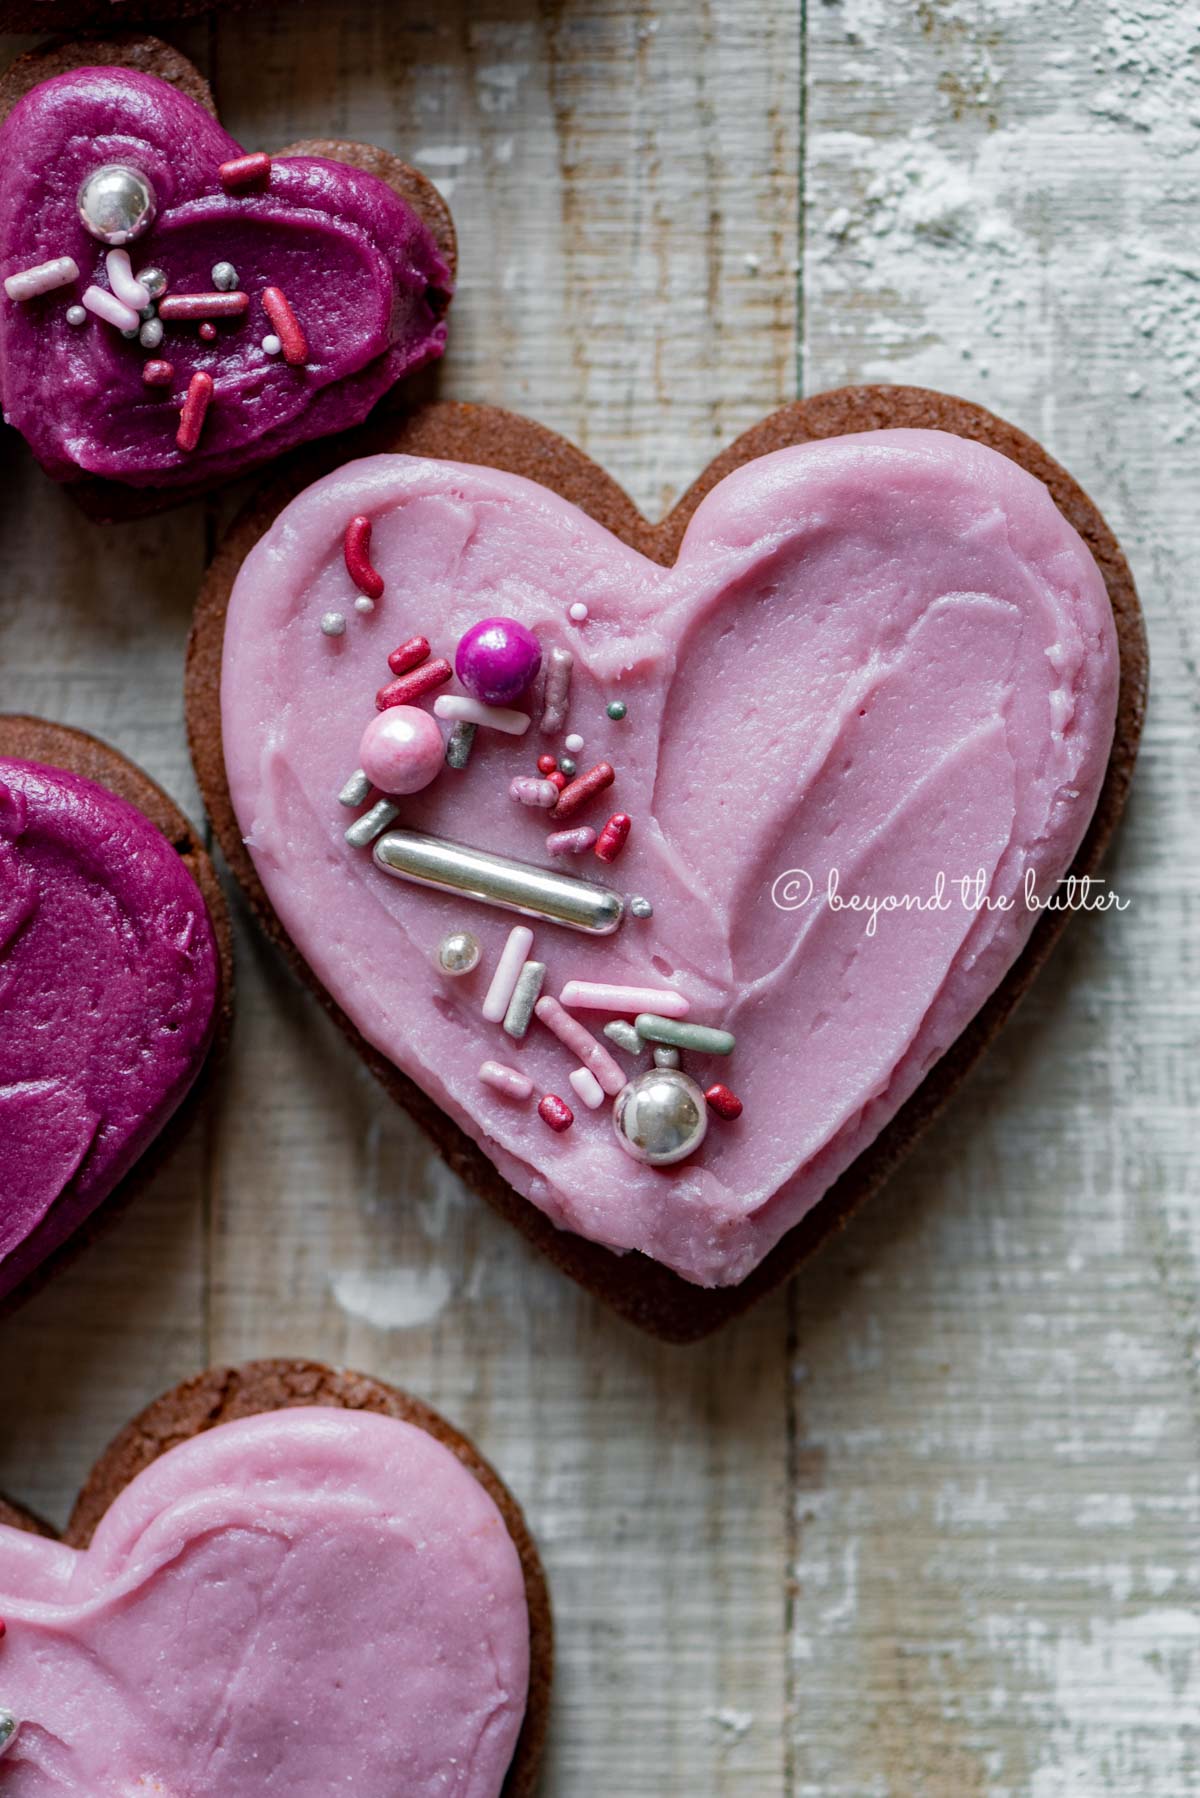
- If coloring the frosting, add the necessary amount of drops to achieve your desired color. For multiple colors, divide frosting into smaller bowls, then add the food coloring and mix with a spatula. Apply with either piping bags and/or an offset spatula. Garnish with your favorite sprinkles or jimmies.
Recipe Notes
- Every oven is different so be sure to check your cookies at the earliest recommended time.
- For decorating your cookies with royal icing, visit my Cut Out Sugar Cookies recipe.
- Recipe adapted from The Best Cut Out Sugar Cookies recipe.
- Recipe yields approximately 4 dozen cookies. Amount will depend on size of cookies and how thick they are rolled out.
- The vanilla buttercream frosting makes approximately 744 grams or 1 pound, 10.2 ounces.
Nutrition
Nutritonal information provided above is an estimate only and will vary based on specific ingredients used.
Pamela Katzenberg says
These cookies worked out wonderfully for me! They didn’t spread and stayed uniform! Perfect for cut out cookies! Reading the other reviews, I saw some notes about them being dry! For me, I just stuck with it! Some of the cookie dough was crumbly, but after rolling it out and collecting the crumbles I got it to stick and froze it for 30 minutes! No issues with baking or texture! My mom and I loved them! Another Great Recipe! 😋💗
Jennifer says
I'm so glad you both loved them, Pam! Thank you!
Rie says
I agree, dry cookies and falls apart when rolling. Needs more moisture.
Jennifer says
Hmm, something is off because the dough should definitely not fall apart when rolling it out. It is really soft and you can easily press and shape it with your hands. And the texture after baking should be soft and chewy with a nice chocolate flavor. Feel free to message me if you need help with troubleshooting!
Denise says
Any chance you will share the colors/how many drops of each you used for the gorgeous frosting? These are beautiful and I’d love to make them for Valentines Day…
Jennifer says
Thank you! I used the colors purple and pink from the Chefmaster natural food coloring set. I didn't note the number of drops, but I do remember for the pink I used several drops and the dark purple maybe 3 drops at the most. The medium purple I just took some of the dark purple I mixed up and added it to some of the white frosting. The sprinkles are from Sprinkle Pop Shop. Hope this helps!
Stacy says
These are wonderful!! This recipe is printed and in my cookbook. I make them regularly. Love them.
Jennifer says
Thank you, Stacy! Love that they’re a big hit!
jen says
Driest cookie ever! Tasted like I was eating all cocoa powder! A think layer of icing made it barely edible. Very disappointing.
Jennifer says
Bummer! I’m so sorry they didn’t work out for you!
Laura says
I too had trouble with this recipe. I even made the recipe twice - the second time I converted the recipe to grams to ensure my measurements were accurate. When you bit into them, the cookie would fall apart, almost like sand in your mouth.
Jennifer says
Hi Laura, I'm so sorry your cookies came out like this! I just made these again today for Sunday and do not get that same result. That being said, I did reduce the amount of cocoa powder used to 1/2 cup and also reduced the baking temperature to 350ºF (recipe updated to reflect these changes). When you bite into them they should be soft and chewy. What might help too is to make sure when baking them you have the oven rack at the 2nd level mark (just above center) and that you begin checking them at the earliest baking time. After they've cooled, I also like to keep a slice of bread in the container to keep them from getting dry and brittle. Another tip I've heard form others is if you're using a dark baking sheet they can absorb more heat, baking the cookies faster. Hope this helps!