Salted Brownie Cookies bring two desserts into one delicious chocolatey treat! With a shiny, crackly outside that’s topped with semi-sweet chocolate chips and sea salt flakes, these decadent fudgy cookies will satisfy any chocolate lover’s sweet tooth!
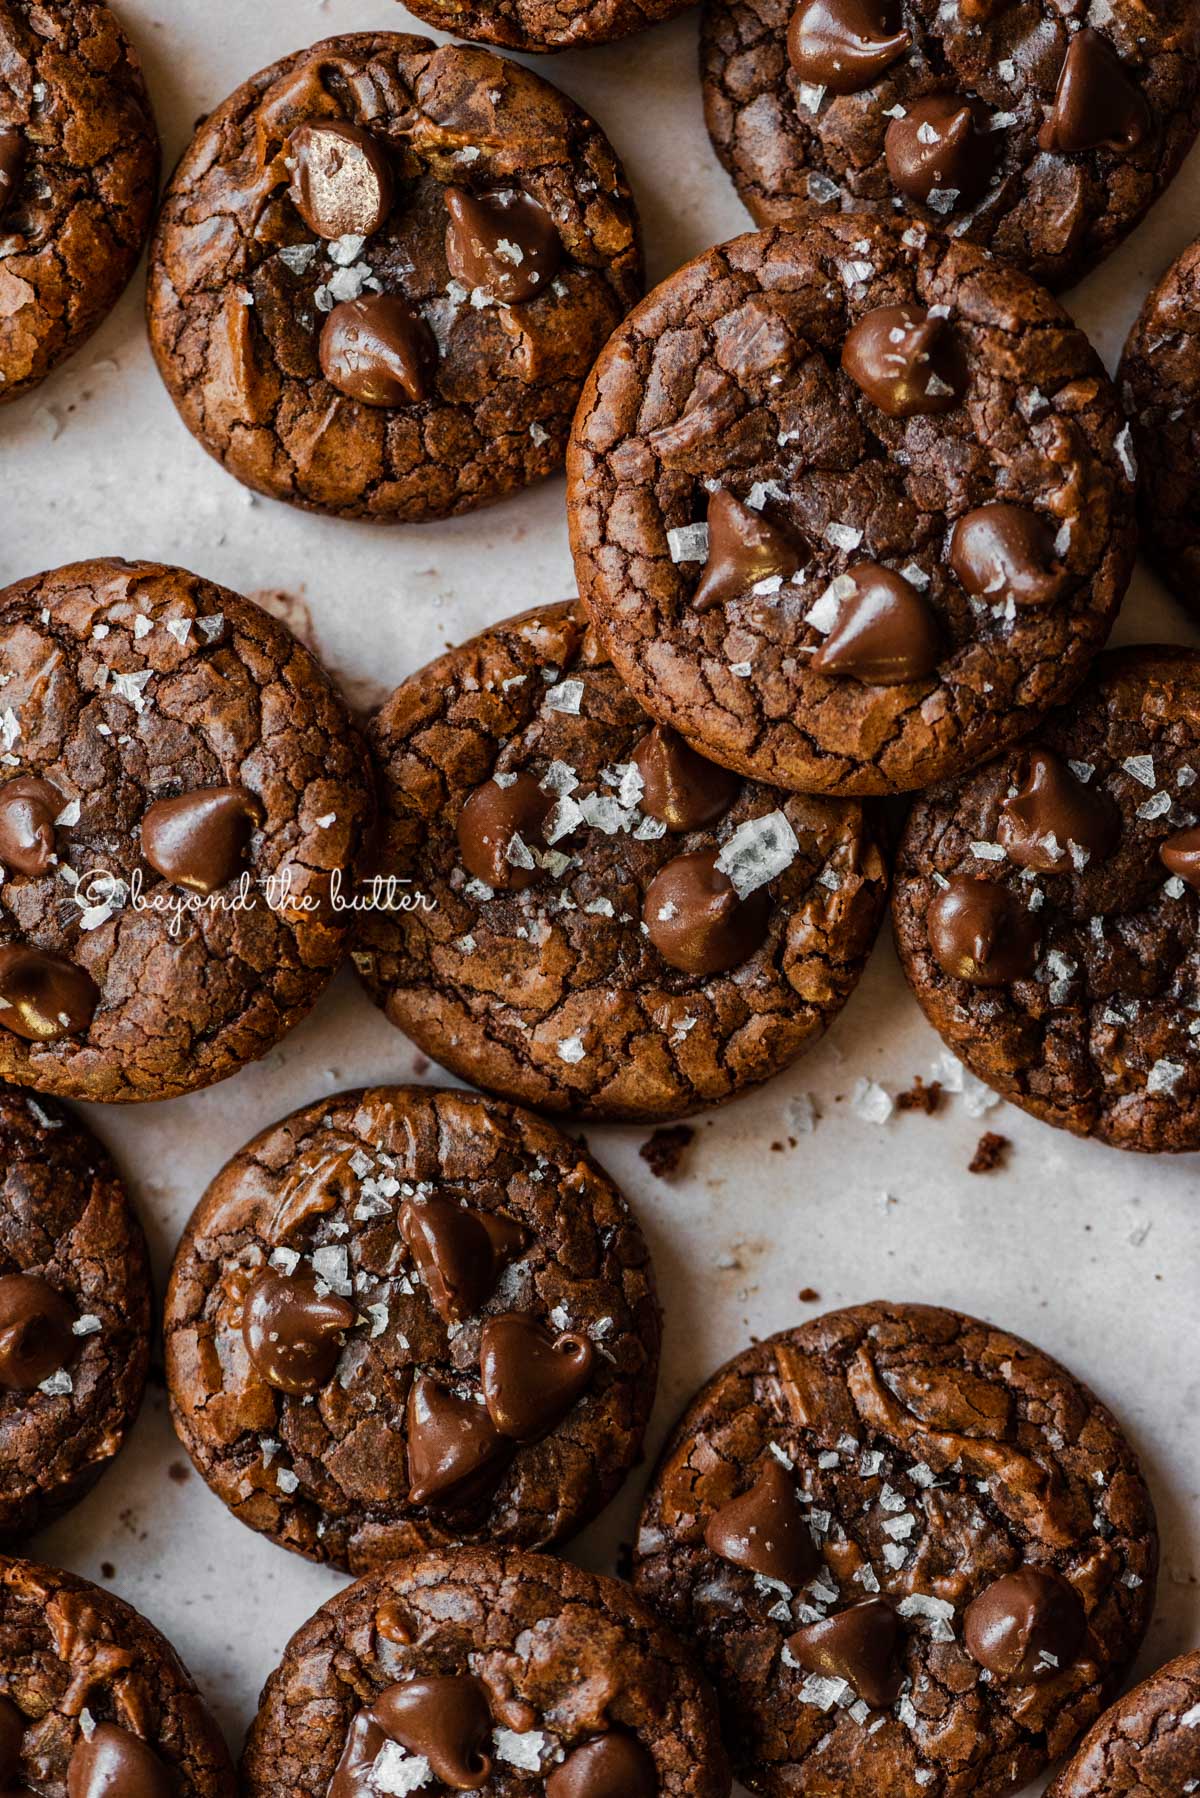
Table of Contents
Chocolate Brownie Cookie Ingredients
Here’s what you’ll need to make these rich and fudgy salted brownie cookies!
- All-Purpose Flour. Keep it simple and use your favorite brand of flour. I didn’t test this with any other kind.
- Baking Powder and Salt. Your typical players for this type of cookie recipe.
- Eggs. You’ll need 2 large eggs and 1 large egg yolk, preferably at room temperature. Refrigerate the leftover egg whites from the 3rd egg to add your scrambled eggs for breakfast the next morning.
- Sugar. Good, old-fashioned granulated sugar is needed.
- Vegetable Oil. Just a tablespoon is needed. I didn’t try this with canola or coconut, but I imagine they would work just as well.
- Vanilla Extract. Pure over imitation is what I prefer, but go with what you have on hand!
- Unsalted Butter. This gets melted into the chocolate chips, so no need for this to be at room temperature.
- Chocolate Chips. Semi-sweet is best and any brand you fancy. You’ll need 1 cup, but have some extra on hand if you want to top the cookies with a few more.
- Cocoa Powder. Unsweetened, please. Note, I did not test this recipe with dark cocoa, black cocoa, or dutch processed cocoa.
- Espresso Powder. Totally optional ingredient, but does give the chocolate a really nice boost in flavor.
- Sea Salt Flakes. A nice topping that adds a touch of salty to all that chocolatey goodness. Of course, it’s optional, though if you’d rather skip it or don’t have it readily available.
Tips for Making the Best Salted Brownie Crinkle Cookies
Prep all of your ingredients. If you remember any of my tips, pleeeeaase let it be this one! Measure everything out and then start making the batter. Once you mix up your batter, you immediately want to get them scooped onto the baking sheet and into the oven.
This includes prepping the baking sheets with parchment paper or silicone mats and preheating your oven! Do it all before starting.
Melting the chocolate. Adding on to the above tip, I like to have my chocolate chips and butter in the saucepan on the stovetop, ready to go. When I start mixing the wet ingredients together using my stand mixer, I then begin to melt the chocolate and butter together until it’s nice and smooth. This takes just 2-3 minutes over medium heat.
And one more helpful tip here—have your unsweetened cocoa powder and espresso powder off to the side of your stovetop. You can then immediately stir it into the melted chocolate and butter mixture once you’ve removed it from the heat.
Add the melted chocolate. The melted chocolate can immediately go into the wet ingredients mixture. No need to let it cool.
Mix until just combined. If you’ve been here a while, you have probably heard me say this a few times! But it really is important!
Once you add the whisked dry ingredients to your brownie cookie batter, mix until just combined. Meaning just until the flour disappears into the batter.
You can use your hand or stand mixer when adding your dry ingredients or you can simply fold it in with a spatula. The latter option can definitely help prevent overmixing.
Work quickly. Basically, it comes down to this—the quicker you can make these salted brownie cookies and get them in the oven, the better the cookie!
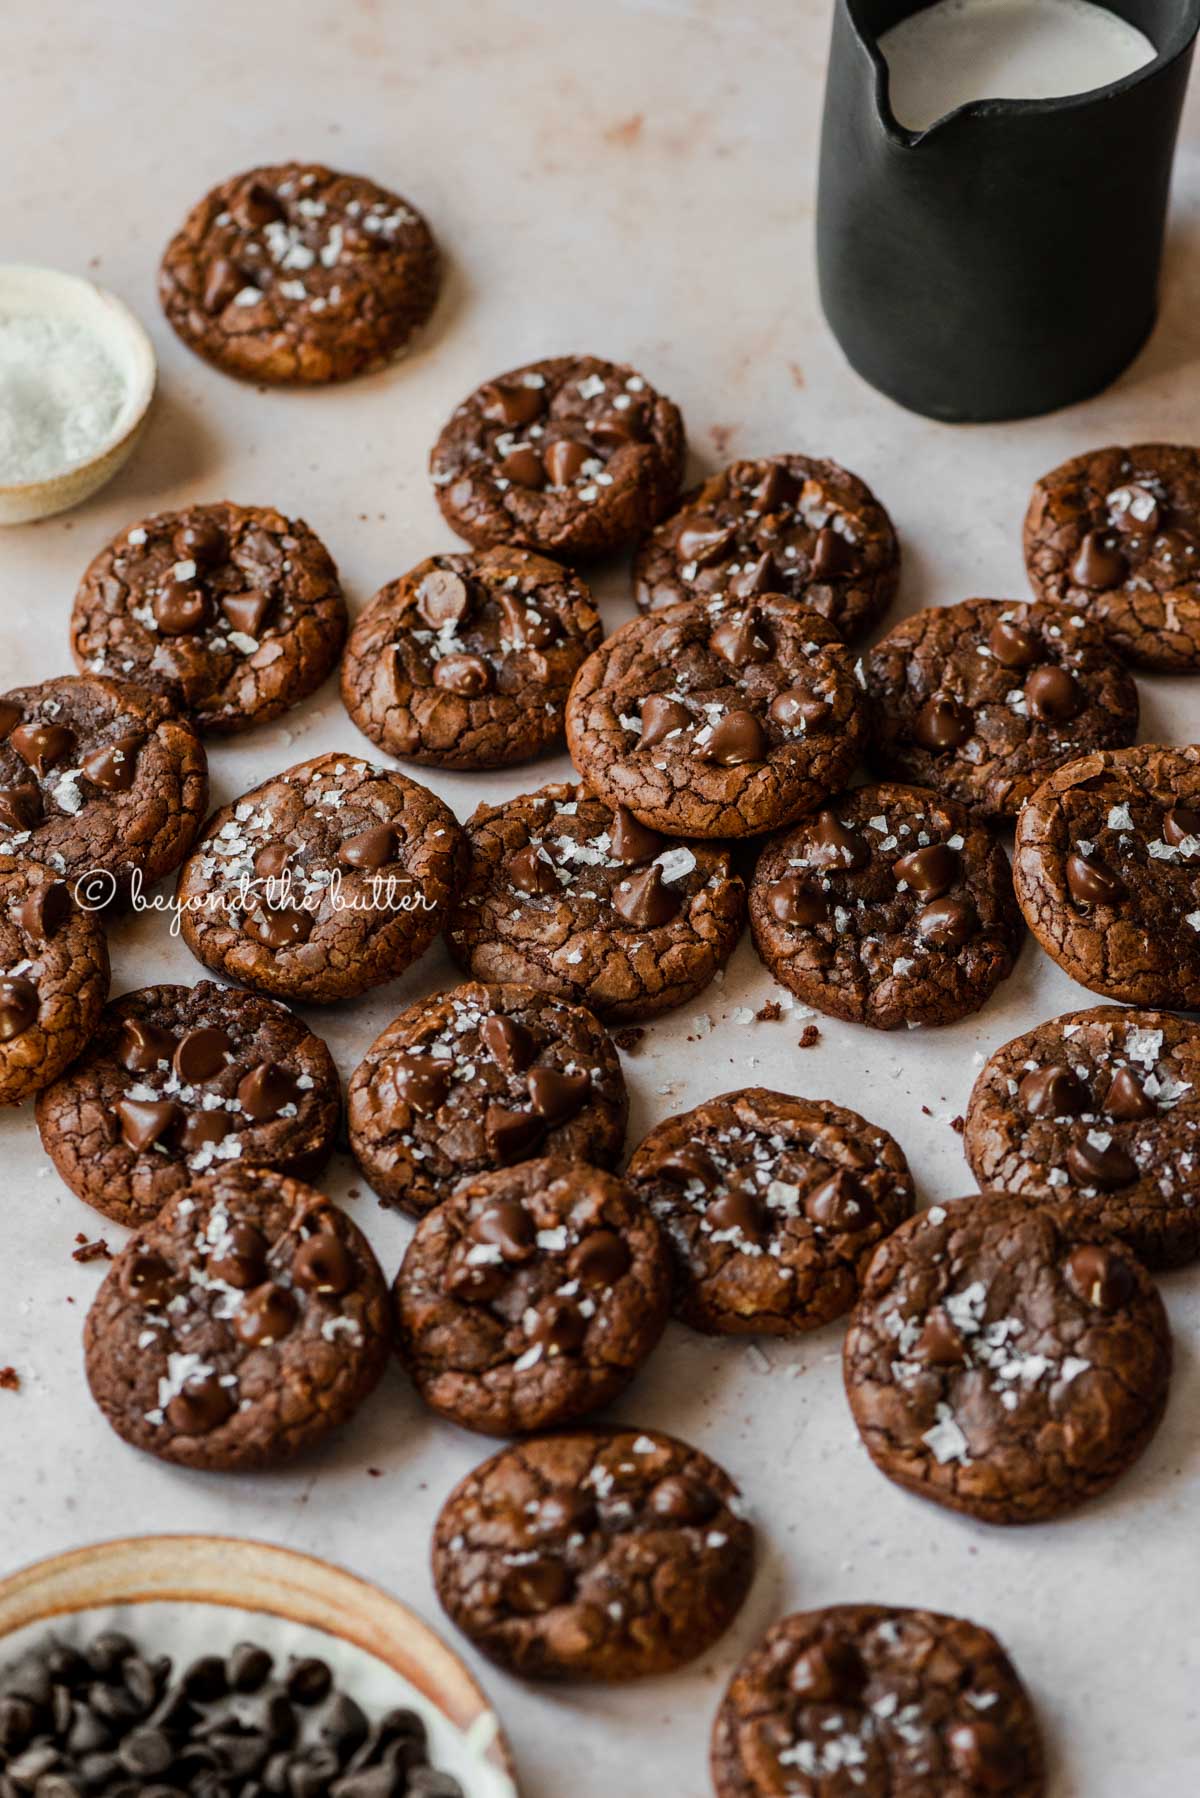
Use a cookie scoop. 2 spoons are cool to use as well, but a cookie scoop just speeds up the process a little bit more (IMHO) and keeps your cookies about the same shape and size. I used my 1 1/2 tablespoon-size cookie scoop which gave me 24 cookies.
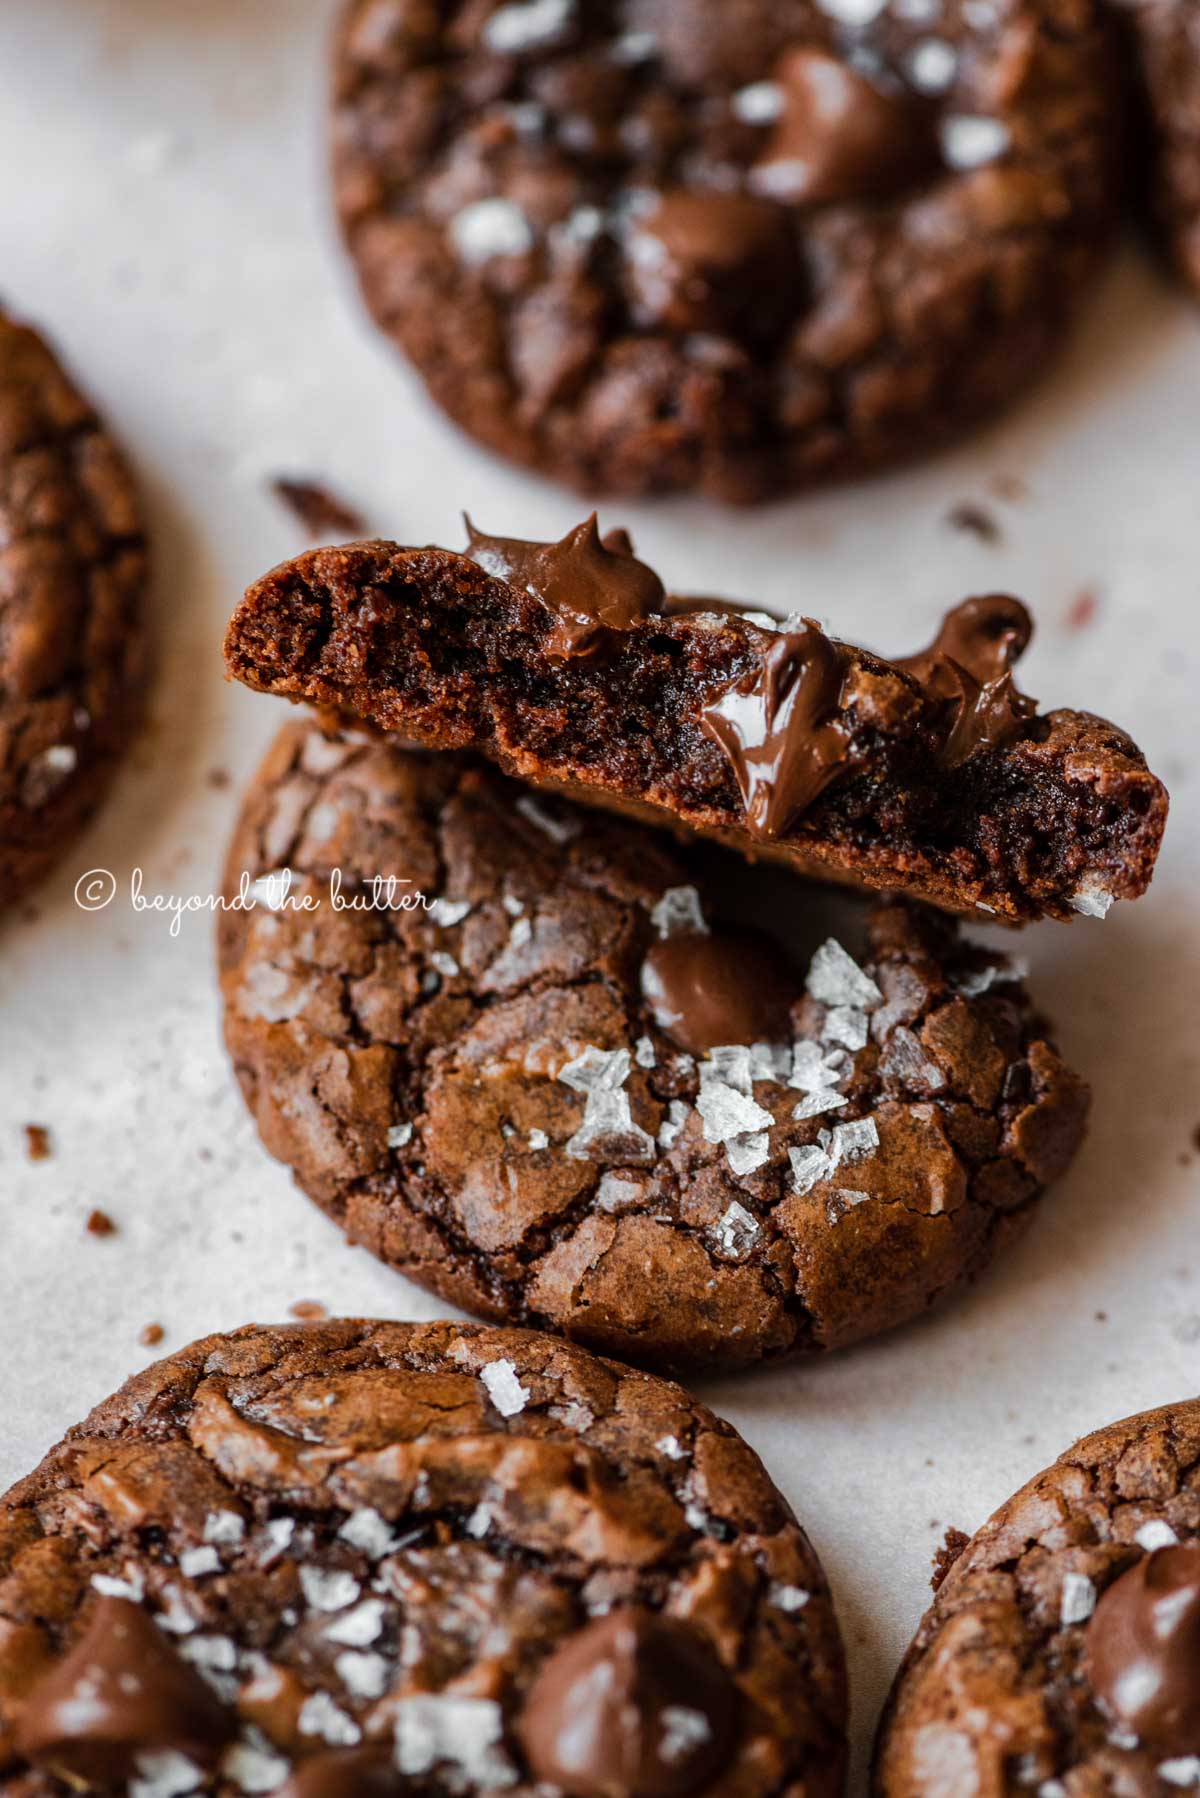
Bake for 8-10 minutes at 350ºF. My brownie crinkle cookies came out perfectly at the 8-minute mark. The tops of your cookies should be somewhat shiny with crackly tops with a fudgy center.
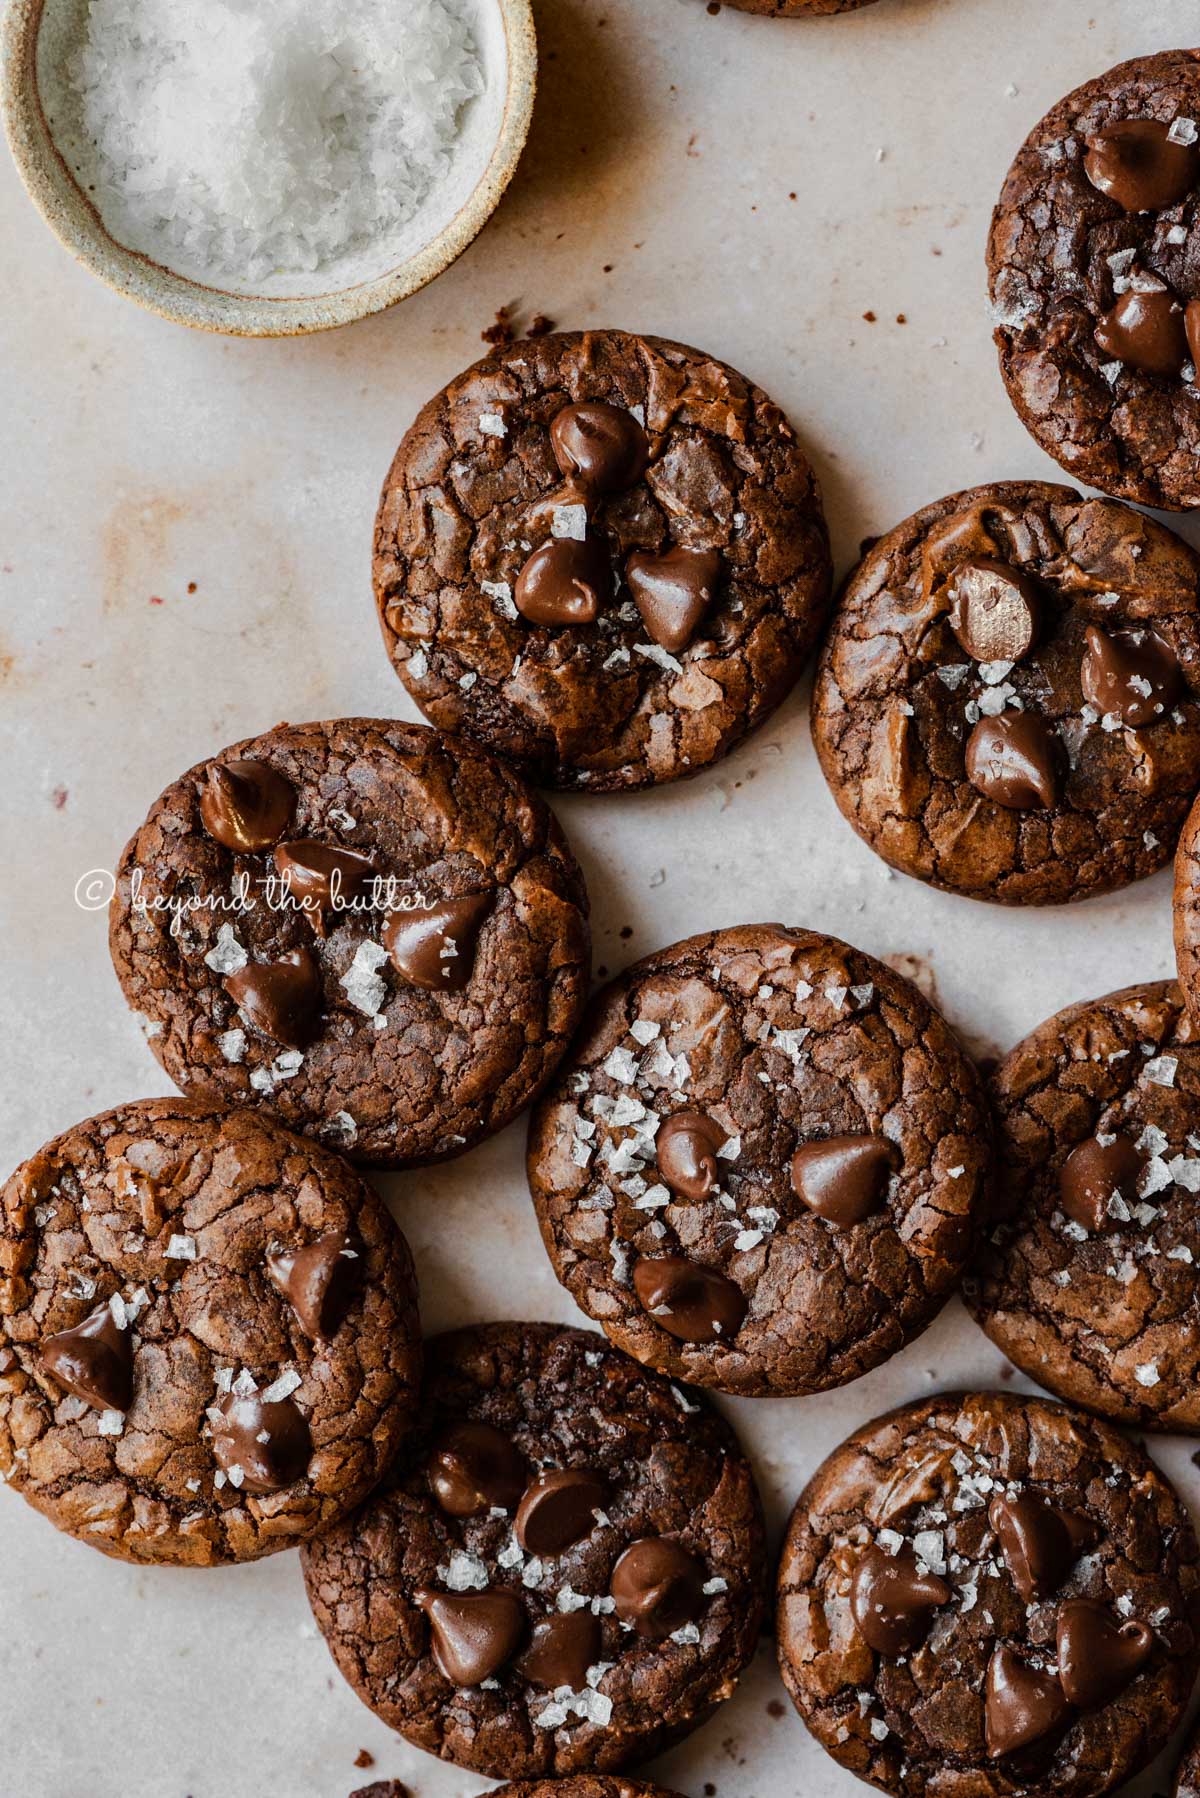
Add some extra chocolate chips. For a little extra chocolate—because who doesn’t love that—add a few (I’m talking 3-4) chocolate chips after you’ve removed the cookies from the oven. Add them almost immediately after taking them out of the oven.
How Do You Make Perfectly Round Cookies?
The best tip for uniform, round cookies—which comes from the brilliant Stella Parks of Brave Tart—can be achieved by following these 3 easy steps:
- Immediately after your brownie cookies are done, remove them from the oven, but keep them on the hot baking sheet.
- Take a circle or round-shaped cookie cutter that is slightly bigger place the cookie within the cookie cutter. You can also use a mug or small bowl, just as long as it’s bigger than the cookie itself. The only downside to the mug or bowl is you can’t see the cookie.
- In a circular motion, move the cookie cutter around the cookie until it forms a perfect circle. This usually takes me about 5-8 seconds.
Another helpful tip: use an oven mitt to hold the baking sheet with the hand you won’t be using for the cookie cutter. Because, you know, that baking sheet just came out of the oven. It’s going to be H-O-T, HOT!
If you tried this Salted Brownie Cookies Recipe or any other recipe on my website, please leave a 🌟 star rating and let me know what you thought in the 📝 comments below. Thanks for visiting!
Salted Brownie Cookies

Ingredients
- 1 cup All-Purpose Flour
- 1 tsp Baking Powder
- 1/8 tsp Salt
- 2 Large Eggs, room temperature
- 1 Large Egg Yolk, room temperature
- 1 cup Granulated Sugar
- 1 tbsp Vegetable Oil
- 1 tsp Vanilla Extract
- 6 tbsp Unsalted Butter
- 1 cup Semi-Sweet Chocolate Chips, plus some for topping cookies
- 1/4 cup Unsweetened Cocoa Powder
- 1 tsp Espresso Powder, optional
- Sea Salt Flakes, for topping cookies (optional garnish)
Instructions
- Adjust the oven rack to the 2nd level mark (just above center) and preheat your oven to 350ºF. Line two baking sheets with parchment paper or silicone mats. Set to the side.
- In a medium bowl, whisk together the all-purpose flour, baking powder, and salt. Set to the side.1 cup All-Purpose Flour, 1 tsp Baking Powder, 1/8 tsp Salt
- Using a hand mixer or stand mixer fitted with the paddle attachment, beat the eggs, egg yolk, granulated sugar, vegetable oil, and vanilla extract together on medium-high speed until fully combined and frothy.2 Large Eggs, 1 Large Egg Yolk, 1 cup Granulated Sugar, 1 tbsp Vegetable Oil, 1 tsp Vanilla Extract
- Meanwhile, in a small saucepan, heat the semi-sweet chocolate chips and unsalted butter together over medium heat until fully melted and smooth. Remove from heat and immediately whisk or stir in the unsweetened cocoa powder and espresso powder.6 tbsp Unsalted Butter, 1 cup Semi-Sweet Chocolate Chips, 1/4 cup Unsweetened Cocoa Powder, 1 tsp Espresso Powder
- Carefully pour the melted chocolate mixture into the wet ingredients and mix until the chocolate is just combined.
- Add in the whisked dry ingredients and mix on low speed until just combined. You can also simply fold in the dry ingredients using a spatula. The batter will be on the thinner side, but still scoopable.
- Using a 1 1/2 tablespoon-size cookie scoop or 2 spoons, scoop the cookie dough out and place onto the baking sheets, leaving about 1 1/2 inches of space between them.
- Sprinkle some sea salt flakes over the top of each cookie, then bake for 8-10 minutes at 350ºF or until the tops of the cookies have a shiny, crackly top to them.Sea Salt Flakes
- Remove from the oven and top with a few additional chocolate chips (optional). You can also choose to use a round cookie cutter to shape them into perfect round cookies. Do this immediately after they have come out of the oven while they're still soft. Visit my 'how do you make perfectly round cookies?' section of the blog post for all my cookie shaping tips.
- Let the cookies cool on the baking sheets for about 5 minutes before transferring them to a cooling rack to cool almost completely—because they are really good still warm! Use a spatula to transfer the cookies because they will be very soft!
- Cookies are best kept in a sealed food container at room temperature for up to 2 days.
Video
Notes
- Measure everything out and then start making the batter. Once you mix up your batter, you immediately want to get them scooped onto the baking sheet and into the oven. This includes prepping the baking sheets with parchment paper or silicone mats and preheating your oven! Do it all before starting.
- I like to have my chocolate chips and butter in the saucepan on the stovetop, ready to go. When I start mixing the wet ingredients using my stand mixer, I then melt the chocolate and butter together until it’s nice and smooth. This takes just 2-3 minutes over medium heat.
- Have your unsweetened cocoa powder and espresso powder off to the side of your stovetop. You can immediately stir it into the melted chocolate and butter mixture once you remove it from the heat.
- The melted chocolate can immediately go into the wet ingredients mixture. No need to let it cool.
- You can use your handheld or stand mixer when adding your dry ingredients or fold it in with a spatula. The latter option can help prevent overmixing.
- The quicker you can make these salted brownie cookies and get them in the oven, the better the cookie!
- Using a cookie scoop speeds up the process a little bit more and keeps your cookies about the same shape and size. I used my 1 ½ tablespoon-size cookie scoop, which gave me 24 cookies.
- The tops of your cookies should be somewhat shiny with crackly tops with a fudgy center.
- For a little extra chocolate, add a few (3-4) chocolate chips after you’ve removed the cookies from the oven. Add them almost immediately after taking them out of the oven.
- For perfectly round cookies, use a round cookie cutter.
Nutrition
Nutritional information provided above is an estimate only and will vary based on specific ingredients used. See Nutritional Disclaimer for more info.


Hi! I just made the recipe, and it tastes delicious! But, they end up very flat and tuile like. What went wrong?
Hi, Barbara! Thank you for making them and for taking the time to leave this review! To answer your question, you didn’t do anything wrong! These brownie cookies have a thinner, runnier batter so they will spread some during baking (mine do as well). One thing I do and recommend (though it’s not required), is to use a round cookie cutter immediately after bringing them out of the oven to shape them. Place the round cookie cutter over the cookie and swirl it several times to shape it. This gives the cookies a rounder shape and also will make them thicker. If you have any other questions, please let me know. Thanks!
Thanks for the great recipe! I made these today and they are delicious! I used 1/2cup semi sweet and 1/2 cup dark chocolate chips. I will be making these again!
You’re welcome, Ann! So glad you enjoyed them (and love the chocolate chip combo)!
These are so delicious!!! They are my ultimate favorite cookie!!!
I am making this for my wife today, she will love it, not to mention me well, haha
Haha! That’s what we call a win-win!