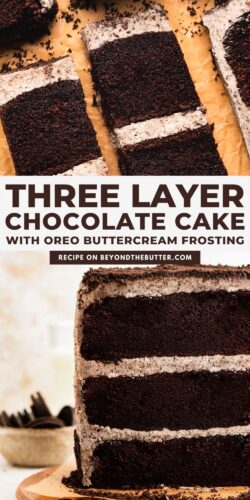
This simple and oh-so-moist homemade Chocolate Cake with Oreo Buttercream Frosting is perfect for birthdays, dinner parties, or family get-togethers!
Pin this now to find it later
Pin ItWhy you’ll love this recipe

Chocolate dessert recipes, like my Chocolate Ricotta Cake, Homemade Chocolate Truffles, and Mini Bundt Chocolate Pound Cakes, are favorites year-round, and this Chocolate Oreo Cake recipe is now another one!
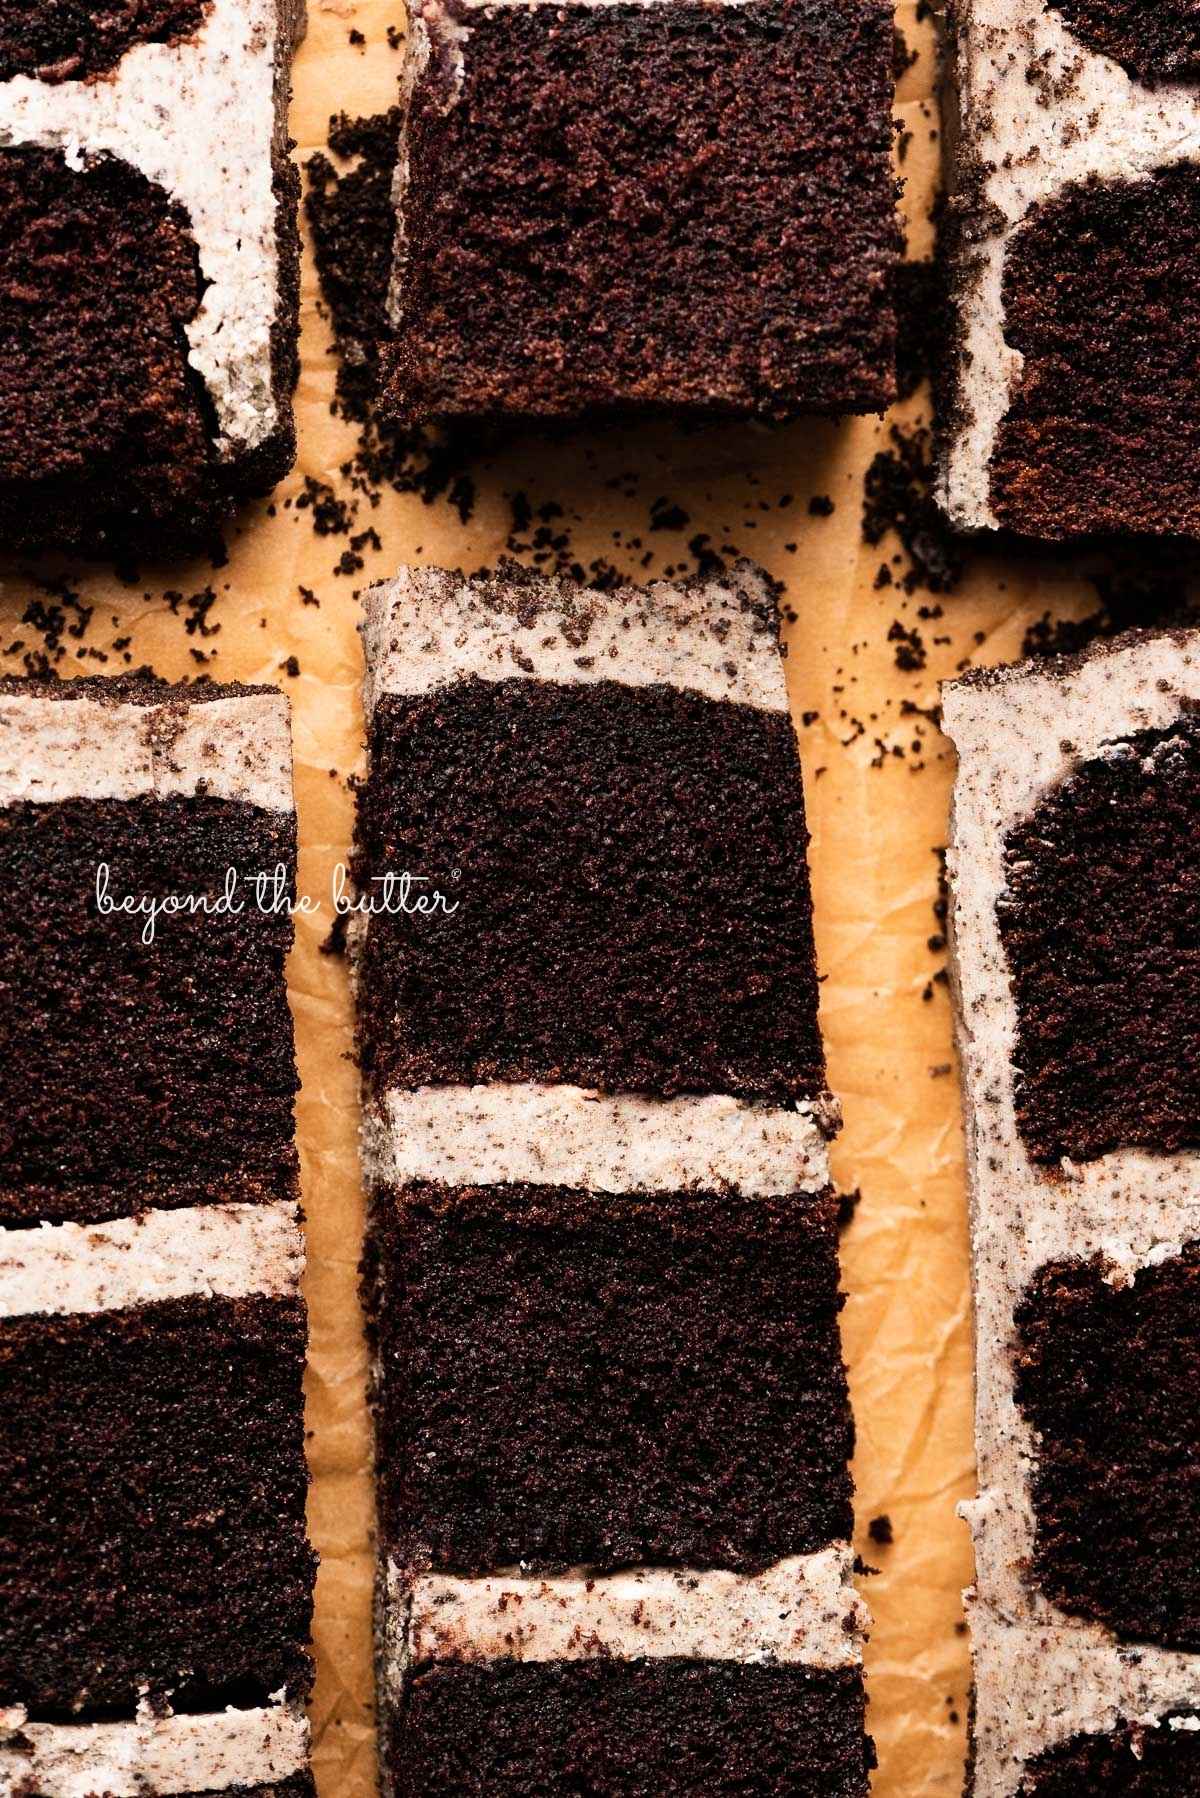
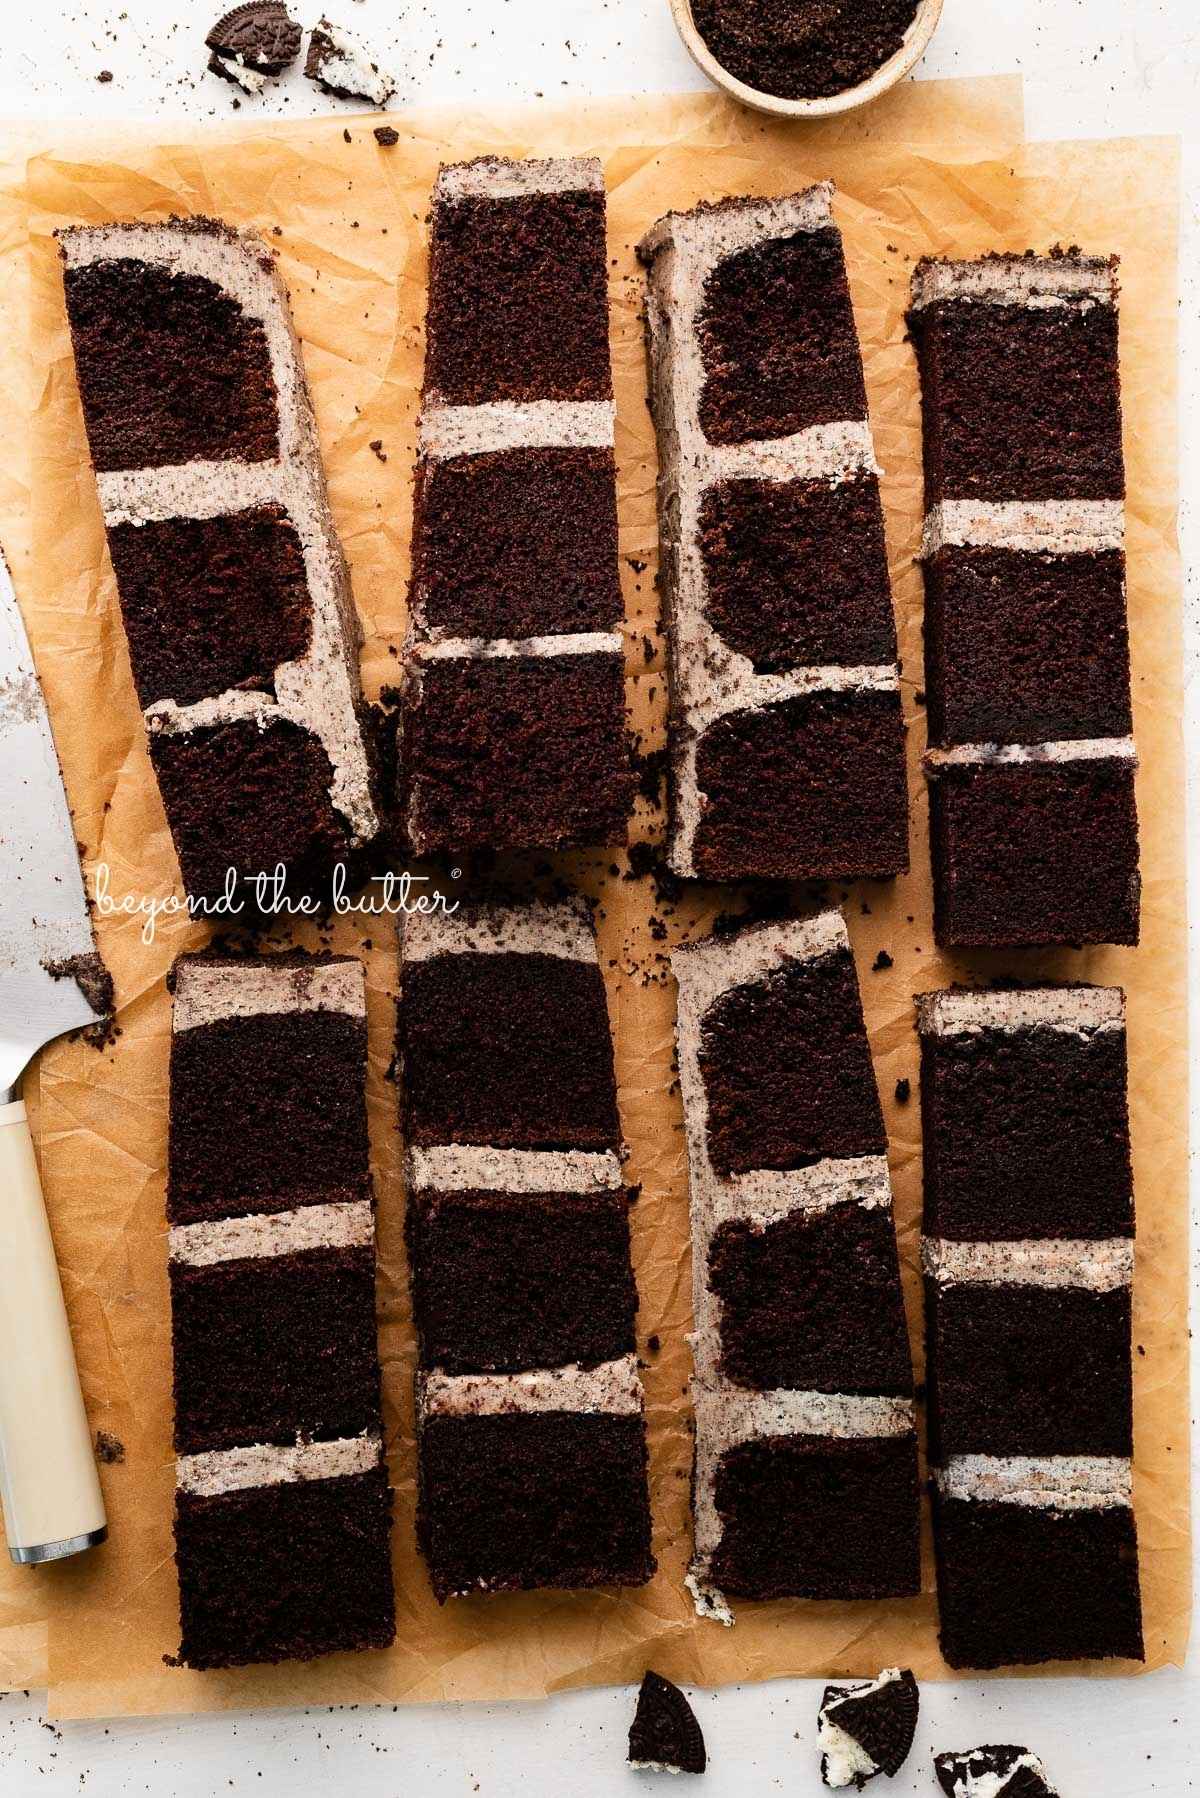
This recipe is three 6-inch layers of rich, moist chocolate cake frosted with a creamy, delicious Oreo buttercream. If you love chocolate or have a chocolate dessert lover in your life, this recipe is a must-try!
Table of Contents
Ingredients Needed
The following ingredients are needed to make this chocolate Oreo cake recipe. Items noted in the bulleted lists are key ingredients that need a bit more explanation.
Chocolate Cake
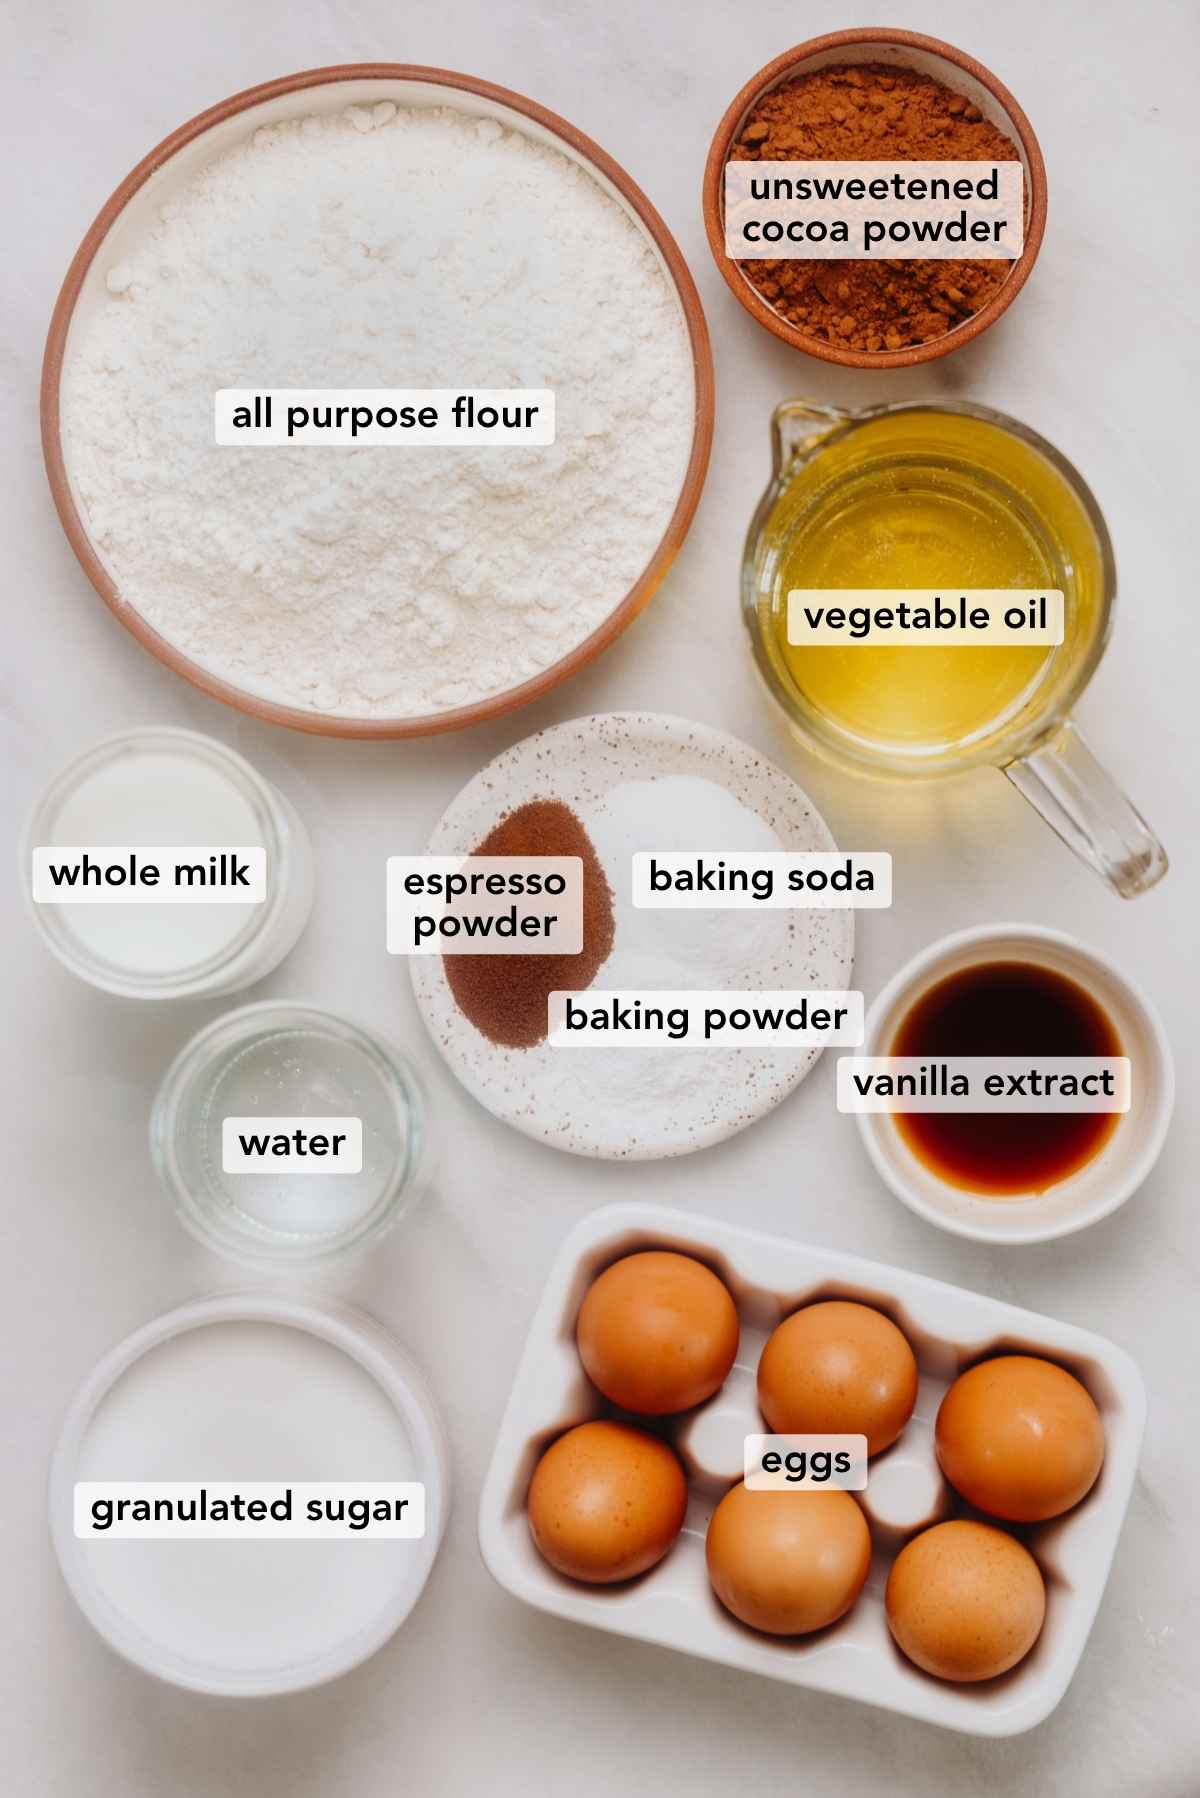
- Whole Milk. While whole milk is preferred, you can also use buttermilk, which will give the cake layers an even more moist texture.
- Espresso Powder. I like to use the King Arthur brand of espresso powder, but DeLallo is also very good! This is an optional ingredient that’s whisked together with the boiling water. If you choose to omit this ingredient, you still need to add the boiling water. If you only have instant coffee, you can use this in place of the espresso powder.
- Eggs. Only 4 eggs are needed for this chocolate cake recipe, not 6 as shown above.
Oreo Buttercream Frosting
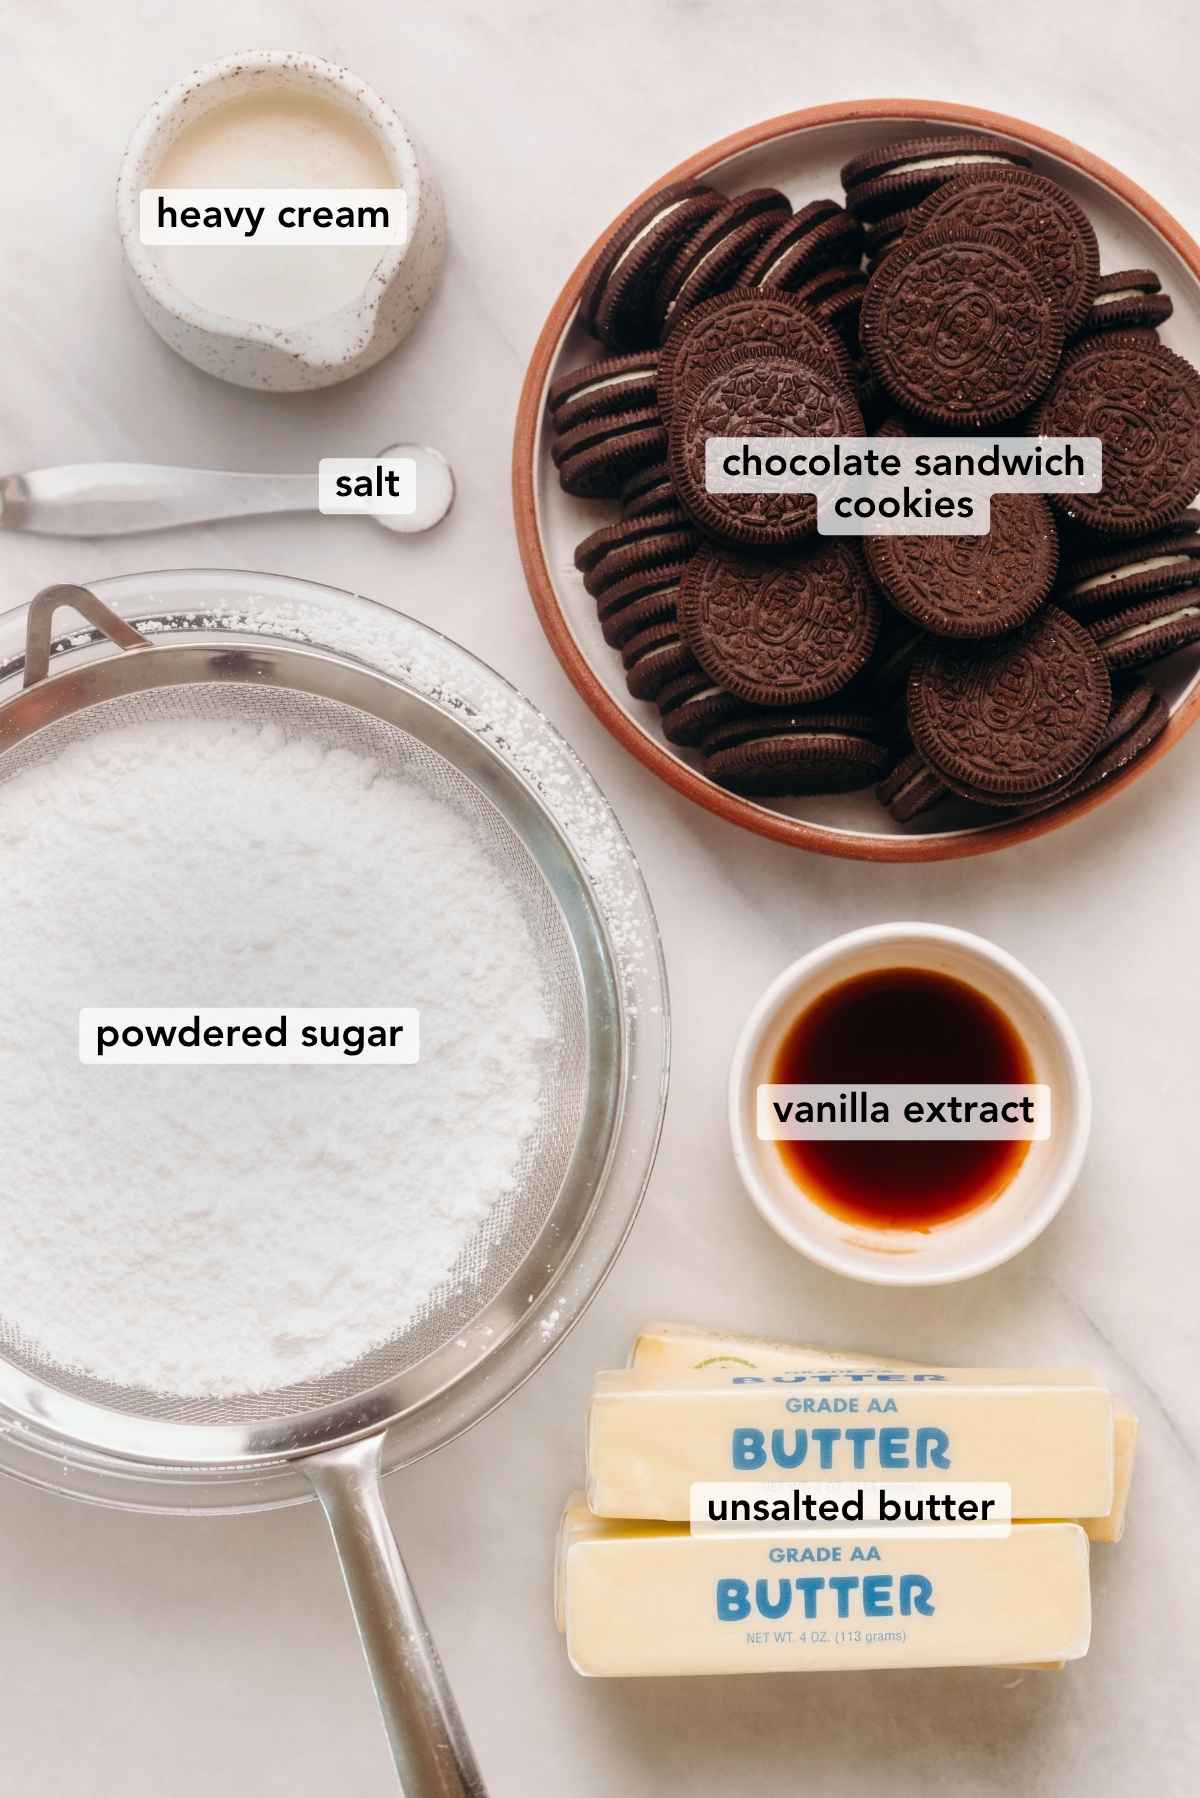
- Chocolate Sandwich Cookies. Oreos are classic and work well here, but you can also go with a generic version.
- Powdered Sugar. Best if this has been sifted to avoid any clumps in your frosting. I recommend the Domino Sugar brand, but use what you prefer.
For quantities and instructions, please see the recipe card below.
How to Make the Recipe
Below is a brief overview of how to make this easy chocolate cake with Oreo buttercream frosting. For the full printable recipe, which can be made using US customary or metric measurements, visit the recipe card below.
Chocolate Cake
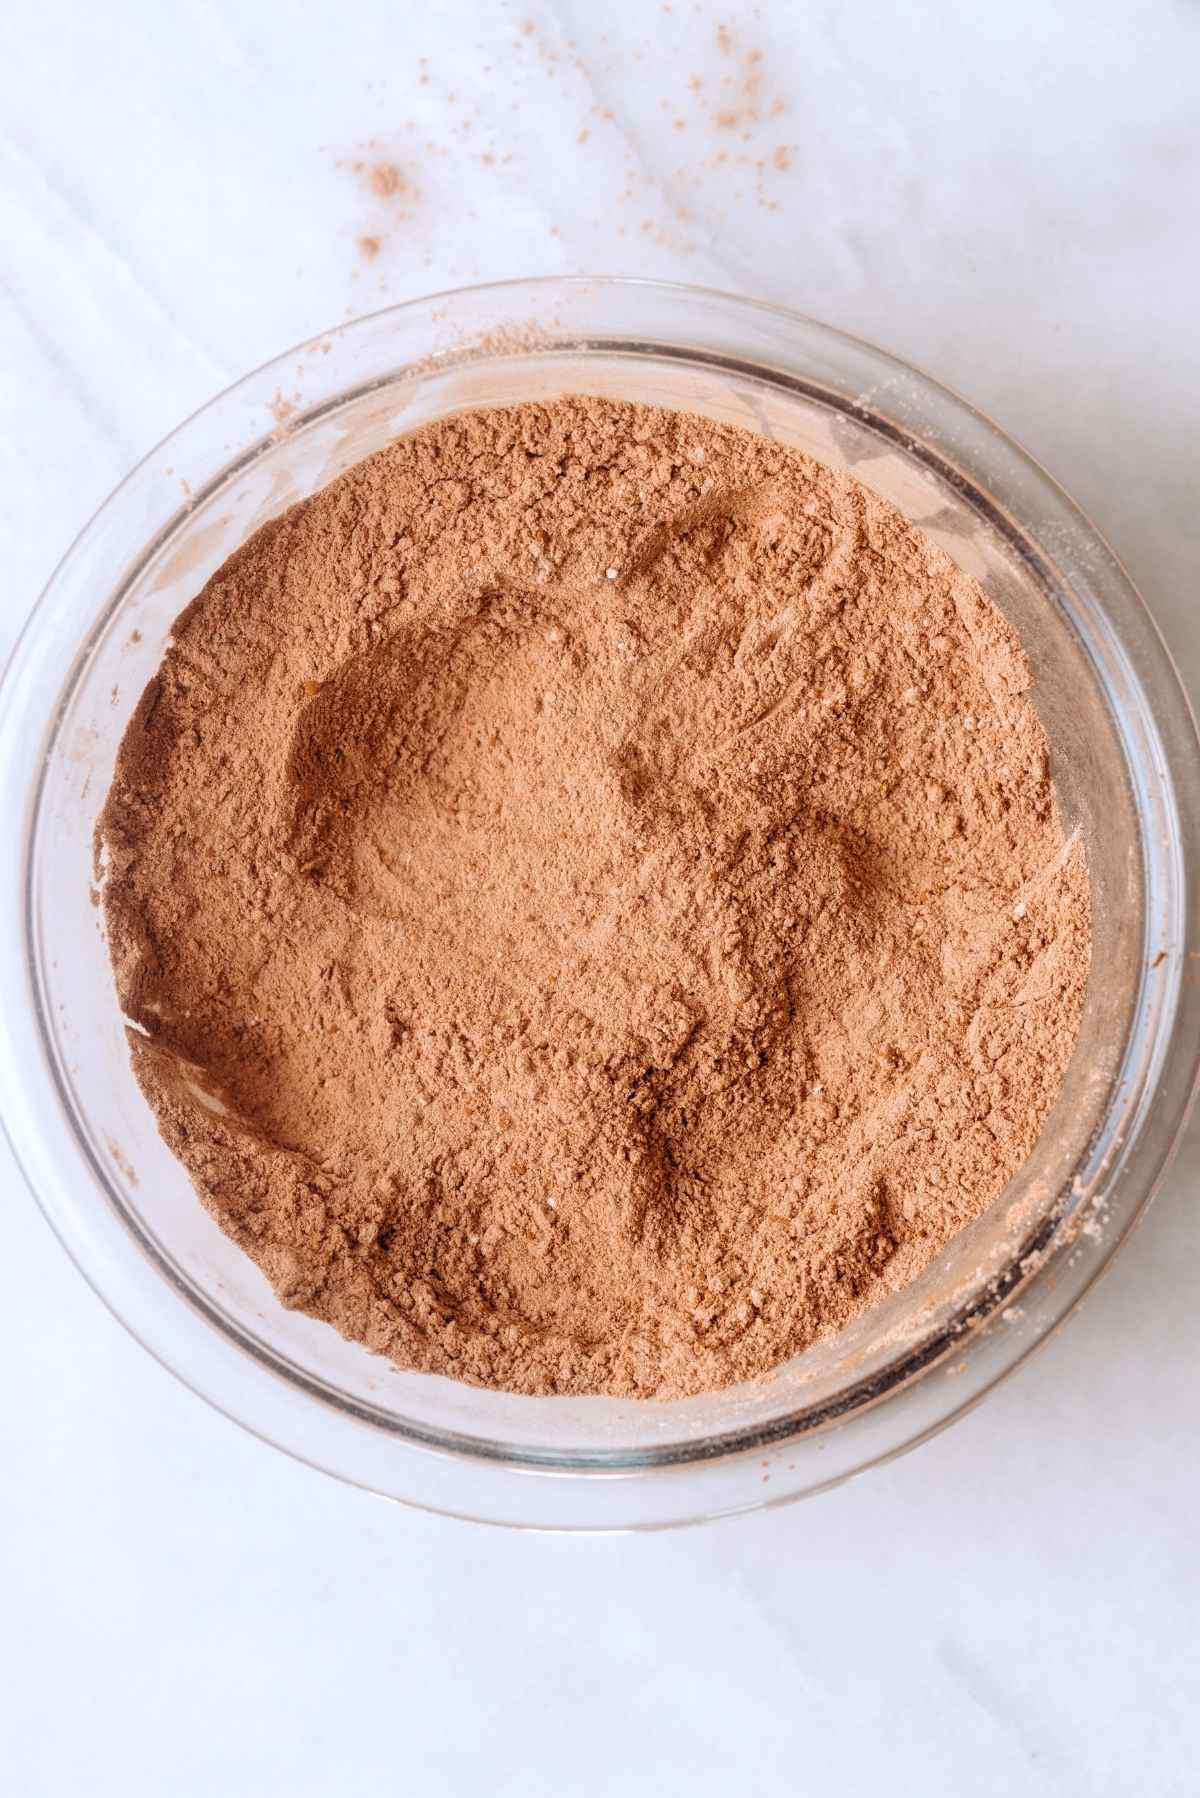
Step 1. Whisk your dry ingredients together. This includes the all-purpose flour, baking soda, baking powder, and unsweetened cocoa powder.
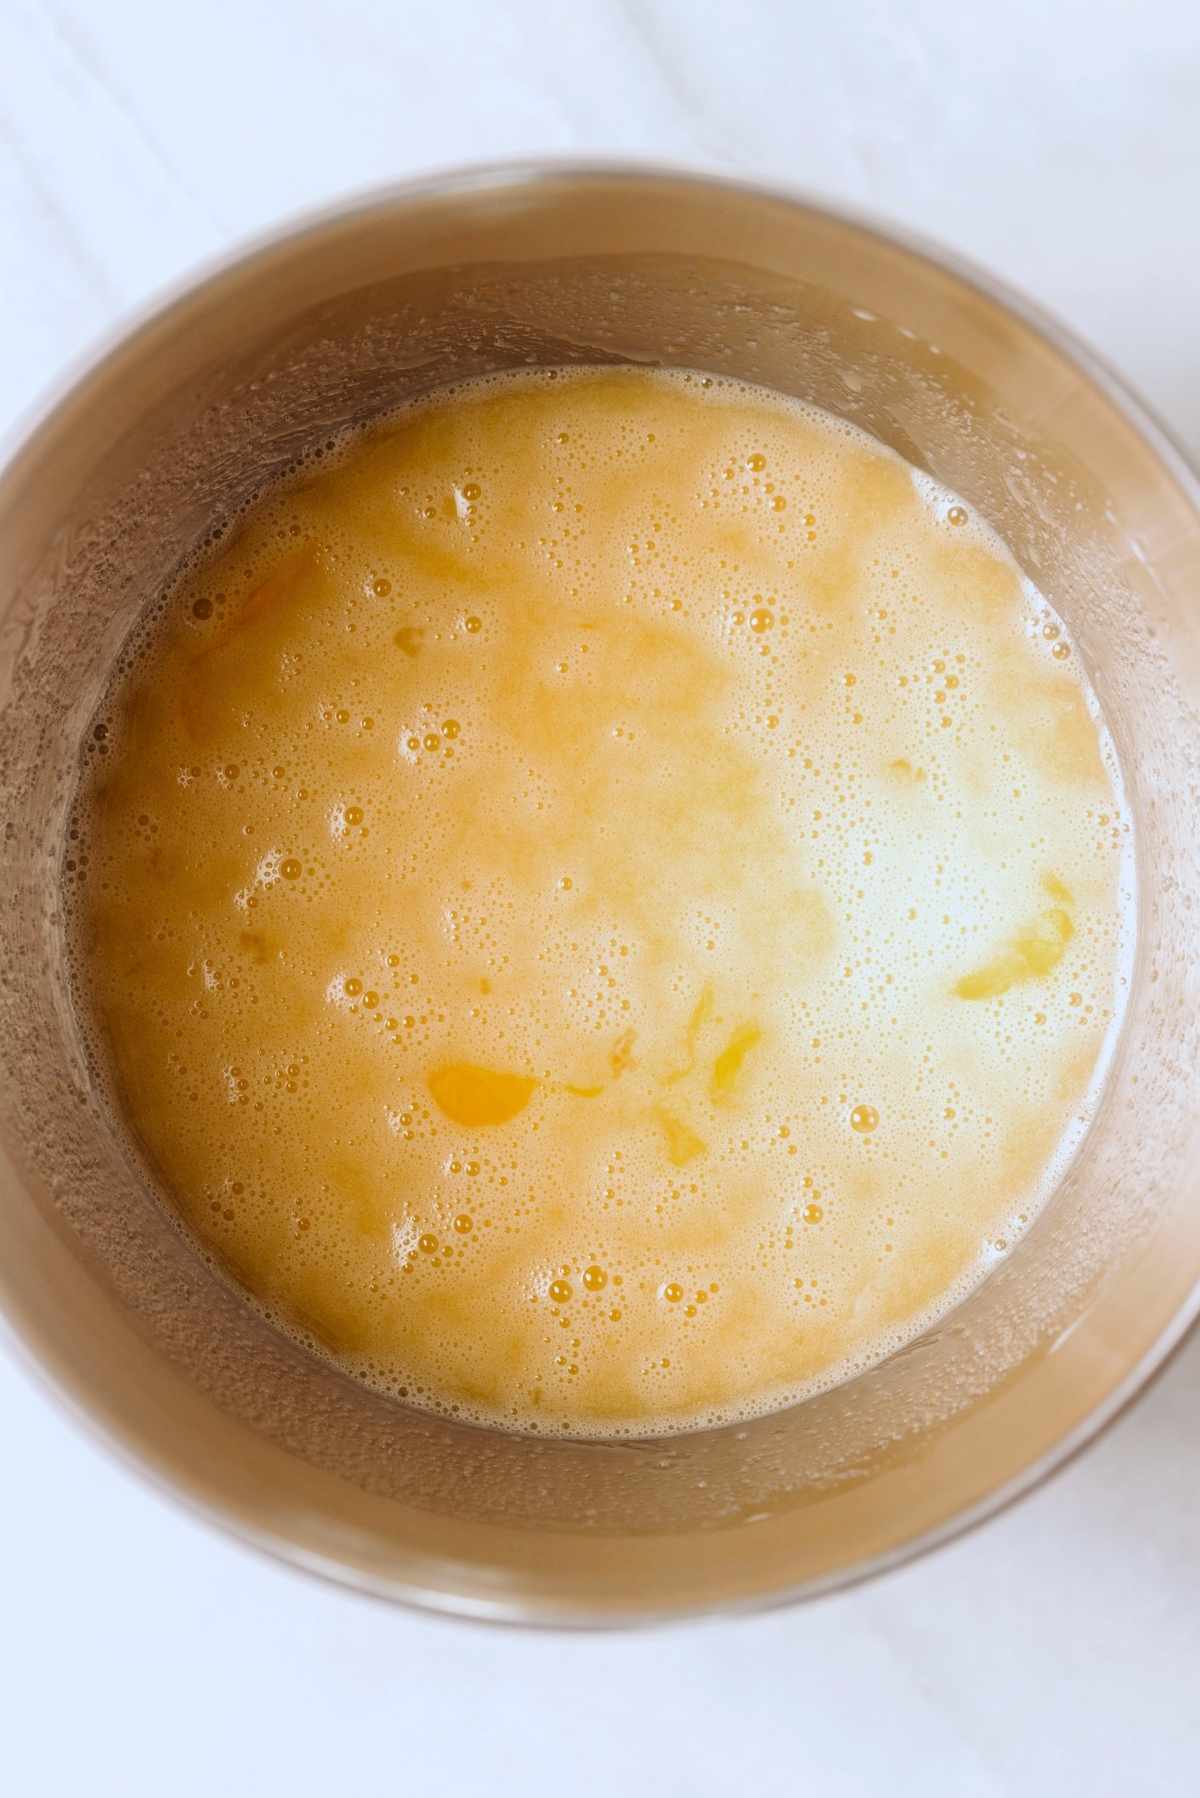
Step 2. Mix the wet ingredients together. The ingredients needed for this step are the eggs, vegetable oil, granulated sugar, whole milk (or buttermilk), and vanilla extract.
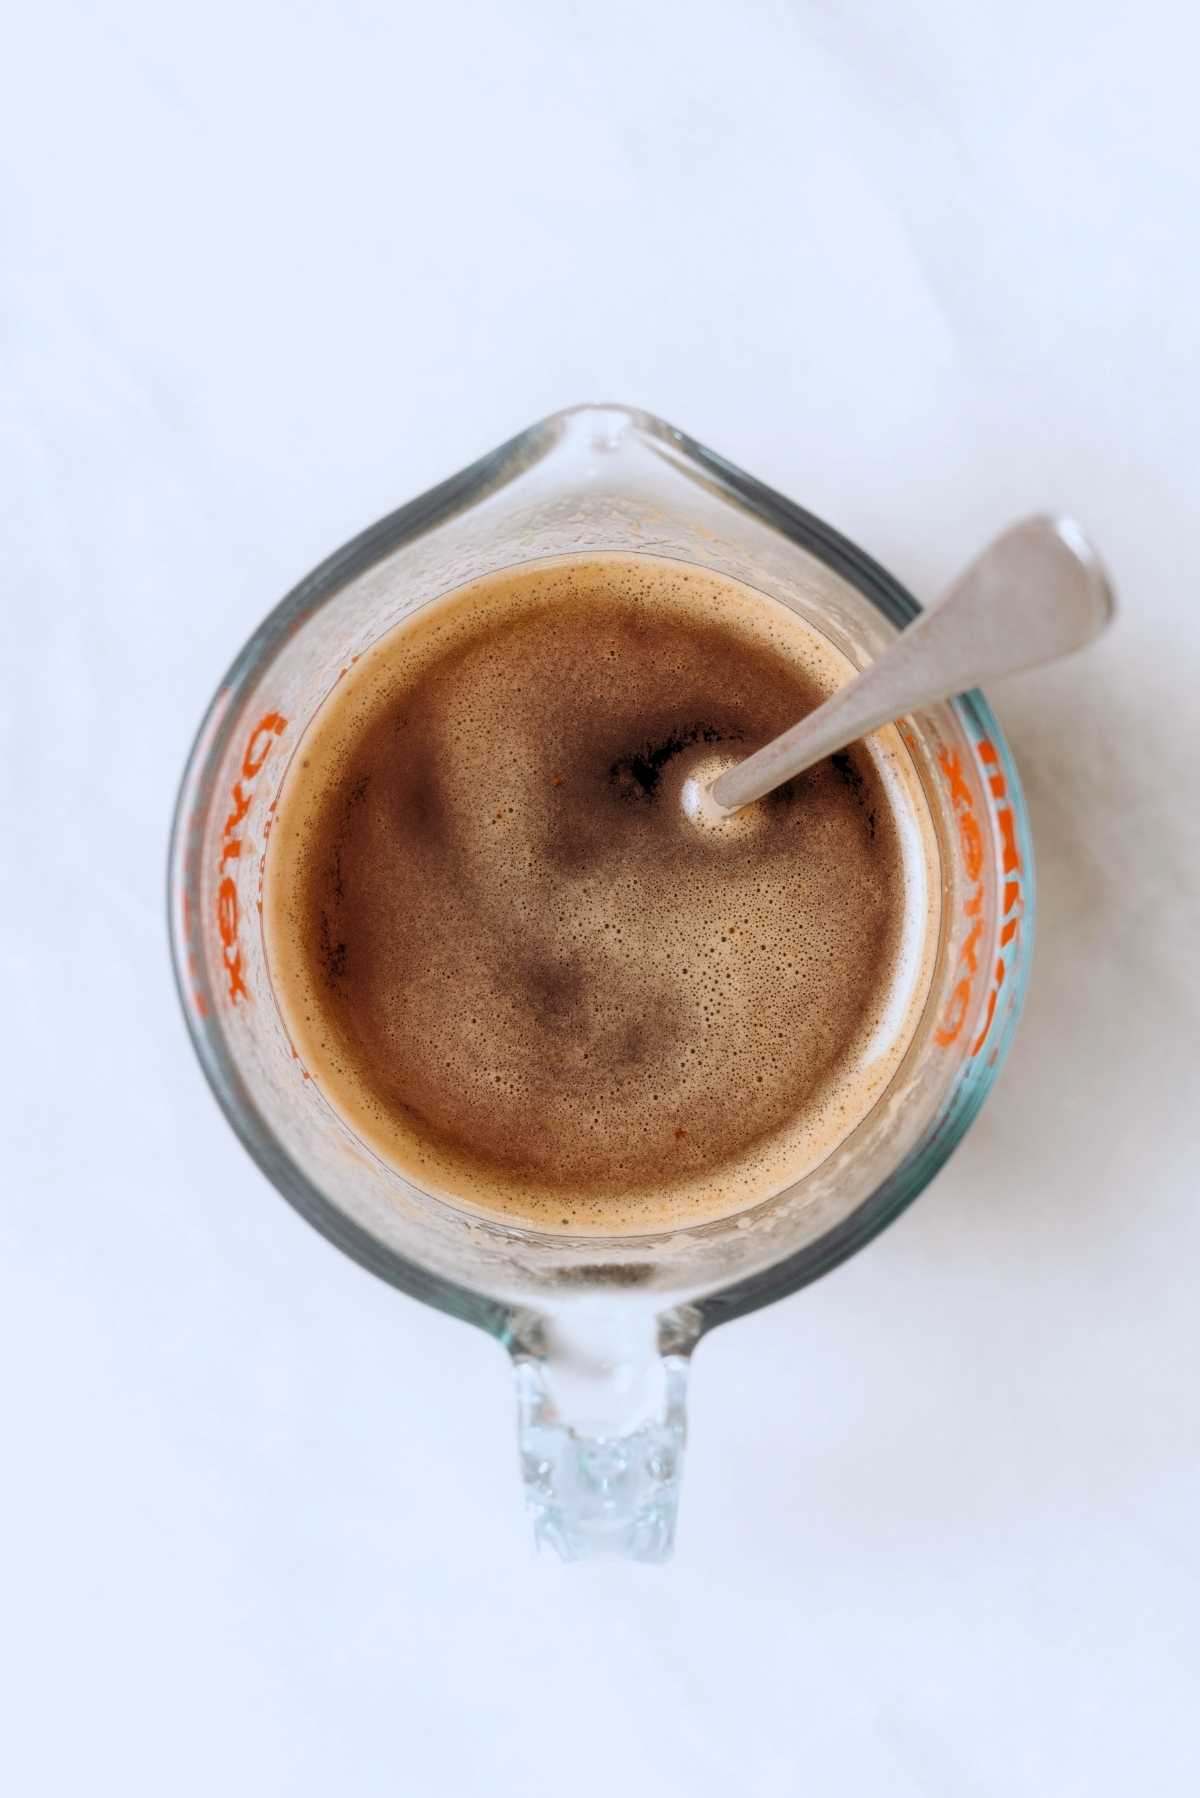
Step 3. Stir the espresso powder into the boiling water. You can boil the water either in a saucepan or in the microwave.

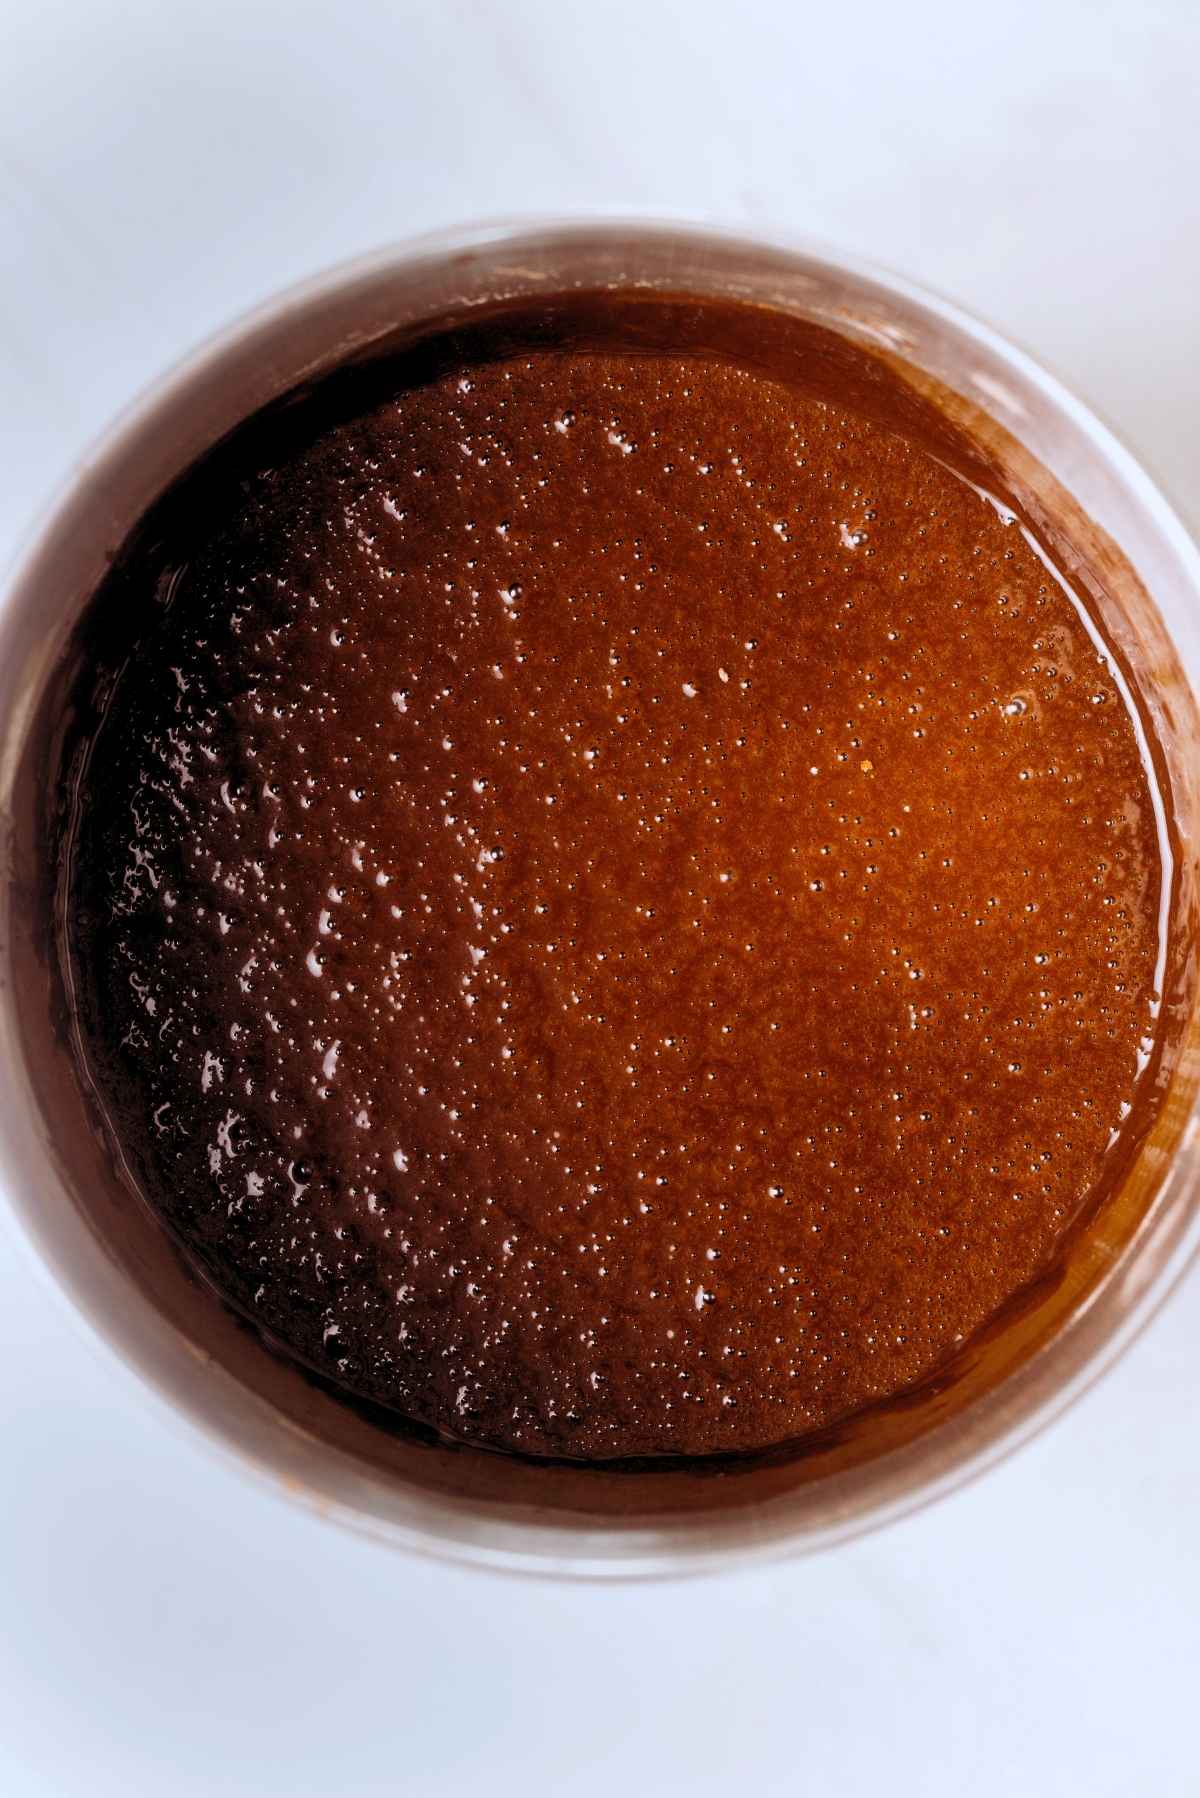
Step 4. Add the espresso powder mixture to the rest of the wet ingredients. Whisk until well blended.
Recipe Tip: If you don’t have espresso powder or instant coffee, or if you’re not a fan of the flavor, you can omit this ingredient. You will still need to add the 1 cup of boiling water to the cake batter, though.
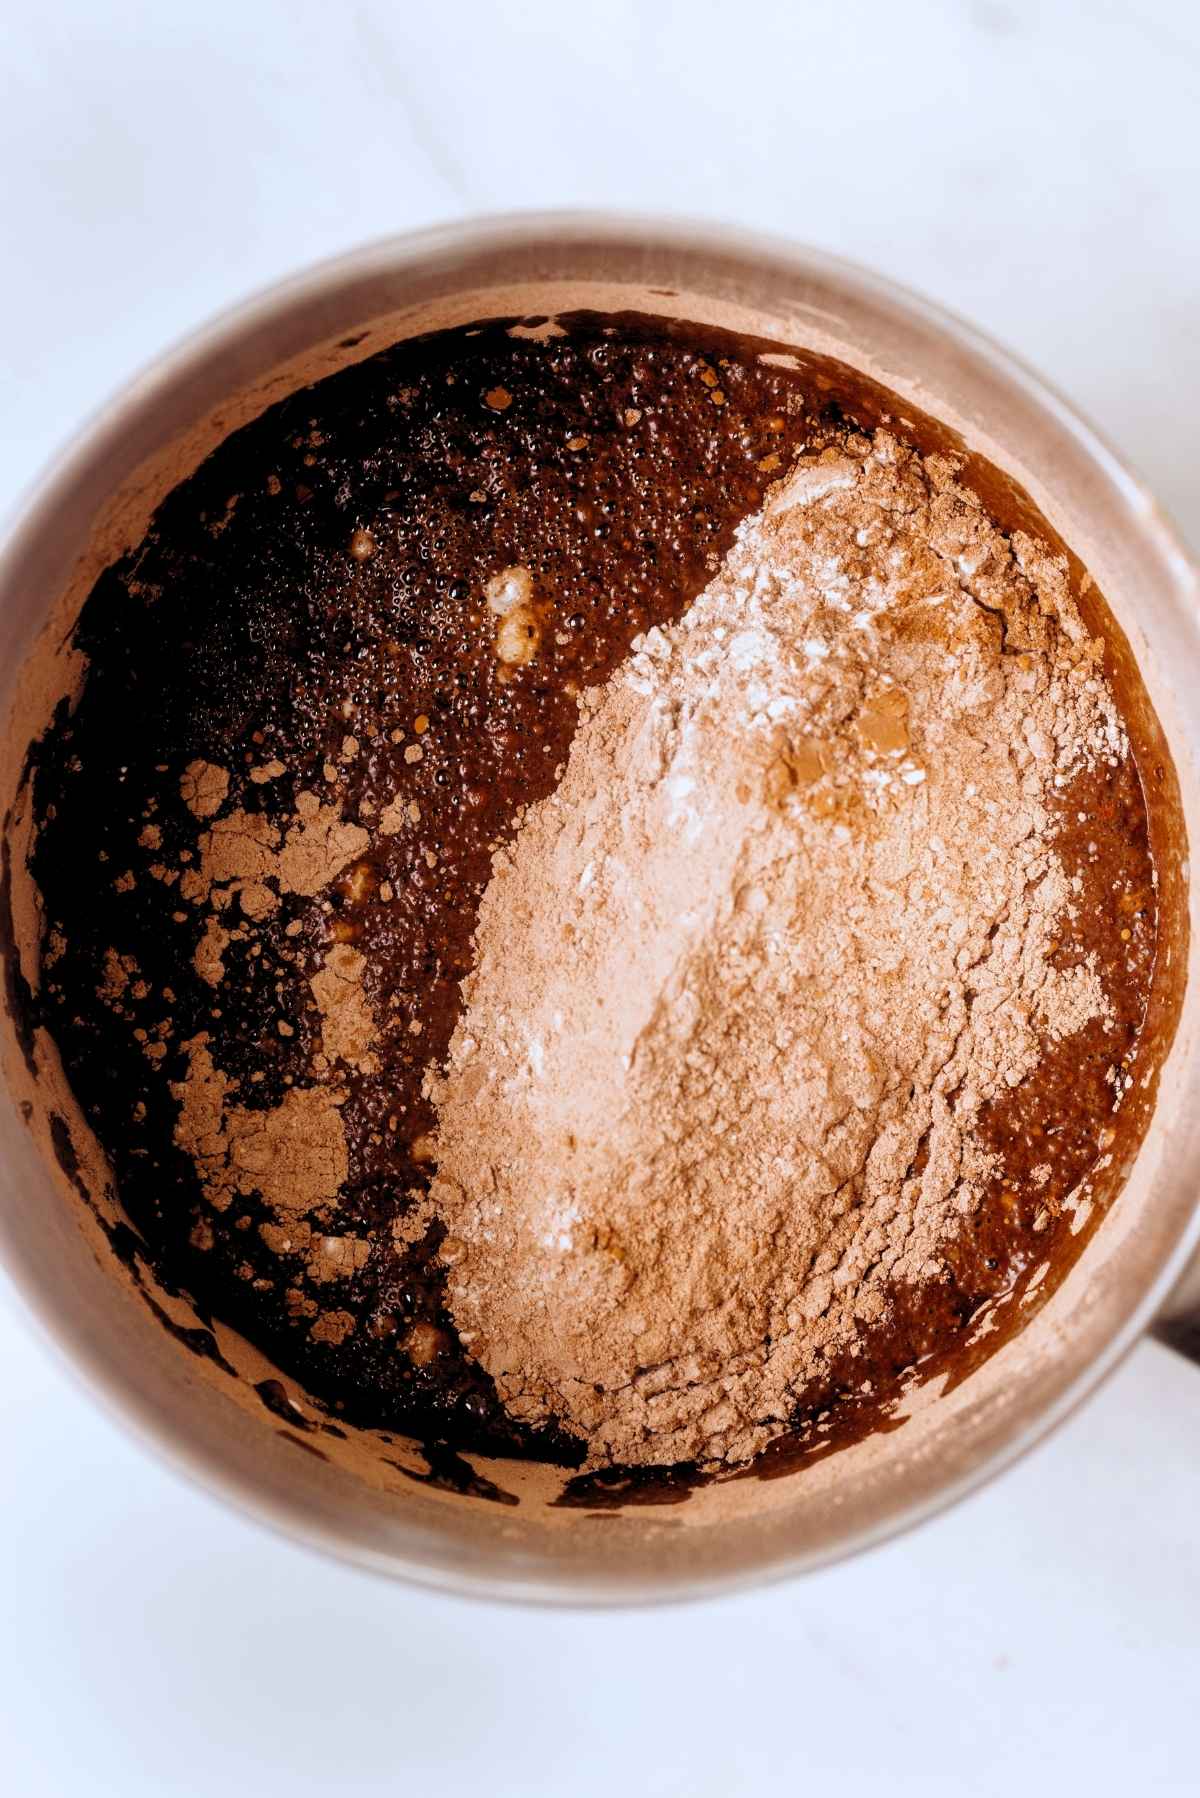
Step 5. Add in the whisked dry ingredients.
Step 6. Mix the batter together until just combined. Meaning, only until you can no longer see the flour or other dry ingredients within the batter.
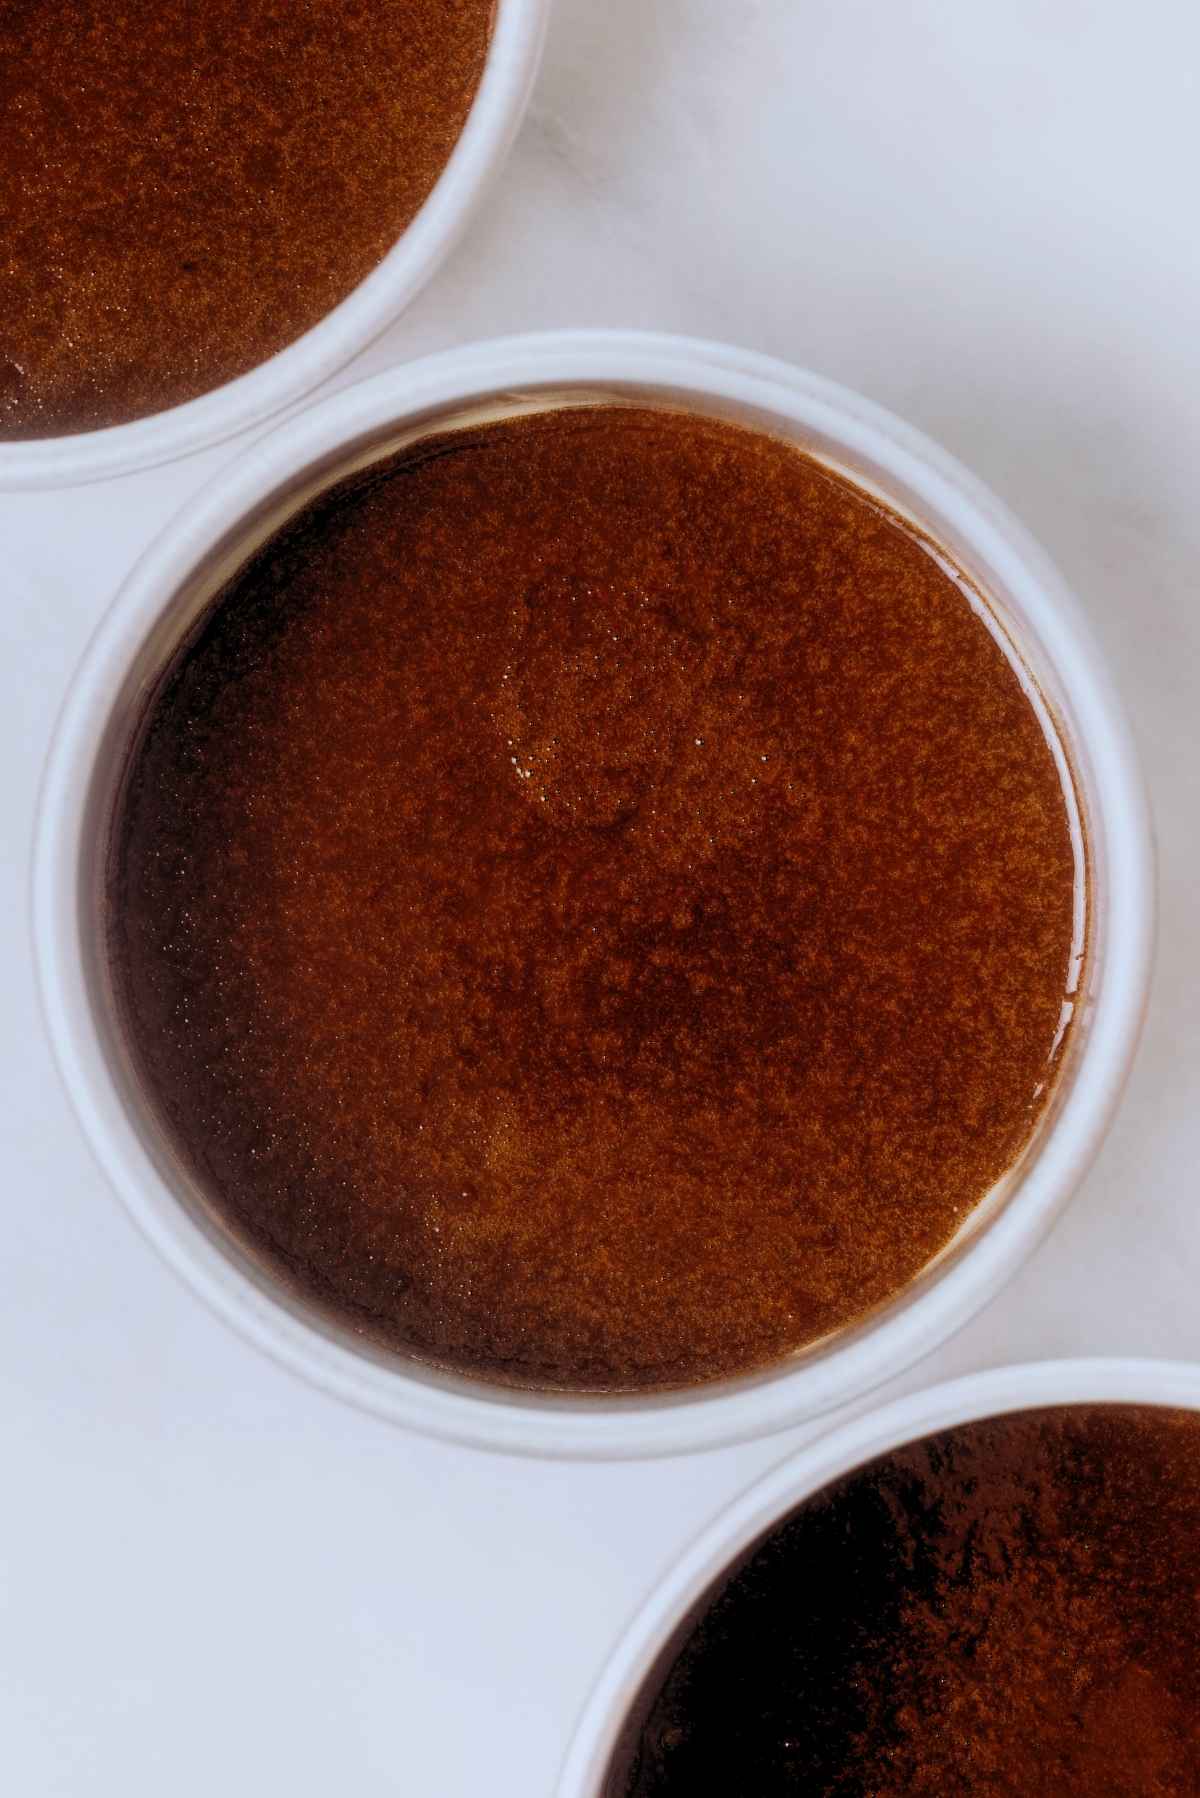
Step 7. Evenly divide the cake batter into your prepared cake pans. I like to use my scale for this, so each layer has the same thickness.
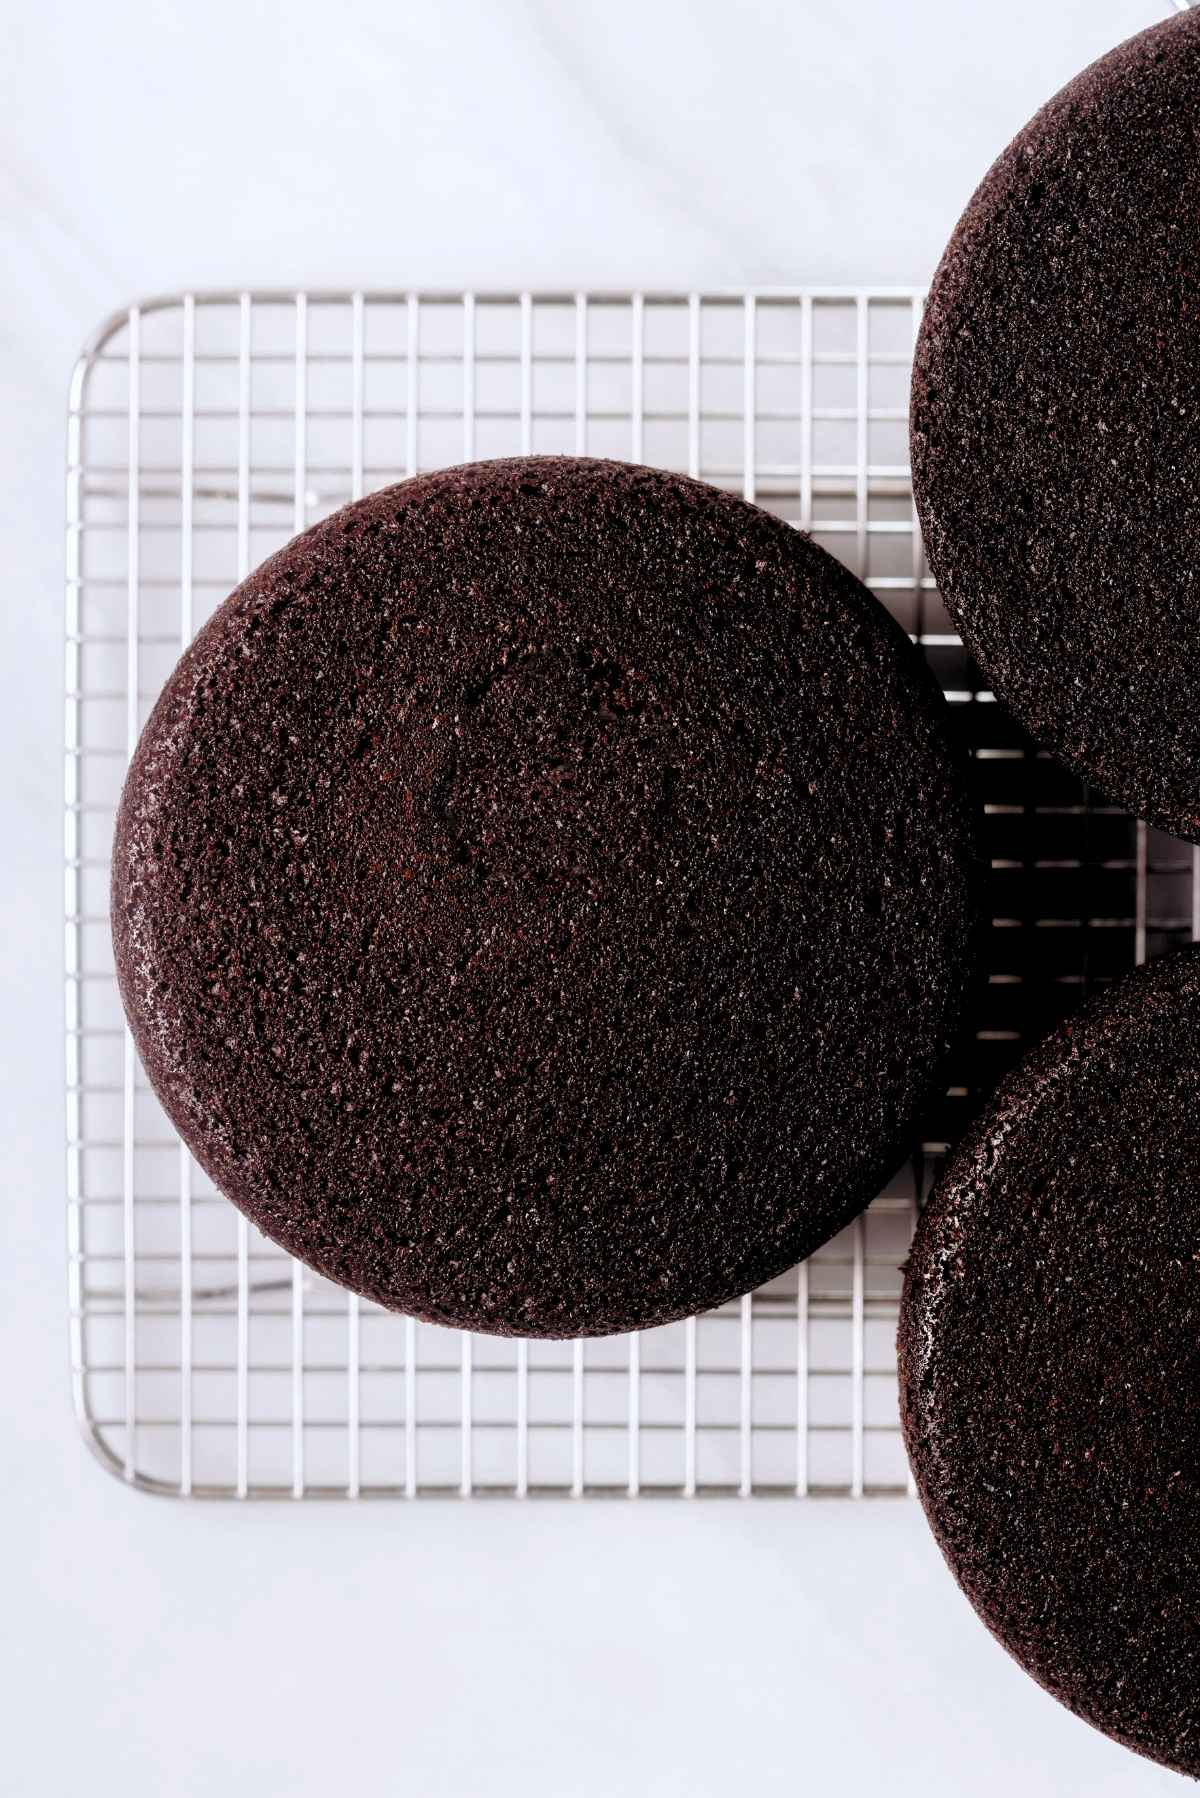
Step 8. Bake the cake at 350ºF for 40-45 minutes. Let the cakes sit in the pans for about 10 minutes before inverting them onto a wire cooling rack.
Recipe Tip: The chocolate cake layers should be cooled to room temperature before you frost them with the Oreo buttercream frosting.
Oreo Buttercream Frosting
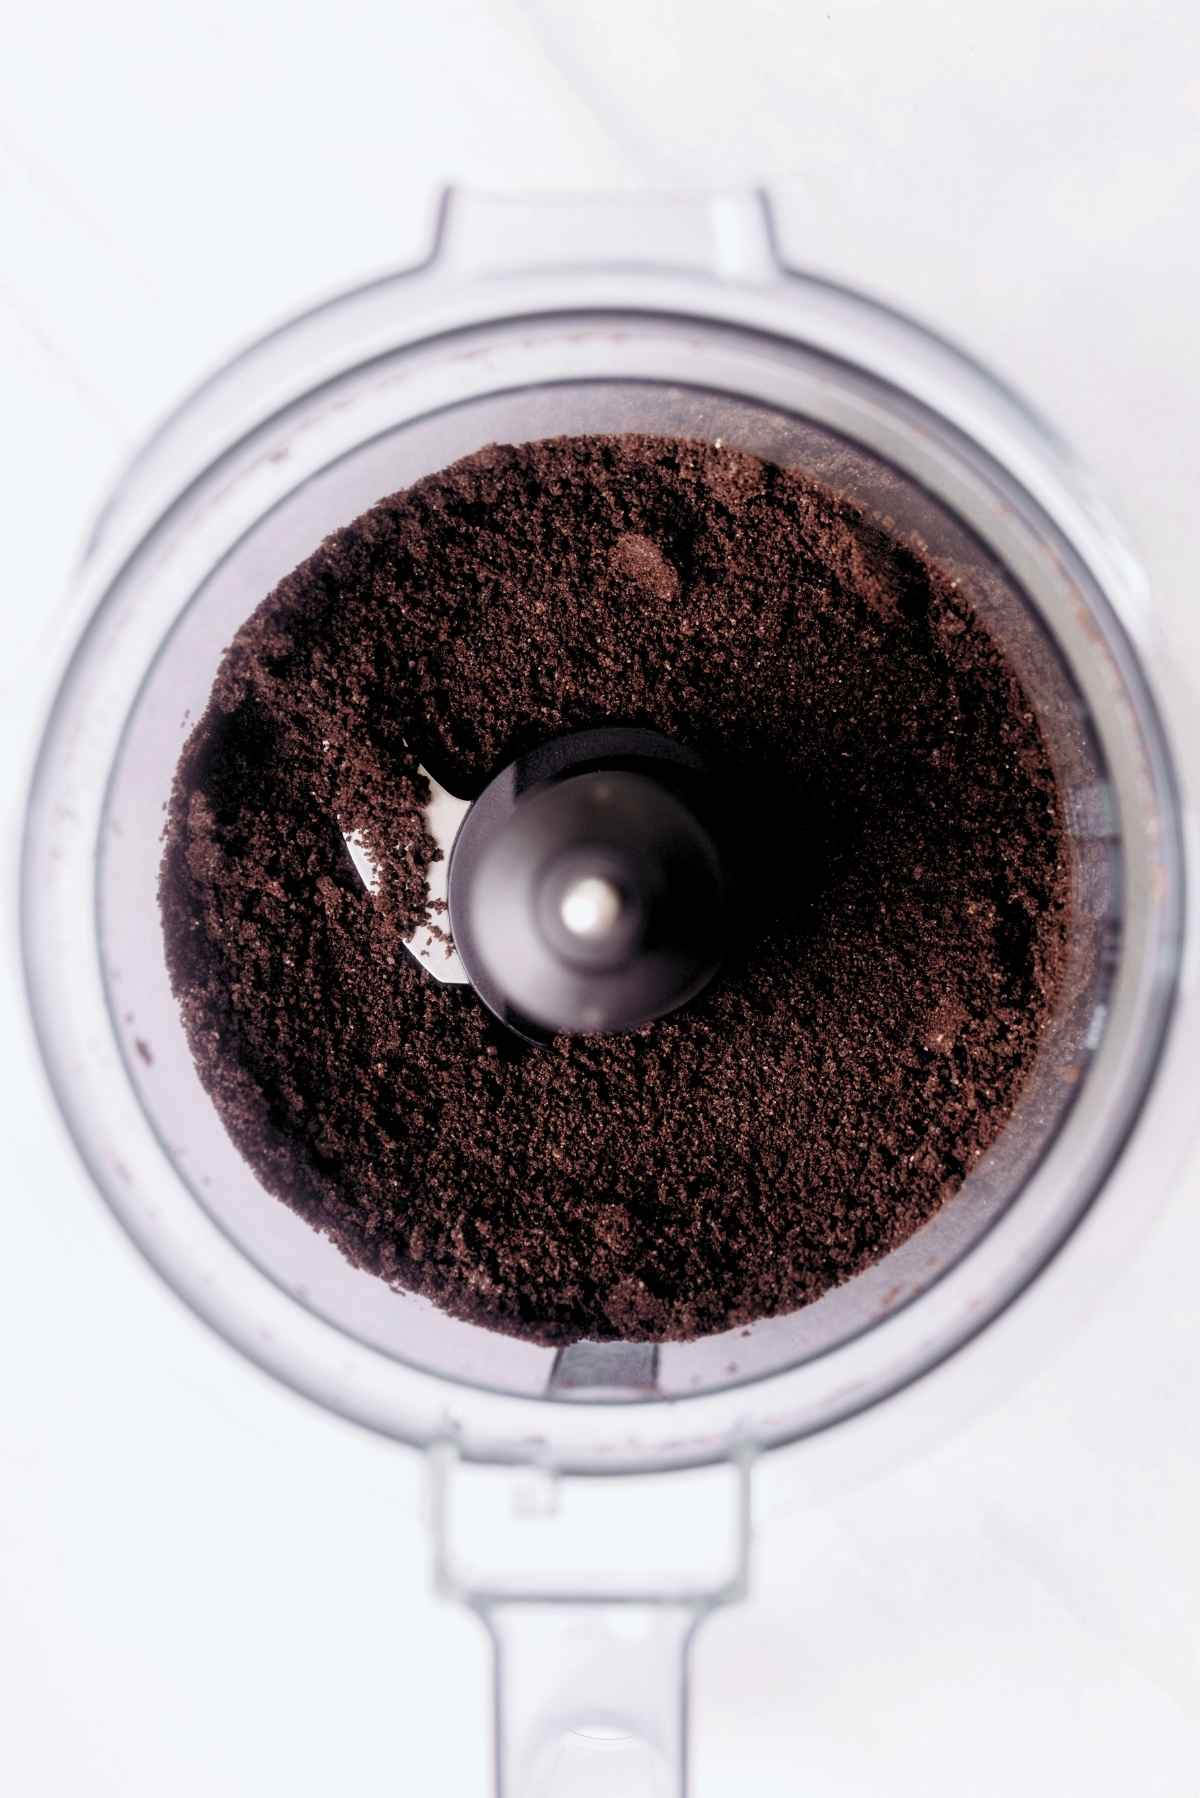
Step 1. With a food processor, pulverize the cookies into fine crumbs. Set aside.
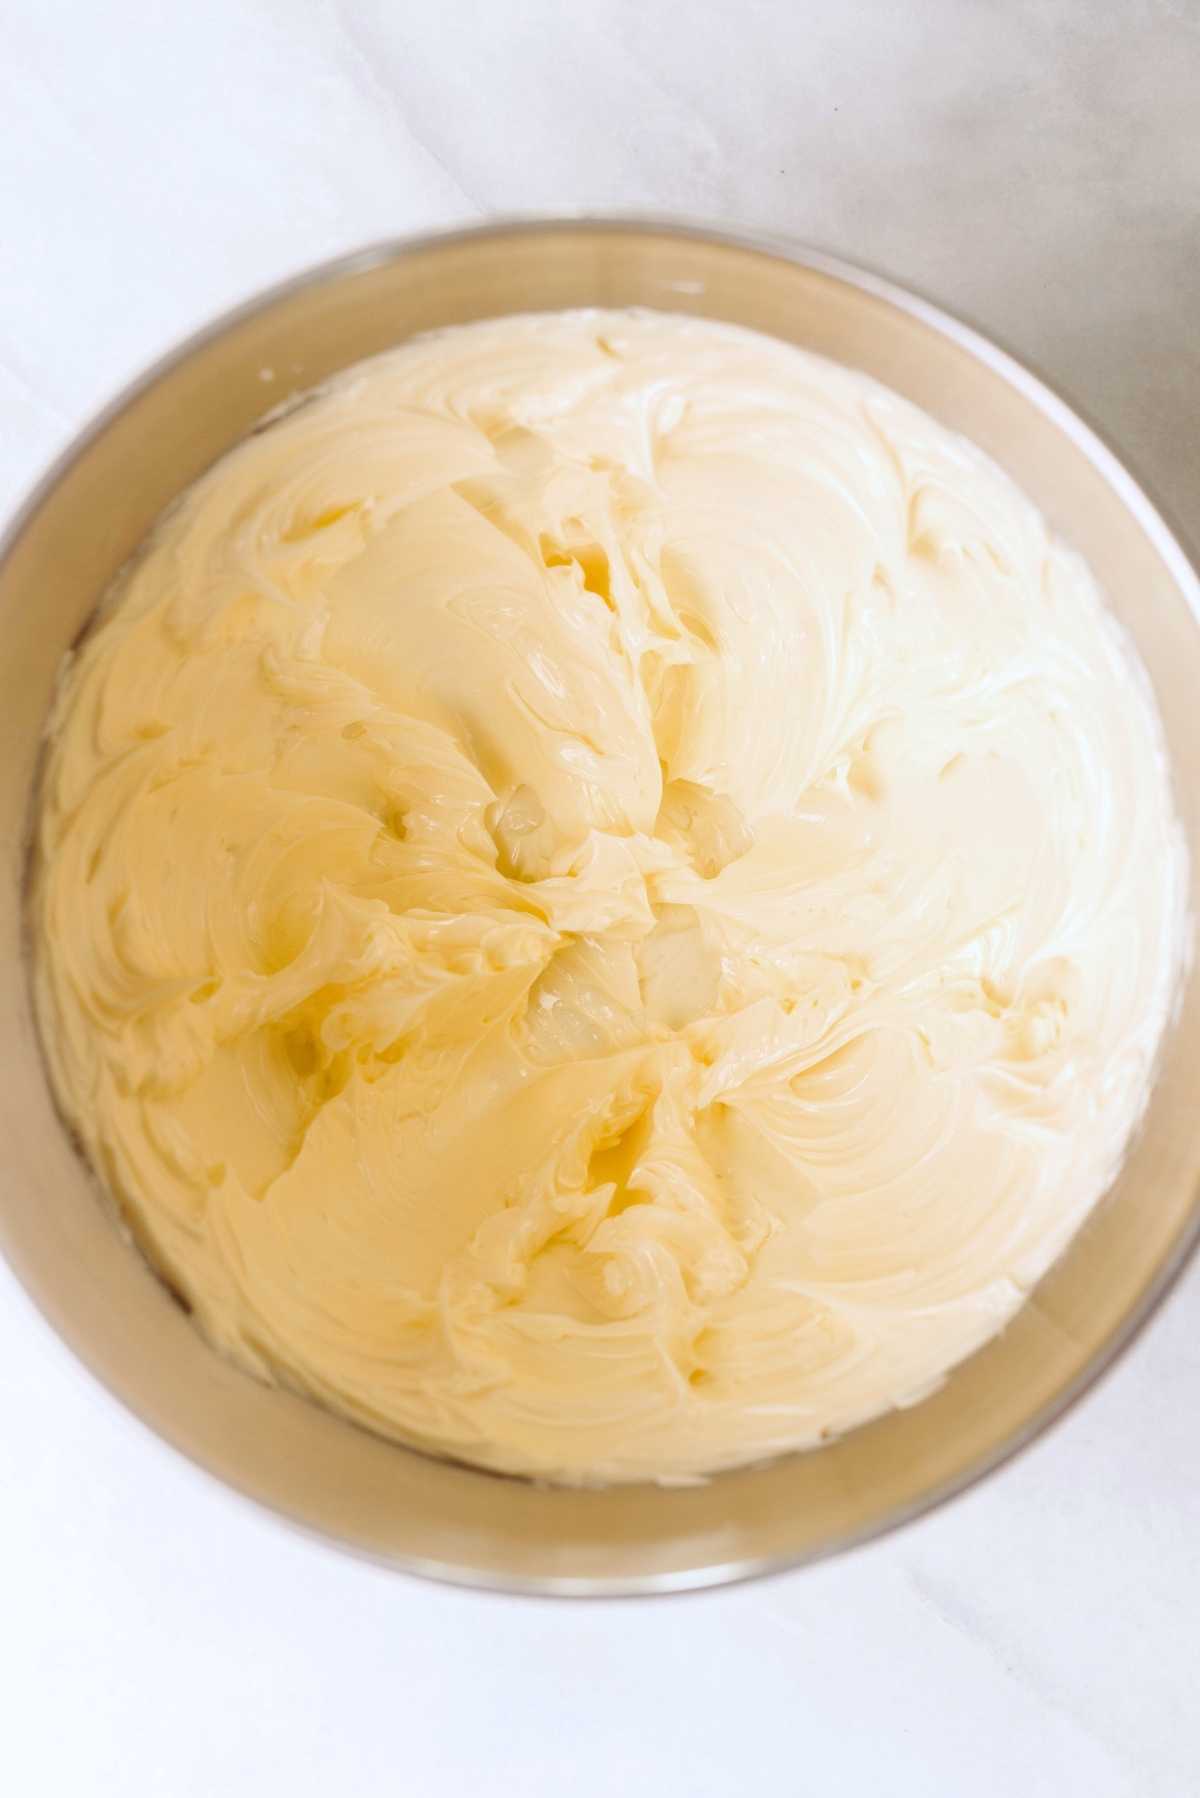
Step 2. Beat the unsalted butter on medium-high speed until smooth and creamy. Add in the vanilla extract and salt.
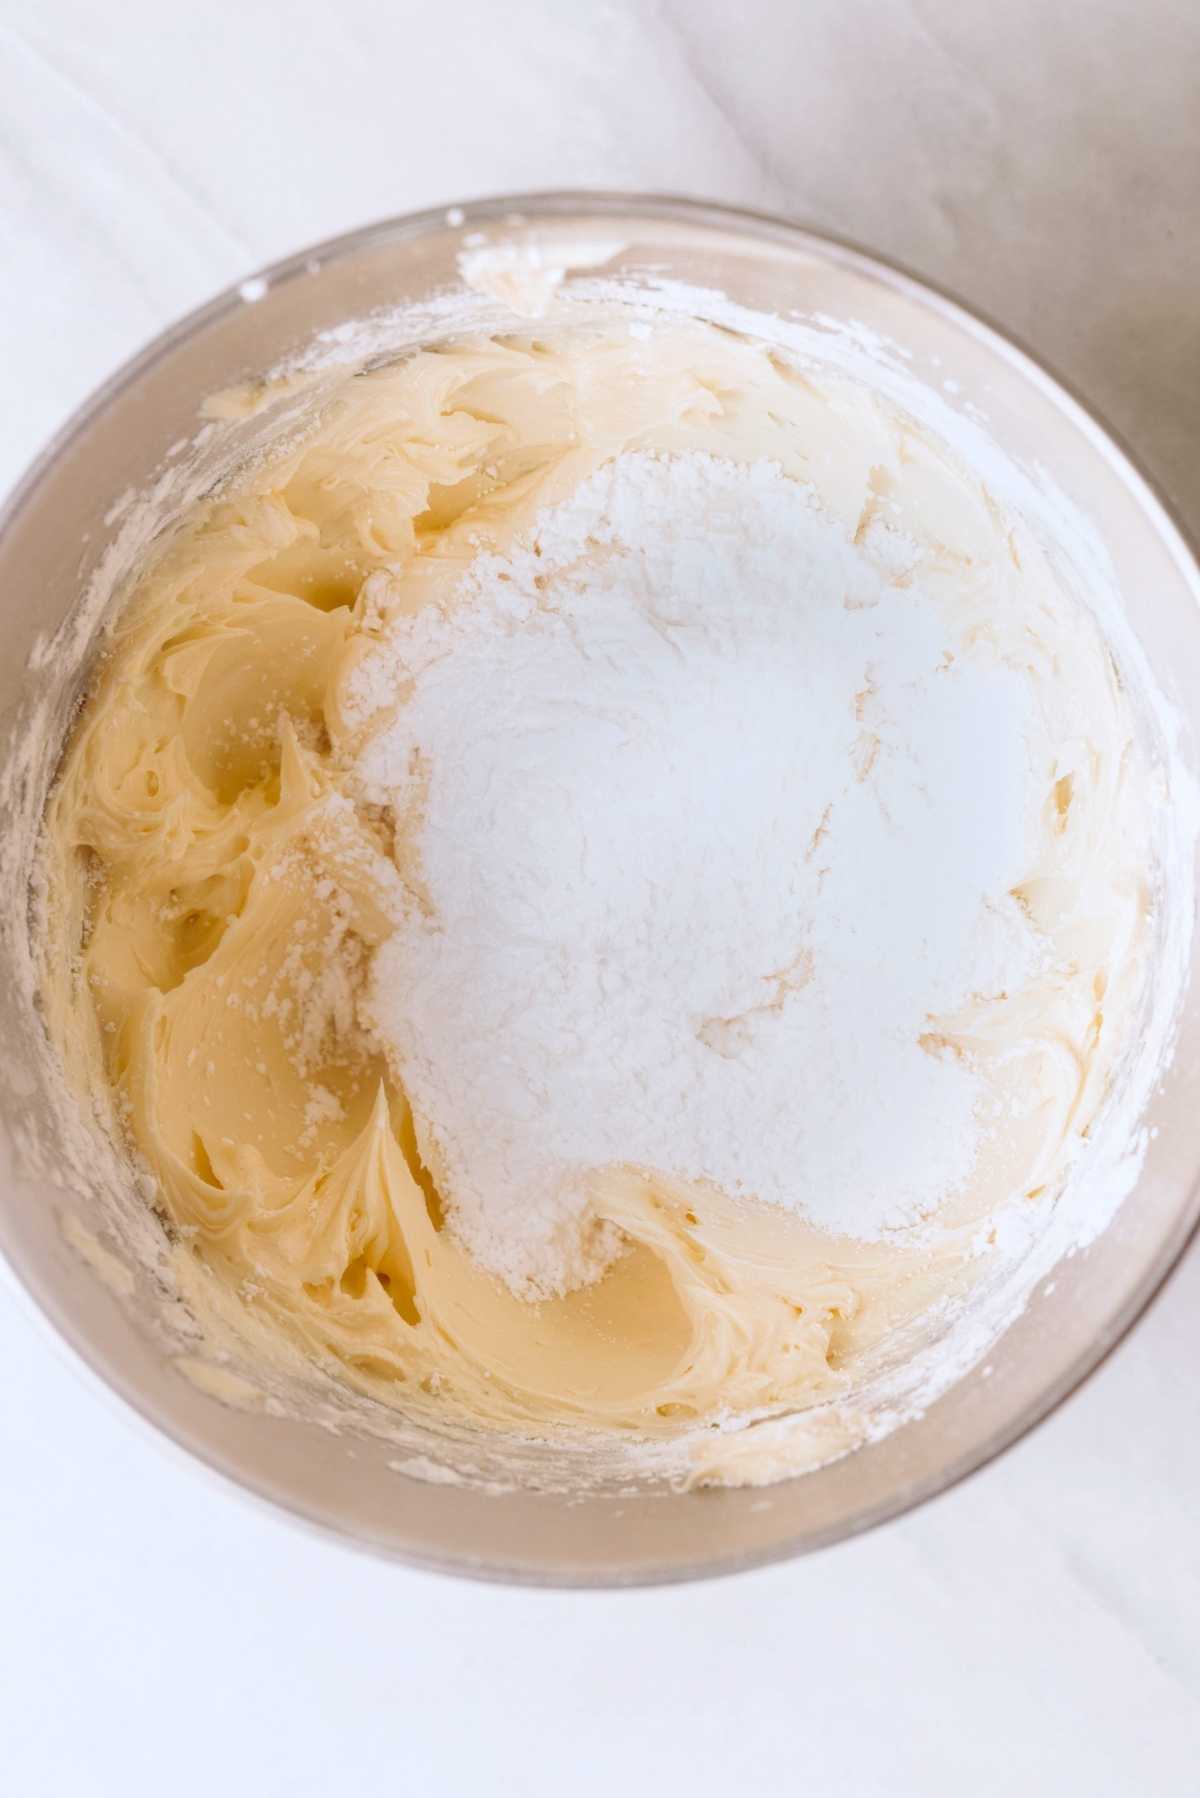
Step 3. Switch the mixer speed to low, then gradually add the powdered sugar and heavy whipping cream until well blended. Scrape down the bowl as needed.
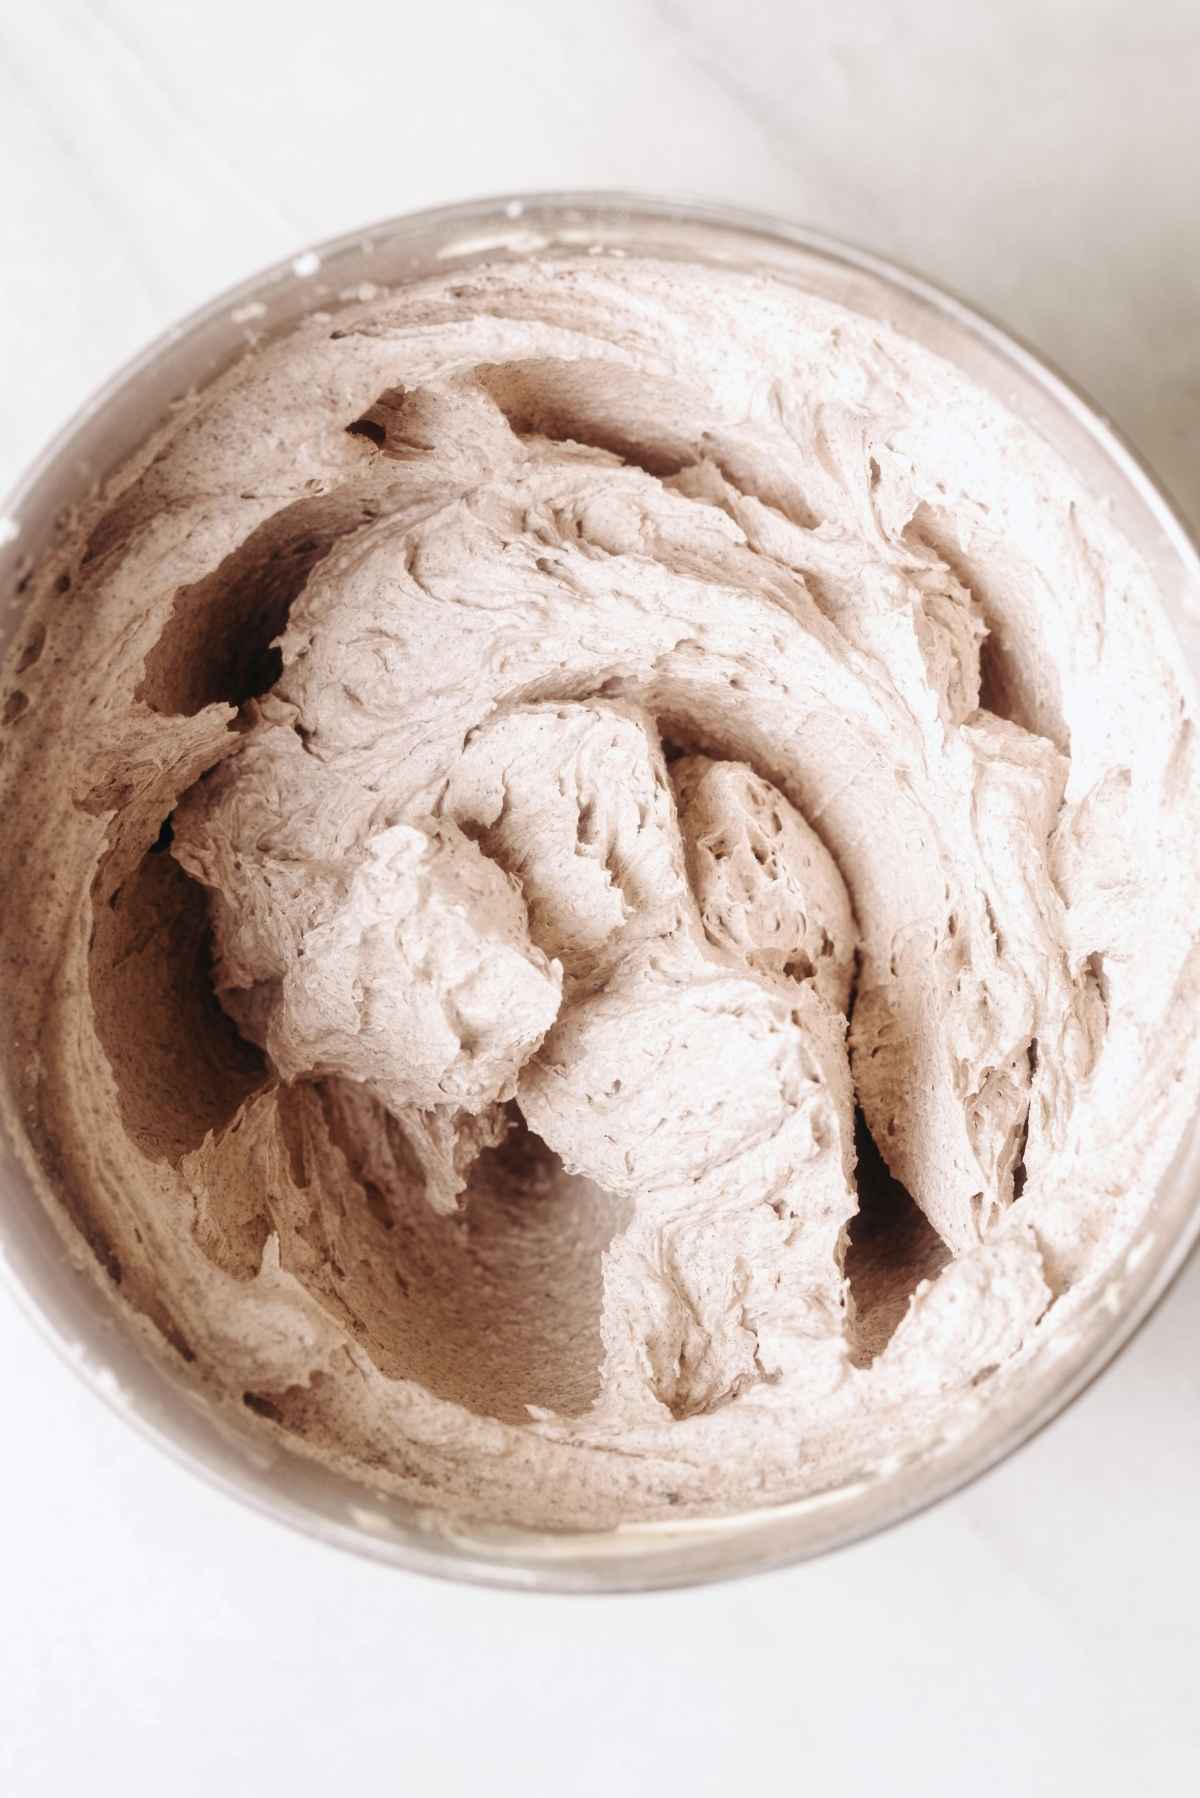
Step 4. Add in the Oreo crumbs, setting aside any you wish to use to decorate the top of the cake. When ready, use an offset spatula to frost the cake.
Storage
Cake Layers. You can store cooled, unfrosted cake layers, double-wrapped in plastic wrap, in the refrigerator or at room temperature for up to 2 days. If freezing, double-wrap in plastic wrap, then wrap with a layer of aluminum foil, and place in a well-sealed container.
Frosting. For the frosting, if you’re not using it immediately, you can refrigerate it up to 3 days in a tightly sealed container. Bring it to room temperature, then blend together on low speed to rewhip.
Fully Assembled. Frosted chocolate Oreo cake slices can be kept frozen for up to 3 months if double-wrapped in plastic wrap, then wrapped with a layer of aluminum foil, and placed in a well-sealed freezer bag or container.
How to Prevent Cakes from Doming
Here are a few ways you can prevent cakes from doming:
- Use a heating core in the center of your cake pan. I’ve never tried this, but some say it works well.
- Use cake baking strips. I’ve used my Wilton baking strips many times, and they work very well. Make sure you fit them snugly into the pan and wet them with cold water prior to adding the batter.
- Tap the cake pans. By gently tapping the filled cake pans on the counter before you place them in the oven to bake, you’ll release any air bubbles. Super easy, and it doesn’t cost you anything!
Frosting Variations
The following list is additional frosting recipes that would work really well with this chocolate cake!
- Peanut Butter Frosting
- Chocolate Frosting
- Mint Chocolate Chip Frosting
- Chocolate Chip Cookie Dough Frosting (will need to triple)
- Vanilla Frosting (simply leave out the crushed Oreos!)
Recipe FAQs
Based on Wilton’s cake serving guide, a cake of this size will serve approximately 12 people, making it perfect for a small dinner party, birthday party, or family get-together.
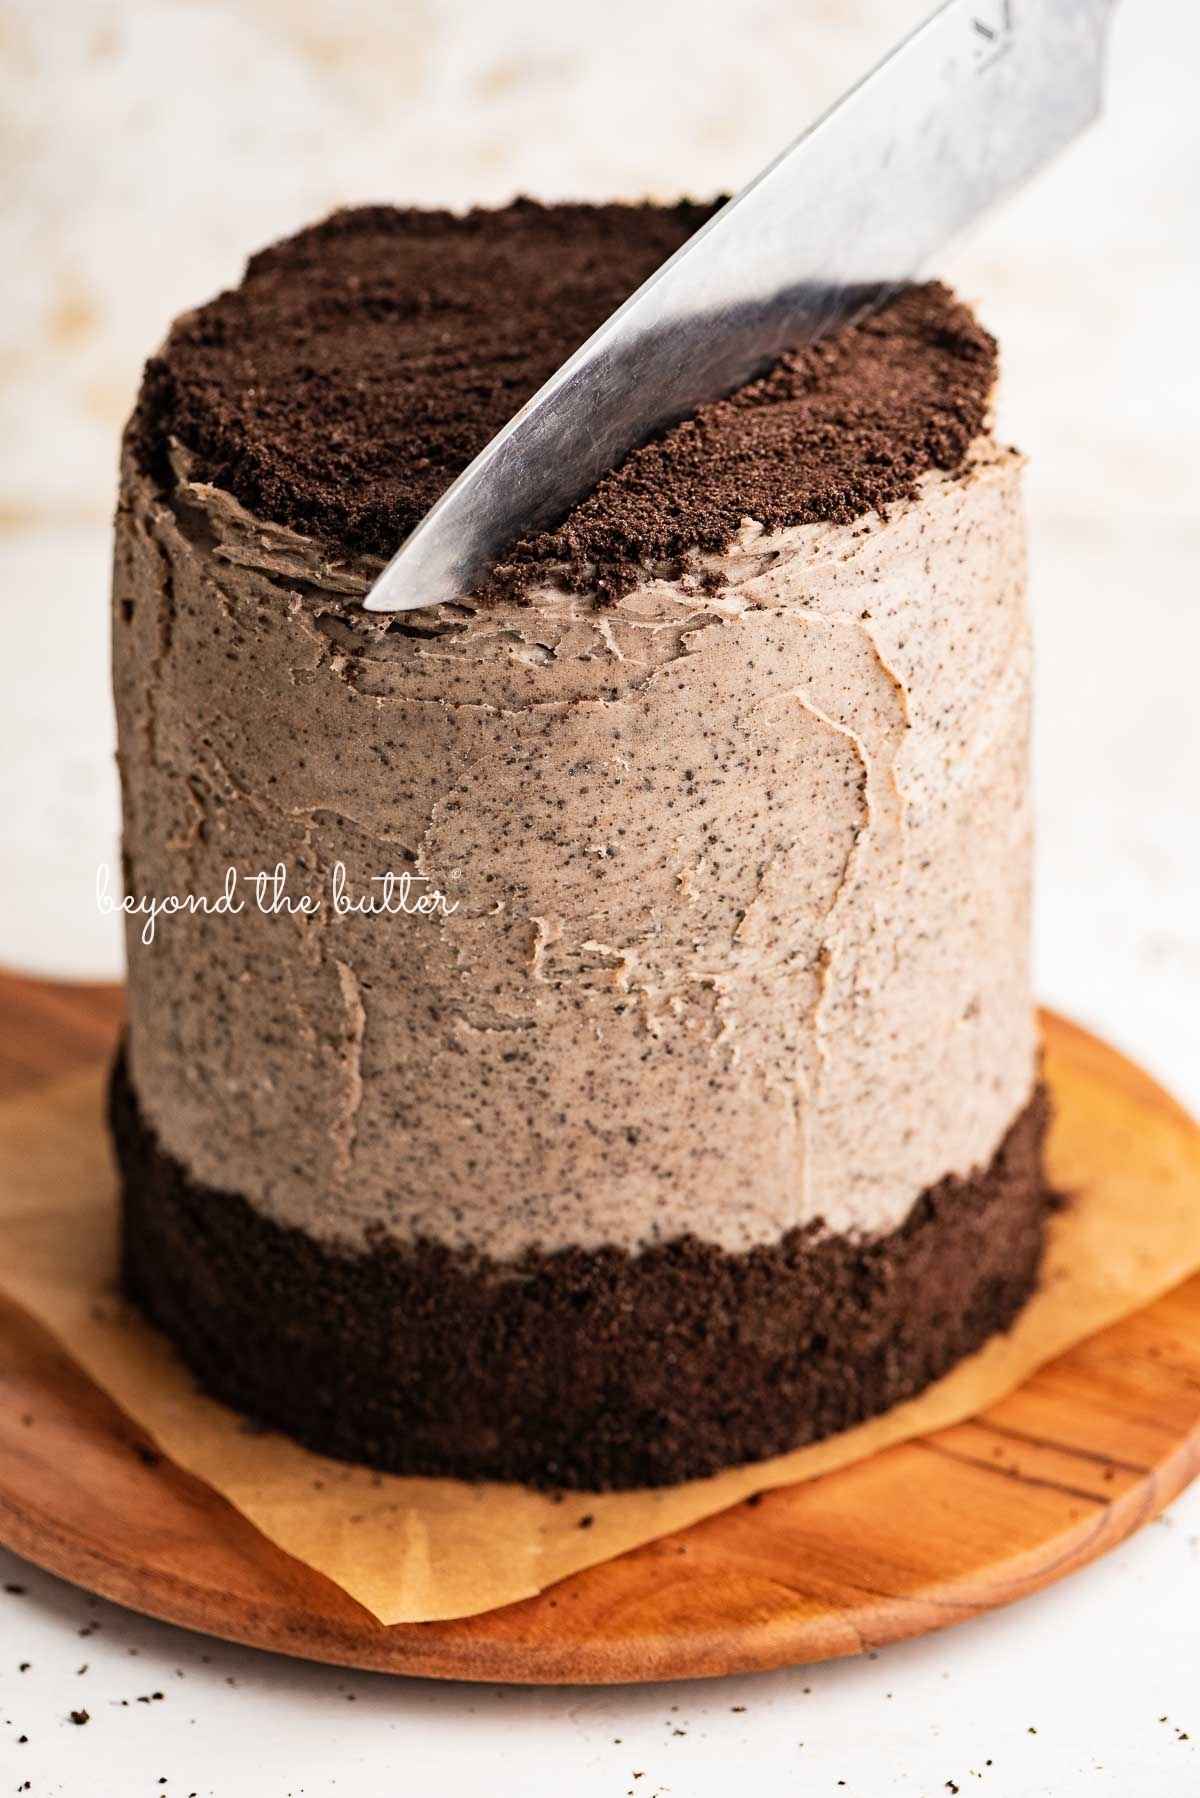
For this chocolate Oreo cake recipe, I used three 6-inch x 3-inch cake pans. The cake, once baked and frosted, measures approximately 6″ high, not including the extra Oreos and frosting you may choose to add on top for decoration.
Yes! But just an FYI—the cakes might come right up to the top of the cake pan.
No, this is an optional ingredient that helps give the chocolate a more robust flavor. Some people simply do not care for it, though, so you can easily leave it out. You will still need to add the boiling water, though.
No, not with this recipe.
This recipe makes enough to generously frost the outside of the cake and the layers in between, with some remaining for a decorative border on top.
More Yummy Cake Recipes!


If you tried this Chocolate Oreo Cake Recipe or any other recipe on my website, please leave a 🌟 star rating and let me know what you thought in the 📝 comments below. Thanks for visiting!
Chocolate Oreo Cake
Equipment
Ingredients
Chocolate Cake
- 2 cup All-Purpose Flour
- 2 tsp Baking Soda
- 1 tsp Baking Powder
- 3/4 cup Unsweetened Cocoa Powder
- 1 cup Vegetable Oil
- 2 cup Granulated Sugar
- 4 Large Eggs, room temperature
- 1 cup Whole Milk , or buttermilk
- 2 tsp Vanilla Extract
- 1 cup Boiling Water
- 2 tsp Espresso Powder , or instant coffee, gets added to the boiling water
Oreo Buttercream Frosting
- 20 Oreo Sandwich Cookies, plus any extra for decoration
- 2 cup Unsalted Butter, room temperature and quartered
- 2 tsp Vanilla Extract
- 1/4 tsp Salt
- 3 3/4 cup Sifted Powdered Sugar
- 1/4 cup Heavy Whipping Cream
Instructions
Chocolate Cake
- Adjust the oven rack to the 2nd level position (just above center) and preheat the oven to 350ºF. Spray the inside of 3, 6 inch cake pans with a flour-based baking spray. Line with a 6 inch parchment paper circle and lightly respray the tops. Optionally. you can also add baking strips to your cake pans. Set to the side.
- In a medium-size mixing bowl, whisk together the all-purpose flour, baking soda, baking powder, and unsweetened cocoa powder. Set to the side.2 cup All-Purpose Flour, 2 tsp Baking Soda, 1 tsp Baking Powder, 3/4 cup Unsweetened Cocoa Powder
- Using your hand mixer or stand mixer fitted with a paddle attachment mix together the vegetable oil, granulated sugar, eggs, whole milk, and vanilla extract on medium speed until well blended.1 cup Vegetable Oil, 2 cup Granulated Sugar, 4 Large Eggs, 1 cup Whole Milk , 2 tsp Vanilla Extract
- Boil the water in a heat proof glass bowl, then stir in the espresso powder (or instant coffee). Then pour the whole thing into the cake batter and mix until combined.1 cup Boiling Water, 2 tsp Espresso Powder
- Switching the mixer speed to low, gradually add in the whisked dry mixture until just combined. Be careful not to over mix the batter.
- Evenly pour the chocolate cake batter into each prepared 6 inch cake pan and bake at 350ºF for 40-45 minutes or until an inserted toothpick comes out clean.
- Allow the chocolate cake layers to cool for approximately 10 minutes before inverting them onto a wire cooling rack. The chocolate cake layers should be cooled completely before frosting with the Oreo buttercream frosting.
- If not frosting the cake the same day, chocolate cake layers can be double wrapped tightly in plastic and kept in the fridge for 2-3 days before frosting. If planning to freeze double wrap them tightly and place in a freezer bag. Cakes can remain in the freezer for up to a month. When ready, take the cakes out of the freezer 15-20 minutes before frosting.
Oreo Buttercream Frosting
- With a food processor, pulverize the Oreos (the whole cookie) until they are these fine little crumbs. Set aside.20 Oreo Sandwich Cookies
- Using your hand mixer or stand mixer fitted with a paddle attachment, beat the unsalted butter on medium-high speed until smooth and creamy. Add in the vanilla extract and salt. Scrape down the bowl as needed.2 cup Unsalted Butter, 2 tsp Vanilla Extract, 1/4 tsp Salt
- Switch the mixer speed to low, then gradually add the powdered sugar and heavy whipping cream until well blended.3 3/4 cup Sifted Powdered Sugar, 1/4 cup Heavy Whipping Cream
- Add in the Oreo crumbs, setting aside any you wish to use for decorating the top of the cake with. Mix until blended. Scrape down the sides of the bowl one more time, then switch the mixer speed back to medium-high and beat the frosting until it's super light and fluffy (about 5-6 minutes). Use frosting immediately or you can refrigerate up to 3 days in a tightly sealed container.
Video
Notes
- Espresso powder or instant coffee is optional. You’ll still need the boiling water.
- Prep and cooking times noted are for the chocolate cake only. Prep time for making the Oreo buttercream frosting will take roughly 15-20 minutes. Frosting and cake decorating time will vary based on your level of experience.
- For the 6-inch parchment paper circles, you can simply trace the bottom of the cake and cut them out, keep the paper insert that came with your cake pans and use that to trace with or purchase precut parchment circles.
- Using baking strips is optional, but they do help produce a flat-top cake. If you do end up with domed cake tops, simply cut them off using a serrated knife. Save the scraps to snack on.
- For the frosting, if you only have salted butter on hand, just omit the salt from the remaining list of ingredients.
- You can store cooled, unfrosted cake layers, double-wrapped in plastic wrap, in the refrigerator or at room temperature for up to 2 days. If freezing, double-wrap in plastic wrap, then wrap with a layer of aluminum foil, and place in a well-sealed container.
- For the frosting, if you’re not using it immediately, you can refrigerate it up to 3 days in a tightly sealed container. Bring it to room temperature, then blend together on low speed to rewhip.
- Frosted chocolate Oreo cake slices can be kept frozen for up to 3 months if double-wrapped in plastic wrap, then wrapped with a layer of aluminum foil, and placed in a well-sealed freezer bag or container.
Nutrition
Nutritional information provided above is an estimate only and will vary based on specific ingredients used. See Nutritional Disclaimer for more info.


I have a question: Is this recipe enough to make a two layer sheet cake? And if so, what size sheet cake pan can be used. I want to make one without the sides frosted. Just the middle and the top frosted because my family doesn’t like frosting too much.
Hi! Yes, you would definitely be able to make this into a layered sheet cake, but I’ve never tested the recipe this way to say for certain what size pan would work. I would consider halving the frosting recipe though since this does make a good amount.
This cake is easily going to become one of my go-to’s! Easy and relatively quick to make, love a recipe that I don’t need to run to the store for a list of ingredients beyond pantry staples (except Oreos this time!). I used 6″X2″ pans since that’s what mine are, the cakes did dome over the top but easily leveled off with a knife once cooled, et voila I had bonus cake for taste testing. The Oreo buttercream is perfect with it’s imperfections, easily hides any rogue crumbs or lack of decorator skill. The end result is delightfully delicious and moist, without being overwhelming sweet. I’d even say the Oreo crumbs somehow cut how overly sweet some buttercreams can be. For those concerned, I couldn’t taste the coffee at all. Like I said, favourited, and to be repeated!
Thank you so much for this review, Christina! I’m so happy you enjoyed the cake!❤️
Hi, is this cake solid enough to cover with fondant ?
I’ve never covered a cake with fondant before, but I would say yes this would be fine!
Hi Jennifer ,this cake looks soooo beautiful really.I just had a doubt can we bake this cake in 2- 8″pans or 2- 9″ pans.
Hi Anita, thank you! I haven’t made this cake in either of these size pans, so I can’t say for certain if that would work, but I think it would be too much batter. You could bake the cake in either pan and what leftover batter you have, you can make cupcakes. Or, another alternative, you could half the recipe and bake them in either the 8 inch or 9 inch pans. The layers won’t be as thick though. I hope this helps!
This cake is delicious. I’ve made it 2x’s in the past 2 weeks. My son requested a chocolate cake w/ oreo frosting for his birthday and wanted more the following week. I was wondering if this recipe would work for cupcakes? Thanks!
That’s wonderful! I’m so glad it’s been a big hit! I haven’t made this as cupcakes, but you definitely could! Because this is a 3 layer cake, I would recommend cutting the recipe in half for the cupcakes otherwise you’ll probably end up with a lot!
Hi! I’m thinking about doing this recipe for my boyfriends birthday but i have two questions. First, when you add the instant coffee is the flavour in the cake very strong? Do you really taste coffee? Because my boyfriend doesn’t like coffee but I think it will be better with it. The second question is if it is possible to do the oreo frosting with less sugar. If I do it like you say, one tablespoon at the time, will I need less suggar? Because again, he doesn’t like things with too much sugar and powdered suggar is very very sweet. Sorry about any weird language, I’m from Portugal. Thank you!!!
Hi! No need to apologize! I actually don’t like coffee either (never liked the taste), but I do like to use it occasionally with my chocolate desserts! You can’t really taste the coffee at all. It’s there just to enhance the taste of the chocolate. For the oreo buttercream, I haven’t tried it with less sugar so I’m not sure—sorry! I do know that with the crushed oreos added to it, it does cut down on the sweetness a little. I hope you get the chance to make it for him—I think you will both love it!❤️
Hi, I have a similar question. I actually love coffee but wanted to make this cake for someone who doesn’t and I know is sensitive to the taste (I made brownies once with the tiniest amount of coffee and he tasted it without knowing it was there ahead of time) in that case would you recommend just boiling water? Omitting altogether? Water with a droplet of some other flavor say vanilla extract?
Hi! Yes, if you omit the instant coffee you will still need to leave the boiling water in the recipe. You don’t need to add any flavoring to it.
I’d love to try this! Is it ok to leave the cake with the frosting at room temperature or does it need to be refrigerated?
It’s so good, I hope you get to! I would refrigerate it just because of the frosting. You can take it out (to bring it to room temp) 30-45 minutes before serving.
I don’t have instant coffee. Can I use fresh coffee?
Thanks!
Hi Tessa! I wouldn’t recommend just taking 2 tsp. of the fresh coffee and adding it to the 1 cup of boiling water. It won’t produce the same concentrated flavor as instant coffee would. I haven’t tried this, but you could swap out both the 2 tsp. instant coffee and the 1 cup of boiling water for 1 cup of brewed coffee. If that’s not something you’d like to try, you can always skip the 2 tsp. of the instant coffee (still keep the boiling water though!). Thanks! Jennifer
Looks delicious. What # piping tip did you use for the swirl on top? Also how did you get that perfect line of Oreo crumbs border around the bottom of cake? Thanks.
Thank you, Kathy! I’m usually really good about writing down the piping tip I used when decorating and this time I forgot! I believe it’s the Wilton 1M tip, which is the one I typically use. You could probably get away with using the Wilton 2D as well. For the border of Oreo crumbs, I took a small sheet of parchment paper and gently held it around the one side of the cake while I added the Oreo crumbs. Then I’d remove it, turn the cake on the revolving cake stand, and place the parchment paper back on (holding it with my hand) making sure to line it up with the existing line. Hope that helps!