
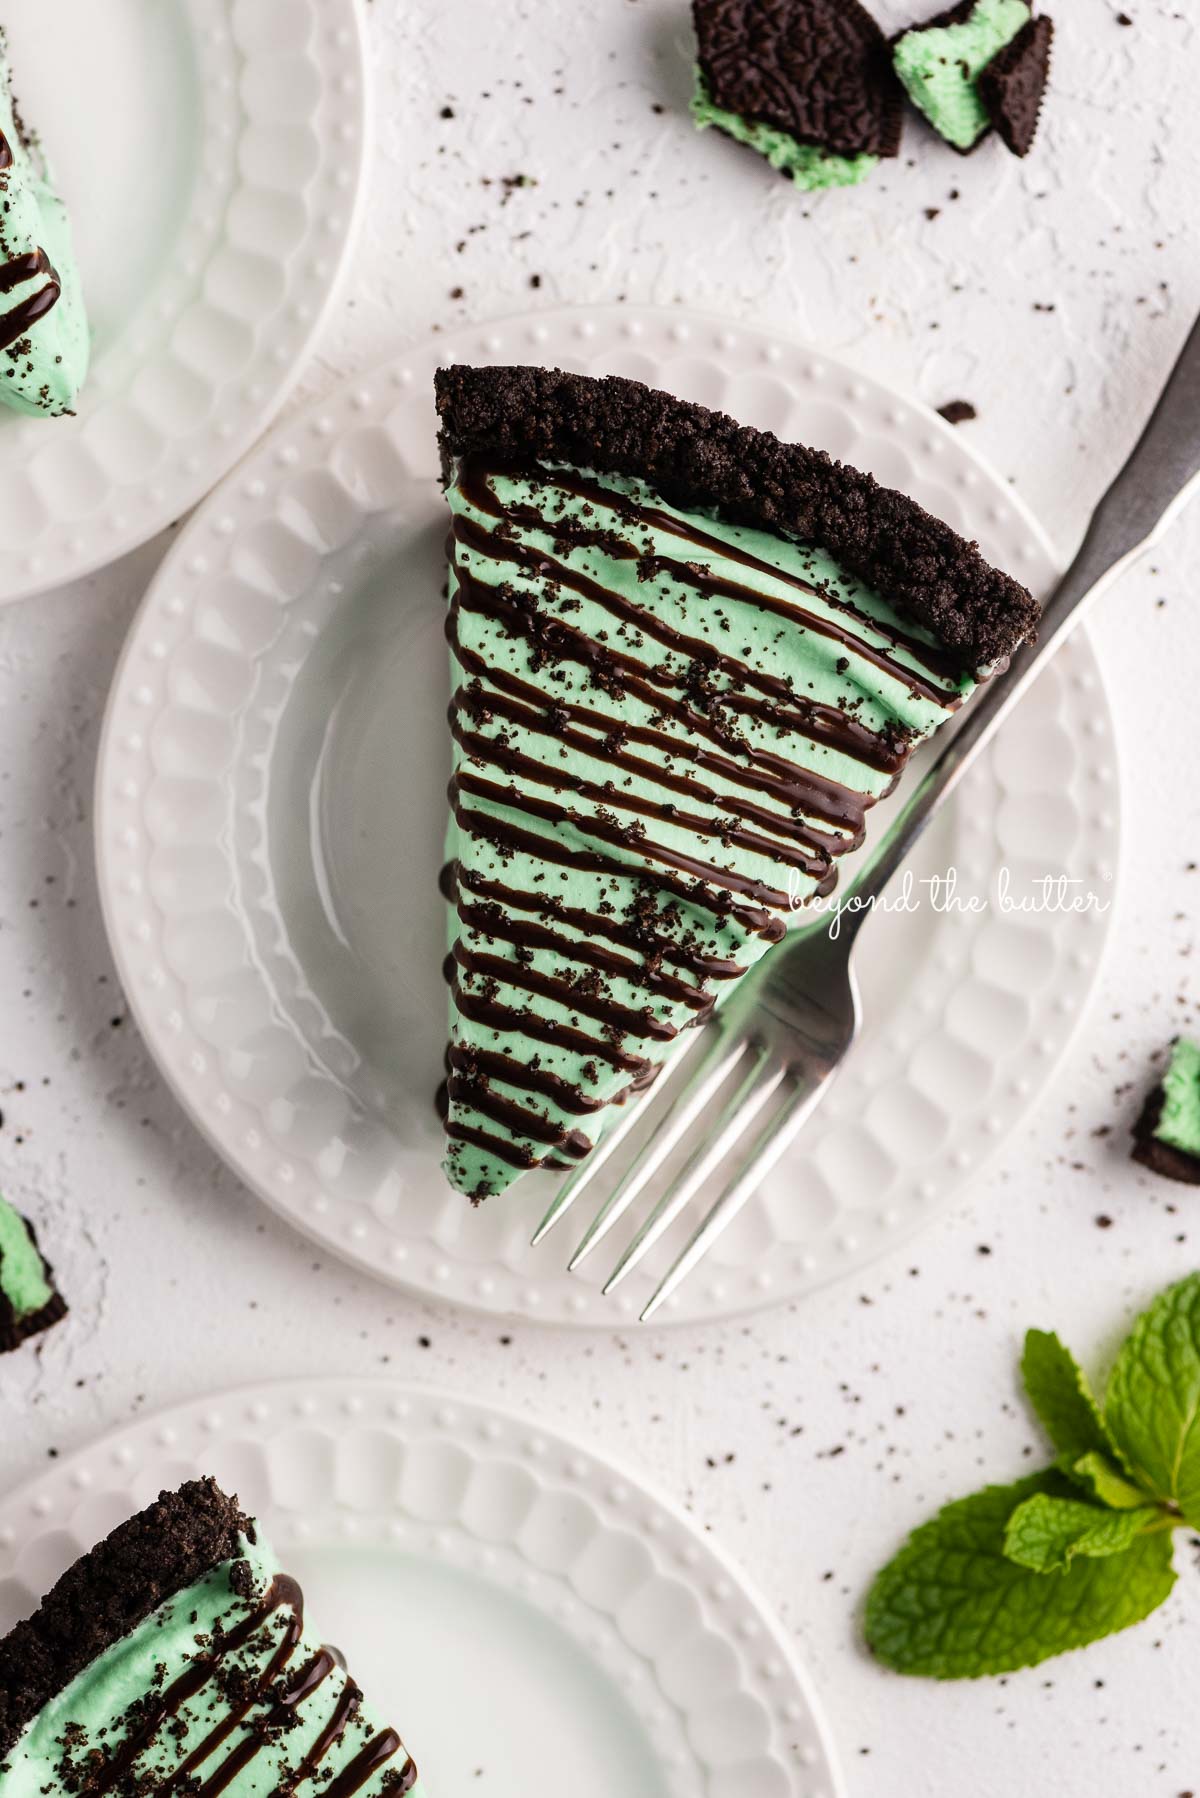
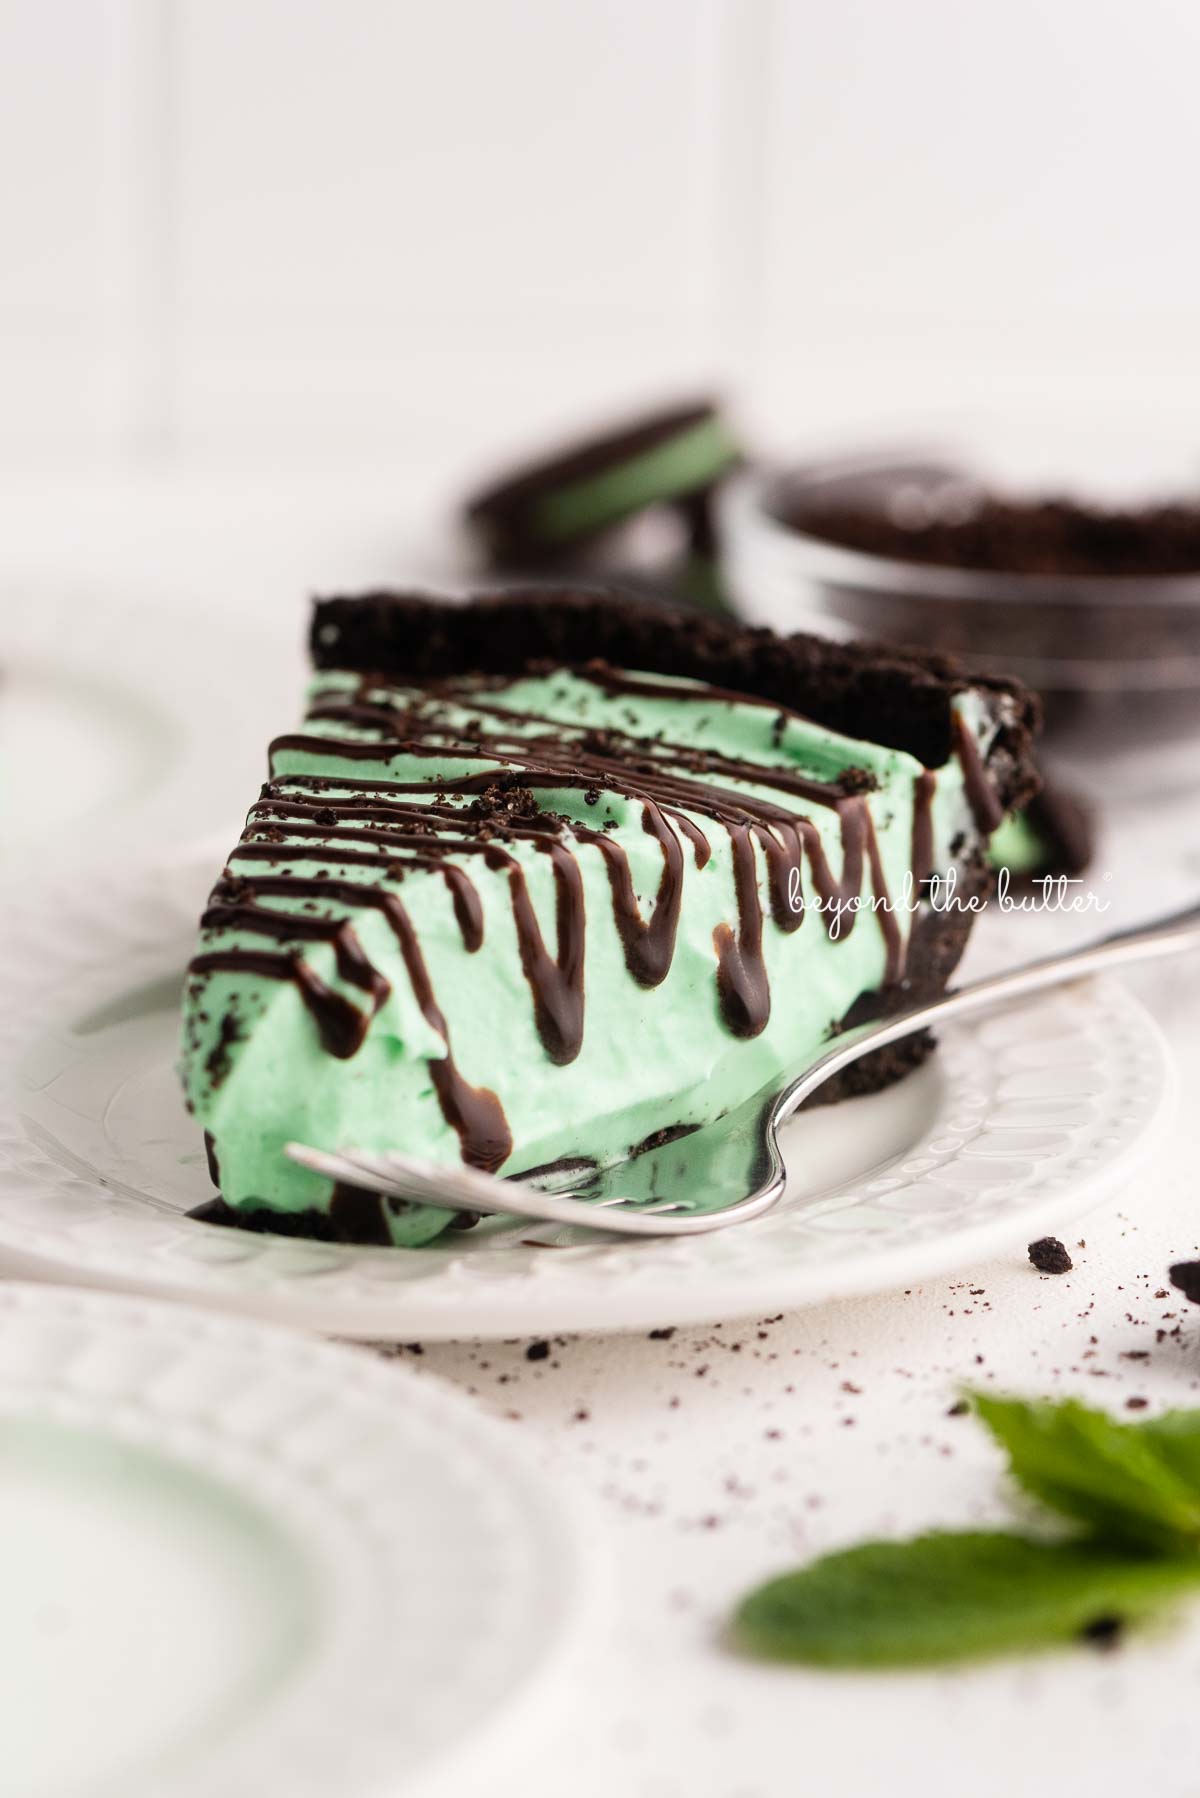
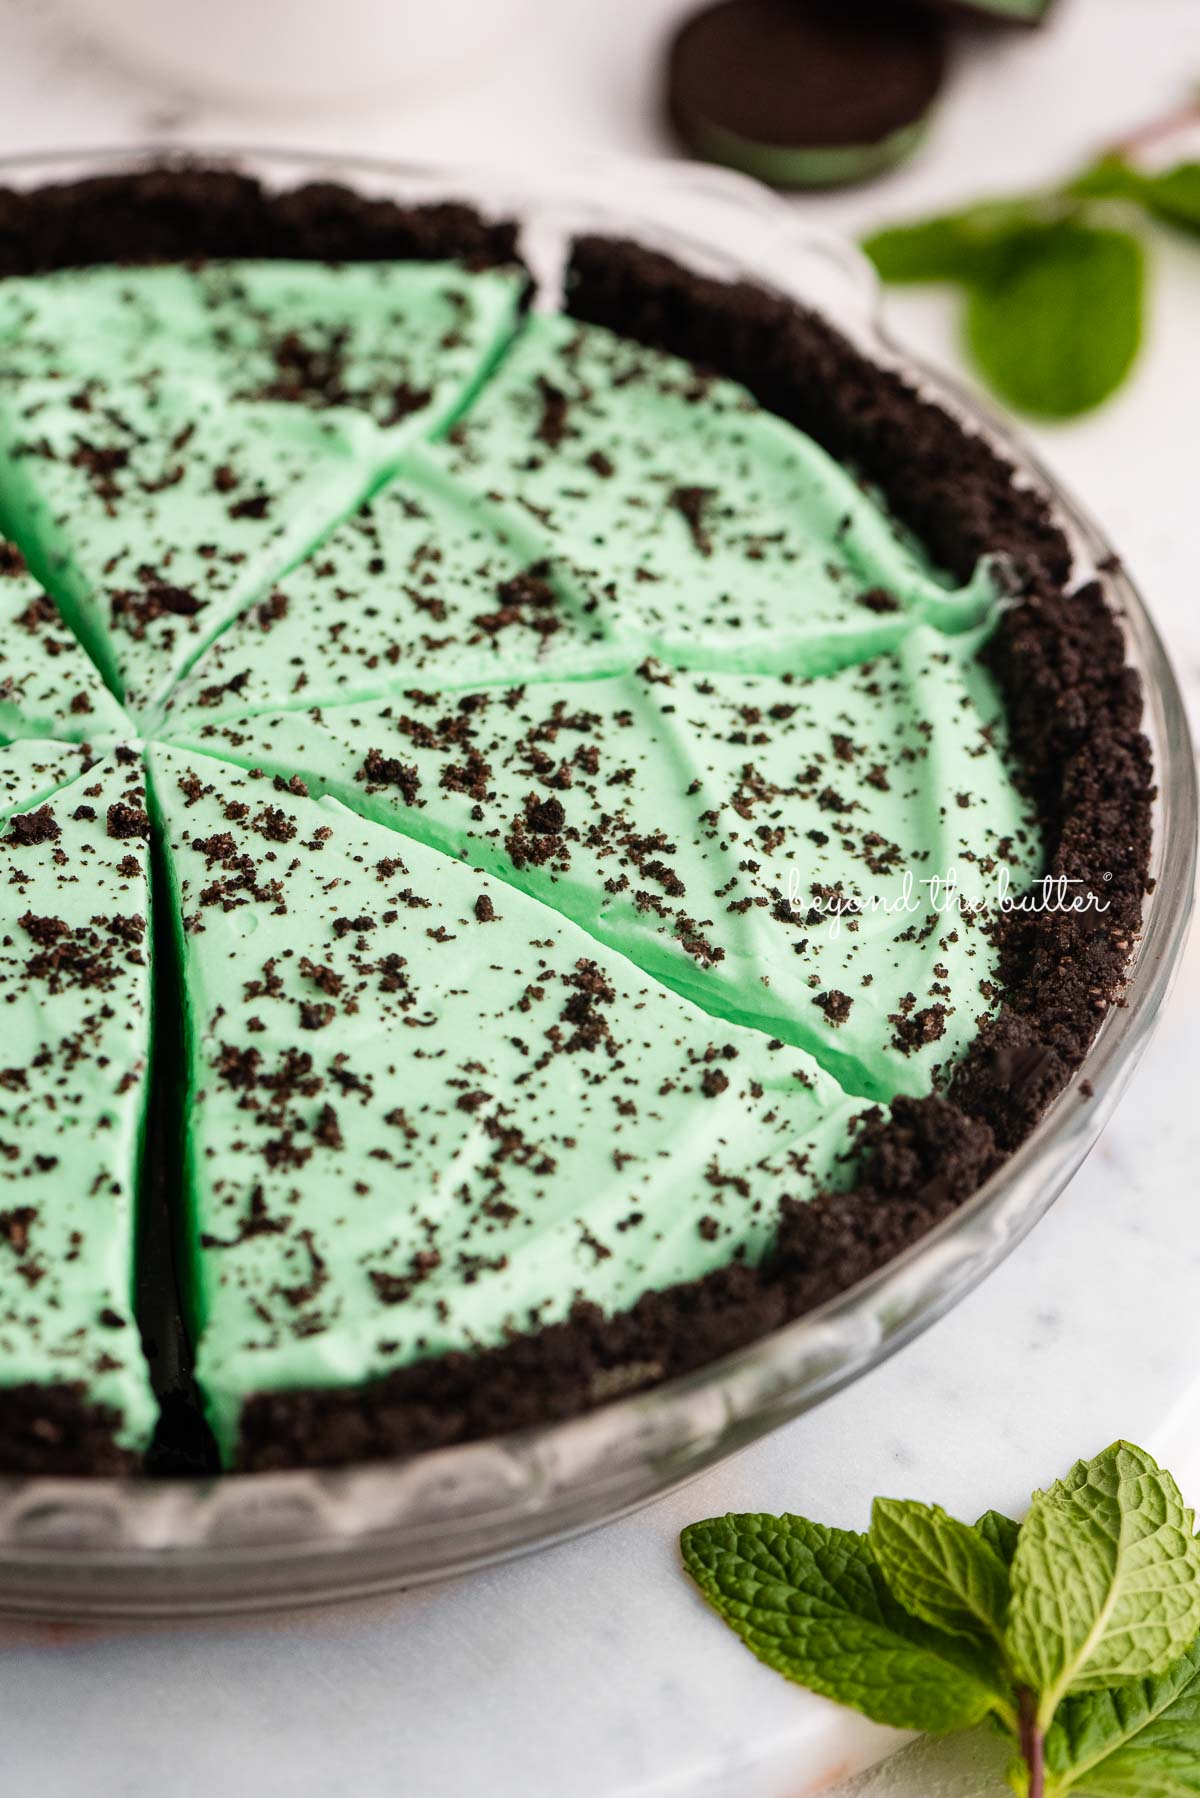
Celebrate St. Patrick’s Day and the start of spring with this refreshing No Bake Mint Chocolate Pie! Also known as grasshopper pie, this is a super easy dessert to whip up that has a light and creamy mint filling that’s paired with a chocolatey Oreo cookie crust. If you love a good mint chocolate dessert as much as I do, you will fall head over heels for this recipe!
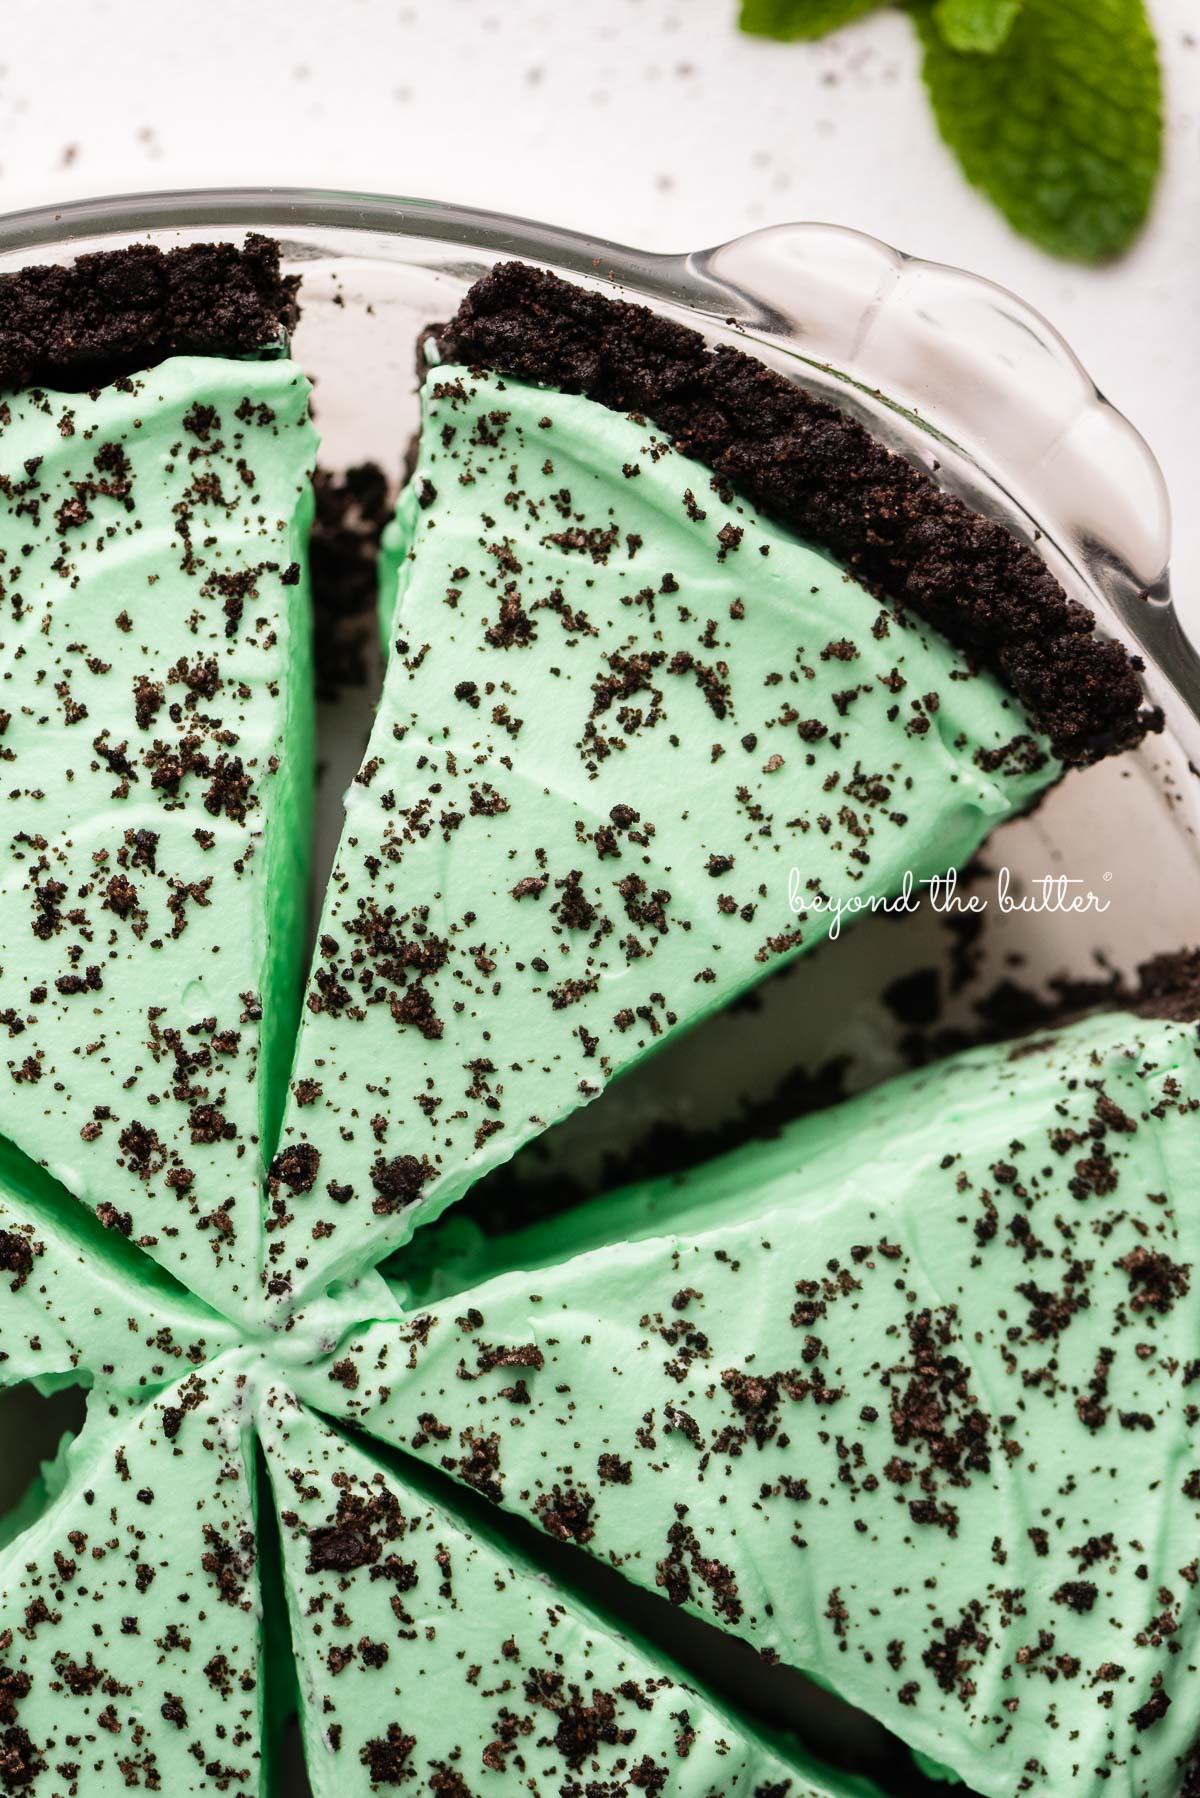
Table of Contents
6 Reasons Why You Will Love This Mint Chocolate Pie
- It’s no-bake from start to finish!
- A refreshing mint chocolate dessert combo.
- The texture combines a light and creamy mint filling with a chocolatey Oreo cookie crust!
- Uses green crème de menthe for the perfect minty flavor.
- Topped with crushed Oreo cookie crumbs.
- Perfect for St. Patrick’s Day, a springtime get-together, or a family party!
I obviously love to bake, but there are times I like to skip the oven and create a no-bake dessert that is easy to make and tastes fantastic. This no-bake mint chocolate pie is exactly that!
Grab Your Ingredients!
To make this no bake mint chocolate pie, you will need the following ingredients:
- Mint Chocolate Oreo Cookies. You’ll need 28 of these slightly addictive cookies.
- Unsalted Butter. This gets melted down and mixed in with the crushed cookies, which helps bring the cookie crust together.
- Marshmallow Creme. Also called marshmallow fluff.
- Heavy Whipping Cream. Found in the dairy aisle, you will need 2 cups that get whipped into whipped cream.
- Crème de Menthe. You can find this at your local wine and spirits shops. There are two types: clear and green. You will need green. If you don’t plan to use this a lot after making this pie, I suggest trying to find a small bottle.
Substitutions
Cookies. Original Oreo cookies can be used as a substitute for the mint-flavored kind. And if you like, you can add 1/2 to 1 teaspoon of peppermint extract to the cookie crust mixture.
Marshmallow Creme. You can also melt down roughly 24 large-size marshmallows if marshmallow creme isn’t available in your area.
Crème de Menthe. If you prefer not to use alcohol in this mint chocolate pie recipe, you can swap out the crème de menthe for dairy milk, peppermint extract, and green food coloring. See recipe card notes for the amounts needed.
Let’s Make the Recipe!
Below is a quick overview of how to make this no bake grasshopper pie (or mint chocolate pie). For the full recipe, visit the recipe card below.
- Make the oreo crust. Crush up the mint oreo cookies in a food processor, add in the melted butter, then shape it into a 9-inch pie plate. Place it in the freezer to set for 30 minutes to 1 hour.
- Soften the marshmallow creme in the microwave. Heat for 30-45 seconds tops. You want it softened just enough to make it easier to whisk. Mix in the crème de menthe.
- Whip the heavy whipping cream into whipped cream. This takes about 4-5 minutes using either a hand mixer or a stand mixer fitted with the whisk attachment.
- Fold the whipped cream into the crème de menthe marshmallow creme mixture until well blended.
- Pour into the chilled pie crust. Place back into the freezer to set for 5-6 hours or overnight. Before serving, let the pie sit out at room temperature for 10-15 minutes before slicing.
Recipe FAQs
Yes, absolutely, you can! Do whatever makes this recipe super easy!
You can use either a 9-inch pie plate or a 9-inch springform pan for this no-bake mint chocolate pie recipe. Some find it easier to use the springform pan when it comes time to slice the pie.
Yes, you can bake your pie crust for 8-10 minutes at 350ºF. Allow the crust to cool completely before adding the mint chocolate pie filling.
You can use 1/3 cup of milk mixed with one teaspoon of peppermint extract and 7-8 drops of green food coloring.
Chill it in the freezer for 5-6 hours or overnight. Before you’re ready to serve it, leave it out for 10-15 minutes so it will be easier to cut.
More Beyond the Butter® Pie Recipes to Try!


If you tried this No Bake Mint Chocolate Pie Recipe or any other recipe on my website, please leave a 🌟 star rating and let me know what you thought in the 📝 comments below. Thanks for visiting!
No Bake Mint Chocolate Pie

Ingredients
Oreo pie crust
- 28 Mint Oreo Cookies, crushed into fine crumbs, plus additional Oreo crumbs for pie topping
- 5 tbsp Unsalted Butter, melted
mint pie filling
- 14 oz Marshmallow Creme (or 24 large marshmallows), softened
- 2 cups Heavy Whipping Cream, whipped
- 1/3 cup Crème de Menthe
Instructions
Oreo pie crust
- Using a food processor, process the Oreos into fine crumbs. Add the melted unsalted butter and pulse until fully combined. You can mix these two ingredients in a separate bowl if needed. The mixture will be soft, a bit mushy, and thick. You should be able to easily mold it into a 9-inch pie plate.28 Mint Oreo Cookies, 5 tbsp Unsalted Butter
- Press the mixture into the bottom and sides of a 9-inch pie plate using a spatula or the bottom of a measuring cup, then smooth and level. Place the pie plate in the freezer for 30 minutes to 1 hour to firm up.
mint pie filling
- Soften your marshmallow fluff in a large microwaveable bowl, heating it up at full power for no more than 45 seconds. Set to the side. If you use larger marshmallows, I recommend melting them down in a saucepan, frequently stirring, over medium heat. Then let the marshmallow mixture cool completely.
- In a medium-sizing mixing bowl, beat the heavy whipping cream using your hand mixer or stand mixer fitted with the whisk attachment until it forms whipped cream. This will take about 4 minutes. Set to the side.2 cups Heavy Whipping Cream
- To the large mixing bowl with softened marshmallow creme, add in the crème de menthe, mixing until it's well blended.14 oz Marshmallow Creme (or 24 large marshmallows), 1/3 cup Crème de Menthe
- Fold in the whipped cream until it's thoroughly combined.
- Pour the mint pie filling mixture into the chilled Oreo pie crust, top with additional Oreo crumbs, then chill in the freezer for 5-6 hours or overnight. Allow the pie to sit at room temperature for 10-15 minutes before cutting it. Store any additional pie in the freezer or refrigerator for up to a week.
Video
Notes
- The 1 hour, 20 minute prep time includes the 30-minute to 1 hour of freeze time for the Oreo pie crust.
- 14 ounces of marshmallow creme equals two small 7-ounce marshmallow creme jars.
- 2 cups of heavy whipping cream equal approximately 1 pint.
- In place of crème de menthe, use 1/3 cup of milk with one teaspoon of peppermint extract and 7-8 drops of green food coloring.
- Using the recipe above, you can make your own Oreo pie crust or buy one pre-made at the grocery store. They can usually be found in the baking aisle.
- If you prefer to bake your pie crust, you can do so for 8-10 minutes at 350ºF. Allow the crust to cool completely before adding the mint chocolate pie filling.
Nutrition
Nutritional information provided above is an estimate only and will vary based on specific ingredients used. See Nutritional Disclaimer for more info.


This was delicious. The family and in-laws loved it, thanks!