This Vanilla Bean Cake recipe is moist and delicious, and makes just one 9-inch cake layer. Paired with this perfectly sweetened strawberry swiss meringue buttercream frosting, it’s a flavorful combo that’s wonderful for spring, summer, or any time of the year!
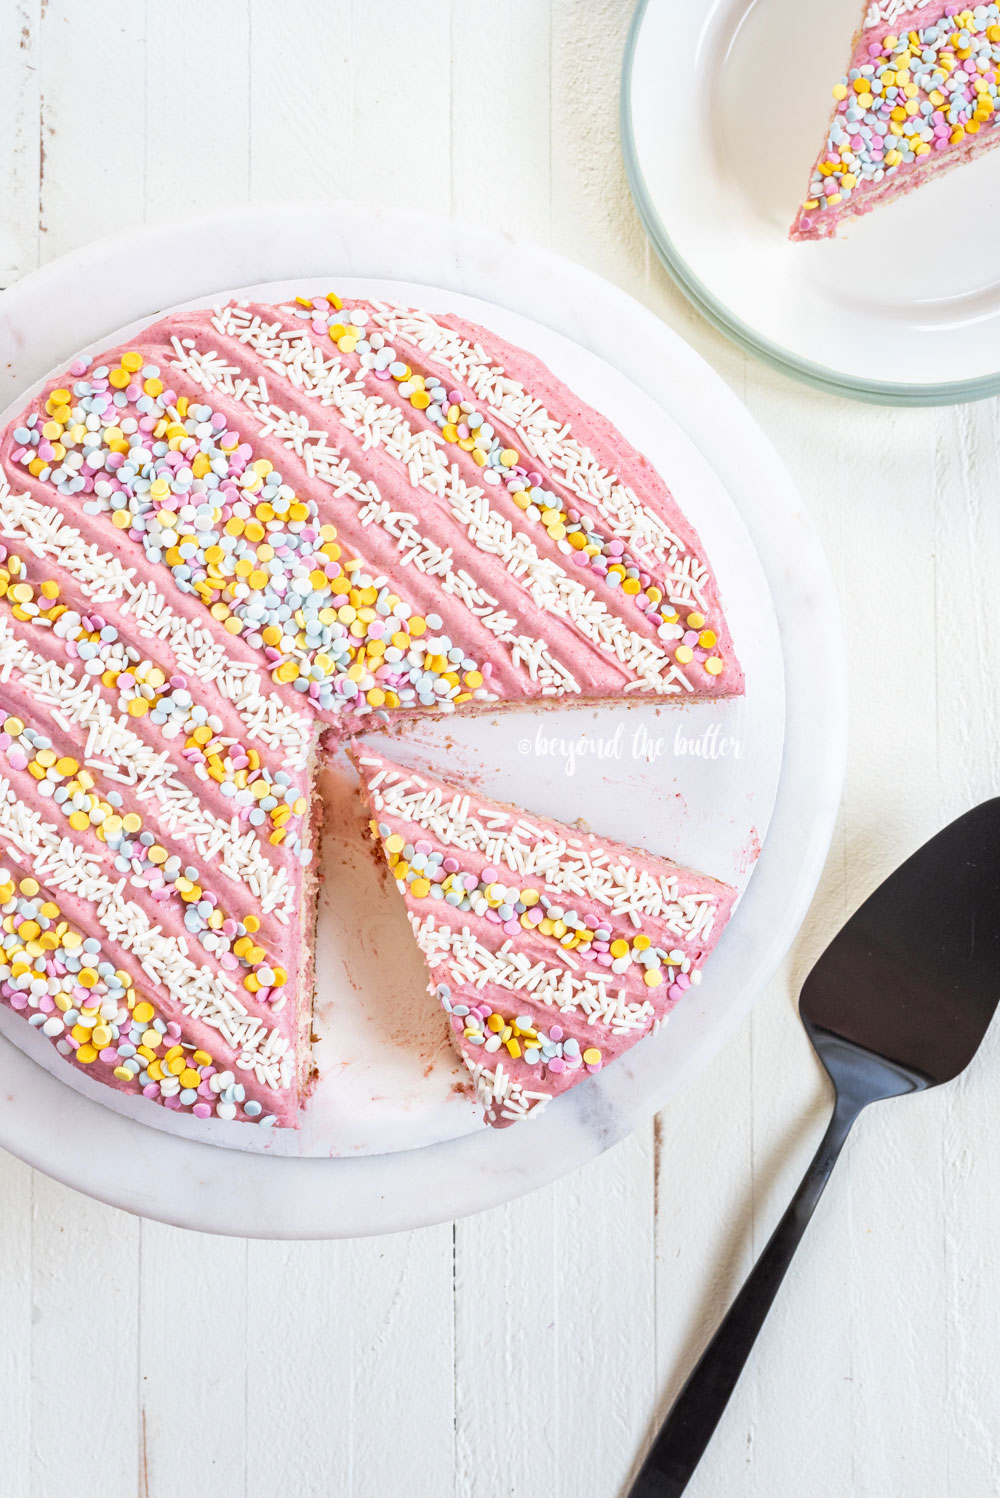
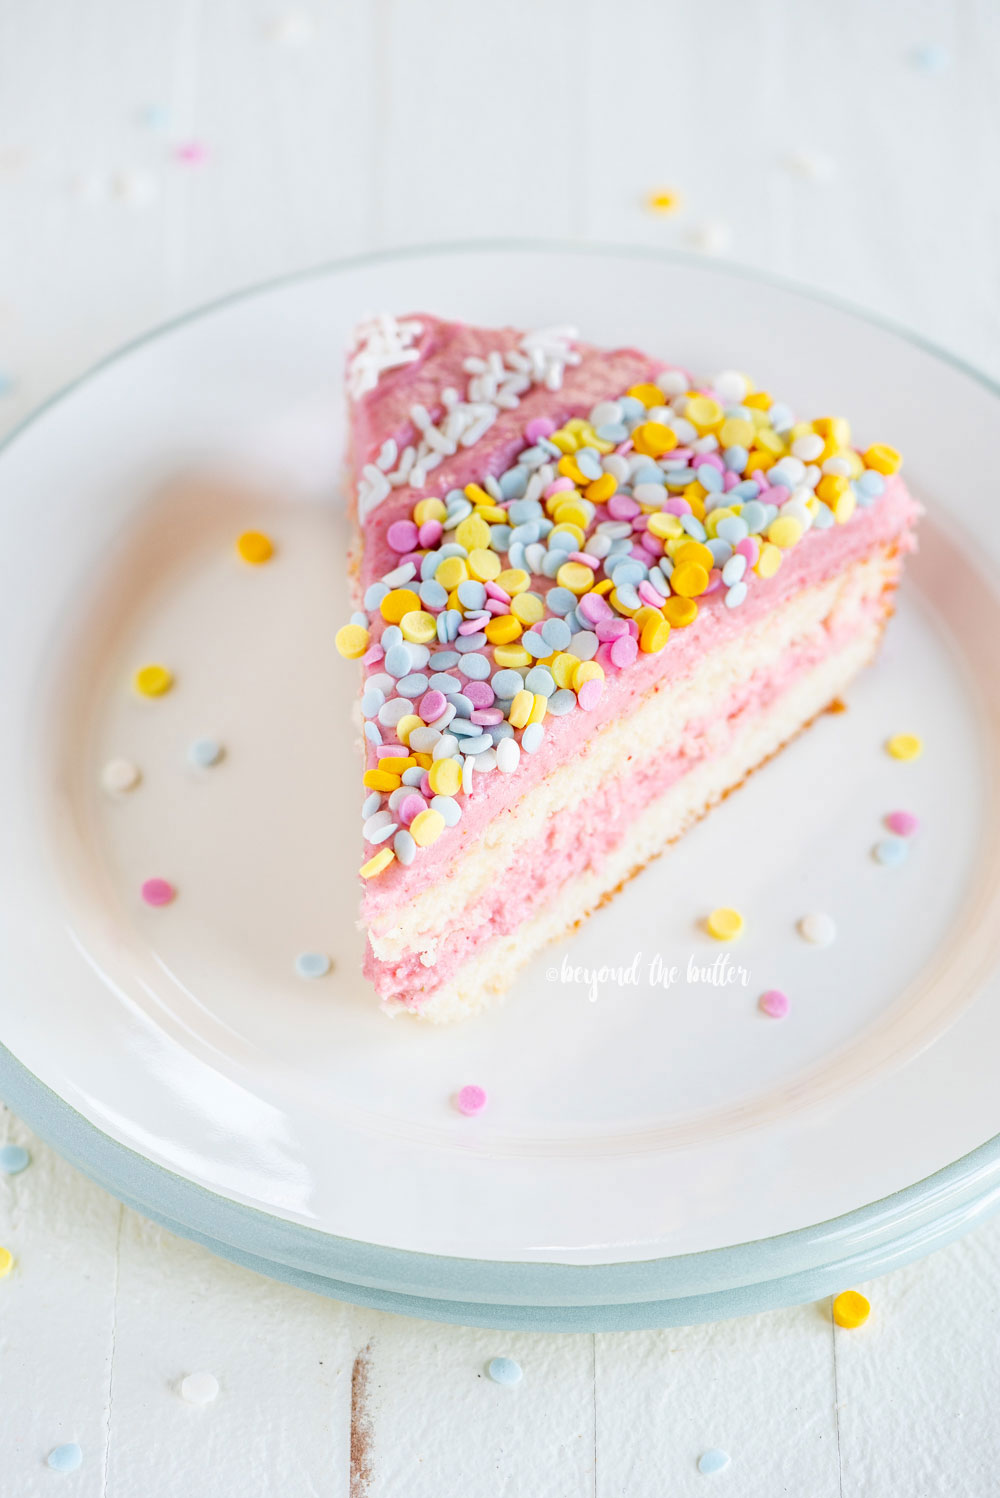
Table of Contents
Ingredients Needed
To make this easy vanilla bean cake, you’ll need:
- all-purpose flour
- baking powder
- salt
- unsalted butter (room temperature)
- granulated sugar
- egg whites
- vanilla bean paste (not extract)
- whole milk
Helpful Tips for Making the Best Swiss Meringue Buttercream
- Ensure your mixing bowl and whisk are thoroughly clean and dry before starting. Go an extra step further and wipe them both down with a paper towel with some white vinegar on it.
- You’ll know when the sugar and egg whites mixture is ready for beating because you won’t be able to feel the sugar granules when you rub a little bit of the mixture together between two fingers. It should be smooth and not gritty or sandy in texture. You can also use a candy thermometer and heat the egg white mixture to 150ºF.
- When you remove the mixing bowl from the simmering pot of water, make sure to have a towel ready to dry off the bottom so you don’t burn yourself with any of the hot water.
- As the mixer beats the egg whites mixture into the meringue state, you can place some ice packets around the bottom to help cool it off.
- The butter you add to the meringue should be softened and cut into 1 tbsp.-size pieces. Allow each piece of butter to be fully absorbed before adding the next one.
- As you add the butter, the meringue will get a little soupy—just keep mixing it! After you’ve added in the butter, switch out the whisk attachment for the paddle attachment and mix anywhere from 5-10 minutes. Your buttercream will be ready when it’s nice and smooth in texture.
- You’ll last use a spatula to add the freeze-dried strawberries (pulsed into a fine powder using a food processor). Don’t use the hand mixer or stand mixer to add this part.
- If you’re not going to use the Swiss meringue buttercream right away to frost the vanilla bean cake, you can cover the mixing bowl tightly with plastic wrap and place it in the refrigerator. Before using, bring the buttercream to room temperature (about 30 minutes), then whisk it again with your mixer to bring it back to a smooth consistency.

Helpful Tips for Making Single Layer Vanilla Bean Cake
- The Texturra Performance 9″ Round Cake Pan is non-stick, but I recommend using a flour-based baking spray to coat the pan lightly.
- The recommended bake time for this vanilla bean cake recipe is 25-30 minutes at 350ºF. For my oven, the 30-minute mark worked perfectly, but I suggest checking your cake at 25 minutes first. You can check by inserting a toothpick into the center of the cake.
- If you aren’t decorating the cake right away, you can wrap it tightly in plastic wrap (after it’s cooled completely), place it in a storage bag, and let it sit out overnight at room temperature.
- Use a serrated knife and a rotating cake stand to cut the cake into two layers.
Recommended Baking Tools
- 2-cup Ninja Food Processor – for processing the freeze-dried strawberries into a fine powder)
- Texturra Performance 9 Inch Non-Stick Round Pan
- Versa-Tools Spatula Set
- Naturally Flavored Sprinkles and Jimmies
More Delicious Cakes!


If you tried this Single Layer Vanilla Bean Cake Recipe or any other recipe on my website, please leave a 🌟 star rating and let me know what you thought in the 📝 comments below. Thanks for visiting!
Single Layer Vanilla Bean Cake

This single layer vanilla bean cake recipe is moist and delicious and makes just one, 9 inch cake layer. Paired with this perfectly sweetened strawberry swiss meringue buttercream frosting, it's a flavorful combo that's wonderful for spring, summer, or any time of the year!
Ingredients
Single Layer Vanilla Bean Cake
- 1 cup All-Purpose Flour, sifted
- 1 tsp. Baking Powder
- 1/8 tsp Salt
- 6 tbsp Unsalted Butter, room temperature
- 3/4 cup Granulated Sugar
- 3 Large Egg Whites
- 2 tsp Vanilla Bean Paste
- 5 tbsp Whole Milk
Strawberry Swiss Meringue Buttercream
- 1.2 oz Freeze Dried Strawberries, processed into a fine powder
- 1 1/2 cups Granulated Sugar
- 4 Large Egg Whites
- 2 tsp Vanilla Extract
- 1/8 tsp Salt
- 1 1/2 cups Unsalted Butter, room temperature and cut into 1 tbsp.-size pieces
Instructions
Single Layer Vanilla Bean Cake
- Adjust the oven rack to the middle rack (or the one just above it) and preheat the oven to 350ºF. Lightly spray the 9-inch cake pan with a flour-based baking spray and set aside.
- In a medium-size mixing bowl, whisk together the all-purpose flour, baking powder, and salt. Set aside.
- Using a hand mixer or a stand mixer fitted with a paddle attachment, beat together the unsalted butter and granulated sugar on medium-high speed until nice and fluffy.6 tbsp Unsalted Butter, 3/4 cup Granulated Sugar
- Add in the egg whites and beat until fully incorporated, then add in the vanilla bean paste. Scrape down the sides of the bowl, as needed.3 Large Egg Whites, 2 tsp Vanilla Bean Paste
- Switch the mixer speed to low and alternate between adding in the dry mixture and the whole milk, and mix until just combined.5 tbsp Whole Milk
- Pour the cake batter into the lightly coated 9" round cake pan, place in the oven, and bake for 25-30 minutes at 350ºF or until an inserted toothpick into the center of the cake comes out clean.
- Remove from the oven and cool in the cake pan for 10 minutes, then invert onto a cooling rack to finish cooling.
Strawberry Swiss Meringue Buttercream
- Using a small food processor, process the freeze-dried strawberries into a fine powder. Be cautious when removing the lid, as the powder might go everywhere.1.2 oz Freeze Dried Strawberries
- Place the sugar and egg whites in a glass or metal mixing bowl (either a standalone bowl or one that is part of a stand mixer), and set it over a pot filled with 1"-2" of simmering water.4 Large Egg Whites, 1 1/2 cups Granulated Sugar
- Whisk continuously until the mixture reaches 150ºF and/or the sugar has completely dissolved. You can check this by taking a small amount of the egg white mixture, rubbing it between two fingers. It should be smooth and not gritty in texture.
- Carefully remove the mixing bowl from the simmering pot, wipe the bottom off with a towel, and beat the egg white mixture using a hand mixer or your stand mixer fitted with the whisk attachment on medium-high to high speed until it forms the stiff meringue peaks and (this is important) the bottom of the mixing bowl is cool to the touch. This can take anywhere from 10 to 15 minutes.
- Add the vanilla extract and salt, then the unsalted butter, one piece at a time, allowing each piece to fully absorb into the meringue mixture. If it looks mushy or curdled, continue to beat on high speed.
- Switch out the whisk attachment for the paddle attachment and mix for anywhere from 5 to 10 minutes. The meringue buttercream is ready when it is nice and smooth. Using a spatula, fold in the freeze-dried strawberry powder.
- Frost the cooled cake with the strawberry swiss meringue buttercream. Top with sprinkles, then enjoy! Optionally, you can slice the cake into two layers using a serrated knife and a rotating cake stand.
- If not using the buttercream right away to frost the cake, cover the mixing bowl tightly with plastic wrap and refrigerate for up to a week. Before using, bring the buttercream to room temperature (about 30 minutes), then whisk it again with your mixer to bring it back to a smooth consistency.
Notes
- If you won’t be decorating the cake right away, you can wrap it tightly in plastic wrap (after it’s cooled completely, of course), place it in a storage bag, and let it sit out overnight at room temperature.
- Optionally, use a serrated knife and a rotating cake stand to cut the cake into 2 layers.
Nutrition
Calories: 465kcal | Carbohydrates: 49g | Protein: 3g | Fat: 29g | Saturated Fat: 18g | Polyunsaturated Fat: 1g | Monounsaturated Fat: 7g | Trans Fat: 1g | Cholesterol: 77mg | Sodium: 128mg | Potassium: 97mg | Fiber: 1g | Sugar: 40g | Vitamin A: 894IU | Vitamin C: 35mg | Calcium: 44mg | Iron: 1mg
Nutritional information provided above is an estimate only and will vary based on specific ingredients used. See Nutritional Disclaimer for more info.
Like this recipe? Leave a comment below!


I cannot, for the life of me, split a cake in two.
Will the cake still be as fluffy and soft if I bake it in TWO 9-inch pans?
No worries, I’ve been there! I haven’t tried that, but it may be fine. Because the layers are thinner, I would just pay attention to the baking time. For another option you could either split the batter in 2, 8″ pans or 2, 6″ pans – or – you can double the recipe so you’d have a normal 2 layer cake (just make sure to adjust the frosting recipe, if using).