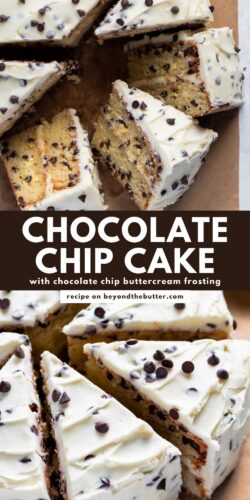
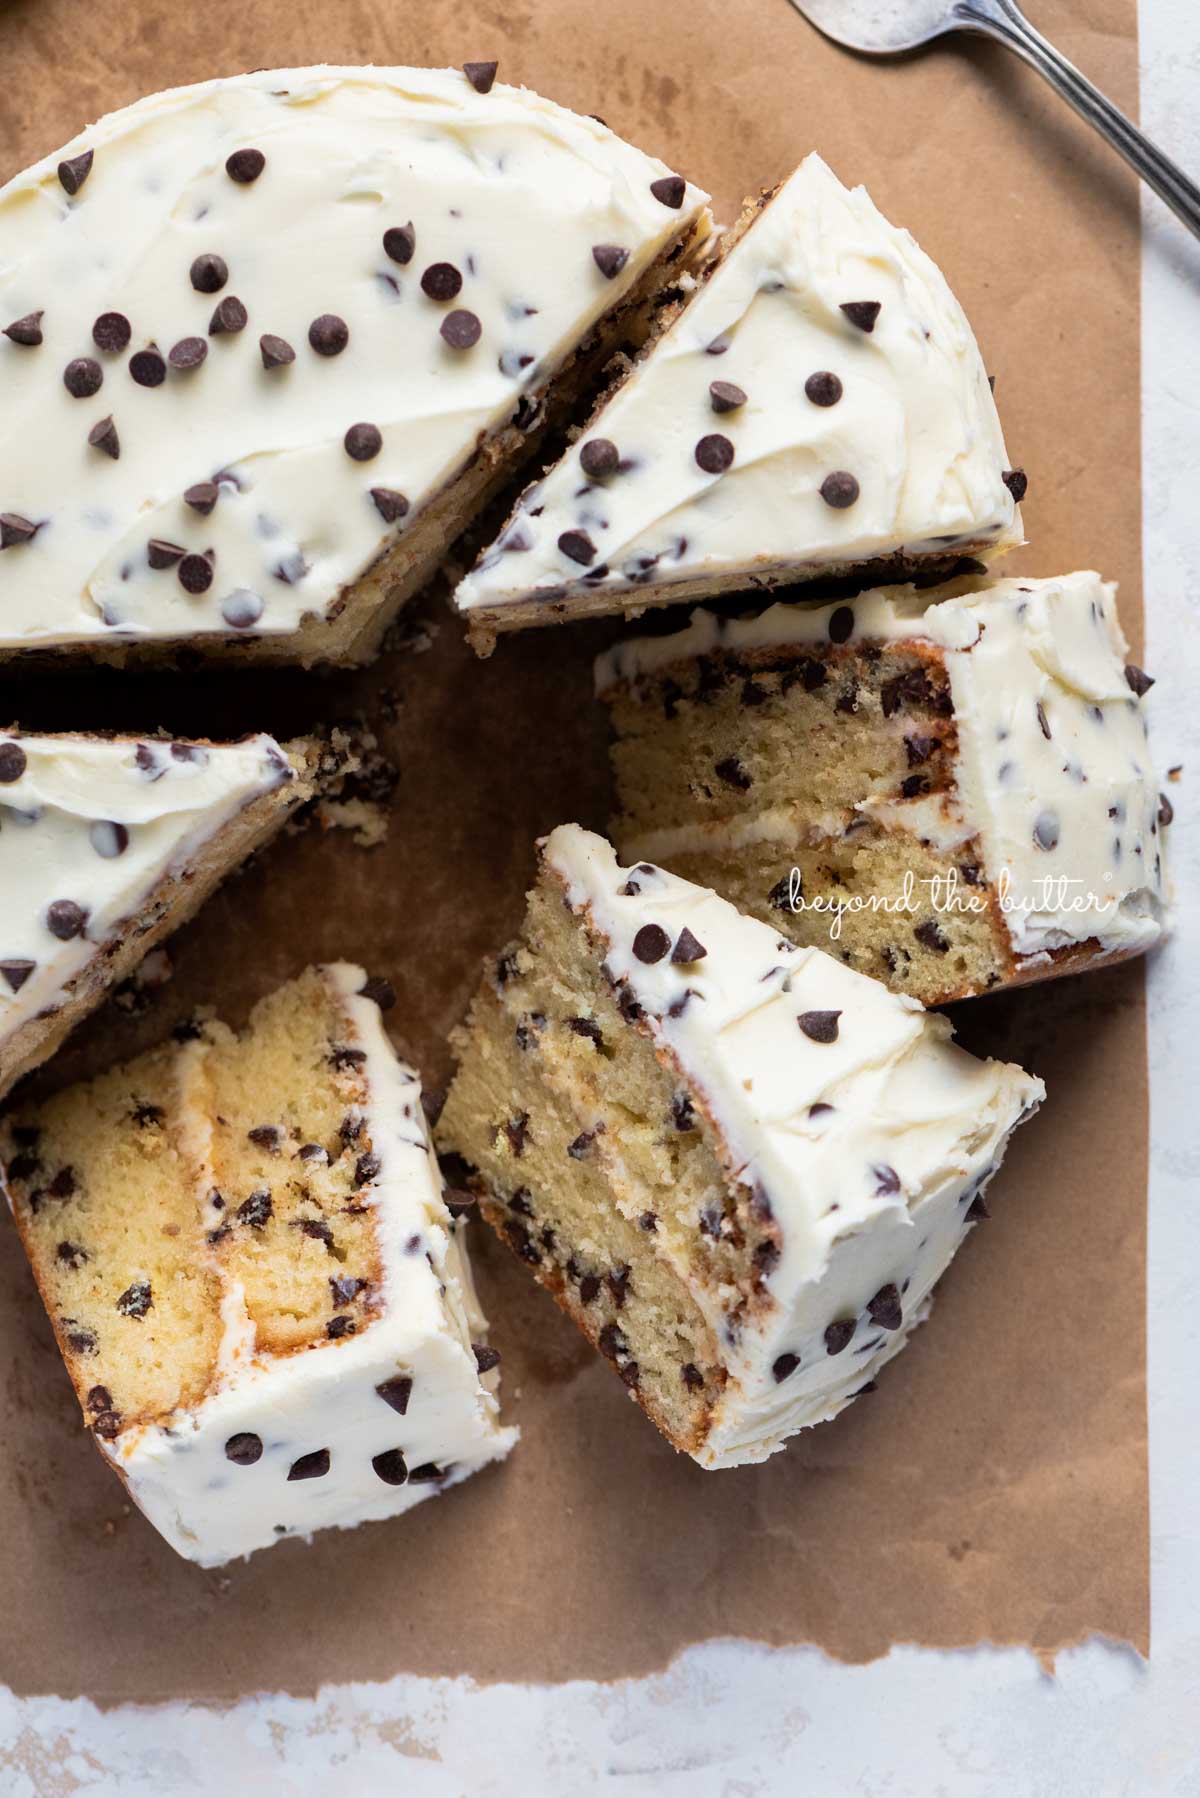
This Chocolate Chip Cake is 2 layers of moist and delicious vanilla cake loaded with mini semi-sweet chocolate chips and a sweet vanilla chocolate chip buttercream frosting to boot!
Pin this now to find it later
Pin ItWhy you’ll love this recipe

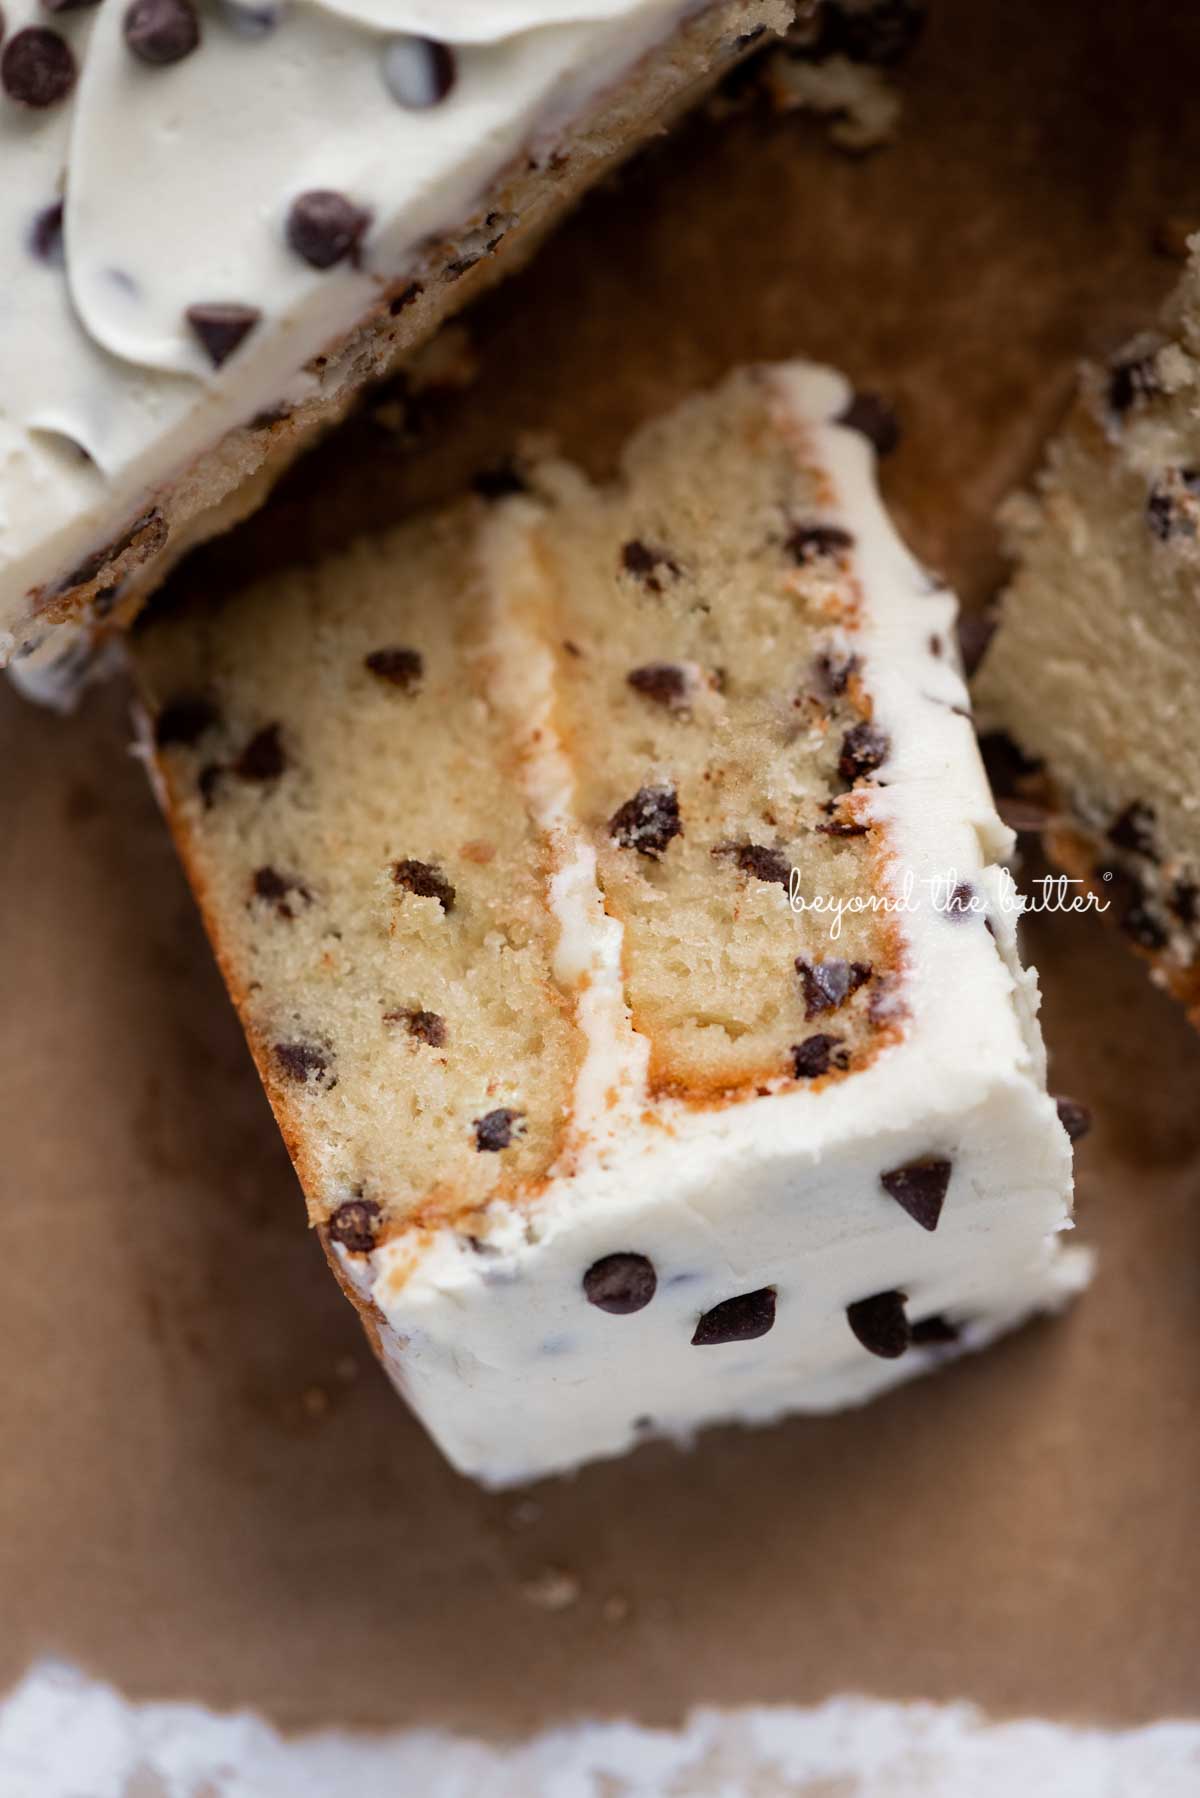
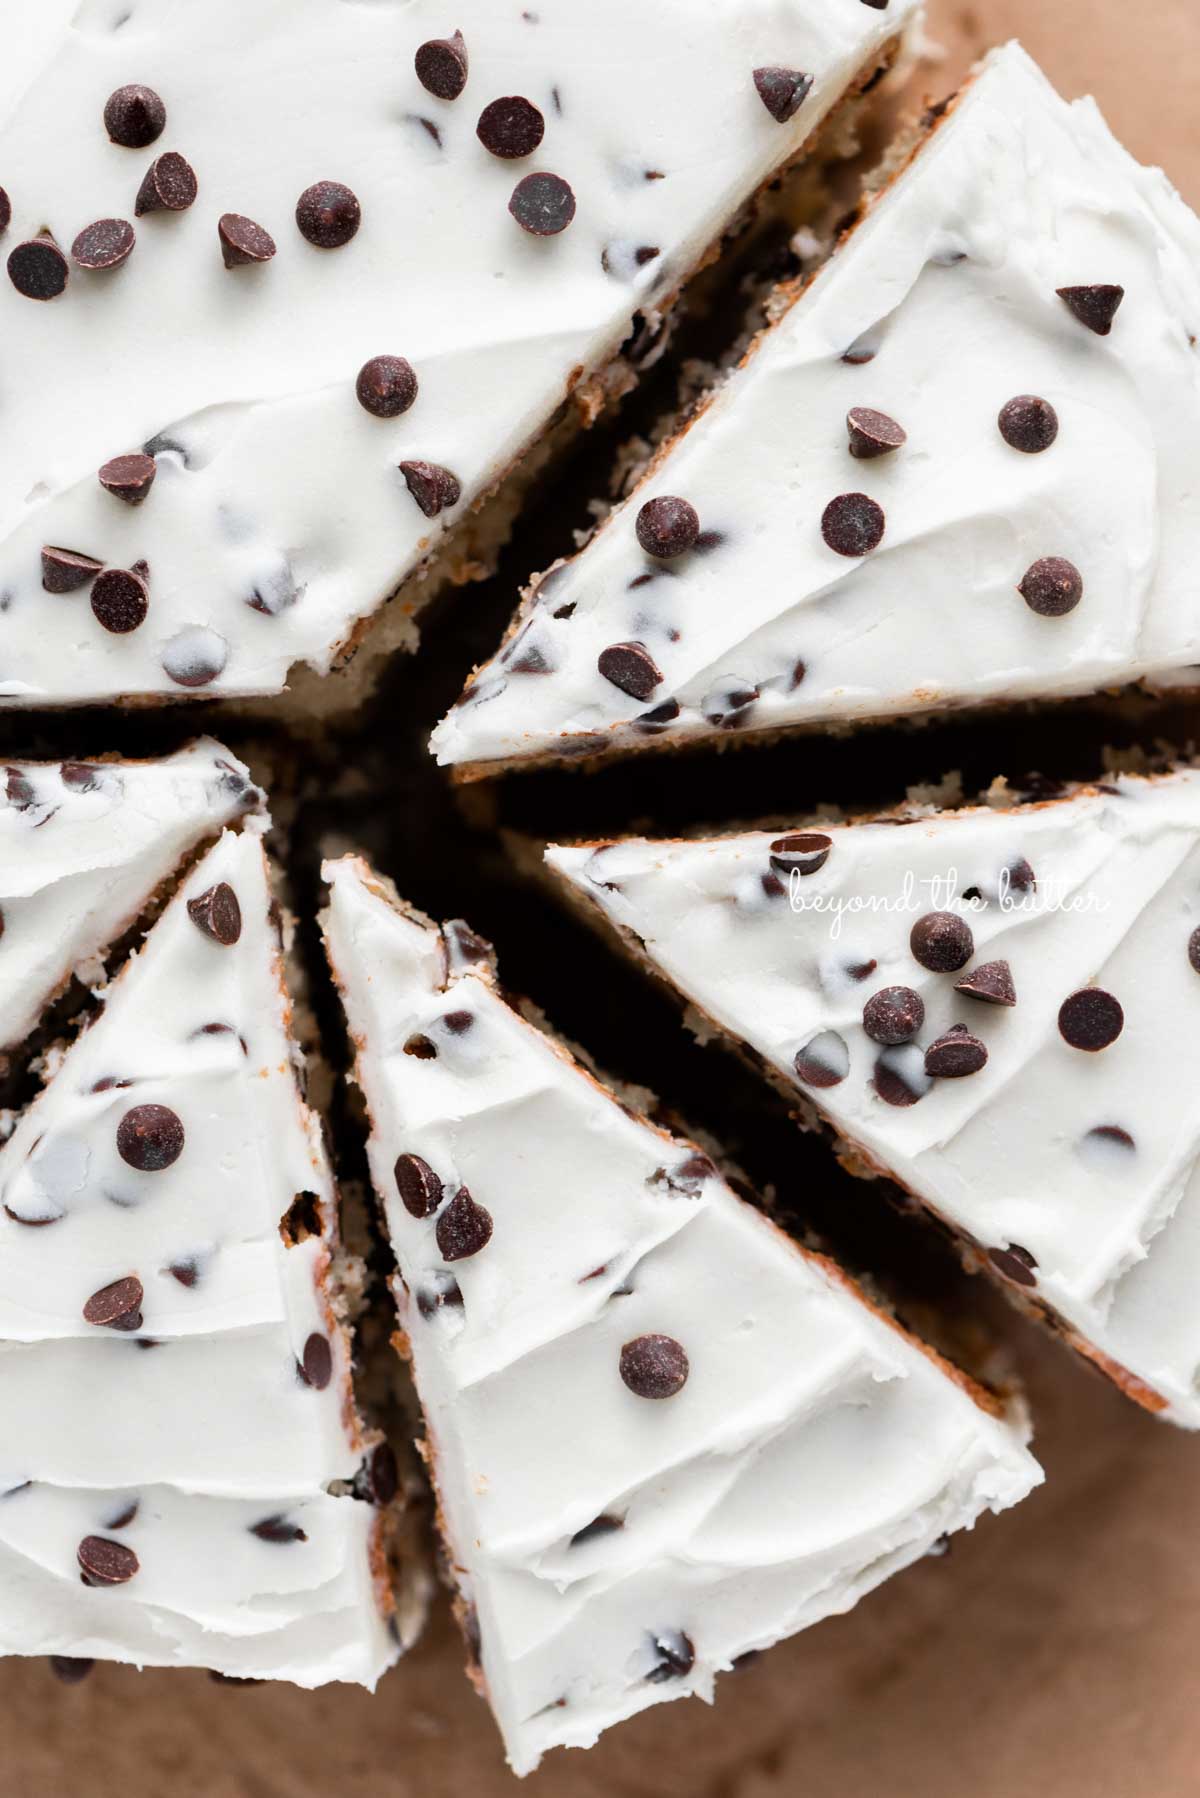
This simple chocolate chip cake is two 8-inch layers of moist, fluffy white cake with mini semi-sweet chocolate chips topped with a creamy vanilla chocolate chip buttercream frosting.
It’s an easy recipe to make in advance (both the cake and the buttercream frosting), and you can even freeze it after frosting!
And if you love this recipe, check out my Moist Banana Cake (also two layers), Chocolate Oreo Cake (three layers), or my Single Layer Funfetti Cake!
Enjoy!
Table of Contents
Ingredients Needed
Chocolate Chip Cake
The following ingredients are needed to make this easy chocolate chip cake recipe. Items noted in the bulleted list are key ingredients that need a bit more explanation.
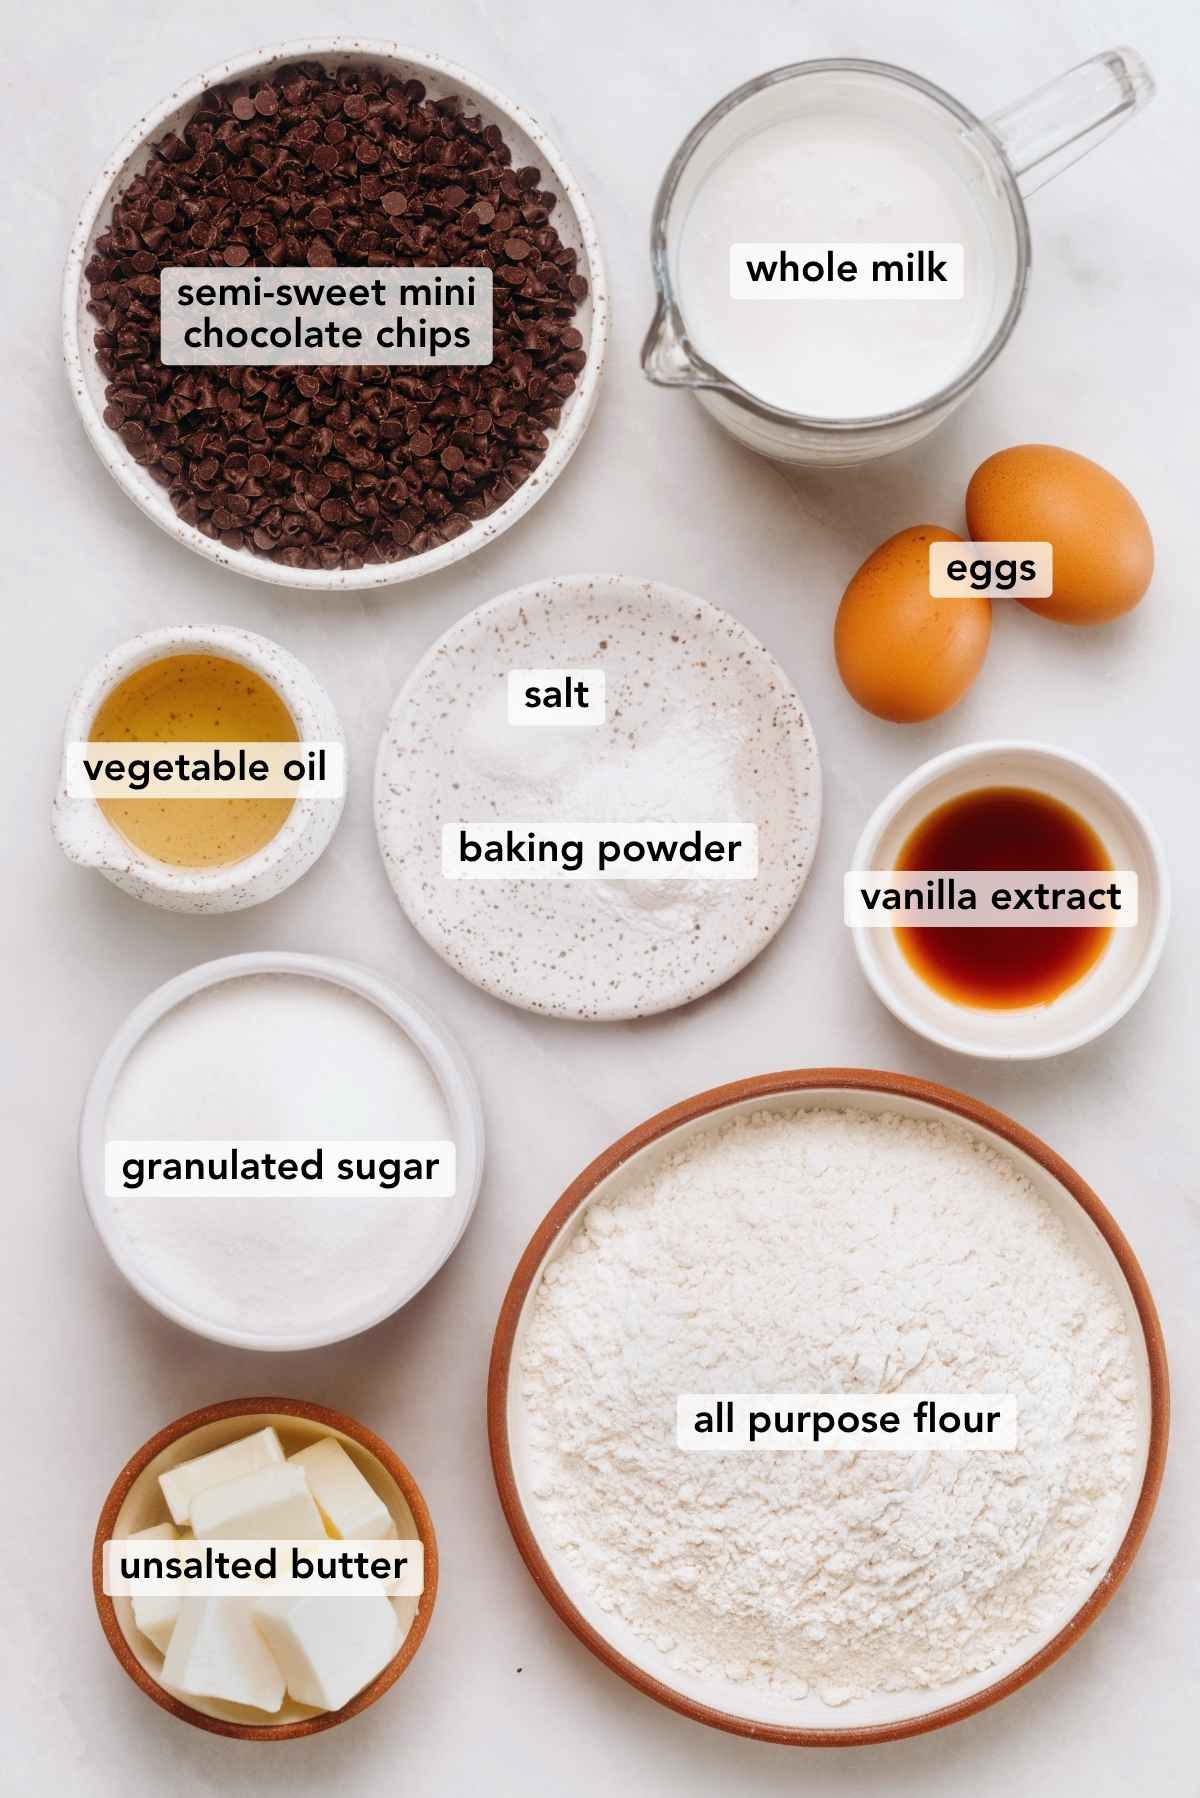
- All-Purpose Flour. Use your favorite brand of flour—I used King Arthur.
- Whole Milk. You can also use 1% or 2% dairy milk.
- Semi-Sweet Mini Chocolate Chips. I recommend Ghirardelli, as they’re lighter and less prone to sinking during baking. I would still coat them in a little flour before adding them to the batter, though!
Chocolate Chip Buttercream Frosting
The following ingredients are needed to make this simple chocolate chip buttercream frosting. Items noted in the bulleted list are key ingredients that need a bit more explanation.
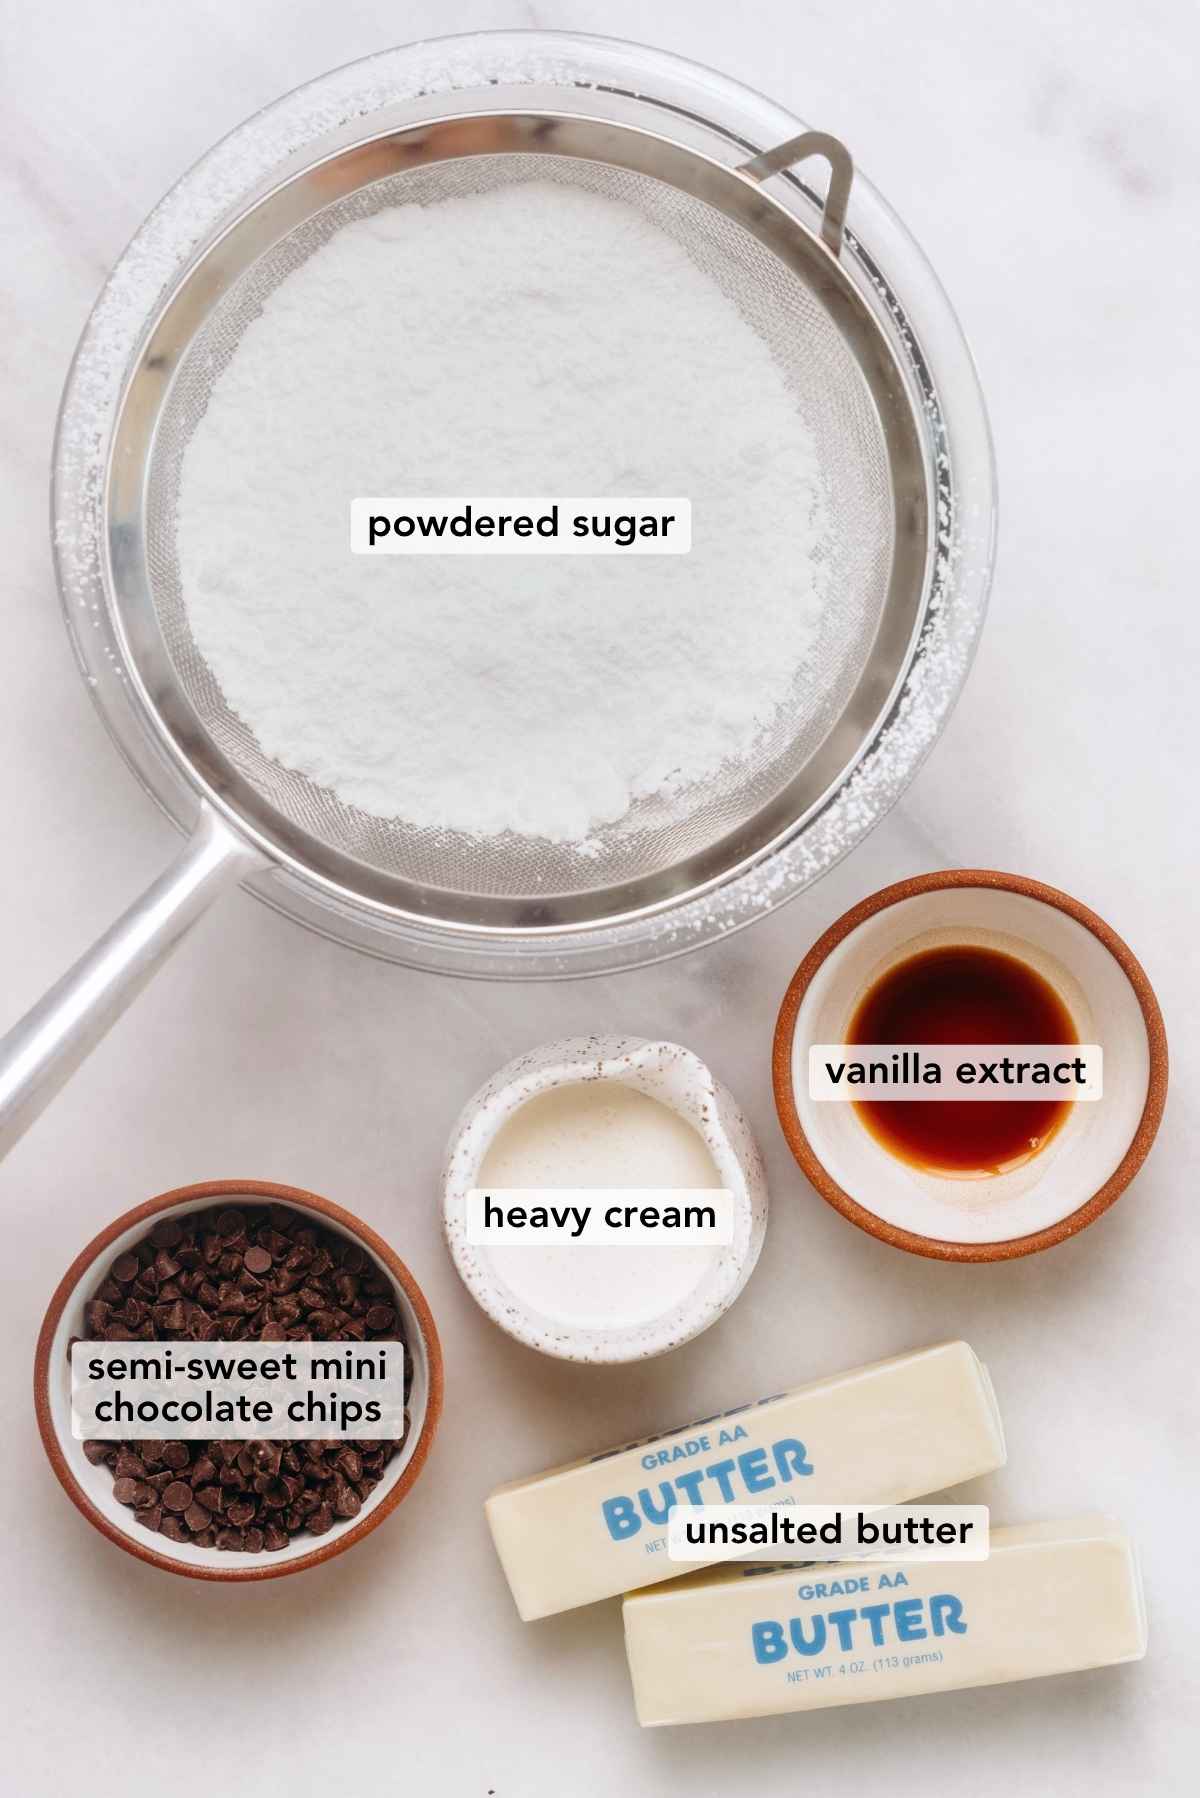
- Powdered Sugar. I highly recommend sifting the powdered sugar to remove any clumps.
- Heavy Cream. You could also use whole milk in a pinch.
- Semi-Sweet Mini Chocolate Chips. You can omit the mini chocolate chips from the frosting if you prefer just the cake to have them, or you prefer a smoother frosting.
How to Make the Recipe
Below is a quick overview of how to make this two-layer chocolate chip cake recipe. For the full printable recipe, with US customary or metric measurements, visit the recipe card below.
Chocolate Chip Cake
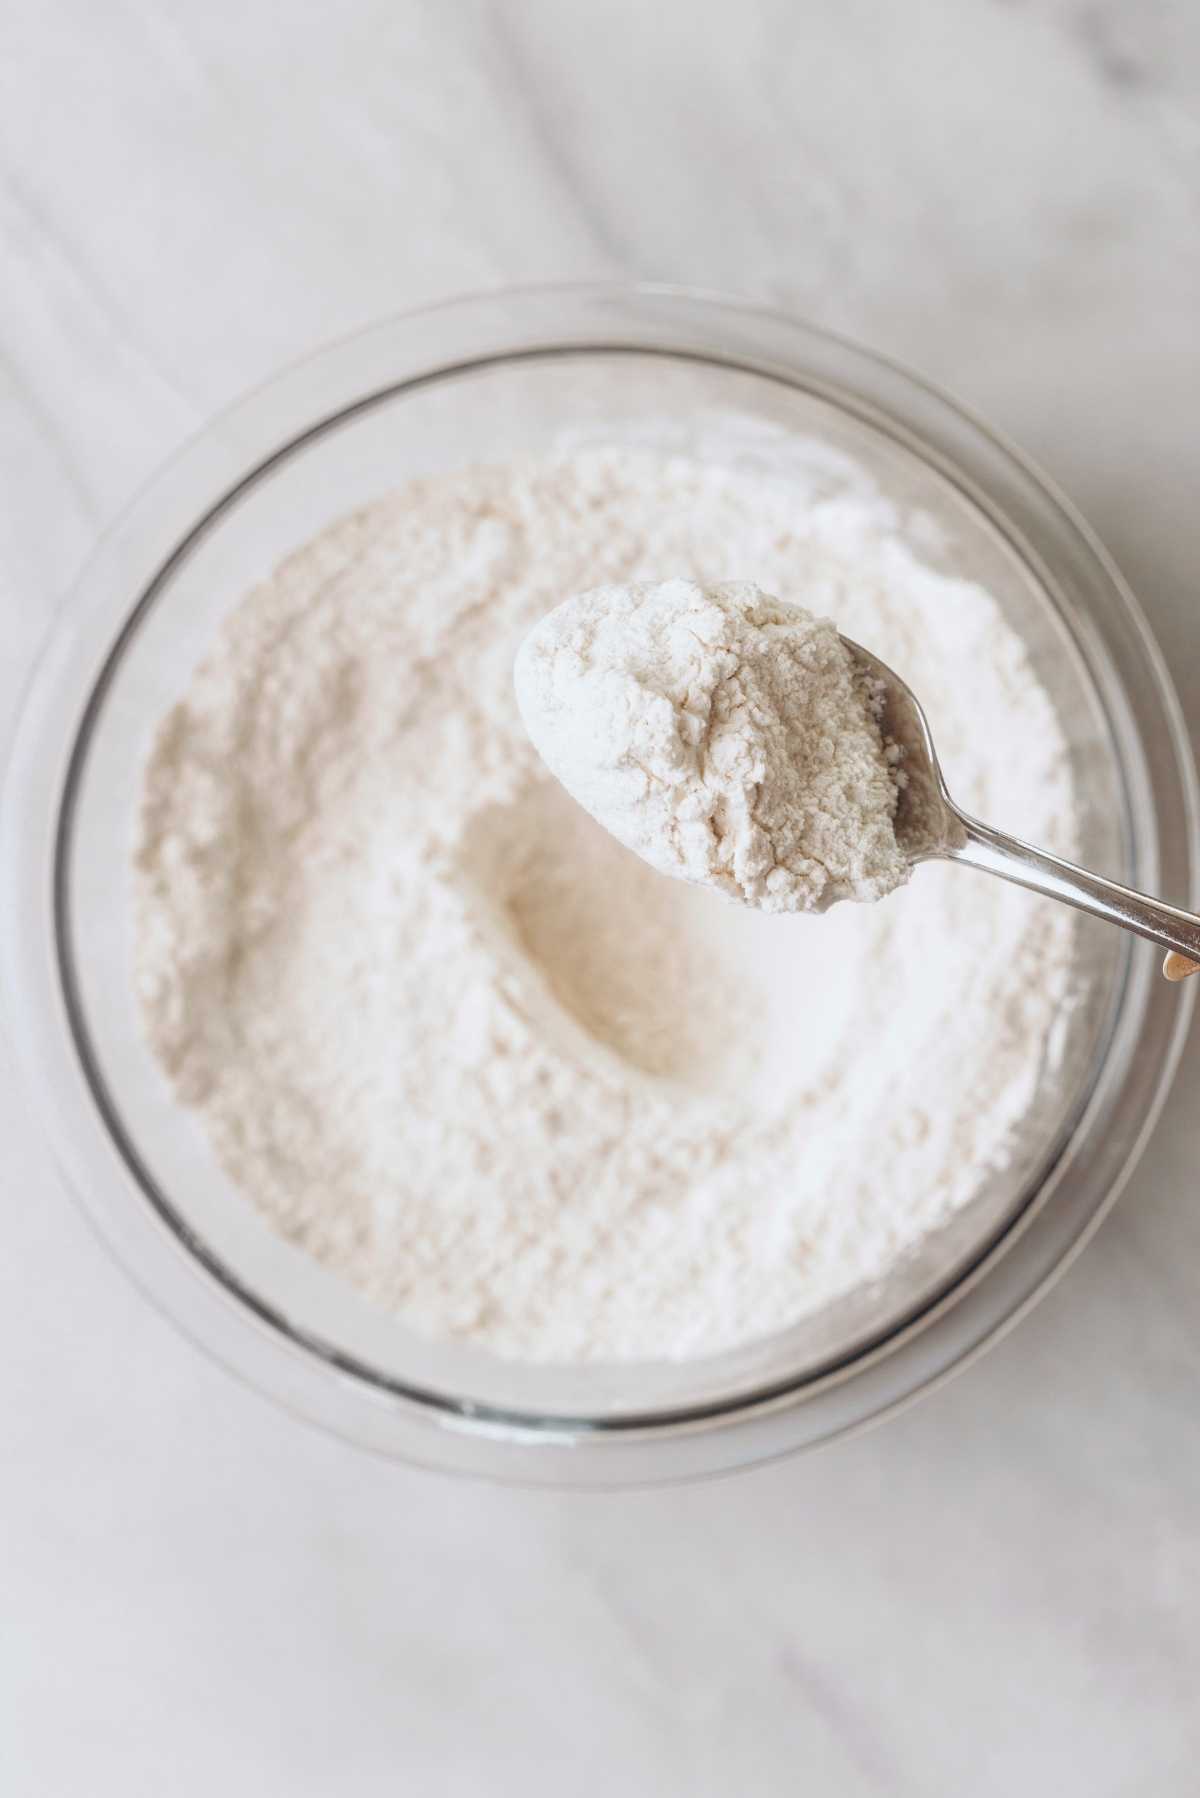
Step 1. Whisk the flour, baking powder, and salt together in a bowl. Reserve 2-3 tablespoons of this mixture to coat the mini chocolate chips in.
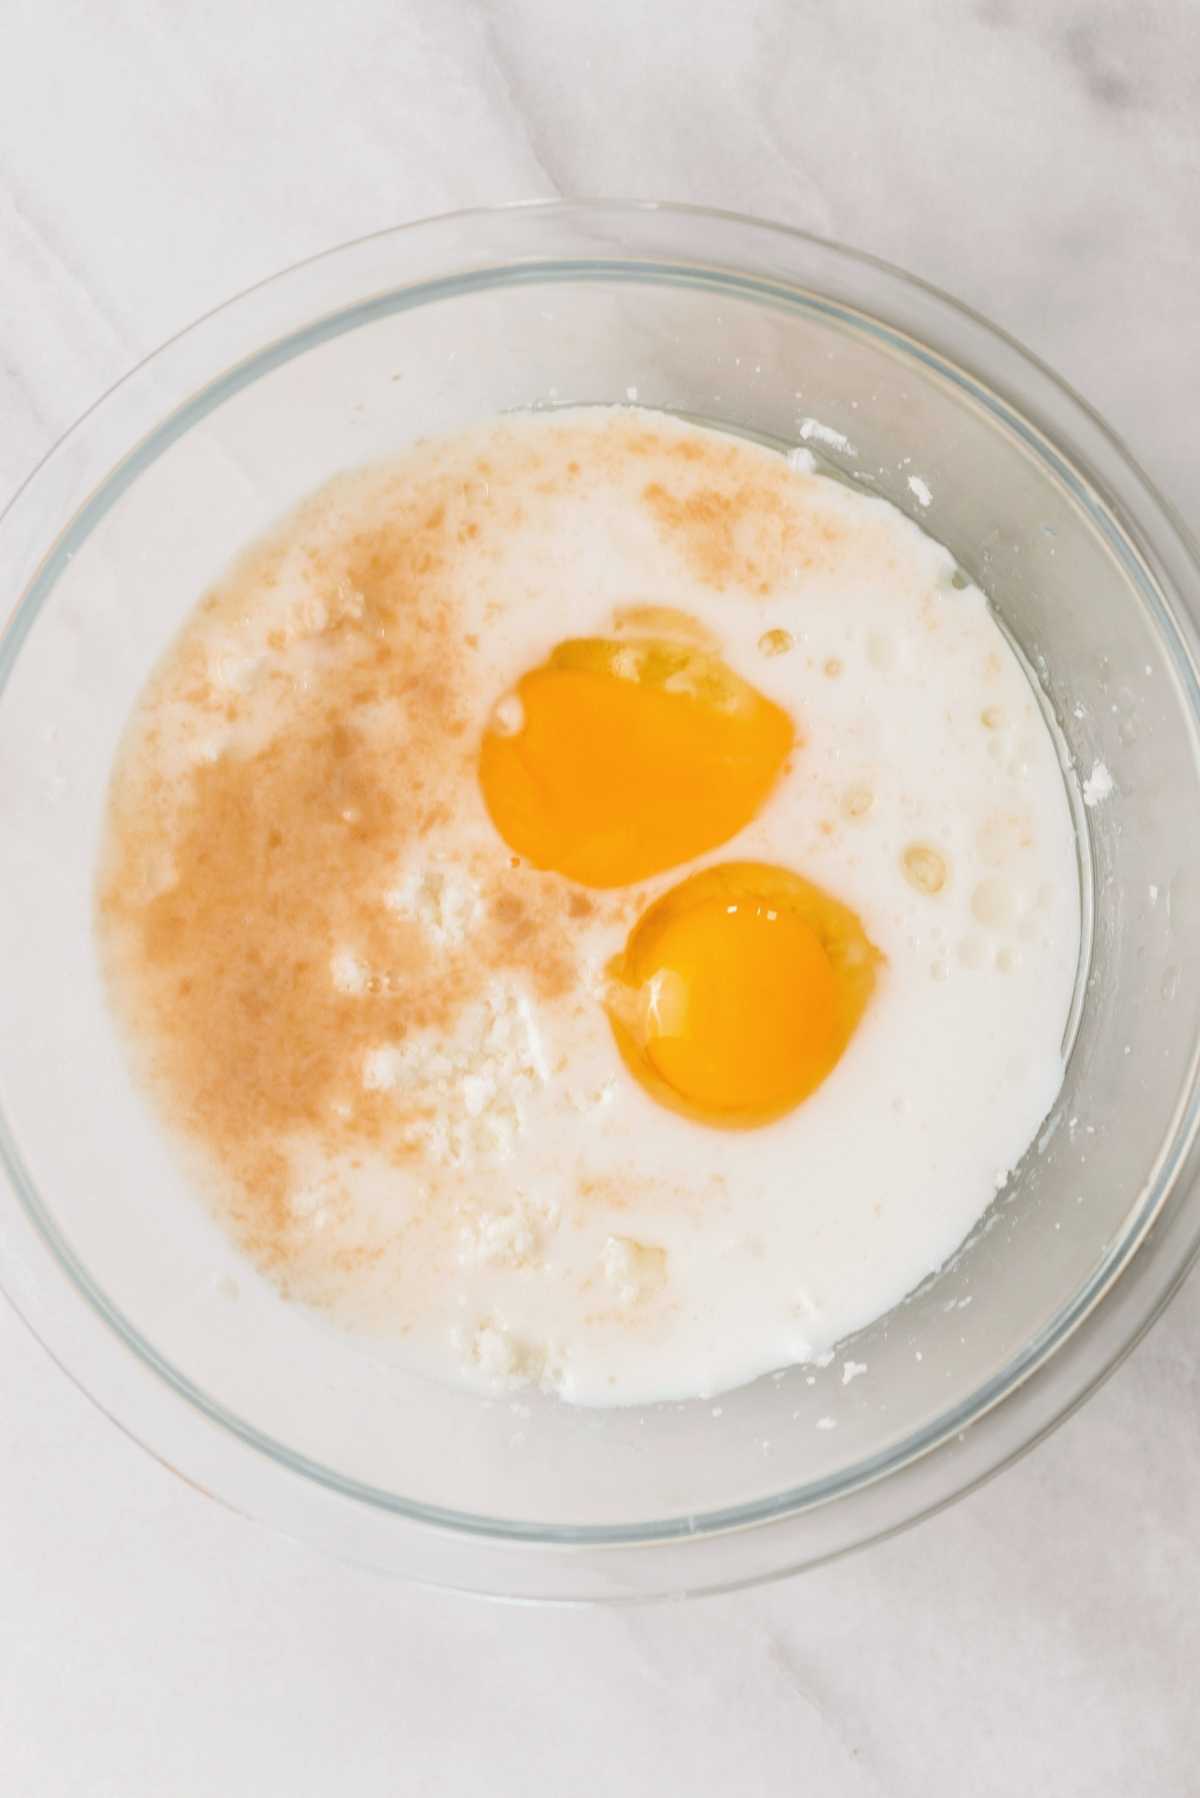
Step 2. Beat the butter and sugar together. Add in the eggs, vegetable oil, vanilla extract, and whole milk, mix until well blended.
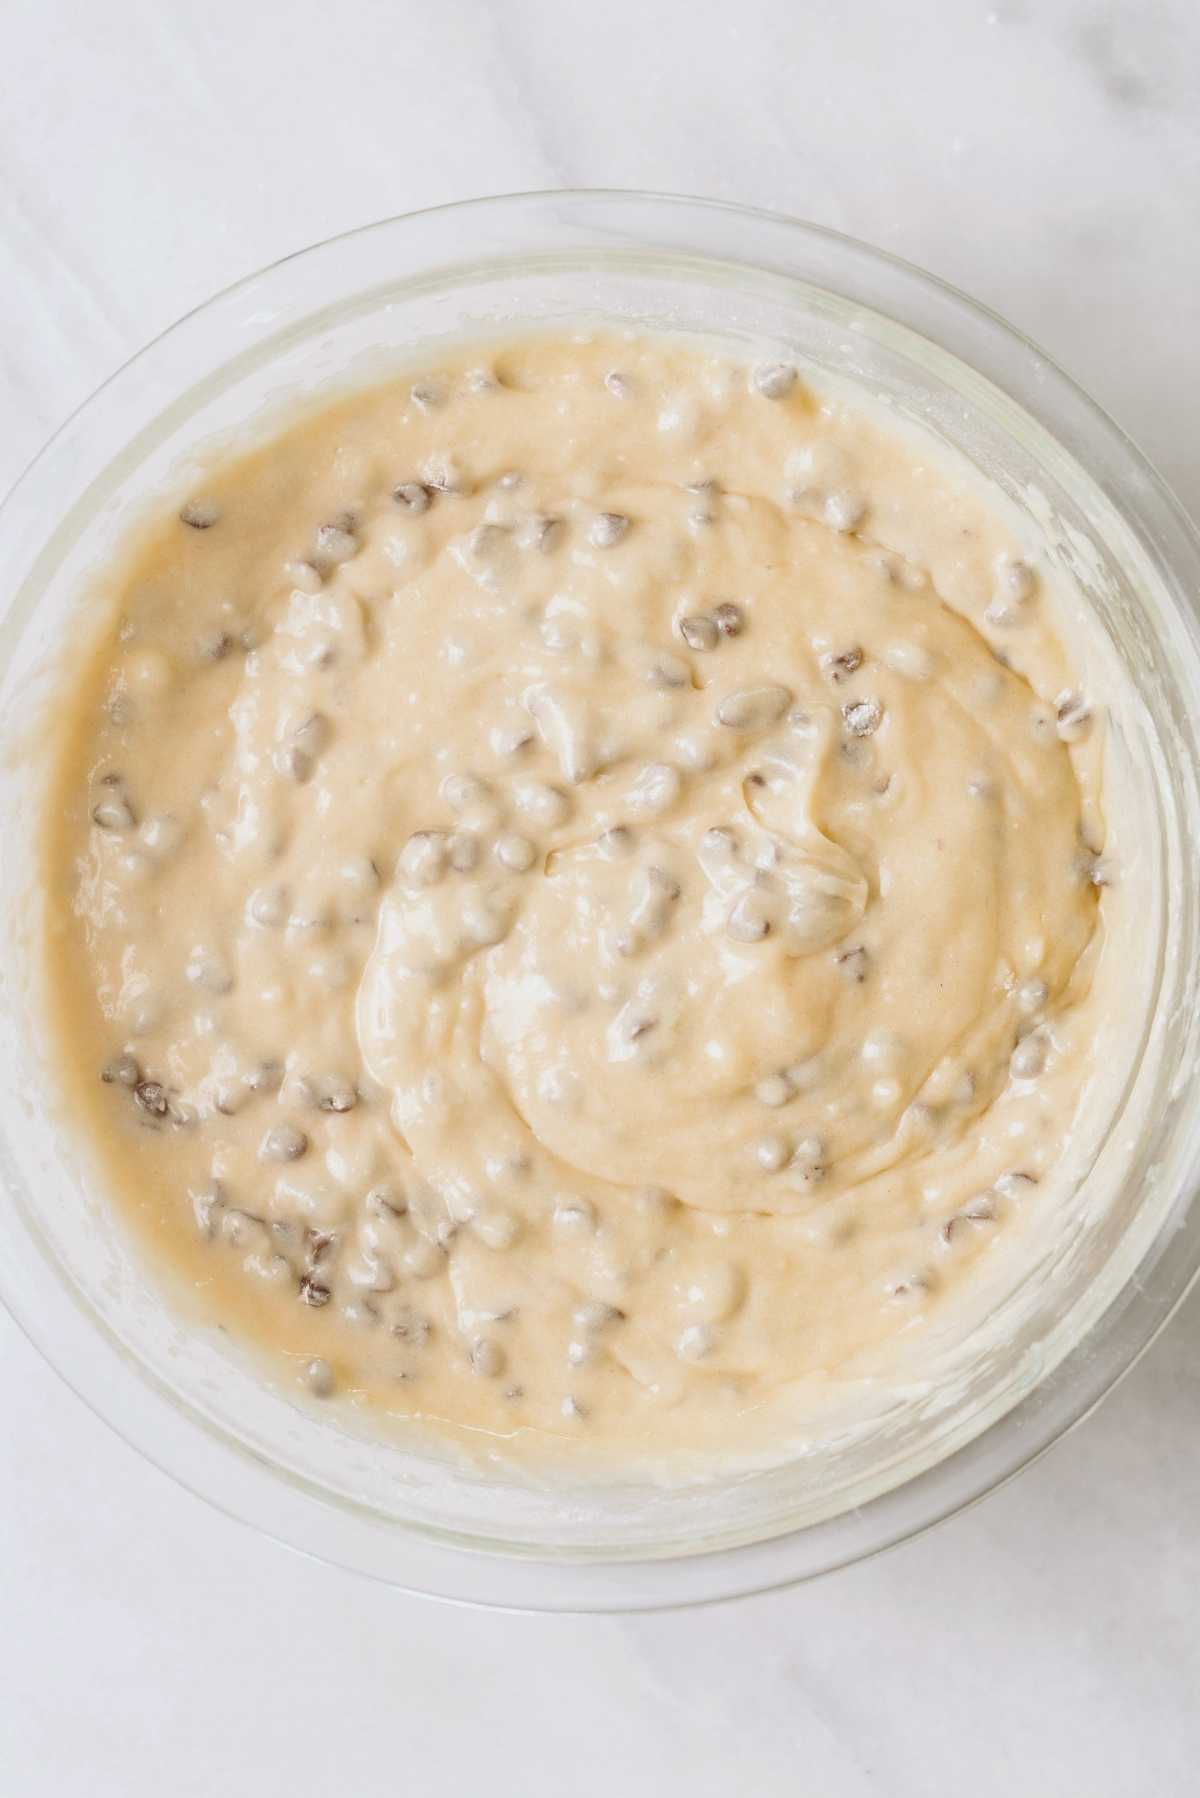
Step 3. Add the whisked dry mixture to the bowl of wet ingredients. Fold in the coated mini chocolate chips.
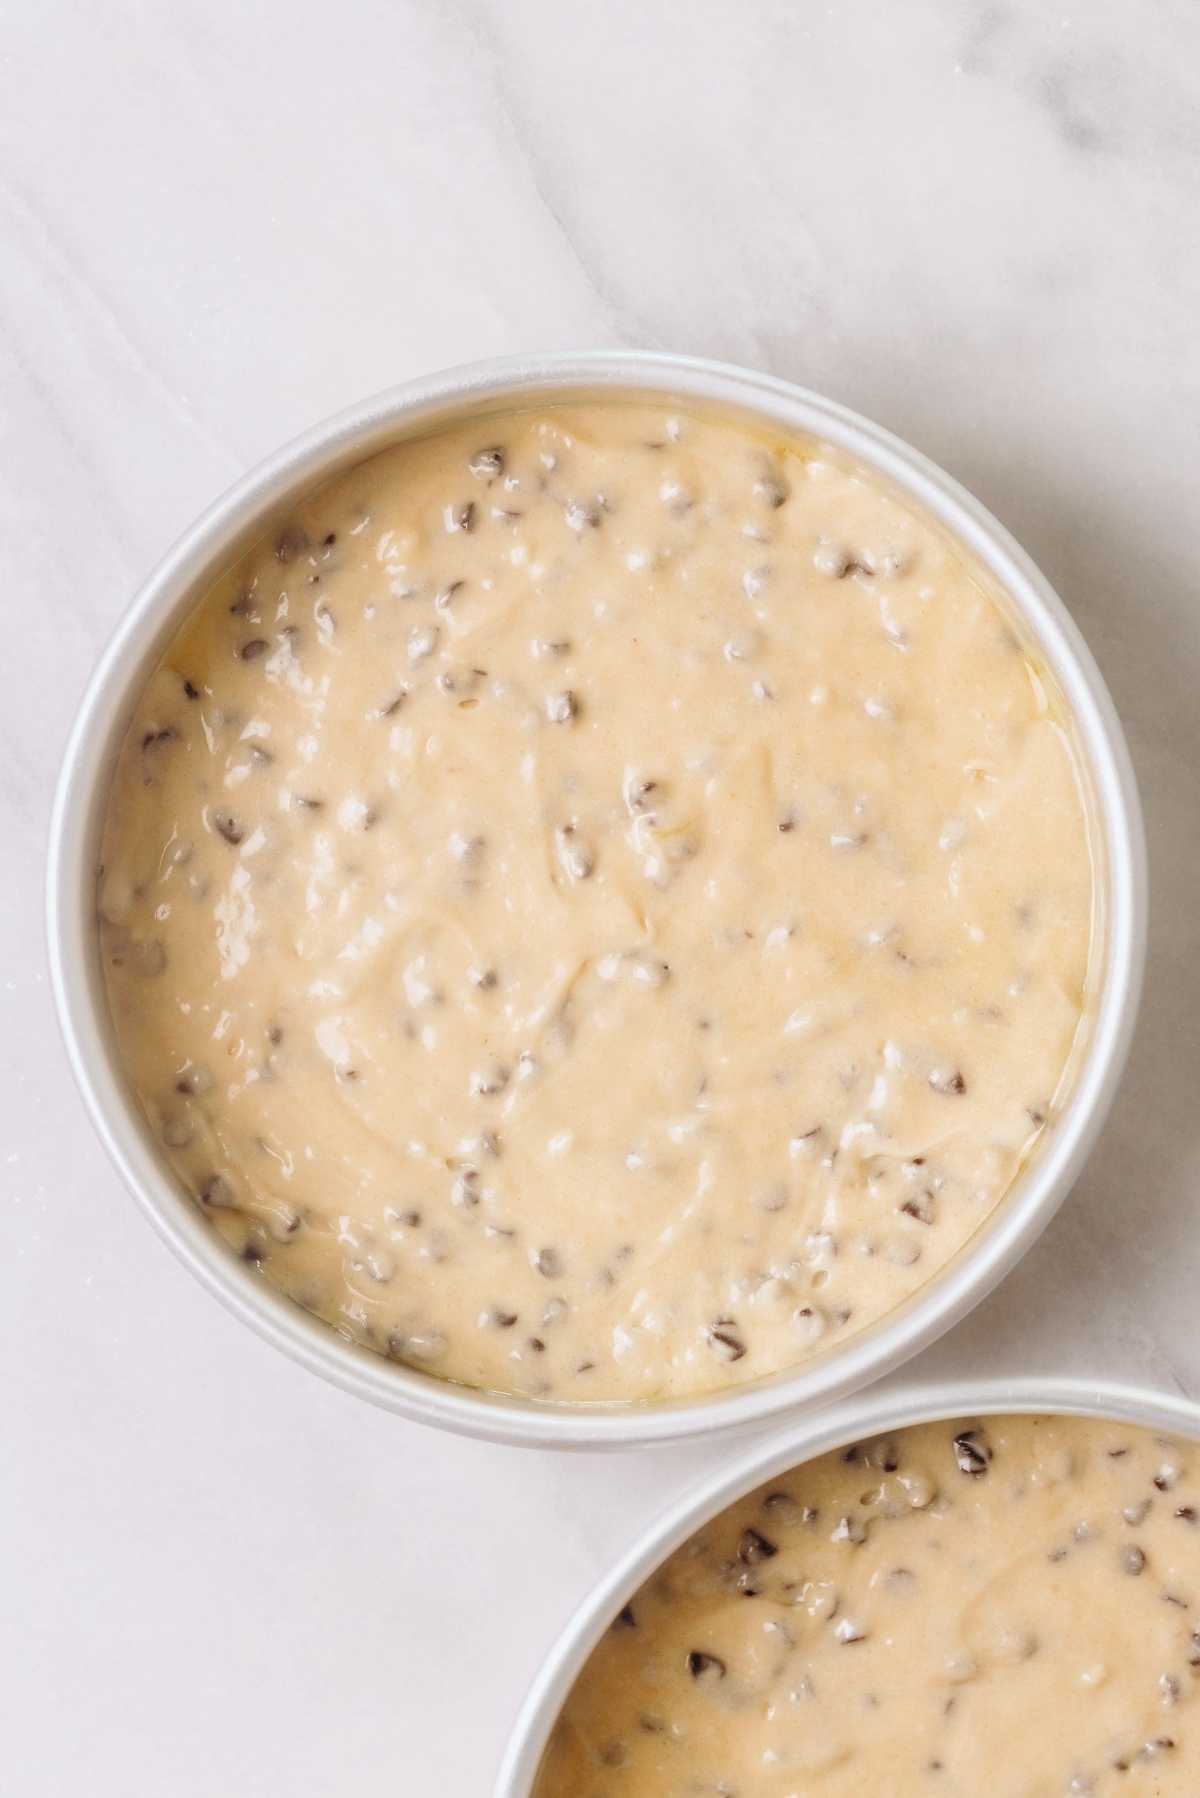
Step 4. Transfer the chocolate chip cake batter evenly into the two 8 inch pans.
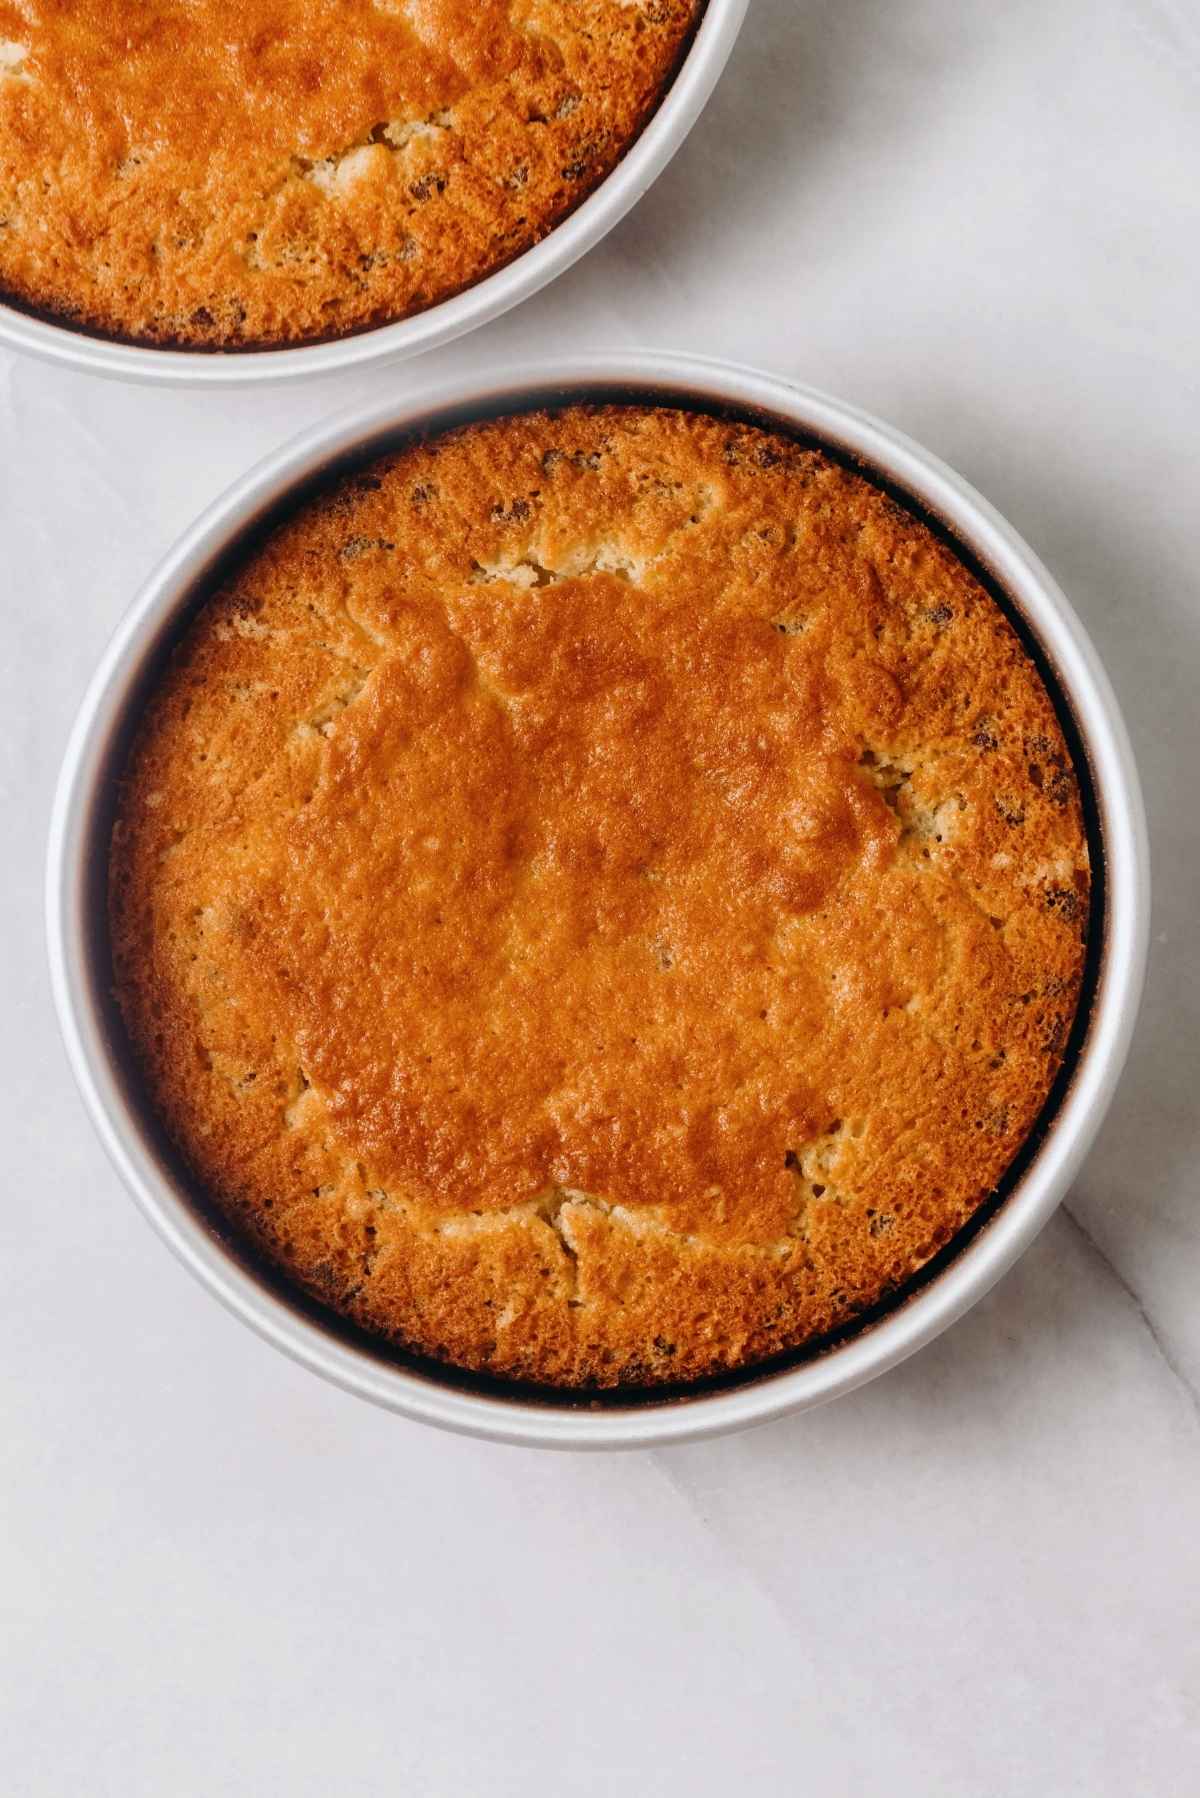
Step 5. Bake the cake layers for 32-35 minutes at 350ºF.
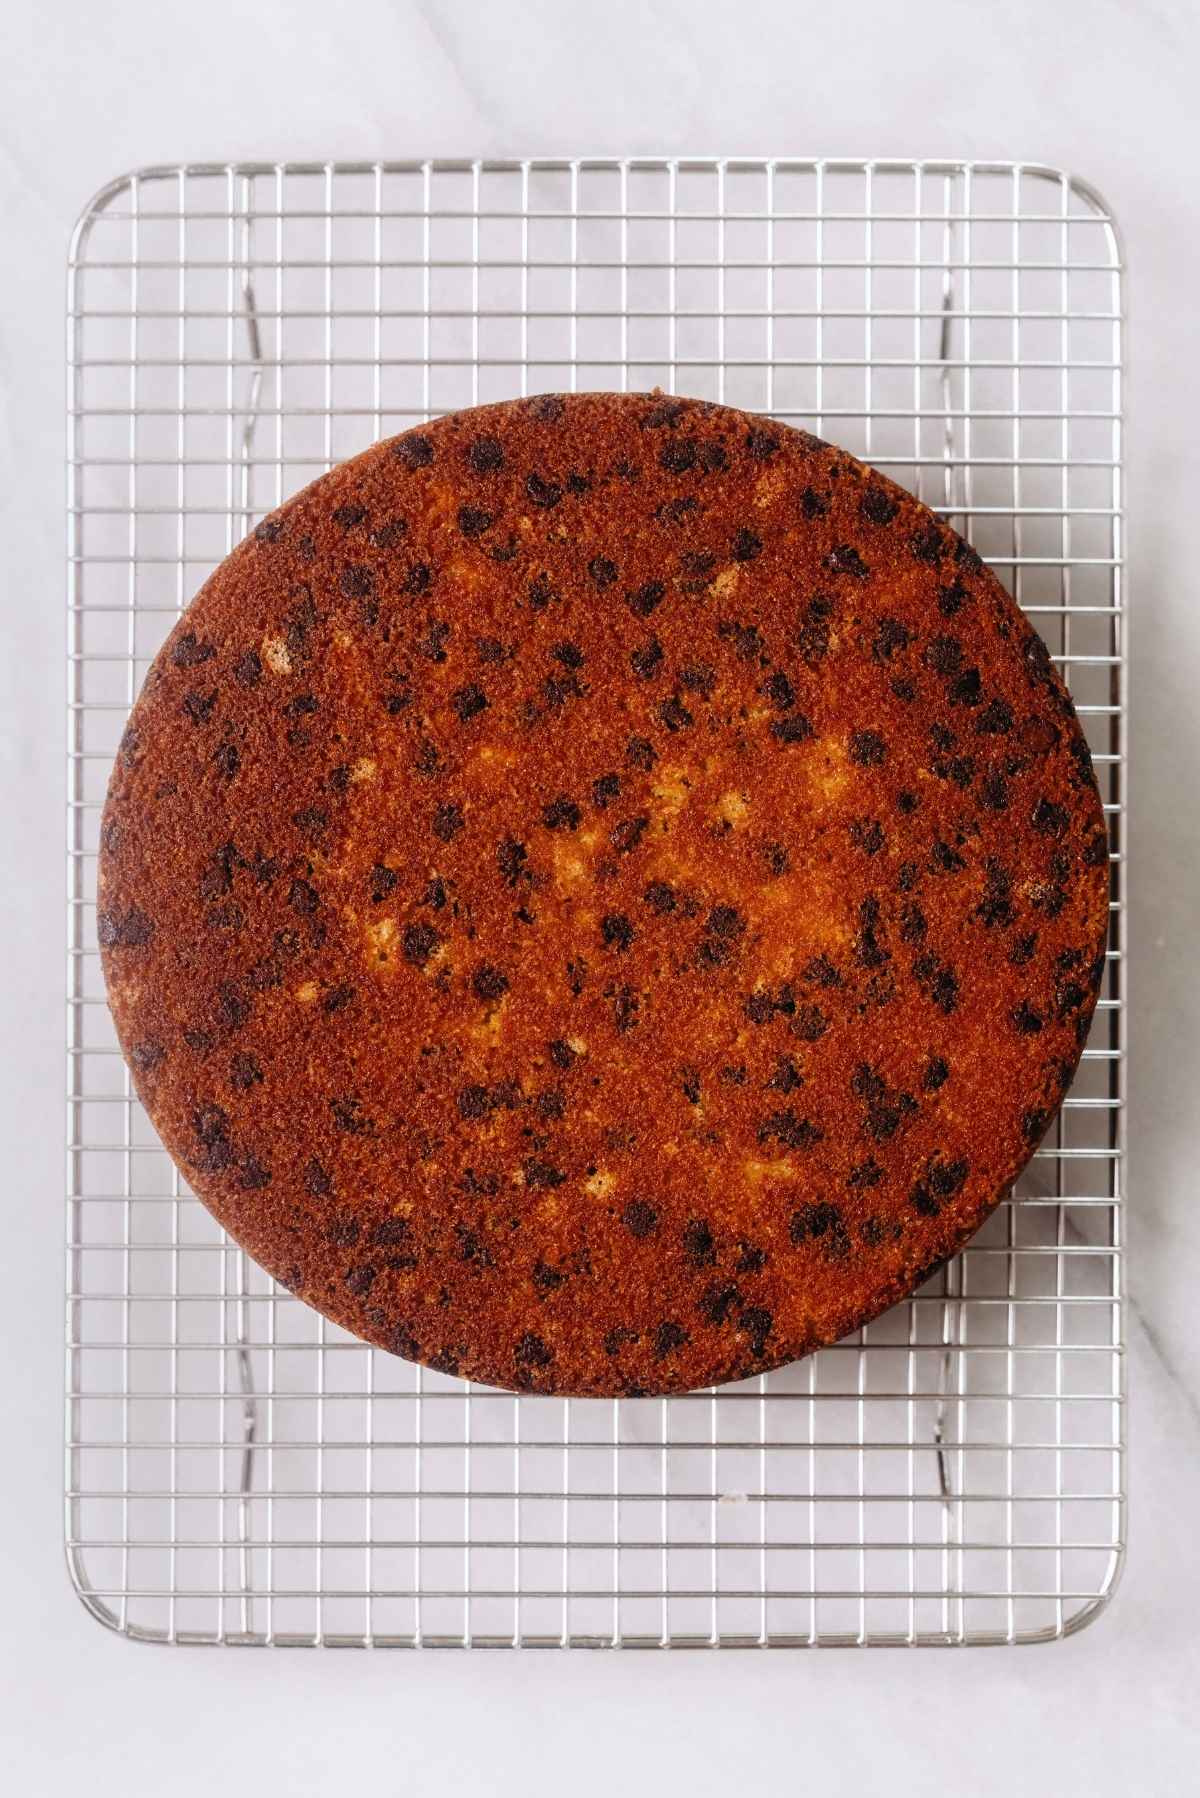
Step 6. Let the cake layers cool for 10 minutes in the pans. Then invert them onto a cooling rack to finish cooling completely.
Chocolate Chip Buttercream Frosting
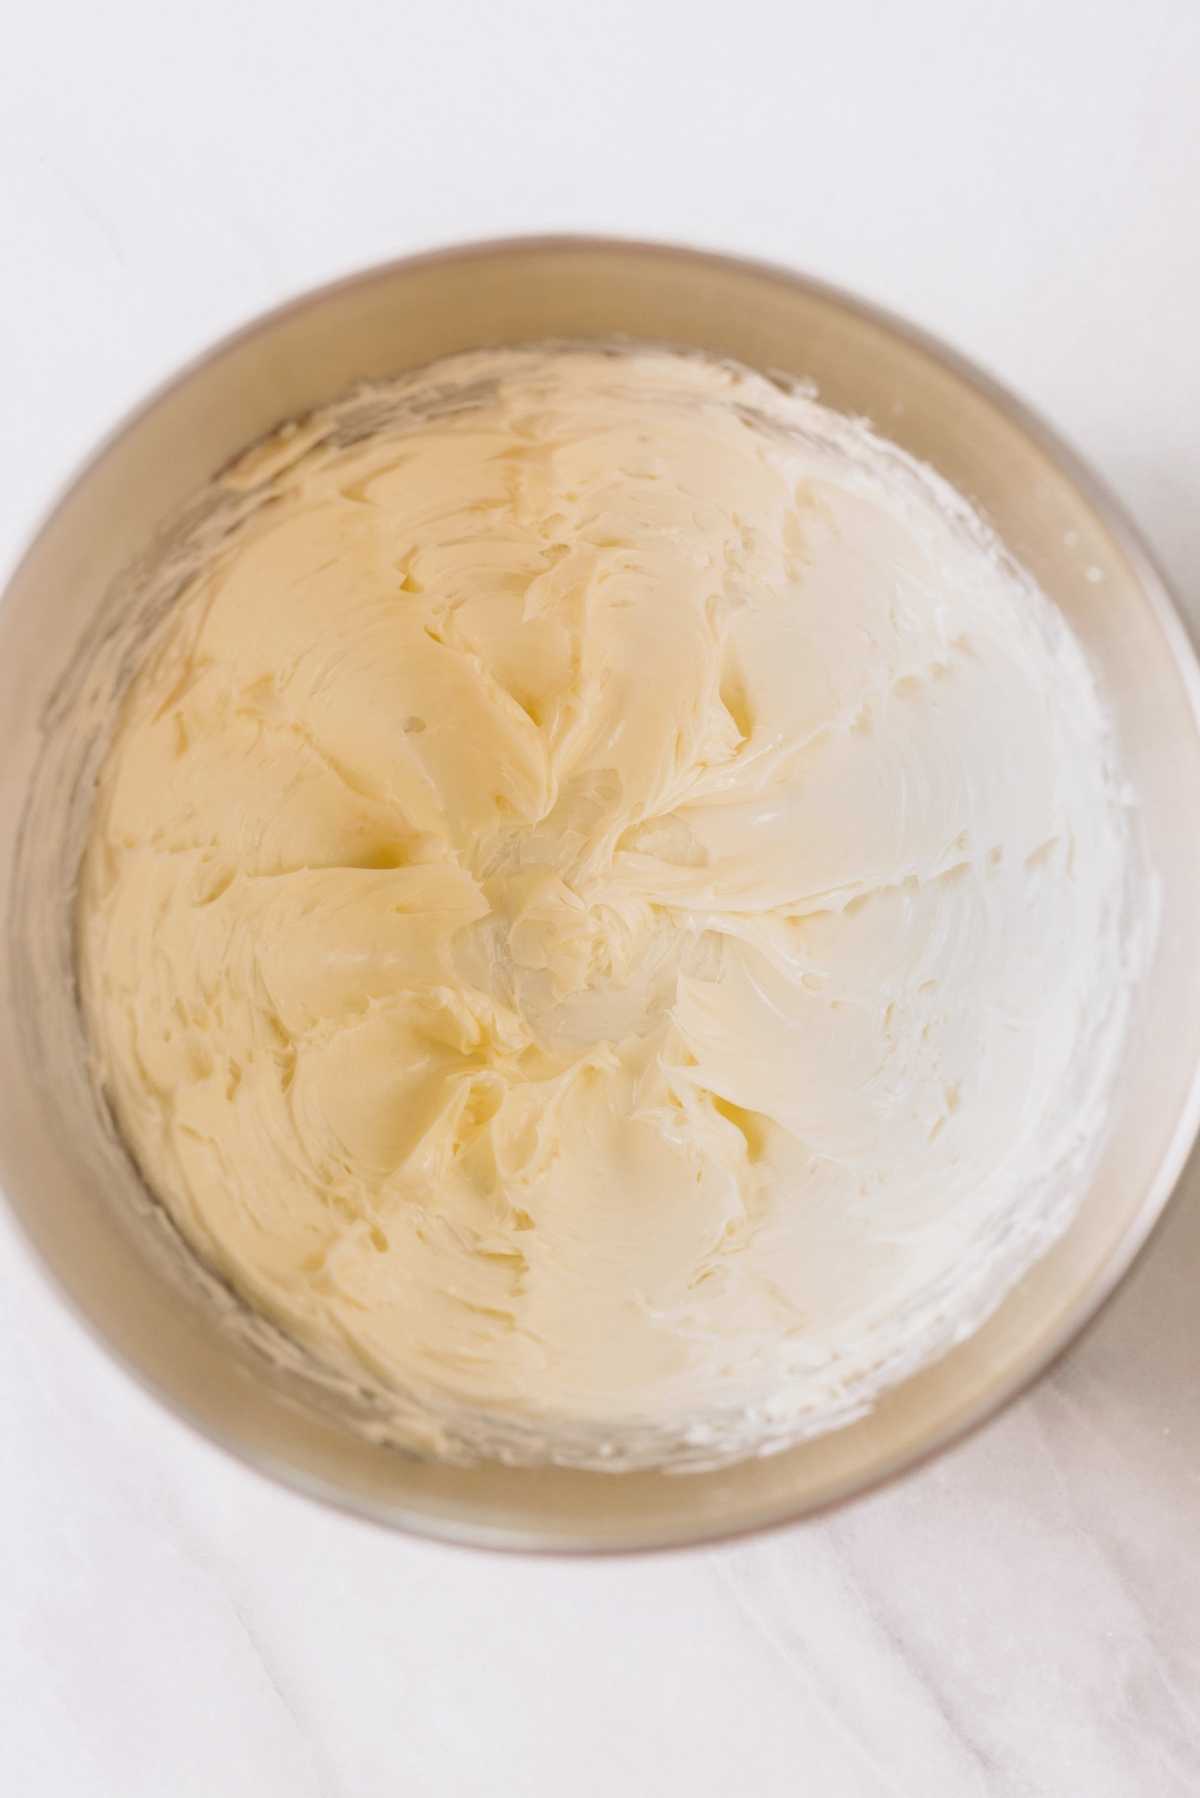
Step 1. Beat the butter until nice and smooth. You can use your hand mixer or stand mixer.
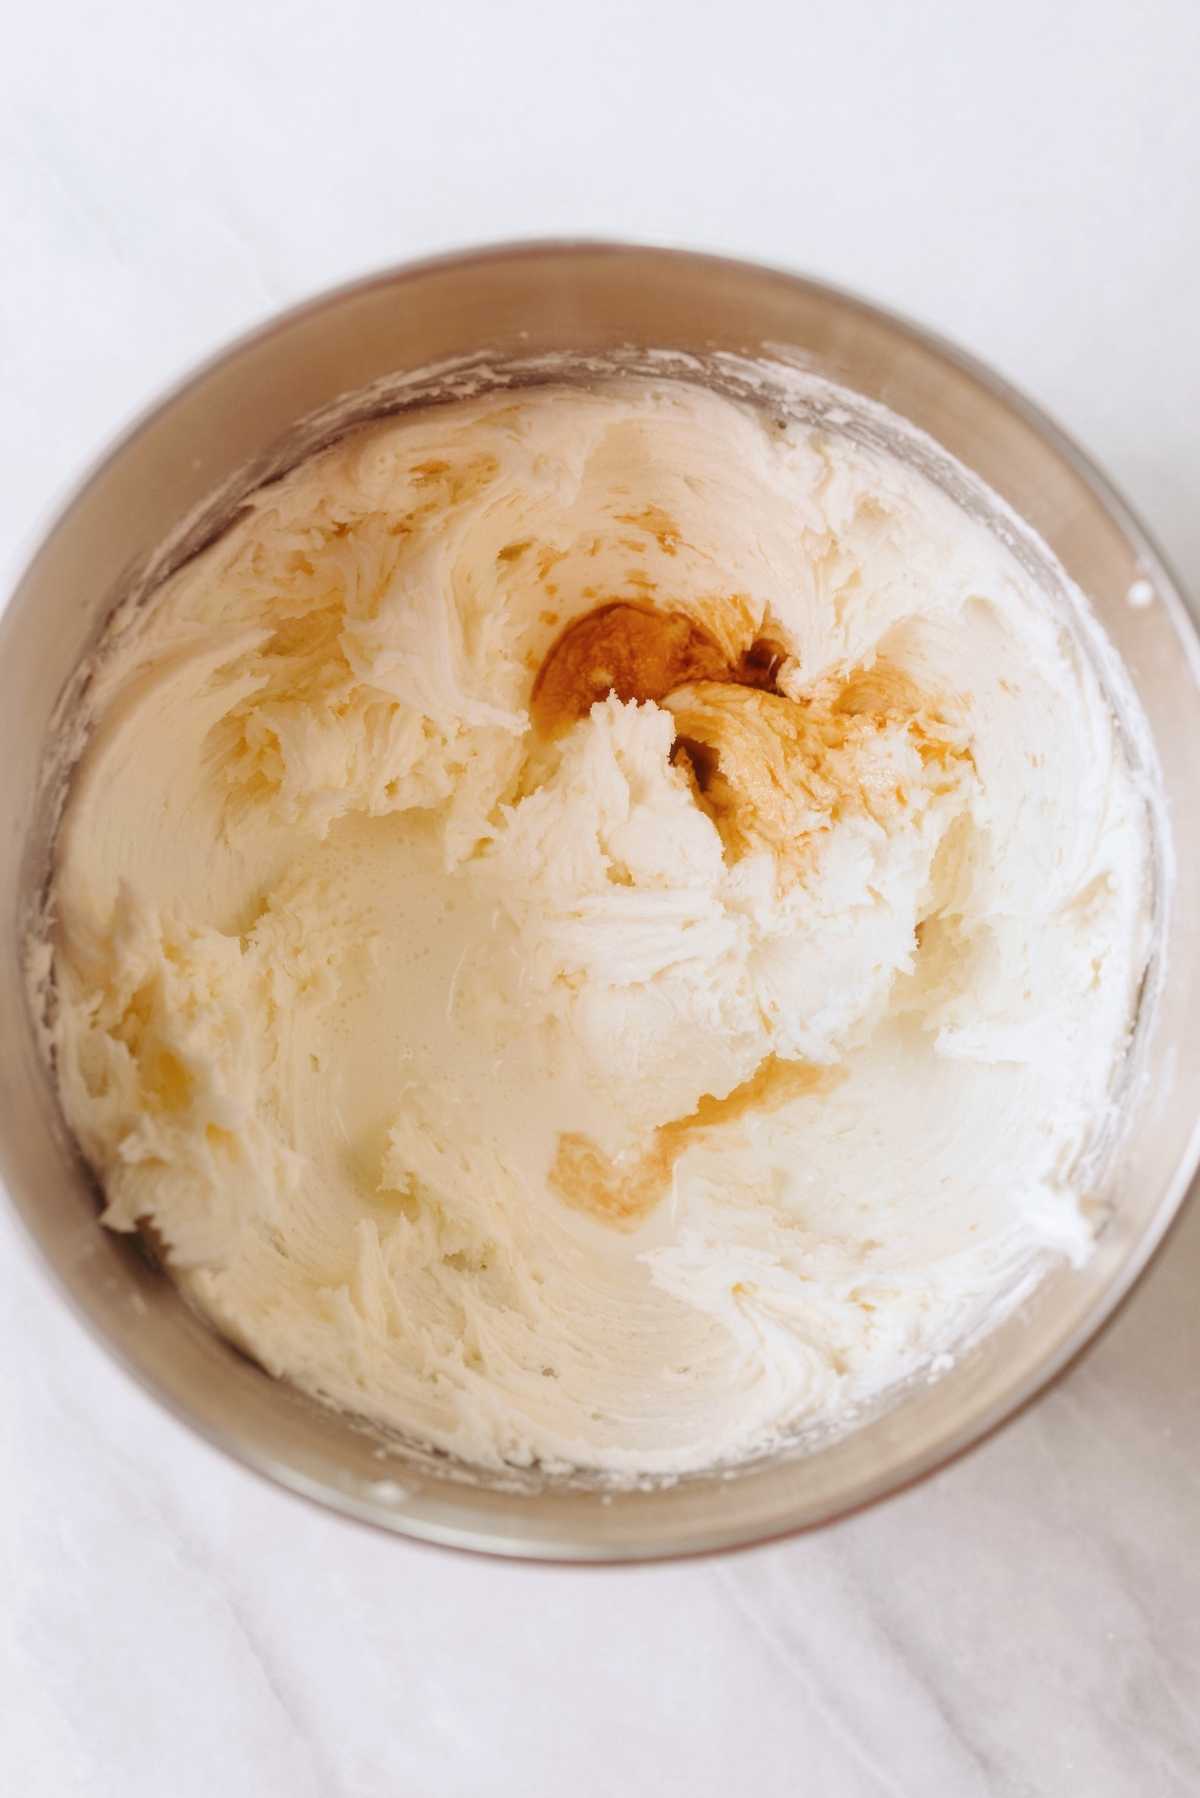
Step 2. Add in the powdered sugar, then the vanilla extract and heavy cream.
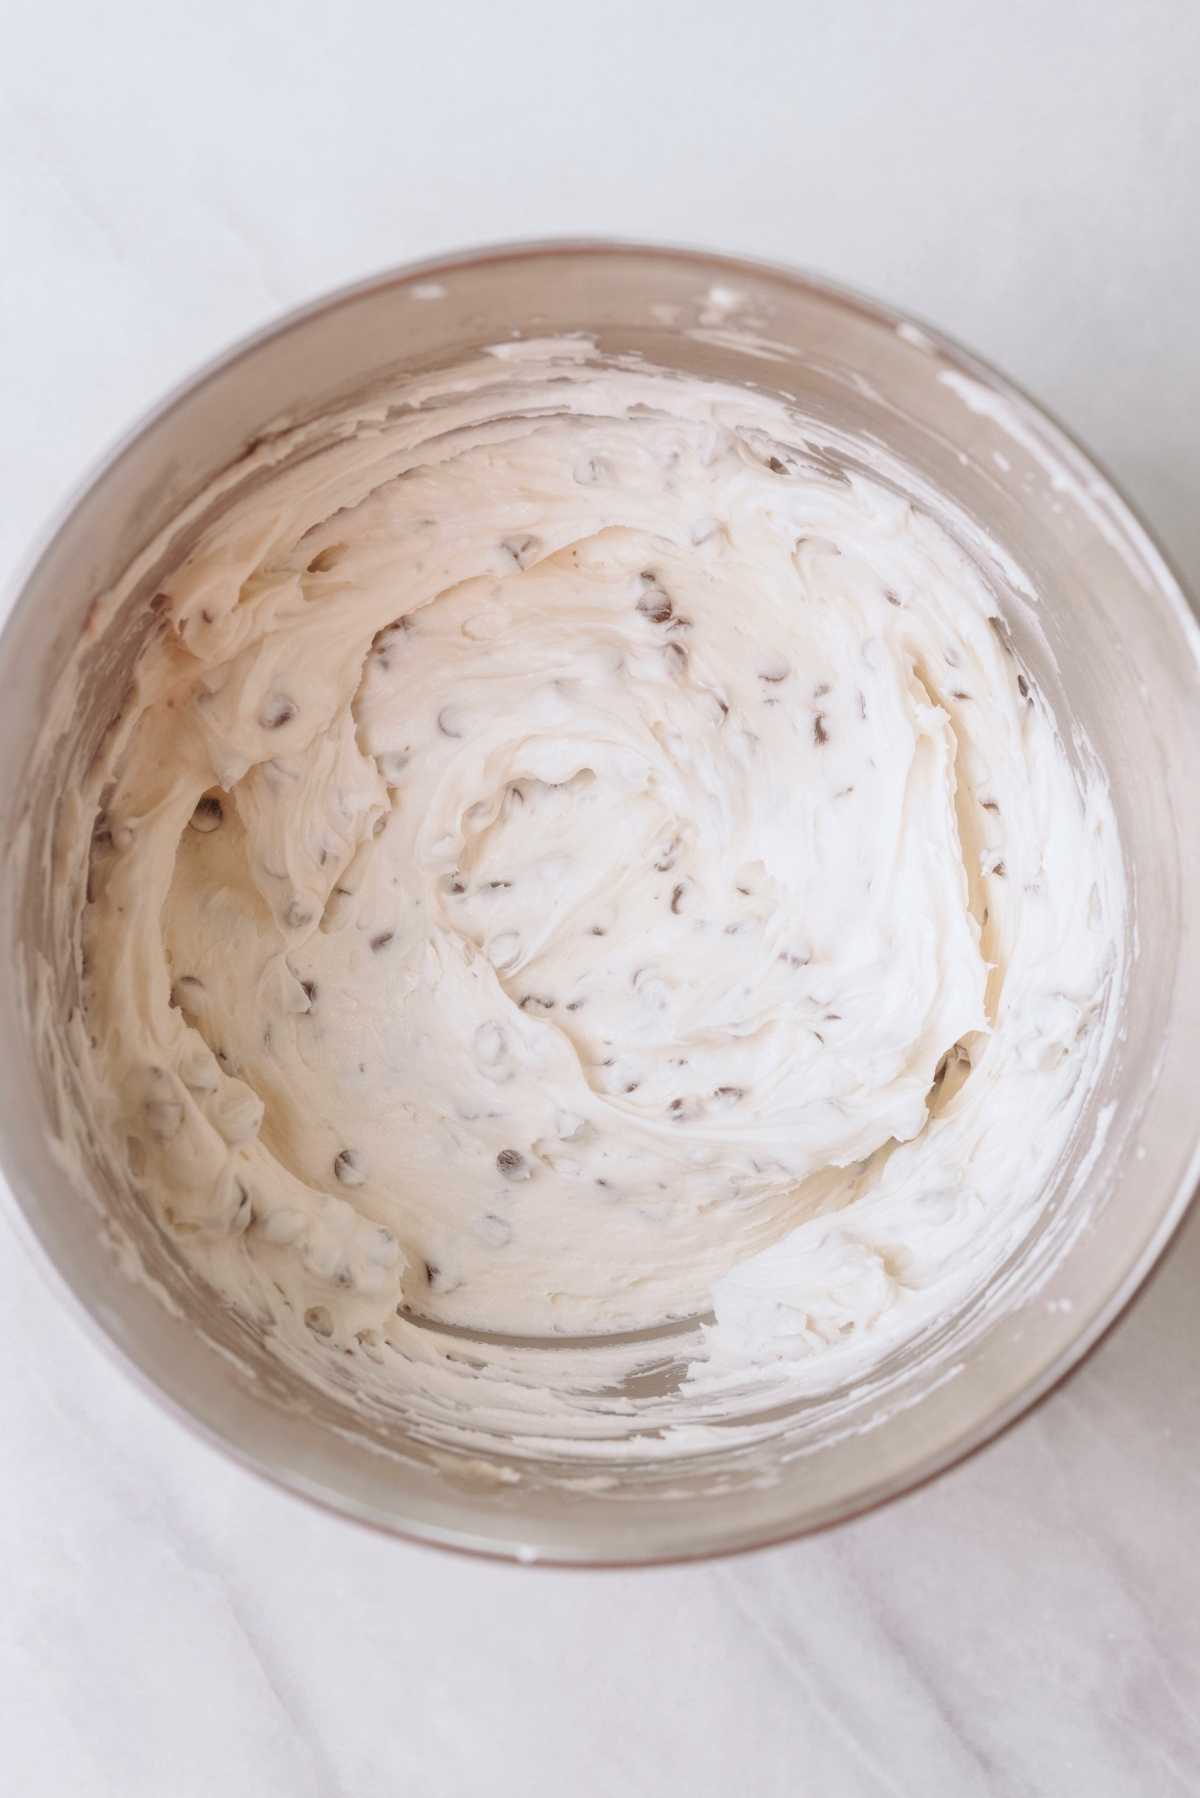
Step 3. Stir in the semi-sweet mini chocolate chips.
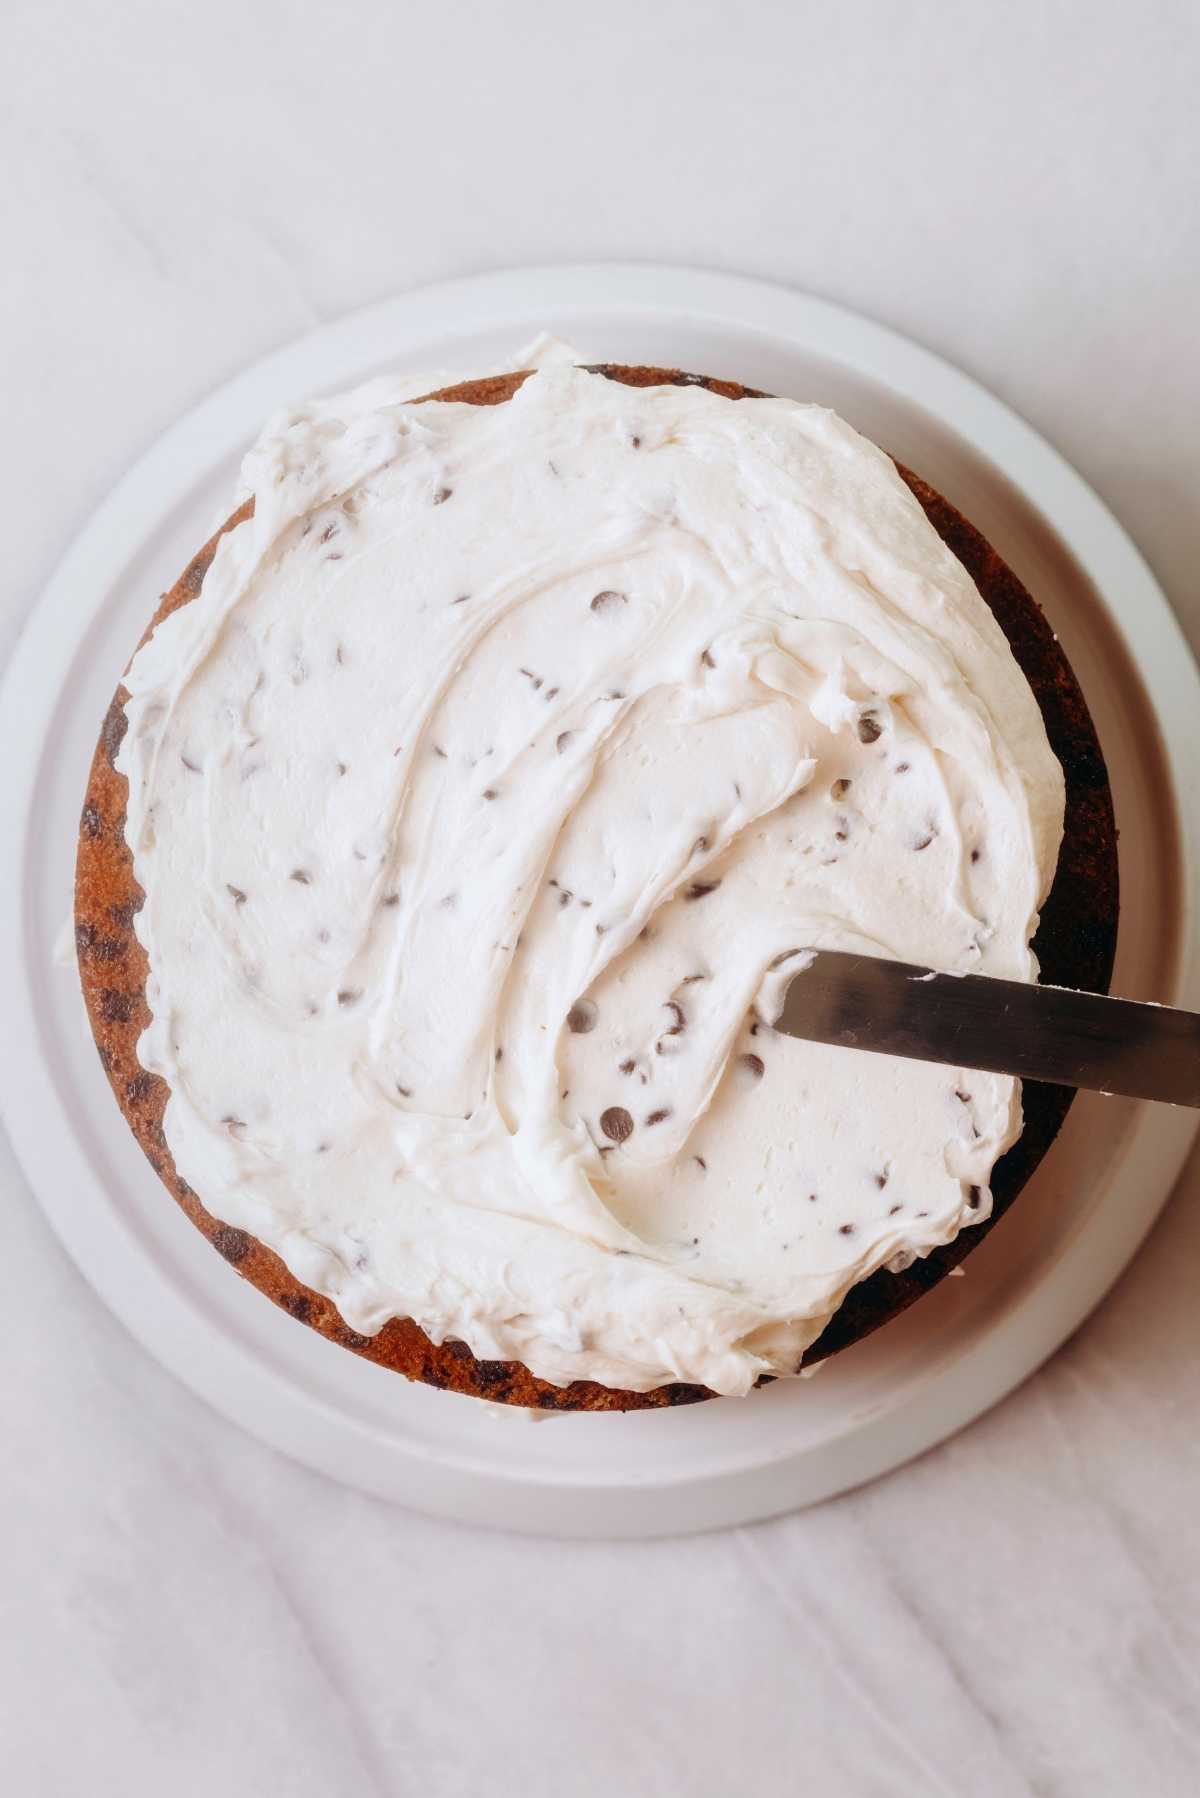
Step 4. Frost the cooled cake layers, then enjoy!
Storage and Freezing Instructions
For the cake layers. If you are making your cake in advance, you can keep these chocolate chip cake layers at room temperature or in the refrigerator, tightly wrapped in plastic wrap, for up to 3 days.
You can also freeze the cake layers for up to one month by tightly wrapping them in plastic wrap and placing them in a large freezer bag.
For the frosting. If making the chocolate chip buttercream frosting in advance, wait to add in the chocolate chips until you’re actually ready to frost the cake. If you add them in before, it will make it harder to revive the frosting when you mix it again in the mixer.
Keep the frosting in a tightly sealed food container in the refrigerator for up to a week. Bring it out 45 minutes to 1 hour before using, then give it a few whips with the stand mixer fitted with the paddle attachment. Then you can add the chocolate chips.
Helpful Tips
- Prep your cake pans. Whenever I bake cakes (including bundt cakes), I always use Baker’s Joy. It’s a flour-based baking spray that works super well, and I’ve never had any issues with a cake sticking to the pan. Generously coat both 8-inch cake pans. I also recommend adding a parchment paper circle to the bottom of the cake pan, then respraying the top lightly with more baking spray.
- Coat your mini chocolate chips. This is just for the cake part of the recipe. Coating them in a little of the whisked dry mixture before adding them to the batter at the end helps to keep them from sinking to the bottom while baking.
- Let your cakes cool. Before frosting your cakes, make sure they are 100% cooled.
Recipe FAQs
I used Wilton brand 8″ x 2″ cake pans for this chocolate chip cake recipe.
This is totally your call. I do, on occasion, like to use my Wilton bake strips when baking round cakes. They do an excellent job of preventing doming on your cakes. If you don’t have any, you can either cool the cakes upside down on the cooling racks or simply cut and level the domes off the top of your cakes. Make sure to use a serrated bread knife and wait until your cakes have cooled completely.
This helps to prevent the mini chocolate chips from sinking to the bottom during baking. Even with doing this, though, they still might sink, but I promise your cake will still taste just as good!
When fully assembled and frosted, this chocolate chip cake measures approximately 4 1/2 inches high (with each cake layer being 2″ tall).
If you tried this Chocolate Chip Cake recipe or any other recipe on my website, please leave a 🌟 star rating and let me know what you thought in the 📝 comments below. Thanks for visiting!
Chocolate Chip Cake

Ingredients
Chocolate Chip Cake
- 2 1/4 cups All-Purpose Flour
- 2 tsp Baking Powder
- 1/4 tsp Salt
- 1/2 cup Unsalted Butter, room temperature
- 1 1/2 cups Granulated Sugar
- 2 Large Eggs, room temperature
- 1/4 cup Vegetable Oil
- 1 cup Whole Milk, 1% or 2% can also be used
- 1 tbsp Vanilla Extract
- 1 cup Semi-Sweet Mini Chocolate Chips
Chocolate Chip Buttercream Frosting
- 1 cup Unsalted Butter, room temperature
- 4 cup Sifted Powdered Sugar
- 1 tsp Vanilla Extract
- 1/4 cup Heavy Cream
- 1/4 cup Semi-Sweet Mini Chocolate Chips
Instructions
Chocolate Chip Cake
- Adjust oven rack to the 2nd level position (just above center) and preheat the oven to 350ºF.
- Spray 2, 8 inch cake pans with a flour-based baking spray and set aside. You may also wish to add parchment paper circles and/or cake strips.
- In a medium-sized mixing bowl, whisk together the all-purpose flour, baking powder, and salt. Reserve 2-3 tablespoons of this dry mixture for the mini chocolate chips to be coated in before they're added to the batter.2 1/4 cups All-Purpose Flour, 2 tsp Baking Powder, 1/4 tsp Salt
- In a separate large mixing bowl, beat together the unsalted butter and granulated sugar. Add in the eggs, vegetable oil, vanilla extract, and whole milk, mixing until well blended.1/2 cup Unsalted Butter, 2 Large Eggs, 1/4 cup Vegetable Oil, 1 cup Whole Milk, 1 tbsp Vanilla Extract, 1 1/2 cups Granulated Sugar
- Add the whisked dry ingredients (minus 2-3 tablespoons for coating the mini chocolate chips) with the wet ingredients and mix until just combined. Fold in the coated semi-sweet mini chocolate chips. The cake batter will be on the thicker side, but easily spreadable in the cake pans.1 cup Semi-Sweet Mini Chocolate Chips
- Evenly scoop and spread the cake batter into the 2 prepared 8-inch cake pans and bake side-by-side for 32-35 minutes at 350ºF or until an inserted toothpick comes out clean (my oven took 35 minutes).
- When done, allow the cakes to cool for 10 minutes before inverting the cakes onto wire cooling racks. Make sure the cakes have cooled completely before frosting.
- Cakes can be double wrapped tightly in plastic wrap and kept at room temperature or in the refrigerator for up 3 days. If planning to freeze, double wrap them tightly in plastic wrap and place them in a large freezer bag. Cakes can remain in the freezer for up to a month. When ready, take the cakes out of the freezer and frost.
Chocolate Chip Buttercream Frosting
- Using your hand mixer or stand mixer fitted with a paddle attachment, beat the unsalted butter on medium-high speed until completely smooth (about 2-3 minutes).1 cup Unsalted Butter
- Switching the speed to low, add in the sifted powdered sugar one cup at a time until blended. Then add in the vanilla extract and heavy cream.4 cup Sifted Powdered Sugar, 1 tsp Vanilla Extract, 1/4 cup Heavy Cream
- Stir the mini chocolate chips using a spatula. If making the frosting in advance, wait to add the chocolate chips until you're ready to frost the cake.1/4 cup Semi-Sweet Mini Chocolate Chips
- When ready, frost the cooled cake layers, then serve.
Video
Notes
Nutrition
Nutritional information provided above is an estimate only and will vary based on specific ingredients used. See Nutritional Disclaimer for more info.


I made this with almond milk and in a 13×9 pan. It turned out great!!! New follower here and can’t wait to try other recipes from your site.
That’s so wonderful Kelly, thank you for being here and for making the recipe!
I haven’t rated it yet because I haven’t tasted it yet. Question. Is it supposed to be as loose as it is? Just curious because it wasn’t as thick as most cake recipes. Thanks in advance.
Hi! I’m sorry, do you mean the consistency of the batter? The batter is not a super thick batter if that is what you mean.
This was a fantastic recipe! I used double the amount of heavy cream for the frosting, and half of the amount of chocolate chips. That was pretty much it for the tweaks. Excellent recipe!
Made this for Easter/birthday celebration. It came out perfect and received compliments and clean plates! I just made a little less icing – just over half the recipe and canola oil instead of vegetable oil since I didn’t have any.
Tried this and it came out totally flat. The batter was super super thin, chips all sank, and it came out super dense and not at all cakey. Wasn’t the baking powder either- we tested it before we baked with it. Too much liquid compared to the dry ingredients I think.
I’m sorry it didn’t work out for you, but I appreciate you trying the recipe and for the feedback!
This was actually the first cake I have every made from scratch. It was absolutely delicious. Hands down the best cake I have ever eaten. The only thing that I did differently was use lactose free 2% milk in the cake. That’s just because that’s what I had in hand.
Could I make this in a bunt cake pan? I only have 1 round pan right now so was hoping I could do it in the bunt pan instead.
I only tested it using the 2, 8-inch cake tins so I can’t say for certain how it would come out, but I don’t see why you couldn’t.
Made this over the weekend. I may have overmixed the batter a little and my flour-coated chips sunk like stones, but this cake was AMAZING!!!! Everything about it, from the cake to the frosting delivers. Will for sure be making this again – soon!
I’ve baked many chocolate chip cakes but was never 100% thrilled with them. So I tried this recipe for a birthday party. It was a huge hit! Best chocolate chip cake that I have ever baked. I will be using only this recipe from now on. Thank you!!
Lovely, very simple cake. I had some left over buttermilk and used that instead of water. I only have dark chocolate chips and 100 percent cacao chips so I used the dark chocolate inside and the cacao chips in the frosting and it really helped balance the sweetness while delivering the intense chocolate I need. Very quick and easy to make.
I love the substitute of buttermilk and dark chocolate!