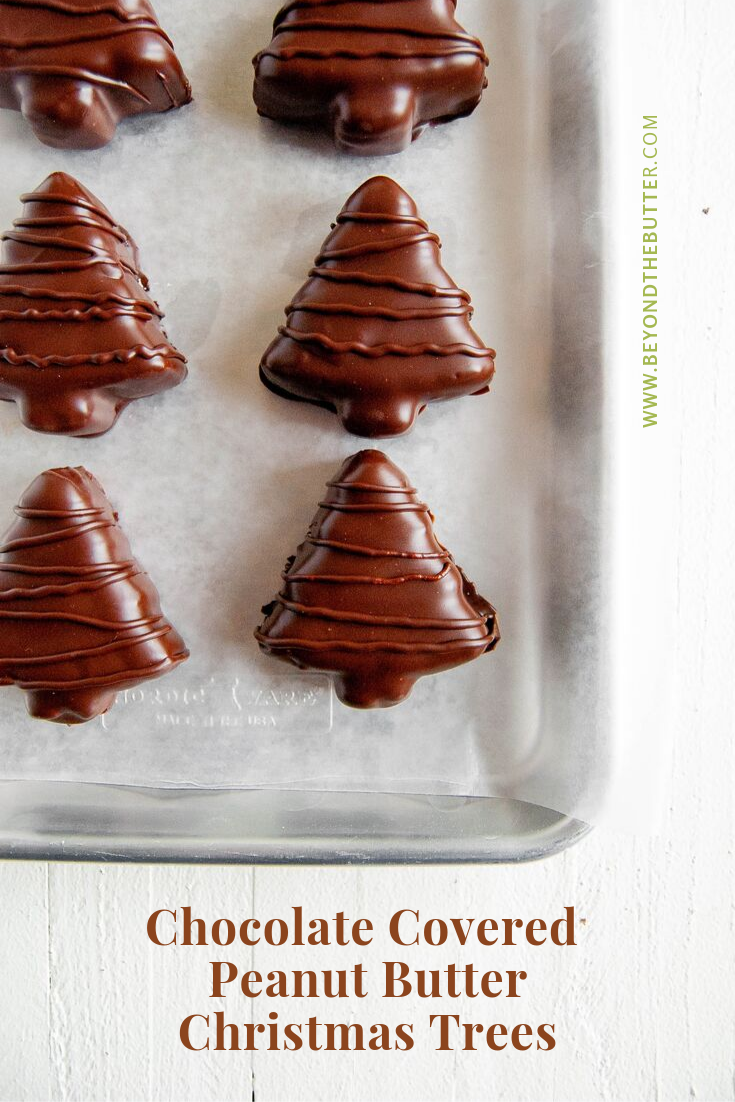
For the Christmas holiday I wanted to take my chocolate covered peanut butter eggs recipe and give them a fun little makeover as chocolate covered peanut butter Christmas trees! Plus, a few months ago, my one cousin had requested I make them as a different shape. So I found a good silicone Christmas tree mold online and went to work!
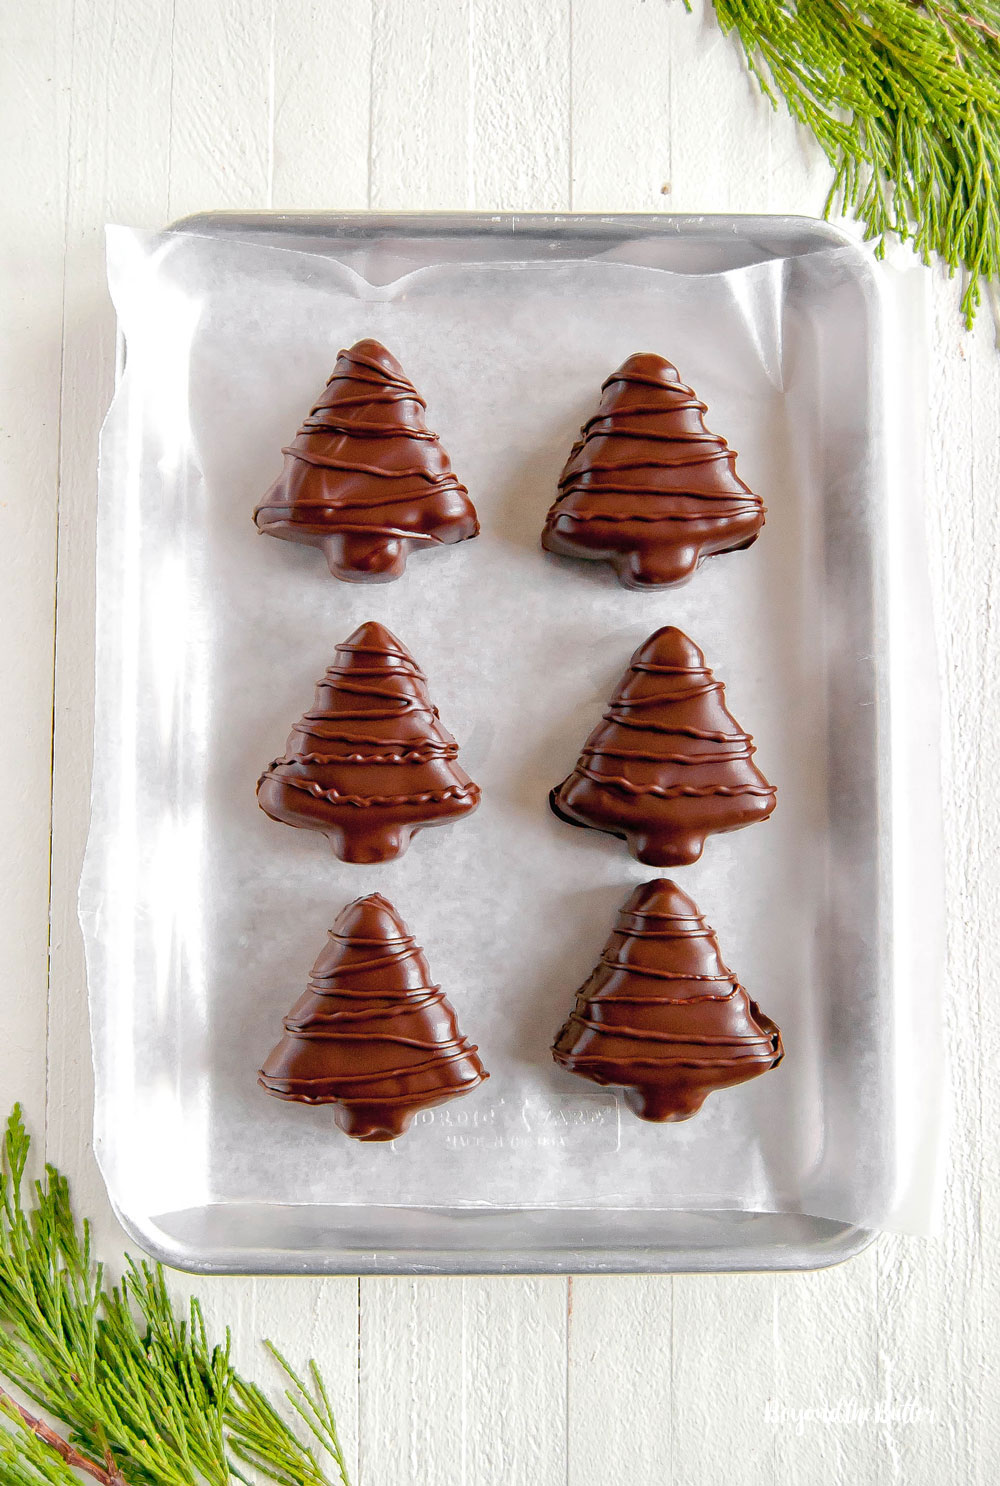
Table of Contents
- how are these different from Reese’s chocolate covered peanut butter Christmas trees?
- what kind of silicone mold can I use for the trees?
- what can I do with the leftover melted chocolate?
- recommend tools for making chocolate covered peanut butter Christmas trees
- don’t forget to give these chocolate covered treats a try too!
- Chocolate Covered Peanut Butter Christmas Trees Recipe
how are these different from Reese’s chocolate covered peanut butter Christmas trees?
For starters, my chocolate covered peanut butter trees are better. Okay, okay I’m kidding.
Sort of.
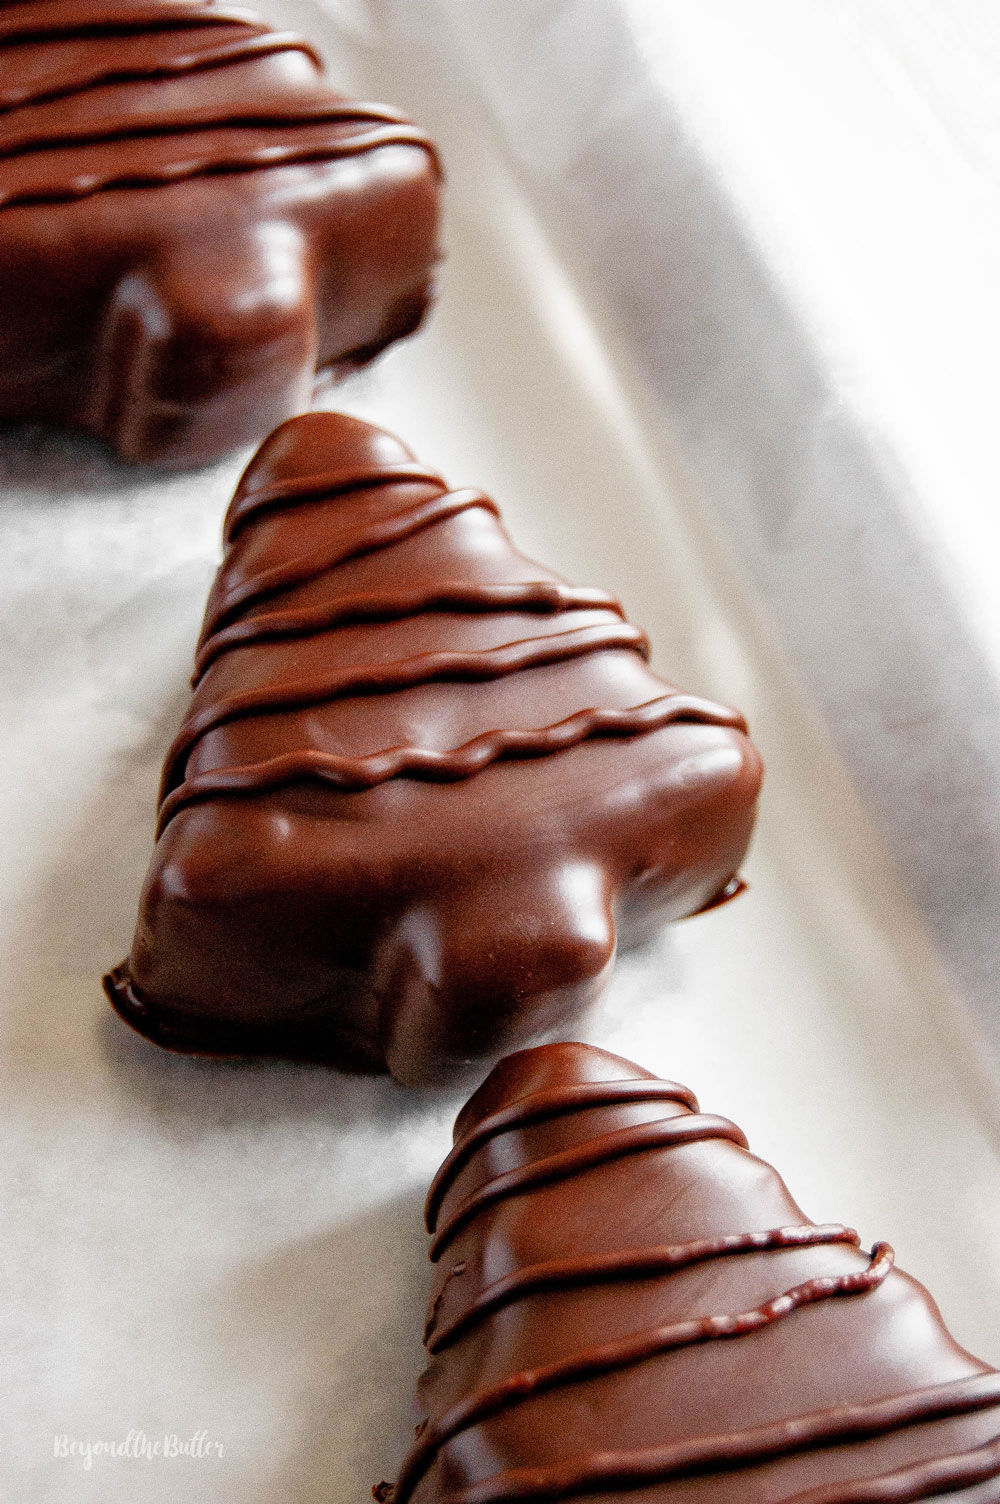
This chocolate covered peanut butter tree recipe is different in that they are filled with a mixture of butter, confectioners sugar, peanut butter, and marshmallow fluff.
To me, it makes for a lighter, fluffier, peanut buttery version that is simply irresistible! It’s really quite hard to eat just one!
what kind of silicone mold can I use for the trees?
You can use any mold you would like! You don’t even have to use a tree mold, but I would make sure you use a silicone mold. They are much easier to work with as far getting the frozen peanut shape out.
There are tons of them out there to choose from, but this is the silicone Christmas tree mold I went with off of Amazon.
In retrospect, I would should have gotten two of them, but for the amount of times I will probably use this, one is good.
what can I do with the leftover melted chocolate?
You will more than likely have extra chocolate after you’re done with dipping your chocolate covered peanut butter Christmas trees, so a fun thing to do is to take any hard pretzels you have in the house and dip those in the chocolate.
You can also try dipping other treats in the chocolate like Oreos, almonds, chips, and whatever else you feel like trying!
recommend tools for making chocolate covered peanut butter Christmas trees
don’t forget to give these chocolate covered treats a try too!
- Chocolate Covered Peanut Butter Eggs
- Chocolate Covered Cookie Dough Hearts
- Homemade Peppermint Patties
- Chocolate Covered Peanut Butter Hearts
- Chocolate Covered Coconut Buttercream Eggs
Chocolate Covered Peanut Butter Christmas Trees

Ingredients
peanut butter Christmas trees
- 1/2 cup Unsalted Butter, room temperature
- 3/4 cup Peanut Butter, creamy
- 1/2 cup Marshmallow Fluff
- 2 cups Powdered Sugar
chocolate
- 12 oz Semi-Sweet Chocolate Chips , or milk chocolate chips
- 1/2 square of Paraffin Wax, or 2 tbsp of either coconut oil or vegetable oil
Instructions
- Prepare a small baking sheet or container lined with wax paper.
- Using a hand mixer or a stand mixer fitted with a paddle attachment on medium-high speed, mix together the unsalted butter, peanut butter, and marshmallow fluff until completely combined. Scrape down the sides of the bowl as needed.1/2 cup Unsalted Butter, 3/4 cup Peanut Butter, 1/2 cup Marshmallow Fluff
- Switch the mixer to low speed and gradually add in the powdered sugar. Mix together until the peanut butter filling forms (it should be soft, creamy, and a little sticky).2 cups Powdered Sugar
- Take a few spoonfuls and fill each Christmas tree cavity with the peanut butter mixture. Fill them almost to the top.
- Freeze the peanut butter trees until they are firm enough to dip into the chocolate – about 1 hour, but overnight is my preference.
- Using a double boiler (fill the bottom boiler with about 1″-1.5″ water), melt the wax over low-heat uncovered until melted. Then add in the bag of chocolate chips and stir continuously until melted.12 oz Semi-Sweet Chocolate Chips , 1/2 square of Paraffin Wax
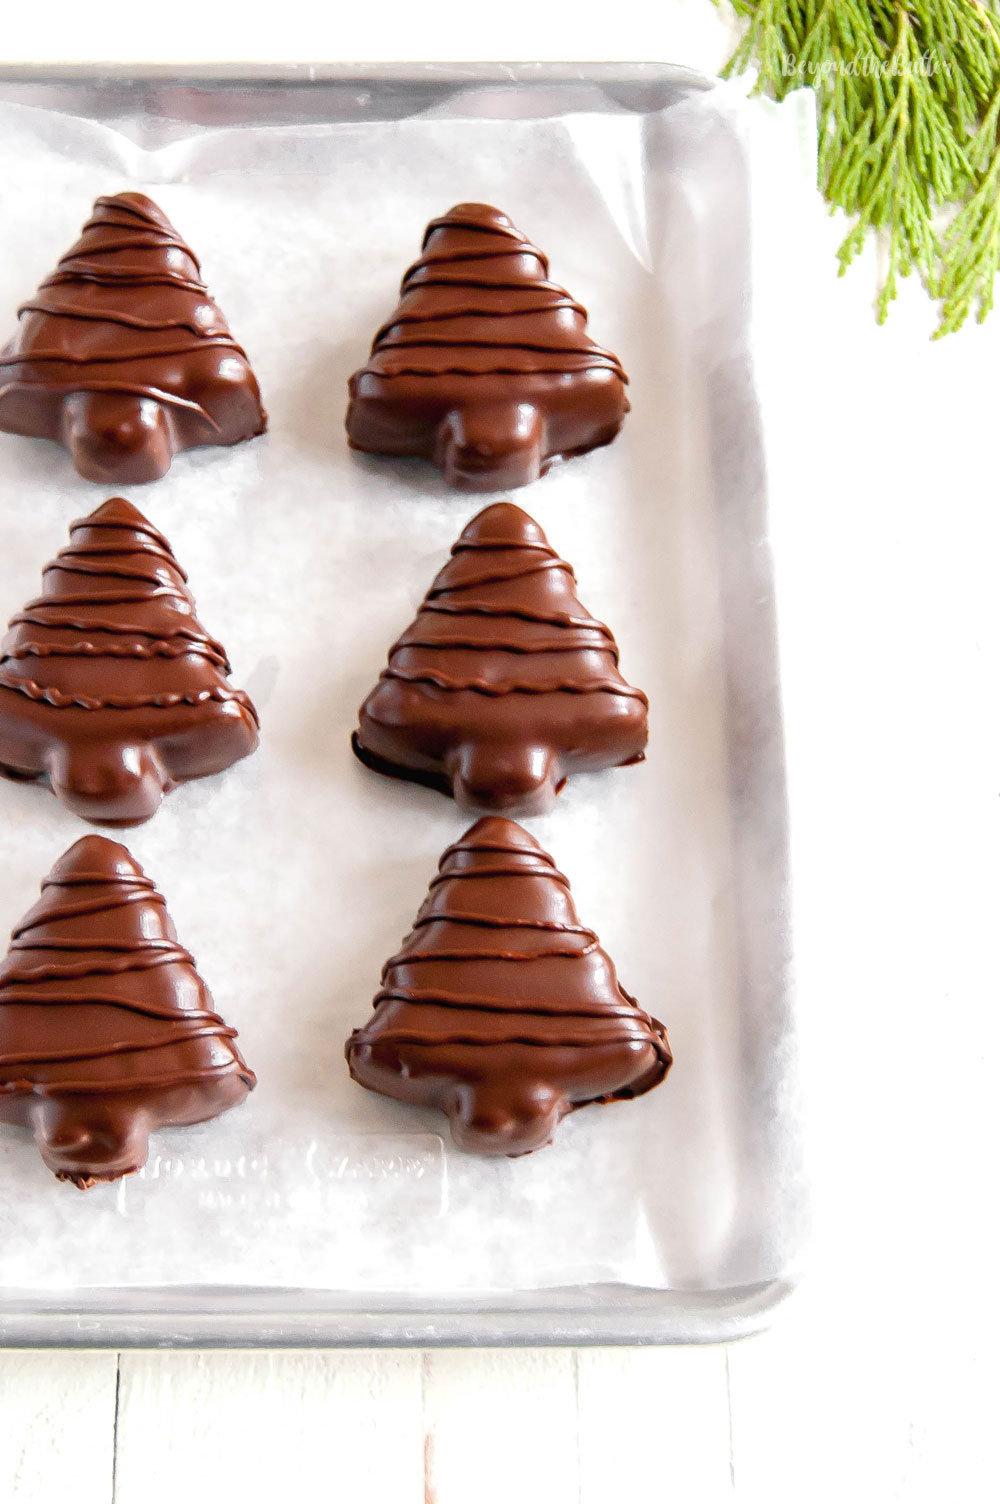
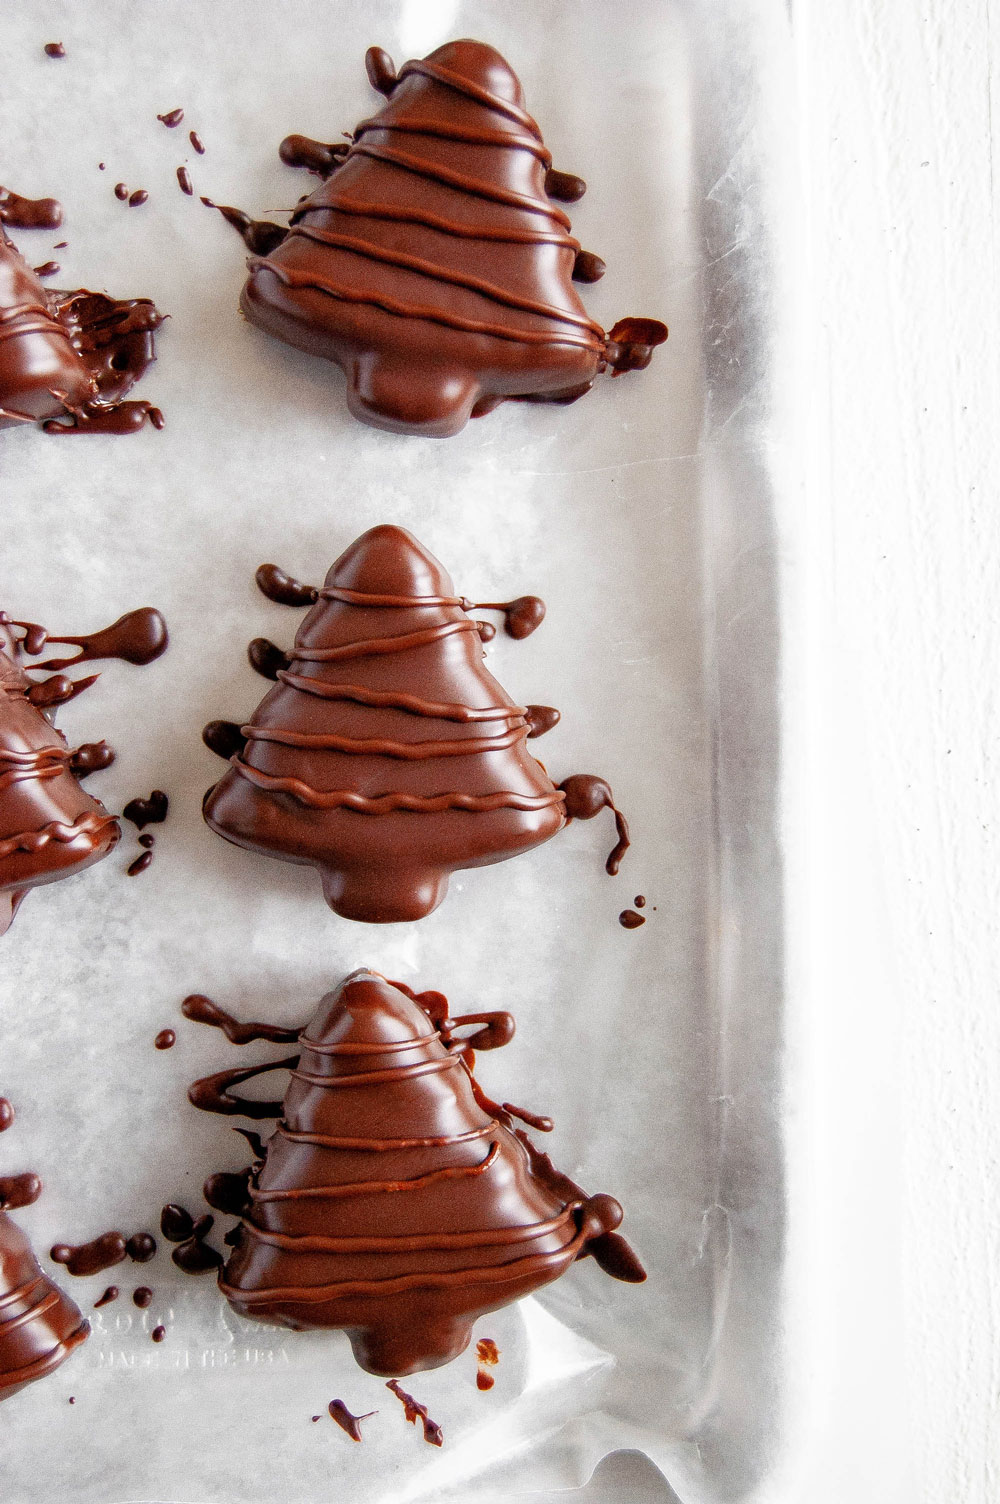
- Using 2 forks, carefully dip each tree into the melted chocolate then set back onto the wax paper. Repeat until all the trees are done.
- After the chocolate has hardened, trim off any excess chocolate from the bottom (optional step).
- Store the chocolate covered peanut butter trees in the fridge or you can freeze them (in a container) for up to a month.
Notes
- This is the Christmas tree mold I used for these chocolate covered peanut butter trees.
- Recipe adapted from my late Grammy’s Chocolate Covered Peanut Butter Eggs recipe.
Nutrition
Nutritional information provided above is an estimate only and will vary based on specific ingredients used. See Nutritional Disclaimer for more info.


I started making this when I noticed a small error. It says in the directions to add the confectioners sugar to the peanut butter egg mixture, but there are no eggs in the ingredient list. Then I noticed that this recipe is adapted from your Chocolate Covered Peanut Butter Eggs recipe, so I’m hoping that that is the “egg” you are referring to in this recipe….
can’t wait to see how they turn out. Thanks!
Hi Kate! Yes, you are correct! That is the “egg” I was referring to because there is no egg in the recipe. Thank you so much for bringing that to my attention! I’ve edited the instructions to just say peanut butter filling. I hope you love these as much as I do! They are a big time favorite in my house!
Hey,
I love the idea of making these for my coworkers. I was wondering if it would be possible to use cookie cutters instead of molds?
I can’t think of another instance to use the molds, so I don’t want to buy them. Would it possible to cool the peanut butter mixture in the fridge; then when it’s easier to work with – roll it out with a rolling pin and then use cookie cutters? After that, transfer to the freezer?
Hi! That totally makes sense not wanting to buy one of the molds if you’re not really planning to use it for anything else. I haven’t tried this out using cookie cutters, but I love the idea and I’m sure it will work just fine! I would definitely chill the dough in the fridge first and then freeze the cut outs after so it gives them a chance to really firm up, otherwise they’ll just fall apart in the chocolate. Keep me posted on how it goes!
Such a fun idea Jennifer! My family would devour these. Now I just need to click that link and buy a tree mold. 🙂
Thanks Tasia! They are so addictive, but so worth it! Really happy I got that tree mold. I’m thinking I’m going to get some more for other holidays too!