
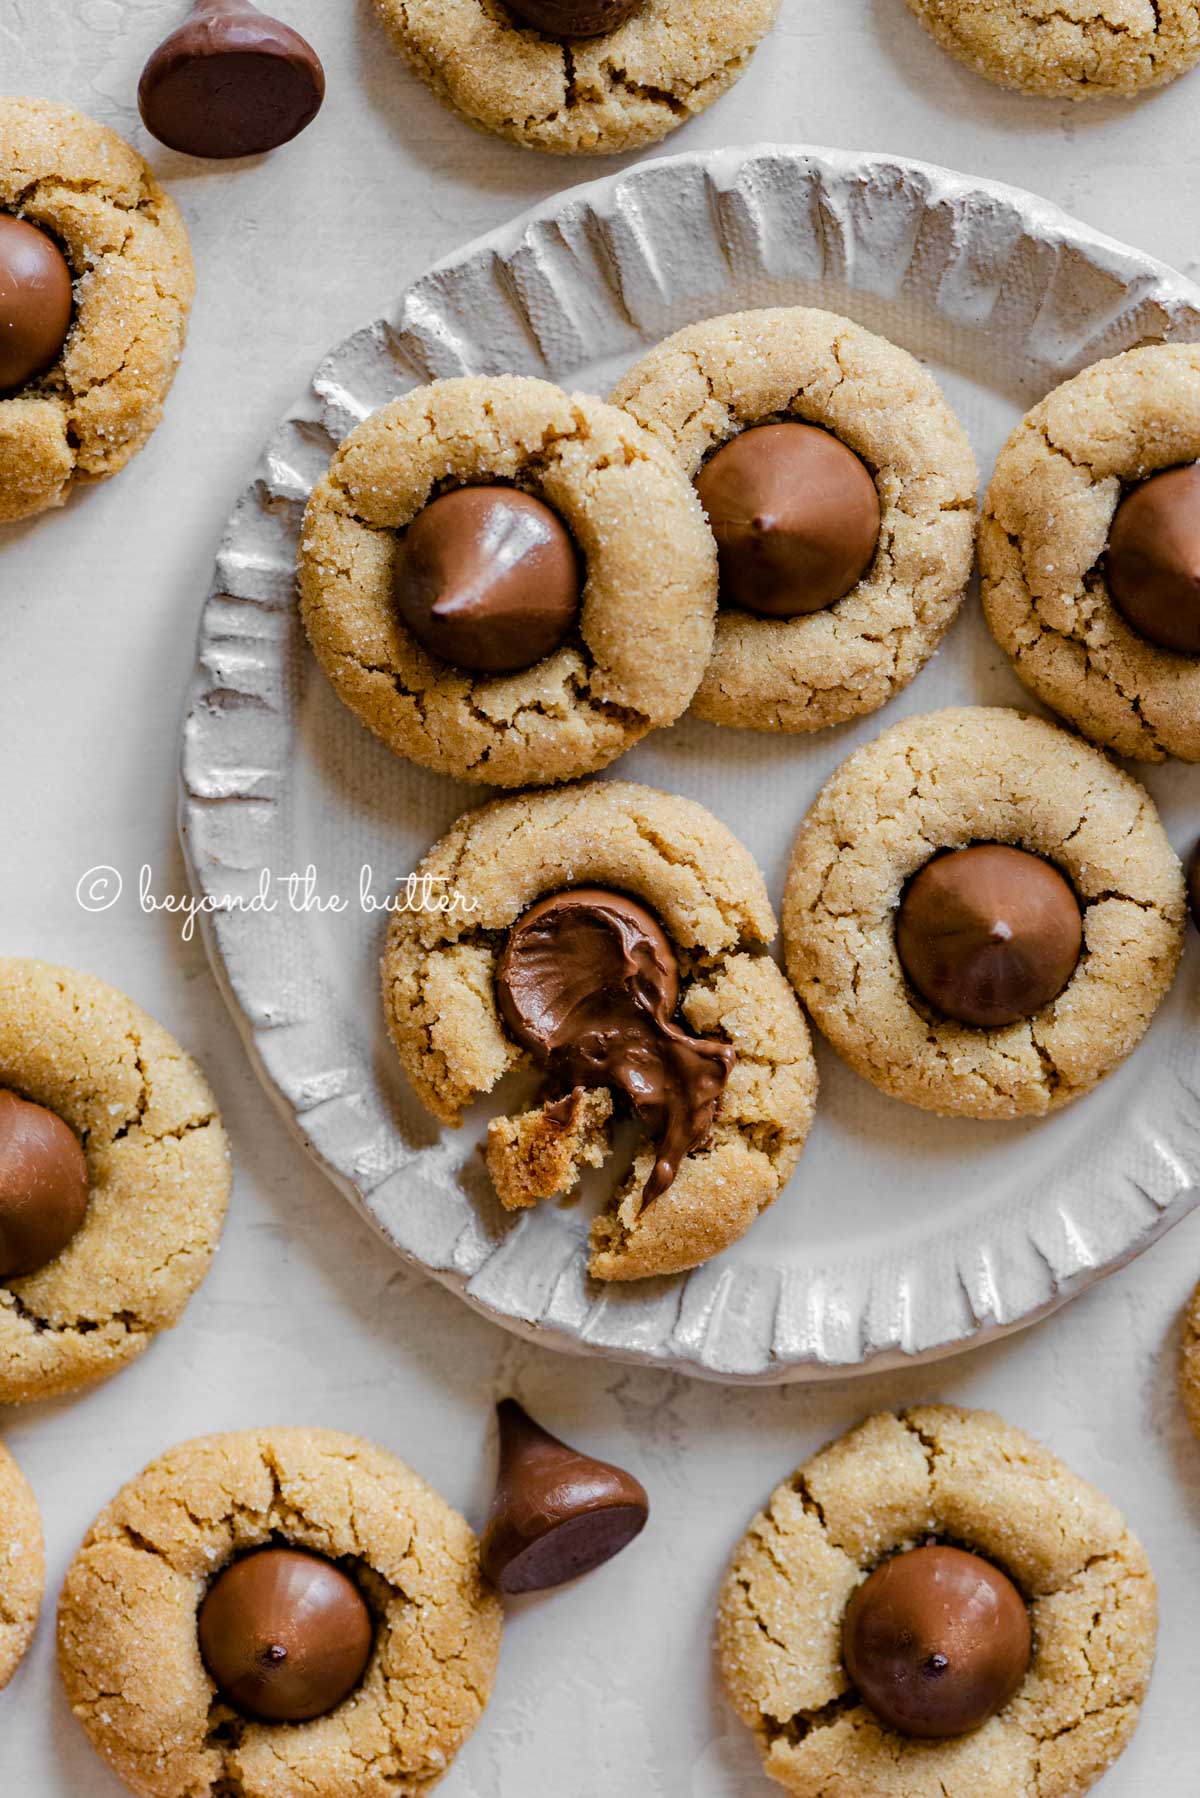
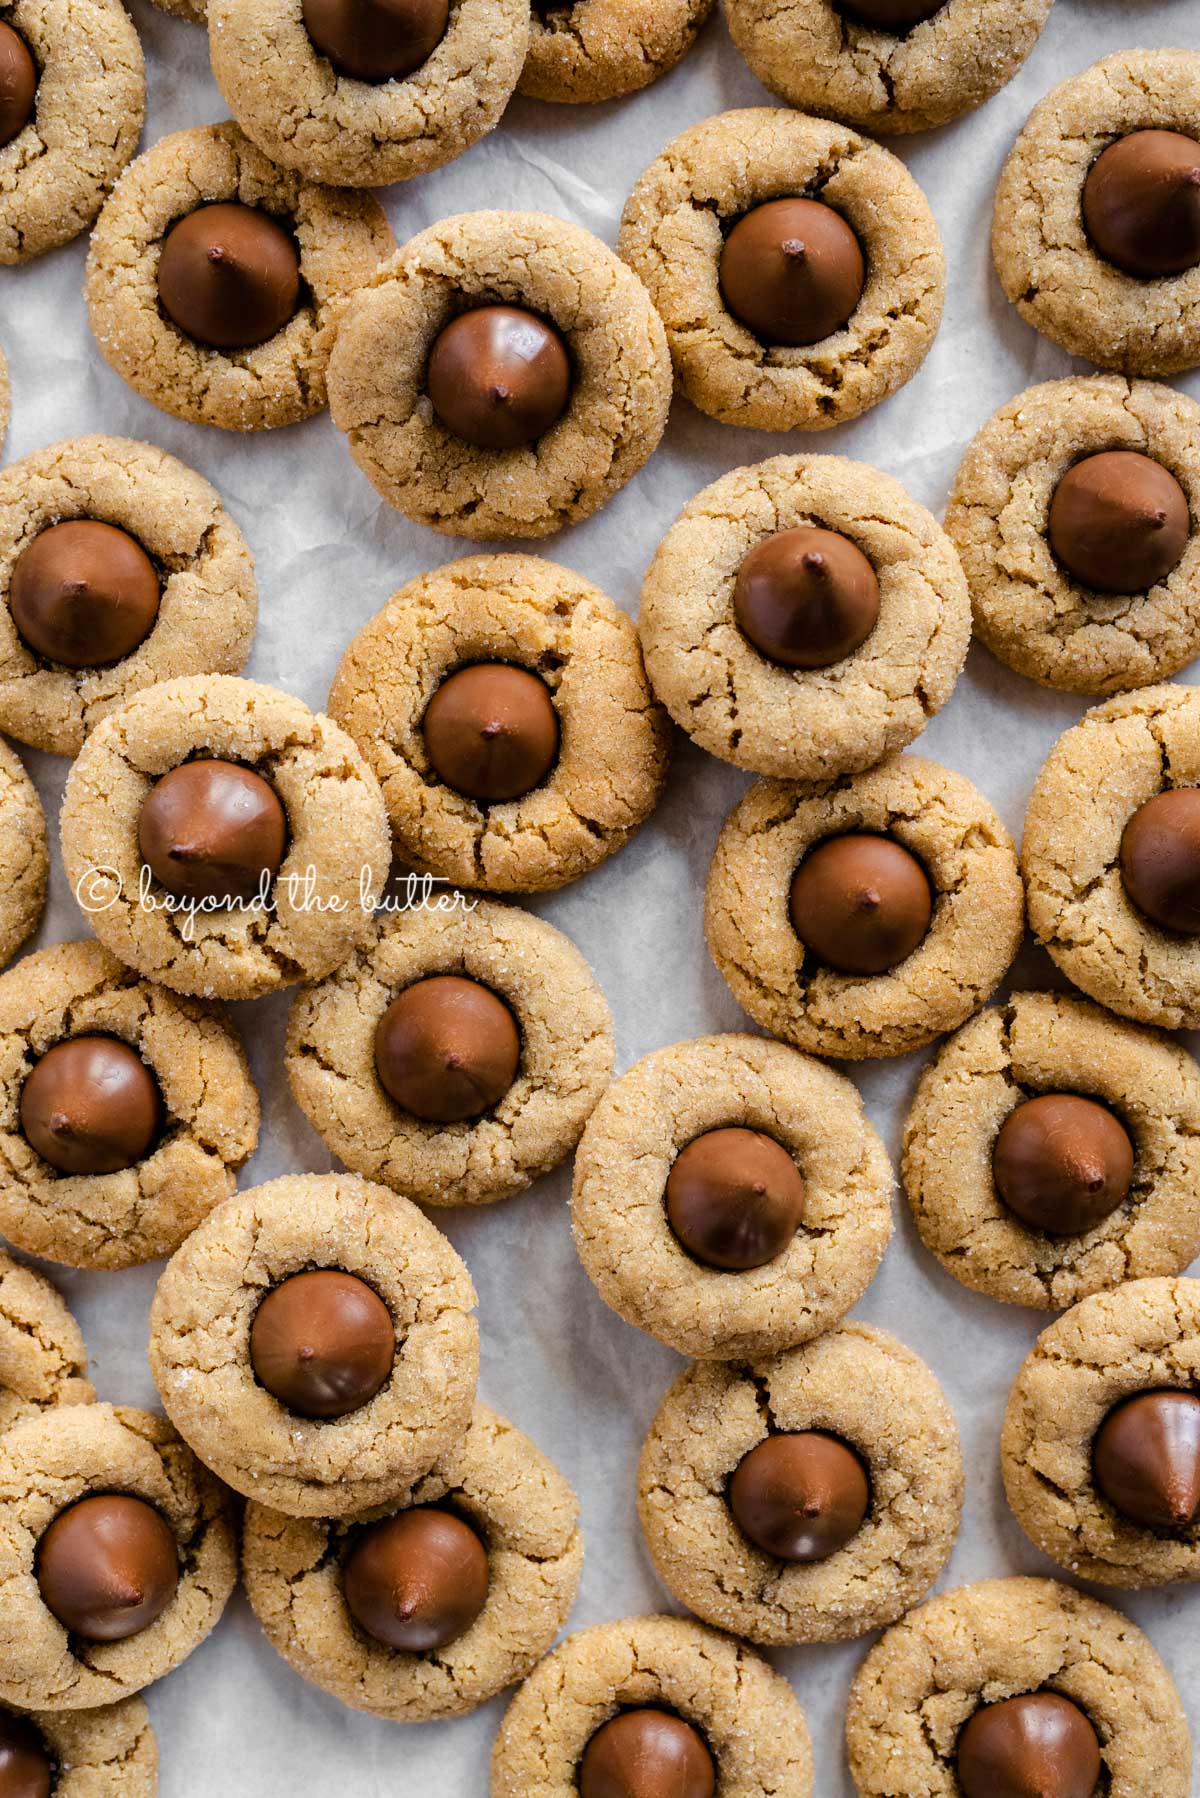
Classic Peanut Butter Blossoms are soft and chewy peanut butter cookies with a sugary, crackled top and finished with a milk chocolate kiss! They’re the perfect go-to cookie for the holiday season!
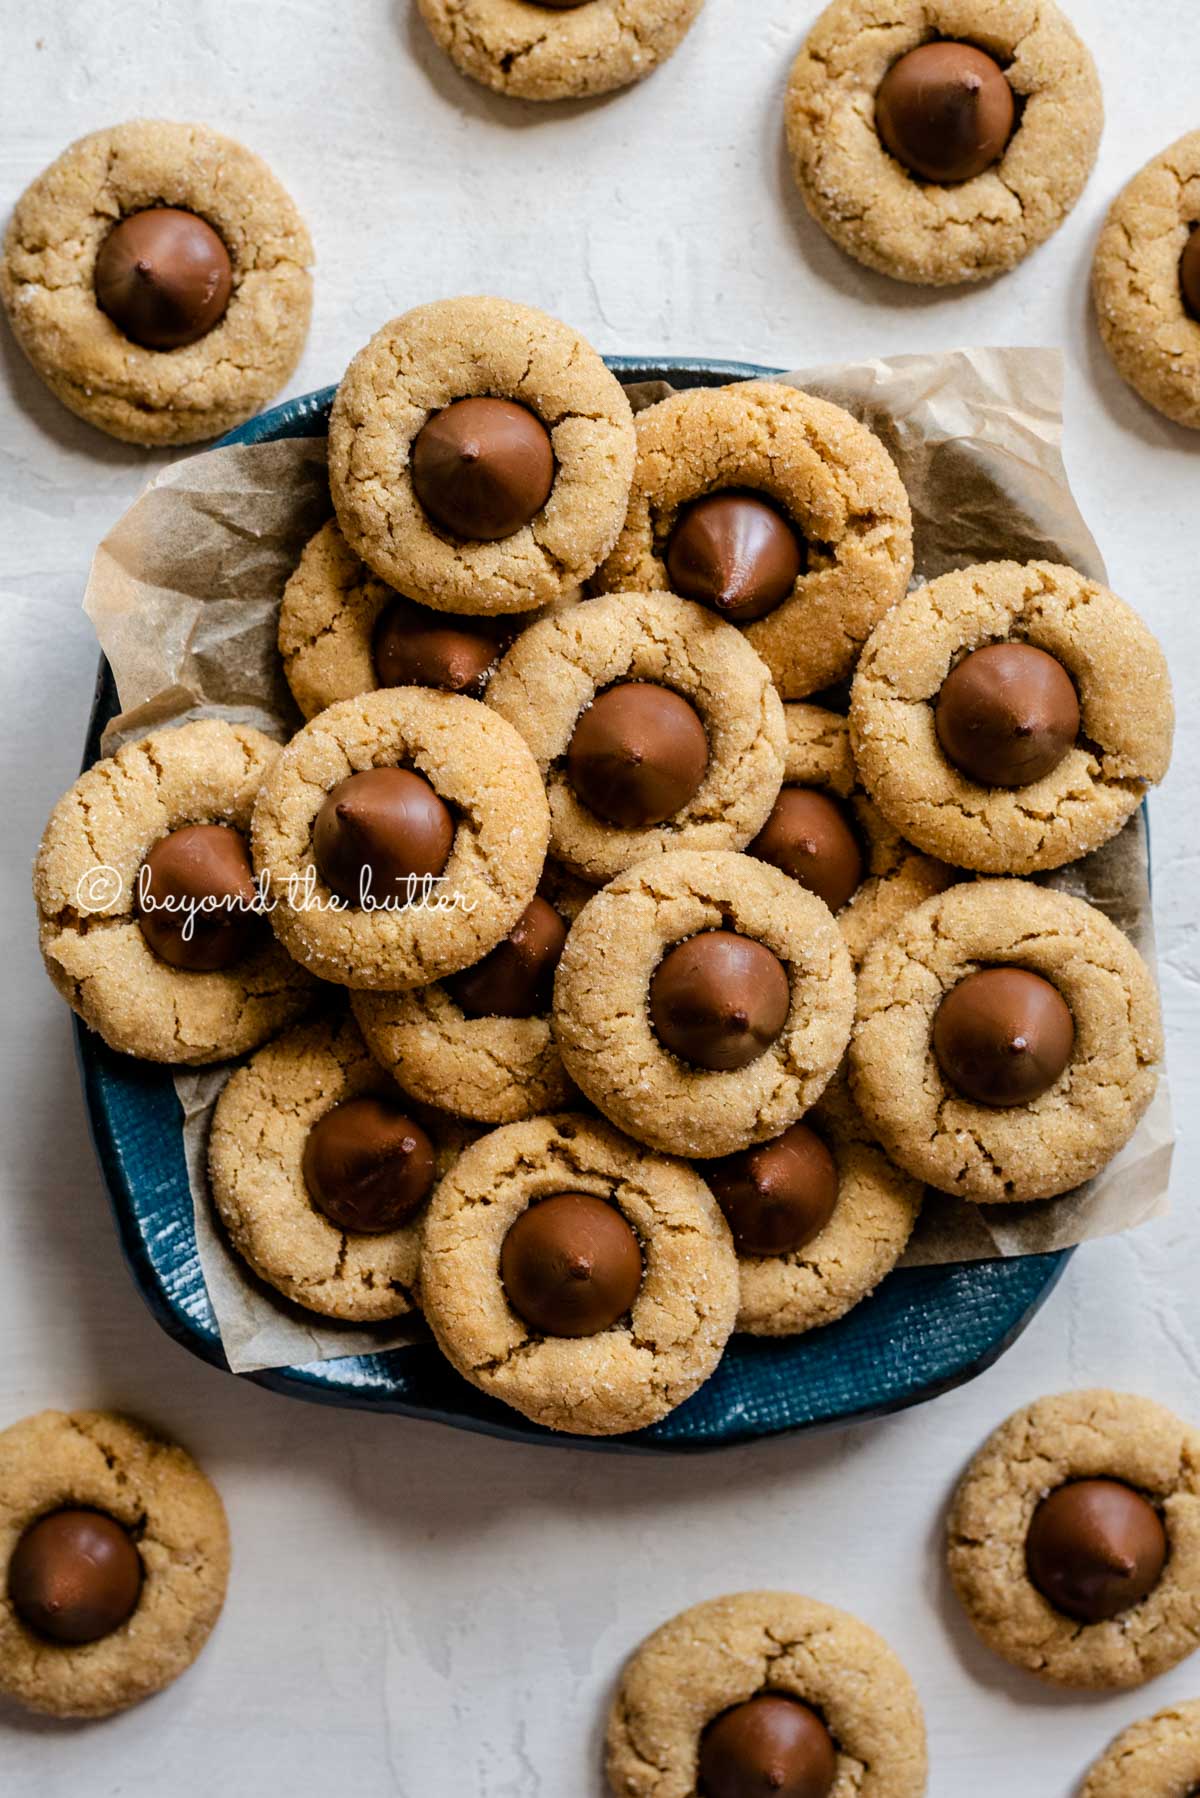
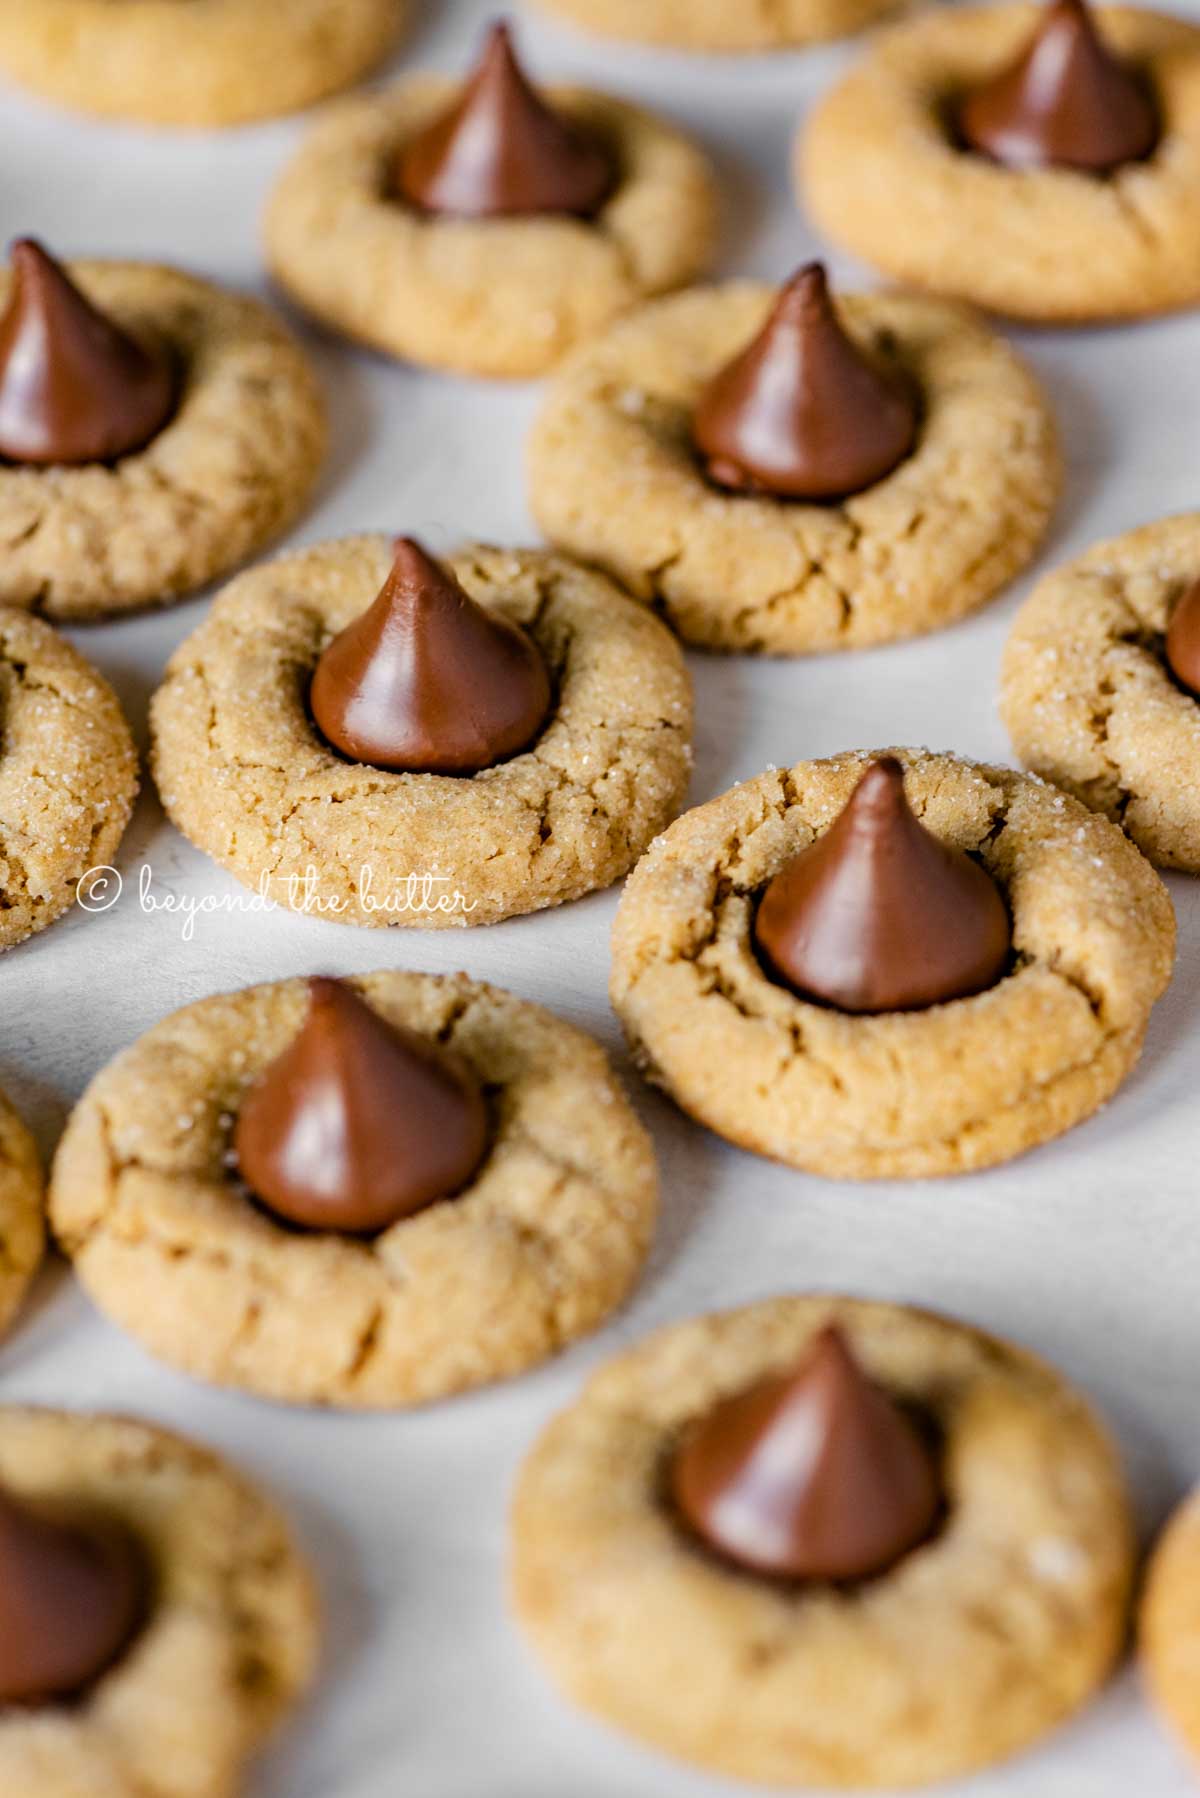
Table of Contents
- These Peanut Butter Blossoms Are…
- Do I Have to Refrigerate the Cookie Dough?
- How to Make Classic Peanut Butter Blossoms
- What’s the Best Way to Store These Cookies?
- How Long Will Peanut Butter Blossoms Keep?
- Can I Freeze This Cookie Dough?
- One Last Tip Before Starting
- Enjoy More Holiday Cookies from Beyond the Butter!
- Classic Peanut Butter Blossoms Recipe
These Peanut Butter Blossoms Are…
- easy to make
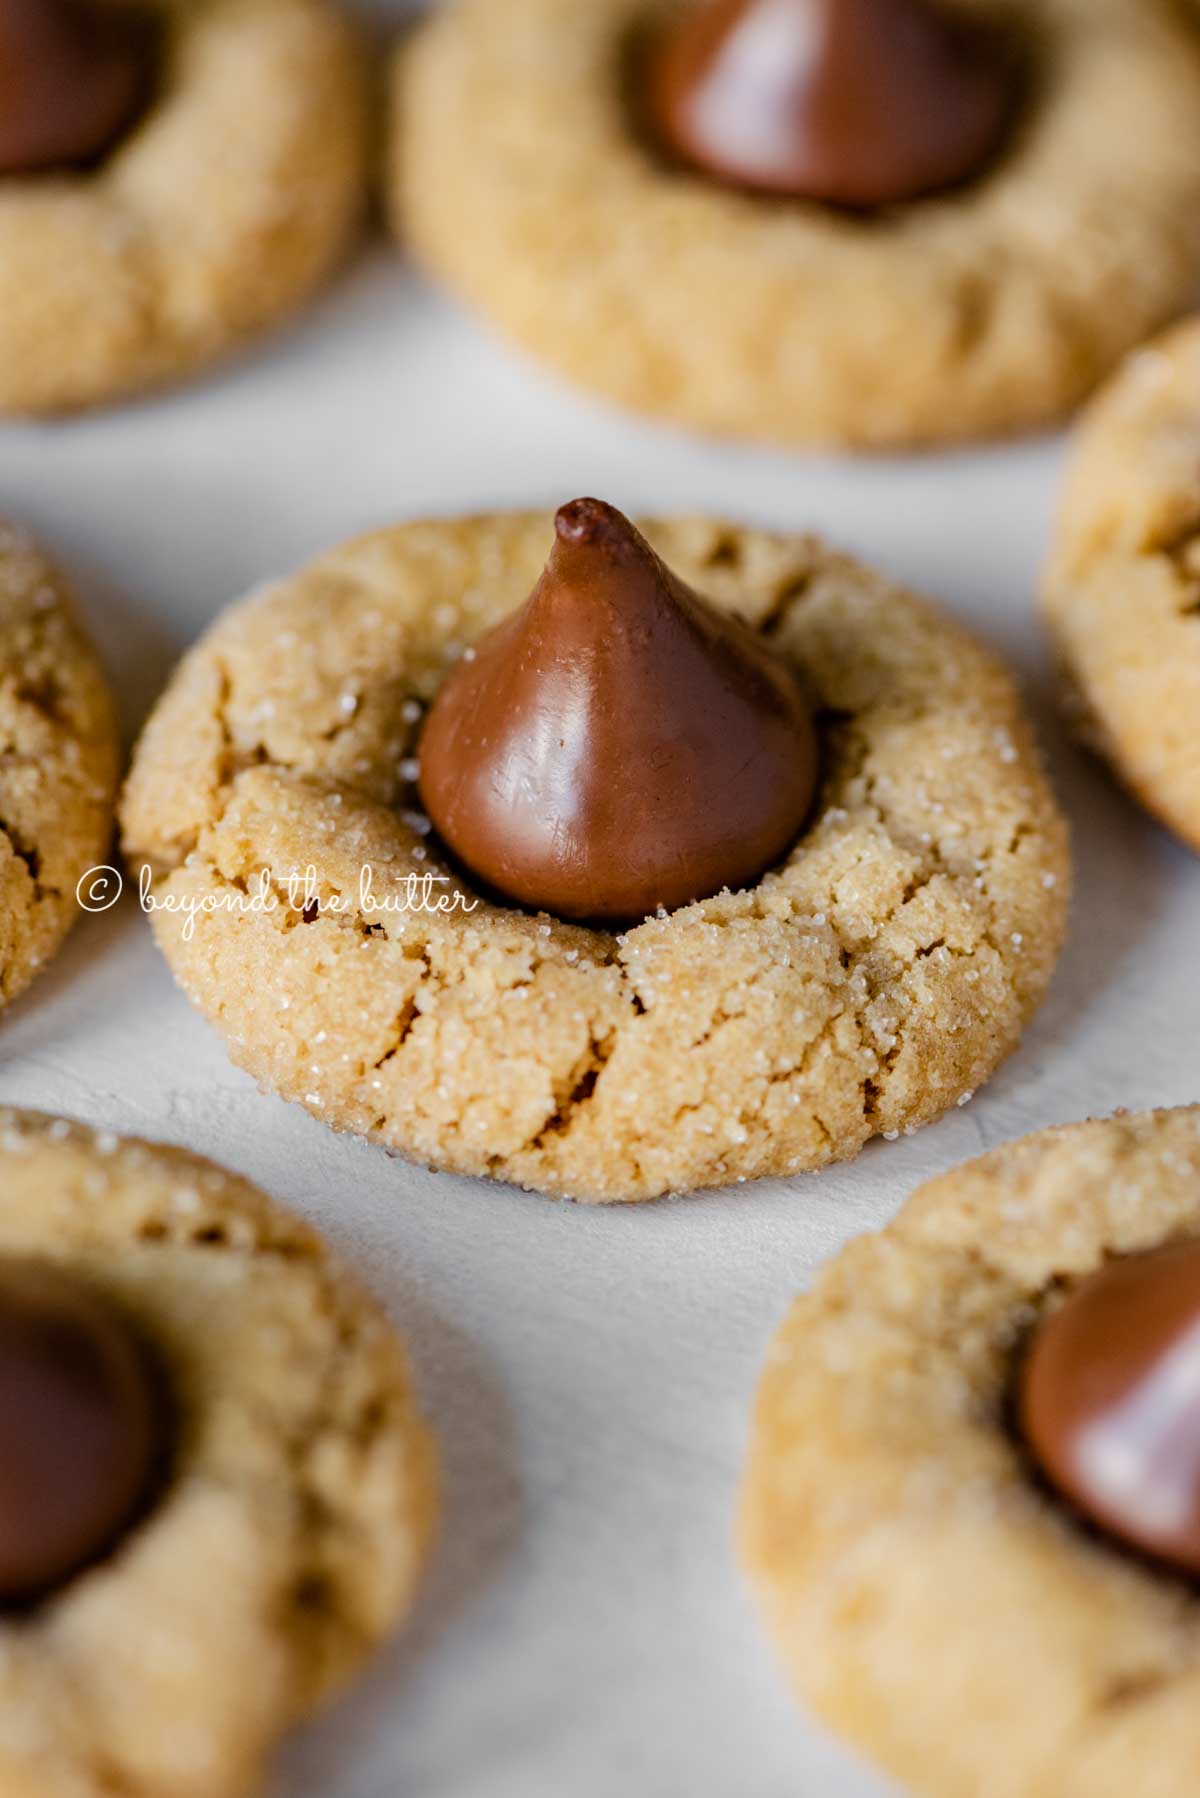
- soft and chewy
- rolled in sugar to give it a sweet crackly crust
- perfect for chocolate and peanut butter lovers
- a classic and have been around since the 1950s
- a popular favorite for holiday baking
Truth be told, I never actually knew they were called peanut butter blossoms until a few years ago. Up until then, I had always referred to them as Hershey kiss cookies. Either way, they’re delicious, and I have fond memories as a kid eating the ones my Grammy always made!
Do I Have to Refrigerate the Cookie Dough?
Yes. Chilling the dough helps to prevent the cookie dough balls from spreading out too much while baking.
After making the cookie dough, it must be chilled for a minimum of 1 hour or overnight.
Keep the dough covered tightly either in the mixing bowl (with plastic or reusable wrap over the top) or in a glass or plastic storage container.
How to Make Classic Peanut Butter Blossoms
Here’s a quick walk-thru on making this popular holiday cookie! You can find the full recipe below.
- Whisk the Dry Ingredients Together. You can sift them together if you’d like, but it is unnecessary. A good whisk will easily do the trick.
- Blend the Wet ingredients. I recommend using either your hand mixer or stand mixer fitted with the paddle attachment for this part. Your butter should be at room temperature but not so soft it’s almost falling apart when you pick it up.
- Add the Dry Ingredients to the Wet. Reduce your mixer speed for this, so your dry ingredients don’t go flying!
- Chill the Dough. 1-hour minimum or, in my preference, overnight. Make sure it’s chilled in a well-sealed container.
- Roll the Dough Into Balls and Coat in Sugar. 1 inch is a perfect size, and you’ll yield the most amount of cookies this way. I’ve made them bigger, but don’t recommend it. No cookie scoop is needed—just a spoon and your clean hands. Use a bowl of about 1/2 cup of white or organic granulated sugar to coat the cookie dough balls.
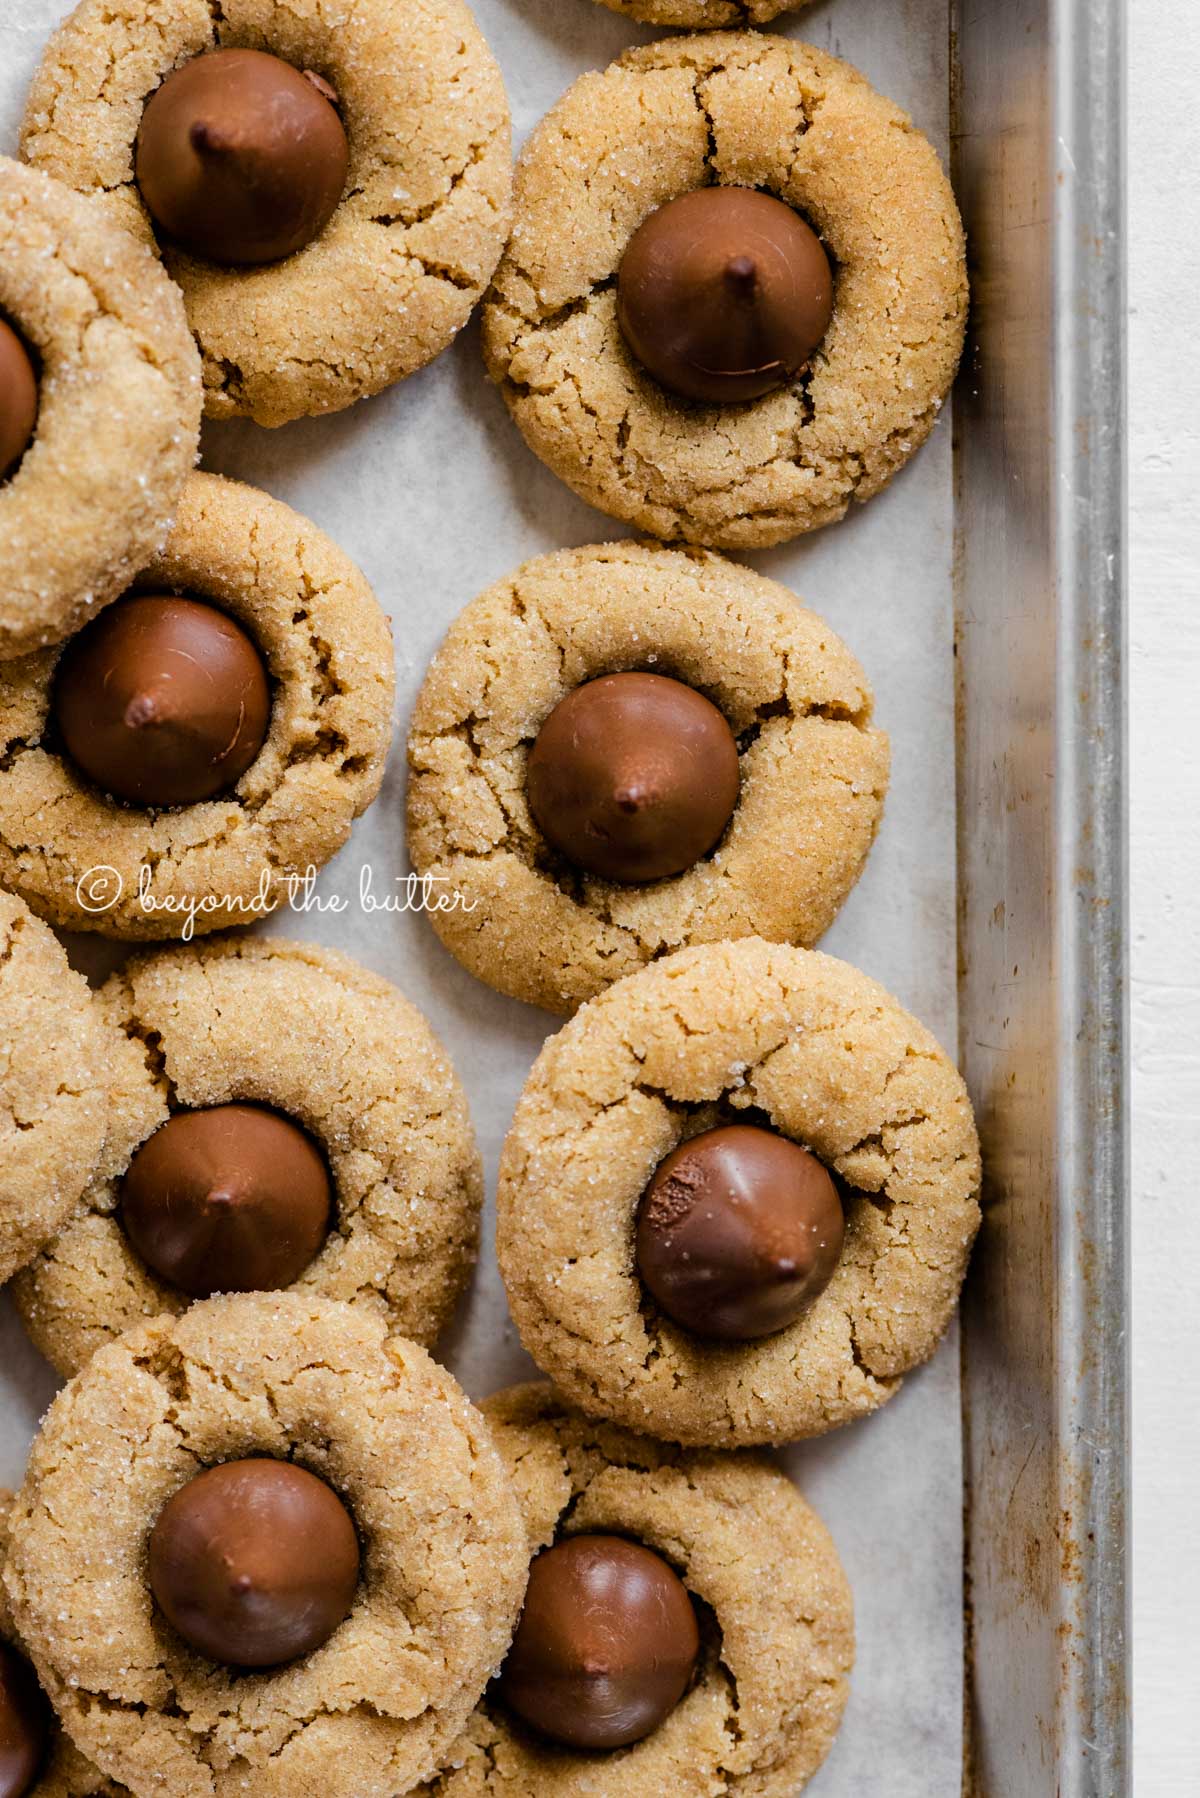
- Place On a Baking Sheet and Bake. Space them 1 1/2 -2 inches apart., then bake for 7-8 minutes at 375ºF.
- Remove from Oven and Top with Chocolate Kiss. As quickly and carefully as possible—don’t burn yourself—place a milk chocolate kiss on top and gently push down. This will create that nice crackle top. Bake for 2 more minutes.
- Cool on Wire Cooling Rack, then Enjoy! Let the cookies sit on the baking sheet for 5-10 minutes before transferring them to cool completely on the wire rack. Use a serving spatula to transfer them because they will be soft!
What’s the Best Way to Store These Cookies?
The best way to store peanut butter blossoms is in a tightly sealed food storage container with a slice of bread cut in half.
The peanut butter blossoms will absorb the moisture from the bread, keeping them soft for much longer.
How Long Will Peanut Butter Blossoms Keep?
Using the tips above, the cookies will last up to a week at room temperature. I guarantee you, though, they won’t last that long!

Can I Freeze This Cookie Dough?
Absolutely! To freeze peanut butter blossom cookie dough:
- Roll them into the 1-inch balls, but do not coat them in the sugar.
- Place them on a wax paper or parchment paper lined baking sheet, then into the freezer.
- Freeze until hard (about 1-2 hours), then place in a freezer storage bag.
- When ready to use, coat them in the sugar and bake for 9-11 minutes. Do not let them come to room temperature before baking.
- Top with the milk chocolate kiss, then back into the oven for 2 minutes more.
One Last Tip Before Starting
For a smoother process, I like to unwrap the chocolate kisses and put them in a bowl before baking the cookies. This way, you can have them ready to place on top of the cookies when they come out of the oven. You’re welcome 🙂
Enjoy More Holiday Cookies from Beyond the Butter!


Classic Peanut Butter Blossoms

Ingredients
- 1 3/4 cup All-Purpose Flour
- 1 tsp Baking Soda
- 1/2 tsp Salt
- 1/2 cup Creamy Peanut Butter
- 1/2 cup Unsalted Butter , room temperature
- 1/2 cup Granulated Sugar
- 1/2 cup Light Brown Sugar, lightly packed
- 1 Large Egg
- 2 tbsp Milk
- 1 tsp Vanilla Extract
- 1/2 cup Granulated Sugar, additional amount for coating cookies
- 11 oz Bag of Hershey Kisses
Instructions
- In a medium bowl, whisk together the all-purpose flour, baking soda, and salt. Set aside.1 3/4 cup All-Purpose Flour, 1 tsp Baking Soda, 1/2 tsp Salt
- Using a hand mixer or stand mixer fitted with paddle attachment, cream together the peanut butter, unsalted butter, granulated sugar, and light brown sugar on medium-high speed until well blended.1/2 cup Creamy Peanut Butter, 1/2 cup Unsalted Butter , 1/2 cup Granulated Sugar, 1/2 cup Light Brown Sugar
- Add in the egg, milk, and vanilla extract. Scrape down the sides of the bowl as needed.1 Large Egg, 2 tbsp Milk, 1 tsp Vanilla Extract
- Reduce the mixer speed, gradually adding in the dry mixture until completely blended.
- Place the cookie dough in a well sealed food container or tightly wrap the top of the mixing bowl with plastic wrap (or alternative) and chill the cookie dough for a minimum of 1 hour.
- After dough has chilled, line 2 baking sheets with parchment paper or silicone mats, adjust the oven rack to the 2nd level mark (just above center), and preheat the oven to 375°F.
- Using a spoon and your clean hands, shape the cookie dough into 1 inch balls, roll in granulated sugar, and place about 1 1/2 – 2 inches apart on lined baking sheets.1/2 cup Granulated Sugar
- Bake for 7-8 minutes, then remove from oven and place a milk chocolate kiss on each cookie, pressing down gently to create the crackly cookie edges..11 oz Bag of Hershey Kisses
- Return to the oven and bake for 2 minutes longer.
- Cool cookies on baking sheet for 5-10 minutes before transferring to a cooking rack to cool completely.
- Store cookies in an airtight container with a slice of bread for up to a week.
Video
Notes
- For a smoother process, I like to unwrap the chocolate kisses and put them in a bowl before baking the cookies. This way, you can have them ready to place on top of the cookies when they come out of the oven.
- The best way to store peanut butter blossoms is in a tightly sealed food storage container with a slice of bread cut in half. The peanut butter blossoms will absorb the moisture from the bread, keeping them soft for much longer. The cookies will last up to a week at room temperature. I guarantee you, though, they won’t last that long!
- To freeze peanut butter blossom cookie dough:
- Roll them into the 1-inch balls, but do not coat them in the sugar.
- Place them on a wax paper or parchment paper lined baking sheet, then into the freezer.
- Freeze until hard (about 1-2 hours), then place in a freezer storage bag.
- When ready to bake, coat them in the sugar and bake for 9-11 minutes. Do not let them come to room temperature before baking. Top with the milk chocolate kiss, then back into the oven for 2 minutes more.
- Recipe adapted from the Original 1957 Bake-off Contest Recipe and my Grammy’s family recipe.
Nutrition
Nutritional information provided above is an estimate only and will vary based on specific ingredients used. See Nutritional Disclaimer for more info.


We make these every year and they’re delicious. I just want to say how nice it is that you list the measurements under each step! Why doesn’t everyone do this?! No scrolling on your screen with messy hands! Genius! Thank you and Merry Christmas!
Thank you for making them every year! And so glad you enjoy the ingredients with the instructions feature! Merry Christmas!
I’m doubling the recipe, and don’t have enough butter. Can I sub 8oz. of margarine or butter flavored shortening for half the butter?
With the shortening, your cookies may not spread quite as much, but either should be fine!
A staple for all my holiday trays—thanks for an awesome recipe that is easy & delicious.
Thank YOU for making them!
Thank you for listing the ingredients with the directions!! Soo much easier to follow a recipe when it’s on your phone and not having to scroll up and down 😂!
I’m making these cookies this afternoon !
You’re so welcome! Happy baking!❤️
I just want to say THANK YOU from the bottom of my short attention spanned-heart for including the measurements again as the recipe is followed. I’ve never seen anyone do this before and I’ve always wished they did! Thank you ❤️
You’re so welcome! The constant up, down, up, down scrolling while making a recipe has always bugged me (and never helped my short attention span either), so I decided to add this feature. So happy I did and glad you love it too!
These peanut blossoms are delish! Directions are simple and super easy to follow. I especially like how the ingredients are listed again in the step by step directions! No need to scroll back and forth. Anyways, made my dough on Saturday and it chilled in the fridge overnight. Baked on Sunday and they were perfectly soft, peanut buttery, chocolatey goodness! Thanks for sharing the recipe!
Thank you for making them, Colleen!
I wish everybody would write out the recipe like you did! Having the ingredients w/amounts in the instructions was so helpful!
Thank you so much! It’s so nice not having to scroll up and back down repeatedly!
I agree I loved the ingredients next to the instructions—I hate scrolling up and down all day. Baking is hard enough as it is! Cookies turned out wonderful
Thank you for making them and for the feedback on the ingredients/instructions!❤️
I completely agree, it’s great not having to scroll back up to the ingredient list. These were a great hit in my house that I have to make more. I didn’t put the back in the oven with the kiss because I didn’t want them to melt. I baked my cookies to a light golden brown, put the kisses on, and let the sit a min on the pan. Then moved to cooling rack. The kisses were soft and melted in your mouth but if sat, they hardened back up slightly. Very delicious!
Happy you enjoyed them and the ingredient/instruction feature! Merry Christmas!
The texture and flavor of these cookies was amazing, I got so many complements on them! Thank you for such a detailed recipe, I didn’t know that the key to them was to add the Hershey’s kisses in the last 2 minutes of the bake.
Yay! I’m so glad they were a big hit. Thank you for making them!
Can I leave out peanut butter and any nut substitution….my son has allergies but I believe my kids would enjoy the cookies
I’m so sorry I don’t know as I’ve only ever made/tested them with peanut butter. You might want to just google nut-free blossom cookies and see if there is another recipe better suited for your son’s allergies.
What can be used to substitute the egg?
I don’t know as I only tested the recipe using an egg. Sorry!