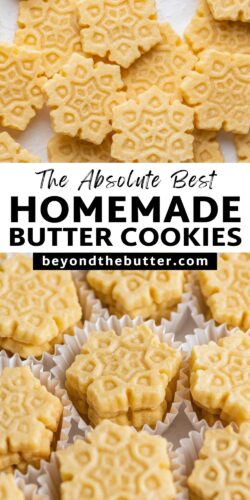
Homemade Butter Cookies are a classic recipe you can make for any occasion or holiday! They are simple yet sophisticated cookies with a rich, buttery taste!
Pin this now to find it later
Pin ItTable of Contents
Why you’ll love this recipe

I love the simplicity of these Homemade Butter Cookies and how good they taste! They’re soft and chewy on the inside, with a slightly crispy outside, and each bite delivers a rich, buttery cookie!
This is an easy-to-make recipe that uses only seven ingredients, and you can easily change out the cookie cutter for each holiday! If you’re looking for a fun, festive cookie to add to your baking tins this holiday, this is the one!
Enjoy!
Ingredients Needed
The following ingredients are needed to make this old-fashioned butter cookie recipe. Items noted in the bulleted list are key ingredients that need a bit more explanation.
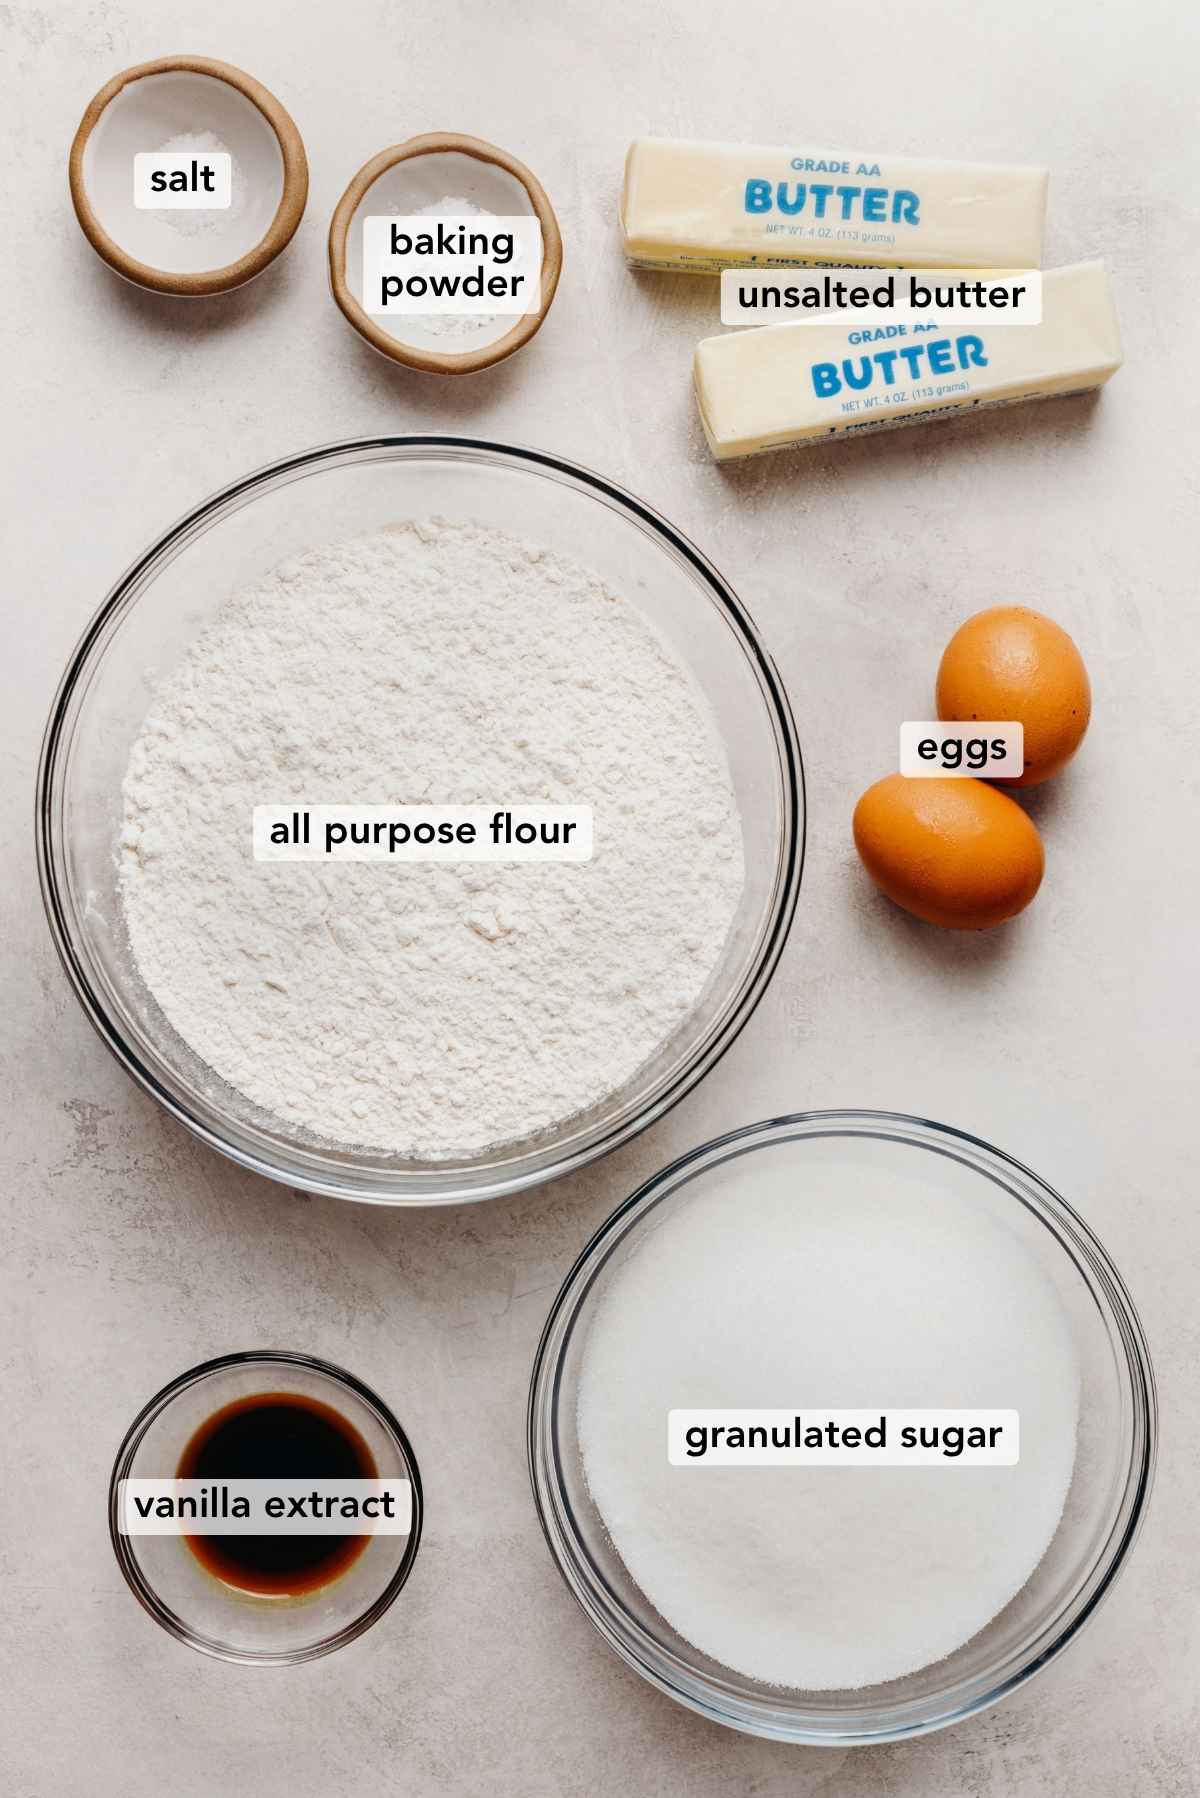
- Unsalted Butter. Use what unsalted butter you prefer, but I recommend a high-fat (82%-85% butterfat) unsalted butter brand. I’ve used Kerrygold, Plugrá, Minerva, Cabot, Vermont Creamery, and Vital Farms, which is also good.
- Eggs. Gives these cookies a richer taste with a chewier bite.
- Baking Powder. This gives the butter cookies a slight lift, making them a little less dense.
- Vanilla Extract. I like using the Nielsen-Massey brand of vanilla extract. They also make a really good vanilla bean paste, which would work well with this butter cookie recipe, too.
For quantities and instructions, please see the recipe card below.
How to Make the Recipe
Below is a simple step-by-step guide to making these homemade buttery shortbread biscuits. For the full printable recipe, with US customary or metric measurements, visit the recipe card below.
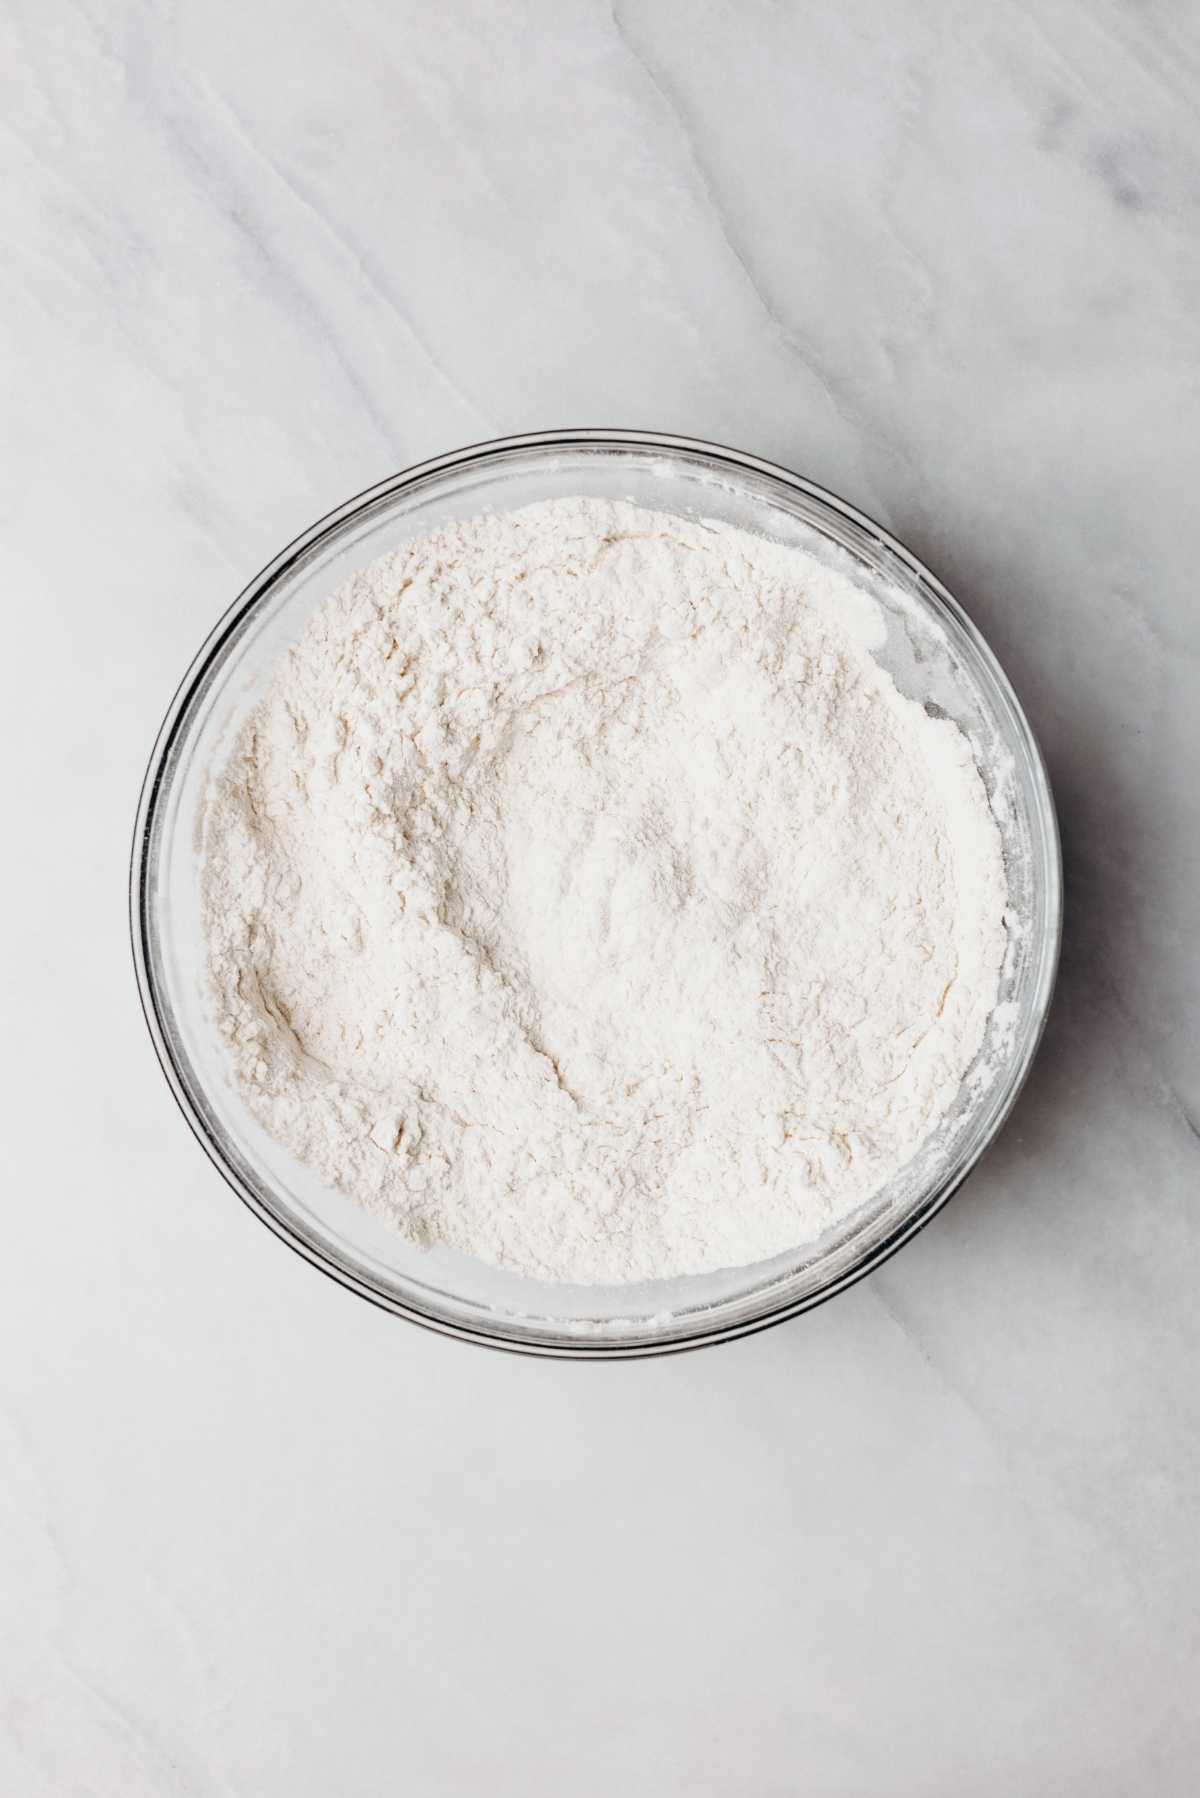
Step 1. Whisk the dry ingredients. This includes all-purpose flour, baking powder, and salt.
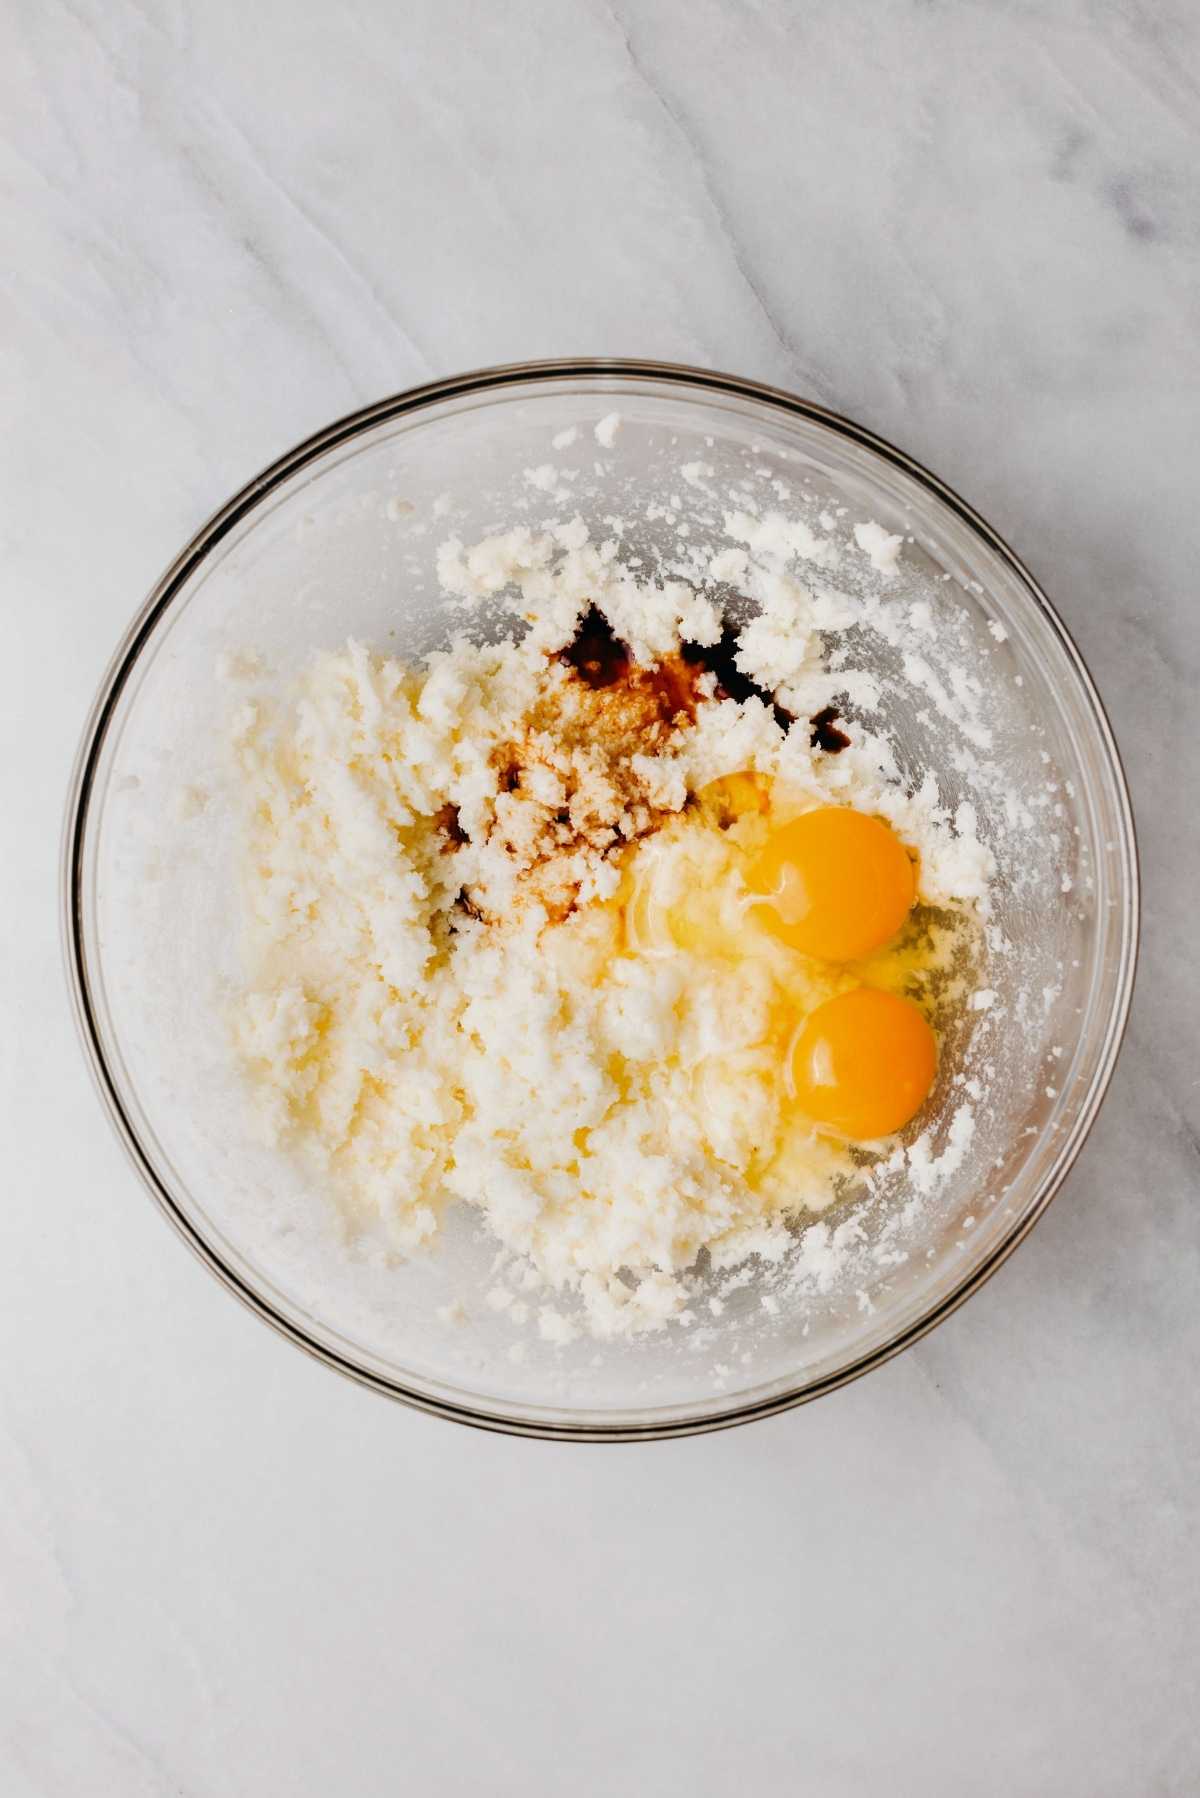
Step 2. Mix together the wet ingredients. Beat the butter and sugar together on medium-high speed until light and fluffy. Add in the eggs and the vanilla extract. Mix again until fully combined.
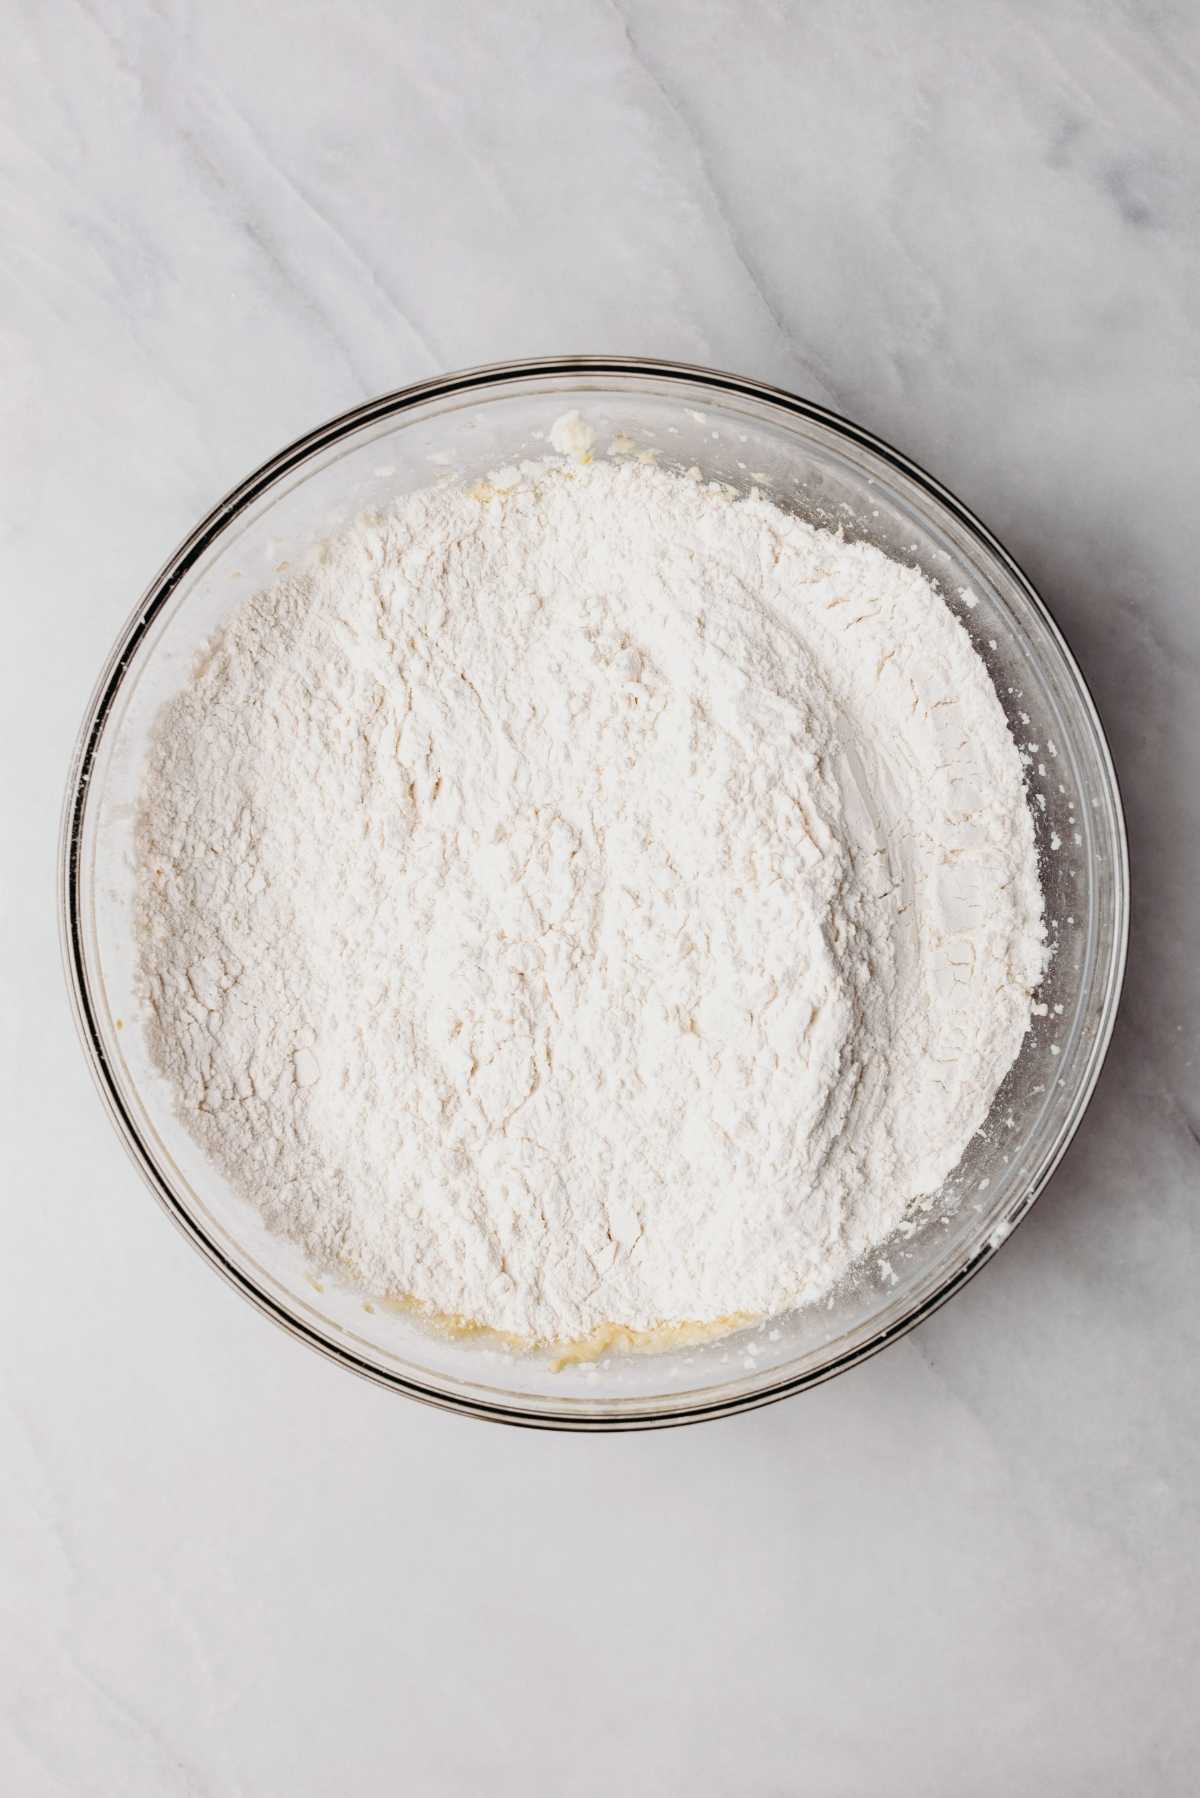
Step 3. Add the dry ingredients to the wet ingredients and blend until completely combined.
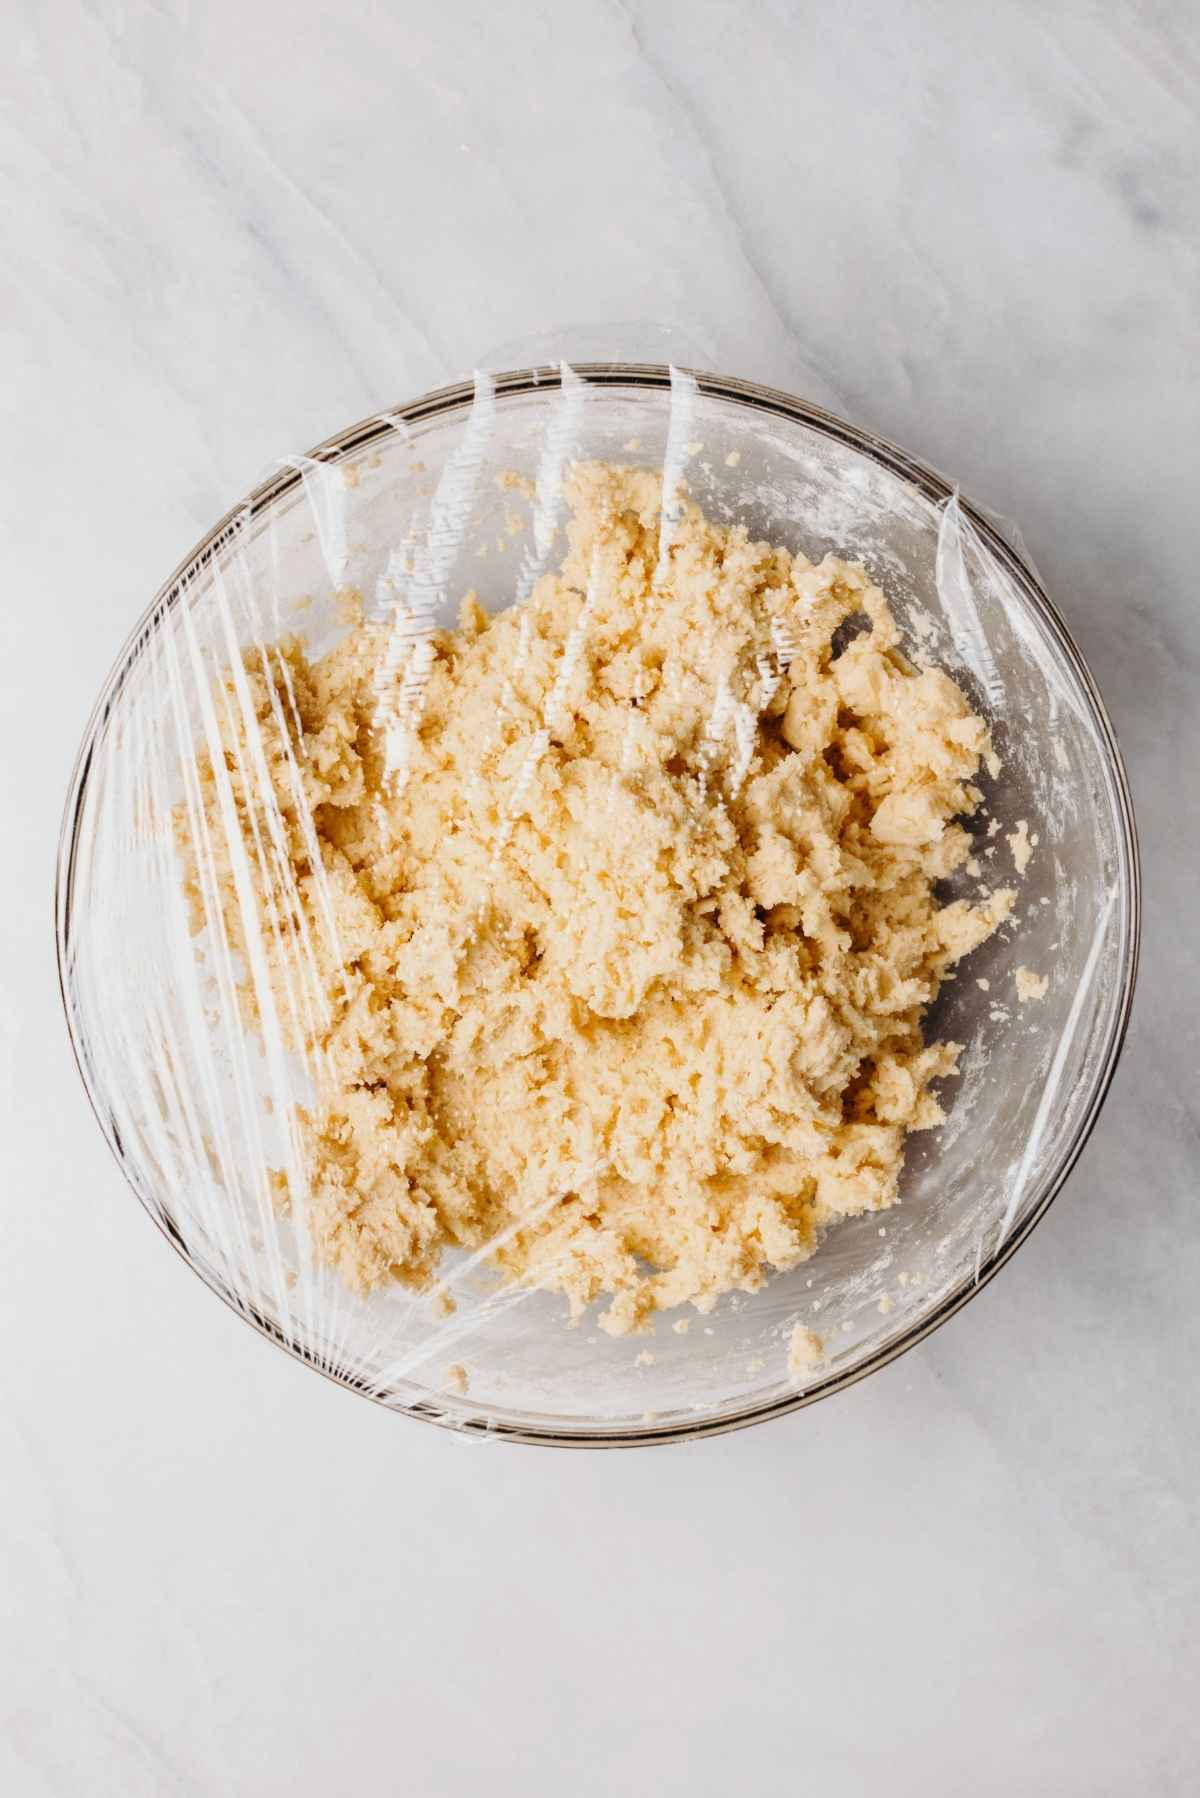
Step 4. Chill the dough for at least 1 hour in the refrigerator.
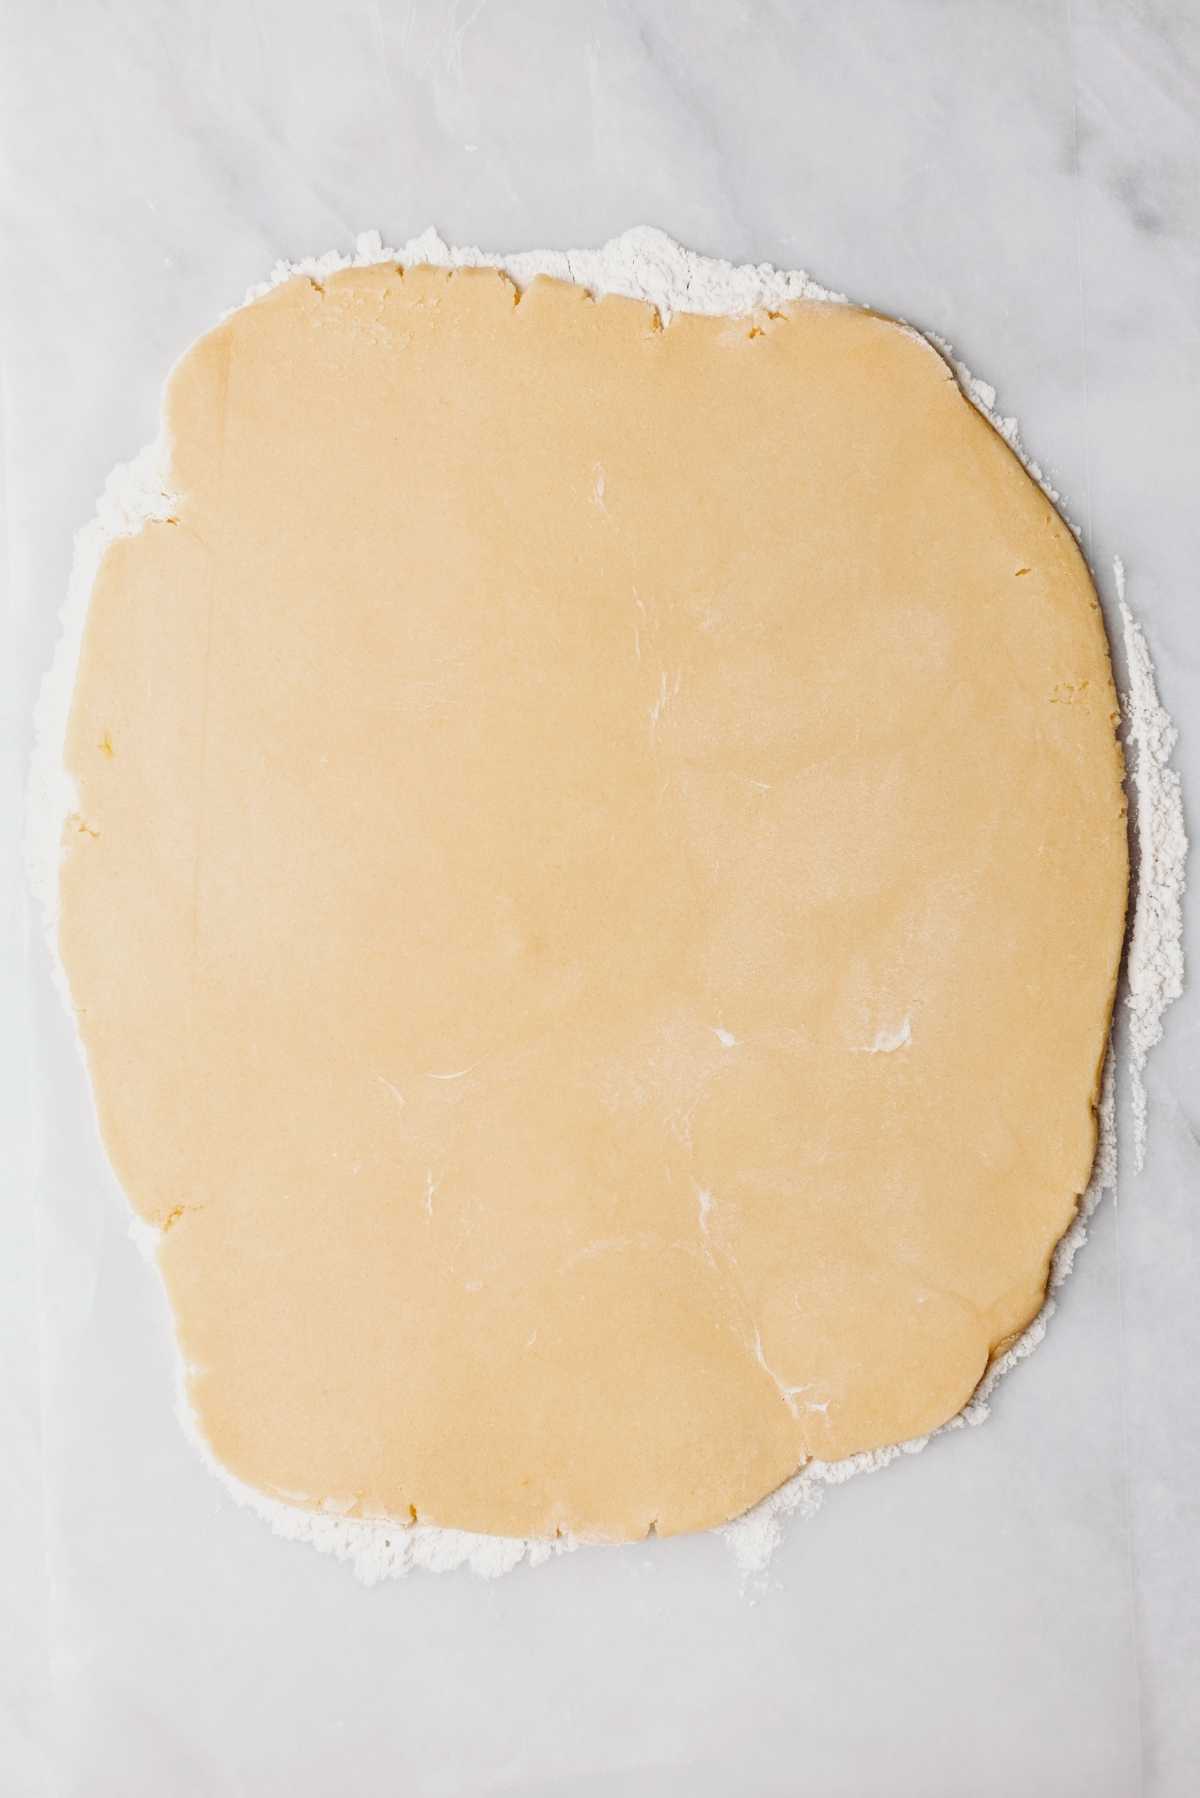
Step 5. Roll out the dough onto a lightly floured work surface.
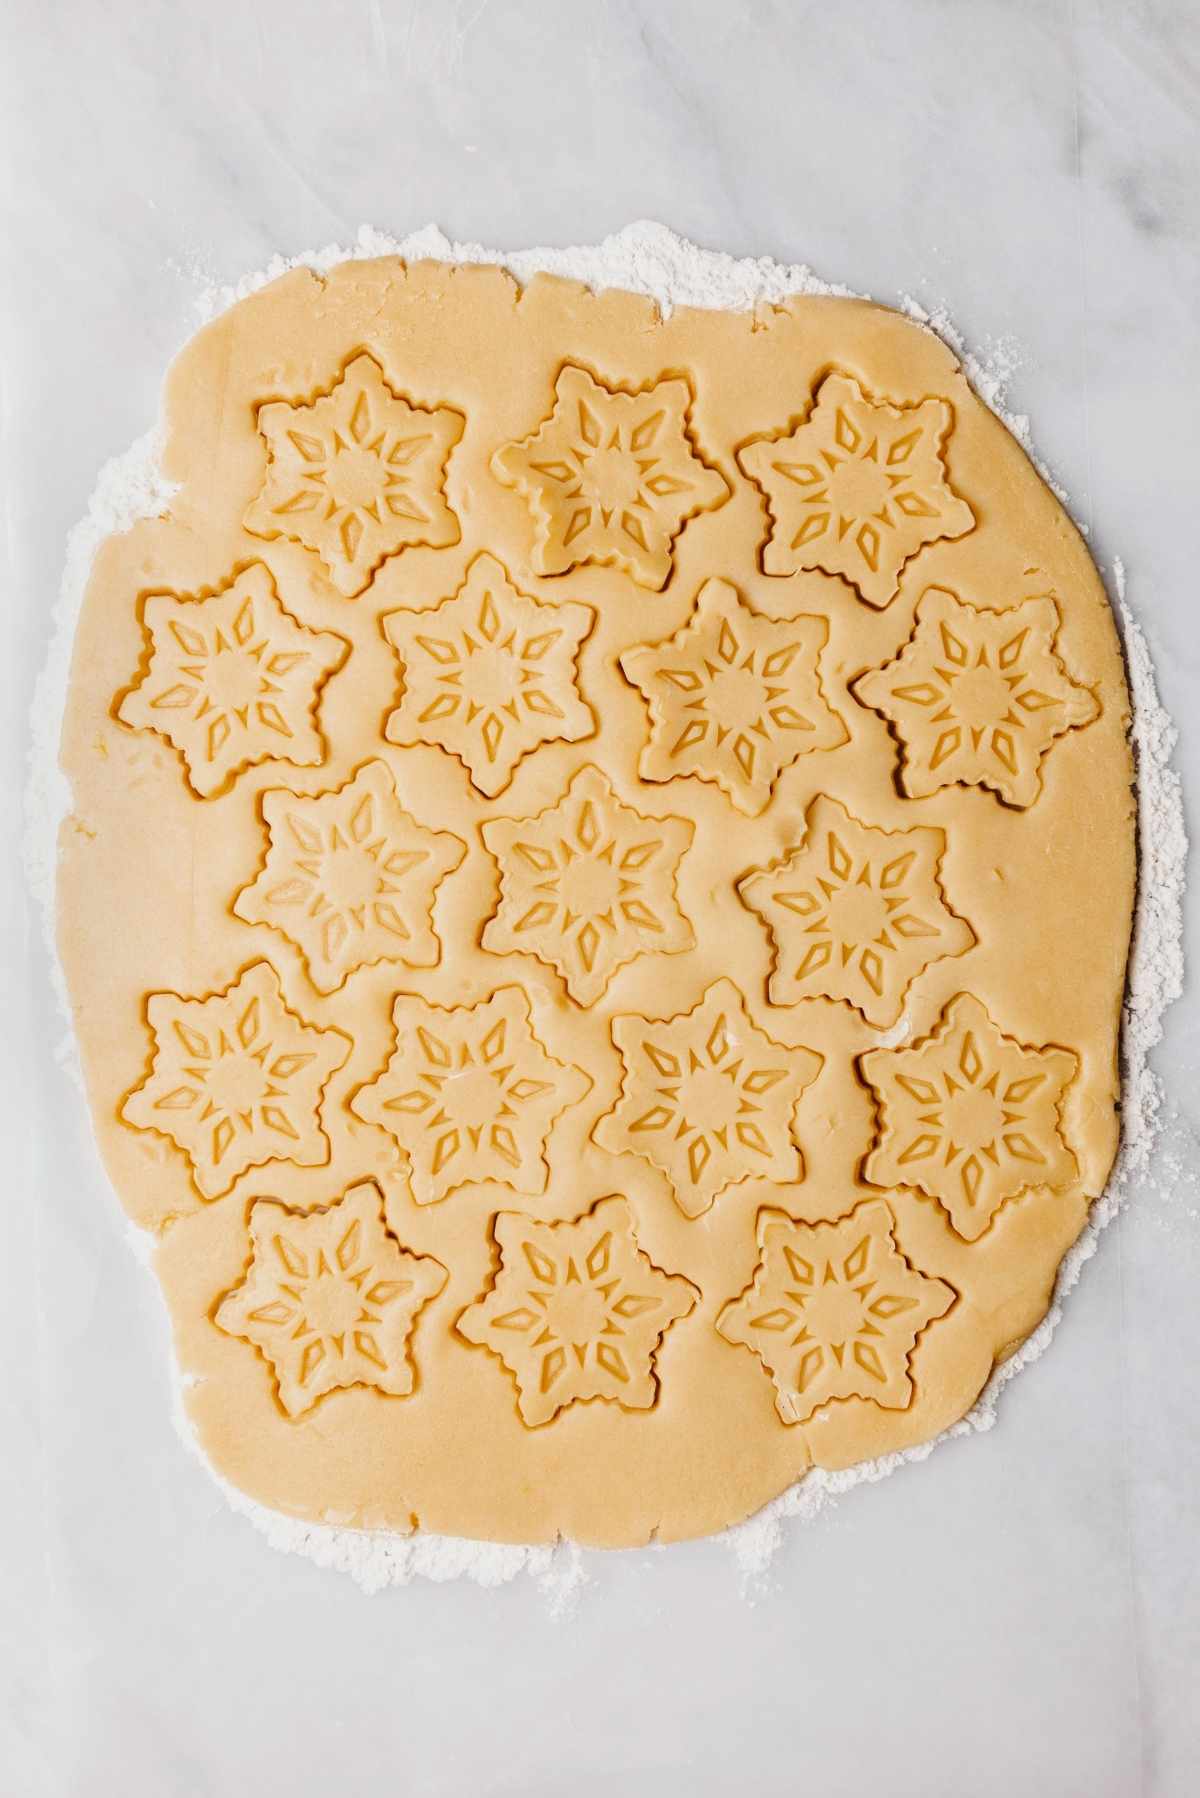
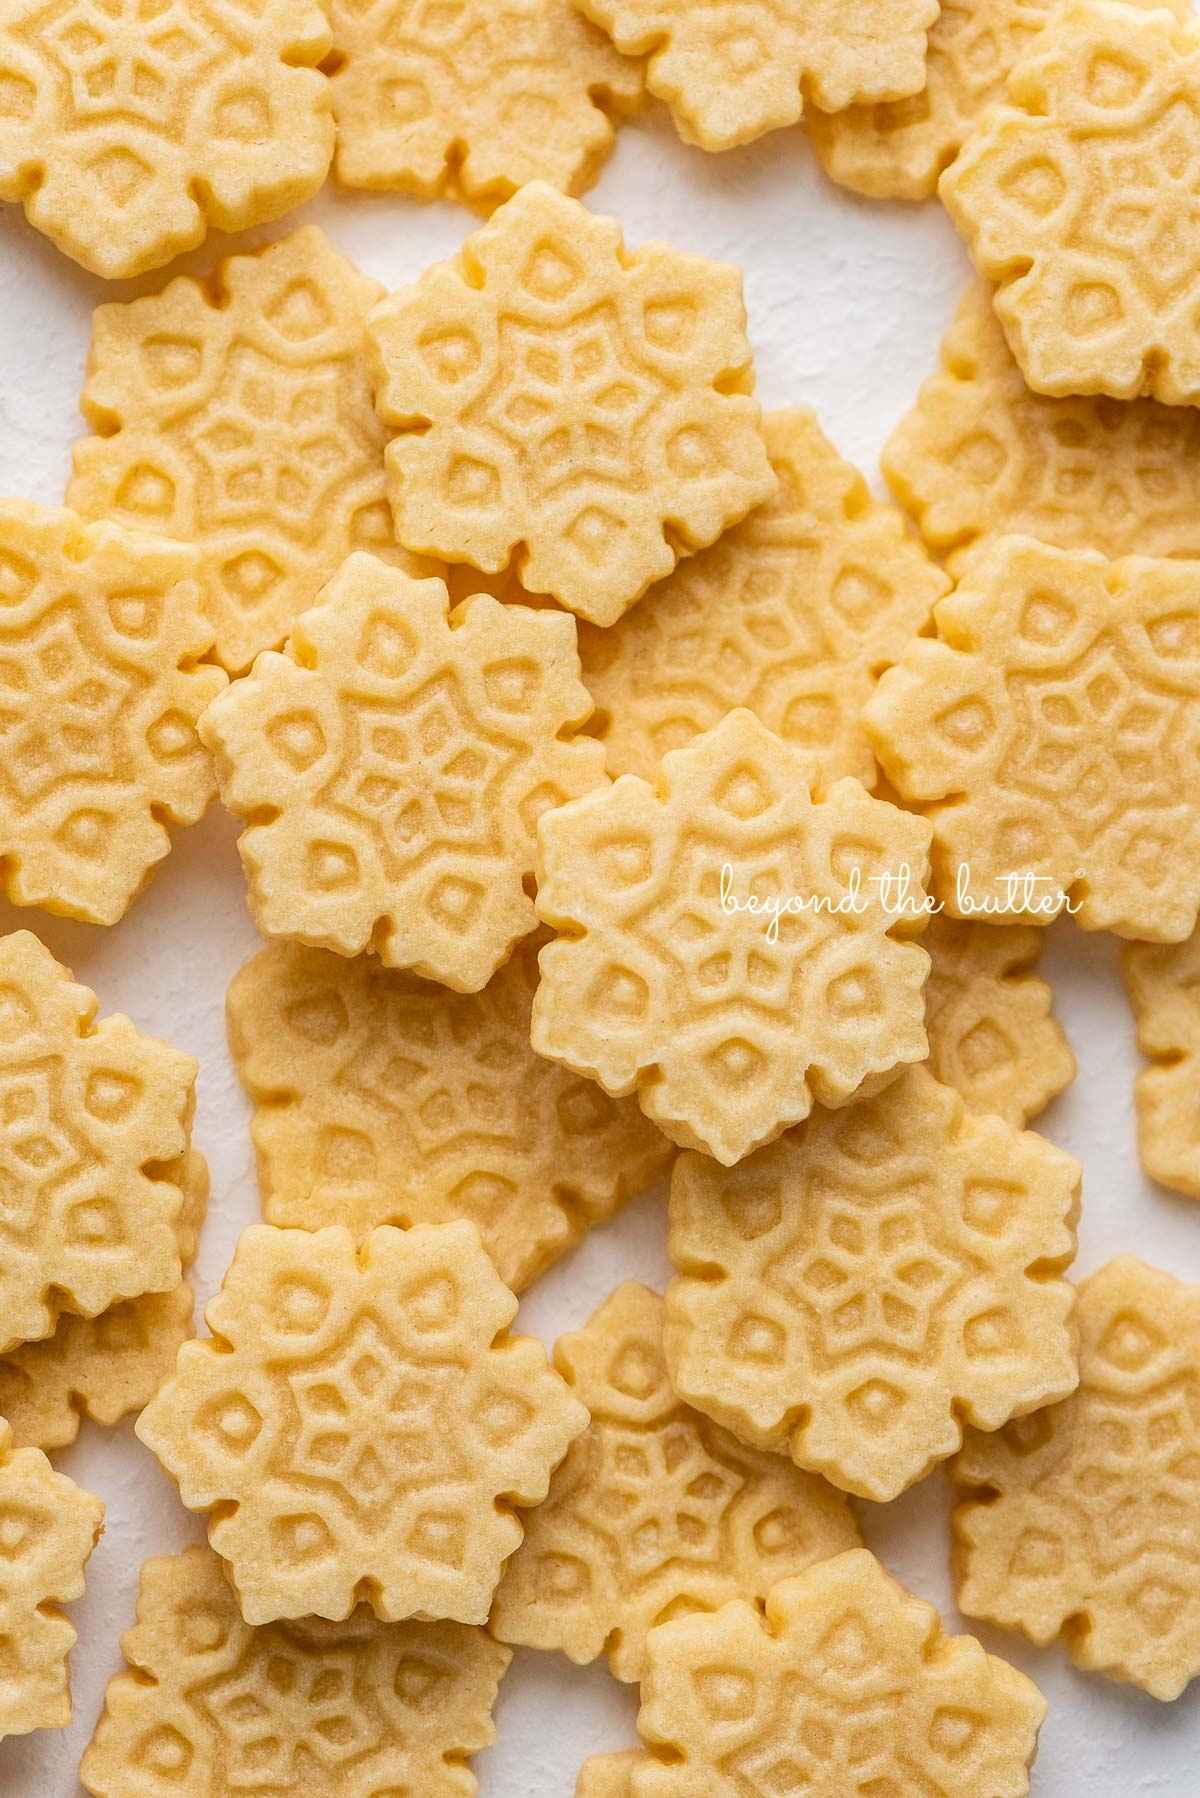
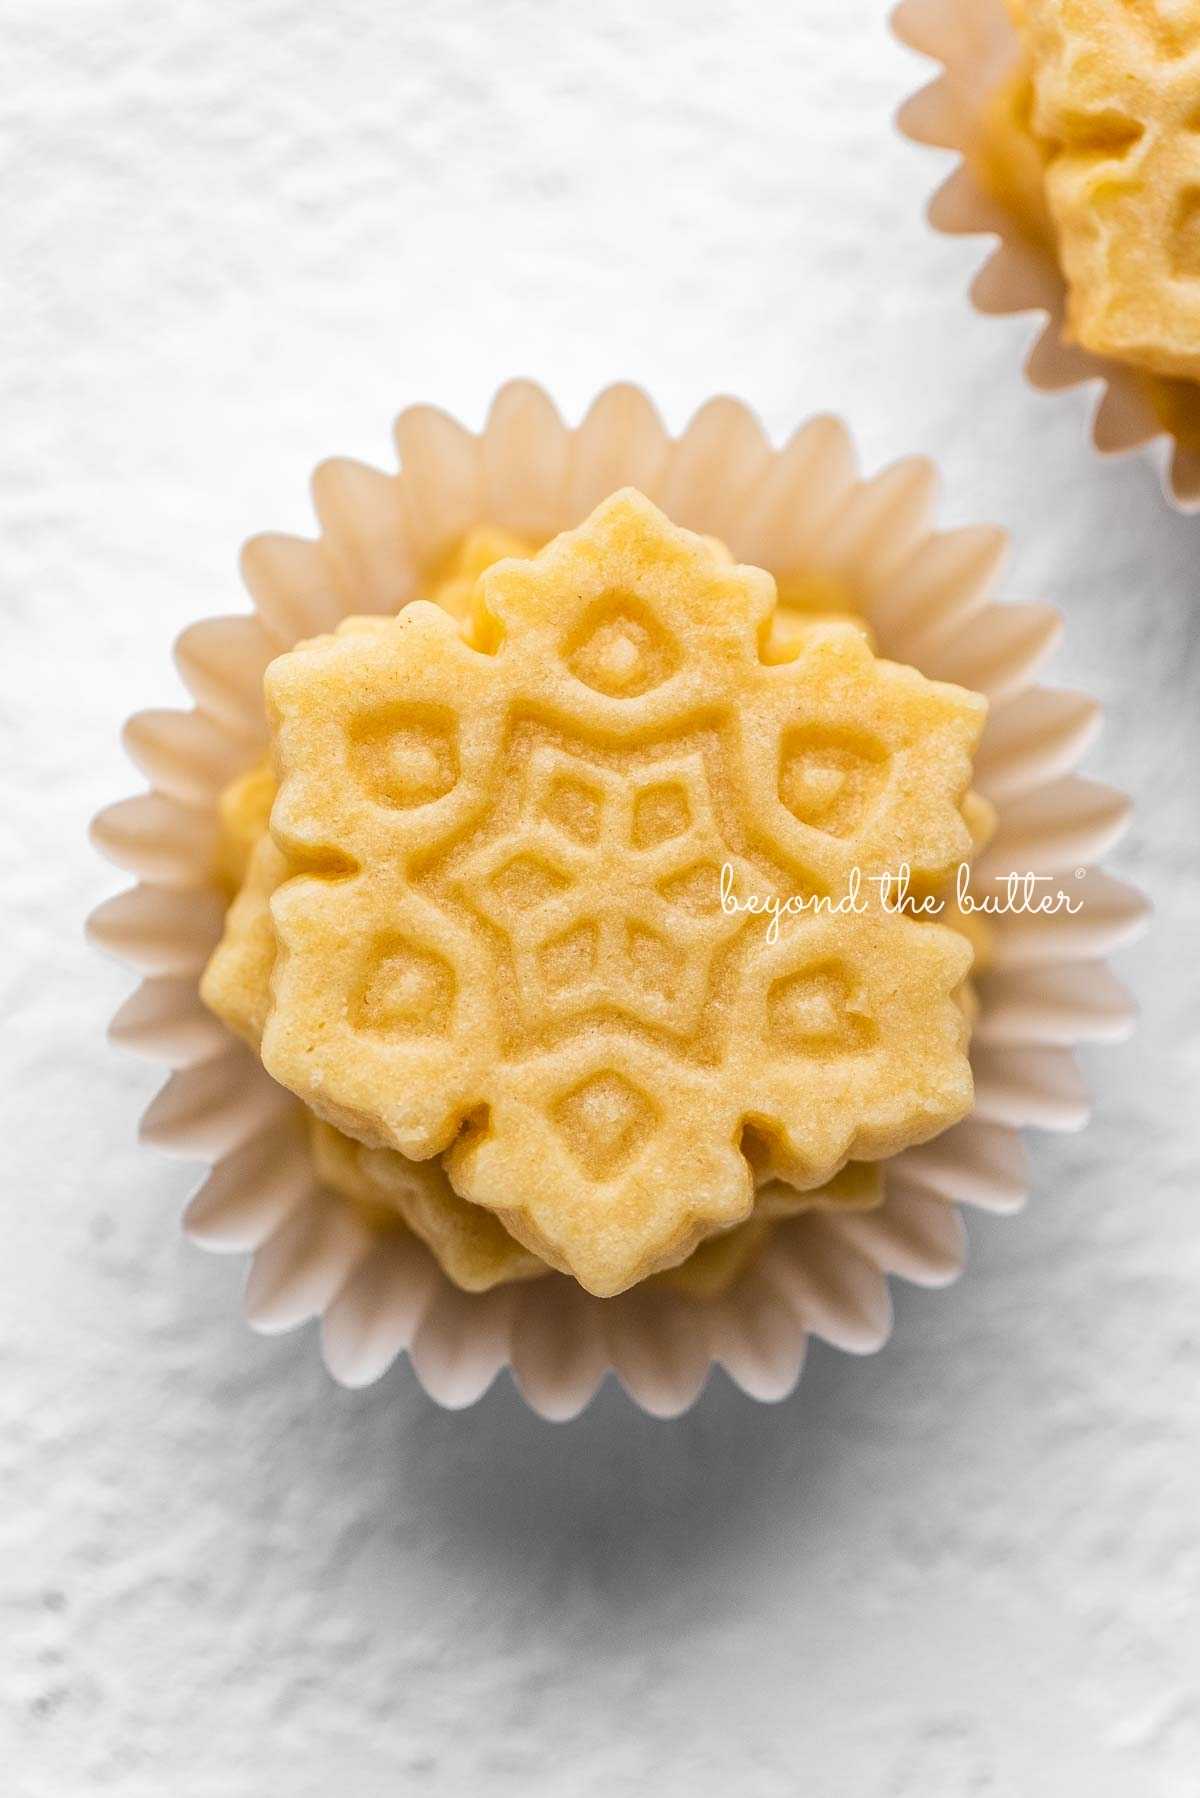
Step 6. Stamp out the snowflake shapes with the snowflake cookie stamp (or whatever shape you prefer). Chill the cookies in either the freezer or refrigerator while you preheat the oven.
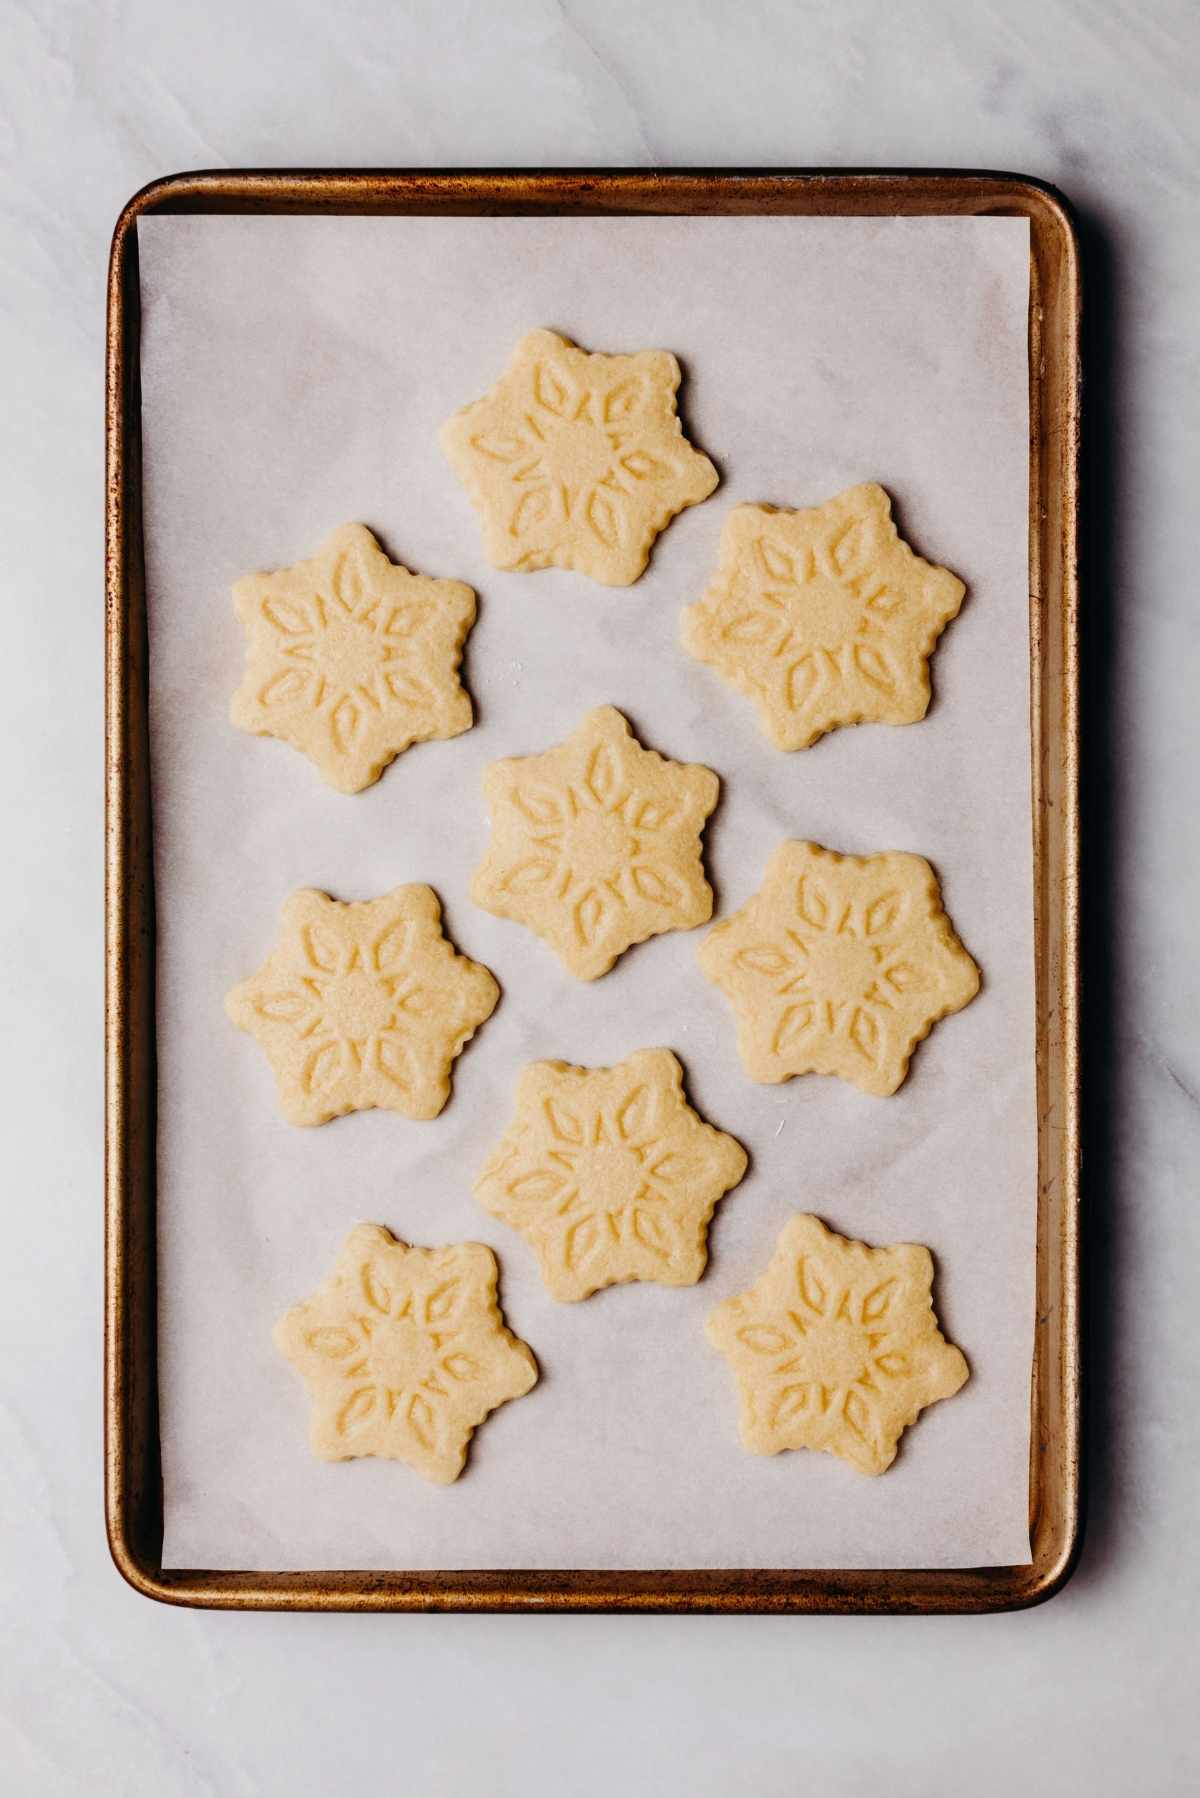
Step 7. Bake the butter cookies for 8-10 minutes at 325ºF. They should be soft on the inside, with a light golden-brown, crispy (not burnt!) edge.
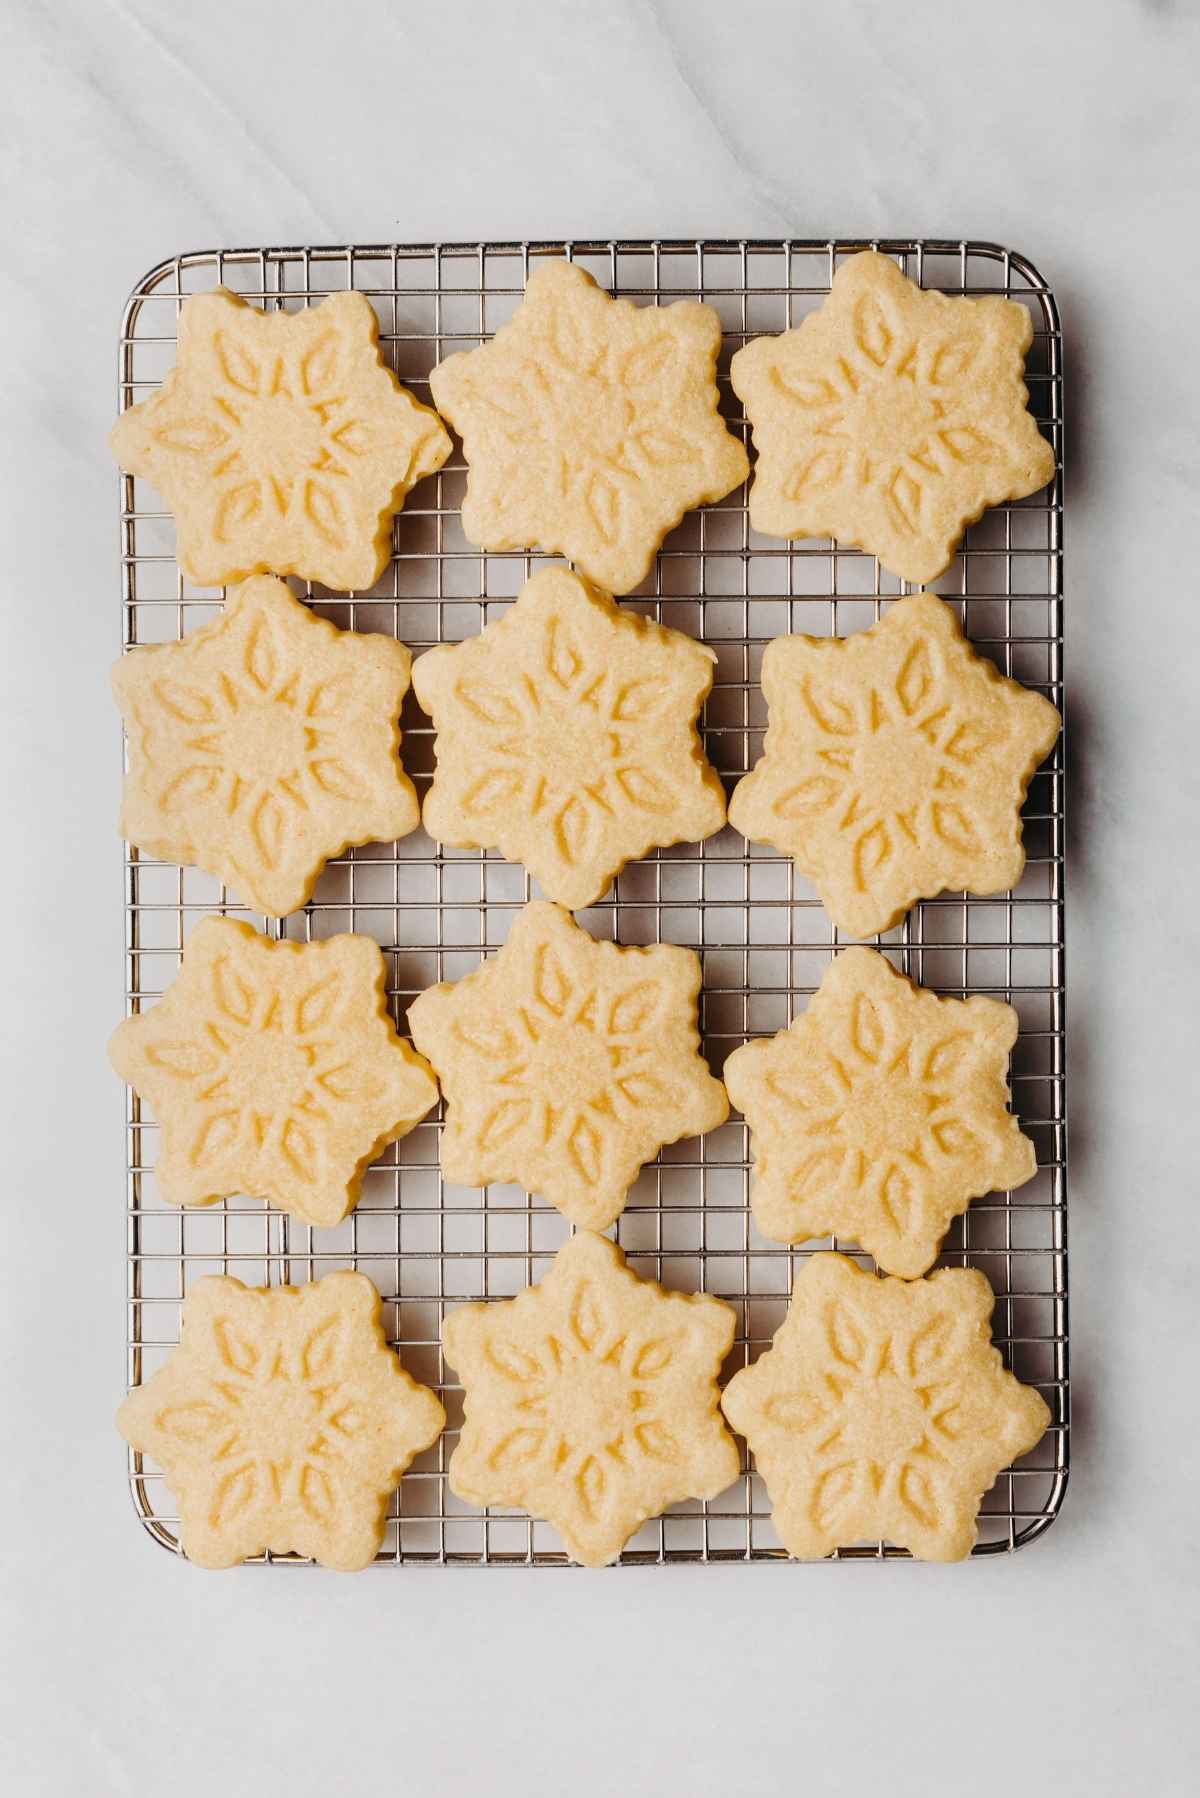
Step 8. Transfer the cookies to a wire cooling rack to cool completely.
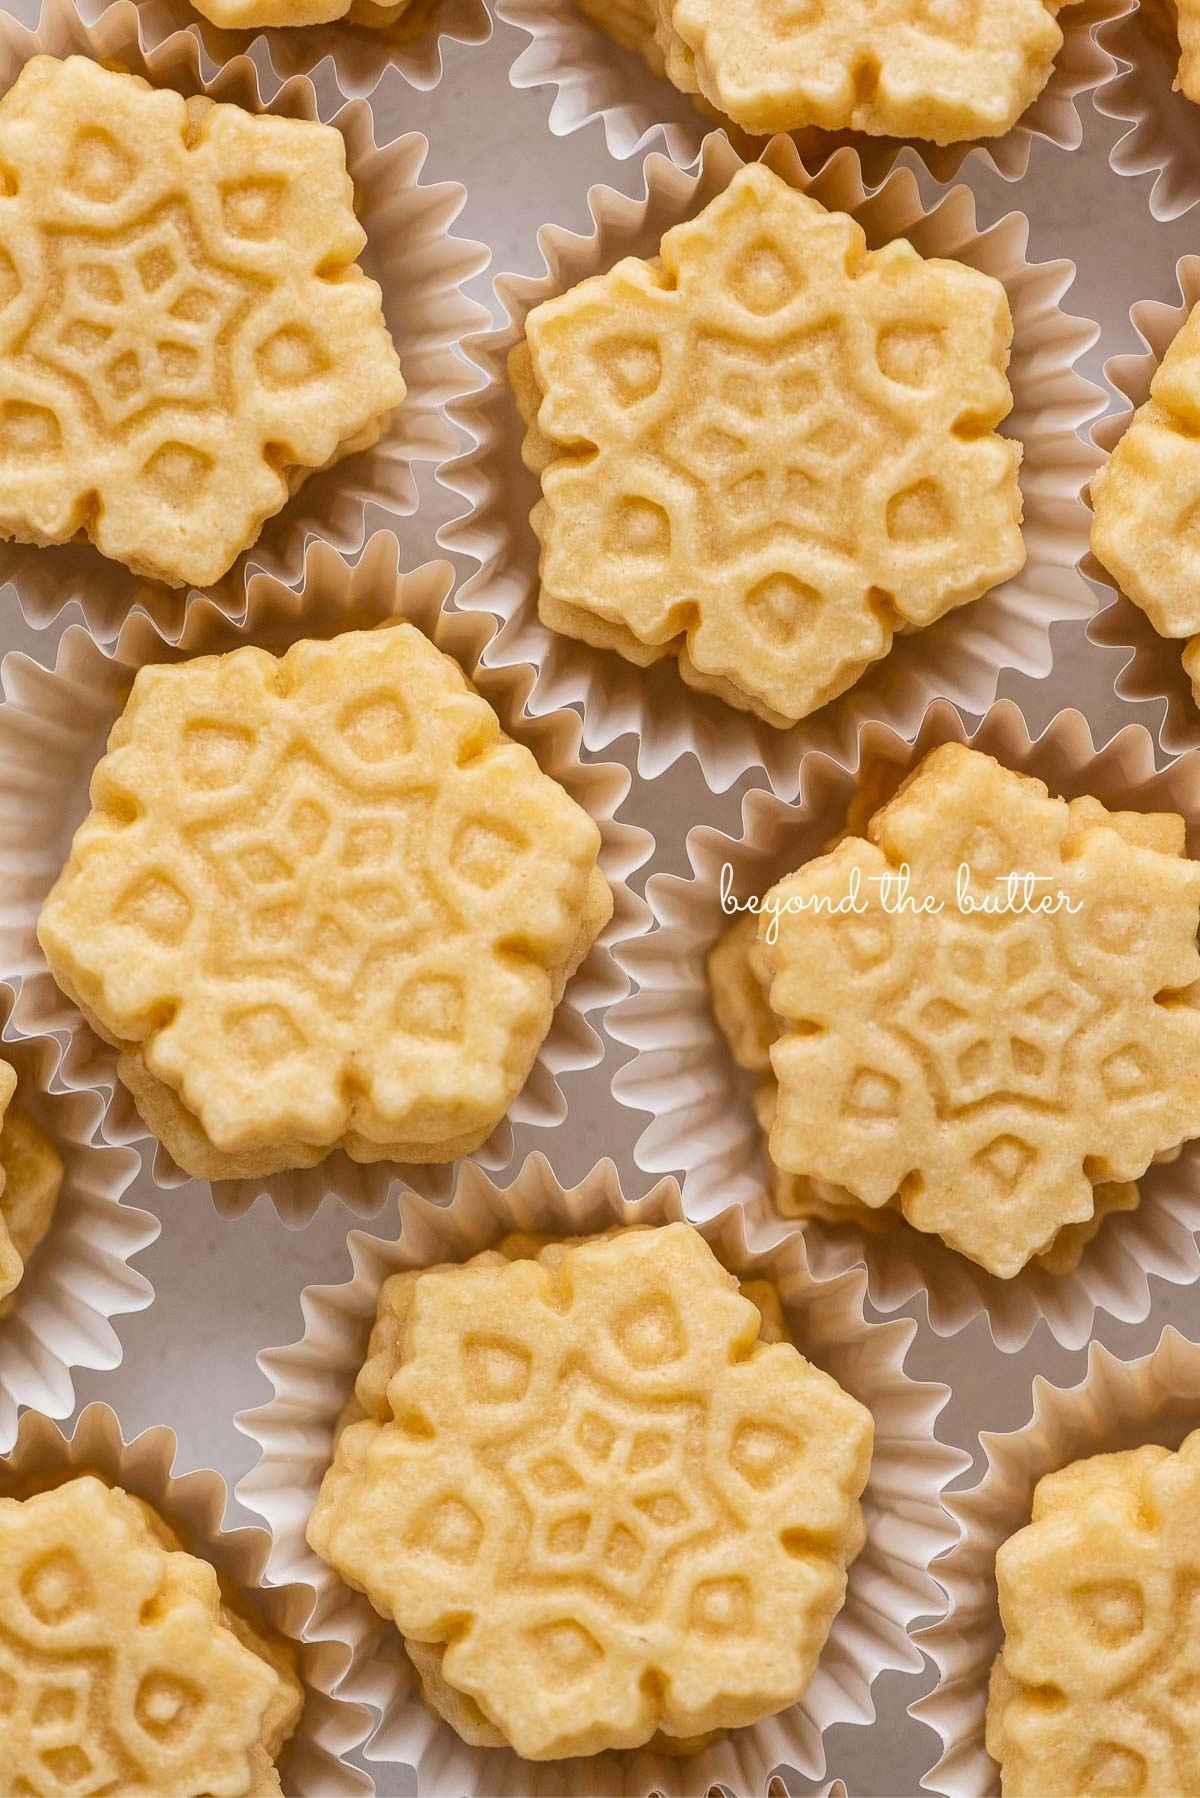
5 Tips for Using Cookie Stamps
Cookie stamps and cookie cutters are an easy way to elevate the look of your cookies. Here are 5 simple tips for using them with this homemade butter cookie recipe.
- Chill the dough. Just like with my Chocolate Thumbprint Cookies, I like to chill the dough for at least 1 hour before rolling it out. I find it to be easier to work with when using the cookie stamps. Alternatively, you can chill the dough overnight. If you choose this option, I recommend rolling the dough out into layers, as I do with my Strawberry Shortbread Cookies. You may need to let it sit at room temperature for a few minutes for the cookie cutters to work properly with the dough.
- Lightly flour your work surface. Add a little flour to your work surface and a rolling pin to help roll out the cookie dough.
- Keep it thick. Most cookie stamps work well when the dough is rolled out thick. Anywhere from 1/2″ to 5/8″ is ideal.
- Lightly flour the cookie stamp. As your dough warms to room temperature, it’s helpful to have your cookie stamp lightly floured. It helps to release the cookie onto the baking mat.
- Chill the dough….again. This time for only 15-20 minutes. It really helps to keep the details on the cookie stamp! While one set of cookies is baking, you can have another set chilling in the refrigerator or freezer.
Recipe FAQs
Yes, you can freeze butter cookie dough, but I suggest doing it after cutting out the cookies. It will make things a lot easier come baking time! Freeze them on a parchment- or wax-paper-lined baking sheet until solid, then transfer to a well-sealed food container or freezer bag.
While not entirely necessary, it helps prevent the cookies from getting too soft and spreading while baking. With the cookie stamp, you want to maintain that shape (in this case, the detailed snowflake shape). The colder the cookie is, the less likely it is to spread.
Shortbread cookie doughs, like the dough in this recipe, work best, IMHO. Similar-style cookie stamps worked well with my Chocolate Thumbprint Cookies (stamps from Williams Sonoma) as well as my Soft and Chewy Gingerbread Cookies (stamps from Etsy). The cookie stamp I used for this recipe was from Michael’s, but you can also find them on Amazon.
More Cookies for Your Holiday Baking Tins!
Besides these homemade butter cookies, here are a few more cookies that would be great for your holiday baking tins!


If you tried these Homemade Butter Cookies or any other recipe on my website, please leave a 🌟 star rating and let me know what you thought in the 📝 comments below. Thanks for visiting!
Easy Homemade Butter Cookies

Ingredients
- 4 cups All-Purpose Flour
- 1 tsp Baking Powder
- 1/2 tsp Salt
- 1 cup Unsalted Butter, room temperature
- 2 cups Granulated Sugar
- 2 Large Eggs, room temperature
- 2 tsp Vanilla Extract
Instructions
- In a medium bowl, whisk together the all-purpose flour, baking powder, and salt. Set aside.4 cups All-Purpose Flour, 1 tsp Baking Powder, 1/2 tsp Salt
- In a separate bowl, using a hand mixer or stand mixer fitted with a paddle attachment, beat the unsalted butter and granulated sugar together on medium-high speed until light and fluffy. Add in the eggs and the vanilla extract.1 cup Unsalted Butter, 2 cups Granulated Sugar, 2 Large Eggs, 2 tsp Vanilla Extract
- Add in the whisked dry mixture and mix on low speed until it's well blended.
- Cover the dough tightly with plastic wrap and chill for a minimum of 1 hour (or overnight) in the refrigerator. See notes for an alternative way of chilling the dough.
- Adjust the oven rack to the 2nd level mark (just above center) and preheat the oven to 325ºF. Line baking sheets with parchment paper or silicone mats and set aside.
- Roll out the dough (1/2″-5/8″ thickness) onto a clean, lightly floured work surface. Using a lightly floured cookie stamp or cookie cutter, stamp out each cookie and place it on the parchment-lined baking sheet. For a well-defined cookie shape, chill the cookies in the refrigerator for 10-15 minutes before placing them in the oven to bake.
- Bake the cookies for 8-10 minutes (my cookies did well at 10 minutes) at 325ºF. Remove the cookies from the oven and allow them to cool on the cookie sheet for about 5 minutes before transferring them to a cooling rack.
- Store cooled cookies in an airtight container with a slice of bread for up to a week.
Video
Notes
- The number of cookies this recipe yields will depend on the size of your cookie cutter or cookie stamp. Using this snowflake cookie stamp gave me 9 dozen cookies.
- After making the cookie dough, instead of chilling it as a whole, you can divide it into two sections, then roll out each one between 2 sheets of lightly floured wax paper to a 1/2″-5/8″ thickness. Chill the slabs of dough in either the refrigerator or freezer.
- If you’re chilling the cookie dough in the bowl, only chill it in the refrigerator.
- Recipe adapted from A Recipe Sampler by St. Andrew’s Evangelical Lutheran Church cookbook.
Nutrition
Nutritional information provided above is an estimate only and will vary based on specific ingredients used. See Nutritional Disclaimer for more info.


Delicious cookies. My kids and husband loved them. Worked well with my silicone cookie mold.
Thank you so much! I’m so glad you enjoyed them! Merry Christmas!
This recipe didn’t turn out as expected. I was hoping for an actual butter cookie texture. Also, after chilling the dough for an hour plus I then had to thaw it for 10-15 minutes because it was rock hard. The cooking time seems a bit off as well. I made them for 10 minutes and they were undercooked so I had to bake for 5 more minutes.
Thank you for the feedback, Liz. I’m sorry the recipe didn’t turn out as you’d hoped it would.
I added an additional 2 TBSP. sugar to this recipe- it didn’t help. Very bland- not buttery, fairly tasteless cookie
Bummed to hear you didn’t care for my homemade butter cookies, Carol, but appreciate you taking the time to leave your review.
First time they came up hard so second time i add to the dough I freeze cornstarch and they came up good
Hi, this is such a yummy recipe. Can you tell me measurement in grams ?
Ah, shoot, I’m sorry, I don’t have them for this recipe! This was before I had started to weigh my ingredients, but plan to remake them this holiday, so will add them in!
Hi Nam
Just Google it…I do it all the time when I need to convert measurements….
I actually updated this recipe last year and added the metric measurements to it (but yeah Google is a good go-to source to do it).
Can this dough be used in a cookie press?
I’ve never tried this, so can’t give you a definitive yes or no. I think the dough might be a little too thick for something like that, but you could always try a little bit of the cookie dough in one and see how it goes!
Thank you for the recipe and tips! I have an imprint stamp for my daughter’s wedding and will definitely try this for cookies to be included in the hotel guests’ goodie boxes. For how long do you believe the baked cookies could be frozen? I’d like to prepare them ahead of time. Is there any different method you’d recommend? Thank you!
You’re welcome! I would say you could keep these frozen for up to 3 months. The method for freezing the baked cookies isn’t that much different from freezing the cookie dough. Let the baked butter cookies cool completely, then freeze them on a parchment paper-lined baking sheet. Once frozen, keep them stored in a well-sealed container (separate layers with wax or parchment paper) or freezer bag.
Hi! I’m planning to make these as part of a Christmas gift and was wondering if I don’t have a cookie stamp, do you think I can add sprinkles to it instead? I have Christmas cookie cutters but they’re going to look plain on it’s own, and so I was thinking of adding some red/green/white sprinkles to make them colourful.
Oh absolutely, that’s a terrific idea!
Where did you find your cookie press? Beautiful cookies.
Thank you. They’re from Amazon, I believe, but I have also seen them at Michaels. I have a link to them under my “Recommended Cooking Baking Tools” section above.