
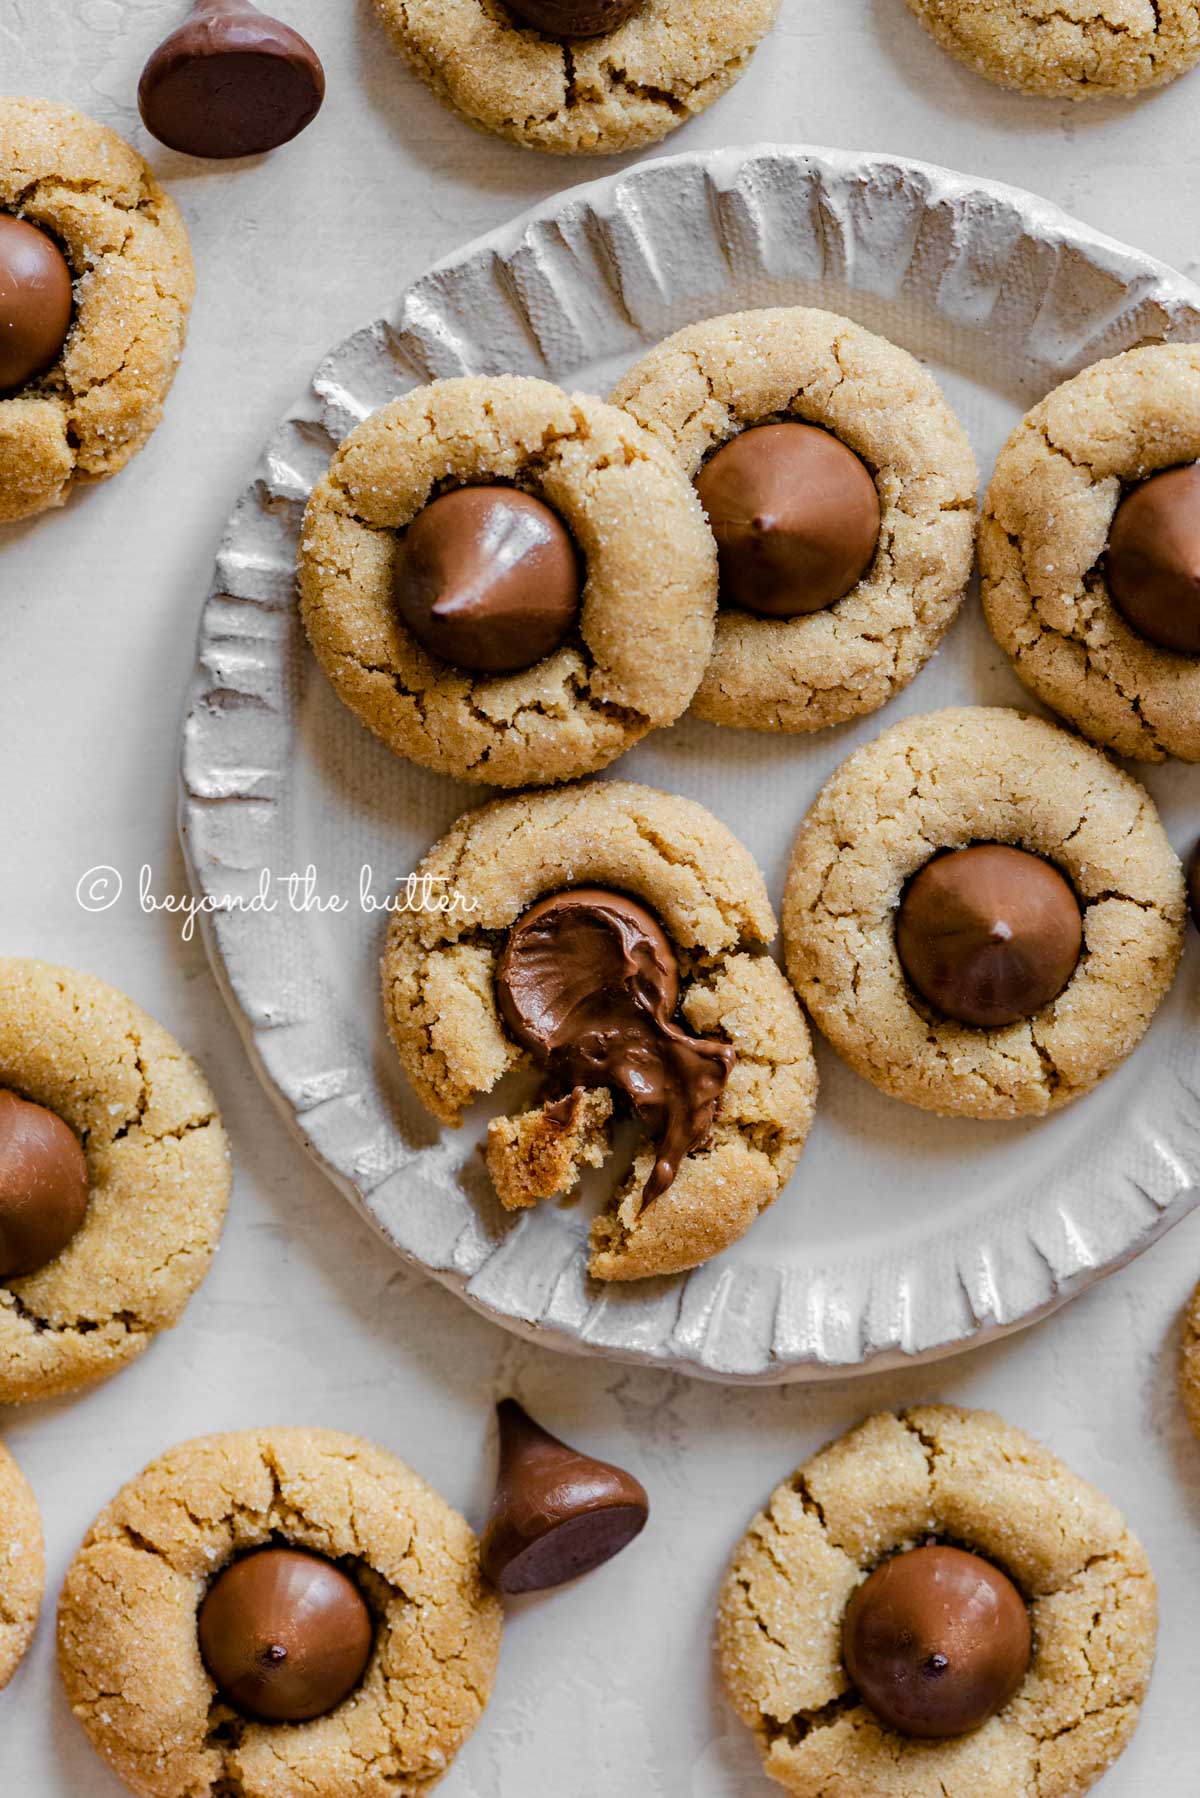
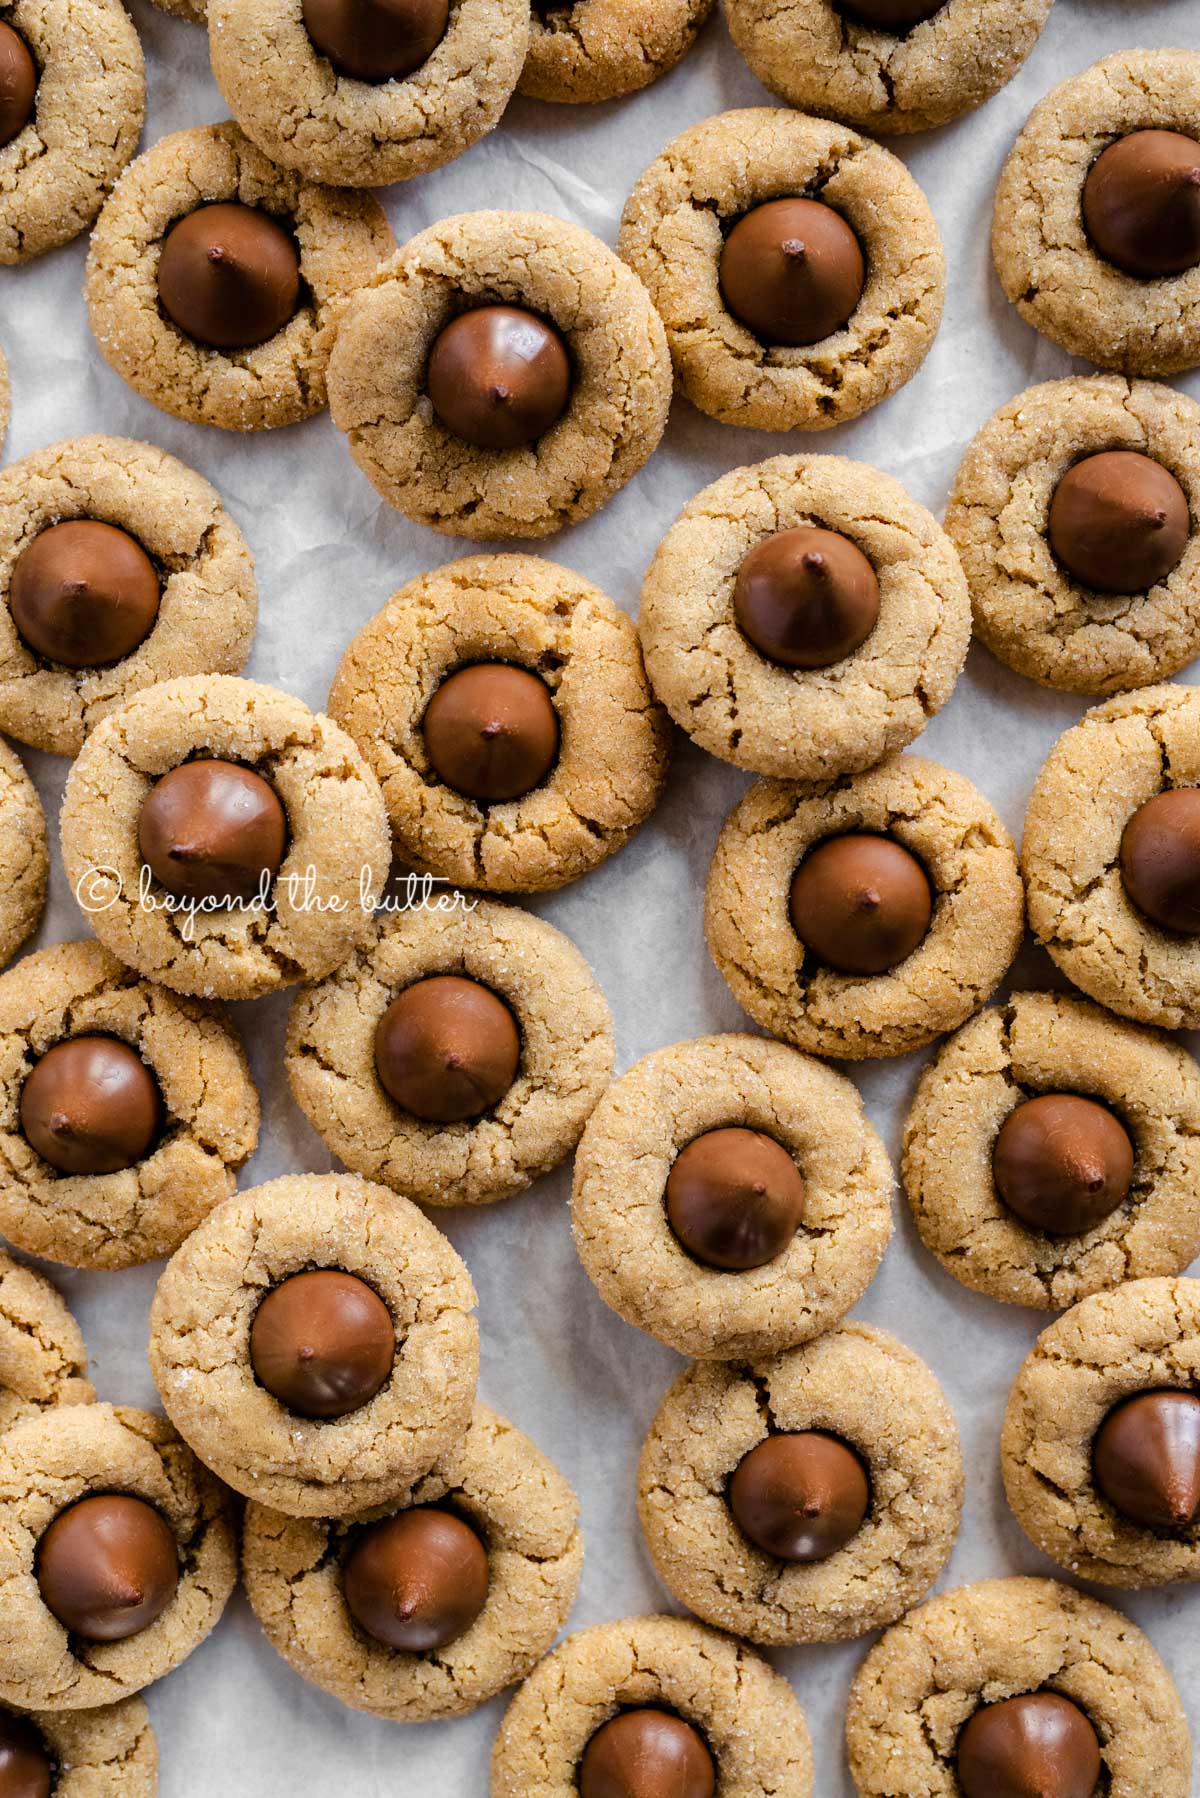
Classic Peanut Butter Blossoms are soft and chewy peanut butter cookies with a sugary, crackled top and finished with a milk chocolate kiss! They’re the perfect go-to cookie for the holiday season!
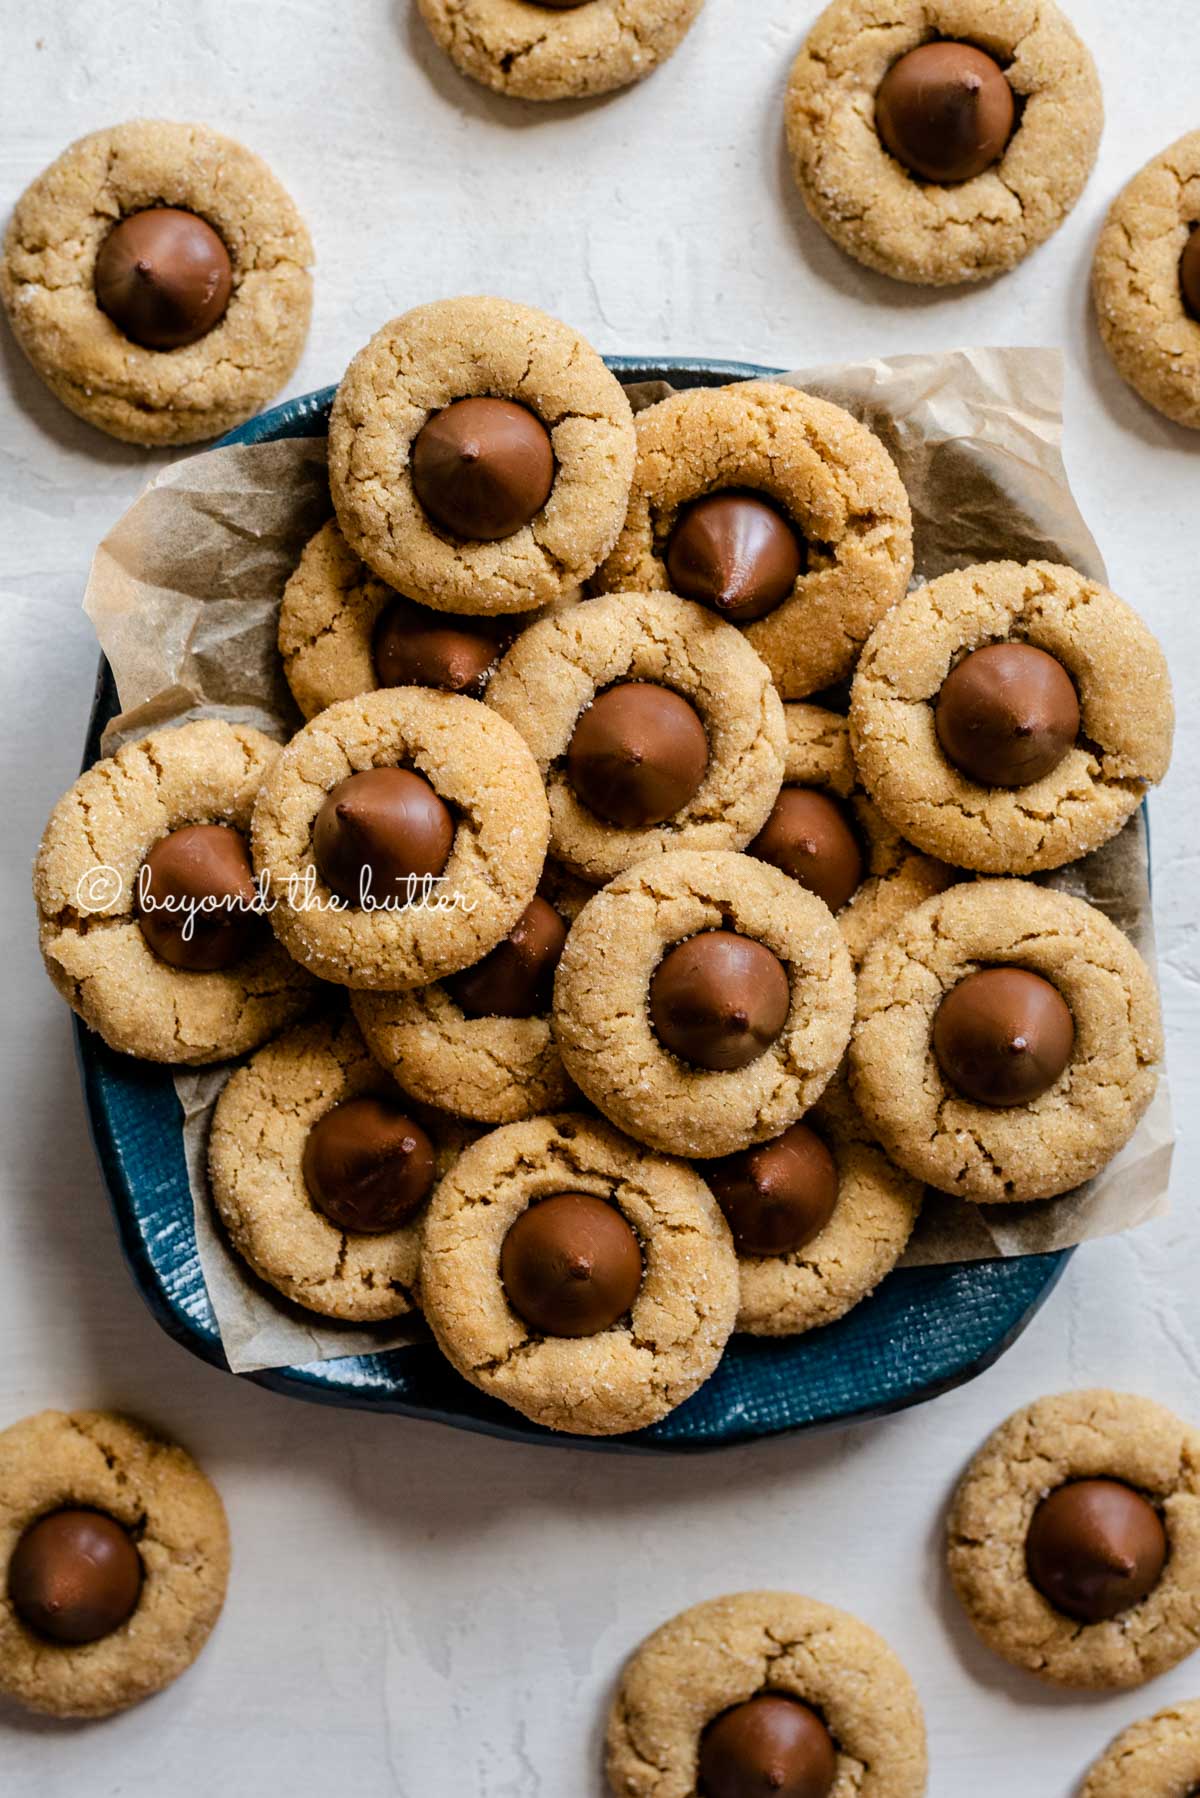
Table of Contents
- These Peanut Butter Blossoms Are…
- Do I Have to Refrigerate the Cookie Dough?
- How to Make Classic Peanut Butter Blossoms
- What’s the Best Way to Store These Cookies?
- How Long Will Peanut Butter Blossoms Keep?
- Can I Freeze This Cookie Dough?
- One Last Tip Before Starting
- Enjoy More Holiday Cookies from Beyond the Butter!
- Classic Peanut Butter Blossoms Recipe
These Peanut Butter Blossoms Are…
- easy to make
- soft and chewy
- rolled in sugar to give it a sweet crackly crust
- perfect for chocolate and peanut butter lovers
- a classic and have been around since the 1950s
- a popular favorite for holiday baking
Truth be told, I never actually knew they were called peanut butter blossoms until a few years ago. Up until then, I had always referred to them as Hershey kiss cookies. Either way, they’re delicious, and I have fond memories as a kid eating the ones my Grammy always made!
Do I Have to Refrigerate the Cookie Dough?
Yes. Chilling the dough helps to prevent the cookie dough balls from spreading out too much while baking.
After making the cookie dough, it must be chilled for a minimum of 1 hour or overnight.
Keep the dough covered tightly either in the mixing bowl (with plastic or reusable wrap over the top) or in a glass or plastic storage container.
How to Make Classic Peanut Butter Blossoms
Here’s a quick walk-thru on making this popular holiday cookie! You can find the full recipe below.
- Whisk the Dry Ingredients Together. You can sift them together if you’d like, but it is unnecessary. A good whisk will easily do the trick.
- Blend the Wet ingredients. I recommend using either your hand mixer or stand mixer fitted with the paddle attachment for this part. Your butter should be at room temperature but not so soft it’s almost falling apart when you pick it up.
- Add the Dry Ingredients to the Wet. Reduce your mixer speed for this, so your dry ingredients don’t go flying!
- Chill the Dough. 1-hour minimum or, in my preference, overnight. Make sure it’s chilled in a well-sealed container.
- Roll the Dough Into Balls and Coat in Sugar. 1 inch is a perfect size, and you’ll yield the most amount of cookies this way. I’ve made them bigger, but don’t recommend it. No cookie scoop is needed—just a spoon and your clean hands. Use a bowl of about 1/2 cup of white or organic granulated sugar to coat the cookie dough balls.
- Place On a Baking Sheet and Bake. Space them 1 1/2 -2 inches apart., then bake for 7-8 minutes at 375ºF.
- Remove from Oven and Top with Chocolate Kiss. As quickly and carefully as possible—don’t burn yourself—place a milk chocolate kiss on top and gently push down. This will create that nice crackle top. Bake for 2 more minutes.
- Cool on Wire Cooling Rack, then Enjoy! Let the cookies sit on the baking sheet for 5-10 minutes before transferring them to cool completely on the wire rack. Use a serving spatula to transfer them because they will be soft!
What’s the Best Way to Store These Cookies?
The best way to store peanut butter blossoms is in a tightly sealed food storage container with a slice of bread cut in half.
The peanut butter blossoms will absorb the moisture from the bread, keeping them soft for much longer.
How Long Will Peanut Butter Blossoms Keep?
Using the tips above, the cookies will last up to a week at room temperature. I guarantee you, though, they won’t last that long!

Can I Freeze This Cookie Dough?
Absolutely! To freeze peanut butter blossom cookie dough:
- Roll them into the 1-inch balls, but do not coat them in the sugar.
- Place them on a wax paper or parchment paper lined baking sheet, then into the freezer.
- Freeze until hard (about 1-2 hours), then place in a freezer storage bag.
- When ready to use, coat them in the sugar and bake for 9-11 minutes. Do not let them come to room temperature before baking.
- Top with the milk chocolate kiss, then back into the oven for 2 minutes more.
One Last Tip Before Starting
For a smoother process, I like to unwrap the chocolate kisses and put them in a bowl before baking the cookies. This way, you can have them ready to place on top of the cookies when they come out of the oven. You’re welcome 🙂
Enjoy More Holiday Cookies from Beyond the Butter!


Classic Peanut Butter Blossoms

Ingredients
- 1 3/4 cup All-Purpose Flour
- 1 tsp Baking Soda
- 1/2 tsp Salt
- 1/2 cup Creamy Peanut Butter
- 1/2 cup Unsalted Butter , room temperature
- 1/2 cup Granulated Sugar
- 1/2 cup Light Brown Sugar, lightly packed
- 1 Large Egg
- 2 tbsp Milk
- 1 tsp Vanilla Extract
- 1/2 cup Granulated Sugar, additional amount for coating cookies
- 11 oz Bag of Hershey Kisses
Instructions
- In a medium bowl, whisk together the all-purpose flour, baking soda, and salt. Set aside.1 3/4 cup All-Purpose Flour, 1 tsp Baking Soda, 1/2 tsp Salt
- Using a hand mixer or stand mixer fitted with paddle attachment, cream together the peanut butter, unsalted butter, granulated sugar, and light brown sugar on medium-high speed until well blended.1/2 cup Creamy Peanut Butter, 1/2 cup Unsalted Butter , 1/2 cup Granulated Sugar, 1/2 cup Light Brown Sugar
- Add in the egg, milk, and vanilla extract. Scrape down the sides of the bowl as needed.1 Large Egg, 2 tbsp Milk, 1 tsp Vanilla Extract
- Reduce the mixer speed, gradually adding in the dry mixture until completely blended.
- Place the cookie dough in a well sealed food container or tightly wrap the top of the mixing bowl with plastic wrap (or alternative) and chill the cookie dough for a minimum of 1 hour.
- After dough has chilled, line 2 baking sheets with parchment paper or silicone mats, adjust the oven rack to the 2nd level mark (just above center), and preheat the oven to 375°F.
- Using a spoon and your clean hands, shape the cookie dough into 1 inch balls, roll in granulated sugar, and place about 1 1/2 – 2 inches apart on lined baking sheets.1/2 cup Granulated Sugar
- Bake for 7-8 minutes, then remove from oven and place a milk chocolate kiss on each cookie, pressing down gently to create the crackly cookie edges..11 oz Bag of Hershey Kisses
- Return to the oven and bake for 2 minutes longer.
- Cool cookies on baking sheet for 5-10 minutes before transferring to a cooking rack to cool completely.
- Store cookies in an airtight container with a slice of bread for up to a week.
Video
Notes
- For a smoother process, I like to unwrap the chocolate kisses and put them in a bowl before baking the cookies. This way, you can have them ready to place on top of the cookies when they come out of the oven.
- The best way to store peanut butter blossoms is in a tightly sealed food storage container with a slice of bread cut in half. The peanut butter blossoms will absorb the moisture from the bread, keeping them soft for much longer. The cookies will last up to a week at room temperature. I guarantee you, though, they won’t last that long!
- To freeze peanut butter blossom cookie dough:
- Roll them into the 1-inch balls, but do not coat them in the sugar.
- Place them on a wax paper or parchment paper lined baking sheet, then into the freezer.
- Freeze until hard (about 1-2 hours), then place in a freezer storage bag.
- When ready to bake, coat them in the sugar and bake for 9-11 minutes. Do not let them come to room temperature before baking. Top with the milk chocolate kiss, then back into the oven for 2 minutes more.
- Recipe adapted from the Original 1957 Bake-off Contest Recipe and my Grammy’s family recipe.
Nutrition
Nutritional information provided above is an estimate only and will vary based on specific ingredients used. See Nutritional Disclaimer for more info.


I think these are the best looking peanut butter blossoms I’ve ever made! I used kisses on most and mini peanut butter cups on the rest!
not much peanut butter flavor won’t make again
Refrigerated dough overnight as suggested. They baked darker than I like and I baked for 7 mins They taste okay but not as soft as I would like
question! if I put the herhey kisses on top and put in over for 2 more minutes won’t it melt the chocolate?
Hi Jackie! I am SO sorry for my delayed reply. Your comment along with dozens of others filtered into the spam comments folder, so I’m making my way through all of them now. I understand your comment was from December, but still wanted to answer your question. When you put the hershey kisses on top of the cookies then bake for an additional 2 minutes, the kisses will not melt. Yes, they will get soft, but will retain their shape (unless you bump one with your hand transferring them to a cooling rack as I’ve done countless times over the years haha). I hope you enjoyed them!
Wonderful! Family favorite!!
Delicious and perfect
Just coming back to say I use this recipe every year at Christmas to make these cookies and they’re soft and perfect, I use the dough for m&m cookies too. The dough even chilled is so fluffy, there’s no other recipe you need.
Could you use natural organic peanut butter in this recipe.? It is the kind you have to stir the oil on top before using. And would a one inch cookie scoop work instead of rolling out by hand?
Thanks for all the details which I will find useful. Chilling is something I did not do n mine always spread.☹️
Great questions, Barbara! Yes, you can use the natural organic peanut butter, but highly recommend that it is really well stirred before adding it. And yes, you can use a cookie scoop for this recipe as well. Rolling them by hand just gives the dough and smoother look. I definitely recommend not skipping the dough chilling. In between batches, I keep the dough in the fridge to avoid it getting soft.
Thank you for listing ingredients/amounts in the directions so I don’t have to keep scrolling back. Genius!!
You’re welcome!
I love this recipe! I made them the for the first time yesterday and they turned out absolutely perfect! I’ve been searching for a peanut butter blossom recipe that the cookies were soft and and chewy. These were absolutely perfect. The family loved them. I will definitely be using this recipe from now on thank you.
I’m so glad you all loved the recipe! Thanks for making them!