When I think about Christmas cookies, these Holiday Jamboree Cookies (also known as thumbprint cookies) always come to mind! They’re easy to make, and you can pick pretty much any jam or jelly you’d like for the center!
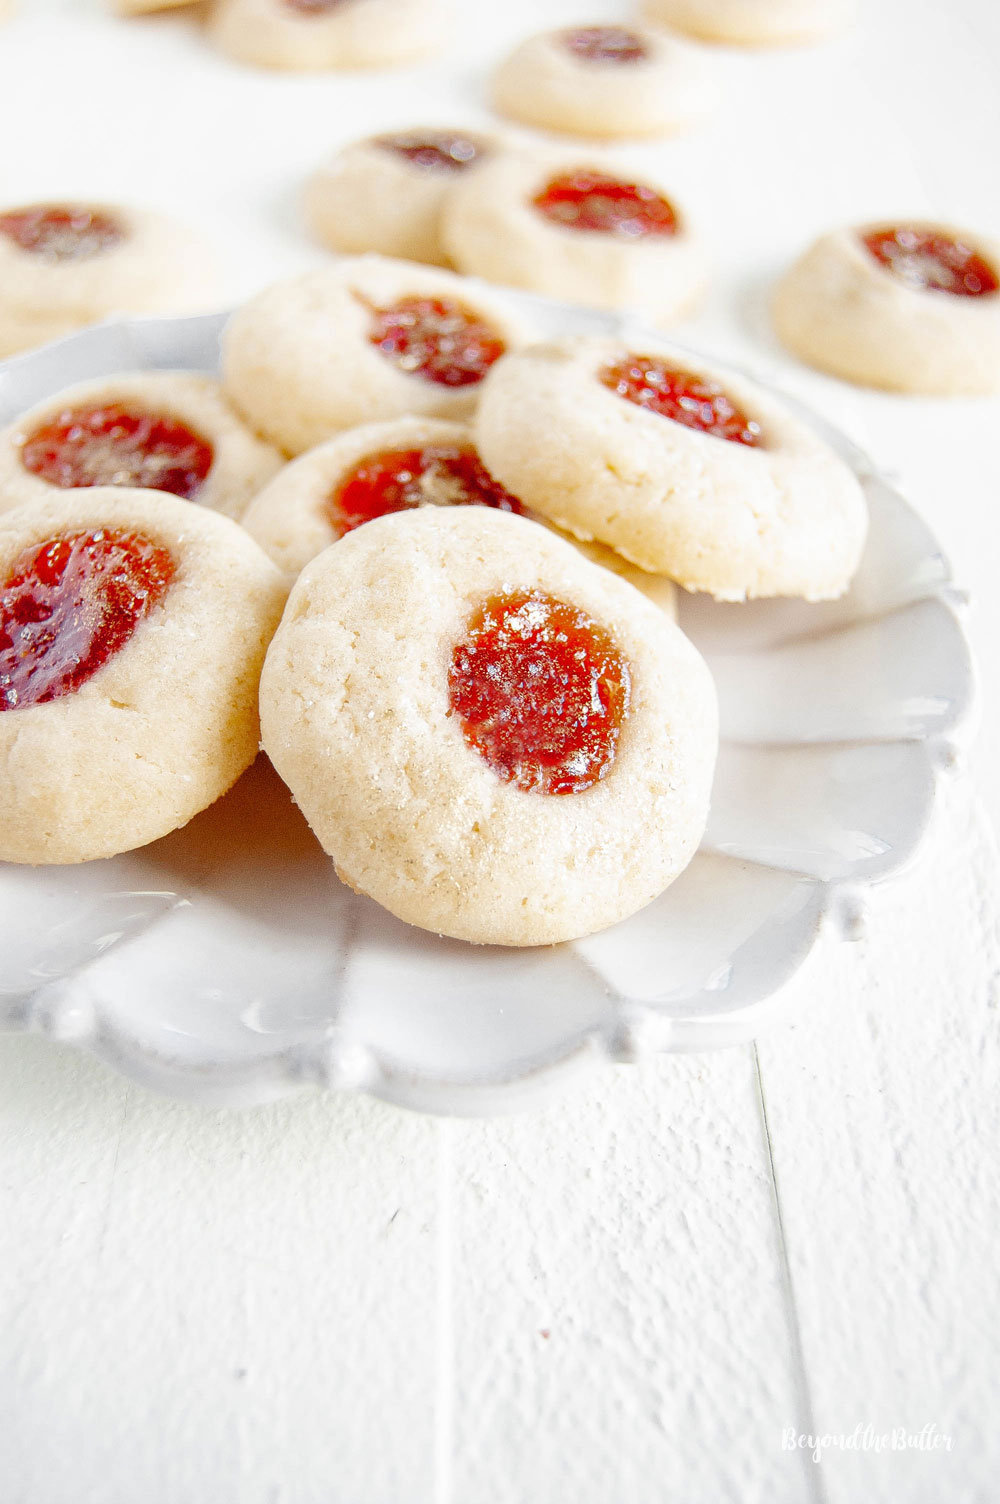
Table of Contents
Where Did the Jamboree Cookie Originate?
There seems to be much dispute over the origin of the holiday jamboree cookie or the thumbprint cookie. It is believed to have come from either Sweden, Poland, or from the Jewish people of Eastern Europe.
Thumbprint cookies also go by the name of Hallongrotta (in Sweden), butter balls, bird’s nest cookies, and jamboree cookies. No matter where they came from or what you call them, one thing is certain—they’re very good!
What Ingredients Are Needed?
- All-Purpose Flour
- Salt
- Unsalted Butter
- Granulated Sugar
- Eggs
- Vanilla Extract
- Strawberry Preserves—or whatever jam or jelly you prefer!
How to Make Holiday Jamboree Cookies
Holiday Jamboree Cookies (or Thumbprint Cookies) come together very quickly, but as a heads up, the dough does require chilling! They’re worth the wait, though!
Whisk the dry ingredients together. This includes all-purpose flour and salt. I prefer to
Mix the wet ingredients together. This includes unsalted butter, granulated sugar, eggs, and vanilla extract. It is best for the butter and eggs to be at room temperature so that the ingredients blend together evenly.
Chill the dough. Transfer the jamboree cookie dough into a well-sealed container and place it in the refrigerator to chill for a minimum of 3 hours. Overnight is my preference and what I recommend.
Roll, dent, then add the jam. You can use a spoon or a 1 tablespoon-size cookie scoop to roll the cookie dough into balls. Keep them 2 inches apart on the cookie sheets.
To make the center dent, you can use your thumb, or a small spoon dipped in cold water. This will help keep the dough from sticking to you or the spoon!
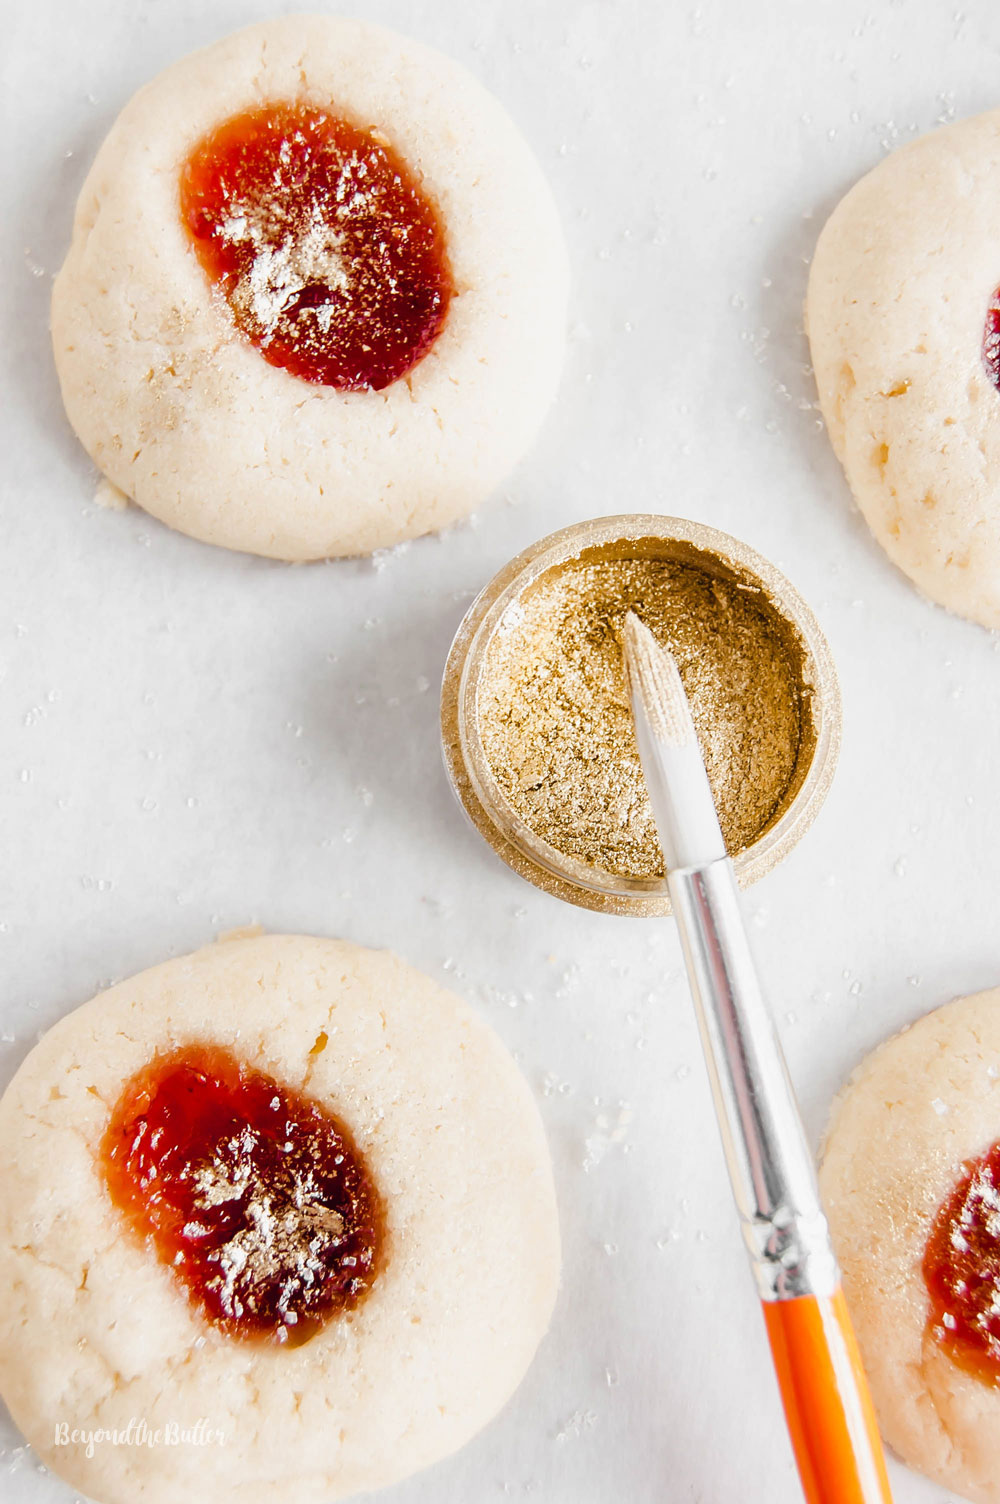
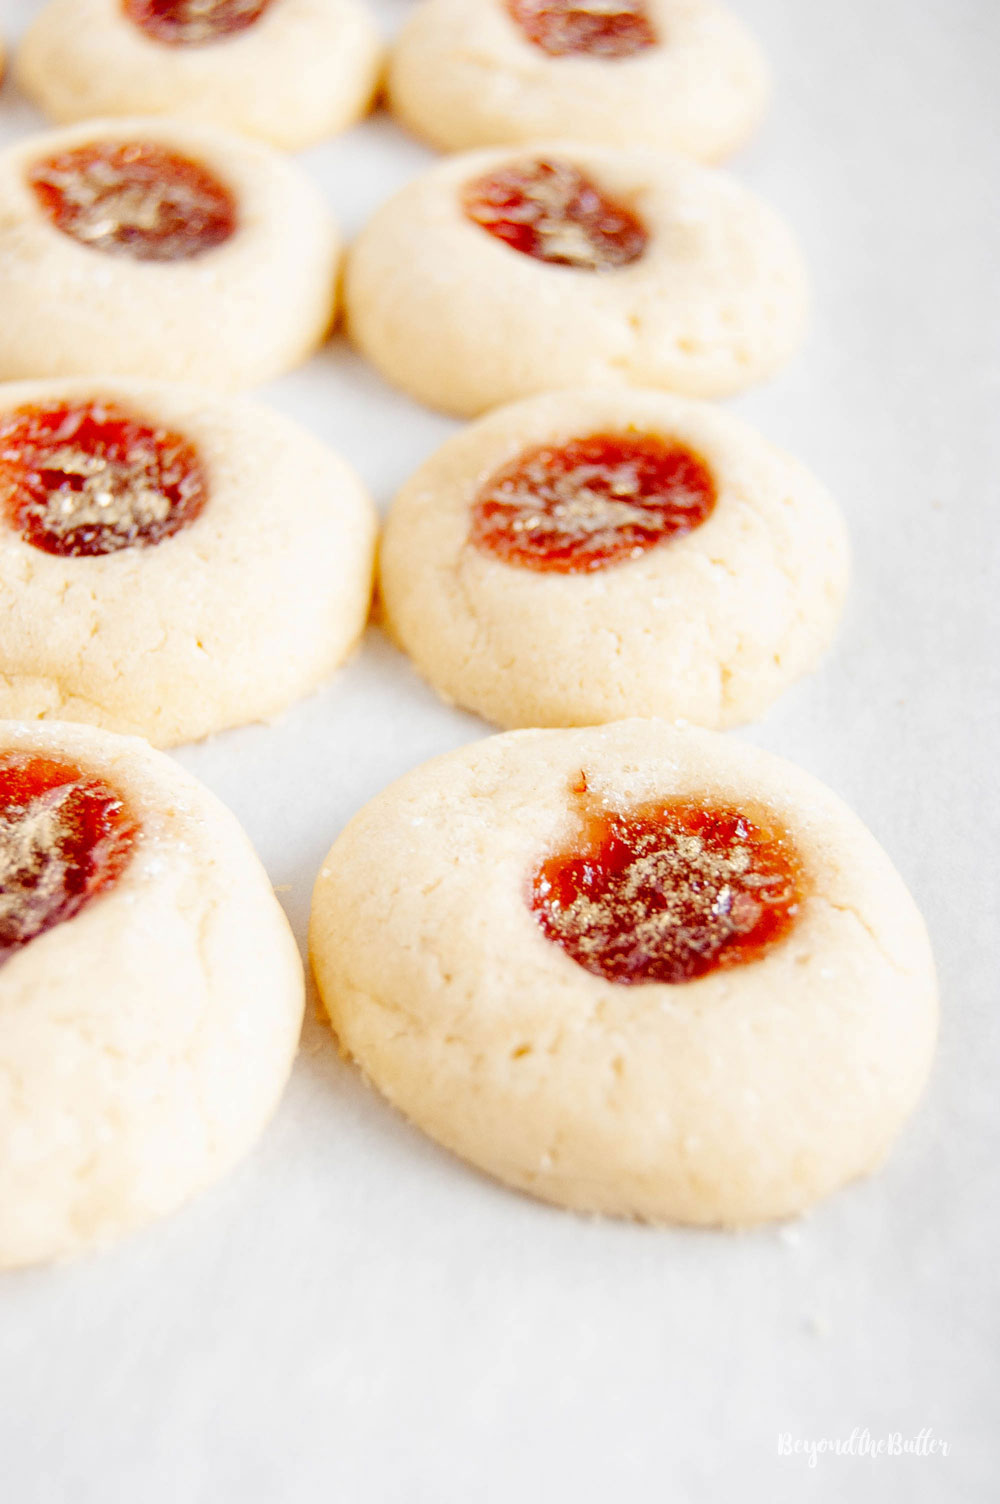
What flavor you use for the jam or jelly center is your call! I used strawberry because strawberry is my favorite. I used a piping bag to make the filling process easier and just cut the tip off at the bottom. For toppings, I used sparkling sugar and edible gold dust, but feel free to try chopped pecans or walnuts!
Bake, then cool. Bake the jamboree cookies for 10-12 minutes at 375ºF. Let them cool on the baking sheet for 5 minutes before transferring them to a wire cooling rack to cool completely.
How to Make the Center Cookie Dent
To make the center cookie dent, you can use your thumb, or a small spoon dipped in cold water. This will help keep the dough from sticking to you or the spoon!
Consider Making These Other Beyond the Butter Holiday Favorites!


Holiday Jamboree Cookies

Ingredients
- 3 cups All-Purpose Flour
- 1/2 tsp Salt
- 1 1/4 cup Unsalted Butter, room temperature
- 1 cup Granulated Sugar
- 2 Large Eggs, room temperature
- 2 tbsp Vanilla Extract
- Small jar of strawberry preserves, or whatever jam or jelly you prefer!
Instructions
- In a medium bowl, whisk together the all-purpose flour and salt. Set aside.3 cups All-Purpose Flour, 1/2 tsp Salt
- Using your hand mixer or stand mixer fitted with a paddle attachment, beat together the unsalted butter and granulated sugar on medium-high speed until light in color and fluffy in texture.1 1/4 cup Unsalted Butter, 1 cup Granulated Sugar
- Add in the eggs and vanilla extract.2 Large Eggs, 2 tbsp Vanilla Extract
- Switching the mixer speed to low, gradually add in the whisked dry mixture until just combined.
- Cover the top of the cookie dough tightly with plastic wrap and refrigerate for a minimum of 3 hours. Overnight is even better.
- When ready to bake, adjust your oven rack to the 2nd level position (just above center) and preheat your oven to 375ºF.
- Line cookie sheet(s) with parchment paper and set aside.
- Using a spoon or a 1 1/2 tablespoon-size cookie scoop, roll the cookie dough into balls and place on the parchment lined cookie sheet.
- Using your thumb or a spoon, dip in cold water (to avoid the dough sticking to you or the spoons) and make a dent in center of each cookie. Fill dent with jam or jelly of your choosing using a spoon or a piping bag with the tip cut off. Optional: Sprinkle tops with sparkling sugar or chopped walnuts or pecans (I opted for just the sparking sugar with a touch of edible gold dust cause I'm fancy like that).Small jar of strawberry preserves
- Bake at 375ºF for 10 to 12 minutes. Cookies should have a very light golden brown color to them. Allow them to cool on the cookie sheet for 5 minutes before transferring them to a cooling rack.
Notes
- To make the center cookie dent, you can use your thumb, or a small spoon dipped in cold water. This will help keep the dough from sticking to you or the spoon!
Nutrition
Nutritional information provided above is an estimate only and will vary based on specific ingredients used. See Nutritional Disclaimer for more info.


I’m wondering if this recipe can be used with the plunger style thumbprint cookie stamps, like your chocolate stamped thumbprint cookies?
It’s quite possible, but I’ve never tried it before. You could test it out with some of the dough and see how it does!