I have wanted to make some Homemade Gingerbread Houses for quite some time now and finally got the chance to this past week! Many, many thanks to my mother-in-law for all of the gingerbread house books she lent me, as well as her go-to gingerbread house recipe! This woman has probably made enough gingerbread houses to fill an entire football stadium, so I am super thankful for all of her help!
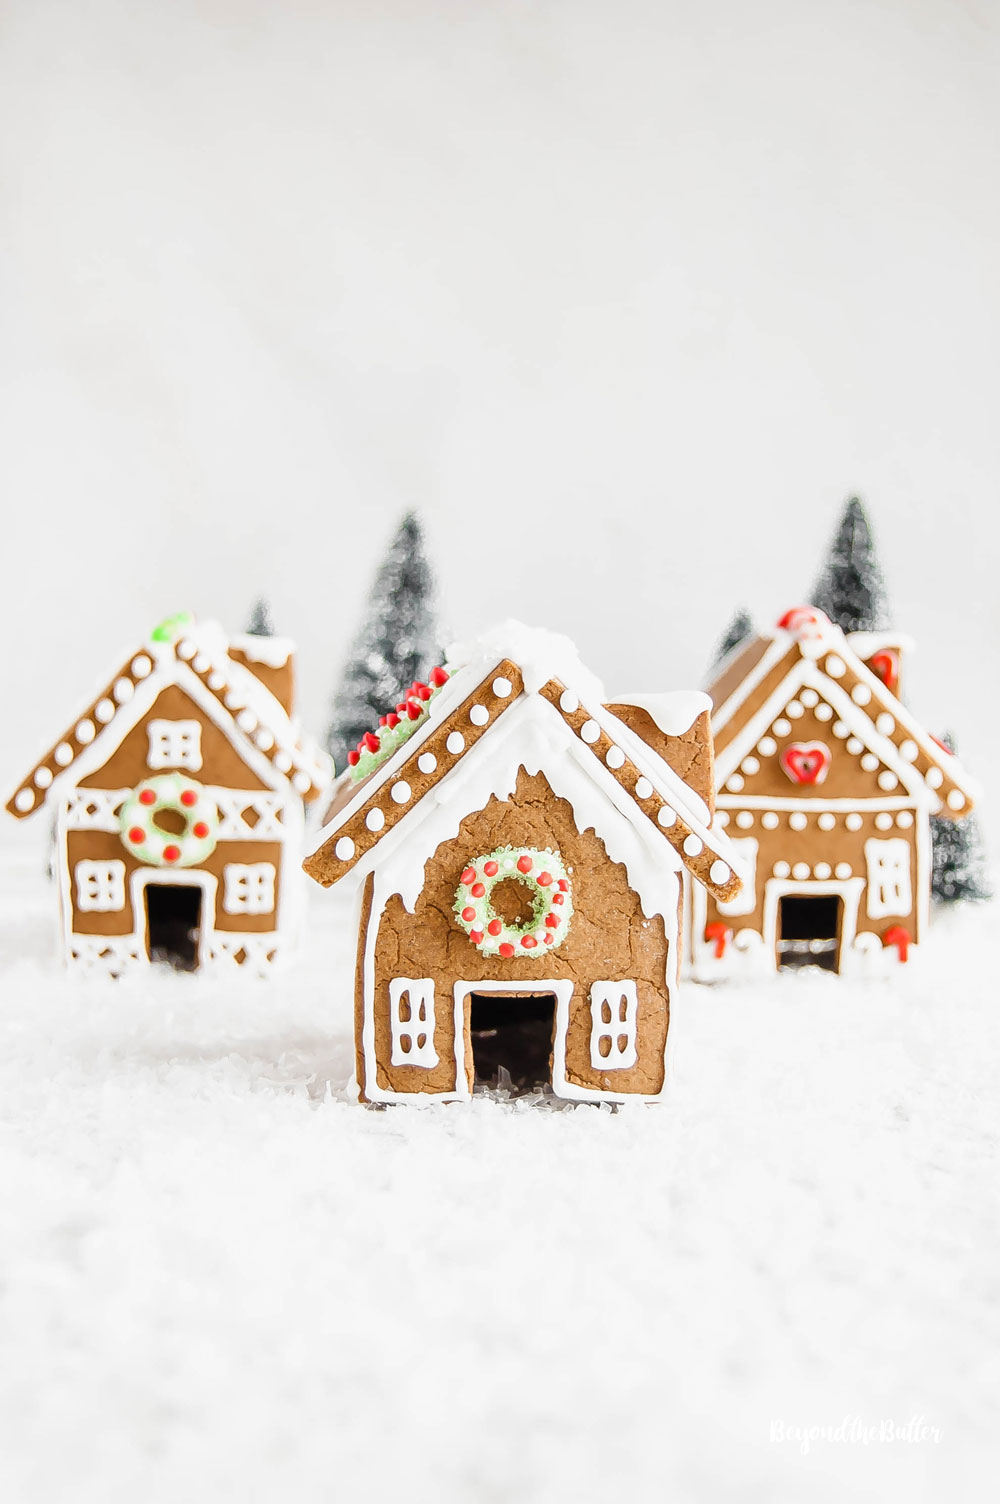
Table of Contents
- The 5 Keys to Building a Successful Homemade Gingerbread House
- Should You Decorate a Gingerbread House Before or After You Build?
- Decorating Gingerbread Houses with Candy
- Download this FREE Gingerbread House Template and Step-by-Step Guide!
- The Best Order to Build Your Gingerbread House
- Additional Gingerbread House Building Tip
- Enjoy More Fun Tutorials from Beyond the Butter®!
- Homemade Gingerbread Houses Recipe
The 5 Keys to Building a Successful Homemade Gingerbread House
- Use a really good gingerbread dough that’s evenly rolled out for cutting,
- A good homemade gingerbread house template and step-by-step build guide,
- Royal icing with a glue-like consistency,
- Factor in ample drying time, and
- Patience…lots of patience.
This homemade gingerbread house recipe comes together quickly and has a wonderful flavor thanks to the full-flavored molasses that’s used.
I rolled the dough out to an even 1/4″, which, to me, was a good level of thickness for building the houses.
The other key ingredient that is beneficial to a structurally sound homemade gingerbread house is royal icing, which has a glue-like consistency. Too thick, and it will be too hard to pipe out. Too runny, and it will run all over the place.
While the recipe for these homemade gingerbread houses is an easy one (same for the royal icing), the part that takes the longest is the building part.
You really need to allow for a lot of drying time for each section of the house. If you rush it, then it will more than likely collapse on you. Patience is your friend here.
I must note that while this is a flavorful gingerbread recipe that can be eaten, this tutorial is really meant for those who are creating gingerbread houses that will be used as a fun display in your home.
If you plan to eat your gingerbread houses, they’re best enjoyed within a day or two of making them and stored properly to avoid drying out.
Should You Decorate a Gingerbread House Before or After You Build?
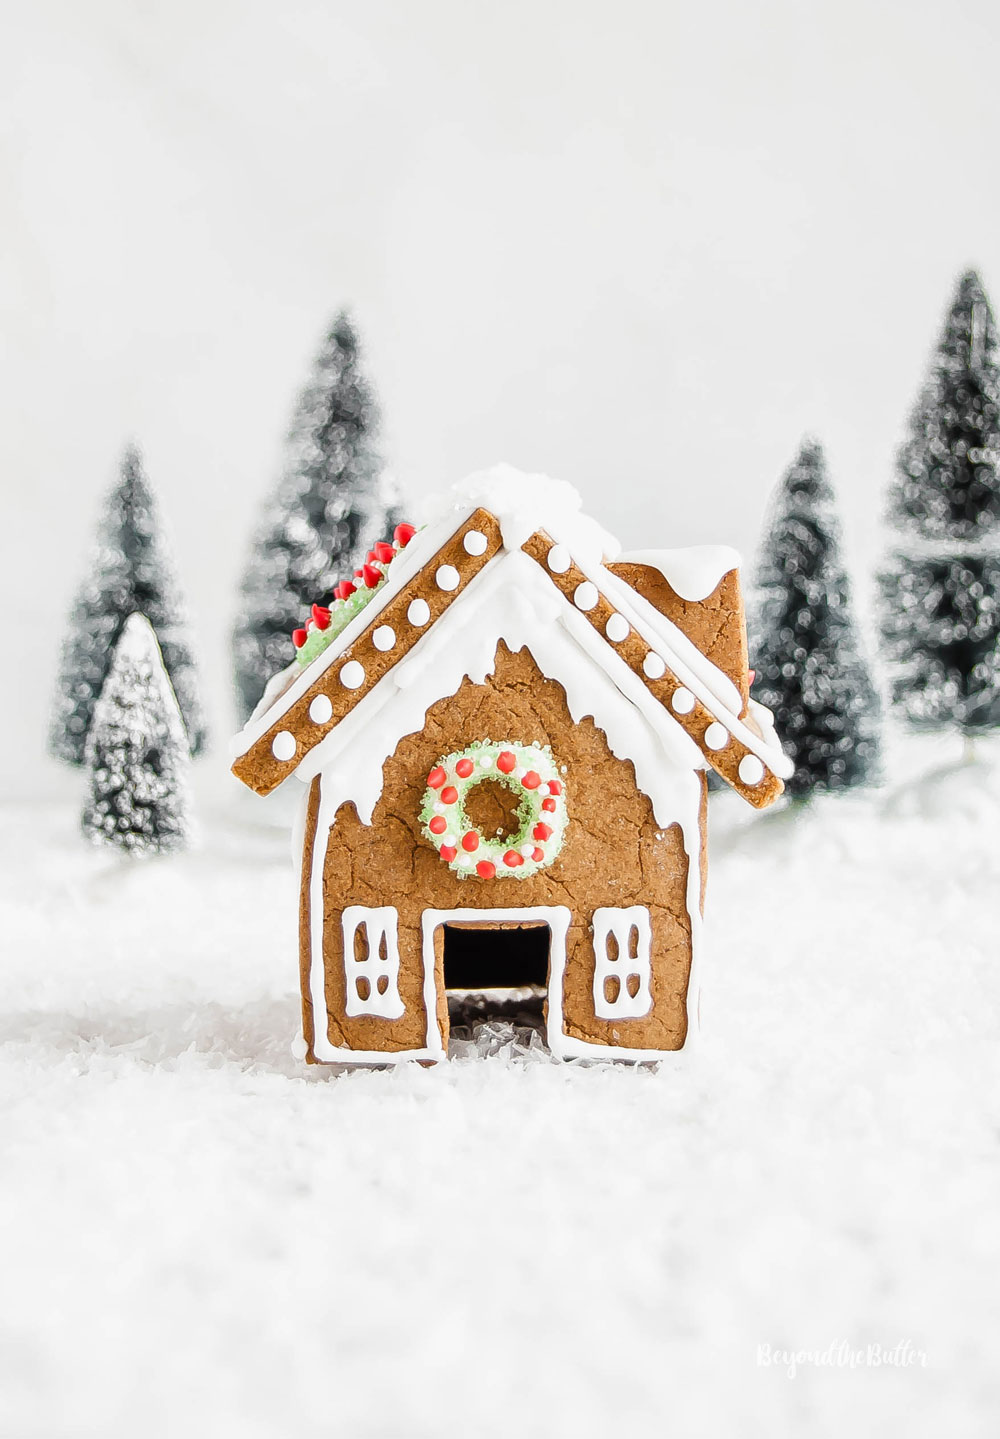
This really comes down to preference, in my opinion. I decorated each panel prior to building them, but you can most certainly decorate after!
If you have little kids who want to get in on the fun but are maybe not quite there yet with the building part, you could do that part first and then let them go crazy with the decorating!
Decorating Gingerbread Houses with Candy
There are so many options to choose from when it comes to decorating your homemade gingerbread houses! One thing you may want to keep in mind is the size of your house (your gingerbread house, not your actual house!) and how it will look in comparison.
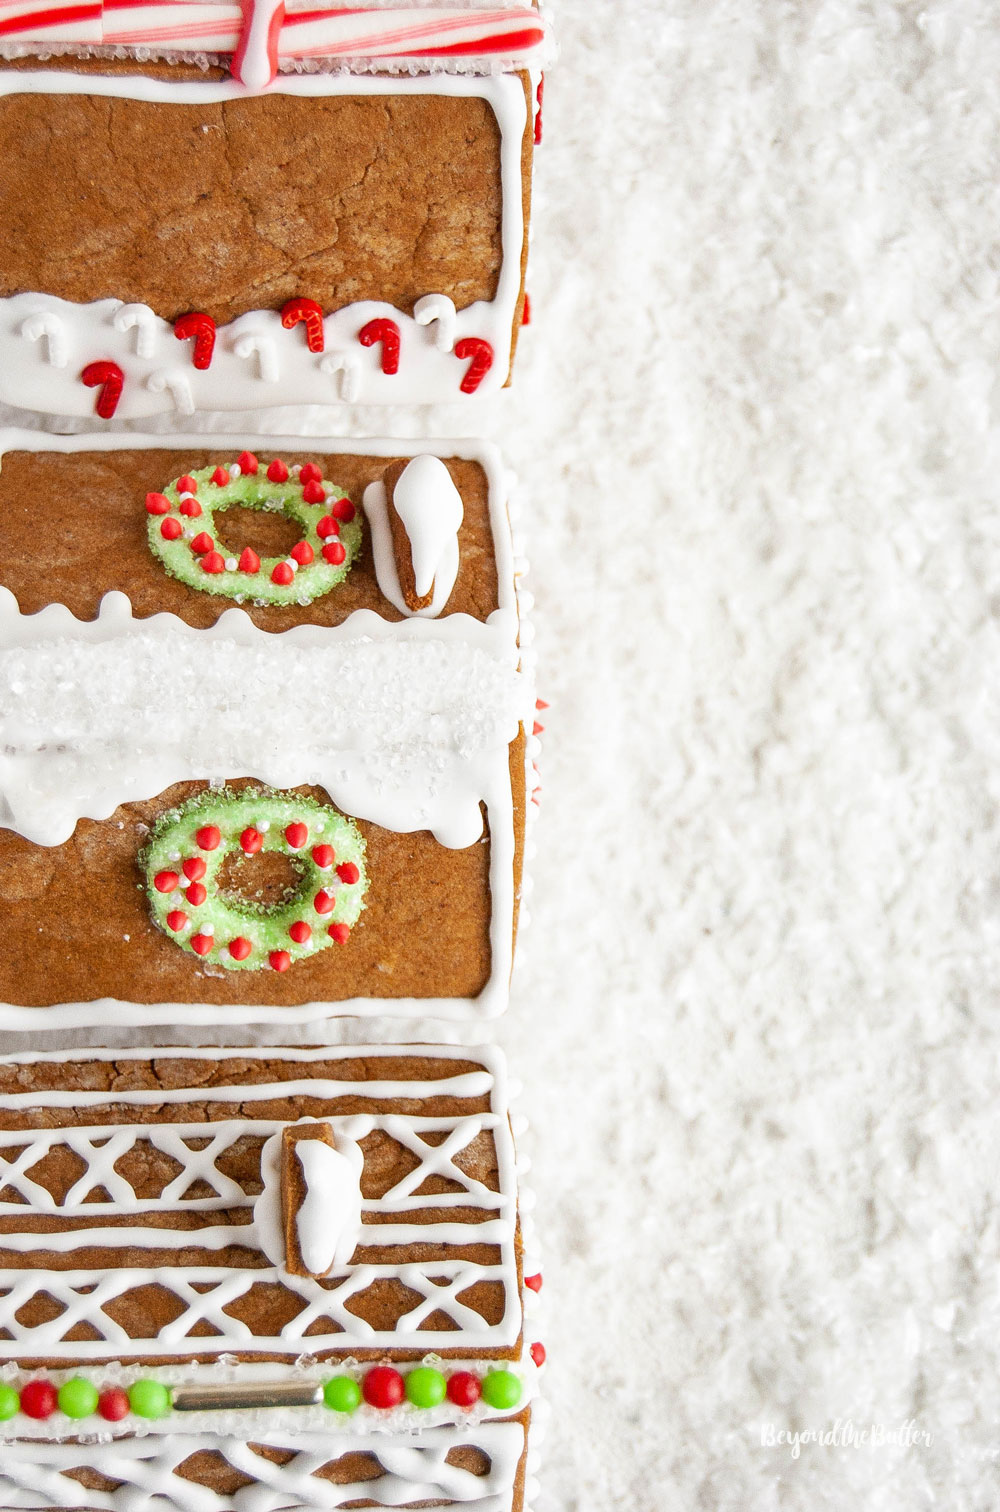
The homemade gingerbread houses I made are on the small side, so I stuck to very small decorations like red and green sparkling sugars, small red and green balls, small candy canes, blue & white snowflake sprinkles, and these small candy cane sprinkles. I also used a little red-colored royal icing for the berries on the wreaths that are on some of the gingerbread houses.
Other candy ideas to consider are M&M’s, gumdrops, crushed candy canes, licorice, mini Reese’s peanut butter cups, and the list goes on and on!
If you go on Pinterest and search for gingerbread house candy ideas, I’m willing to bet you’ll see a lot of other great ideas! And speaking of Pinterest, make sure to pin this along with the free homemade gingerbread house template and a step-by-step guide to your holiday Pinterest boards!
Download this FREE Gingerbread House Template and Step-by-Step Guide!

The Best Order to Build Your Gingerbread House
When it comes to building your homemade gingerbread houses, you’ll first want to determine whether you should build them onto a cardboard base (maybe if you’re giving them out as gifts) or if you can just build them within a cookie sheet or jelly roll pan.
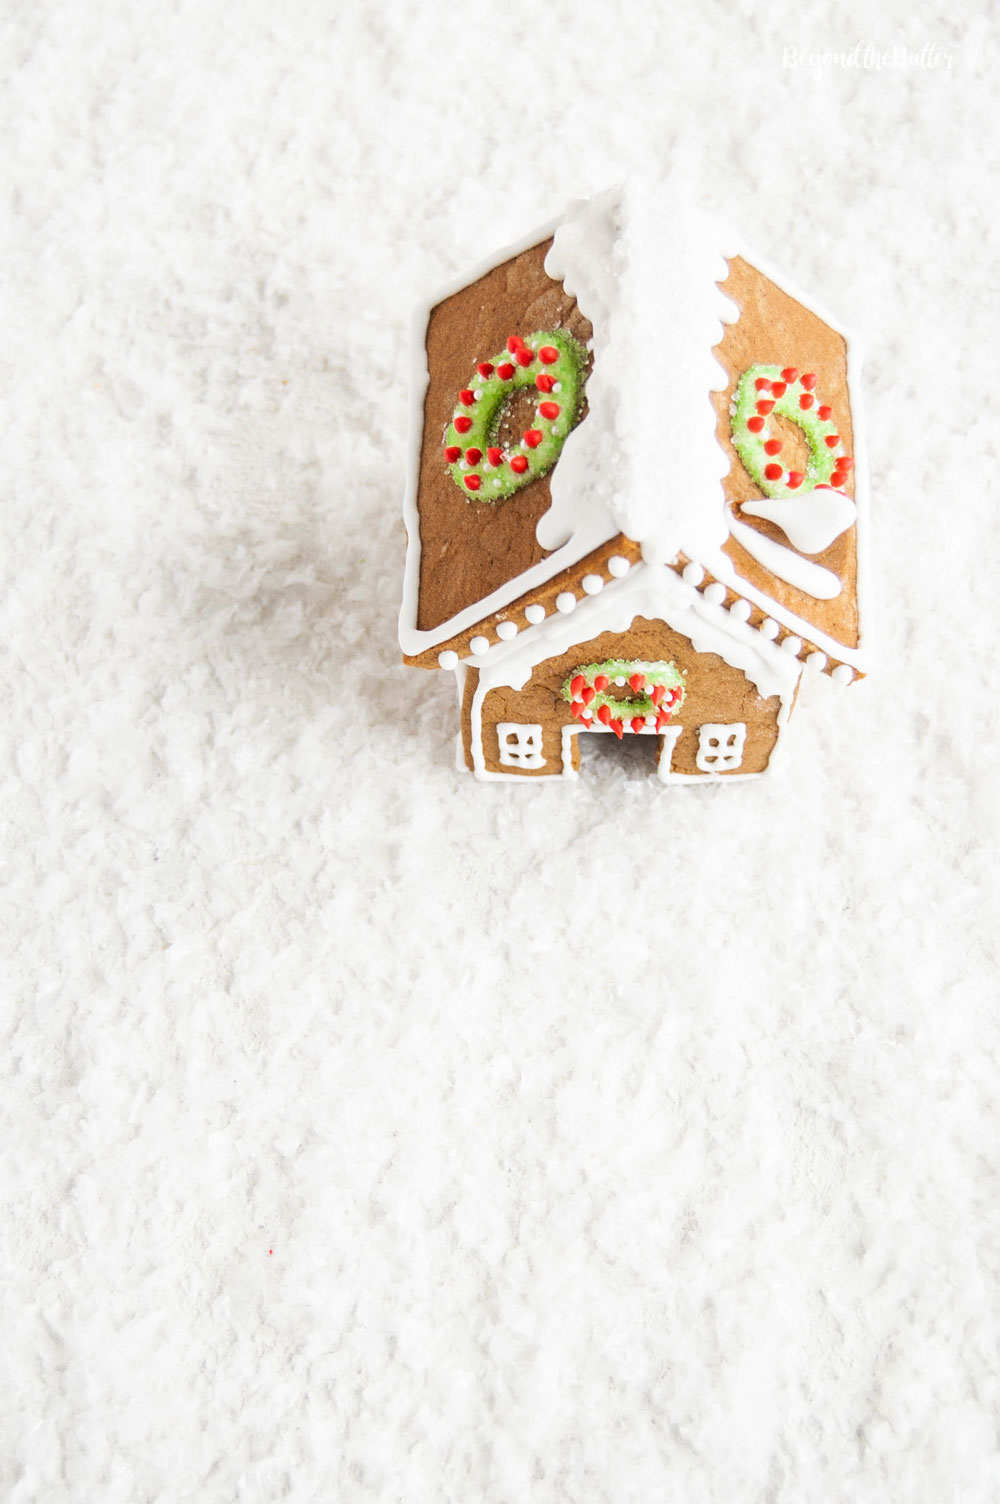
I chose to build mine in a jelly roll pan for a few reasons: 1) it made decoration clean up easier where I could just lift the dry and completed houses to empty the extra sprinkles and candies out; 2) I intend to use mine for cake toppers; and 3) I wanted to be able to photograph them without a cardboard base.☺️
- Step 1. The order that worked best for me was to start with the front of the gingerbread house and add the sides one at a time, using a piping bag filled with royal icing as your “glue.” In between adding each side, I waited an hour to allow it to dry completely.
- Step 2. Next, I added the back of the house, again waiting an hour to ensure it fully dried. The next step to building your gingerbread houses is probably the trickiest, but it requires some extra support.
- Step 3. When it’s time to add the roof panels, you’ll want to ensure you have something to support the bottom of the roof so you don’t have to sit there for an hour holding it in place. Without the added support, the roof panel will just slide because of that lovely thing called gravity. I used some spare gingerbread house parts, but you can probably use a book or two or maybe some cardboard. Anything that will stay in place long enough to allow the roof panel to dry.
Additional Gingerbread House Building Tip
One thing I didn’t share in the step-by-step build guide, is if you have pets that like to jump up on tables, chairs, or anywhere you might be working on these gingerbread houses…keep the house somewhere higher up where they can’t get to them.
Nothing stinks more than discovering your pet has jumped up on the table to go all Godzilla on your cute houses (speaking from experience), haha!
Enjoy More Fun Tutorials from Beyond the Butter®!


If you tried this Homemade Gingerbread House Tutorial or any other tutorial on my website, please leave a 🌟 star rating and let me know what you thought in the 📝 comments below. Thanks for visiting!
Homemade Gingerbread Houses

Ingredients
homemade gingerbread houses
- 5 cups All-Purpose Flour
- 1 tbsp Ground Ginger
- 1 tsp Ground Cinnamon
- 1 tsp Ground Nutmeg
- 1 tsp Baking Soda
- 1 tsp Gingerbread Spice
- 1 tsp Salt
- 1 cup Unsalted Butter
- 1 cup Full Flavor Molasses, like Brer Rabbit's brand
- 1 cup Granulated Sugar
- Candy Decorations
royal icing
- 8 tbsp Water
- 3 tbsp Meringue Powder, I use Wilton's brand
- 4 cups Powdered Sugar
Instructions
Homemade Gingerbread Houses
- In a large mixing bowl, whisk together the all-purpose flour, ground ginger, ground cinnamon, ground nutmeg, baking soda, gingerbread spice, and salt. Set aside.5 cups All-Purpose Flour, 1 tbsp Ground Ginger, 1 tsp Ground Cinnamon, 1 tsp Ground Nutmeg, 1 tsp Baking Soda, 1 tsp Gingerbread Spice, 1 tsp Salt
- In a medium saucepan over medium-low heat, melt the unsalted butter, then add in the granulated sugar and full flavored molasses. Stir continuously until combined, then remove from heat.1 cup Unsalted Butter, 1 cup Granulated Sugar, 1 cup Full Flavor Molasses
- Slowly pour the molasses mixture into the dry mixture and, using a baking spatula, blend it all together. Once it starts to form into the dough you can switch to using your hands. Trust me, it will be much easier this way! Keep mixing the dough with your hands until the flour has absorbed more of the moisture. The dough will be soft at first, but will firm up as you work with it.
- Adjust your oven rack to the 2nd level position (just above center) and preheat your oven to 350ºF.
- Line cookie sheet(s) with parchment paper and set aside.
- Roll out some of the gingerbread cookie dough onto a floured surface to a 1/4 inch thickness. Carefully cut out your pieces using my homemade gingerbread house template (or a template of your choice or gingerbread house cutters). Carefully transfer the pieces onto a parchment lined cookie sheet using a serving spatula.
- Bake at 350ºF for 12-15 minutes (mine only took 12 minutes). Allow them to cool on the cookie sheet for 5 minutes before transferring them to a cooling rack. Allow the pieces to dry out for several hours (or overnight) in a warm, dry environment before using to build your houses.
- See my step-by-step gingerbread house build guide for the best way to build your gingerbread houses. Before building, you can choose to decorate the pieces first or wait until you've built all the houses.
Royal Icing
- Using your hand mixer or stand mixer with a whisk attachment, beat the water and meringue powder on high until frothy. Switch the speed to low and add in 1 cup at a time the powdered sugar. Beat on high once all the powdered sugar has been incorporated.8 tbsp Water, 3 tbsp Meringue Powder, 4 cups Powdered Sugar
- The icing should be like glue and should take some time to blend back into the bowl of icing. To test this just lift the head up on your stand mixer and allow the icing to fall back into the bowl. If it blends immediately back in with the icing then it’s too runny.
- If the icing is too runny, add a little more powdered sugar. If it appears to be thicker than glue, add a tsp of water at a time to get to the glue-like consistency.
- I used a No. 6 Wilton piping tip to pipe the icing on the the houses to "glue" the pieces together. For detailed decorations likes the wreaths, windows, etc. I used these piping bottles from Sweet Sugar Belle. What's nice about these is you can swap out the piping tips if you want. I used the tips that it came with for the houses.
- As you wait for the houses to dry, you can wrap the piping tip end of the bottle/piping bag with a little plastic wrap or aluminum foil. I like to use these silicone decorating piping tips from Wilton. You may need to take a toothpick or a damp paper towel to clean out any royal icing that may have dried up inside the piping tip. After that, give it a little shake and you should be good to go again with any piping that needs to be done.
Notes
- While this is a flavorful gingerbread recipe that can be eaten, this tutorial is really meant for those that are creating gingerbread houses that will be used as a fun display in your home. If you plan to eat your gingerbread houses, they’re best enjoyed within a day or two of making them.
- To make the best gingerbread houses, the dough should be very dry and firm when cooled. If it is not completely dried out, the pieces will continue to pick up moisture as they stand, and your house could eventually collapse.
- When building homemade gingerbread houses, it’s best to use royal icing. Buttercream frosting—or any frosting made with shortening—contains moisture that will lead your house to collapse. Royal icing dries super hard like cement and will hold your house together much, much better!
- If you’re piping on any decorations like the wreaths I did and you make a mistake, fear not. Take a slightly damp paper towel and very gently wipe it off. I had to do this a few times with the roof panels because I goofed.
- You can also pipe wreaths separately onto wax paper, then let them dry completely before carefully placing them onto the house. Use royal icing again as the “glue”.


Hi, I made the gingerbread dough but it’s too crumbly and doesn’t seem to be coming together like an actual dough… any advice? Thanks!
Hmm, the dough should be pretty soft. Is it possible you added too much flour or not enough butter? It does firm up as you work with it, but it shouldn’t be crumbly.
Hmm, I measured very carefully but I halved your recipe … for 2.5 cups of flour I put 110grams of butter (I looked up what one American stick would be in grand because I’m in the UK!) does that sound roughly right? I fixed it by adding some water, not sure if that was right but they are baking now, fingers crossed!!
Hello, i notice that there is no egg on the recipe?
That’s correct, no eggs!
Oh gosh, these are decorated so beautifully I love the wreaths on them! I’ve never attempted homemade gingerbread houses, but I bet they smell great and are much better than the prepackaged store ones! So beautiful! Enjoyed doing this fun holiday blog hop with you! 🙂
Carrie
curlycraftymom.com
Hi Carrie! I’m so sorry for just seeing your comment now! I enjoyed doing this holiday blog hop with you as well! I love this gingerbread recipe because it smells wonderful for sure!
This is the cutest village, Jennifer! I love anything homemade but honestly never thought to make your own! Thanks so much for sharing!
Thank you, Kendra! That means a lot to me! I’m super happy to share this with you and everyone!