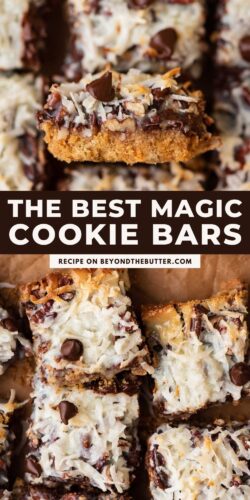
This Easy 7-layer Magic Cookie Bars recipe is one of the yummiest desserts you’ll ever make! They combine a caramelized layer of coconut, chocolate chips, and chopped pecans baked on a buttery graham cracker crust! It only takes 20 minutes to prep and less than 25 minutes to bake!
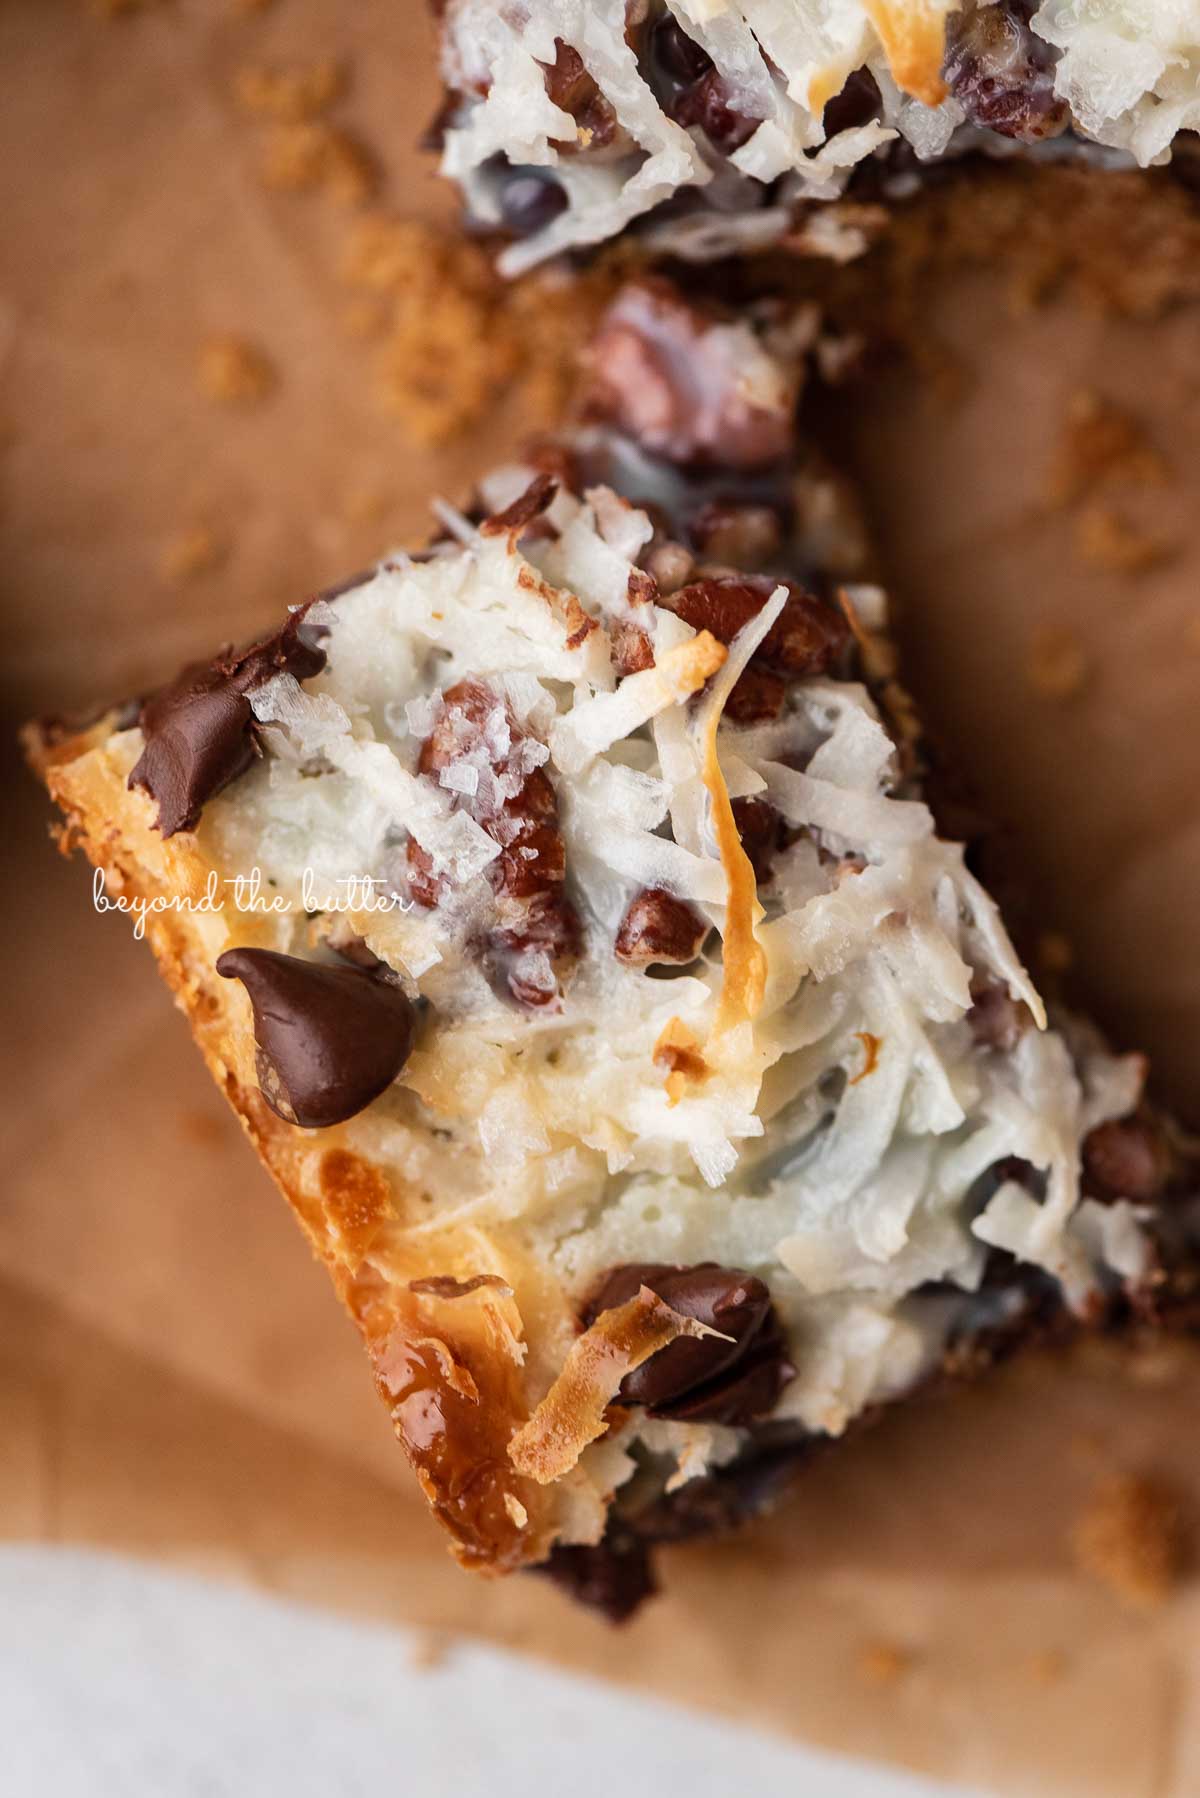
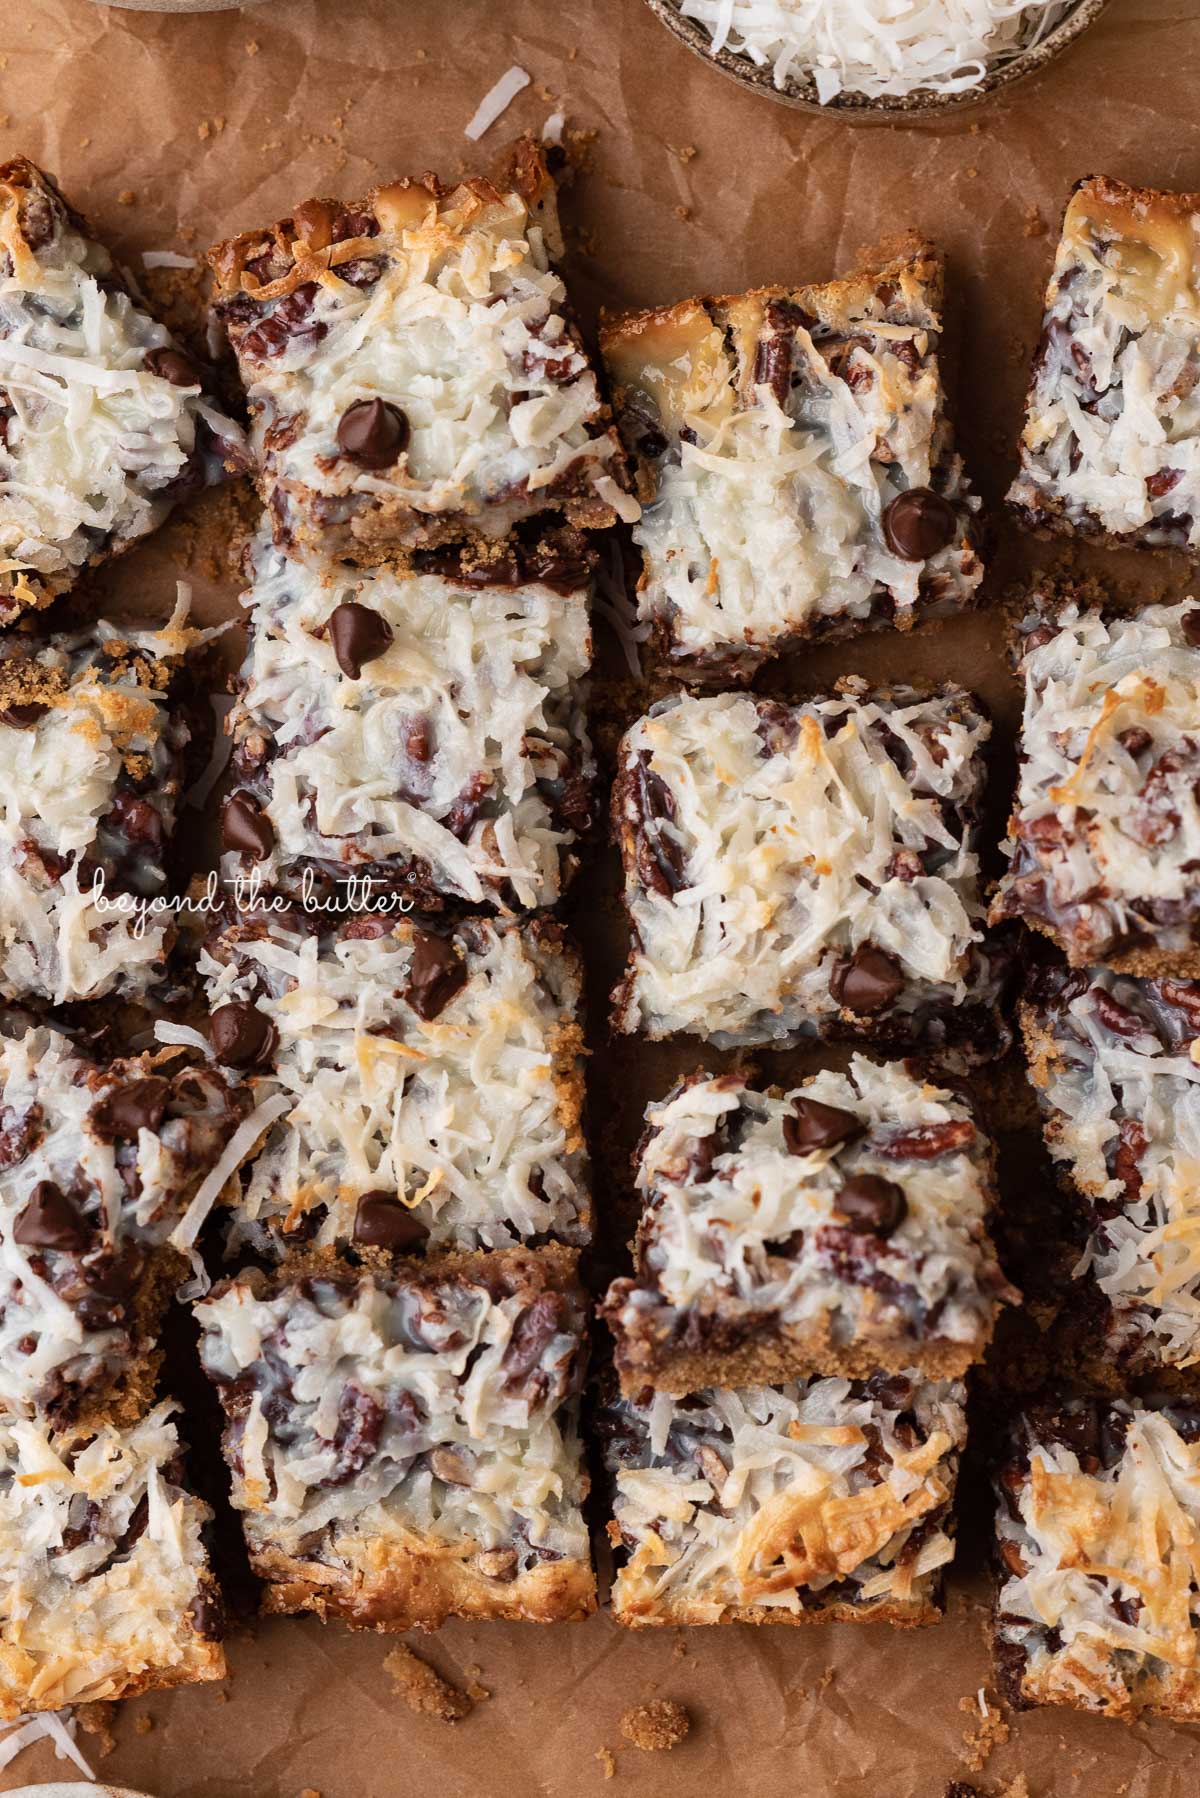
Table of Contents
Why You’ll Love This Recipe
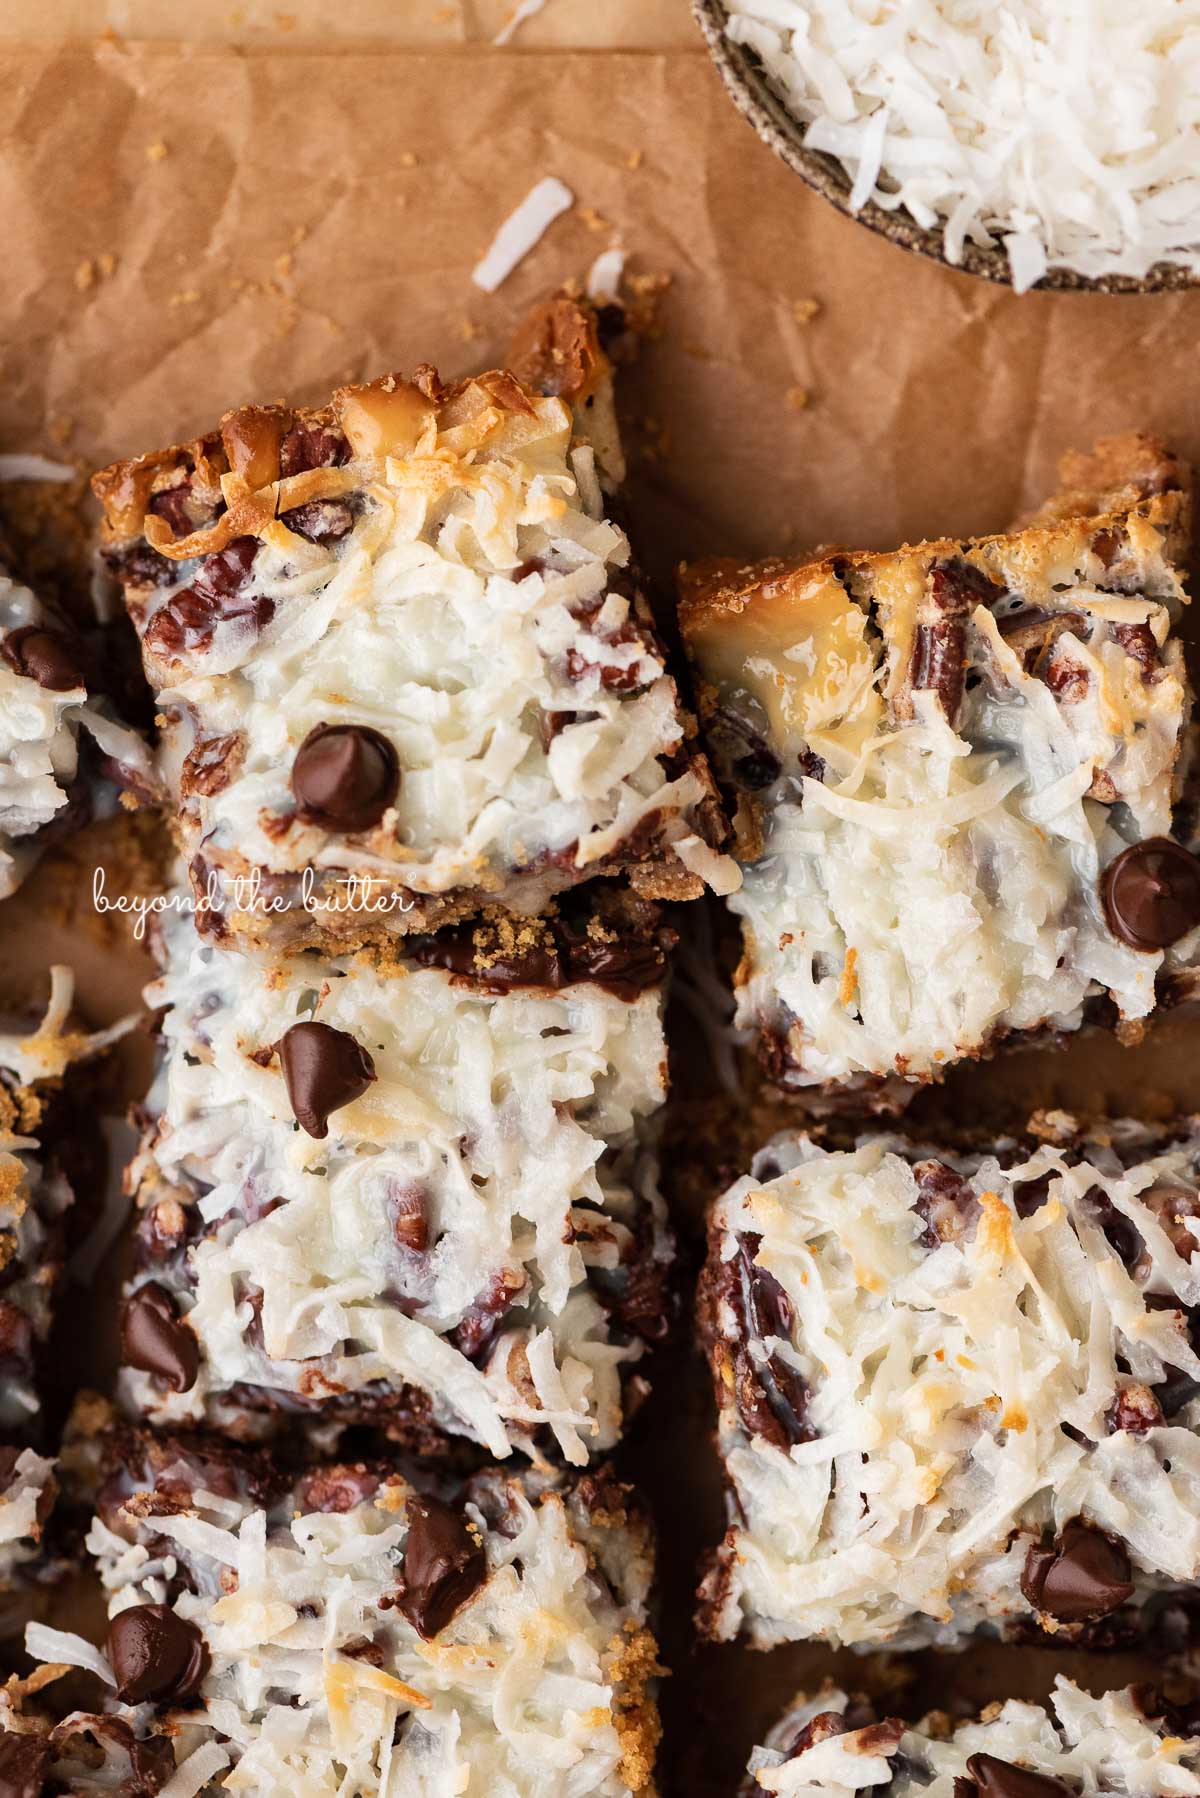
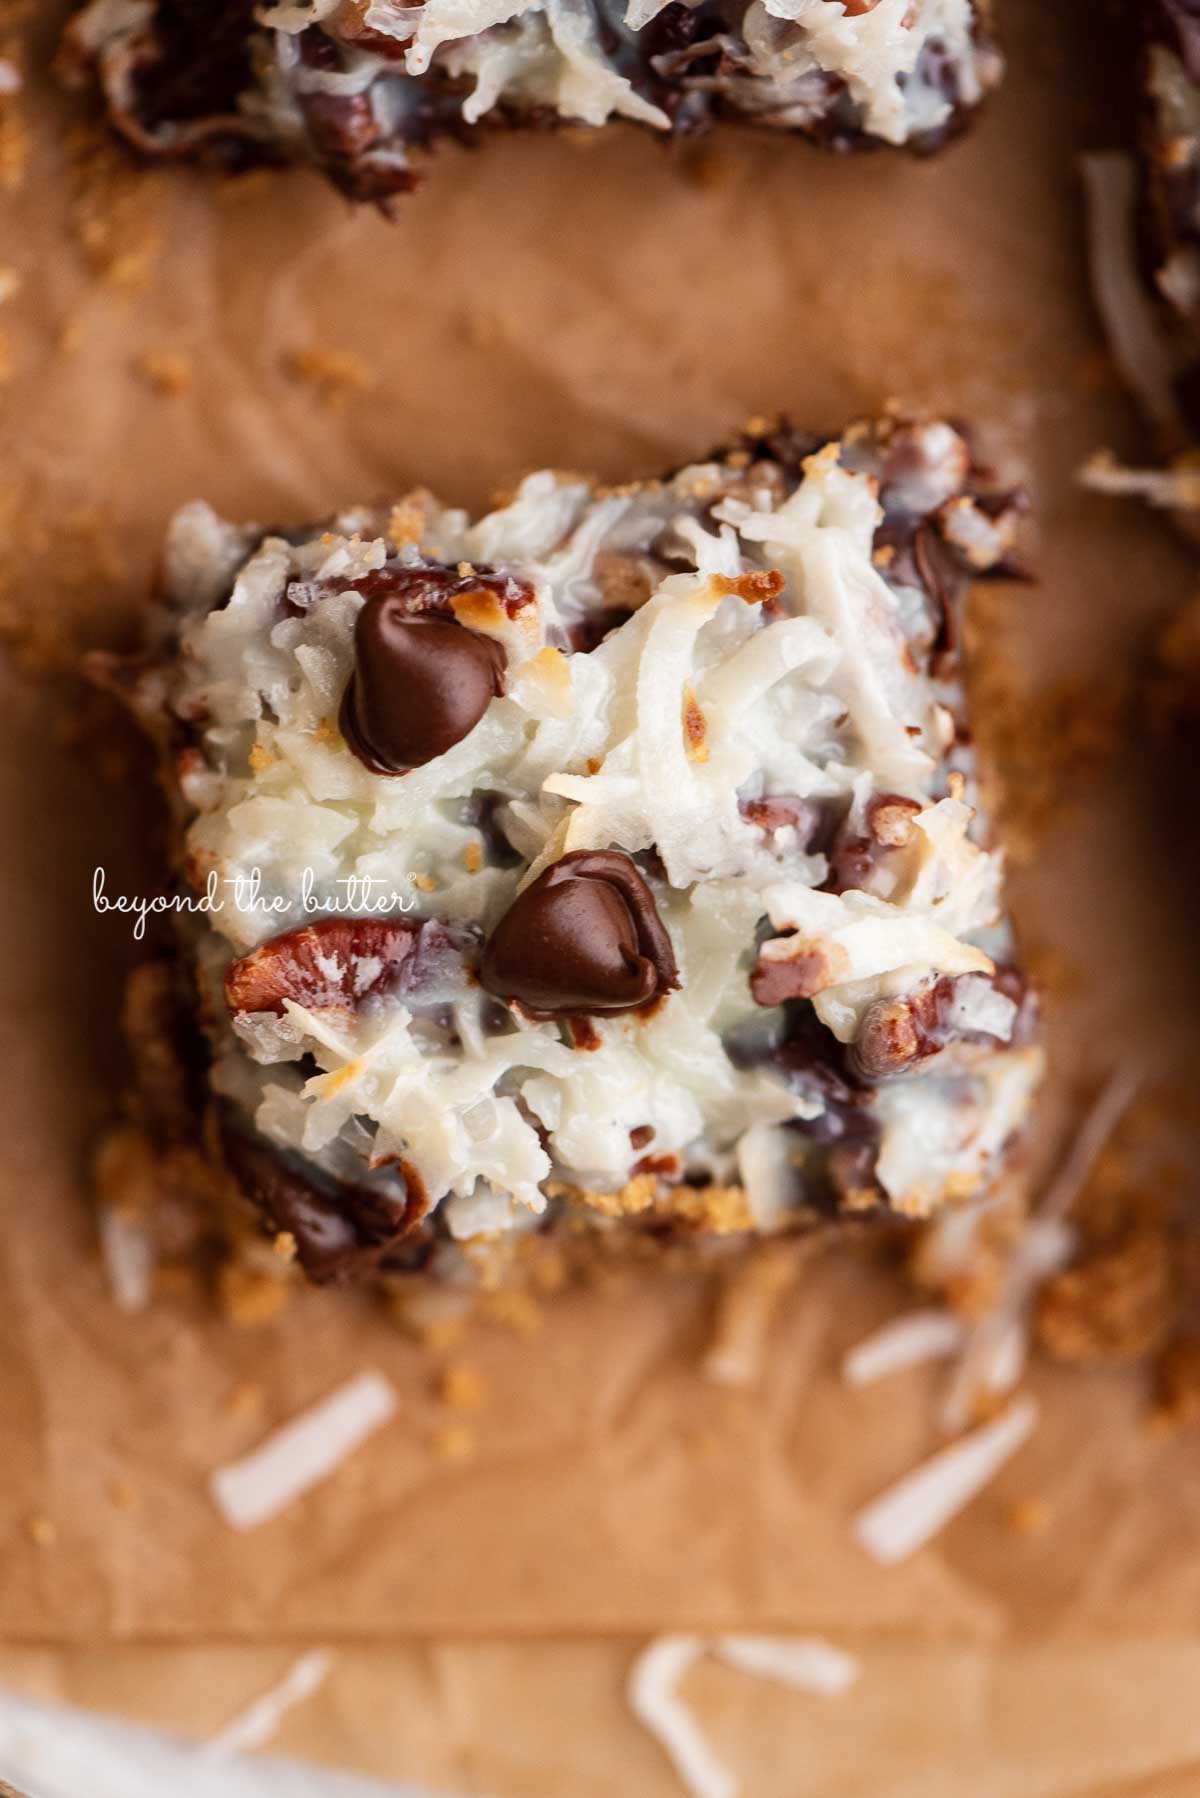
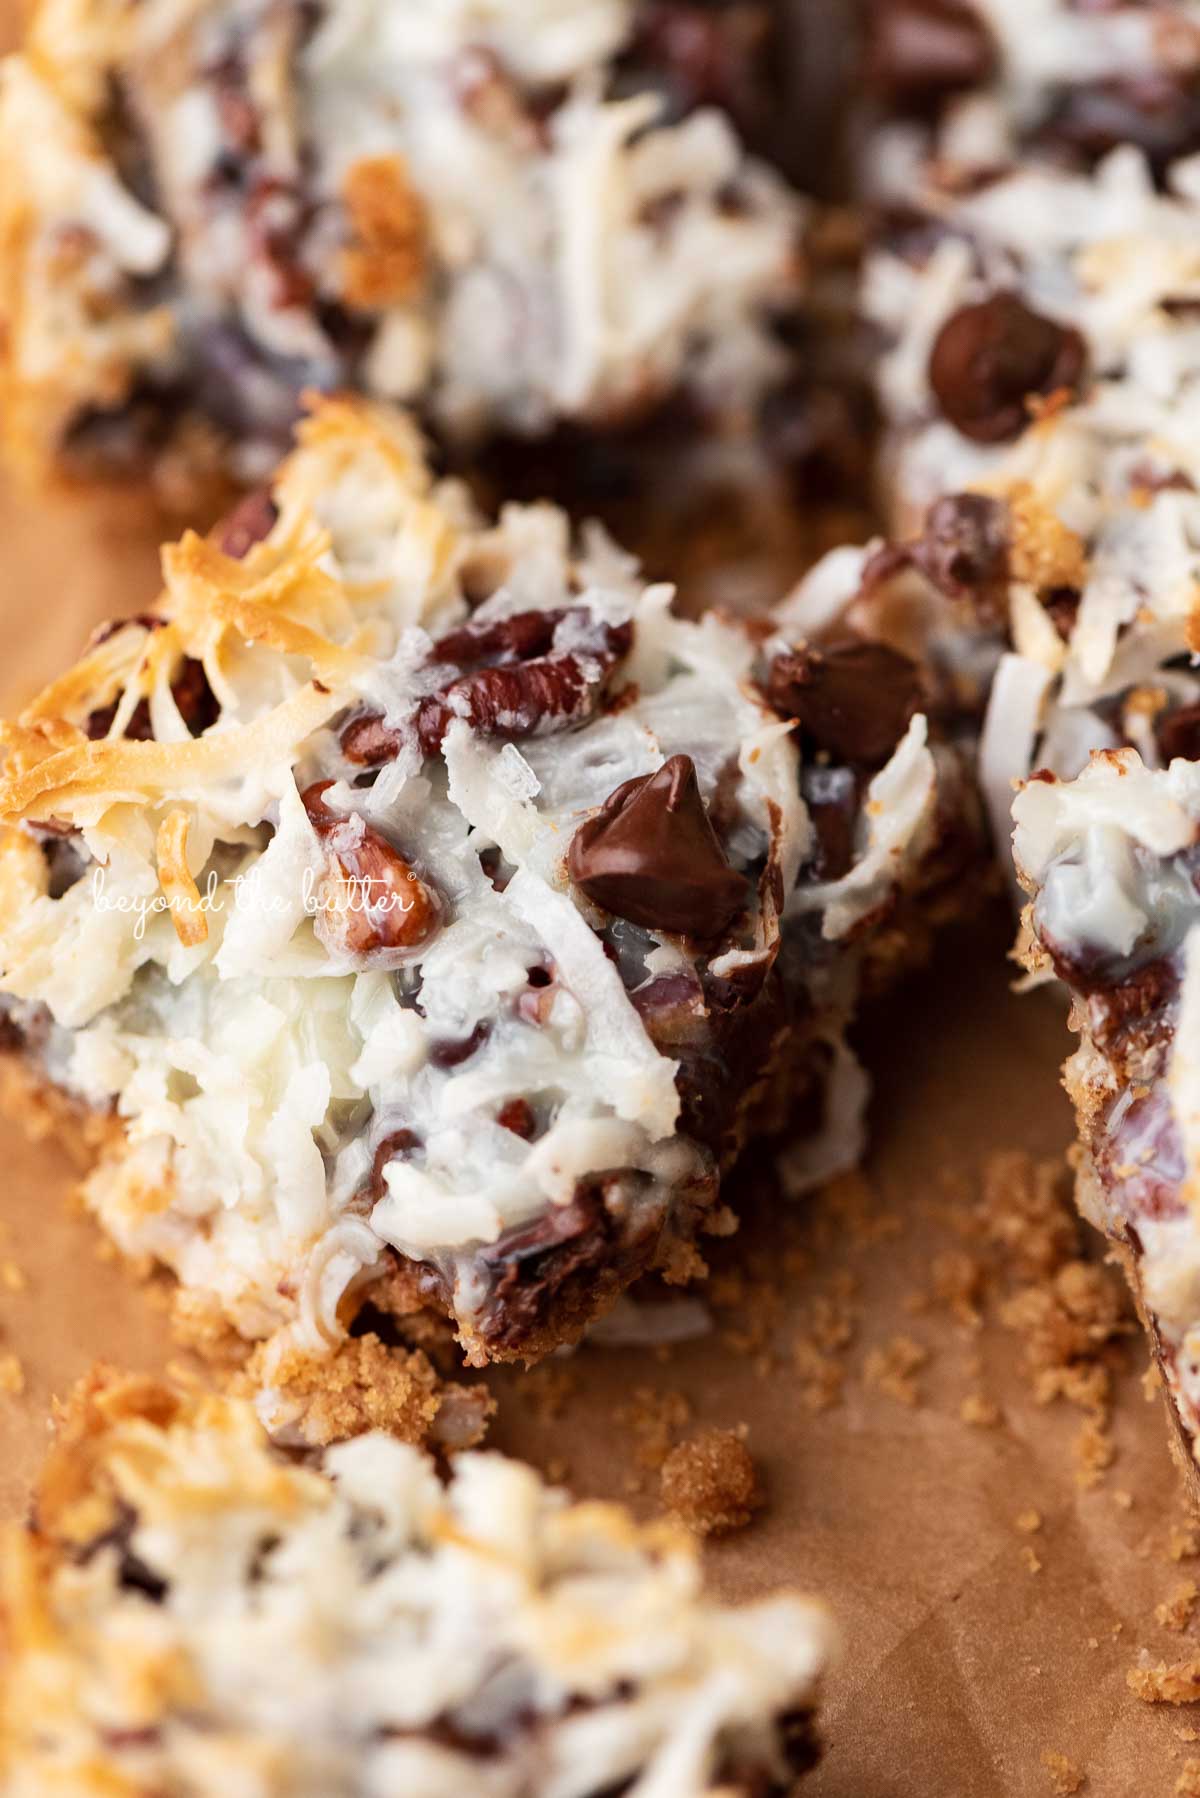
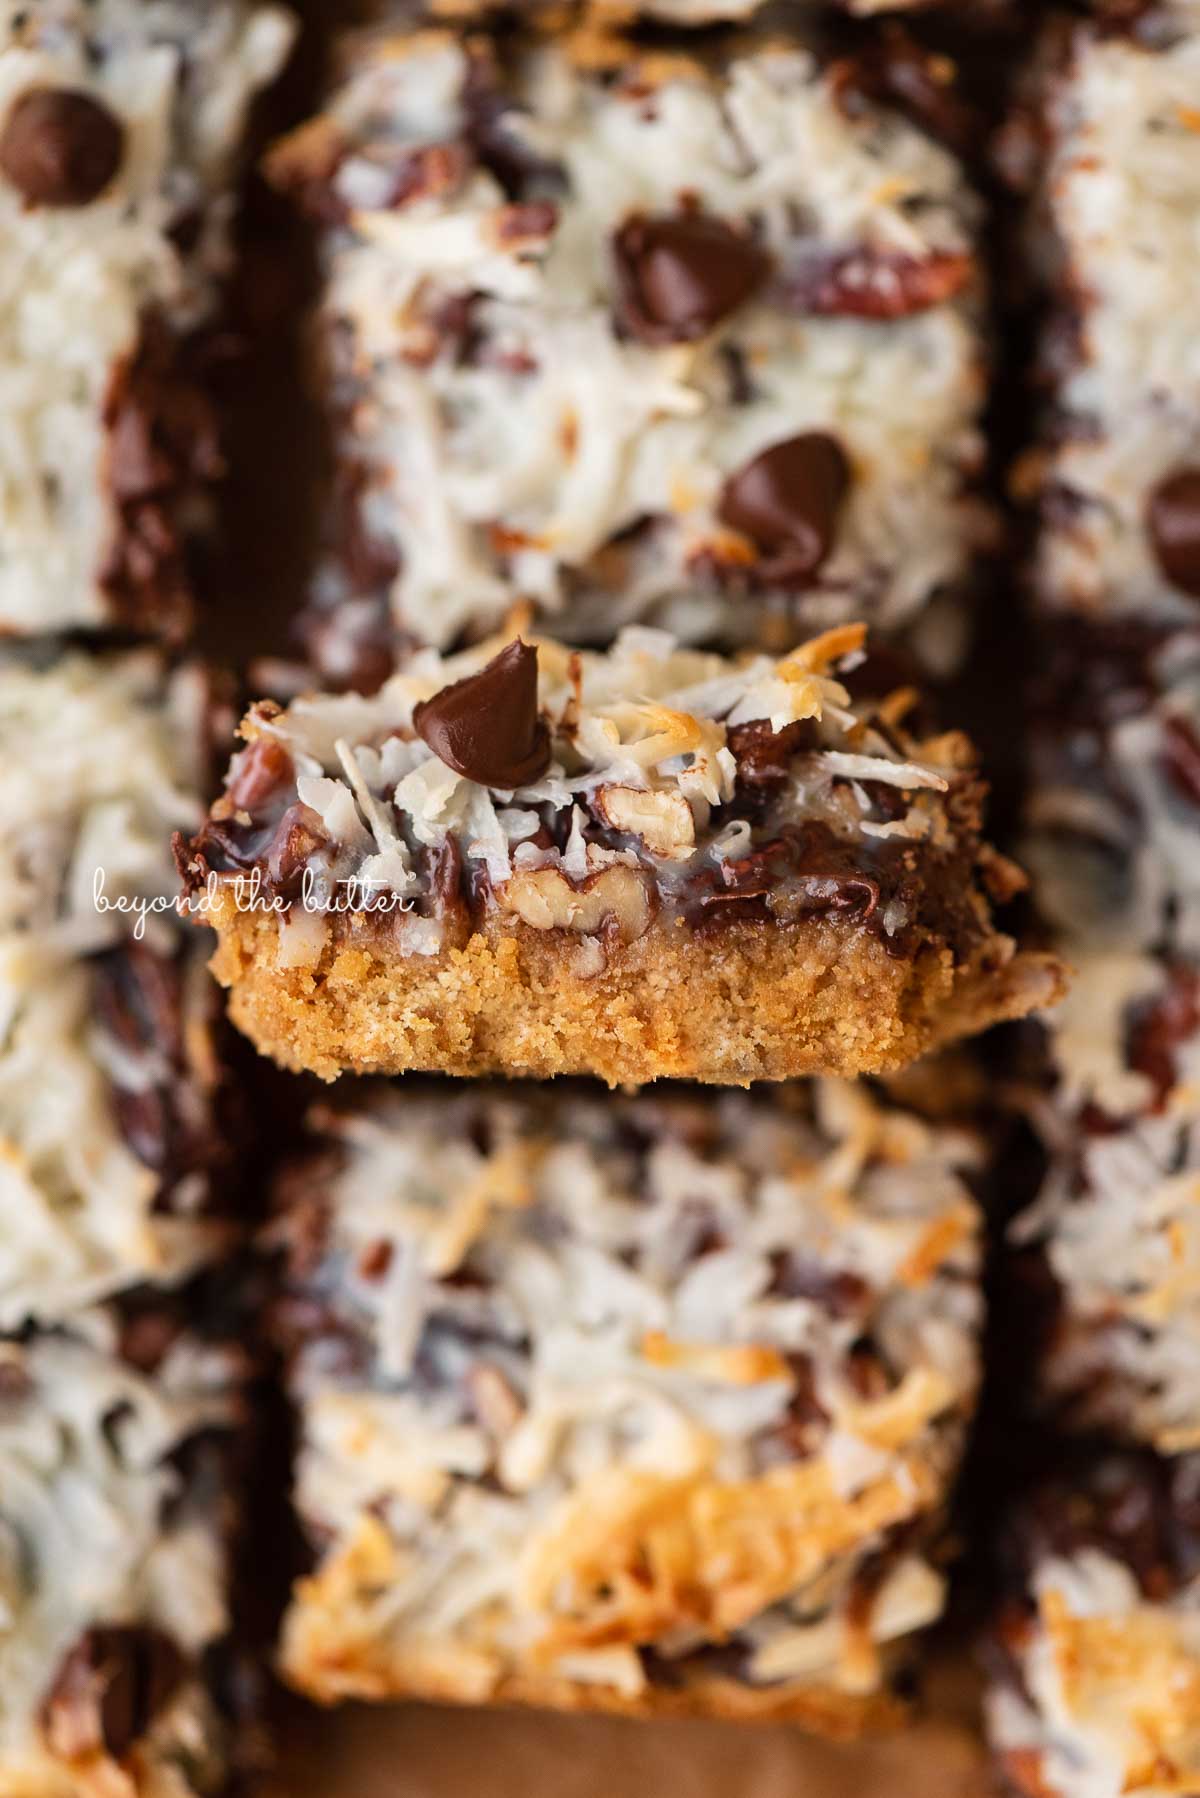
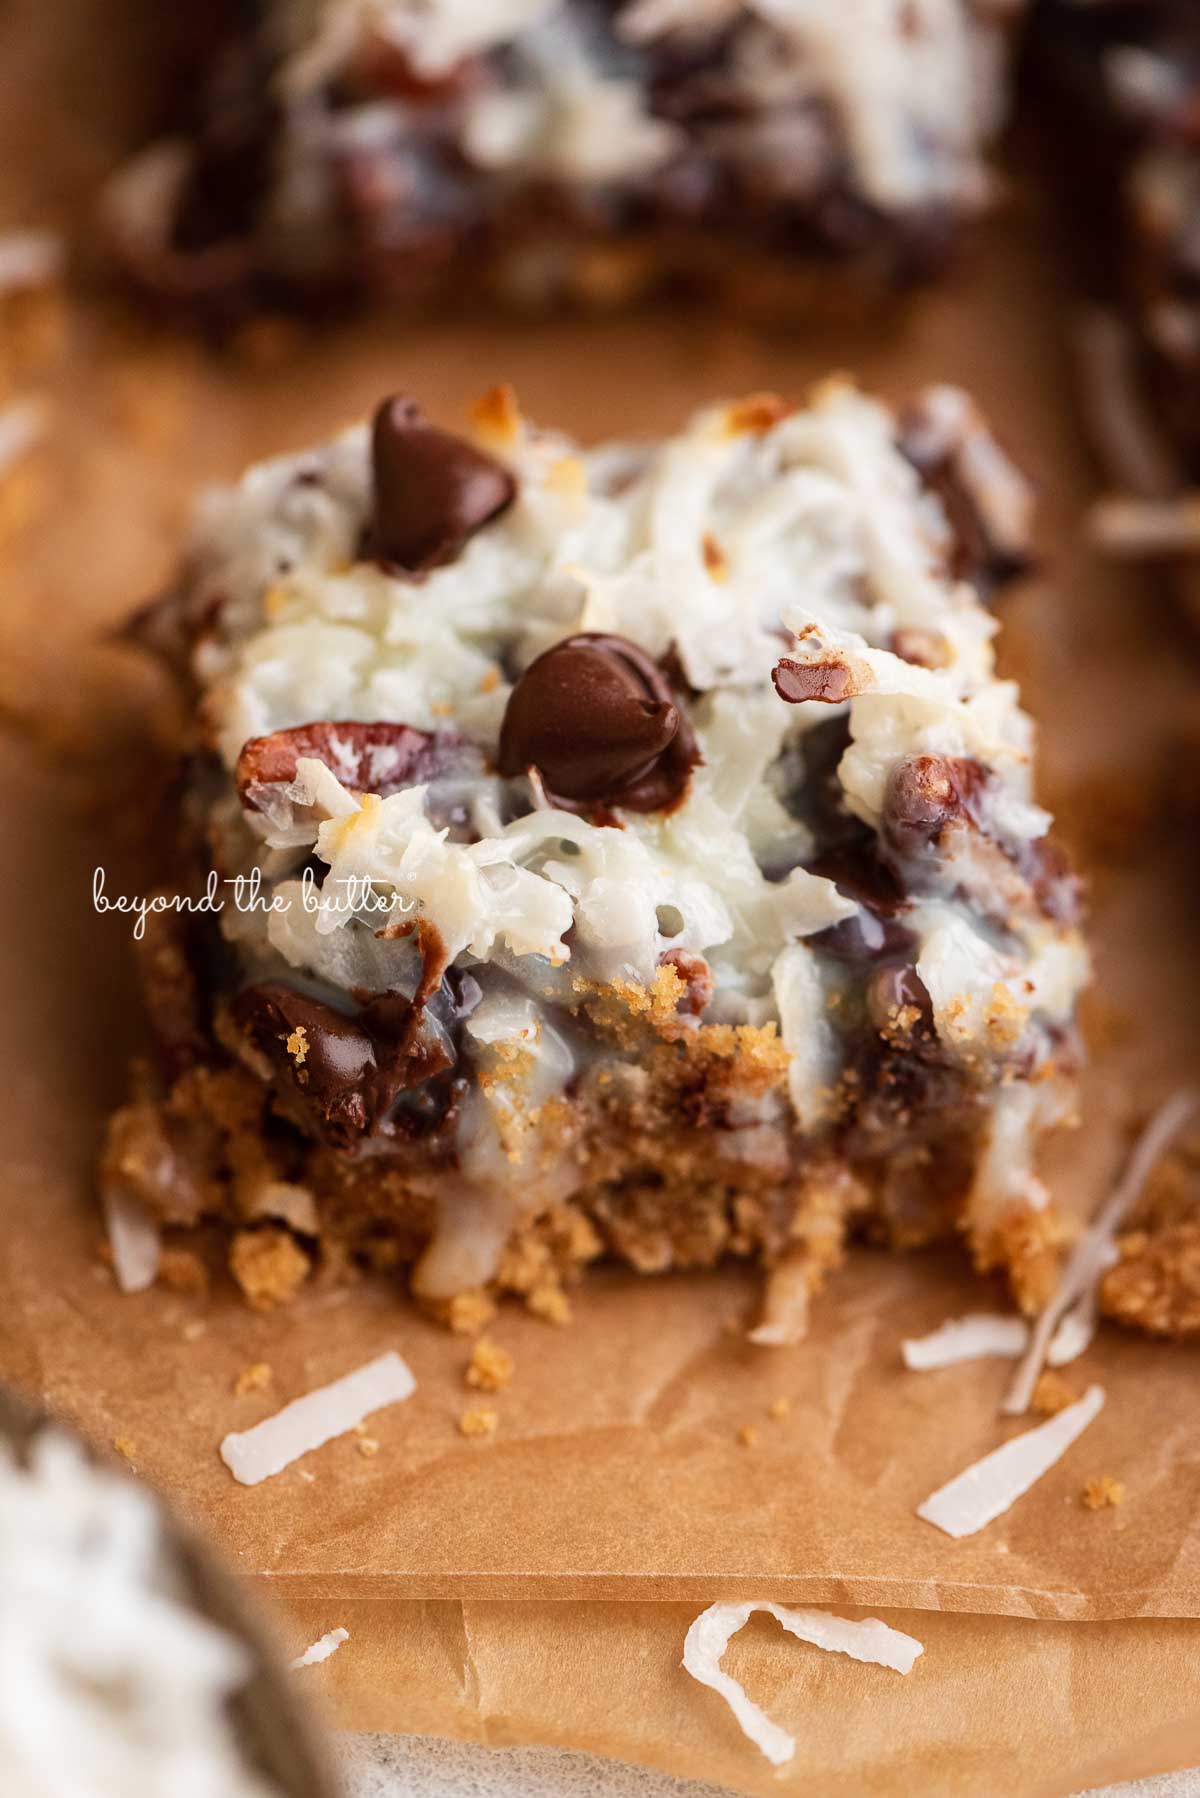
The taste. With the combination of sea salt flakes, coconut, chocolate chips, and pecans that are brought together with sweetened condensed milk and layered on top of a buttery graham cracker crust, this is such a delicious treat!
The perfect chewy texture. The top of these magic cookie bars is a creamy, chewy layer of caramelized coconut flakes, chocolate chips, and chopped pecans, with a little bit of crumble from the graham cracker crust bottom layer. It is absolutely wonderful!
A super easy-to-make recipe. This easy magic cookie bars recipe only needs 7 ingredients, comes together in 20 minutes or less, and bakes in less than 25 minutes. You can even speed up the prep a bit more by using ready-made graham cracker crumbs!
The slight downside to the recipe is it does need to cool to room temperature before serving. But I promise you—the wait is most certainly worth it. You can even chill the bars in an airtight container to enjoy later too!
Ingredients Checklist
Below is everything you’ll need to make these easy 7-layer magic cookie bars!
- Graham Cracker Crumbs. If you are processing the graham cracker sheets into crumbs, you will need about 18 full sheets or 2 cups of crumbs. You can also buy ready-made graham cracker crumbs to speed up the prep work.
- Unsalted Butter. 1/2 cup gets melted and mixed in with the graham cracker crumbs.
- Semi-Sweet Chocolate Chips. Use 1 cup of your favorite brand of chips—mine is Guittard or Ghirardelli.
- Coconut Flakes. I used 1 cup of organic unsweetened coconut flakes to help cut down the sweetness just a smidge!
- Chopped Pecans. You will need 1 cup of chopped pecans. For more flavor, you can toast them slightly before adding them to the chocolate chip layer.
- Sweetened Condensed Milk. You will need one 14-ounce can of this sweet stuff. This is not the same thing as evaporated milk.
- Sea Salt Flakes. This is an optional garnish to add after you’ve poured the sweetened condensed milk over the top. Malden is my favorite brand of sea salt flakes to use as a topping. Please do not use table salt or kosher salt as a substitute.
Substitutions
Graham Crackers. I used the honey-flavored graham crackers, but you can experiment with the chocolate-flavored version if you prefer more chocolate!
Chocolate Chips. You can mix up the chocolate chips here and combine semi-sweet and milk chocolate. Or you can use chunks of dark chocolate!
Nuts. You can use chopped walnuts or slivered almonds instead of chopped pecans.
Baking Equipment
The great news with this easy magic cookie bars recipe is that you do not need any mixers whatsoever! To make them, here’s what I used:
8-inch Square Baking Pan. My favorite brand of baking pans to use is USA Pans. They’re well made and hold up brilliantly with all my baking! You can use a 9-inch baking pan, but the bars will bake thinner.
Food Chopper / Food Processor. Used only to process the graham crackers into fine crumbs. You won’t need this if you’re buying ready-made graham cracker crumbs.
Mixing Bowl. I blended my graham cracker crumbs and unsalted butter together in a glass mixing bowl. You can also mix it directly in the food processor (if using).
Spatulas. The perfect tool to mix up the graham cracker base and spread out the sweetened condensed milk.
Let’s Make the Recipe
Below is a brief overview of how to make these easy 7-layer magic cookie bars. For the full recipe, scroll to the recipe card below.
STEP 1. Make the graham cracker crust. Mix the crumbs and melted butter together in either a mixing bowl or food processor (if using one to process the graham crackers into crumbs).
STEP 2. Press and level out the mixture into the prepared 8-inch baking pan. I like using the bottom of a measuring cup to smooth it all out and a spatula to clean up and press down the edges.
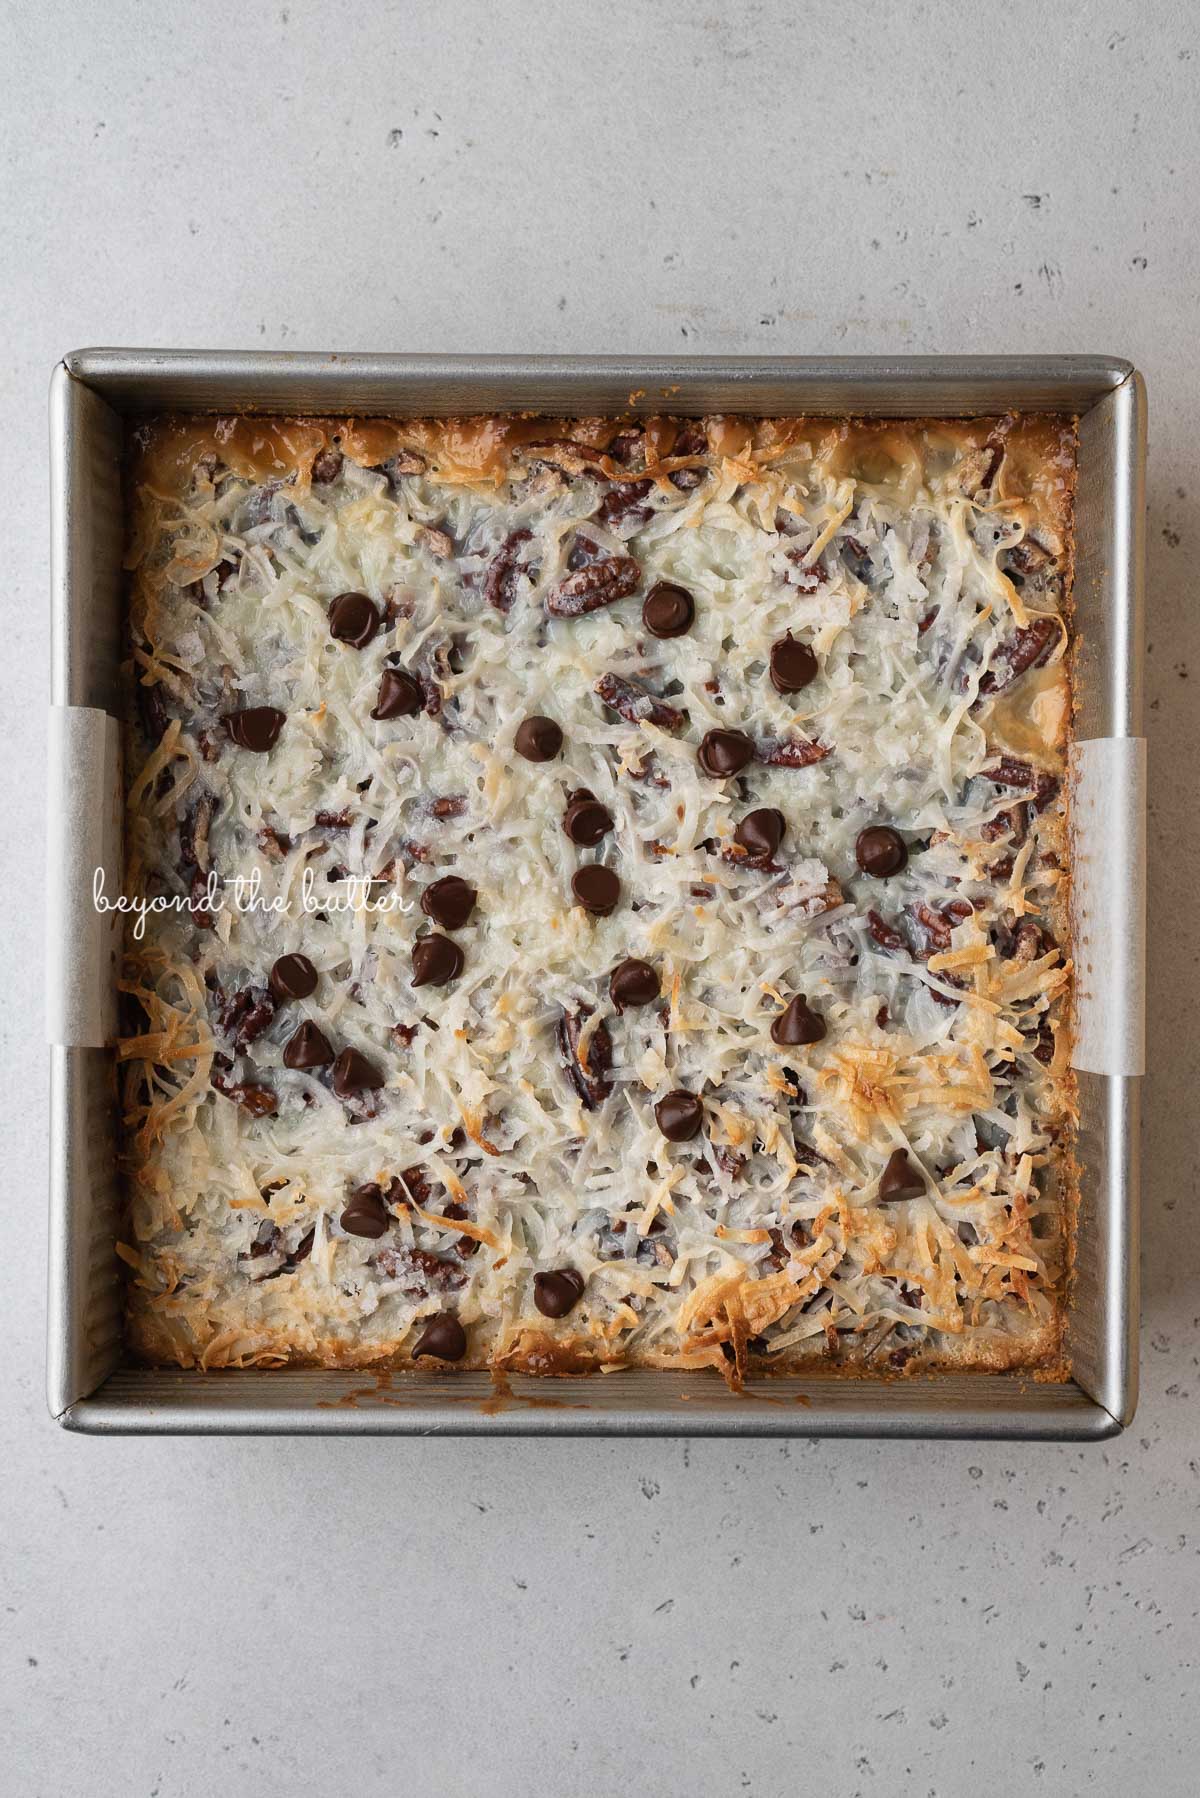
STEP 3. Add on the layers. On top of the graham cracker crust layer, add the semi-sweet chocolate chips, then the chopped pecans, and the coconut flakes.
STEP 4. Cover with sweetened condensed milk. Pour the sweetened condensed milk over top of the coconut flakes, then spread it out using a spatula. Top with a sprinkling of sea salt flakes.
STEP 5. Bake, then cool. Bake the magic bars for 20-25 minutes in a 350ºF preheated oven just until the top is a light golden brown. Mine bake well right at the 23-minute mark, with just the edges having a light golden brown color.
STEP 6. Let the bars cool completely on a wire cooling rack, then serve. You can also make the magic bars, let them cool, cut them into squares, then store them in an airtight container separated by layers of wax or parchment paper. Serve them chilled or at room temperature.
Recipe FAQs
I used this 8-inch USA pan to make the magic bars. It’s basically my favorite pan to use for the majority of my dessert bar recipes!
Yes, you should use a flour-based baking spray, like Baker’s Joy, to prevent the bars from sticking to the pan.
No. Adding a parchment paper sleeve isn’t required but is recommended if cutting them outside the pan is easier. To prevent the sides of the sleeve from dropping into your magic bars, crease them at the edge so the sides fold over, then secure the paper with metal binder clips.
Yes. For them to properly set, they need to cool completely. To let them set further, you can chill them in the refrigerator covered for 1-2 hours—or overnight.
No, I do not recommend using either as a substitute. Please note that the sea salt flakes are an optional garnish, so you can leave them off if you are not a sweet and salty dessert lover.
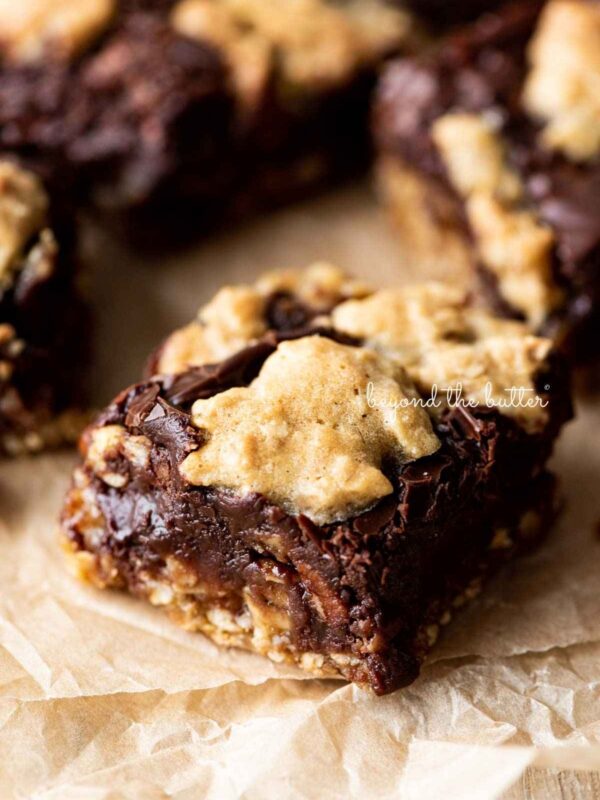
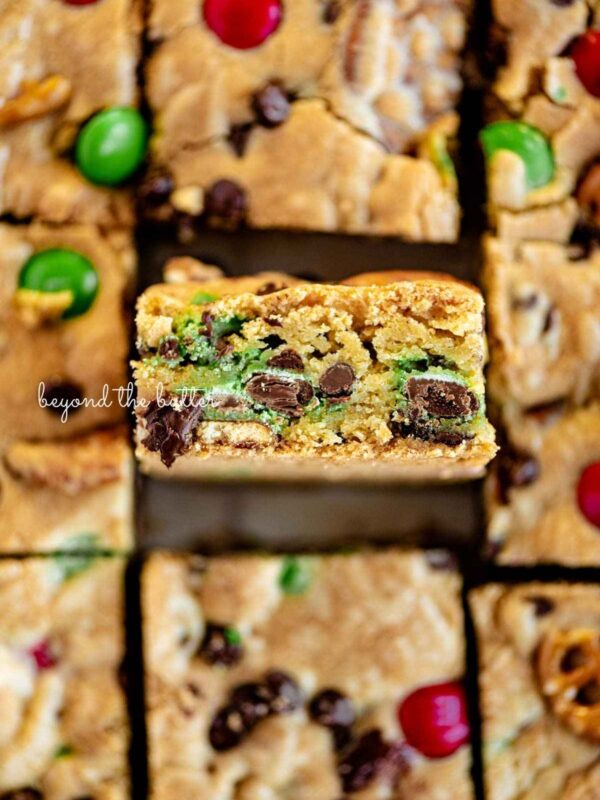
More Bars and Brownies to Enjoy!


Magic Cookie Bars

Ingredients
- 2 cups Graham Cracker Crumbs, about 18 full Graham cracker sheets
- 1/2 cup Unsalted Butter, melted
- 1 cup Semi-Sweet Chocolate Chips
- 1 cup Chopped Pecans
- 1 cup Shredded Coconut Flakes
- 14 oz Sweetened Condensed Milk
- 1 tbsp Sea Salt Flakes, optional topping (do not use table/kosher salt as a replacement)
Instructions
- Adjust the oven rack to the 2nd or 3rd level (above middle) and preheat the oven 350ºF. Lightly spray an 8-inch square baking pan with a flour based baking spray. Optionally, you can fit the pan with a parchment paper sleeve. Set to the side.
- Mix your graham cracker crumbs together with the melted unsalted butter until well blended, then spread the mixture into the bottom of the prepared 8-inch baking pan, patting it down to create an even layer.2 cups Graham Cracker Crumbs, 1/2 cup Unsalted Butter
- Add the layer of semi-sweet chocolate chips, followed by the chopped pecans, then the coconut flakes.1 cup Semi-Sweet Chocolate Chips, 1 cup Chopped Pecans, 1 cup Shredded Coconut Flakes
- Pour the sweetened condensed milk over the top, spreading it out evenly (as best you can—don't worry if the coconut starts to mix in as you do this). Sprinkle with some sea salt flakes over the top (optional).14 oz Sweetened Condensed Milk, 1 tbsp Sea Salt Flakes
- Bake for 20-25 minutes at 350ºF until the top is a light golden brown.
- Cool completely on a wire cooling rack, then cut into squares.
- Keep the bars stored in the refrigerator in an airtight container.
Nutrition
Nutritional information provided above is an estimate only and will vary based on specific ingredients used. See Nutritional Disclaimer for more info.


any reason I couldn’t lay the whole graham crackers on the bottom, and pour melted butter over them vs. the hassle of pulsing the crackers up?
The purpose of pulsing the graham crackers into crumbs and combining them with the melted butter is to have a solid bottom crust. The melted butter acts as a sort of glue that brings it together. If you just placed the graham crackers in the bottom and then poured the melted butter over the top, you wouldn’t have a solid bottom to support the other layers.
Hello! Can i add peanut butter to the recipe?
Hi! I’ve never made them adding a layer of peanut butter, but you could certainly try it out!
This is very easy to make, freezes well and is absolutely delicious. A real keeper!
I was looking to see if these could be frozen. Thank you!
Great question, yes! Once they’ve cooled, cut them into the size bars you would like, then freeze them on a wax or parchment paper-lined baking sheet until their frozen solid. Then transfer them to a well-sealed container, layering the bars with parchment paper, so they don’t stick together. They’ll stay good for about 3-4 months.
The condensed milk didn’t melt into the bars. A layer stayed on top and that was after cooking for an extra 12 minutes. Not sure what i did wrong.
Oh, that’s strange! I’m so sorry it happened and they didn’t come out right.
Mine did the same thing. I followed receipt to the t. 🙁 I’m not sure if it’s salvageable? Please help. It’s a browned layer right on top.
Hi Ruth, I’m so sorry that happened, but not sure why some of the condensed milk didn’t mix into the rest of the layers as it should. You should still see some of it though on top and with the coconut you’ll get a toasted golden brown edge.
Easy recipe, but I didn’t have sea salt flakes so I used kosher salt…. BIG mistake! Made it taste too salty. I don’t know what I can do to make it taste less salty. I thought the salt would bring out the sweetness, but maybe using 1 tablespoon was too much. Would not recommend using salt at all.
Oh no! Yes, in the future—unless it’s specified in the recipe and/or blog post as a substitute—please do not use kosher salt in place of sea salt flakes. I typically only use sea salt flakes (the Malden brand) as a garnish to bring out a deeper flavor of the chocolate (and in this recipe also the chopped pecans), but I always note it is optional because I know not everyone likes the salty/sweet combination. Just to make the recipe a little clearer though, I did just add not to use either table or kosher as a substitute.