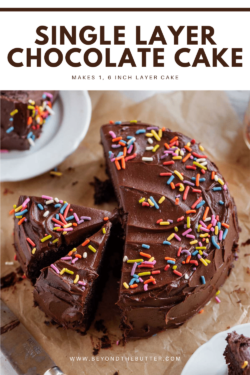
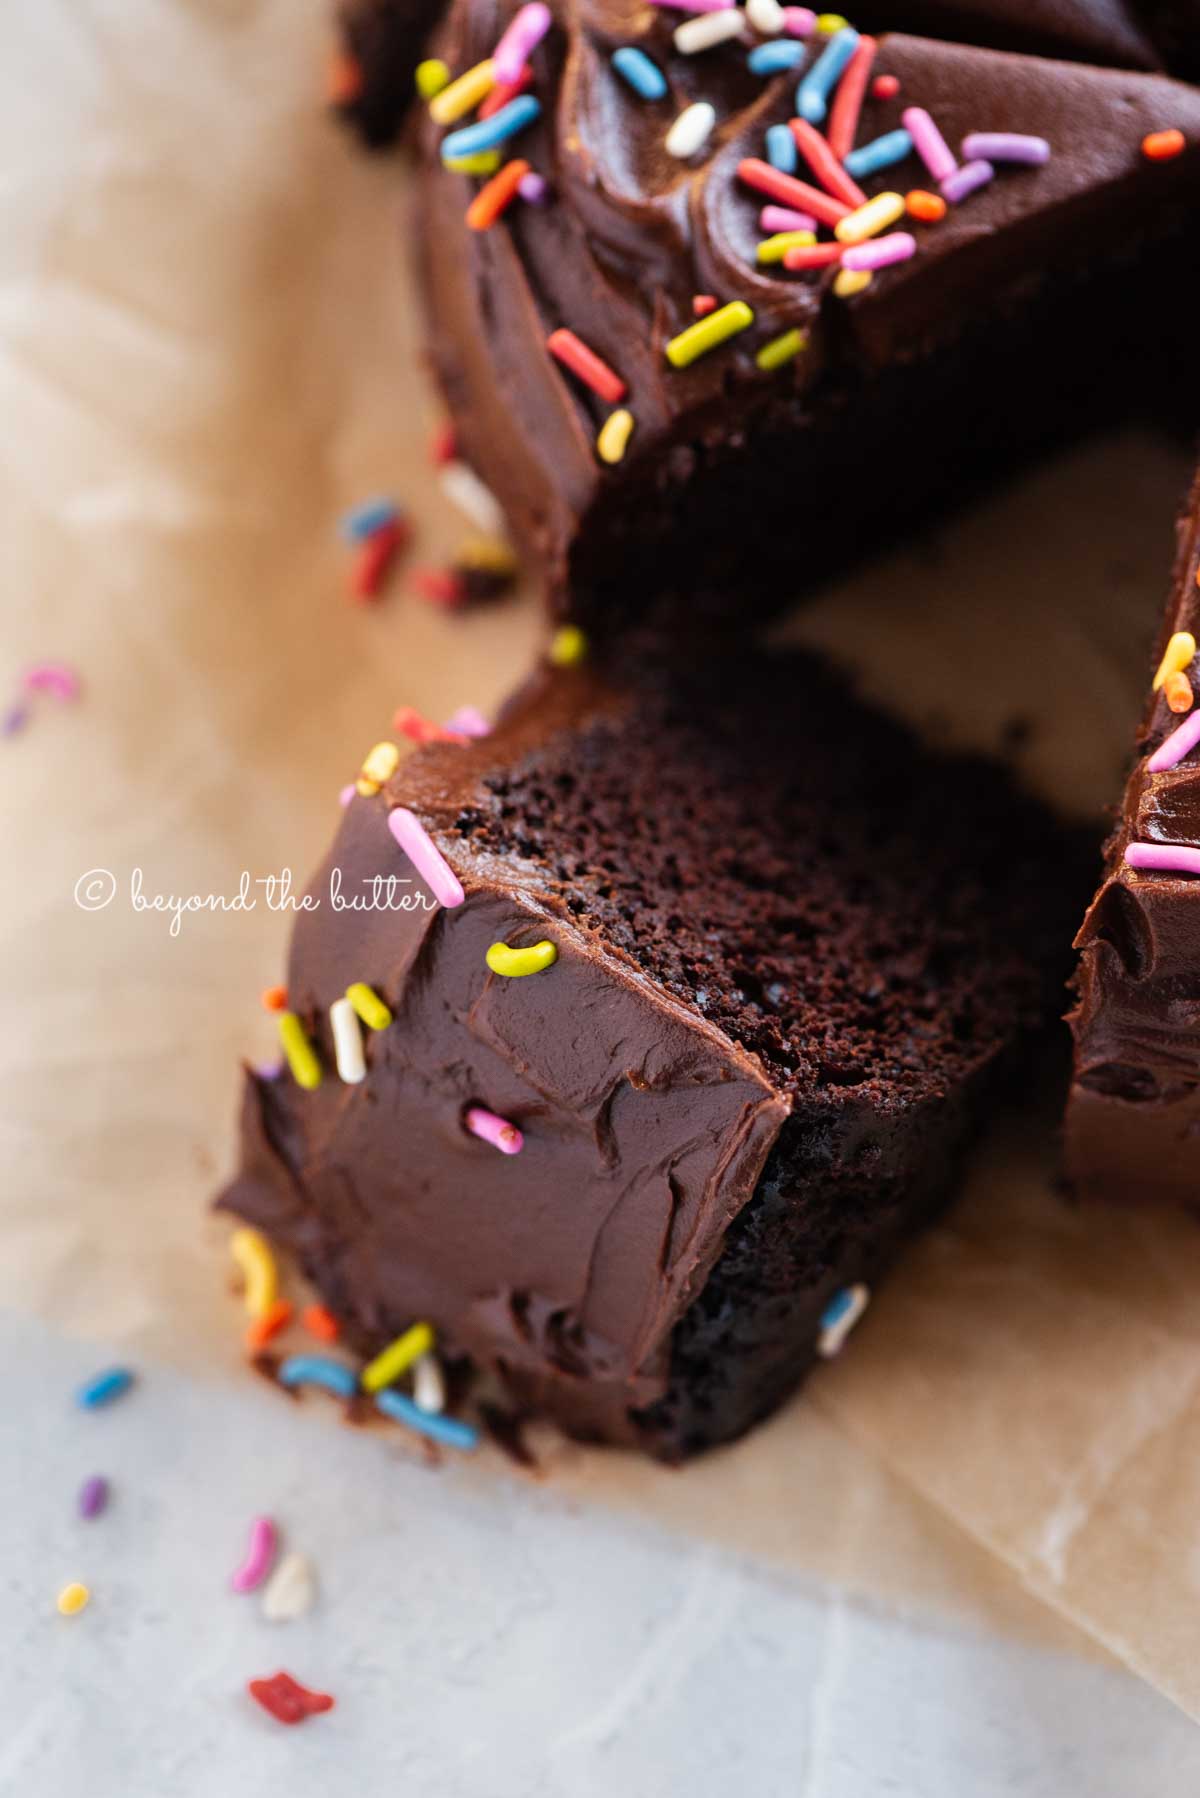
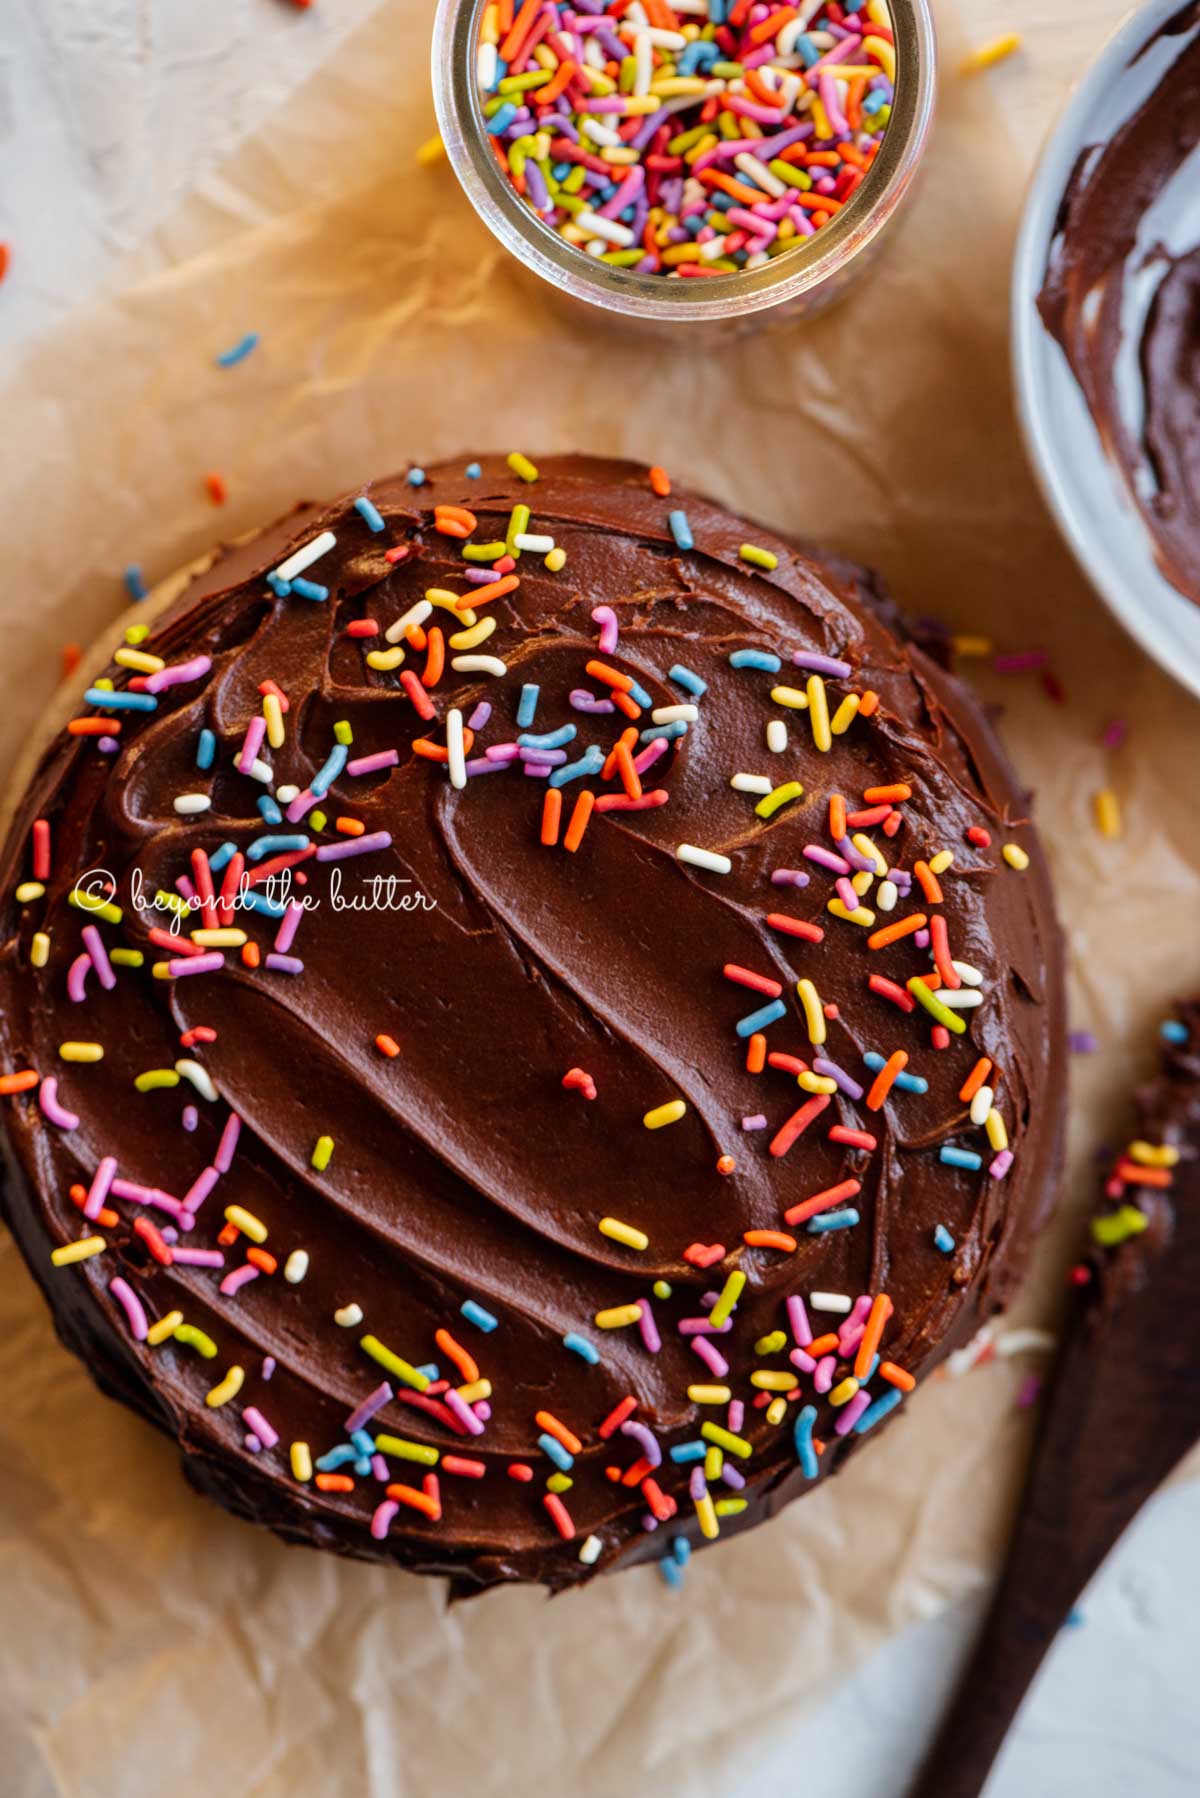
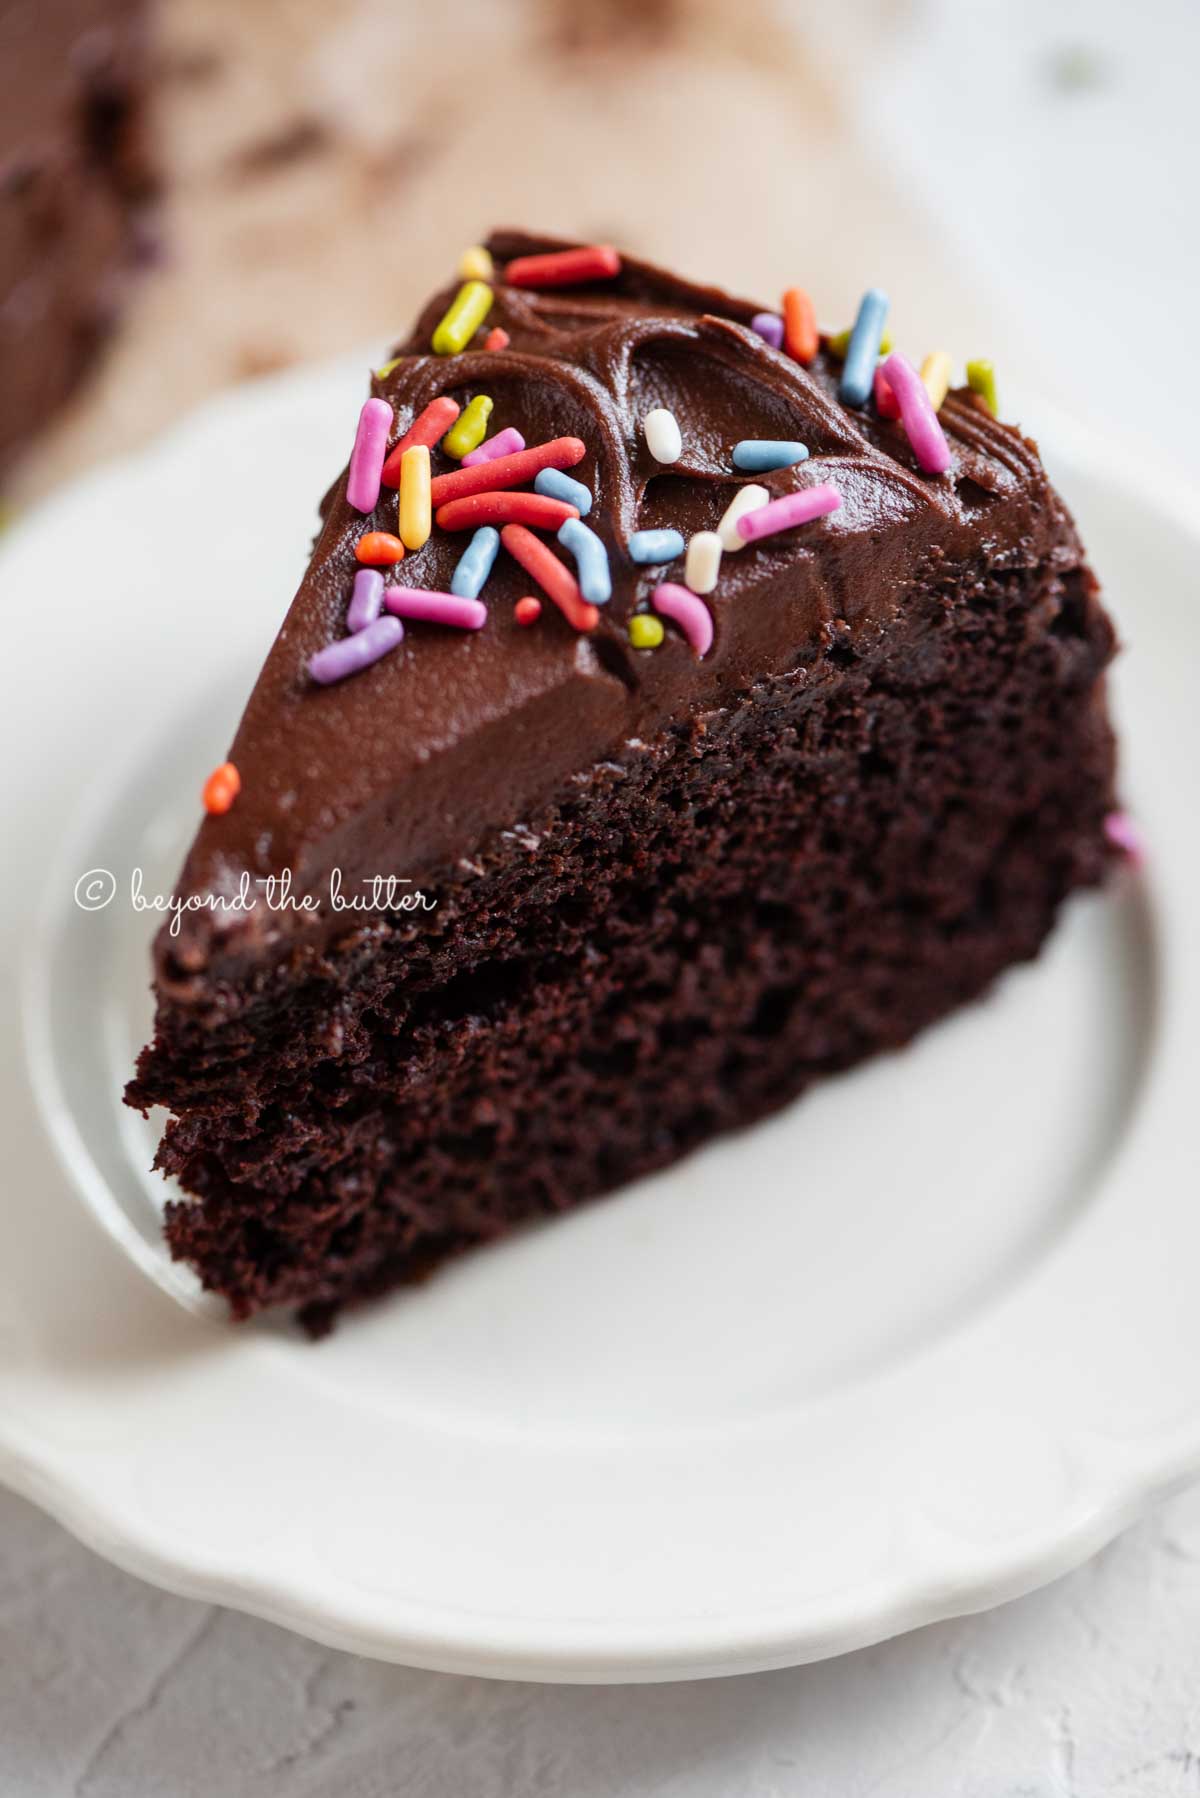
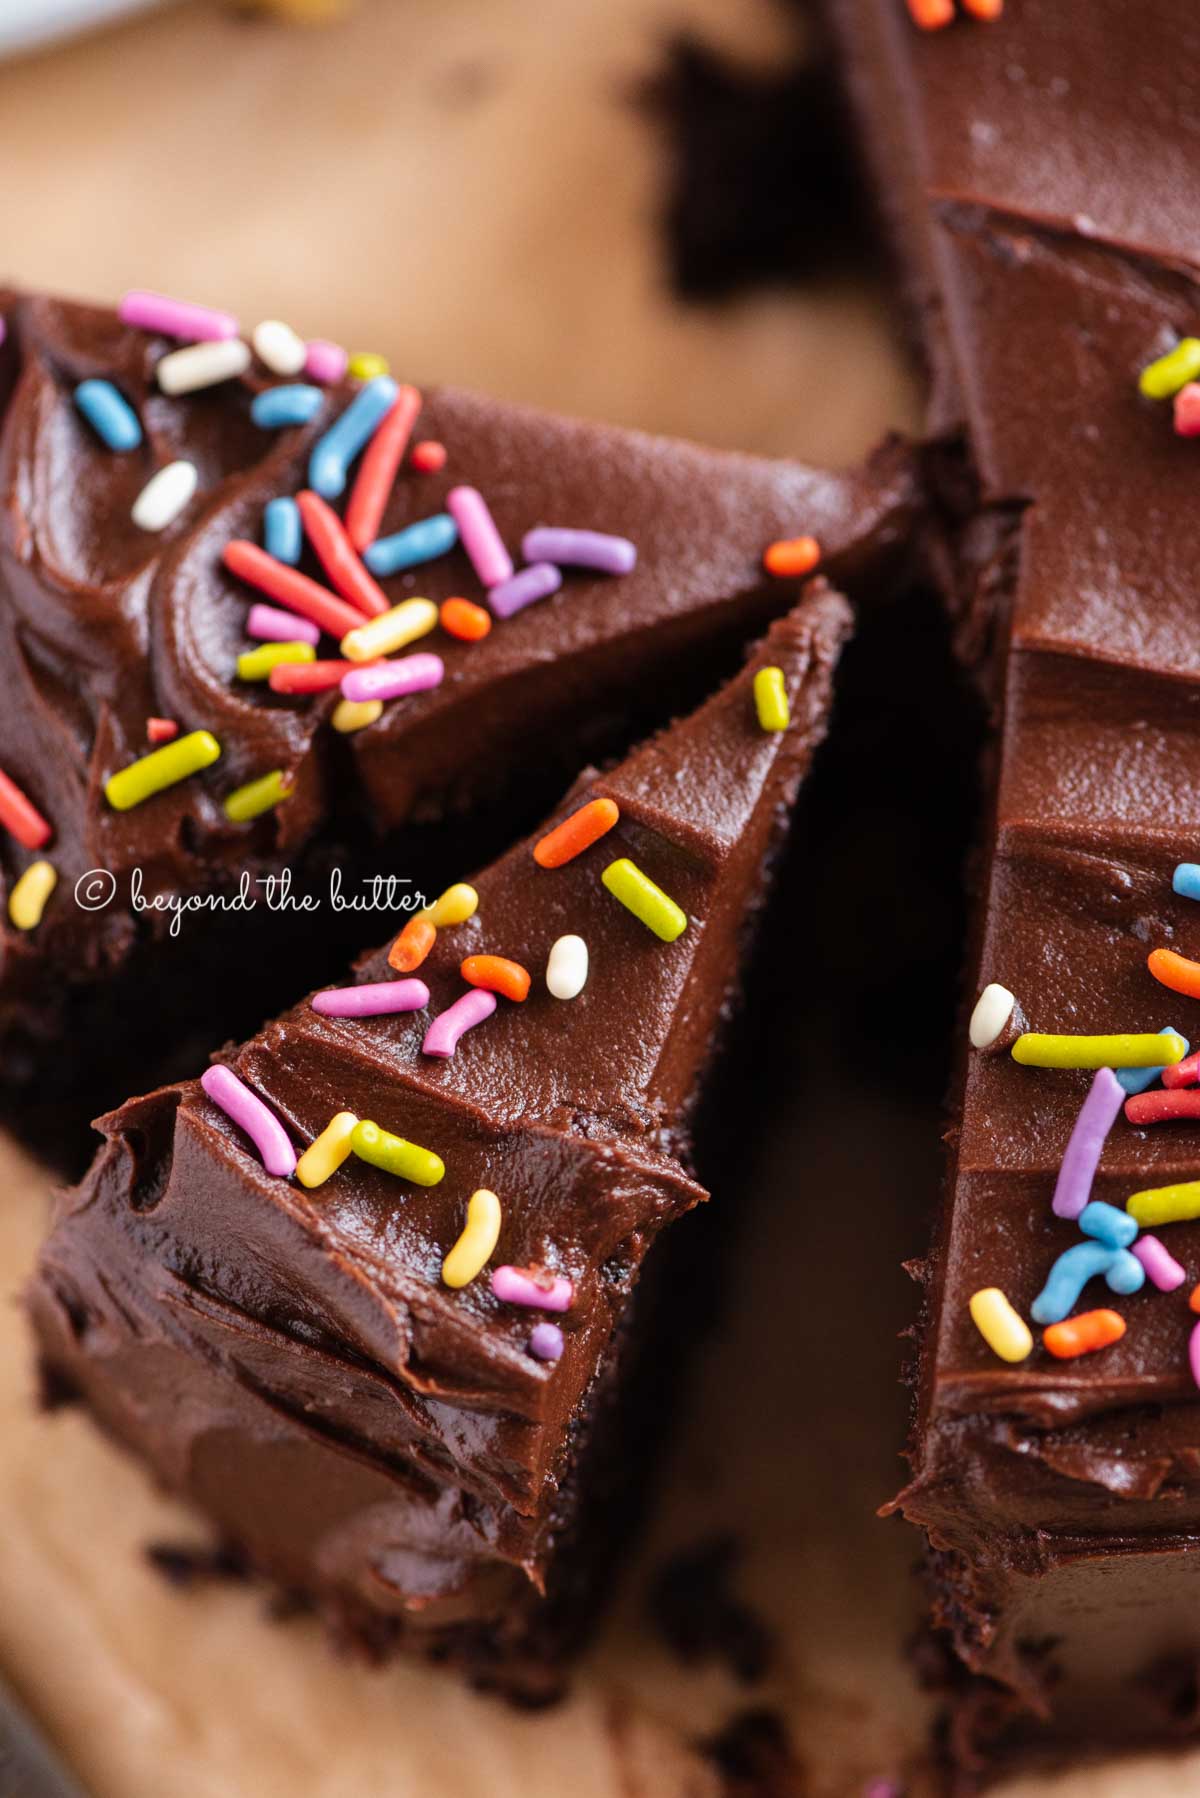
This 6 inch Single Layer Chocolate Cake is soft, moist, and the perfect amount of chocolatey goodness to enjoy by yourself or with someone you love! Enjoy it with a sprinkling of powdered sugar over the top or with this rich, milk chocolate frosting and a handful of rainbow jimmies! Just don’t forget the milk!
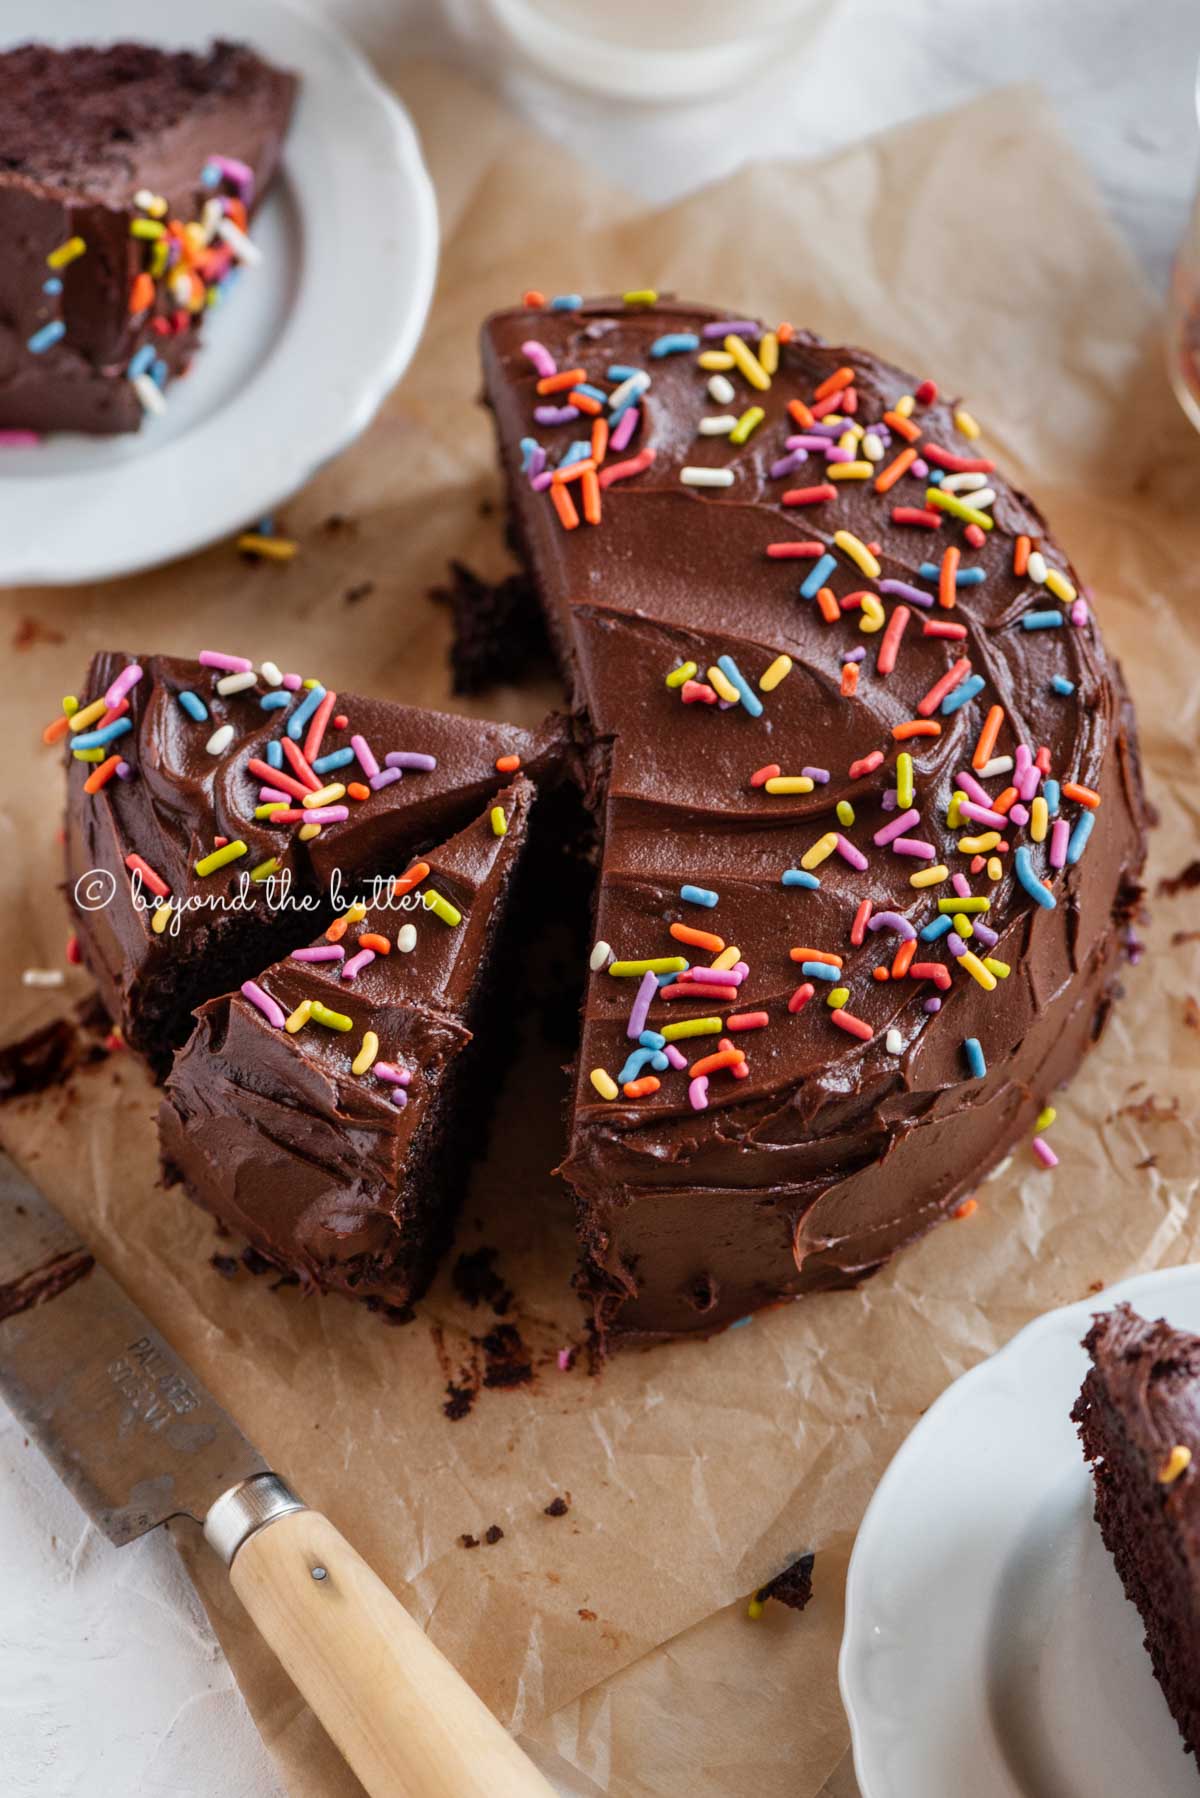
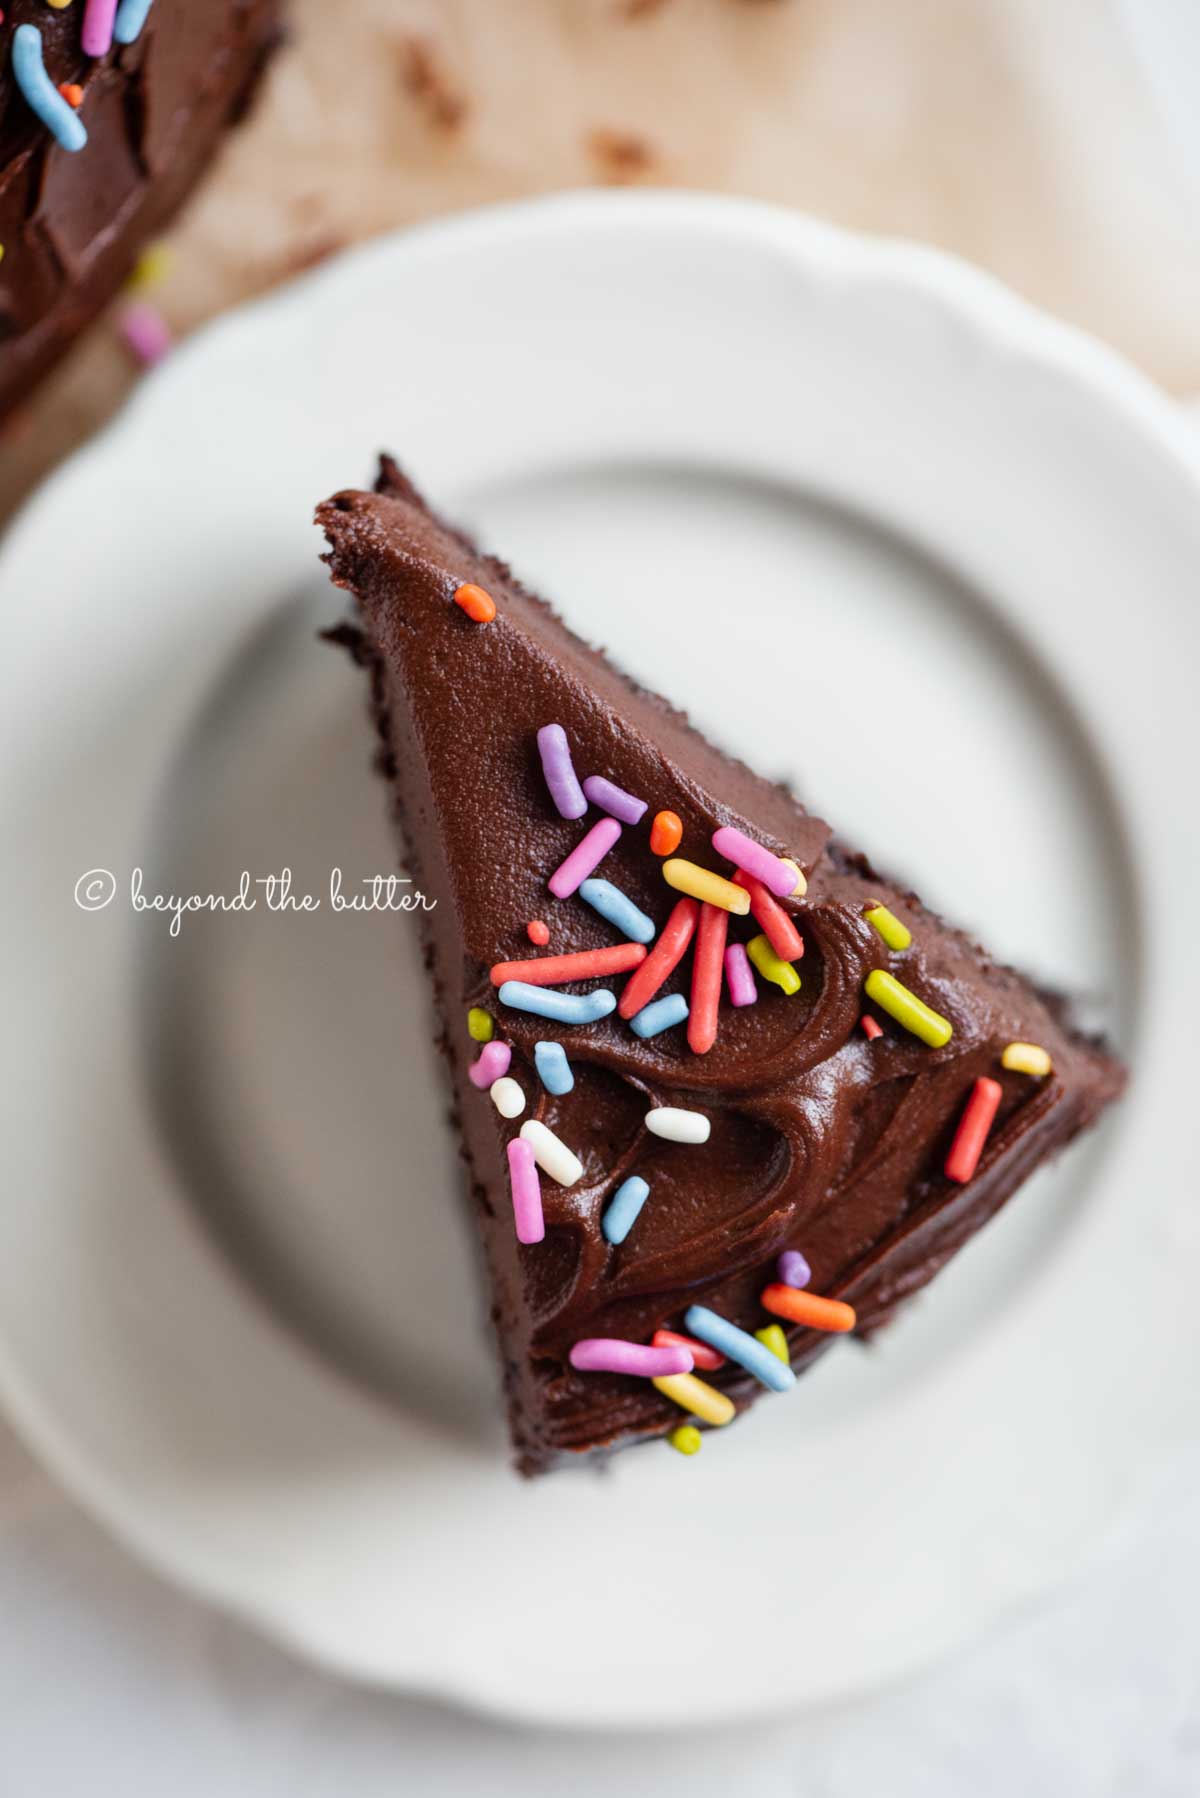
Table of Contents
Why You’ll Love this Recipe
- It’s just one 6-inch single layer chocolate cake
- Soft and moist in texture
- Full of chocolate flavor in each bite
- An easy-to-make recipe
- Perfect for enjoying on your own or with a loved one, and also for birthdays
- It’s frosted with a small batch of milk chocolate frosting
- You can add on some rainbow jimmies or sprinkles
I love chocolate cake, but sometimes I don’t want a two- or three-layer cake. Anyone else? Adapted from my small batch chocolate cupcakes recipe, this 6-inch single layer chocolate cake is the newest recipe to be added to my recipe box. It’s an easy-to-make recipe that tastes fantastic!
Ingredients Needed
Below is the list of ingredients needed to make my single layer chocolate cake recipe, all of which you probably have in your pantry right now!
- All-Purpose Flour. Use what you have on hand. My favorite though is King Arthur Flour. It’s the best (IMHO).
- Sugars. You’ll need granulated sugar and light brown sugar for this recipe. The light brown sugar should be lightly packed if using measuring cups.
- Unsweetened Cocoa Powder. I used Hershey’s, but use what you have on hand. Using extra dark cocoa powder from Hershey’s will work fine too. I did not test this with dutch process cocoa powder or black cocoa powder.
- Baking Powder and Baking Soda. The usual players. Make sure they’re still fresh and haven’t expired.
- Salt. Just a pinch!
- Egg. Just one is needed, and room temperature is best!
- Milk. I used 1%, but you could also use fat-free, 2%, whole, or lactose-free milk. I did not test this with almond, soy, or any other non-dairy milk.
- Vegetable Oil. You don’t need a lot, but it gives the chocolate a little more of that moist consistency.
- Vanilla Extract. Pure is the best, or you can sub it out for this cocoa vanilla extract from Heilala Vanilla! All of their flavored extracts are awesome!
- Hot Water. It should be hot to the touch but not boiling.
Optional Ingredients
The following ingredients are optional with this chocolate cake recipe. The first two definitely add more amplified chocolate flavor to the cake. The rainbow jimmies just make it cheery and fun!
- Dark Chocolate. You don’t need much at all. Using chocolate chips or a bar of chocolate is perfectly fine. I used two squares of Ghirardelli 60% dark chocolate.
- Espresso Powder. This needs to be dissolved in hot water before adding it to the rest of the wet ingredients. You can skip this, but you must still add hot water. Another substitute for this is instant coffee. Same amount and the same method.
- Rainbow Jimmies. Perfect for sprinkling over top of the milk chocolate frosting. Of course, if you’re going with powdered sugar, you can skip these.

How to Make This Recipe
Skip the mixers. You don’t need any mixers for this single layer chocolate cake recipe. Just some mixing bowls, whisks, and a spatula will do the trick. To make the milk chocolate frosting, however, I recommend using a hand or stand mixer.
Prep your cake pan. Nothing stinks more than a cake that won’t easily come out of the pan. Enter Baker’s Joy. I’m not being paid to say this at all; I just love this product and swear by it for all my cakes! I’ve gotten it online and also at Walmart.
Don’t over-mix the cake batter. Skipping the mixers does help reduce the chance of over-mixing the cake batter, but it can still happen. Mix the ingredients until they’re just combined—meaning until you can no longer see it. This really comes into play when you mix the dry and wet ingredients.
Add in the optional ingredients. I’ve mentioned above that melted chocolate, and espresso powder are two optional ingredients to this recipe. The melted chocolate adds more chocolate flavor, while the espresso powder gives it a nice boost.
If you use melted chocolate, note that it might cause the top of your cake to sink slightly or pucker in the middle. I know, ordinarily, that can mean a whole slew of cake issues, but for this, it is okay.
I recommend the toothpick test after baking because you can still run into baking issues. If the inserted toothpick (at the center of the cake) comes out clean, you’re good.
Use cake strips. I don’t mention this as often as I should with my cake recipes, but using cake strips helps tremendously with a nice flat cake surface. I have a bunch from Wilton, which I regularly use with my cakes and love them.
Cool the cake completely. And only cool the cake in the pan for about 10 minutes. You will then want to invert it onto a wire cooling rack to finish cooling. It’s one of my favorite steps because you get this fabulous smell of chocolate cake when turning it over.
It’s also worth noting that if you are frosting your cake the same day as making it, then it’s definitely good to let it cool completely.
Keep it simple. If the thought of making the milk chocolate frosting stresses you out, simply sprinkle a dusting of powdered sugar over the top. Either way, you will still satisfy your chocolate cravings!
Can I Make this Recipe in Advance?
Yes, for sure! You can make both the chocolate cake and the frosting in advance.
The 6-inch chocolate cake can be made up to 2 months in advance when properly stored in the freezer.
The milk chocolate frosting can be made up to 2-3 days in advance when kept in a tightly sealed container in your refrigerator. You might need to place it back into the mixing bowl of your stand mixer to bring it back to life a bit before adding it to your chocolate cake.
How to Freeze a Single Layer Cake (Unfrosted)
Freezing this single layer chocolate cake requires only a few steps.
- Allow the cake to cool completely.
- Wrap it tightly in 2-3 layers of plastic wrap.
- Place it in a freezer storage bag and then into a flat part of your freezer.
- Make sure to write what it is along with the date on the storage bag so you remember it!
To defrost this single layer chocolate cake, you will want to put it in your refrigerator 2-3 hours before frosting. This will not completely defrost the cake, but this is a good thing! A fully defrosted cake will give you more crumbs as you try to frost it.
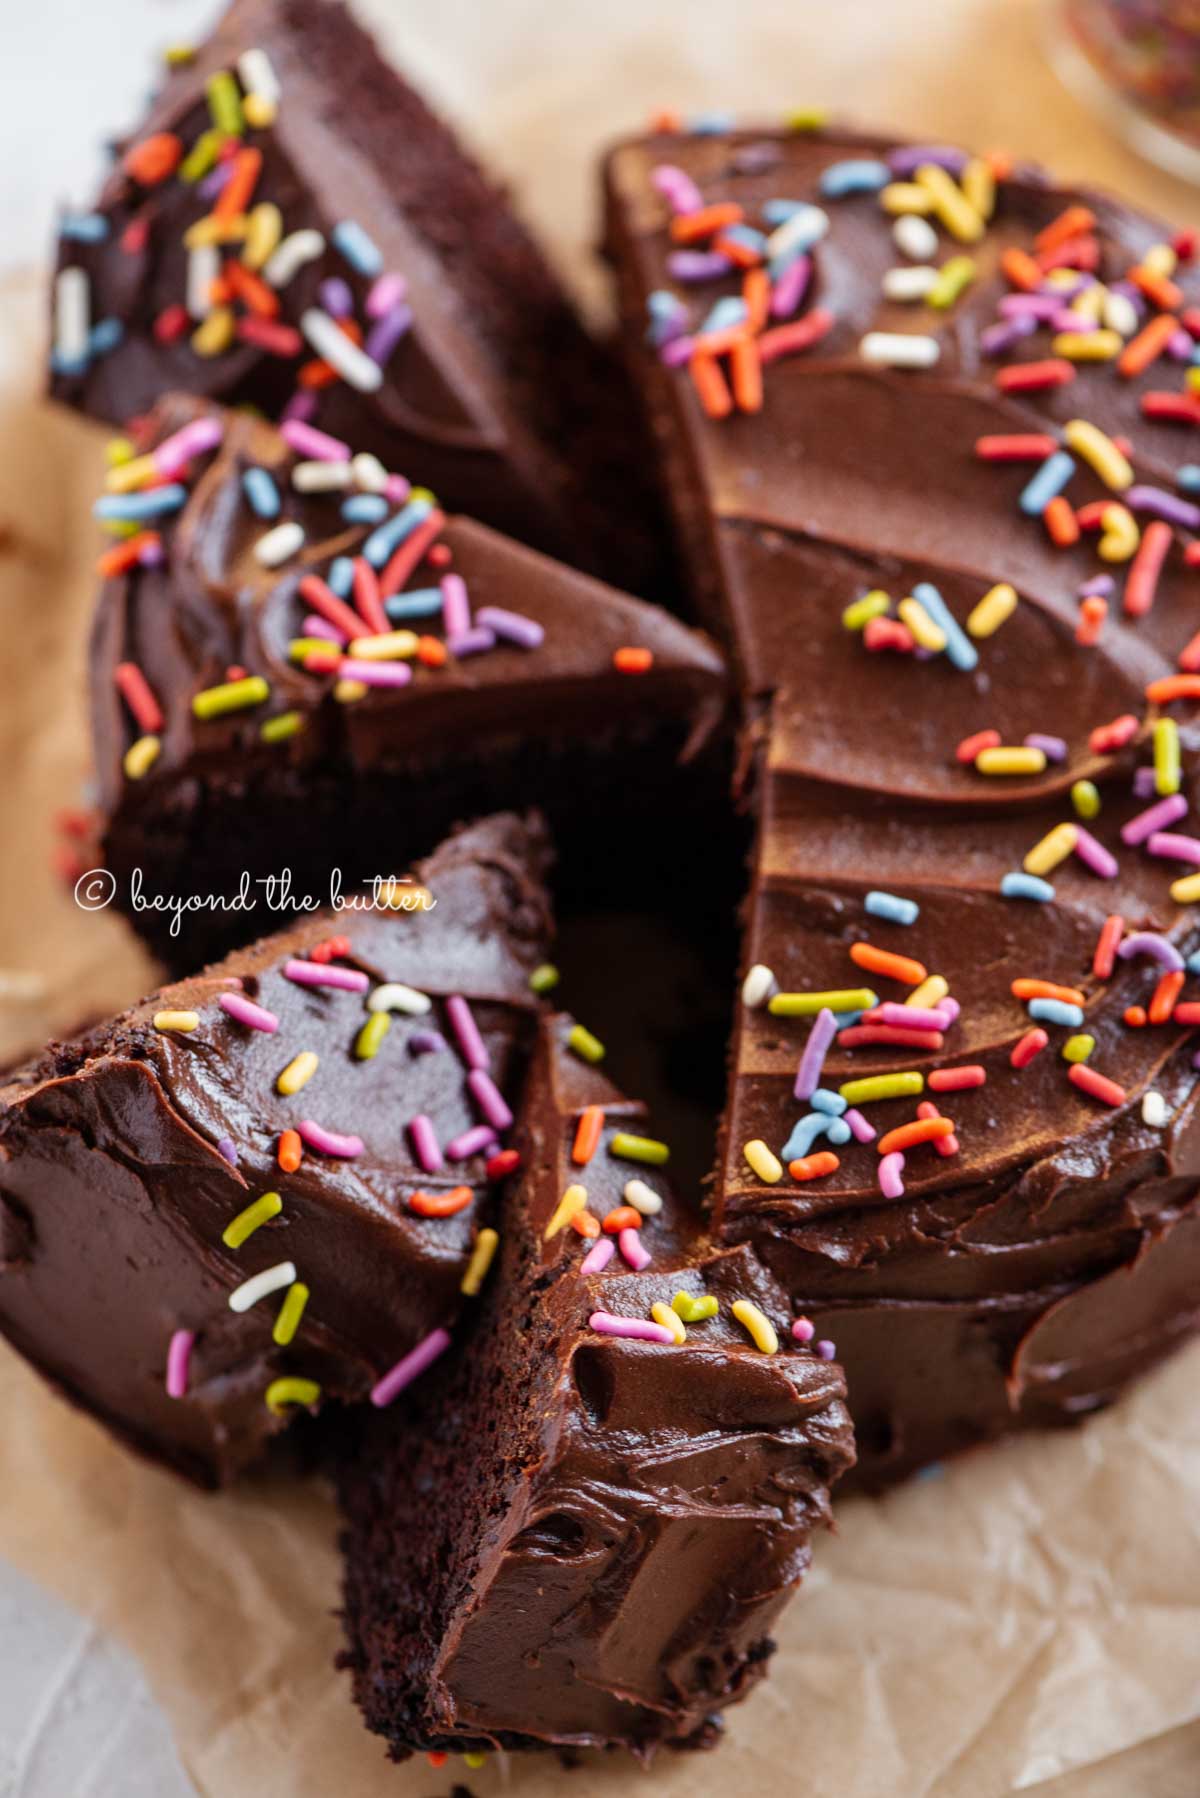
Can I Freeze Frosted Cake Slices?
Absolutely! I used this chocolate cake recipe for my birthday cake and froze the remaining slices to have for later.
To freeze frosted cake slices, tightly wrap each individual cake slice 2-3 times in plastic wrap. Then add one layer of aluminum foil. Gently write on the outside in permanent marker what it is in case you forget.
Once packaged up for the freezer, you can arrange them on a baking sheet, plate, or a flat surface in your freezer. The slices will last up to 2 months.
To defrost the frosted cake slices, let them come to room temperature on your kitchen counter or in the refrigerator.
Recommended Baking Tools
Here are just a few baking tools I recommend when making this moist single layer chocolate cake! Scroll through the carousel below for more!
- 6 inch Cake Pan. Mine is from Wilton which came in a set of four. You can find them online or at any craft and baking supply stores.
- Mixing Bowls. Works well for the dry ingredients and wet.
- Glass Measuring Cup. I used this for melting my chocolate!
- Whisks and Spatulas. Always good to have a few of these on hand while you bake this chocolate cake! I swear by GIR whisks and spatulas. They also make spoonulas which are a combination of a spatula and a spoon. I love them when using cake batters!
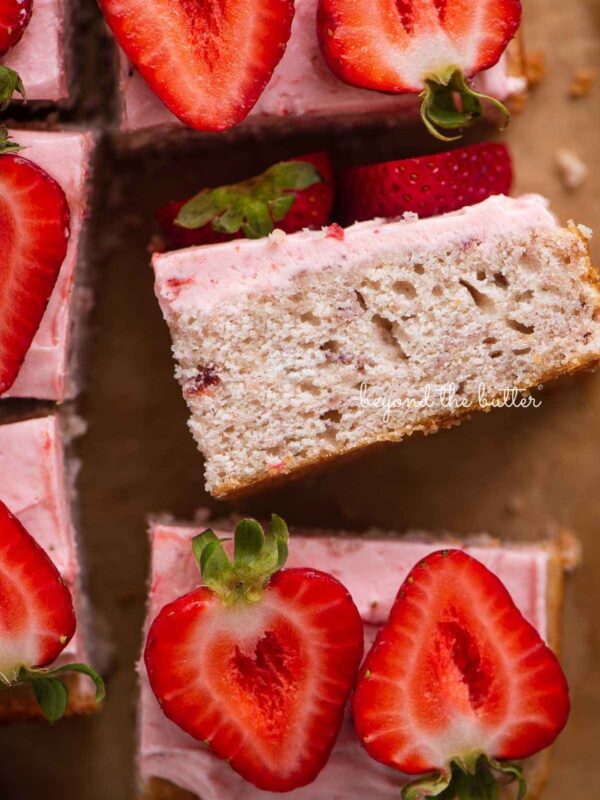
More Small Batch Desserts to Enjoy!


Single Layer Chocolate Cake

Ingredients
6 inch single layer chocolate cake
- 1/2 cup All-Purpose Flour
- 1/4 cup Granulated Sugar
- 1/4 cup Light Brown Sugar, lightly packed
- 1/4 cup Unsweetened Cocoa Powder
- 1/2 tsp Baking Powder
- 1/2 tsp Baking Soda
- 1/8 tsp Salt
- 1 Large Egg
- 1/4 cup Milk, any type (I used 1%)
- 2 tbsp Vegetable Oil
- 1/2 tsp Vanilla Extract
- 2 tbsp Hot Water
- 1 oz Dark Chocolate (optional), melted
- 1/2 tsp Espresso Powder (optional), dissolve in the hot water
- 1/2 cup Rainbow Jimmies (optional), for cake garnish
small batch milk chocolate frosting
- 2.5 oz Milk Chocolate Chips
- 6 tbsp Unsalted Butter, room temperature
- 1/3 cup Sifted Powdered Sugar
- 1/4 cup Unsweetened Cocoa Powder
- 1/8 tsp Salt
- 2 tbsp Light Corn Syrup
- 1 tsp Vanilla Extract
Instructions
6 inch single layer chocolate cake
- Adjust your oven rack to the 2nd level position (just above center) and preheat your oven to 350ºF. Generously spray a 6 inch cake pan with a flour based baking spray or grease and flour. If you choose, you can also add a 6 inch parchment paper circle to the bottom of the pan as well. Set to the side.
- Using a microwaveable bowl or measuring glass, melt the dark chocolate in 30-45 second increments at full power until smooth and creamy. Set to the side to cool slightly.1 oz Dark Chocolate (optional)
- With a small mixing bowl and a whisk, blend together the all-purpose flour, granulated sugar, light brown sugar, unsweetened cocoa powder, baking powder, baking soda, and salt. Set to the side.1/2 cup All-Purpose Flour, 1/4 cup Granulated Sugar, 1/4 cup Light Brown Sugar, 1/4 cup Unsweetened Cocoa Powder, 1/2 tsp Baking Powder, 1/2 tsp Baking Soda, 1/8 tsp Salt
- In a separate medium-size mixing bowl, whisk together the egg, milk, vegetable oil, vanilla extract, and hot water dissolved with the espresso powder.1 Large Egg, 1/4 cup Milk, 2 tbsp Vegetable Oil, 1/2 tsp Vanilla Extract, 2 tbsp Hot Water, 1/2 tsp Espresso Powder (optional)
- Add in the melted chocolate.
- Add the dry ingredients to the wet ingredients and whisk together until just combined. Be careful not to over mix the cake batter.
- Pour the cake batter into the prepared cake pan and bake for 25-28 minutes at 350ºF or until an inserted toothpick comes out clean.
- Cool the cake in the cake pan for 10 minutes before inverting it onto a wire cooling rack to cool completely.
- Once cooled, dust with powdered sugar or frost with this small batch milk chocolate frosting and top with rainbow jimmies, then enjoy!1/2 cup Rainbow Jimmies (optional)
small batch milk chocolate frosting (optional)
- In a microwaveable bowl or measuring glass, melt the milk chocolate in 30-45 second increments at full power until smooth and creamy. Set to the side to cool slightly.2.5 oz Milk Chocolate Chips
- Using your hand mixer or stand mixer fitted with a paddle attachment mix the unsalted butter, sifted powdered sugar, unsweetened cocoa powder, and salt on medium speed until well blended. Scrape down the sides of the bowl as needed.6 tbsp Unsalted Butter, 1/3 cup Sifted Powdered Sugar, 1/4 cup Unsweetened Cocoa Powder, 1/8 tsp Salt
- Add in the light corn syrup, vanilla extract, and melted chocolate, and mix until the frosting is well blended and smooth in texture.2 tbsp Light Corn Syrup, 1 tsp Vanilla Extract
- Frost your cake once it’s completely cooled.
Video
Notes
- Chocolate cake recipe adapted from my Small Batch Chocolate Cupcakes recipe. Milk chocolate frosting recipe adapted from my Chocolate Zucchini Cake recipe.
- Keep frosted chocolate cake stored in the refrigerator, wrapped in plastic wrap (1-2 layers is good) for up to 3 days.
Nutrition
Nutritional information provided above is an estimate only and will vary based on specific ingredients used. See Nutritional Disclaimer for more info.


Loved it and the frosting is amazing!
Yay! Thank you so much for making the recipe!
I just made this cake and wanted to thank you for a fabulous recipe! the cake was light, had a beautiful crumb, and tastes divine! I was a bit naughty and used Bailey’s instead of the milk. Will be making this gem a LOT! Thanks again.
You’re so welcome Tamara! I’m glad you enjoyed it and love that you added some Bailey’s in place of the milk!
Absolutely delicious. I wanted to have a layer cake so did one and one half of
the recipe and just baked in the 6” pan. Checked at bake time and maybe went a couple minutes longer. When it cooled I sliced in half filled with frosting and then covered in frosting. So good, 6 portions and none to waste
Yay! So happy it was a big hit!
One of the best chocolate cakes I’ve had! A perfect size and delicious. Followed recipe exactly (as everyone should the first time around) for both the cake and the frosting. Try it, you won’t be disappointed.
Thank you for making it Catherine! I’m so glad you loved the recipe!
Can you use almond milk in place of regular milk?
I didn’t test this with almond, soy, or any other non-dairy milk, so I can’t say for certain the results would be the same.
This is a great recipe! Thank you for sharing. It’s the perfect size when craving sweets without having to make a whole 3-layer cake. I substituted 30g of sour cream for oil & the cake still came out super moist. I also used honey instead of corn syrup for the frosting and it was delicious!
I tried the recipe, loved it! Perfect for my small family
Thank you, Danial! Thank you for sharing the picture of the cake with me on Instagram too!
I love this cake. I made a double recipe of the cake to make 2 layers and only a single batch of the frosting as my family is not a big fan of too much. I cut the layers in half and still had enough to lightly frost between layers, top and sides! I did have to make one tiny adjustment: An additional tbsp of hot water and oil to the batter because it seemed far too thick, with the additions it turned out super soft and moist. Absolutely delicious cake. The frosting was perfect as is, but a touch too sweet for us. I may replace the corn syrup with either heavy cream or sour cream next time. Also perhaps use unsweetened chocolate instead of semi-sweet chocolate chips next time. However it was very delicious the way it was.
Thank you so much for this perfect recipe!
I made it yesterday and we loved it.
Thanks, so much. I never make 2 or 3 layer cakes. It’s too much cake for us. So, it’s great to have good 1 layer cakes! Small batch all he way. The more small batch, the better.
Couldn’t agree more Joyce, thanks!
Hi, thanks for sharing this recipe! I plan on making this for my husband’s birthday and this recipe seems perfect!
One question though, how much hot water did you use to dissolve the espresso powder? And since I haven’t got any instsnt espresso powder in my country, can I use extra-fine grind ground coffee instead?
Thanks!
Hi! It’s noted in the recipe, but you use 2 tablespoons of hot water. For the espresso powder, it’s noted in the blog post as well that you can use instant coffee as a substitute or you can leave it out entirely.
Sorry I missed reading the amount of hot water :p My bad!
I’ve finally made this and the taste is wonderful! The cake is not too sweet and rich with chocolate flavor. I used all the optional ingredients and oh believe her when she said the coffee and melted chocolate will enhancee the chocolate taste! My husband and I love this so much!
Thanks for this simple and wonderful recipe <3
No worries at all. I’m glad you and your husband enjoyed it!