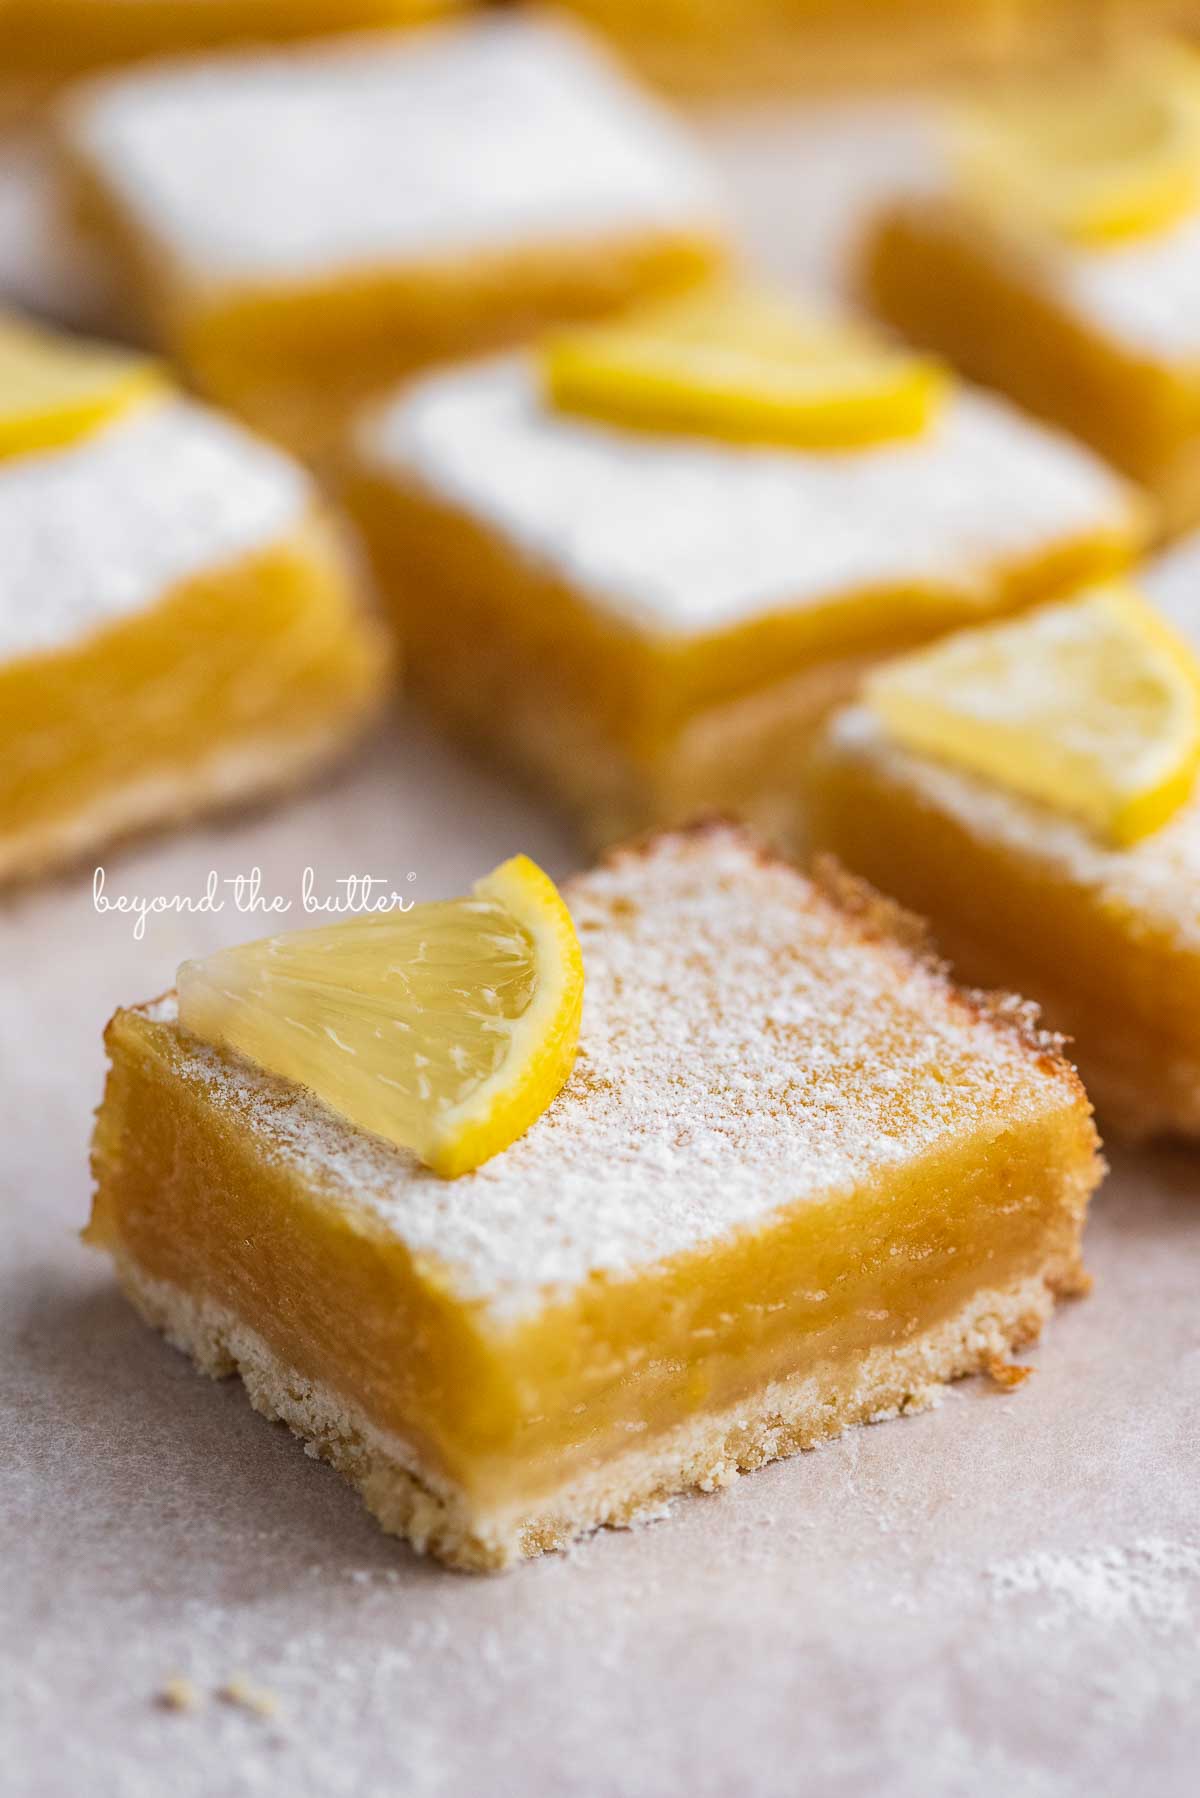
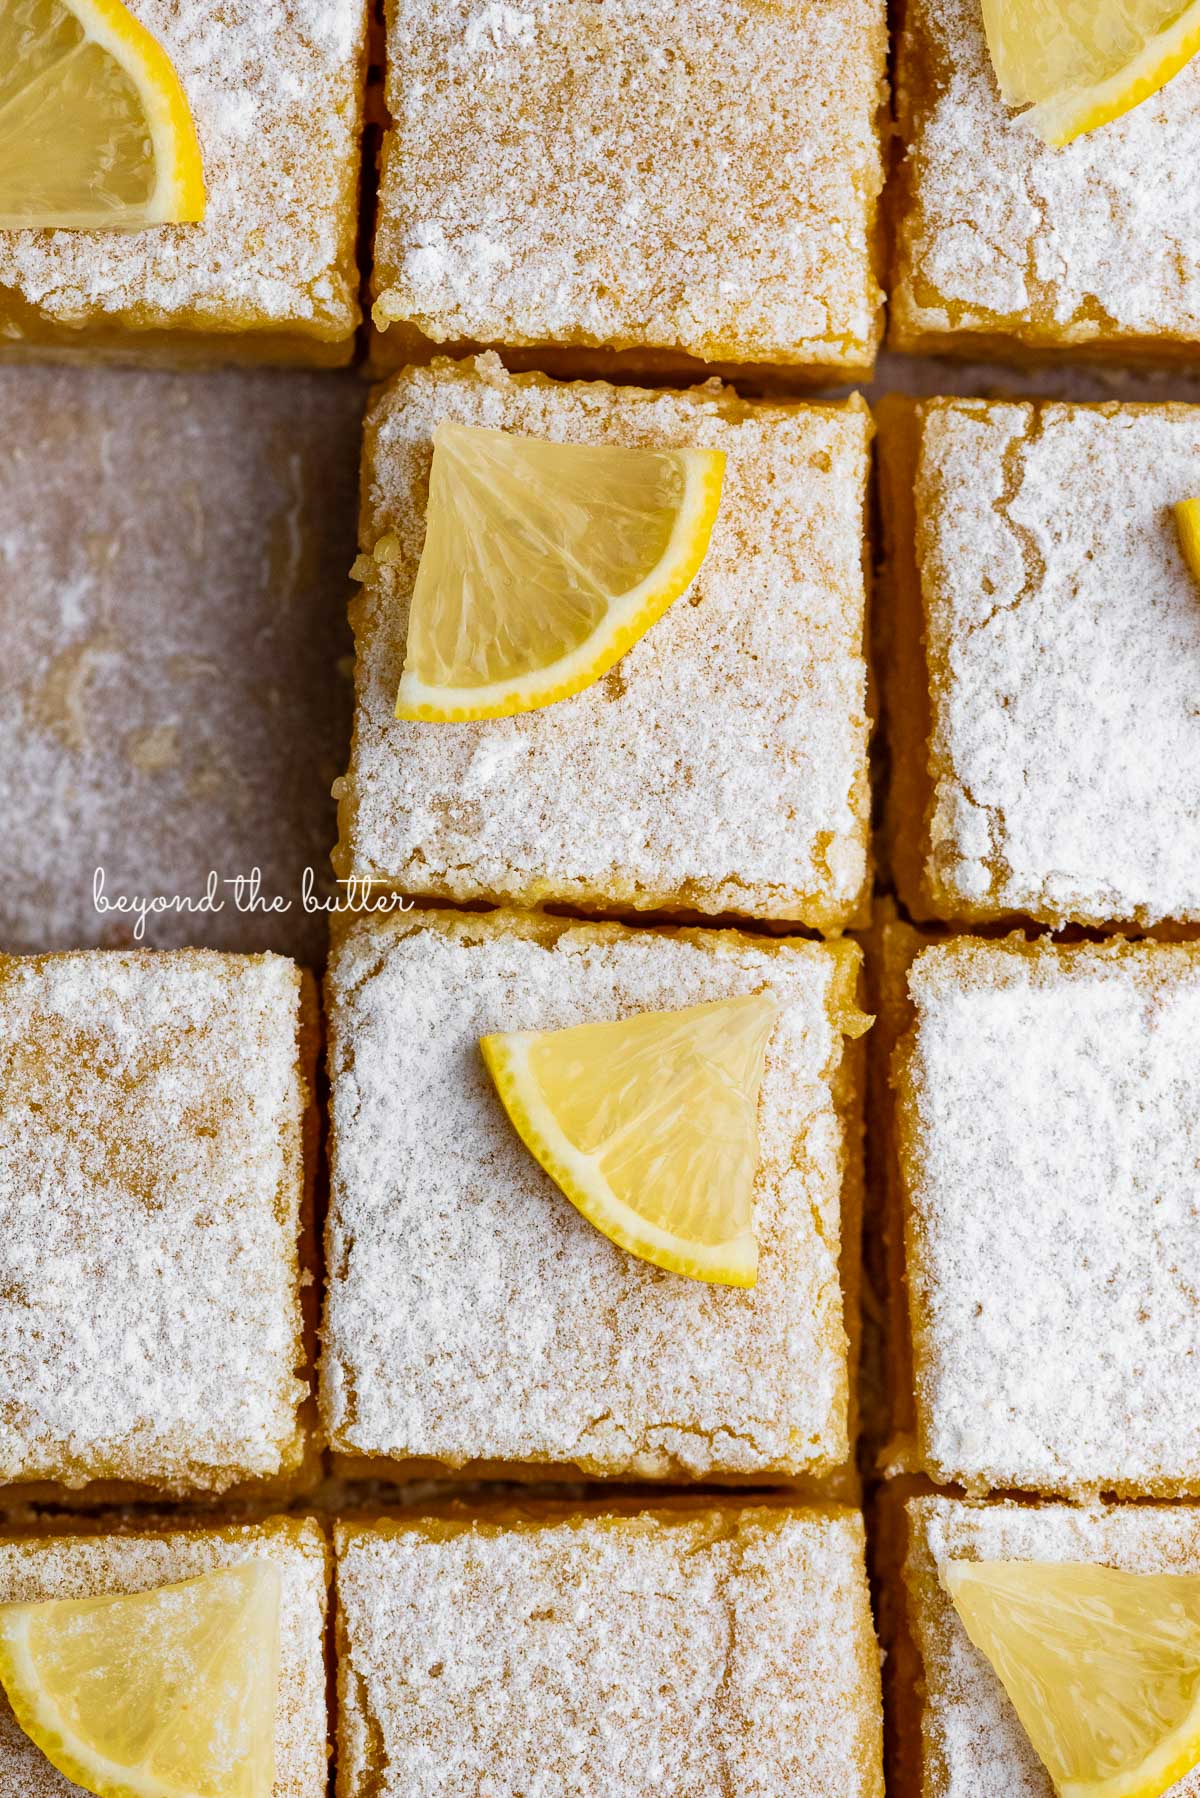
These Super Easy Lemon Bars combine a tart and tangy lemon curd filling with a buttery, shortbread crust. Made in an 8″ x 8″ baking pan, they make the perfect citrusy treat to enjoy with family, friends, or coworkers all year round!
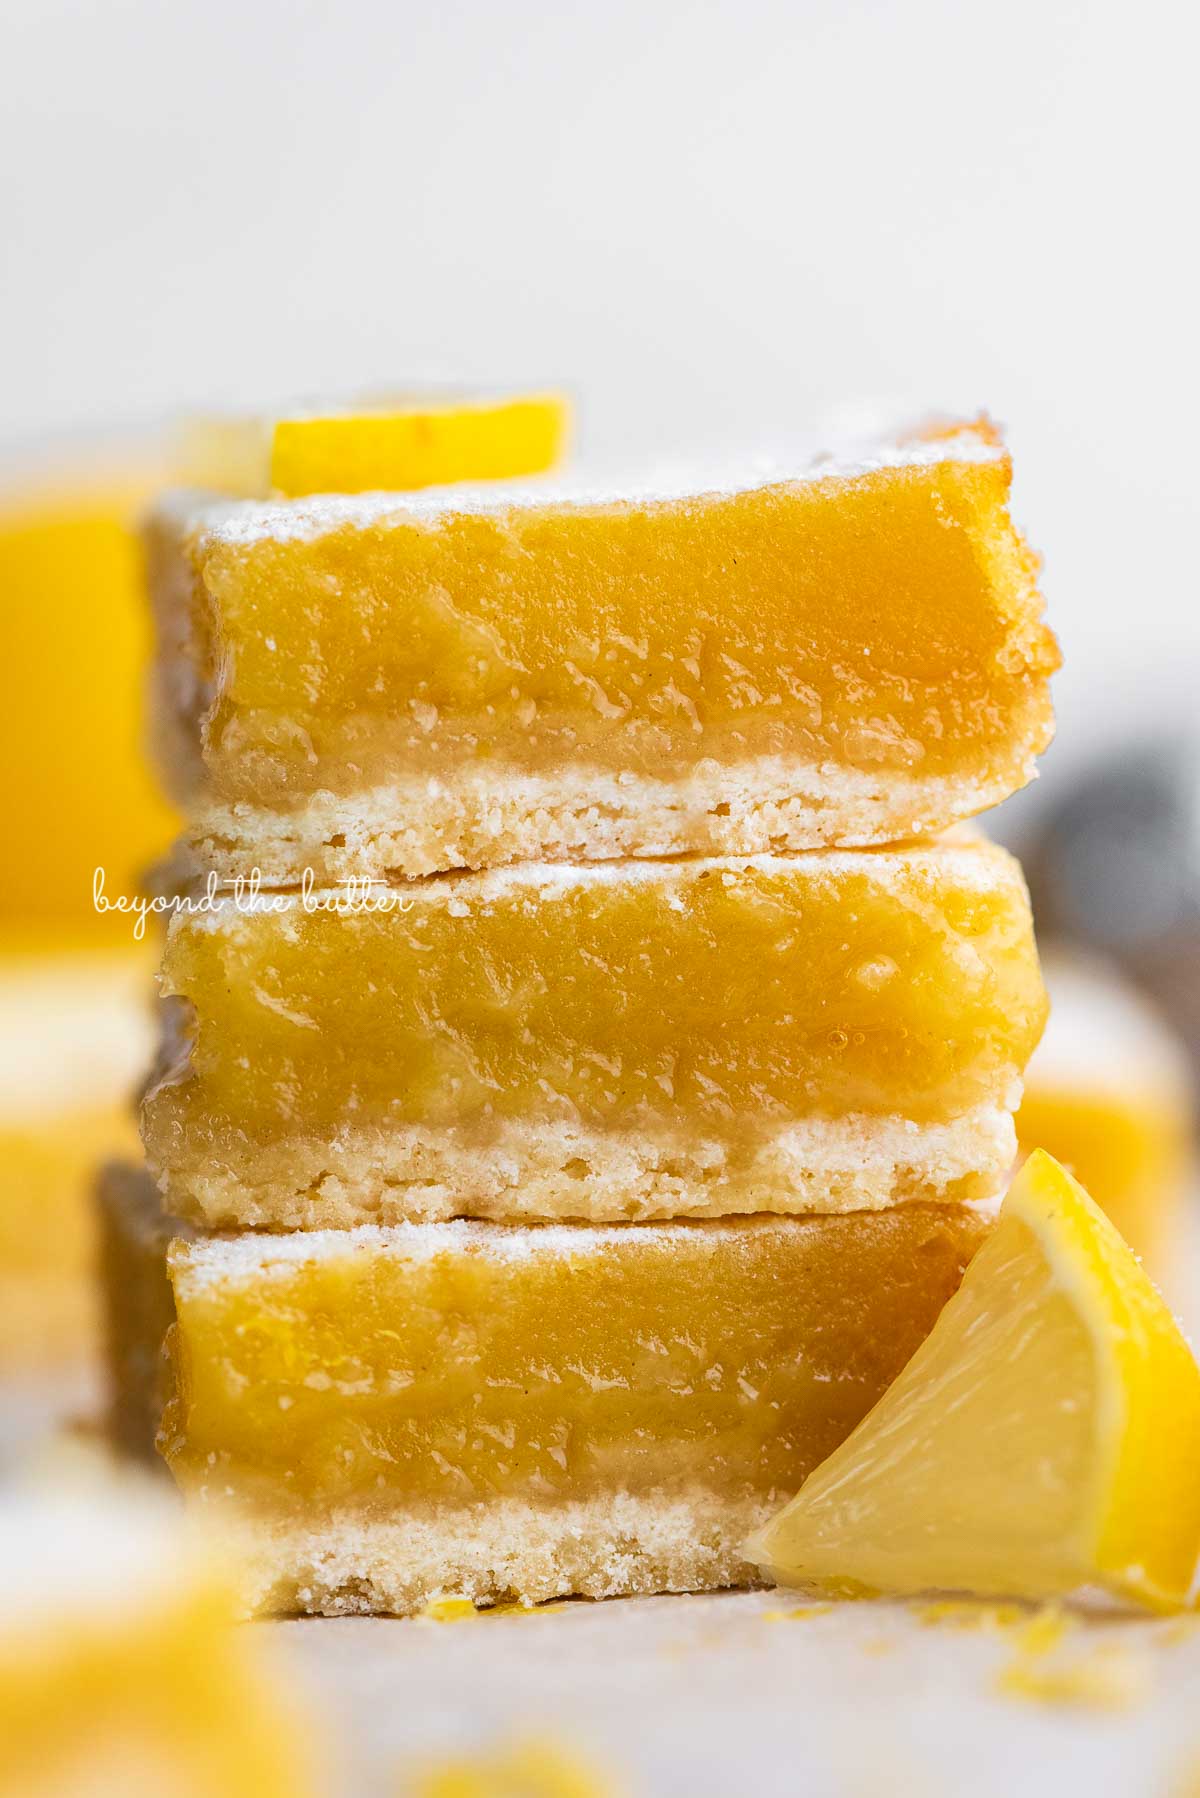
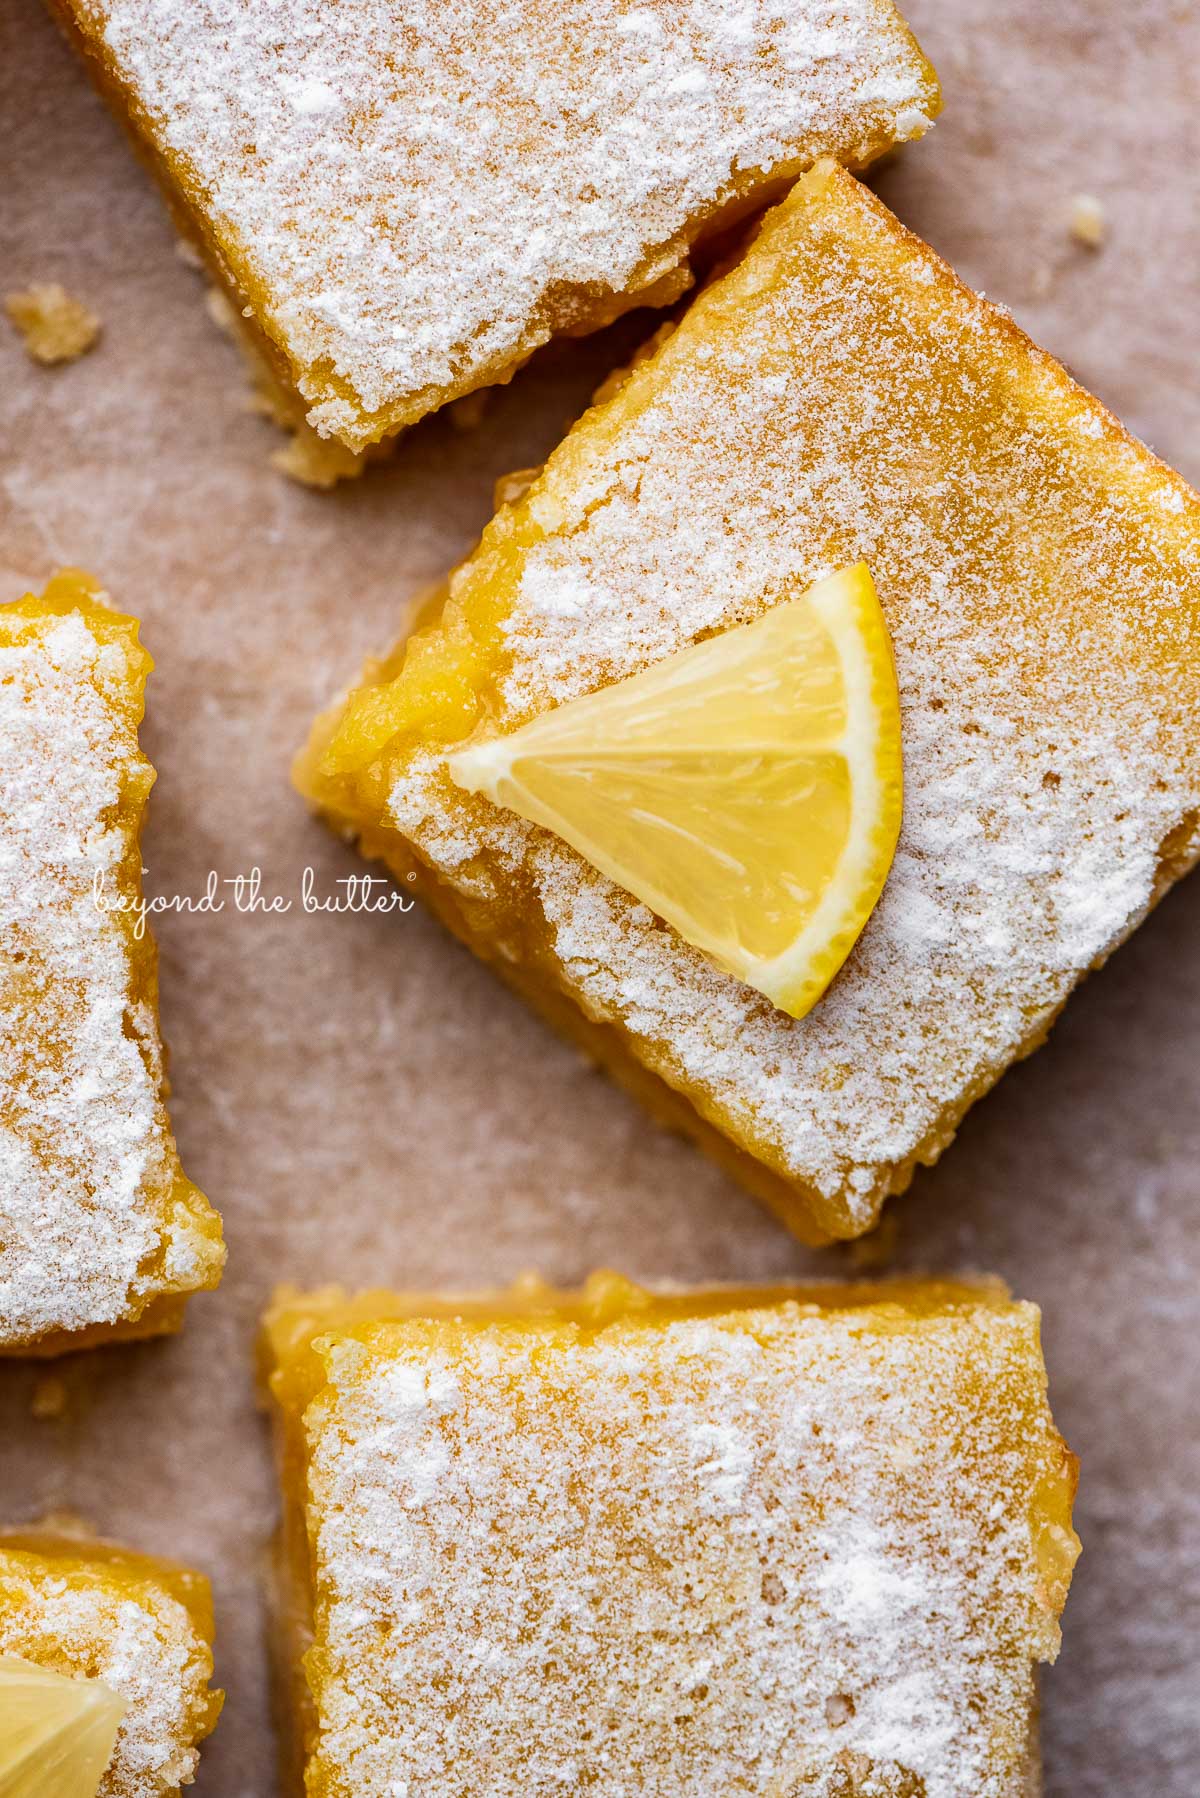
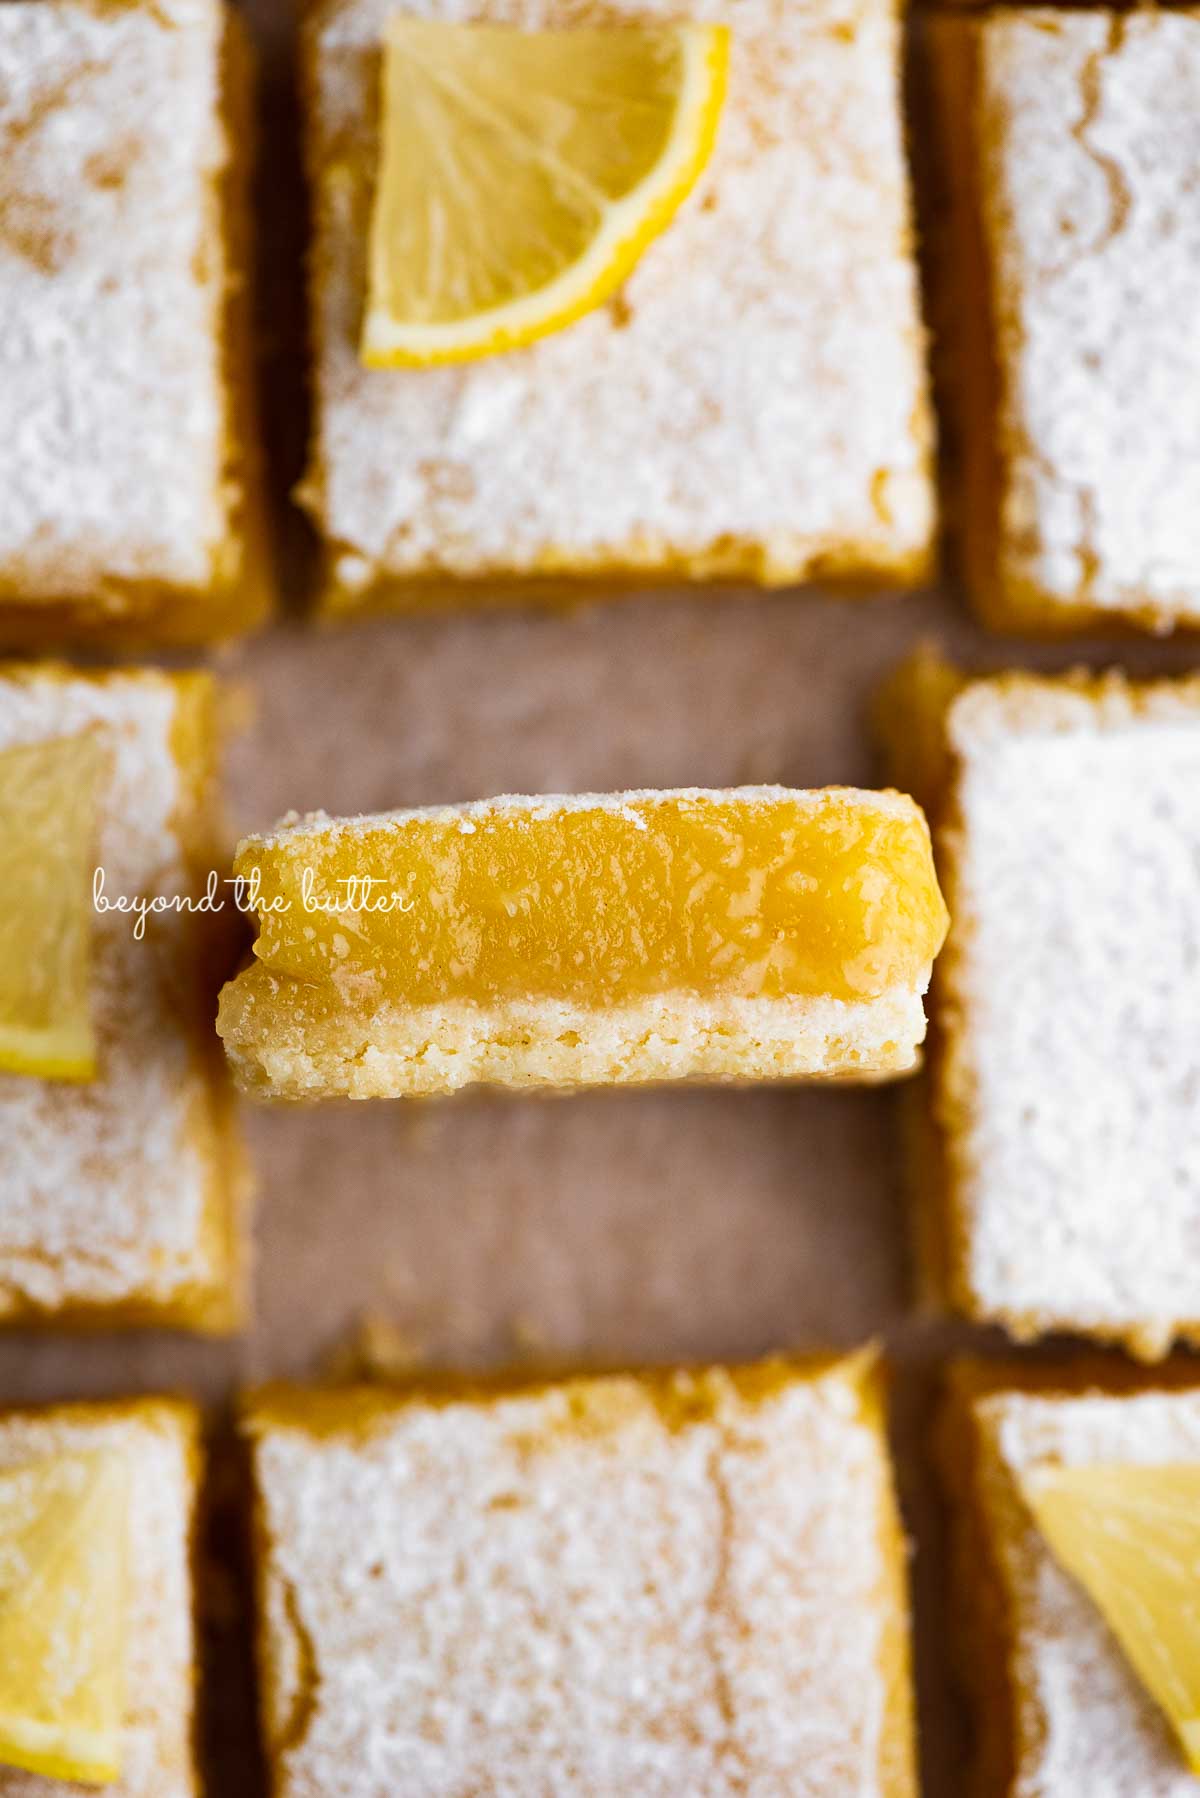
Table of Contents
About the Recipe
Just like the Chocolate Covered Peanut Butter Eggs I’ve shared with you, this Super Easy Lemon Bar recipe is another family favorite because it comes slightly adapted from the recipe box of my late Grammy!
If you’re ever craving a lip-smackingly good dessert, this tart and tangy treat is the best lemon bars recipe you’ll ever make!
Key Ingredients Needed
To make these lemon bars from scratch, you will need only these six ingredients:
- All-Purpose Flour. Needed for both the shortbread crust and the lemon curd filling. for the filling, I recommend sifting the flour to avoid any potential clumps.
- Unsalted Butter. This is only needed for the shortbread crust. Make sure it’s at room temperature.
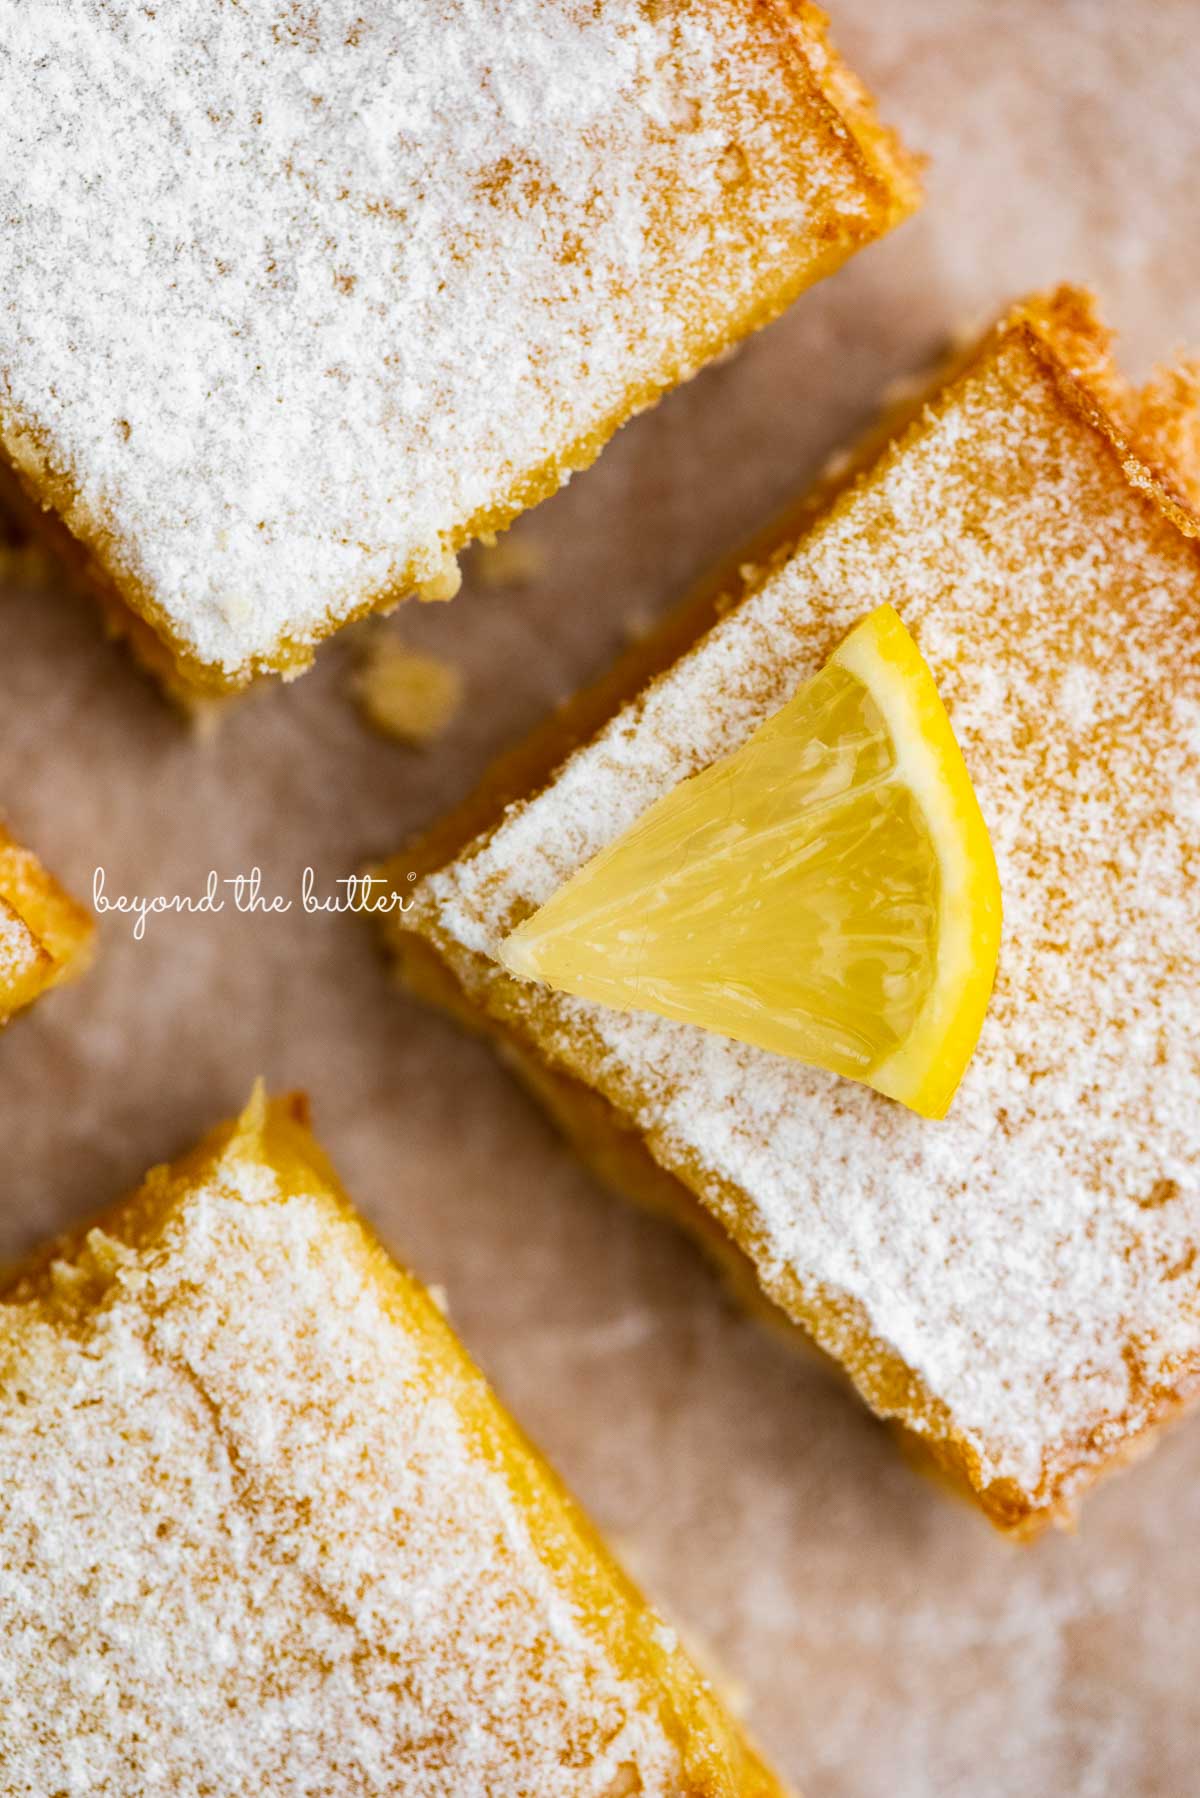
- Powdered Sugar. Mainly needed for the shortbread crust layer, but you can also use this as a dusting over the lemon bars—after they have cooled and chilled!
- Granulated Sugar. You’ll only need this for the lemon curd filling. You can use regular white granulated sugar or organic pure cane sugar.
- Lemons. You’ll need about three medium-sized lemons for the lemon juice and zest.
- Eggs. It helps to bring that beautiful lemon filling together!
How to Make Super Easy Lemon Bars from Scratch
This is a pretty straightforward, easy lemon bar recipe to prep and takes roughly a total of 40-48 minutes to bake. The lemon bars do require some time for chilling, however.
Shortbread Crust
Prepare the shortbread crust. This buttery shortbread crust comes together very quickly with the help of using either a food processor, stand mixer, or hand-held mixer. I prefer the food processor, but any of these will get the job done.
See my general prep tips below for adding a parchment paper sleeve before adding the shortbread dough to the pan!
Press the shortbread crust into the bottom of the baking pan. You can level and flatten the top of the crust using a spatula or the bottom of a measuring cup.
Chill the crust. Place the prepared shortbread crust into the refrigerator or freezer for about 10-15 minutes. I prefer the freezer, but if using a glass pan, I would stick to the refrigerator, or you can skip it altogether.
Bake the crust. Bake for 12-15 minutes at 350ºF or until you get a light golden brown top. Let it sit at room temperature to cool slightly while you make the lemon curd filling.
It does not need to be cooled completely before adding the lemon curd filling.
Lemon Curd Filling
Prep your ingredients before starting. This includes prepping the lemon juice and lemon zest, and I suggest sifting the all-purpose flour. It’s a small amount to sift, but it keeps any lumps out.
Mix the ingredients together. Place all of the ingredients into the mixing bowl and whisk on medium speed until it’s well blended. That’s it!
Pour, then bake. Pour the lemon curd filling into the slightly cooled shortbread crust and bake for an additional 25-30 minutes at 350ºF. Be careful not to overbake the lemon bars. You still want the center to have some jiggle to it when it comes out.
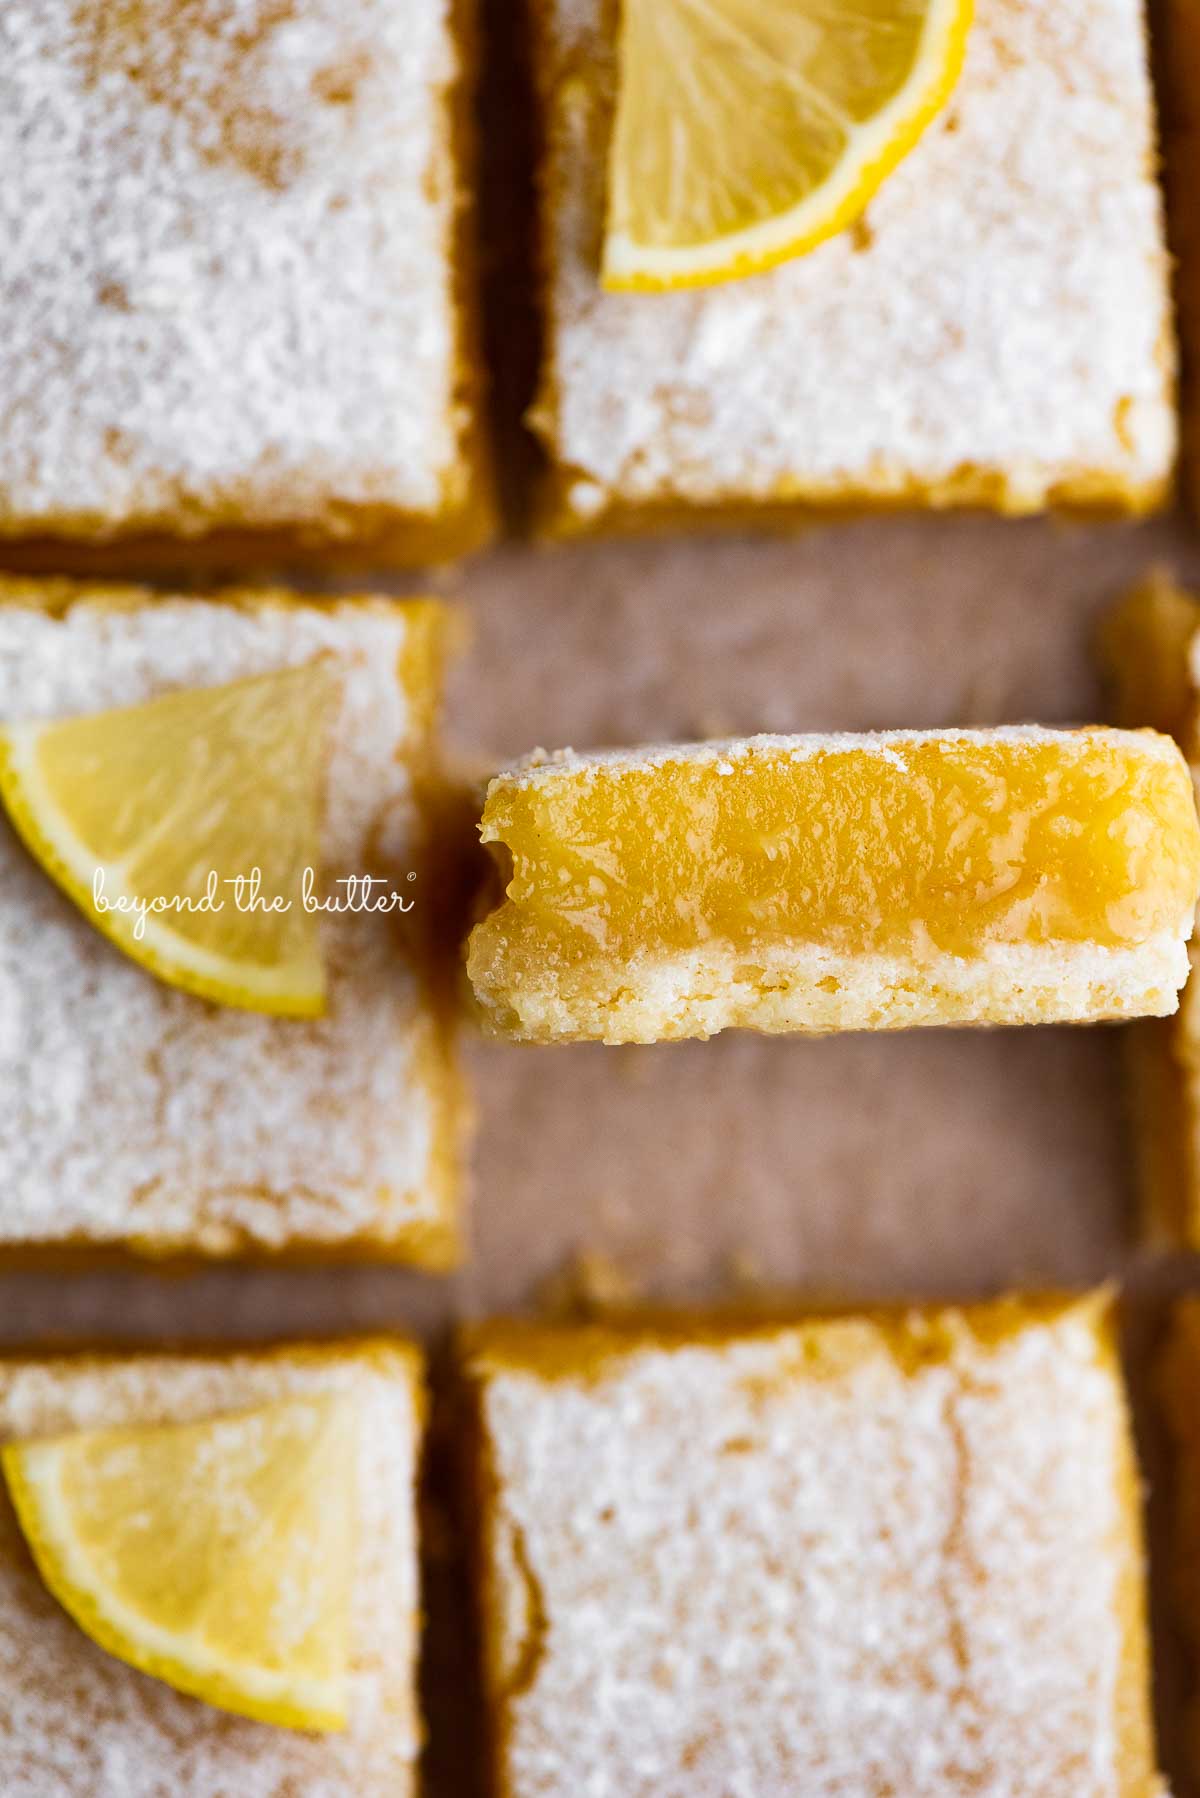
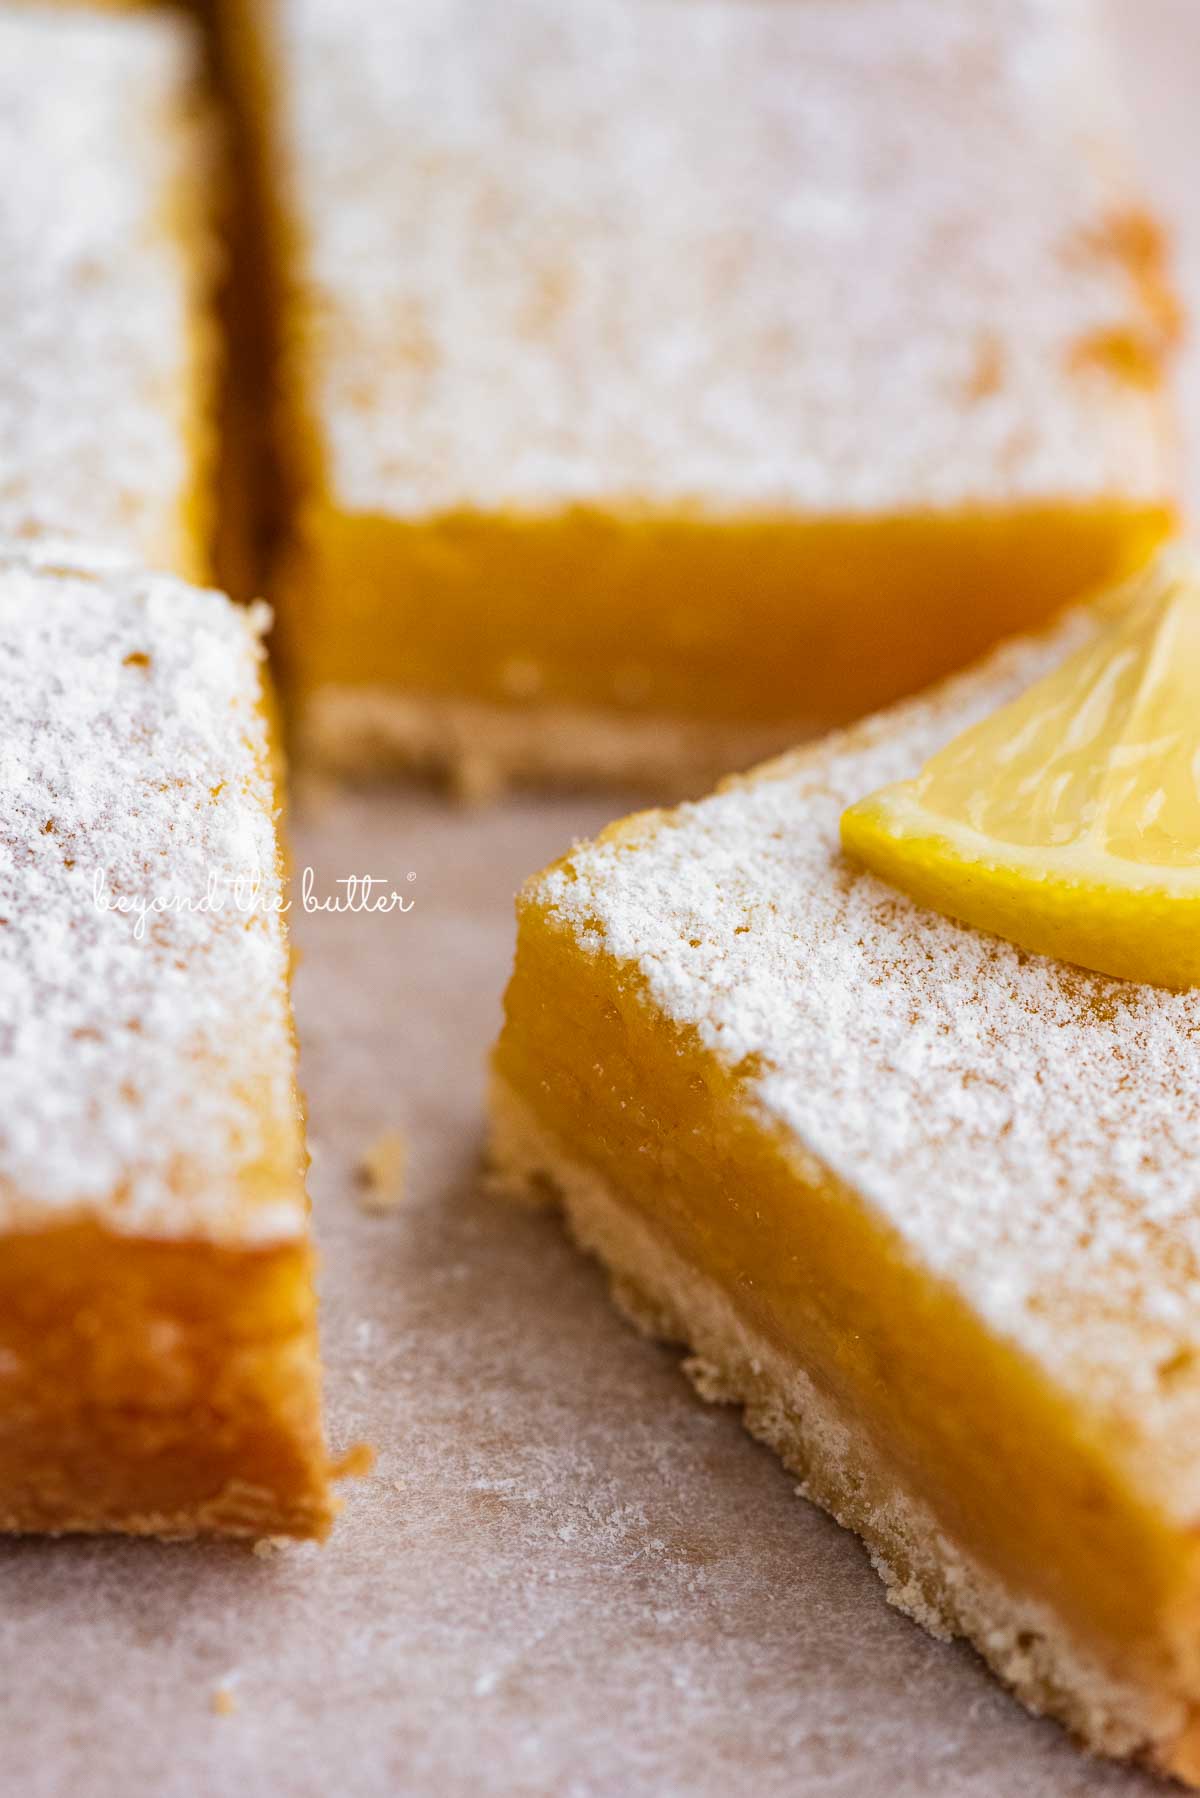
Cool to room temperature, then chill. Cooling the lemon bars to room temperature after they’re done baking can take up to approximately 2 hours. After cooling to room temperature, I highly suggest chilling the lemon bars (covered) for a minimum of 1 hour in the refrigerator.
This allows the lemon filling to become firm. It makes for an easier, less messy time of cutting them as well.
Plus, if I’m being honest, they just taste really good chilled!
Recommended Baking Tools
For these foolproof lemon bars, you’ll need the following baking tools:
- 8 inch Square Baking Pan
- Hand Mixer or Stand Mixer
- Spatula
- Flour-Based Baking Spray. Baker’s Joy is my favorite!
- Parchment Paper. Optional to use as a sleeve for easier removal and cutting of the lemon bars.
- Citrus Juicer
- Fine Grater
- Sifter. For the all-purpose flour in the lemon curd filling.

Helpful Tips for Making the Best Lemon Bars
- I used an 8-inch square baking pan for this lemon bars recipe, but you can also use a 9-inch square pan. For the latter size, adjust your recommended baking times to 20-25 minutes at 350ºF.
- Chilling the lemon bars gives them a nice firm texture. It helps make them easier to cut and taste good chilled! A minimum chill time of 1 hour is needed, but I highly recommend chilling them for longer!
- You can place a parchment paper sling into the bottom of your baking pan for easier cutting. To prevent the sides from collapsing into the lemon bars during baking, you can use metal binder clips!
- I used this KitchenAid lemon juicer for the lemon juice. It’s inexpensive and does a good job of separating the seeds and pulp from the juice. It also has a measuring cup on the side!
- To get the lemon zest, I used my Microplane grater.
- Make sure to sift the all-purpose flour. If not, it may not fully mix with the other ingredients, leaving little lumps.
How to Freeze Your Lemon Bars
Make the lemon bars following the recipe instructions, then cool them completely. Skip adding the powdered sugar.
Once cooled, cut them into squares and freeze them until solid. Wrap each bar 2-3 times in plastic wrap and place it back into the freezer in a freezer bag or tightly sealed container. They can also be frozen whole and wrapped in plastic wrap and aluminum foil. Lemon bars will last in the freezer for up to 3 months.
To defrost, place them in the refrigerator up to 24 hours in advance. If frozen whole cut them into squares. You can sprinkle them with powdered sugar before serving.
Lemon Bars FAQs
You will need an 8-inch square baking pan.
Overbaking the lemon bars can cause the top to form this thin crust. You can try to pick it off or do what I’ve done and simply dust some powdered sugar over the top. They’ll still be good!
No, it’s not required, but it does help to firm up the butter a little before baking. If you’re using a glass baking dish, I don’t recommend chilling it before baking.
Enjoy These Other Lemon Desserts from Beyond the Butter!


Super Easy Lemon Bars

Ingredients
shortbread crust
- 1/2 cup Unsalted Butter , room temperature
- 1 cup All-Purpose Flour
- 1/4 cup Powdered Sugar
lemon curd filling
- 1/2 cup Lemon Juice, 2-3 lemons
- 1 tbsp Lemon Zest, finely grated
- 3 Large Eggs, room temperature
- 1 1/2 cups Granulated Sugar
- 1/2 cup All-Purpose Flour, sifted
- Powdered Sugar, for dusting
Instructions
shortbread crust
- Lightly spray an 8” x 8” baking pan with a flour-based baking spray. Set to the side. If you'd like, you can spray the pan, then place a parchment paper sling into the pan which can help make for easier cutting later. To prevent the sides from collapsing into the bars during baking, you can place a binder clips on top of the paper.
- Using a hand mixer or a stand mixer fitted with a paddle attachment, beat together the unsalted butter, all-purpose flour, and powdered sugar until the shortbread bottom layer forms. It will resemble light yellow loose crumbs. Pat the shortbread layer into the bottom of the prepared 8″ x 8″ pan. Then place in the freezer or refrigerator for about 10-15 minutes to chill. You can skip the chilling if you're using a glass baking dish.1/2 cup Unsalted Butter , 1 cup All-Purpose Flour, 1/4 cup Powdered Sugar
- While the shortbread layer chills, adjust the oven rack to the 2nd level position (just above center) and preheat the oven to 350ºF.
- Place the pan in the oven and bake for 15-18 minutes at 350ºF or until it's light golden brown.
- Remove from the oven and allow to cool slightly while you prepare the lemon curd filling. You can choose to leave the oven on, or you can turn it off while you make the lemon curd filling. If you turn it off, remember to preheat it again to 350ºF.
lemon curd filling
- Grate a lemon with a fine grater, adding the zest to a small bowl. Then cut each lemon in half and with a lemon juicer, squeeze out the lemon juice from each lemon. Sift the all-purpose flour into a small bowl.
- Using a hand mixer or a stand mixer fitted with a whisk attachment, mix together the lemon juice, lemon zest, eggs, granulated sugar, and all-purpose flour on medium-high speed until well blended.1/2 cup Lemon Juice, 1 tbsp Lemon Zest, 3 Large Eggs, 1 1/2 cups Granulated Sugar, 1/2 cup All-Purpose Flour
- Pour the lemon curd filling into the slightly cooled crust, then place back into the oven to bake for 25-30 minutes at 350ºF or until the top is almost set with the center jiggling a little. I recommend checking on them at the earliest recommended baking time to start.Note: Leaving them in too long can cause a thin crust to form over the top. The lemon bars are still good though if this happens!
- Remove from the oven and allow lemon bars to cool completely. Then cover and place into the refrigerator to chill and set for a minimum of 1 hour (overnight is my preference). When ready to serve, dust with powdered sugar and cut using a well-sharpened knife.Powdered Sugar
- Keep lemon bars stored in an airtight container in the refrigerator for up to 5 days.
Video
Notes
- The 48-minute cook time noted above combines the longest baking time for both the shortbread crust (18 minutes) and the final baking time for both layers (30 minutes).
- If you’d like, you can spray the pan, then place a parchment paper sling into the pan, which can help make for easier cutting later. To prevent the sides from collapsing into the bars during baking, you can place a small dab of the lemon filling in between the parchment paper and baking tin, or you can use metal (not plastic) binder clips.
- You may notice a small amount of the lemon filling fall behind or slightly under the parchment paper sling (if you use one) during baking. This is okay—it happens to me when I make them sometimes. Please note, this does not mean the lemon filling moves entirely underneath the crust.
- Overbaking the lemon bars for too long can cause a thin crust to form over the top. You can try to pick it off, or do what I’ve done and dust on some powdered sugar because they’re still good!
- To prevent the powdered sugar topping from melting, you can use King Arthur’s non-melting powdered sugar. I love it for desserts like this and my dark chocolate crinkle cookies!
- Recipe is adapted from my Grammy’s lemon bars recipe.
- Recipe updated 9/30/2022 with updated recipe notes.
Nutrition
Nutritional information provided above is an estimate only and will vary based on specific ingredients used. See Nutritional Disclaimer for more info.


I purposely over baked a little for the crust on top because I prefer it that way. super easy with simple ingredients, turned out perfect. thank you!
This is the best Lemon Squares recipe that I have ever made. I’ve made others but this one is a true winner. Mine came out so perfect. It will be my new go too. I’m giving mine a 5 star.
Thank you for sharing this recipe.
Amazing Lemon Bars! Came out delicious! Great recipe!
Way too sweet I would decrease the sugar by half.
Absolutely in love. These lemon bars are super easy to make and delicious. This is my 5TH time making these, and it’s always a hit where ever I take them.
I appreciate the kind words, Samantha, thank you!
Delicious recipe, what I want to ask you is the baking time for crust and for the final baking when you 2 the amount of ingredients and when you 3 the amount of ingredients. I guess you have to have a 16″x 16″ mould for 2 and a 24″ x24″ one when 3 ingredients.
Awaiting your response and thanking for your attention and time
Yours faithfully
Maria Luisa
Maria Luisa Noguera Ayala
Hi! If you double the recipe using either 2, 8 inch square baking pans or a larger pan, like a 13 inch by 9 inch pan, then the baking time still remains the same because the thickness of the bars stays the same. If you increase the thickness of the bar (for example, doubling the recipe but only using one 8 inch square baking pan) then you would need to increase the baking time. I hope this helps. Please let me know if you have anymore questions, thanks!
Overall the recipe was a fail for me.. The parchment paper basically melted into the bars and the crust that formed on the top made them dry and hard to cut. I followed the recipe exactly as instructed but just didn’t like the results.
I’m sorry to hear they didn’t work out for you, but appreciate the feedback. It sounds like maybe your parchment was a little too thin and that you might have baked them a little too long to have the crust form on top (this has happened to me in the past).
Really easy to follow and I love the tips! Mine turned out pretty great! I will do it again!
Wow! These are amazing!
Thank you!
The recipe is delicious, but my filling wound up underneath the crust. I followed the directions to the ‘T.’ I read the comments, reviewed the video and re read the recipe. I am still unclear why might this be. I’m a little disappointed.
I’m sorry to hear the recipe didn’t work out for you and you had issues with the crust. In all my years of making this recipe, I’ve never encountered my filling falling 100% underneath the crust. It’s possible it was the brand of ingredients used, your oven, or maybe the baking dish? Even with following the recipe to a “T”, it’s important to note that every kitchen environment is different. I hope you give it another go and if you run into the same issue, please feel free to DM me a photo of the lemon bars over on my Instagram.
I had the same thing happen to me, I used an aluminum dish and I followed all the directions. I did use regular salted butter which could’ve caused it to completely reverse.