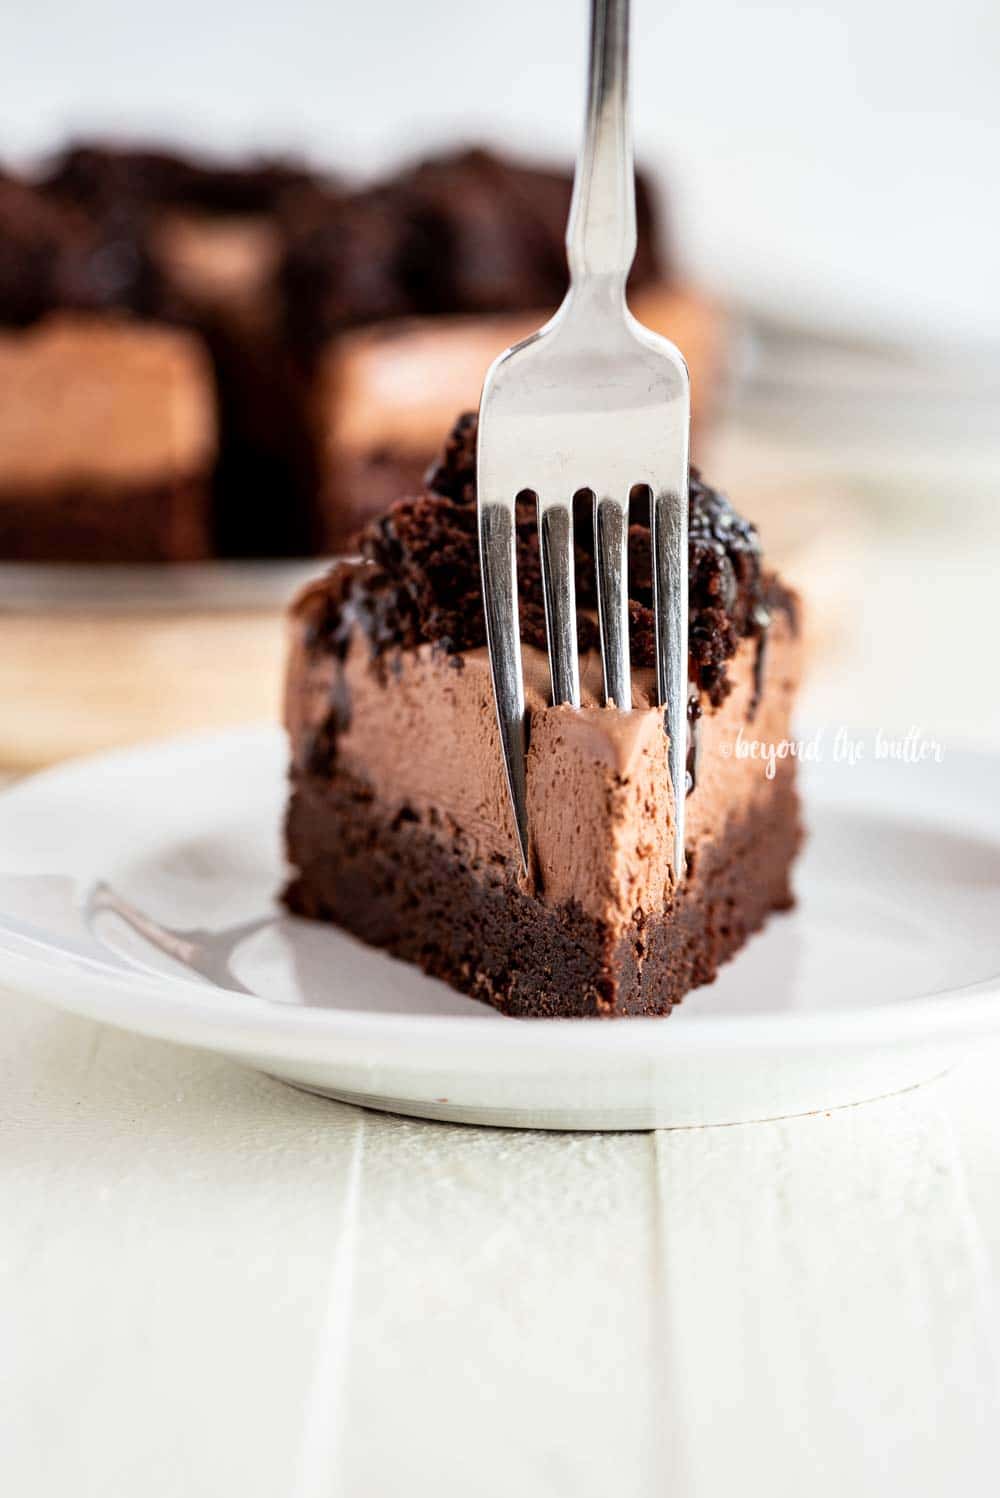
Some days you’re craving brownies, while other days it might be cheesecake! I say, let’s combine the two together! This almost no-bake Chocolate Brownie Cheesecake recipe combines a baked, fudgy brownie bottom with a creamy no-bake chocolate cheesecake top! It’s an easy dessert made in a 7″ springform pan, so it’s the perfect size for a small office or dinner party, book club, or family get-together!
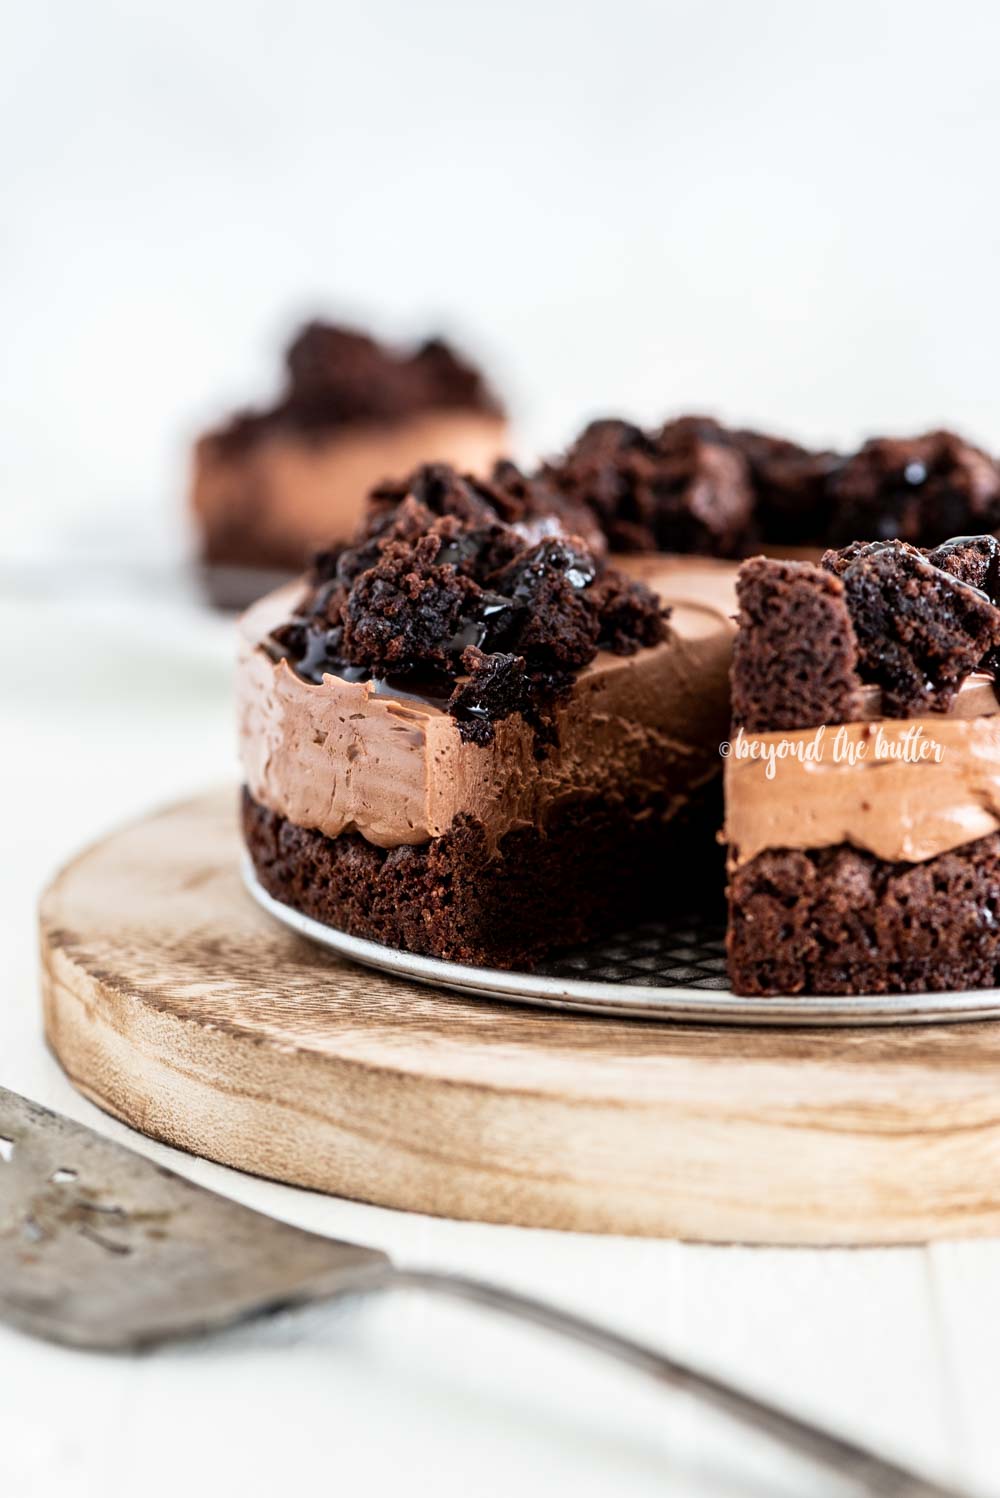
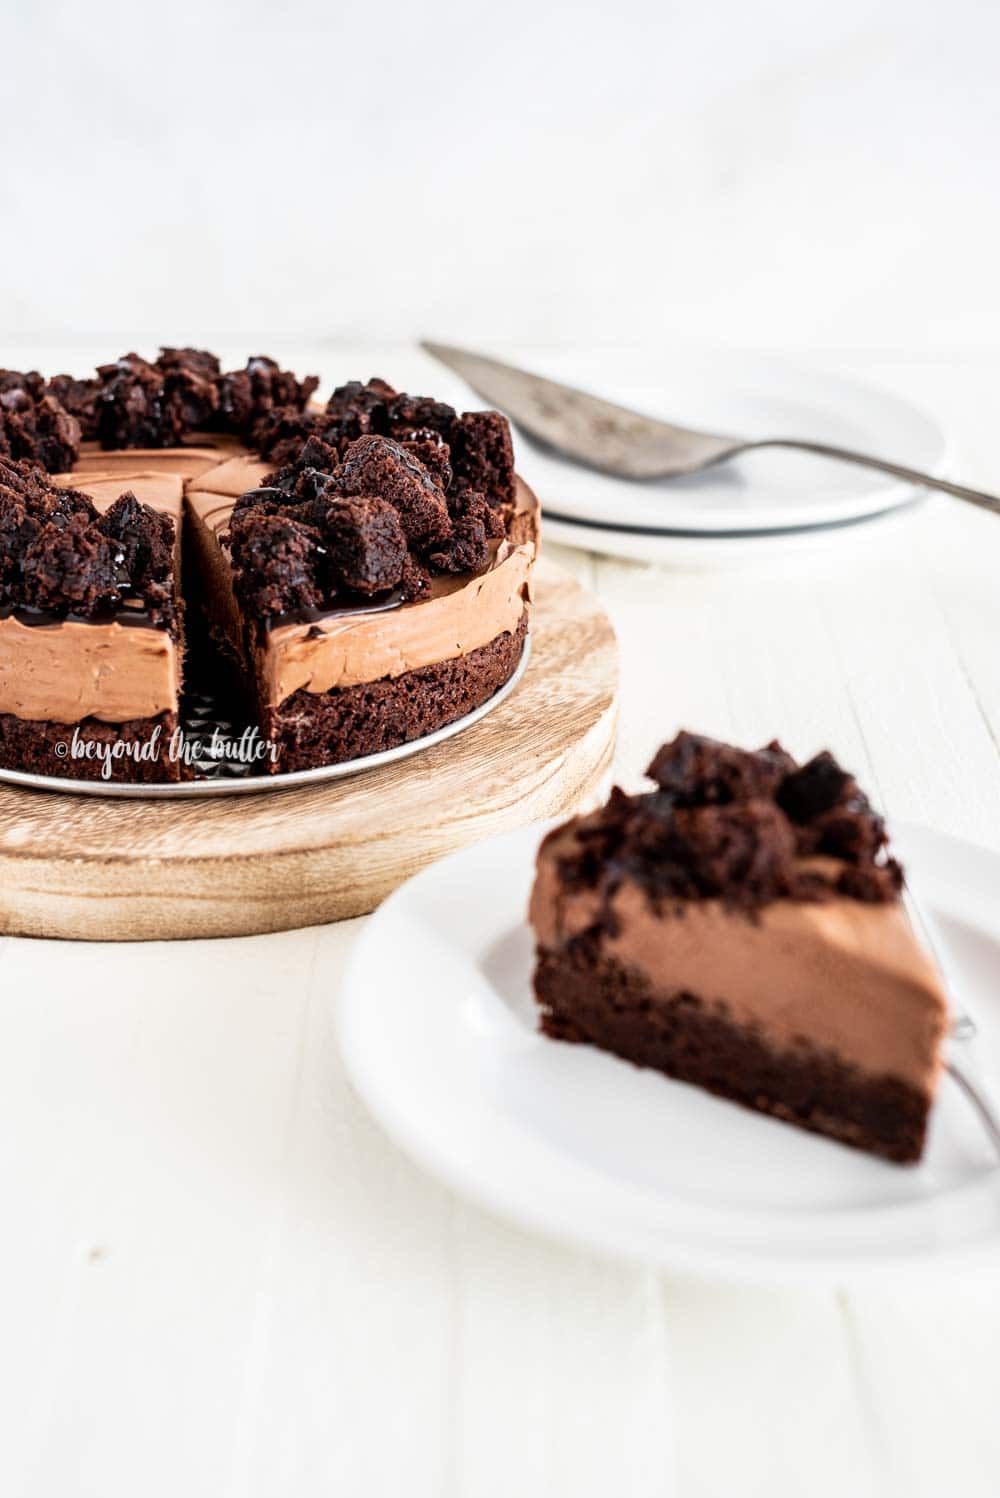
Table of Contents
What Ingredients Will I Need?
For the Brownie Base
- All-Purpose Flour
- Salt
- Baking Powder
- Unsweetened Cocoa Powder
- Granulated Sugar
- 1 Large Egg
- Vanilla Extract
For the Cheesecake Layer
- Semi-Sweet Chocolate Chips
- Full-Fat Cream Cheese
- Granulated Sugar
- Unsalted Butter
- Frozen Whipped Topping (like Cool Whip)
How to Make The Recipe
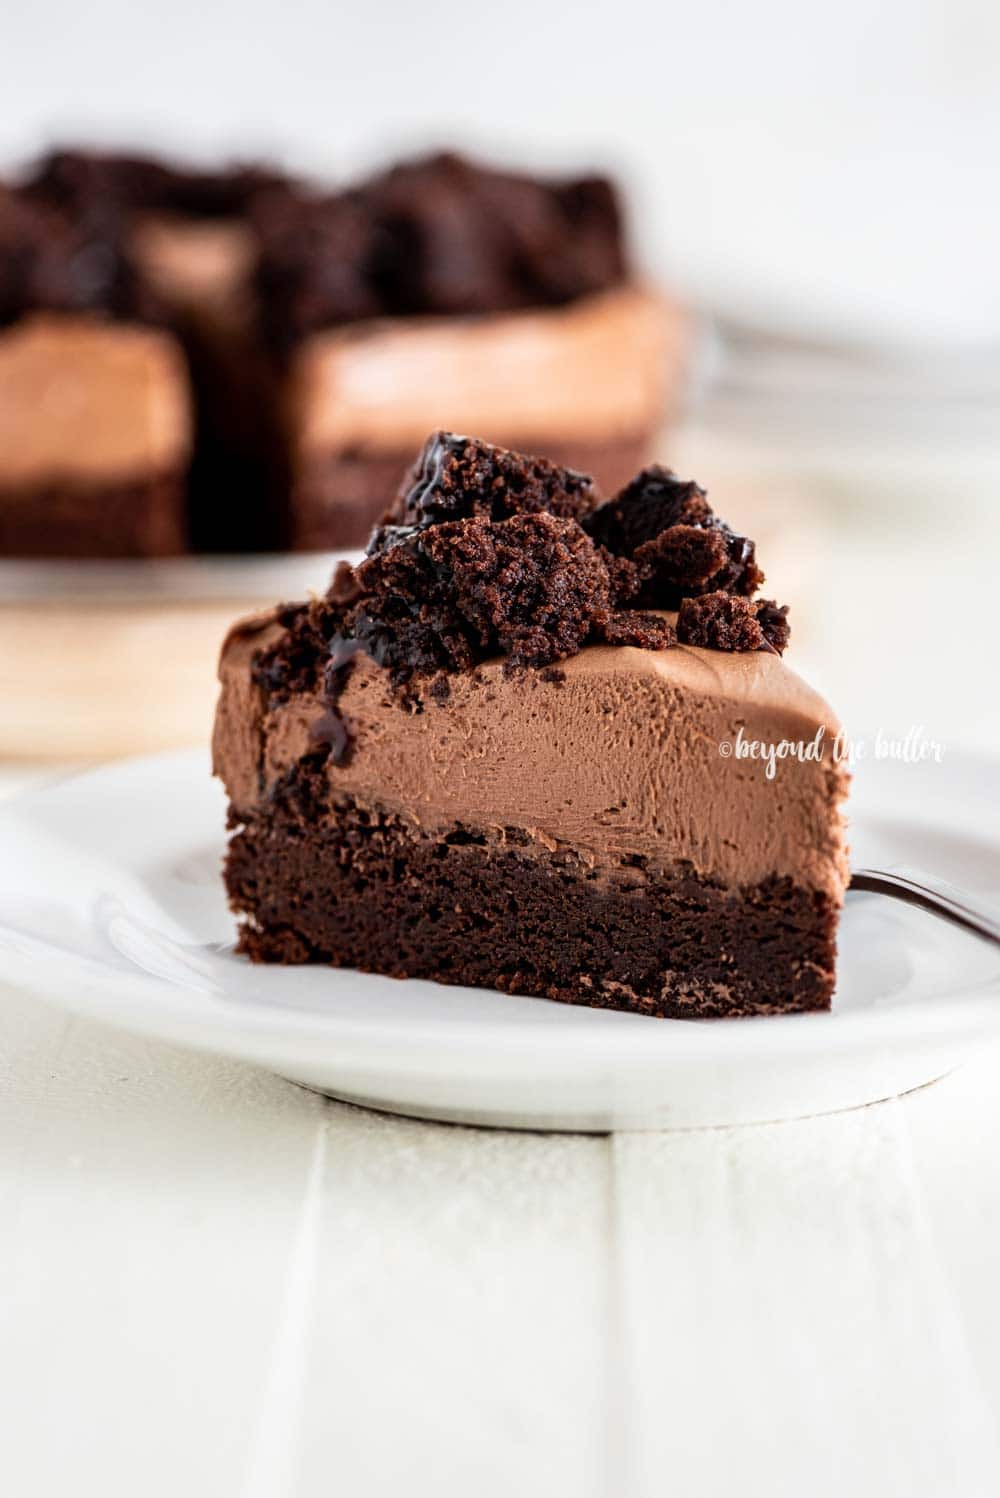
This Chocolate Brownie Cheesecake recipe, also known as a Brownie Bottom Chocolate Cheesecake, is made using a 7″ springform pan. It’s broken out into only two parts, one of which is no-bake.
- Make the brownie base. Mix the all-purpose flour, salt, baking powder, and unsweetened cocoa powder together. Add in the unsalted butter, granulated sugar, egg, and vanilla extract and mix until fully combined. The brownie batter will have a thick consistency. Bake for 350ºF for 30-35 minutes. Let the brownie base cool before adding the cheesecake layer
- Make the chocolate cheesecake layer. Melt the chocolate chips first in the microwave. Let them cool a bit. Next beat together the cream cheese, granulated sugar, and unsalted butter. Add the melted chocolate, then fold in the whipped topping.
- Spoon the chocolate cheesecake mixture onto the top of the cooled brownie base.
- Refrigerate the brownie cheesecake. A minimum of 2 hours is good, but overnight is fine too. Keep it covered loosely with plastic wrap while in the refrigerator.
- Release from the springform pan and serve!
Quick Tips Before Starting
Below are just a few quick tips and the tools I recommend for making this chocolate brownie cheesecake recipe.
- I used my Zenker 7″ springform pan to make this cheesecake recipe, but alternatively, you can also make these as mini chocolate brownie cheesecake bites using this 12 cavity muffin silicone mold. You would bake the brownie part for the same amount of time.
- You can prepare the 7″ springform pan with just a flour-based baking spray or you can also cut a parchment paper circle for the bottom and a parchment paper strip that’s as tall as the pan. Just make sure to spray the parchment paper again with the baking spray.
- This chocolate brownie cheesecake is a partial no-bake recipe. Only the brownie base needs to be baked. The cheesecake top does not.
- The brownie batter will be thick in consistency, but it won’t be so thick you can’t spread it out along the bottom of the springform pan.
- Once you bake the brownie base, make sure to allow it to cool completely before topping it with the chocolate cheesecake layer!
- For the cheesecake layer it’s important that your melted chocolate has cooled, and your butter and cream cheese are at room temperature. The frozen whipped topping should be thawed as well.
- If you don’t have an angled spatula for smoothing out the top of the cheesecake, you can use the bottom of a spoon.
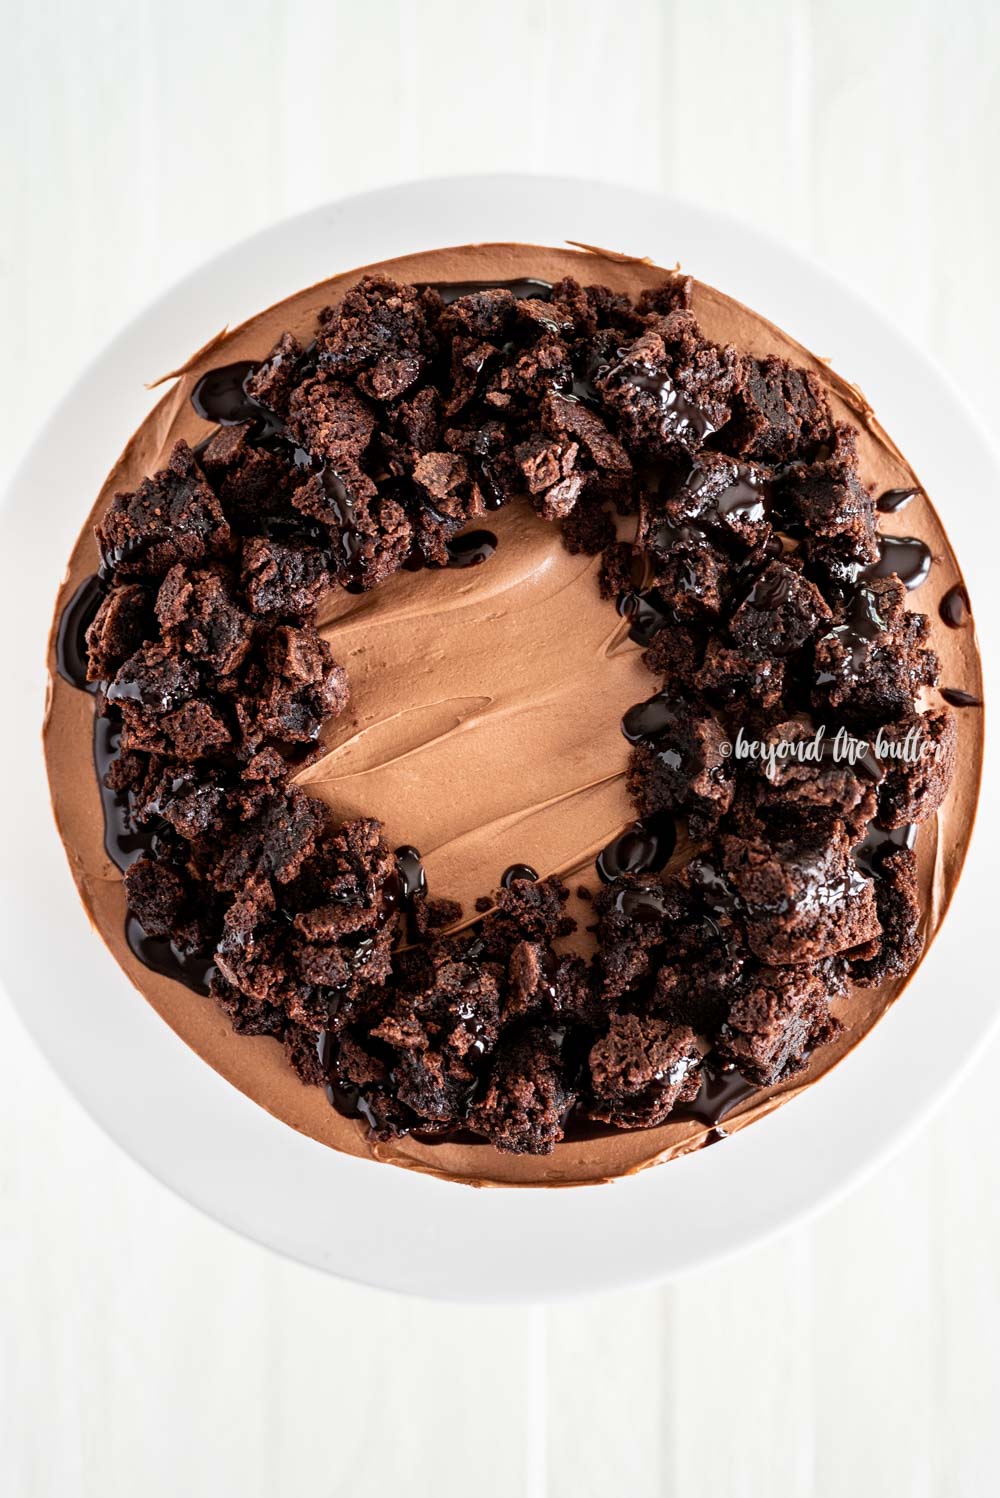
- To add a decorative top, you can add some melted chocolate and cut up chunks of brownies (either from store-bought or homemade).
Recommended Cheesecake Baking Tools
I’ve compiled my list of recommended cheesecake-baking tools below.
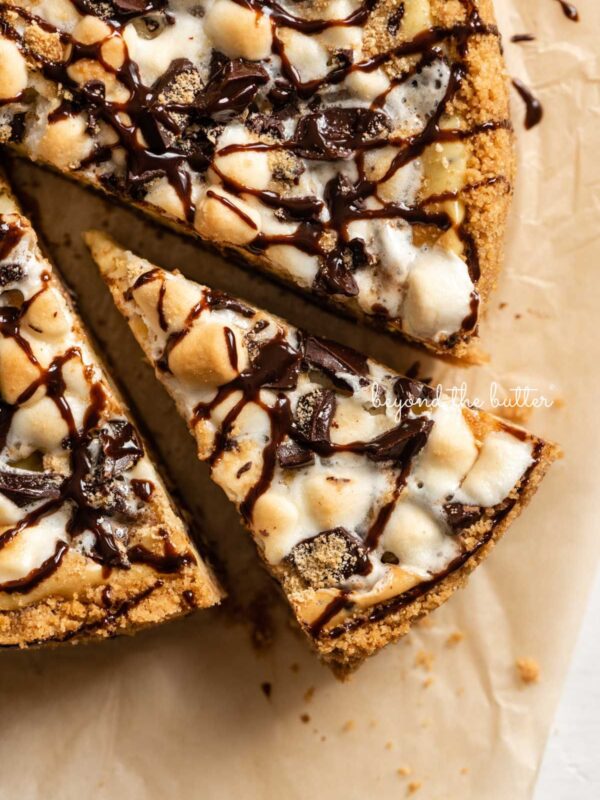
More Cheesecake Recipes to Enjoy!


Chocolate Brownie Cheesecake

Ingredients
brownie base
- 1/2 cup All-Purpose Flour
- 1/4 tsp Salt
- 1/4 tsp Baking Powder
- 1/4 cup Unsweetened Cocoa Powder
- 1/4 cup Unsalted Butter, room temperature
- 3/4 cup Granulated Sugar
- 1 Large Egg, room temperature
- 1/2 tsp Vanilla Extract
chocolate cheesecake
- 6 oz Semi-Sweet Chocolate Chips, melted and cooled
- 6 oz Full-Fat Cream Cheese, room temperature
- 1/4 cup Granulated Sugar
- 2 tbsp Unsalted Butter, room temperature
- 1 cup Frozen Non-Dairy Whipped Topping, thawed
Instructions
- Prepare the 7″ springform pan with a flour-based baking spray. Additionally, you can choose to add a parchment circle cut to fit the bottom of the pan, as well as, a parchment strip that is cut to the height of the pan. If you add the parchment paper, make sure to spray the pan once again.
brownie base
- Using a hand mixer or a stand mixer fitted with the paddle attachment, mix together the all-purpose flour, salt, baking powder, and unsweetened cocoa powder.
- Add in the unsalted butter, granulated sugar, egg, and vanilla extract and mix until fully combined. The brownie batter will have a thick consistency.
- Place the brownie batter in the bottom of the prepared springform pan, and press down using a small spatula or your clean fingers to level. It won’t be perfect—you just want the brownie batter to reach the sides of the pan.
- Place the brownie base into the oven and bake for 350ºF for 30-35 minutes or until an inserted toothpick comes out with just a few brownie crumbs on it. If there is still batter on the toothpick, pop the springform pan back into the oven and monitor it every 1-2 minutes until it's done. Please careful though not to over bake the brownies.
- Remove brownie base from the oven and allow to cool completely before adding the chocolate cheesecake layer.
chocolate cheesecake
- Place the semi-sweet chocolate chips into a small microwaveable bowl, and heat in the microwave in 30 second intervals at 50% power stirring in between until the chocolate is smooth and completely melted. This part took me 4 times. Set aside and allow too cool.
- Using a hand mixer or a stand mixer fitted with the paddle attachment, beat together the cream cheese, granulated sugar, and unsalted butter on medium speed until smooth and creamy.6 oz Full-Fat Cream Cheese, 1/4 cup Granulated Sugar, 2 tbsp Unsalted Butter
- Carefully add in the melted chocolate and mix until completely blended, then stop the mixer to fold in the whipped topping with a spatula.1 cup Frozen Non-Dairy Whipped Topping
- Spoon the chocolate cheesecake mixture on top of the cool brownie base. Smooth out the top with a small angled spatula.
- Place the chocolate brownie cheesecake in the refrigerator to set for a minimum of 2 hours. If leaving overnight, you can cover it loosely with some plastic wrap.
- When ready to serve, unlatch the sides of the springform pan and lift up.
Notes
- I used my Zenker 7″ springform pan to make this cheesecake recipe, but alternatively, you can also make these as mini chocolate brownie cheesecake bites using this 12 cavity muffin silicone mold. You would bake the brownie part for the same amount of time.
- You can prepare the 7″ springform pan with just a flour-based baking spray or you can also cut a parchment paper circle for the bottom and a parchment paper strip that’s as tall as the pan. Just make sure to spray the parchment paper again with the baking spray.
- This chocolate brownie cheesecake is a partial no-bake recipe. Only the brownie base needs to be baked. The cheesecake top does not.
- The brownie batter will be thick in consistency, but it won’t be so thick you can’t spread it out along the bottom of the springform pan.
- Once you bake the brownie base, make sure to allow it to cool completely before topping it with the chocolate cheesecake layer!
- For the cheesecake layer it’s important that your melted chocolate has cooled, and your butter and cream cheese are at room temperature. The frozen whipped topping should be thawed as well.
- If you don’t have an angled spatula for smoothing out the top of the cheesecake, you can use the bottom of a spoon.
- To add a decorative top, you can add some melted chocolate and cut up chunks of brownies (either from store-bought or homemade).
Nutrition
Nutritional information provided above is an estimate only and will vary based on specific ingredients used. See Nutritional Disclaimer for more info.


I have a 9 in springform pan. What adjustments would I need for the brownie?
I didn’t test this brownie cheesecake recipe with a 9-inch springform pan, so can’t give exact adjustments. Using that size pan will give you a thinner brownie layer so I wouldn’t bake it for quite as long.
I have a very stupid question. One of the ingredients for the cheesecake is “⅛ cup 2 tablespoons Unsalted Butter (room temperature)”. So what I’m reading is that I need 1/8 cup of butter plus 2 more tbsp. 1/4 cup is 4 tbsp, so 1/8 would be 2 tbsp. And so 1/8 cup plus 2 tbsp would be 4 tbsp=1/4 cup?
Not a stupid question at all! This was, in fact, an error on my part. It’s just two tablespoons. I never removed the 1/8 cup. I’ve corrected it now, so I appreciate you asking!
If i make homemade whipped cream to replace the ‘frozen whipped topping’, is it 1 Cup of whipped cream before it’s whipped or 1 cup after its been whipped?
Hi! If making homemade whipped cream it would be 1 cup after it’s whipped. I would start with 1/2 cup of heavy cream as it typically doubles in size once whipped. Hope this helps!
This recipe is outta the world and completely fool-proof. Loved the fact that the cheesecake layer required no baking and idea of brownies over the cheesecake was just 🤯
Yay! So glad you loved it!
This looks so delicious and I can’t wait to try to make it! How would the measurements differ though with a 9” pan instead of 7”? Thank you!!
Thank you! If you used a 9 inch pan the layers would just be thinner and I would probably reduce the baking time of the brownie by a few minutes as well.
This looks amazing and I can’t wait to try it. I have a question in the frozen non dairy whipped topping. I don’t get this where I live. Can homemade whipped cream made from heavy cream be ok?
Thanks Toni! Yes, absolutely you can use homemade whipped cream from heavy cream! If you’d like for the whipped cream to be a little sweeter like I do, you can add a teaspoon of vanilla extract and about 2-3 tablespoons of confectioners (powdered) sugar.
Girl you are a genius ! This looks amazing!!!
Thank you so much, B! I’ve been wanting to make something like this for a while. Glad I finally did it!