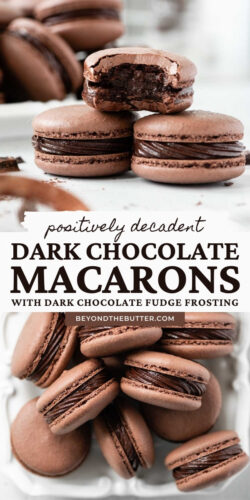
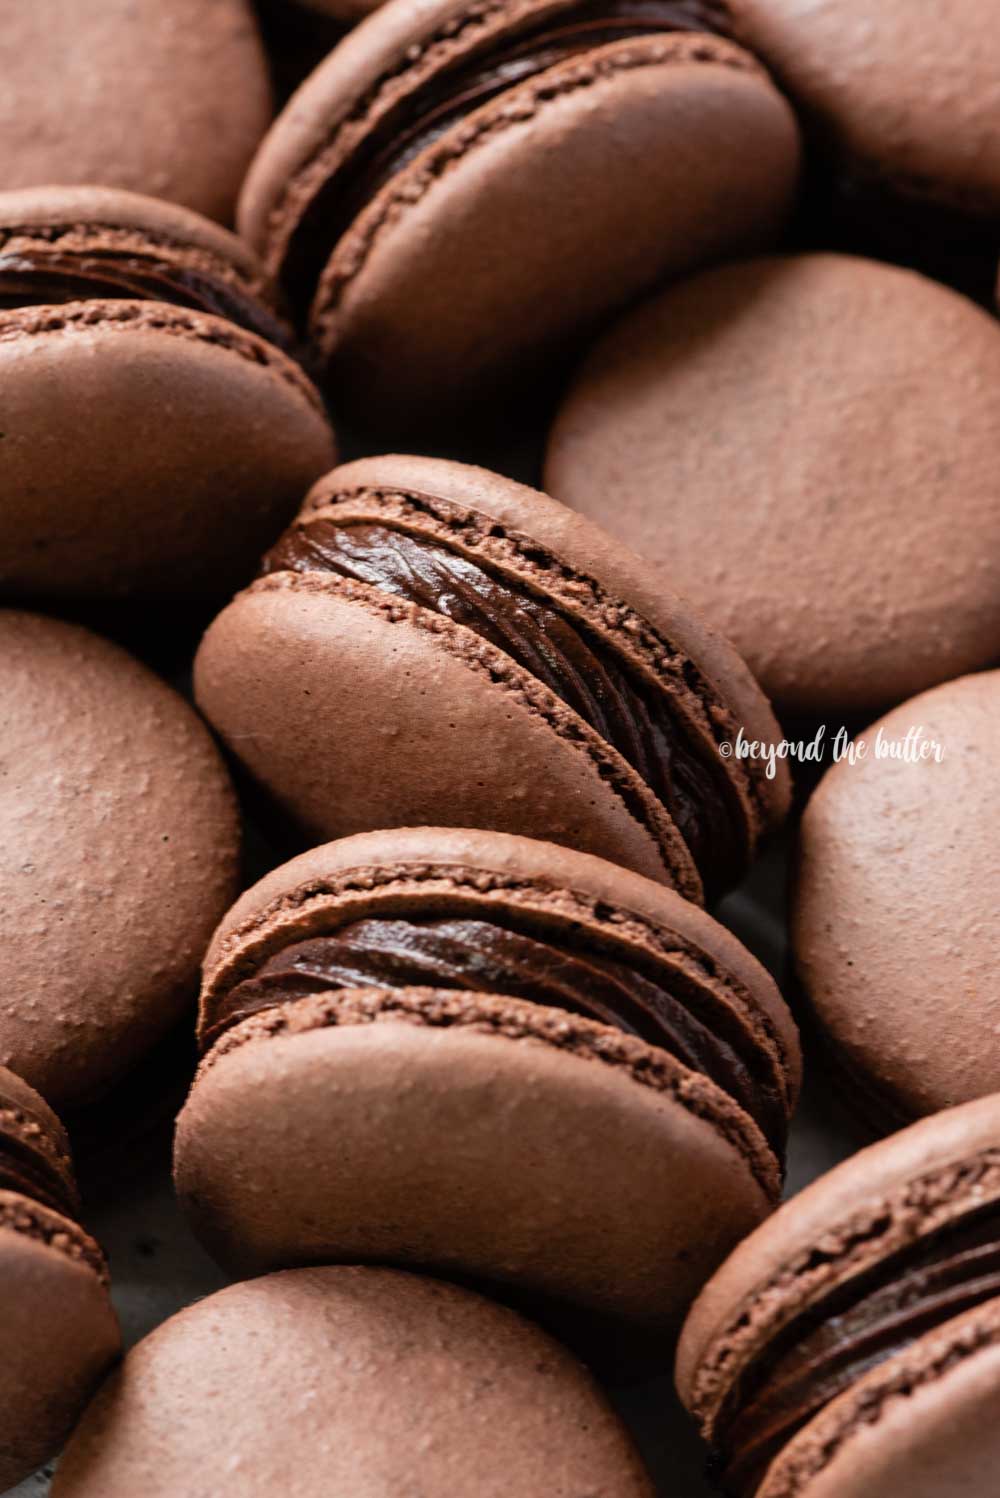
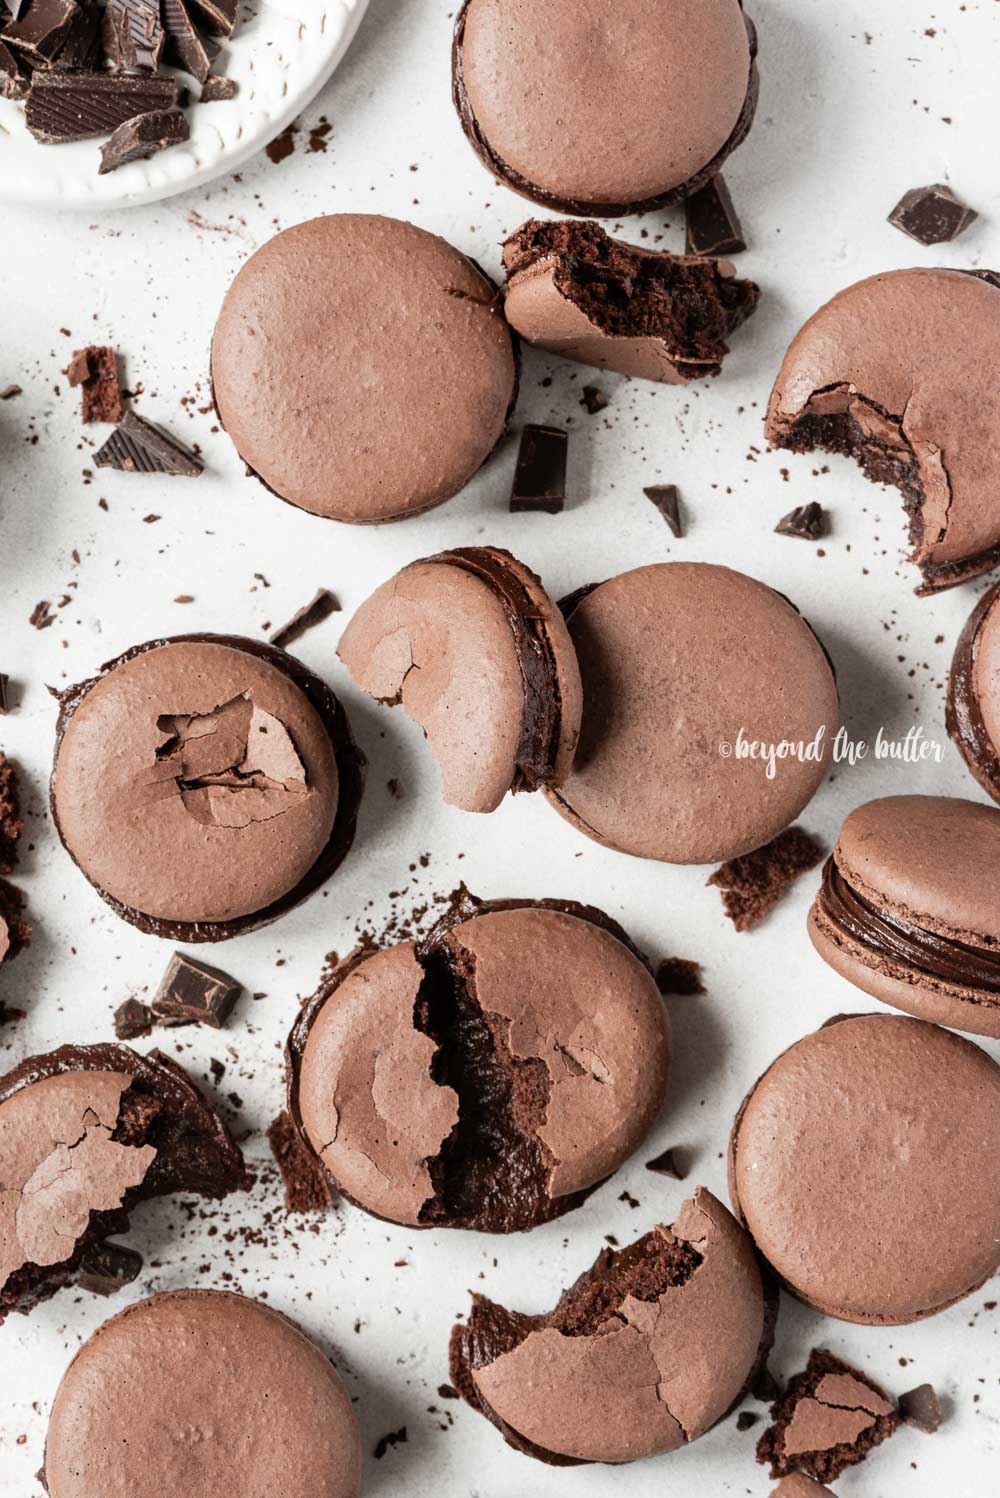
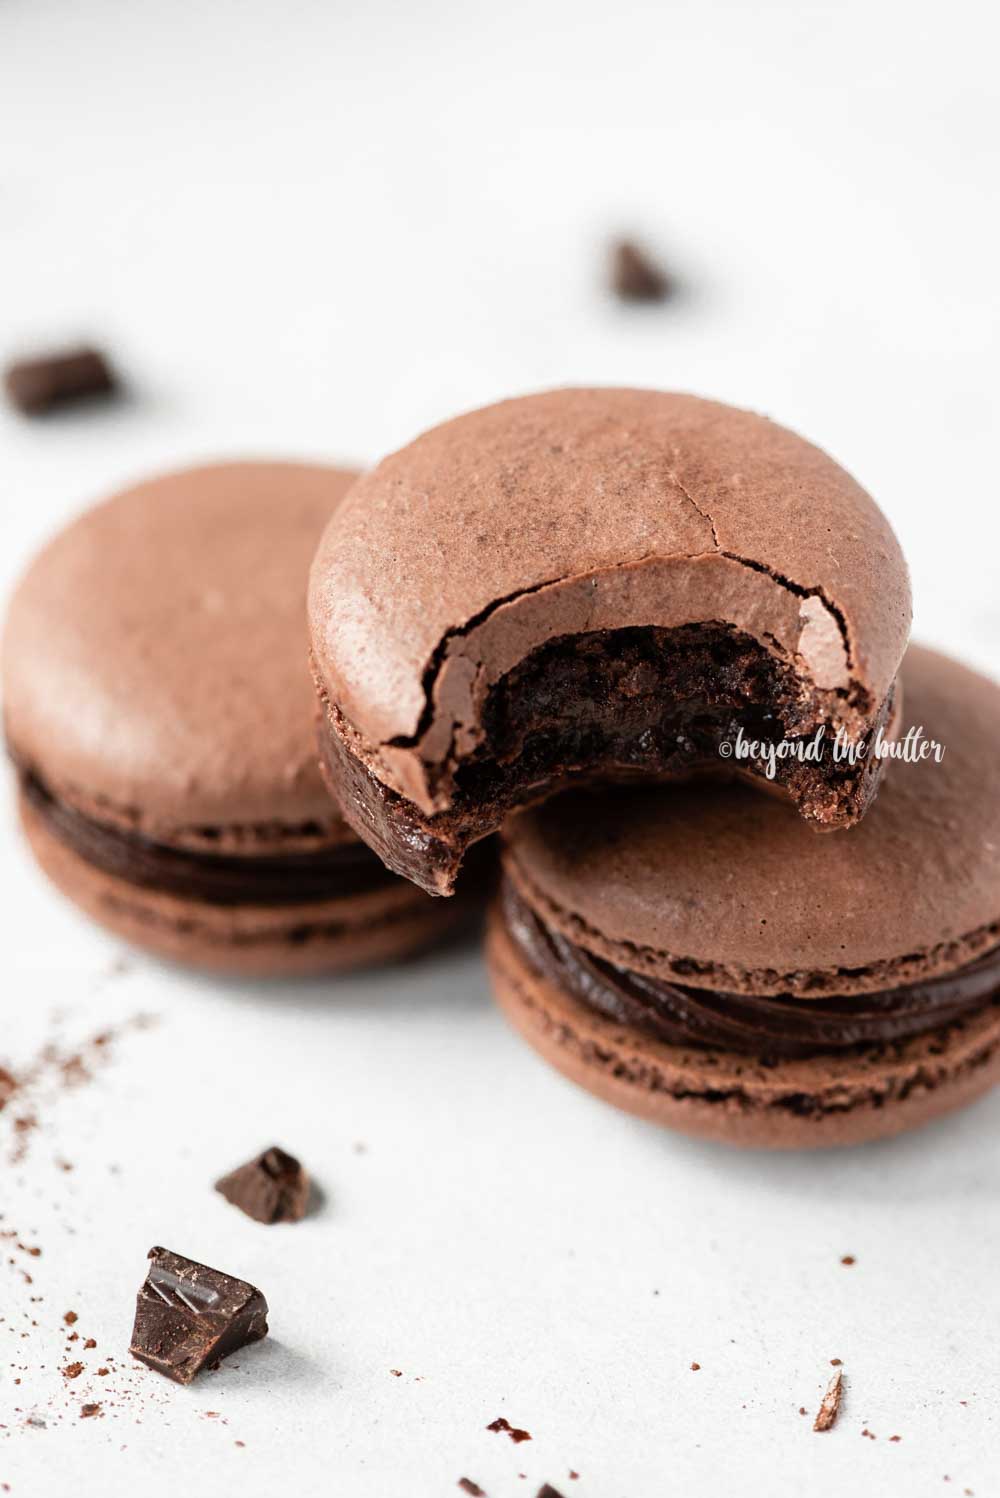
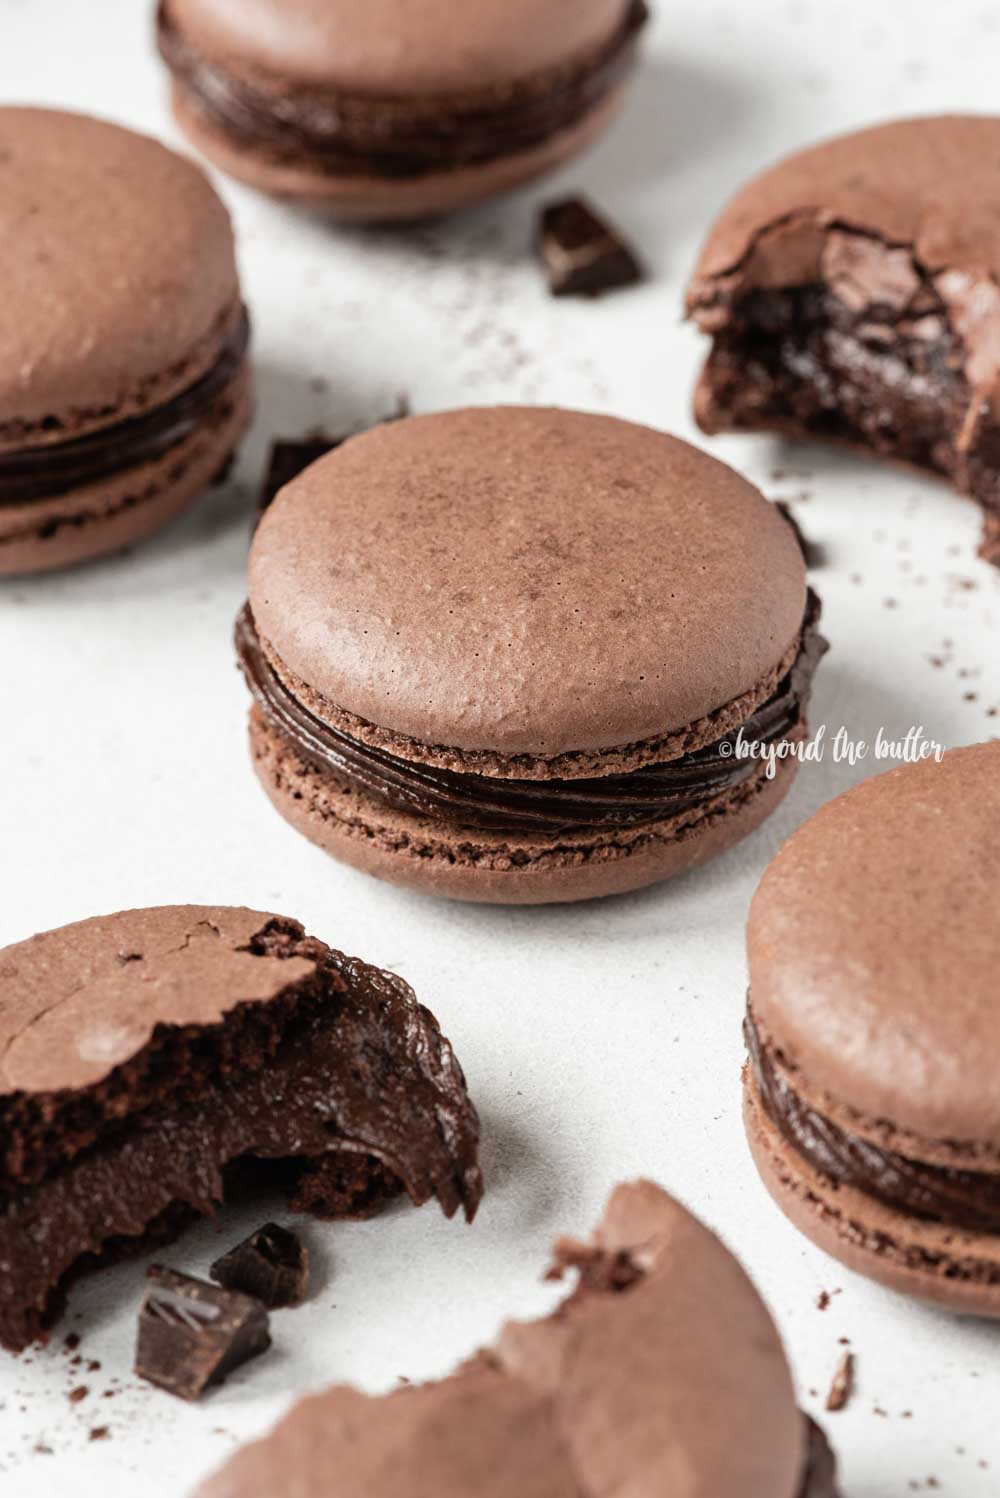
These Dark Chocolate Macarons combine dark chocolate macaron shells that have a light, crisp outer layer with a chewy, chocolatey center that is sandwiched together with a rich, dark chocolate fudge frosting. They’re bite-size, double chocolate decadent treats that are—trust me on this—easier to make than you might think!
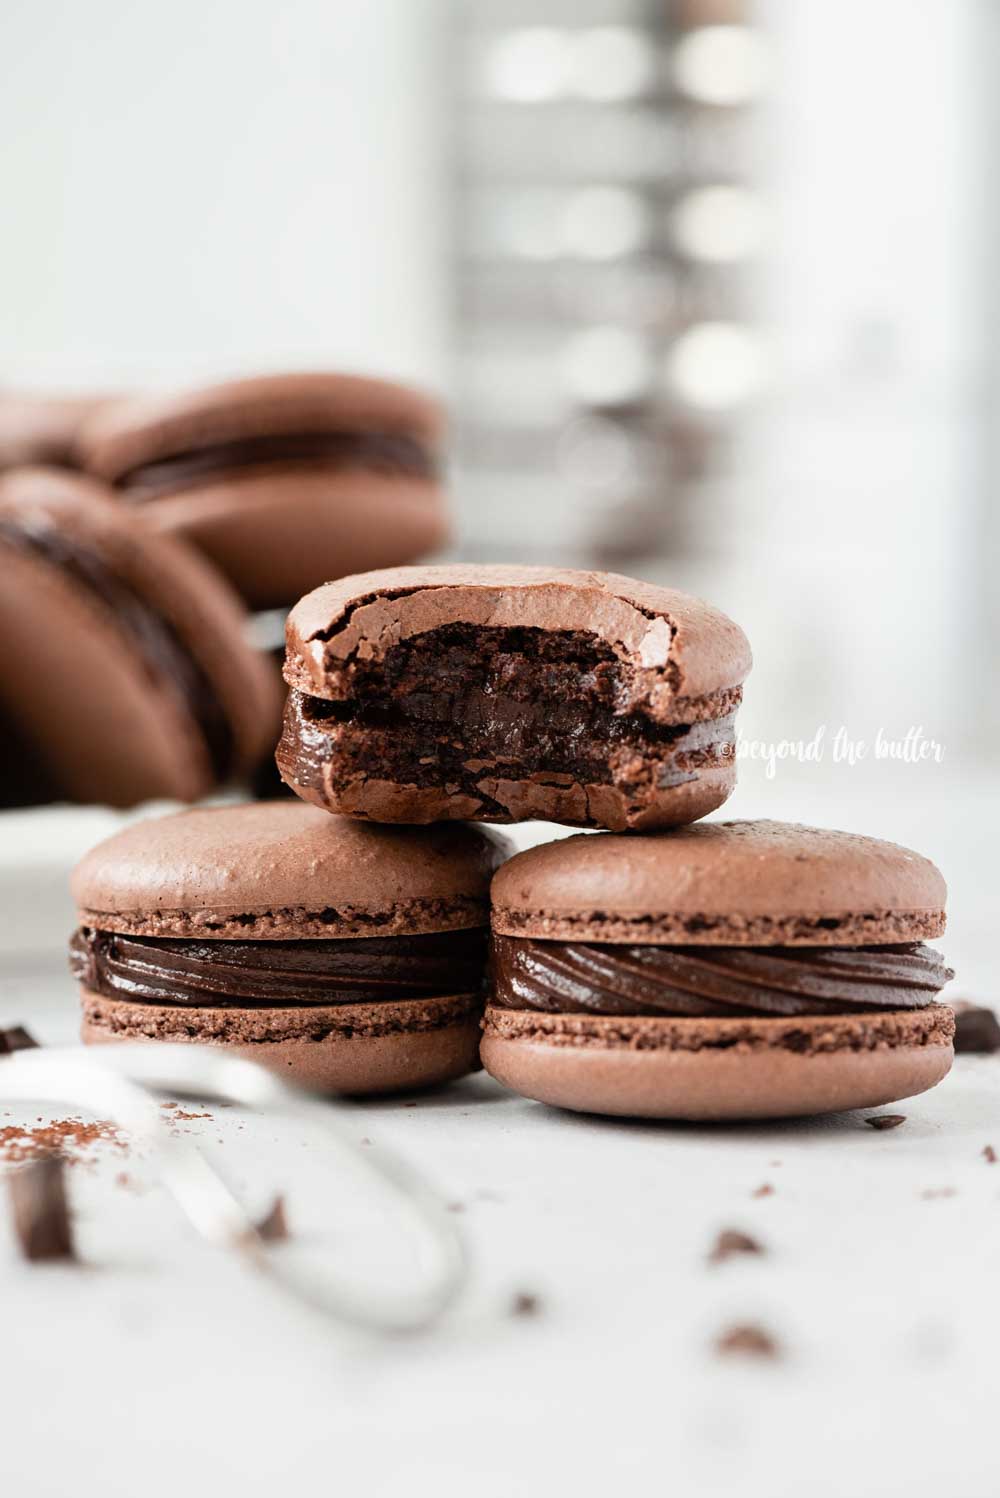
Table of Contents
Why You Should Make This Recipe
- Both the macaron shells and macaron filling are made with dark chocolate.
- When chilled in the refrigerator (in an airtight container) for a day or two, these dark chocolate macarons taste like thick, fudgy chocolate brownies!
- The swiss method is a good way to introduce yourself to making macarons if you’re a beginner or just prefer using this method.
- They’re bite-size, decadent treats that will make anyone’s day better!
- You’ll save a good chunk of money making them at home versus buying them at a bakery which can cost $$!
- Perfect for all the chocolate lovers out there!
Behind the Recipe
It took me 2 YEARS to work up the nerve to finally make macarons. Yes, you read that correctly—2 freaking years.
Don’t ask me if I’ve tried making sourdough bread yet. Baby steps, people.
The two parts I always feared with making macarons were the macaronage step (or the folding of the meringue with the dry ingredients) and baking them. With macaronage, you can under or over-mix the two, which can cause, along with a wonky oven, cracked, lopsided, or hollow macaron shells. And those are just a few of the things that can happen!
So, needless to say, I was stressed, but I decided it was time!
And now, after testing this recipe 10+ times and trying all three methods (swiss, french, and Italian), my personal opinion on the whole process? It wasn’t that bad! Some tests proved successful, while others left me with some cracked, lopsided shells—which was okay because it’s all about the learning process!
I ultimately decided, though, for my first macaron recipe, to go with the swiss method. And, of course, I knew I wanted these macarons to be chocolate. Because hello…chocolate is the best! First, I tried using regular unsweetened cocoa powder, but after the first couple of tests, I switched to dark cocoa powder. I just love how dark they came out, and the flavor is much richer.
What is the Swiss Method for Making Macarons?
The swiss method, which is what we’re using for today’s dark chocolate macaron recipe, is the same process we use for making swiss meringue buttercream, except you do not add the butter.
To make the meringue for the macarons, you heat the granulated sugar and egg whites together in either a double boiler or a bain-marie over 1 – 1 1/2 inches of simmering water until the sugar fully dissolves and the mixture becomes frothy in appearance. The mixture is then transferred to a mixing bowl and whisked on high speed until stiff meringue peaks are reached.
Then you add your sifted dry ingredients to the meringue and continue to fold until you have a thick, lava-like consistency batter.
What is a Bain-Marie?
A bain-marie is a french technique that uses gentle heat to melt or cook foods like chocolate or custard. It’s also used to heat the granulated sugar and egg whites for the swiss meringue.
To create a bain-marie, bring 1 – 1 1/2 inches of water to a simmer in a saucepan. Set a heatproof bowl, bigger than the mouth of the saucepan, over the simmering water. The bottom of the bowl should not touch the water. Put your ingredients in the bowl, and as directed in the recipe below, continuously whisk the granulated sugar and egg whites mixture until the sugar fully dissolves and the mixture becomes frothy in appearance.
Ingredients Needed
This dark chocolate macarons recipe uses the following ingredients:
- Almond Flour. Also known as almond meal, this gives the macarons structure and that chewy texture. I have successfully used Bob’s Red Mill Superfine Almond Flour and Krusteaz Finely Ground Almond Flour.
- Powdered Sugar or Confectioners Sugar. Gives the macarons a taste of sweetness. Any brand will work well; just make sure it gets sifted along with the almond flour, cocoa powder, and salt.
- Dark Cocoa Powder. Gives the macarons a nice dark brown color with a rich, chocolatey taste. I used Hershey’s Special Dark Cocoa Powder. You’ll use this same ingredient when making the chocolate fudge frosting for the macaron filling.
- Aged Egg Whites. Provides the macarons with structure and helps to give it that iconic shape. This ideally should be done the night before. You separate out the egg whites (keep the yolks for another recipe) and leave them uncovered in the refrigerator overnight. 1-2 hours before starting the macarons, bring the egg whites out to bring them to room temperature. See my helpful tips for making macarons section for an alternative way.
- Granulated Sugar. Used along with the aged egg whites to create the stabilized meringue. I used Simply Nature Organic Cane Sugar from ALDI. You can also use white granulated sugar as well.
- Salt. Just a pinch to help give the chocolate a little bit more flavor.
- Vanilla Extract. Adding the extract helps enhance the flavors.
Macaron Baking Tools
Below are some essential macaron baking tools I recommend using for this chocolate macaron recipe. These are only recommendations, so please use what works well for you!
- Large, flat baking sheets. Throughout my testing, I used flat baking sheets and also ones with a 1-inch edge. The flat style proved to work better because it allowed for more airflow around the macaron shells as they baked. The large baking sheets I used are from USA Pan. Can’t say enough good things about this company. They just make really good, solid bakeware.
- Silicone baking mats. For only a few of my tests, I used parchment paper. Some swear by it, others do not. For me, the silicone mats worked nicely and didn’t give me issues when pulling them off the mat—after they’d cooled completely. As I mentioned above, though, use what works best for you!
- Food Scale. This one is important and makes a world of difference with making macarons—or any baking! Mine is from OXO (given to me by my mother-in-law), and I, as I said above, really love it. It even got a shout-out as one of the best scales in the May/June 2020 issue of Bake from Scratch magazine!
- Hand Crank Sifter. The almond flour, powdered sugar, and dark cocoa must be sifted to remove any lumps. Using one of these versus the regular hand-held version you shake, bake, and forth will save you much time and cursing.
- Oven Thermometer. They’re inexpensive and always good to use when baking, especially if your oven temperature tends to be off!
- Large Piping Bag and Decorating Tip. The 16 inch reusable piping bag I used (from Wilton) worked well for the amount of macaron batter used. You could also use a 14 inch piping bag. I don’t recommend using a 12-inch bag or smaller, though—using them was a mess. For the decorating tip, I used my Wilton 2A tip.
In addition to the above, the other baking tools I used to make this easy chocolate macarons recipe are displayed below.
Let’s Make the Recipe
Below is a general walk-thru for how to make these dark chocolate macarons. For specific tips, see my helpful tips for making macarons section. For the recipe, scroll down to the recipe card below.
1. Prep your work area. Prepping your work area before starting this recipe will help keep you organized throughout this macaron-making process. This includes thoroughly cleaning your baking tools, lining baking sheets with either parchment paper or silicone mats, and getting your piping bag ready.
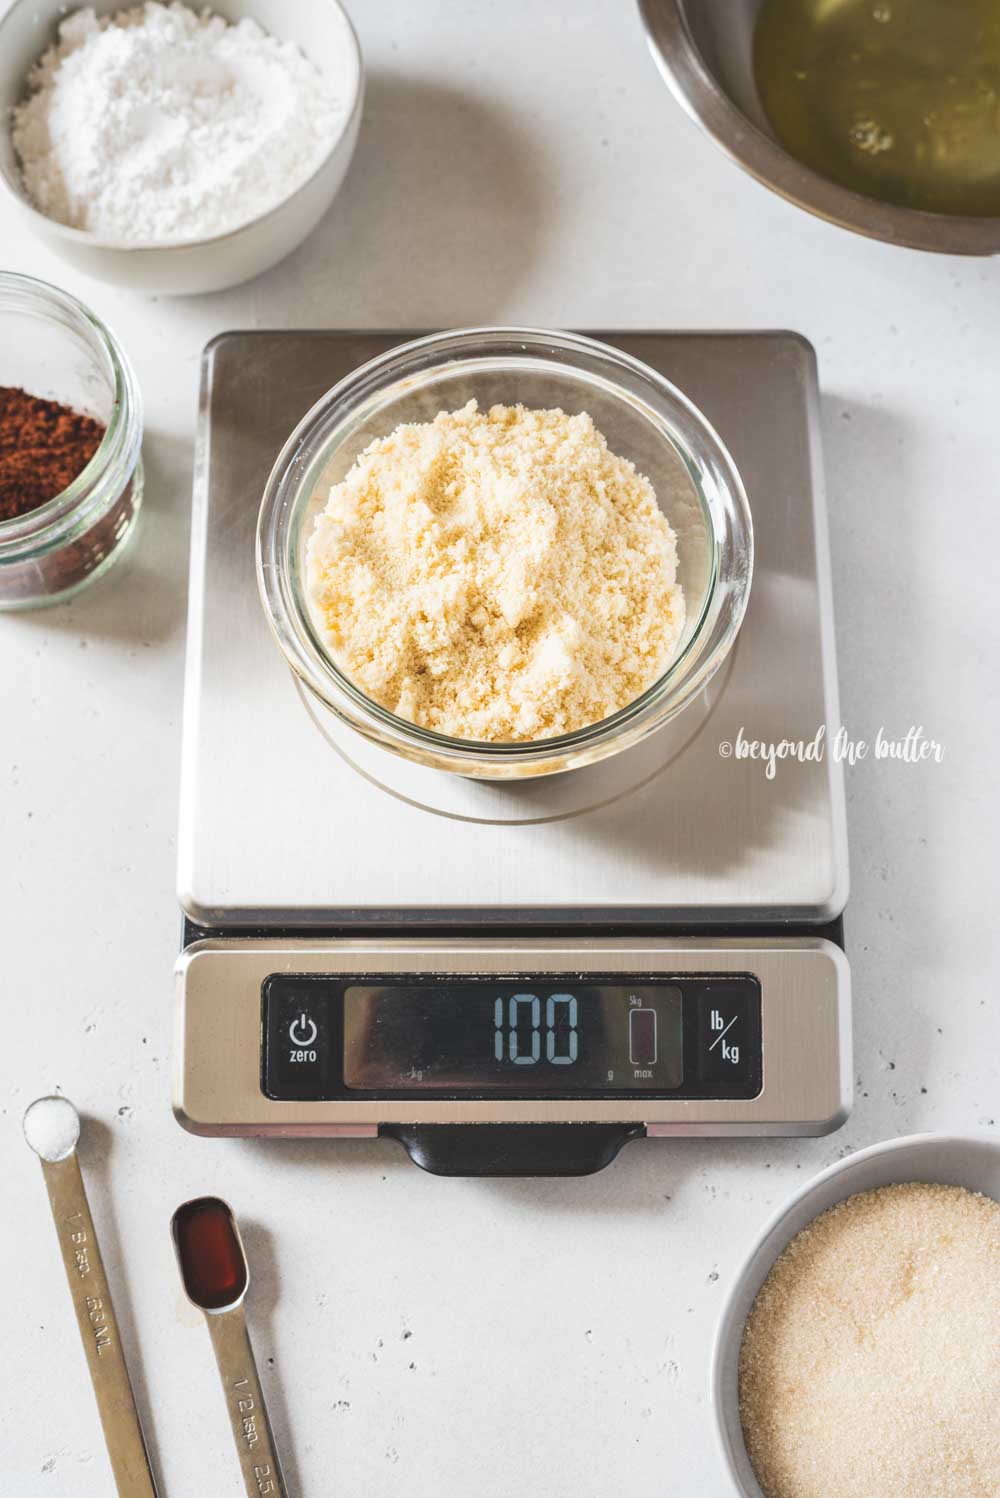
2. Weigh all your ingredients before starting. I cannot stress this step enough. You simply cannot go by US cup measurements for macaron recipes. So if you don’t have a food scale—now is the time to get one!
3. Sift the dry ingredients twice, then whisk. This helps to separate out the lumps of almond flour, powdered sugar, and even sometimes cocoa powder. More often times than not, though, I found bits of the almond flour and powdered sugar left behind. Do not press these bits through the sifter. Discard them.
4. Heat the sugar and egg whites over simmering heat. I used a heat-proof glass bowl over a saucepan of simmering water for this part. Consistently whisk the mixture until the sugar has completely dissolved and appears frothy. This took roughly 5-6 minutes.
5. Make the meringue. Pour the hot mixture into the bowl of a stand mixer. Use a whisk attachment and set the speed to high. When the mixture initially reaches the soft peaks stage, add in the vanilla extract. Continue to mix on high speed right until stiff peaks form.
This process took me about 10 minutes. The meringue should look glossy and be able to hold its shape when you invert the whisk attachment.
6. Fold in your dry ingredients. Let me just start by saying that this part of the macaron process will take some time to master, so don’t get discouraged. Using a spatula, gently fold in the dry ingredients with the stiff meringue.
As you continue to fold, press the batter against the side of the bowl—almost like your making a wave along the side. This is to help remove some of the air bubbles in the batter. Keep folding until the batter is the consistency of lava.
If the batter falls off the spatula in ribbons with no breaking, it’s time to pipe! If not, keep folding every 2-3 times, then test again.
7. Pipe out the macaron circles. Your circles should be 1.5 inches in diameter and piped perpendicular to the mat. My silicone mats have two circles—1 inch, and the outer is 1.5 inches. I piped my circles out just past the inner circle.
If you’re using a template or tracing them onto parchment paper, remember to flip the paper over so you don’t pipe over the ink.
8. Let the macarons rest. Set the trays of macaron shells to the side, somewhere cool and dry. If you have a ceiling fan, it’s good to have that on. I recommend waiting 40 minutes for resting, but this really will depend on where you live and the level of humidity. Remember—the higher the humidity, the longer the rest time.
When you’re close to the end of the resting time, go ahead and preheat your oven to 300ºF. A good test before baking—gently touch the tops of the macarons. If they’re dry to the touch and don’t leave any marks, it’s time to bake!
9. Bake the macarons for 16 minutes at 300ºF. Bake only one tray at a time and rotate the tray halfway through baking. Don’t skip this step!
10. Let the macarons cool. I learned my lesson the very first time I made these. I got so excited I just started to pull them up. A few of them actually pulled off with no problems, but the rest left some of the shells behind. Wait at least 20-30 minutes before removing them.
11. Pipe the dark chocolate fudge filling. You can (carefully) hold the macaron shell in your hand as you pipe, or you can set it on the mat. I started in the center of the macaron shell and piped outwards. Be gentle, sandwiching the macaron shells together with the filling. You don’t have to apply that much pressure! See my section below on how to make chocolate fudge frosting for macarons.
12. Refrigerate the macarons. Keep them stored in an airtight container in the refrigerator. Macarons are good after you first make them, but they’re really at their very best taste-wise after 2-3 days of sitting in the refrigerator. Trust me on this.
Dark Chocolate Fudge Frosting
This chocolate fudge macaron filling is adapted from my chocolate zucchini cake recipe. It’s best to use either a hand mixer or a stand mixer fitted with a paddle attachment. Having a spatula on hand is good for scraping down the sides of the mixing bowl too.
Ingredients
For the dark chocolate fudge frosting, you’ll need the following ingredients:
- Unsalted Butter – must be at room temperature
- Powdered or Confectioners Sugar – definitely sift before adding!
- Dark Cocoa Powder – unsweetened cocoa powder can be easily used as a substitute
- Salt – just a pinch
- Light Corn Syrup
- Vanilla Extract
- Dark Chocolate 70% Cocoa – only 2 ounces is needed, and it’s best to use a bar versus chocolate chips. I like to use Lindt’s Dark Chocolate 70% Cocoa Bar or Moser Roth 70% Cocoa from ALDI. Either worked really well.
Method
This is a really easy recipe to make; you literally just add all of the ingredients together in a bowl (make sure to sift that powdered sugar!) and mix! The key, though, is to mix it all together on a low-speed setting. This will give the frosting a really nice smooth texture with no air pockets.
Piping
For piping the frosting onto the macaron shells, I recommend using a 12-inch piping bag fitted with a coupler and a small decorating tip of your choice. I used the Wilton 32 tip.
Helpful Tips for Making Macarons
General
- Avoid making macarons on a really humid day. Cool, dry environments are the best!
- Thoroughly cleaning any baking tools that will be used to make the macarons with a paper towel soaked with little white vinegar. This will remove any traces of grease that may have been left behind. Grease is like kryptonite to egg whites.
- I highly recommend taking notes as you make these because if one tip doesn’t work, it’s good to know for next time so you can try something else.
- Don’t get discouraged or give up if your macarons don’t come out perfect the first time. These are finicky little things and many factors can play into why they may not have worked out. I got lucky with my first test, but many of my others were not successful.
- You can make your macaron shells a day or 2 in advance. Keep them stored at room temperature until you’re ready to add the filling.
Dry Ingredients
- Instead of whisking your dry ingredients after sifting twice, you can use a food processor and pulse until it’s well blended. Don’t skip the sifting though.
Meringue
- When separating your egg whites, make sure there are no traces of the yolk added. This will mess up the whole meringue process.
- An alternative to aging egg whites—bringing the eggs to room temperature 1-2 hours before starting worked just as well. Then I separated out the egg whites.
- An easy test for making sure the sugar has completely dissolved into the egg whites—run a little bit of the mixture between your thumb and pointer finger. If you feel any granules at all, keep whisking. And with the simmering water, you won’t burn your fingers when testing. Don’t skip this test.
- Before transferring the hot mixture to a mixing bowl, lift up and carefully wipe away any condensation from the bottom of the bowl. Use oven gloves to transfer, if needed.
Macaronage
- Another way to tell your macaron batter is ready for piping is when it can form a figure 8 shape without breaking.
- You can also take a teaspoon of batter and place it on a tiny piece of parchment paper or a silicone mat. If it stays stiff and doesn’t spread you will need to fold the batter a few more times. This helpful tip comes from my friend Camila over at Pies and Tacos!
Piping
- I use a pint glass to get my piping bag ready. I fit the piping tip inside, then I twist the bottom of the bag and turn it upwards within the glass. When I add the batter then, it won’t start to immediately come out of the piping tip.
- Your macarons should be piped to 1.5 inches in diameter.
- Hold your piping bag perpendicular to the mat as you pipe out the circles. Piped at an angle can give you lopsided macarons.
- Finish each piping with a quick swoop as you pull up. Directly pulling up on the bag will give you a hump on the top of the shell.
- Gently bang the baking sheets 3-4 times to bring any air bubbles to the surface. Pop those babies with a toothpick.
Macaron Resting/Drying
- Resting/drying time for your macarons will vary depending upon how humid it is where you live. I recommend 40 minutes for drying. Having the ceiling fan was helpful too.
Baking
- Baking time noted for this recipe is 300ºF for 16 minutes.
- I had my oven rack placed on the 2nd level mark, which is just above center.
Cooling
- If you find your macaron shells are still sticking to the mat or parchment paper after you’ve let them cool, place them in the freezer for about 15-20 minutes. This tip was given to me by my friend Erin over at Cloudy Kitchen!
- Even if you still have some macaron bottoms that aren’t perfect, that’s okay! A little chocolate fudge frosting will cover that right up! 🙂
Frosting
- I got roughly 9.5 ounces or 270 grams of frosting from this recipe. There was just a little leftover using the Wilton 32 tip and the amount of frosting I piped onto each macaron.
- Any leftover frosting can be kept for up to a week refrigerated in an airtight container.
- You can skip the homemade frosting and use store-bought, whipped topping, chocolate ganache, or any of the frostings I share in my recipe box. Note that the frostings will need to be scaled down for this recipe.
Craving More Chocolate?


Looking for even more chocolate dessert ideas? Visit my recipe box!
Dark Chocolate Macarons

Ingredients
dark chocolate macaron shells
- 1 cup Almond Flour, sifted
- 3/4 cup Powdered Sugar, sifted
- 3 tbsp Dark Cocoa Powder, sifted
- 3 Aged Egg Whites
- 1/2 cup Granulated Sugar
- 1/8 tsp Salt
- 1/2 tsp Vanilla Extract
dark chocolate fudge frosting
- 1/3 cup Unsalted Butter, room temperature
- 2/3 cup Powdered Sugar, sifted
- 1/4 cup Dark Cocoa Powder, sifted
- 1/8 tsp Salt
- 1/4 cup Light Corn Syrup
- 1/2 tsp Vanilla Extract
- 2 oz Dark Chocolate 70%, melted and cooled
Instructions
dark chocolate macaron shells
- Prep your work area by cleaning your mixing bowls, whisks, and any other baking tools that will be used for making the macarons. Using a little white vinegar on a paper towel will help remove any grease left behind.
- Line 2 baking sheets with either parchment paper or silicone mats and fit a large piping bag with a round decorating tip (like the Wilton 2A). Set to the side.
- Weigh all your ingredients using a food scale.
- Sift the almond flour, powdered sugar, dark cocoa powder, and salt together twice, removing any bits left behind from the sifter. Whisk together to fully blend (or use a food processor).1 cup Almond Flour, 3/4 cup Powdered Sugar, 3 tbsp Dark Cocoa Powder, 1/8 tsp Salt
- Using a double boiler or bain-marie, heat the granulated sugar and aged egg whites over 1 – 1.5 inches of simmering water, continually whisking until the sugar has fully dissolved and the mixture is frothy in appearance (about 5-6 minutes). Test by rubbing a little of the mixture between your pointer finger and thumb to make sure all sugar granules have dissolved.3 Aged Egg Whites, 1/2 cup Granulated Sugar
- Transfer the hot mixture to a mixing bowl of a stand mixer fitted with the whisk attachment and set the speed to high. When the mixture initially reaches the soft peaks stage, add in the vanilla extract. Continue to mix on high speed right until stiff peaks form (about 10 minutes). The meringue should look glossy and be able to hold its shape when you invert the whisk attachment.1/2 tsp Vanilla Extract
- Using a spatula, gently fold in the dry ingredients with the stiff meringue. As you continue to fold, press the batter against the side of the bowl. Keep folding until the batter is the consistency of lava. If the batter falls off the spatula in ribbons (or can make a figure 8 pattern) with no breaking, it’s time to pipe! If not, fold 2-3 more times, then test again.
- When ready, carefully scoop the batter into the piping bag. Holding your bag perpendicular to the silicone mat (or parchment paper), pipe out a circles close to 1.5 inches in diameter. When you bang the baking sheets on the counter after piping they should spread out just a little.
- Bang your baking sheets on the counter 3-4 times to release the air bubbles. Use a toothpick to carefully remove them.
- Set the trays of chocolate macaron shells to the side, somewhere cool and dry, where they can rest/dry for 40 minutes. The dark chocolate macarons are ready to be baked when the tops are dry to the touch. Use a ceiling fan to help dry them, if you have one. Drying times will vary based on where you live. The higher the humidity, the longer the rest time.
- When you’re close to the end of the resting time, preheat your oven to 300ºF and place your oven rack on the 2nd level mark (just above the center).
- Bake only 1 tray of the chocolate macarons at a time for 16 minutes at 300ºF, rotating the baking sheet at the 8 minute mark. Do not skip this step!
- When done, remove from the oven and allow to cool for 20-30 minutes. If your shells are still a little sticky after this time frame, you can pop them in the freezer for 15-20 minutes.
- If not making/piping the frosting until the next day, keep the macaron shells stored in an airtight container either in the freezer or refrigerator.
dark chocolate fudge frosting (makes 9.5 ounces or 270 grams)
- Using your hand mixer or stand mixer fitted with a paddle attachment, mix together the unsalted butter, sifted powdered sugar, dark cocoa powder, salt, light corn syrup, vanilla extract, and melted chocolate over low speed until blended smooth. Use a spatula to scrape down the sides of the bowl as needed.1/8 tsp Salt, 1/3 cup Unsalted Butter, 2/3 cup Powdered Sugar, 1/4 cup Dark Cocoa Powder, 1/8 tsp Salt, 1/4 cup Light Corn Syrup, 1/2 tsp Vanilla Extract, 2 oz Dark Chocolate 70%
assembling the dark chocolate macarons
- Fit a small- to medium-size piping bag with a coupler and small decorating tip (like the Wilton 32), then fill the bag with 3/4 of the frosting.
- Pipe the chocolate fudge filling onto a macaron shell, then gently press another macaron shell on top. Repeat until you have used all the macaron shells. Store any leftover frosting in the refrigerator for up to 1 week.
- Keep the dark chocolate macarons stored in an airtight container in the refrigerator. Macarons taste their very best after 2-3 days of sitting in the refrigerator. They taste like a thick and chewy brownie. So good!
Notes
- Thoroughly cleaning any baking tools that will be used to make the macarons with a paper towel soaked with little white vinegar. This will remove any traces of grease that may have been left behind.
- You can make your macaron shells a day or 2 in advance. Keep them stored at room temperature until you’re ready to add the filling.
- Instead of whisking your dry ingredients after sifting twice, you can use a food processor and pulse until it’s well blended. Don’t skip the sifting though.
- When separating your egg whites, make sure there are no traces of the yolk added. This will mess up the whole meringue process.
- An alternative to aging egg whites—bringing the eggs to room temperature 1-2 hours before starting worked just as well. Then I separated out the egg whites.
- An easy test for making sure the sugar has completely dissolved into the egg whites—run a little bit of the mixture between your thumb and pointer finger. If you feel any granules at all, keep whisking. And with the simmering water, you won’t burn your fingers when testing. Don’t skip this test.
- Before transferring the hot mixture to a mixing bowl, lift up and carefully wipe away any condensation from the bottom of the bowl. Use oven gloves to transfer, if needed.
- Another way to tell your macaron batter is ready for piping is when it can form a figure 8 shape without breaking.
- Resting/drying time for your macarons will vary depending upon how humid it is where you live. I recommend 40 minutes for drying. Having the ceiling fan was helpful too.
Nutrition
Nutritional information provided above is an estimate only and will vary based on specific ingredients used. See Nutritional Disclaimer for more info.


Why are there no weight measurements?
Hi Candy! There are, you just have to toggle to them in the recipe card. Just above the ingredients list you’ll see US Customary and Metric. Select Metric and they’ll appear.
Thank you for sharing. This is the first time I very successfully made good looking macarons with feet!!!! And they taste amazing.
I am making them as a surprise for my daughter’s birthday in a few weeks, so I will hide them in the freezer and fill when ready.
Thank you again!
Yay! That’s wonderful! I’m so glad they came out great! I hope your daughter enjoys them!
I used your fudge filling recipe for my own macarons, and the filling is heavenly!!! I did add a little bit of whipping cream to it, since it got too firm in the fridge initially. But now it pipes like a dream and tastes spectacular. It will be my go-to for the ultimate indulgent chocate filling. Thank you!
You’re so welcome! Glad you love it!
I found your recipe on Pinterest and finally got the courage to attempt my first macaron. They turned out perfectly and I’m so impressed with myself! Thank you for the clear instructions and this chocolaty masterpiece.
YAY!!! That’s so awesome! I know how intimidating they can be, so I appreciate this feedback so much!
I have never been able to make a macaron I was 100% satisfied with until TODAY! This clear and easy recipe worked and produced cookies with the texture I’ve been looking for. They’re like brownies and the filling was super pipable and luxurious frosting. Thank you so much.
Yay! That’s wonderful!!!! Thanks for taking the time to make them!
Hello ,
I really would like to try baking them but as you mentioned baking macarons is very intimidating:D
I just wanted to ask you if you could mention the weight of the ingredients as well .
Thanks a lot
Hi! If you click on the metric link within the recipe card under the ingredients section, the weighted measurements will appear. It seems to default to US Customary. Thanks!
Turned out great!
Yay! I’m so glad they did! Thank you for making them!
I attempted macarons for the first time using this recipe and I really appreciate how detailed this was in terms of tools and prep. While I still have some work to do on the final product, everyone who tried these thought they tasted so delicious!
This is awesome, Nikki! I know attempting macarons can be intimidating so I’m happy you gave them a try! And love that they were a hit!
Everything you make looks so perfect! I love the detail to the recipe that would encourage one to dive in. Thank you!
You’re so sweet, thank you!