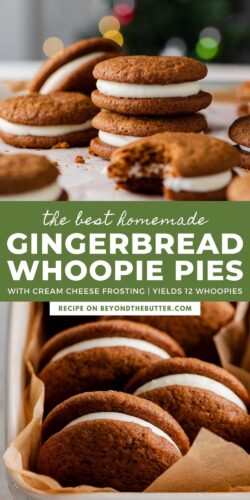
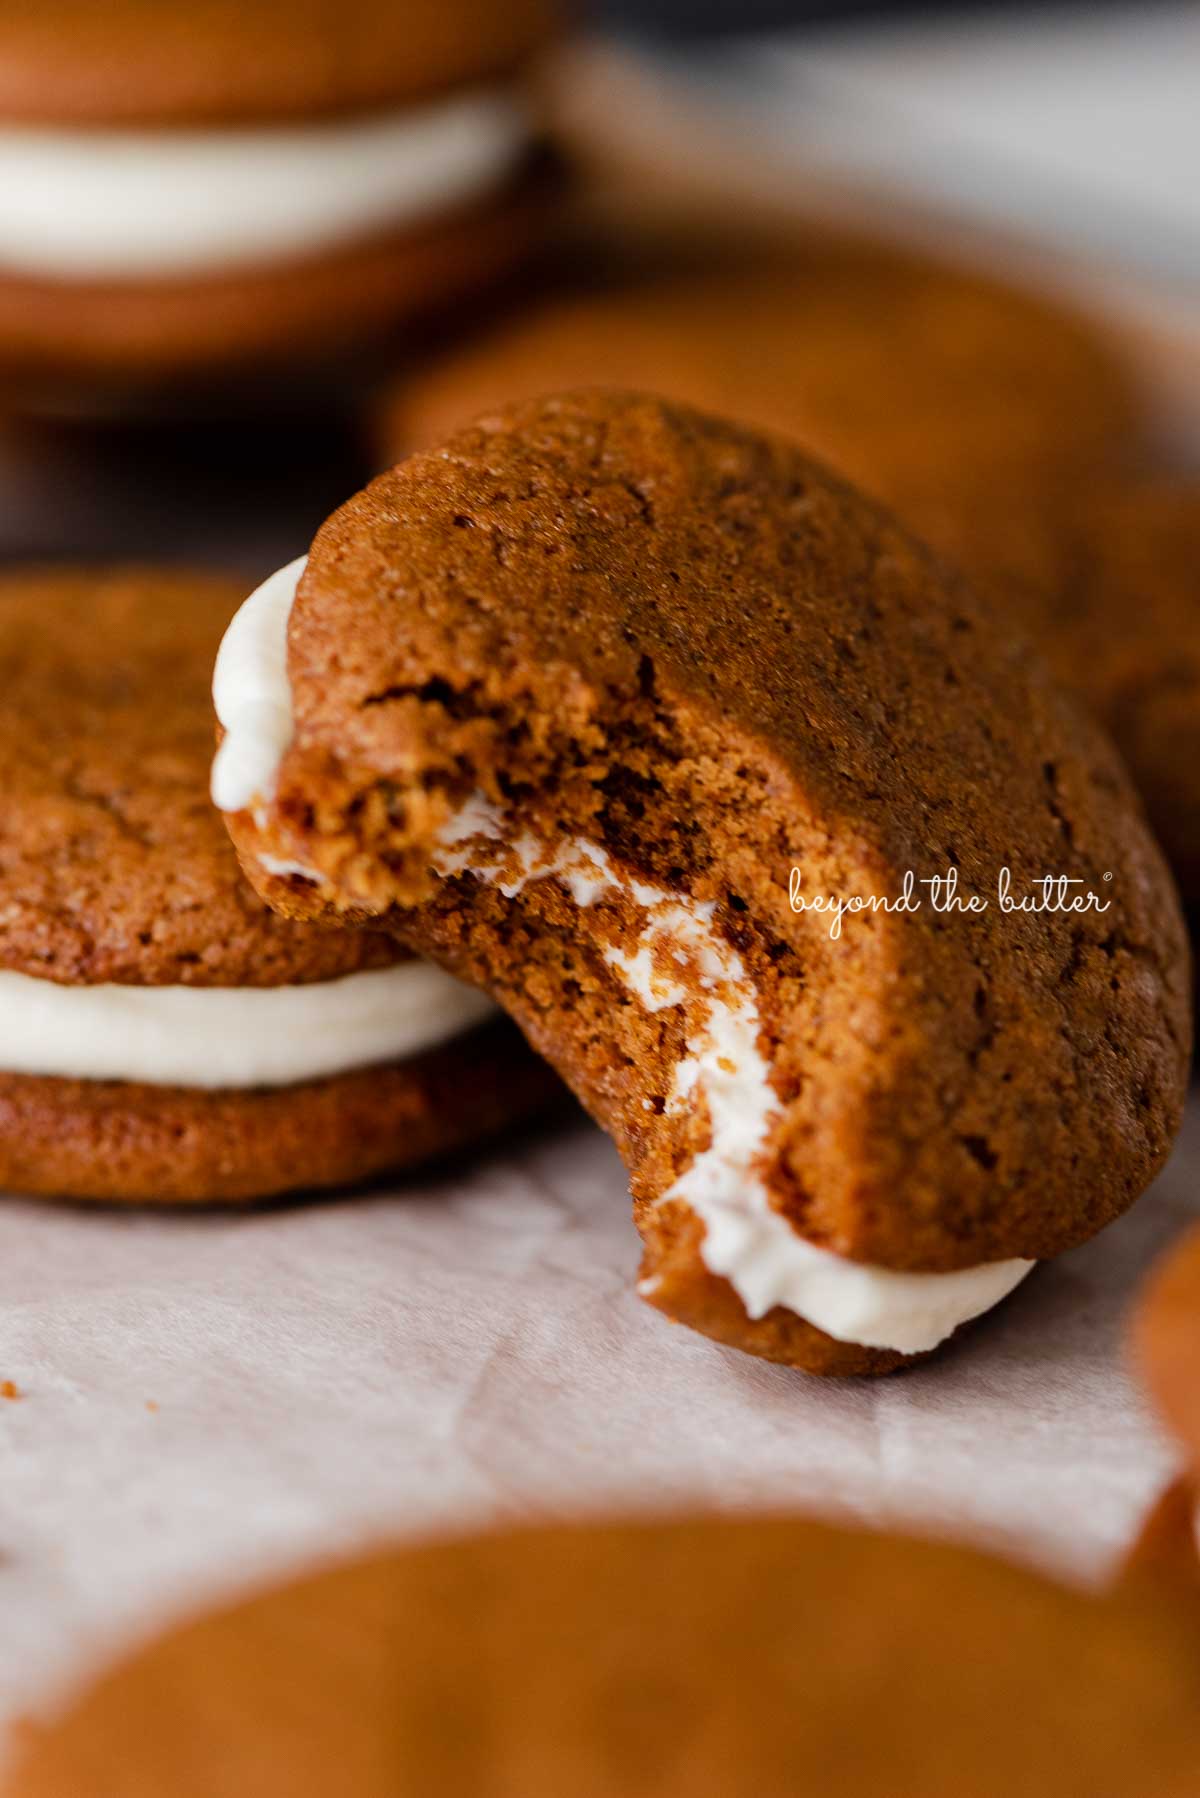
These Gingerbread Whoopie Pies combine soft and moist gingerbread cakes sandwiched together with a simple and delicious cream cheese frosting. They’re a classic, easy-to-make holiday recipe that is perfect for sharing with your loved ones!
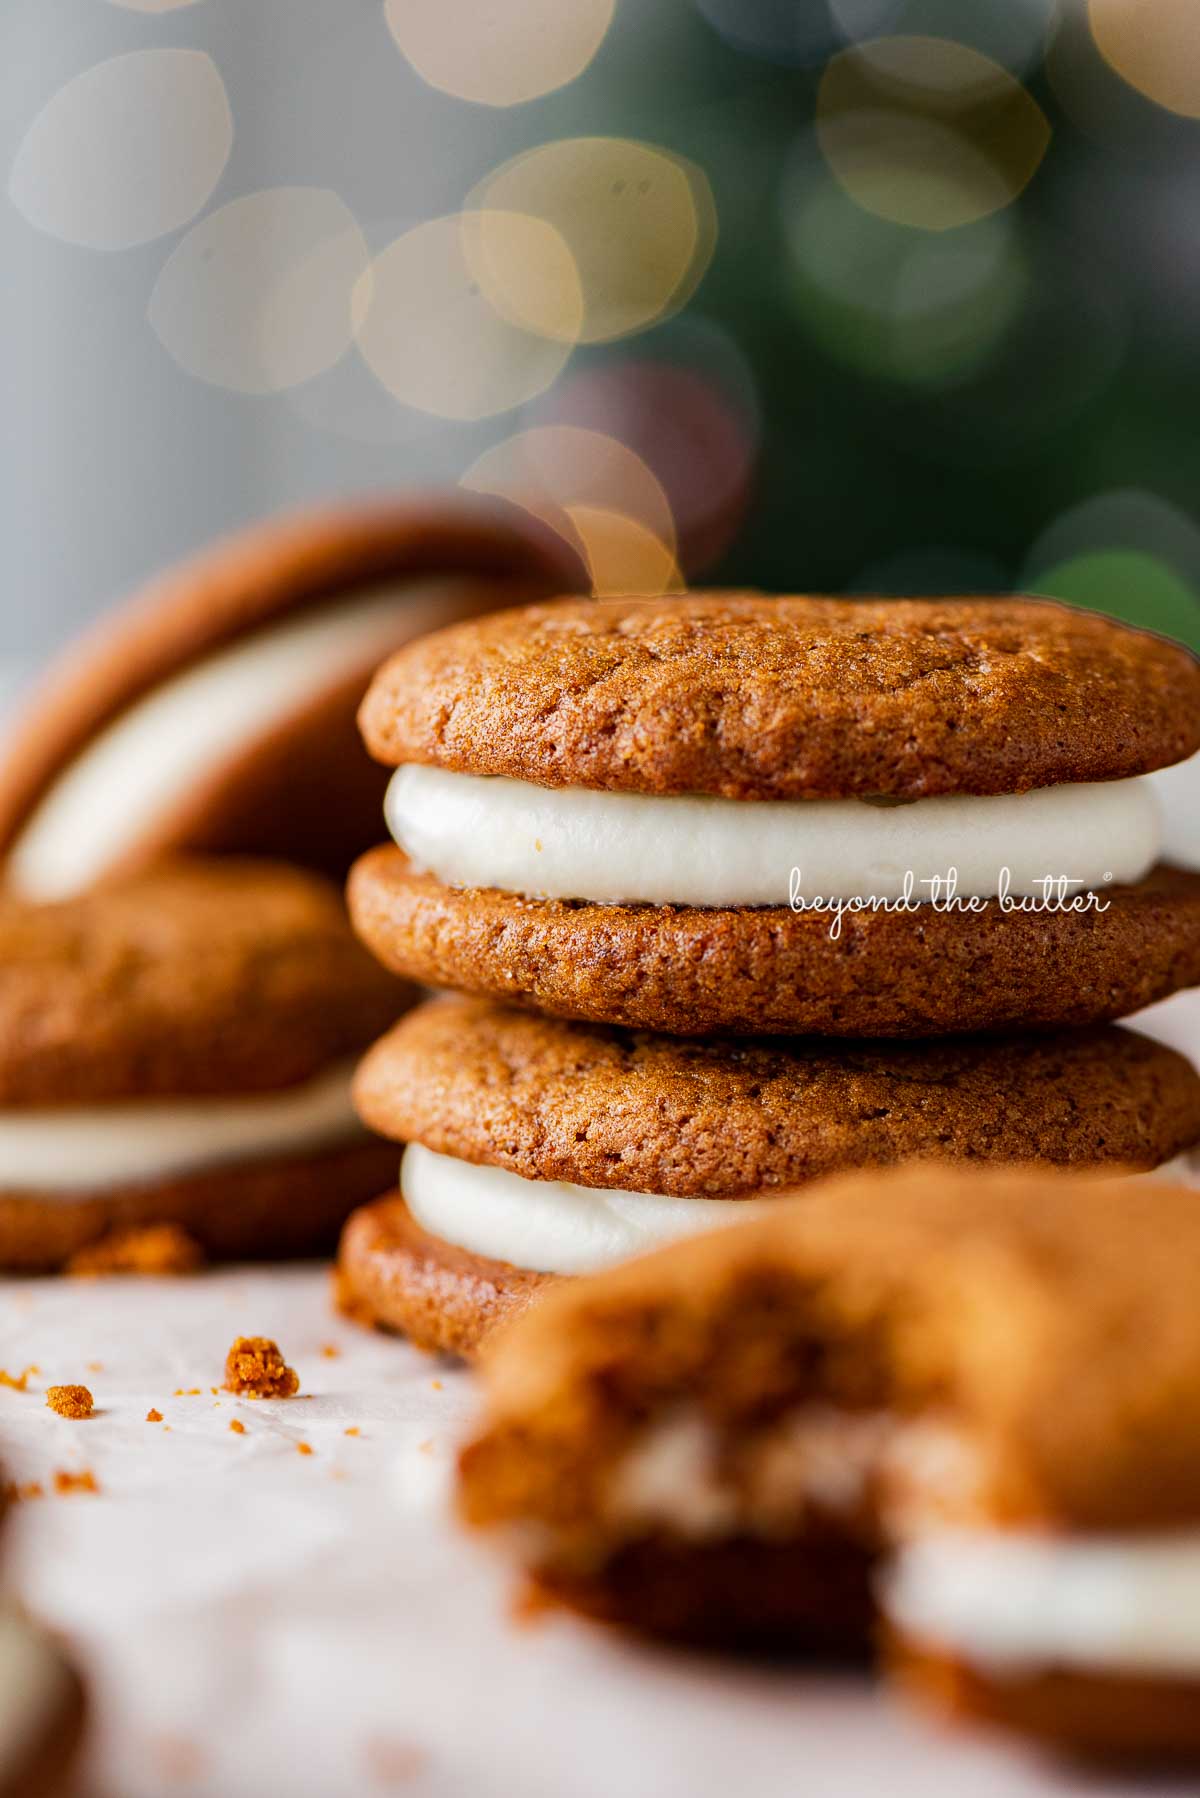
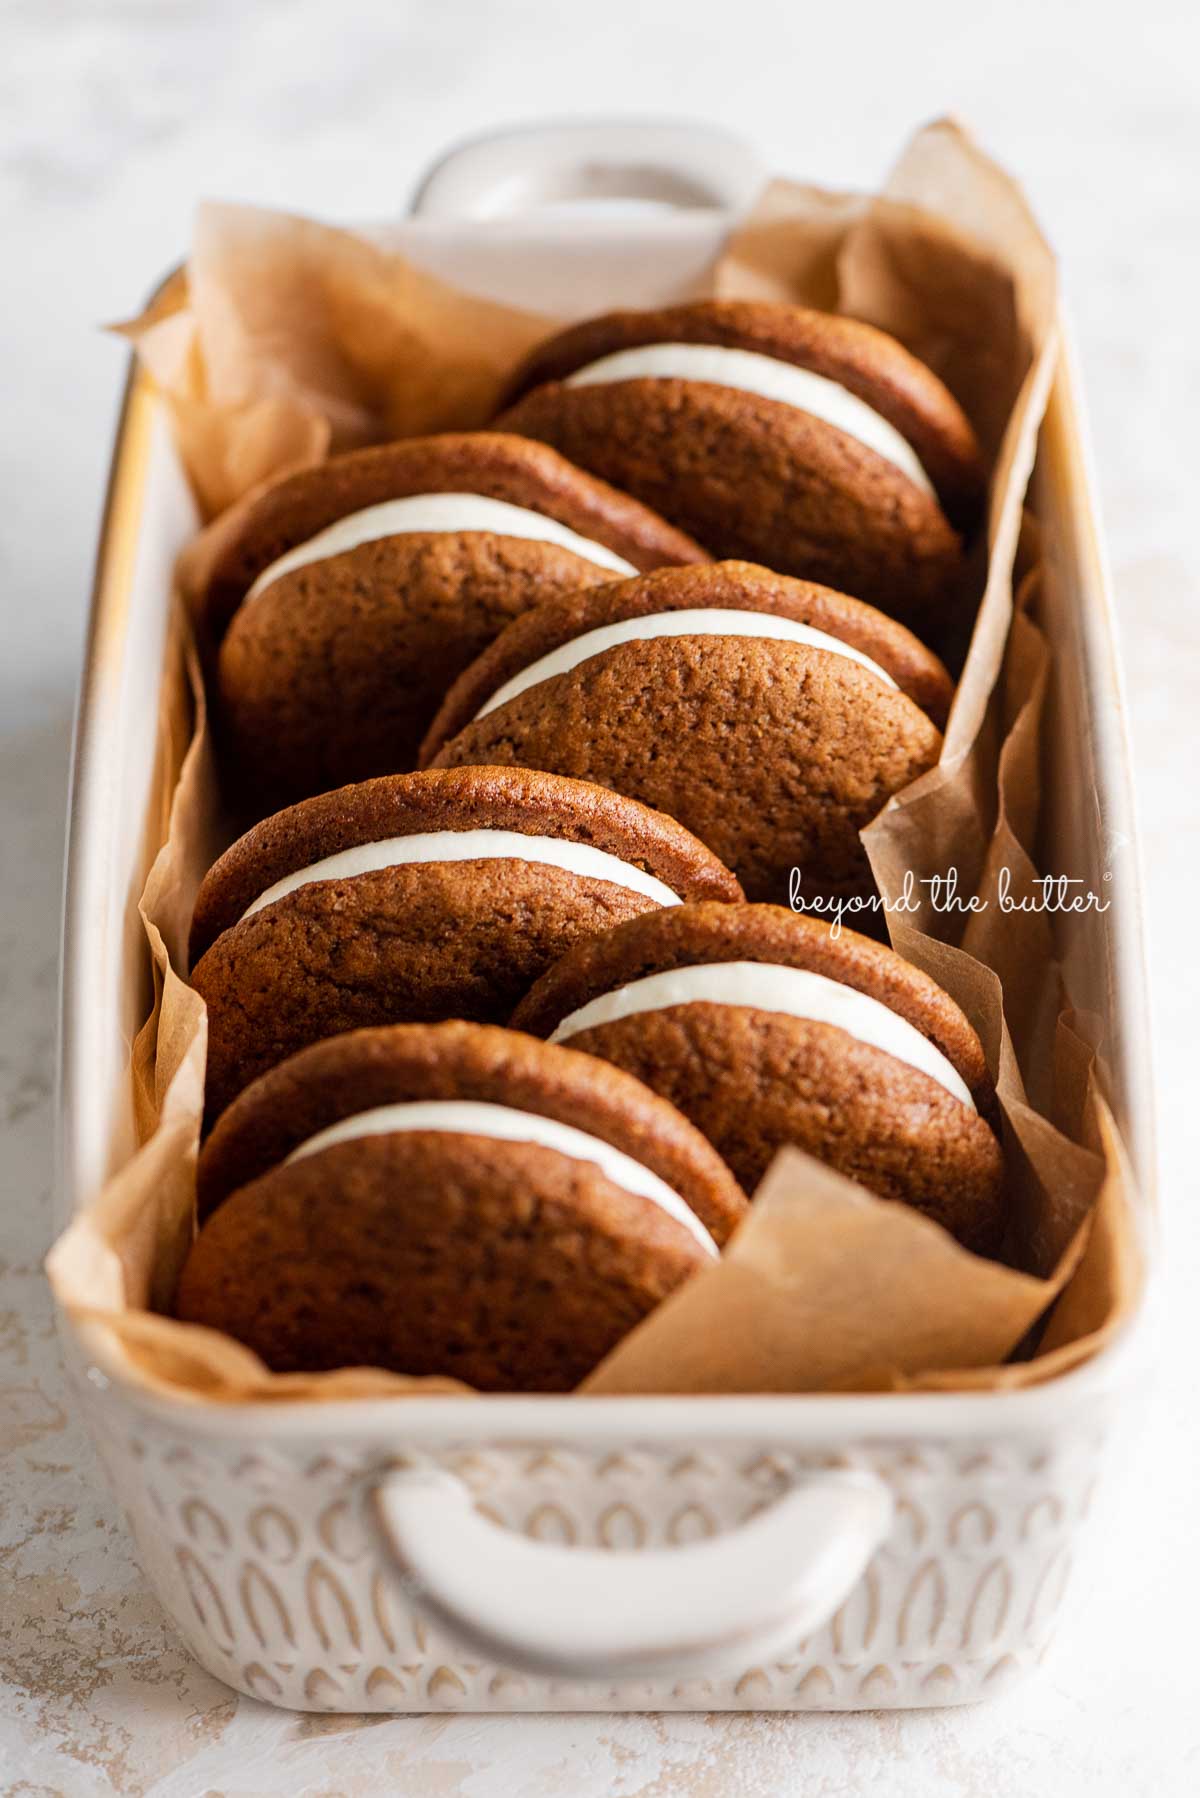
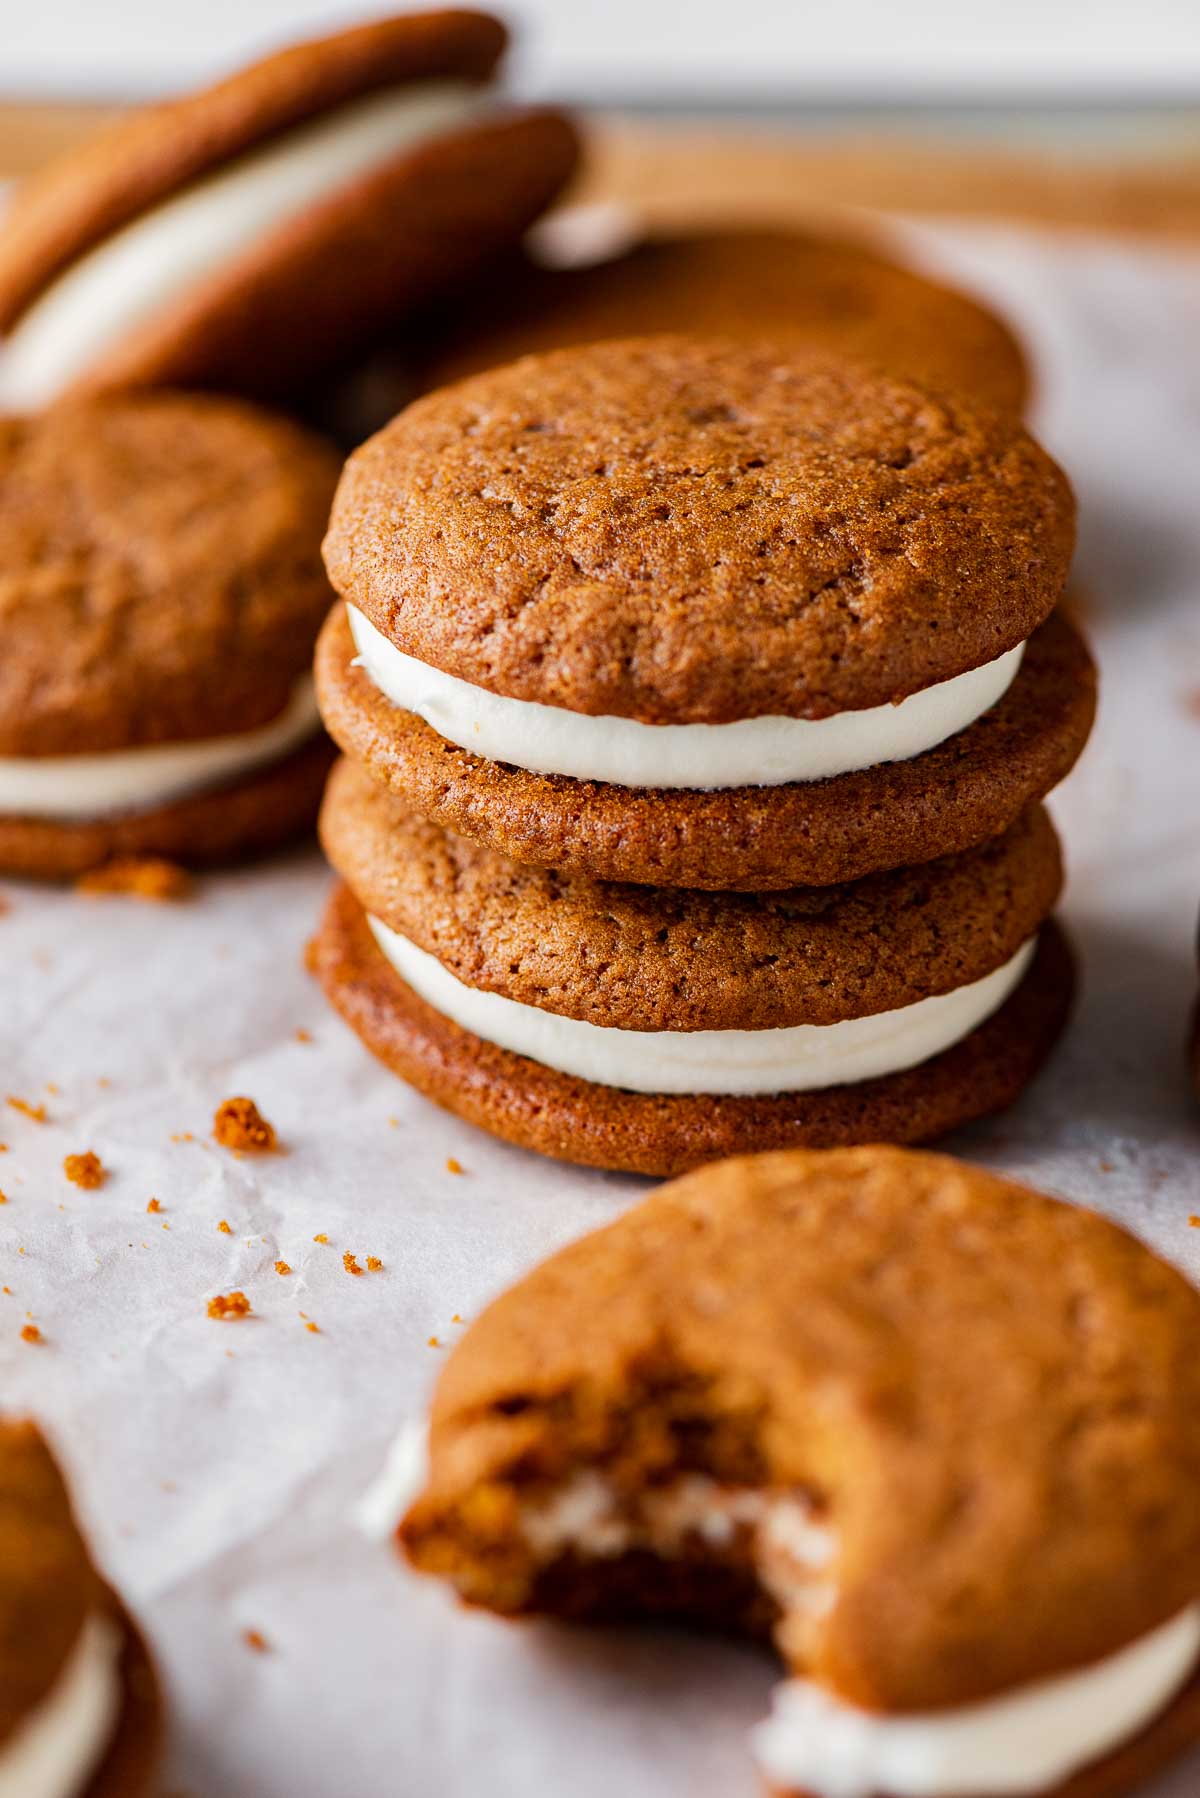
Table of Contents
Classic Gingerbread Whoopie Pies
The classic whoopie pie has been a favorite of mine since I was a kid, so the more whoopie pie recipes I can share here on Beyond the Butter, the better! So say hello to these gingerbread whoopie pies!
This recipe is adapted from my small batch gingerbread cupcakes recipe. I used vegetable oil in place of buttermilk and added in some dark brown sugar to give them that moist texture.
The cream cheese frosting comes from my single layer red velvet cake recipe. It’s easy to make and pairs perfectly with gingerbread!
The recipe makes 12 fully assembled whoopie pies which can easily be kept in the refrigerator for up to 5 days or—my favorite—kept frozen for up to 3 months, so you can enjoy them much later.


Gingerbread Whoopie Pies Shopping List
Here’s what you’ll need to make these yummy homemade gingerbread whoopie pies!
- All-Purpose Flour. I used the King Arthur brand, but use what you like best. I did not make this with any other type of flour.
- Baking Soda and Baking Powder. Both leavening agents are needed. Make sure they have not expired.
- Spices. You’ll need ground cinnamon, ground nutmeg, ground cloves, ground ginger, and salt.
- Vegetable Oil. You could also use canola or coconut oil as a substitute.
- Sugars. You’ll need both granulated sugar (or organic pure cane sugar sugar) and dark brown sugar. You can use light brown sugar as a substitute for the dark brown sugar.
- Egg. Just one is needed and make sure it’s also at room temperature. I do not test any egg substitutions.
- Full Flavored Molasses. I used the Brer Rabbit brand. As a substitute, you can use a light molasses. Do not use blackstrap molasses. It’s bitter and not used for baking.
- Cream Cheese. This is only for the frosting. It’s best softened to room temperature.
- Water. To the wet ingredients, you’ll add 1/4 cup of warm water.
- Unsalted Butter. Also just for the frosting and should be at room temperature.
- Vanilla Extract. Used for both the gingerbread cakes and the cream cheese frosting.
- Powdered Sugar. This is only for the cream cheese frosting. Make sure it’s sifted prior to adding it to the frosting mixture.
I did not test this recipe using alternative flours, egg substitutes, or dairy-free butter.

The Best Baking Tools
Below are the recommended baking tools needed to make this recipe.
How to Make to Make Gingerbread Whoopie Pies (from Scratch)
Making these gingerbread whoopie pies from scratch is pretty easy, and you won’t need a mixer—at least for the gingerbread pie cakes part!
Whisk the dry ingredients. I know this is a step skipped sometimes, but it is a good idea to combine all of your dry ingredients together first. This helps when blending everything together.
You’ll need a medium-sized mixing bowl and a whisk.
Mix the wet ingredients. Whisk together the sugars, oil, warm water, molasses, egg, and vanilla extract in a separate bowl.
Add the dry to the wet ingredients. Add the whisked dry ingredients to the wet and mix until just combined. This means just until the dry ingredients disappear into the wet ingredients. Over-mixing can lead to denser whoopie pie cakes.
Scoop and bake. I used a 1 1/2 tablespoon-size cookie scoop, large-rimmed baking sheets, and parchment paper.
Scoop and place onto the parchment paper-lined baking sheet, leaving about 3 inches of space between each whoopie pie cake. I got 6-9 gingerbread whoopie pie cakes on each baking sheet. Bake for 8 to 10 minutes at 350ºF.
Wait 5 minutes before transferring them to a wire cooling rack. Otherwise, they’ll stick to the parchment paper. Once transferred, they’ll cool pretty quickly.
Frost, then enjoy! Mix up the cream cheese frosting—room temperature unsalted butter and cream cheese is best. Sifting your powdered sugar is also highly recommended for the best frosting!
You can frost each gingerbread whoopie pie with either an offset spatula or fill a large piping bag fitted with a (recommended) 1A decorating piping tip.
Start at the center and swirl your way out, but don’t go all the way to the edge. Top with another gingerbread whoopie pie cake, and that’s it!
Recipe FAQs
You can keep the whoopie pies tightly wrapped in plastic wrap and in an airtight container in the fridge for up to 5 days. You can also keep them tightly wrapped in plastic wrap and in a sealed freezer bag in the freezer where they can last about 3 months.
To scoop out the batter, I used my 1 ½ tablespoon-size cookie scoop, which gave me roughly 3-inch diameter gingerbread cakes. This should give you relatively round cakes.
You can shape them quickly with a round cookie cutter if they come out wonky. This will only work when they have immediately come out of the oven.
Yes! You can make both the gingerbread cakes and the cream cheese frosting 2-3 days in advance. You can also make the whoopie pies on the same day and store them to enjoy for a later time.
This recipe makes enough with about 1 cup remaining, which can be stored in an airtight container in the refrigerator for up to 2 weeks. Leftovers can be used to frost these small batch cinnamon rolls!

Looking for More Whoopie Pies?


Gingerbread Whoopie Pies

Ingredients
Gingerbread Whoopie Pie Cakes
- 2 1/4 cups All-Purpose Flour
- 1 tsp Baking Soda
- 1/2 tsp Baking Powder
- 1/4 tsp Salt
- 2 tsp Ground Cinnamon
- 1/2 tsp Ground Nutmeg
- 1/2 tsp Ground Cloves
- 1/4 tsp Ground Ginger
- 1/3 cup Granulated Sugar
- 1/3 cup Dark Brown Sugar
- 1/2 cup Vegetable Oil
- 1/3 cup Full Flavored Molasses
- 1 Large Egg, room temperature
- 1/4 cup Warm Water
- 1 tsp Vanilla Extract
Cream Cheese Frosting
- 1/2 cup Unsalted Butter, room temperature
- 8 oz Cream Cheese, room temperature
- 1 tsp Vanilla Extract
- 2 cups Sifted Powdered Sugar
Instructions
Gingerbread Whoopie Pie Cakes
- Adjust oven rack to 2nd level position (just above center) and preheat the oven to 350ºF. Line 2 baking sheets with parchment paper or silicone baking mats and set aside.
- In a large bowl, whisk together the all-purpose flour, baking soda, baking powder, salt, ground cinnamon, ground nutmeg, ground cloves, and ground ginger. Set aside.2 1/4 cups All-Purpose Flour, 1 tsp Baking Soda, 1/2 tsp Baking Powder, 1/4 tsp Salt, 2 tsp Ground Cinnamon, 1/2 tsp Ground Nutmeg, 1/2 tsp Ground Cloves, 1/4 tsp Ground Ginger
- In a separate bowl, whisk together the granulated sugar, dark brown sugar, vegetable oil, full-flavored molasses, egg, warm water, and vanilla extract. Scrape down the sides of the bowl as needed.1/3 cup Granulated Sugar, 1/3 cup Dark Brown Sugar, 1/2 cup Vegetable Oil, 1/3 cup Full Flavored Molasses, 1 Large Egg, 1/4 cup Warm Water, 1 tsp Vanilla Extract
- Add in the whisked dry ingredients and mix until just combined. The batter will be thick, but still easily scoopable.
- Using a 1 1/2 tablespoon-size cookie scoop, drop the batter onto the lined baking sheet, spacing each cake about 3 inches apart. I got 6-9 cakes on each baking sheet. They will spread out, but not by a lot.
- Place in the oven and bake at 350ºF for 8-10 minutes or until the center of the cakes spring back when lightly pressed. The gingerbread cakes should be soft and have a slightly domed top.
- Allow cakes to cool slightly on the baking sheet for about 5 minutes before transferring them to a cooling rack to cool completely. Trying to remove them right away might leave some of the cake stuck to the parchment paper. The cakes take about 10-15 minutes to cool completely.
Cream Cheese Frosting
- Using your hand mixer or a stand mixer fitted with the paddle attachment, beat the unsalted butter and cream cheese together until well blended and smooth. Add in the vanilla extract and mix until blended.1/2 cup Unsalted Butter, 8 oz Cream Cheese, 1 tsp Vanilla Extract
- Add in the sifted powdered sugar, then mix together at low speed until the cream cheese frosting has fully come together. Scrape down the sides of the bowl as needed.2 cups Sifted Powdered Sugar
- Using a small spatula or piping bag with a decorating tip of your choice (I recommend the 1A), add the cream cheese frosting to the bottom of a whoopie pie cake. Then top with another cake. Enjoy!
Notes
- This recipe makes 12 fully assembled gingerbread whoopie pies.
- I used a 1 1/2 tablespoon-size cookie scoop which gave me roughly 3-inch diameter whoopie pie cakes. Space the cakes 3 inches apart on the parchment paper-lined or silicone baking mat lined baking sheets.
- I preferred using rimmed baking sheets because I feel like it gave the gingerbread cakes more of a dome.
- You could even get away with using the 2-inch cookie scoop if you wanted to make them a little bigger. Baking time may need to be increased by 1-2 minutes.
- Cream cheese frosting makes enough with about 1 cup remaining, which can be kept stored in an airtight container in the refrigerator for up to 2 weeks.
- Recipe adapted from Real Simple Magazine.
Nutrition
Nutritional information provided above is an estimate only and will vary based on specific ingredients used. See Nutritional Disclaimer for more info.


Can butter be subbed for the oil? I hate oil in baked goods. Will the texture affect constructing the “pie”
I didn’t test them using butter, but you could try it as a substitute for the oil. It will most likely change the texture and shape of the whoopie pie.
These got exceptionally high marks from folks with whom I shared! From the baristas in the coffee house I frequent, to my wife’s coworkers, there was much enjoyment to be had! Thank you for posting this wonderful recipe; it’s going in my repertoire!
Thank you for making the recipe, Carlton, and for the review! I love that they were enjoyed by so many people!
I made these gingerbread Whoopie pies for the first time and everyone loves them! And several people have asked for the recipe. This recipe will be added to my recipe box, which is reserved for only those recipes I know I will use over and over again. Thank you for this fantastic recipe, Jennifer!
I feel honored that my recipe made it into your recipe box! Thank you for making them, Karen!