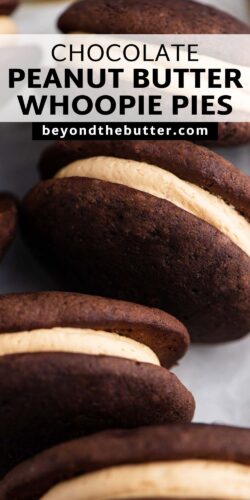
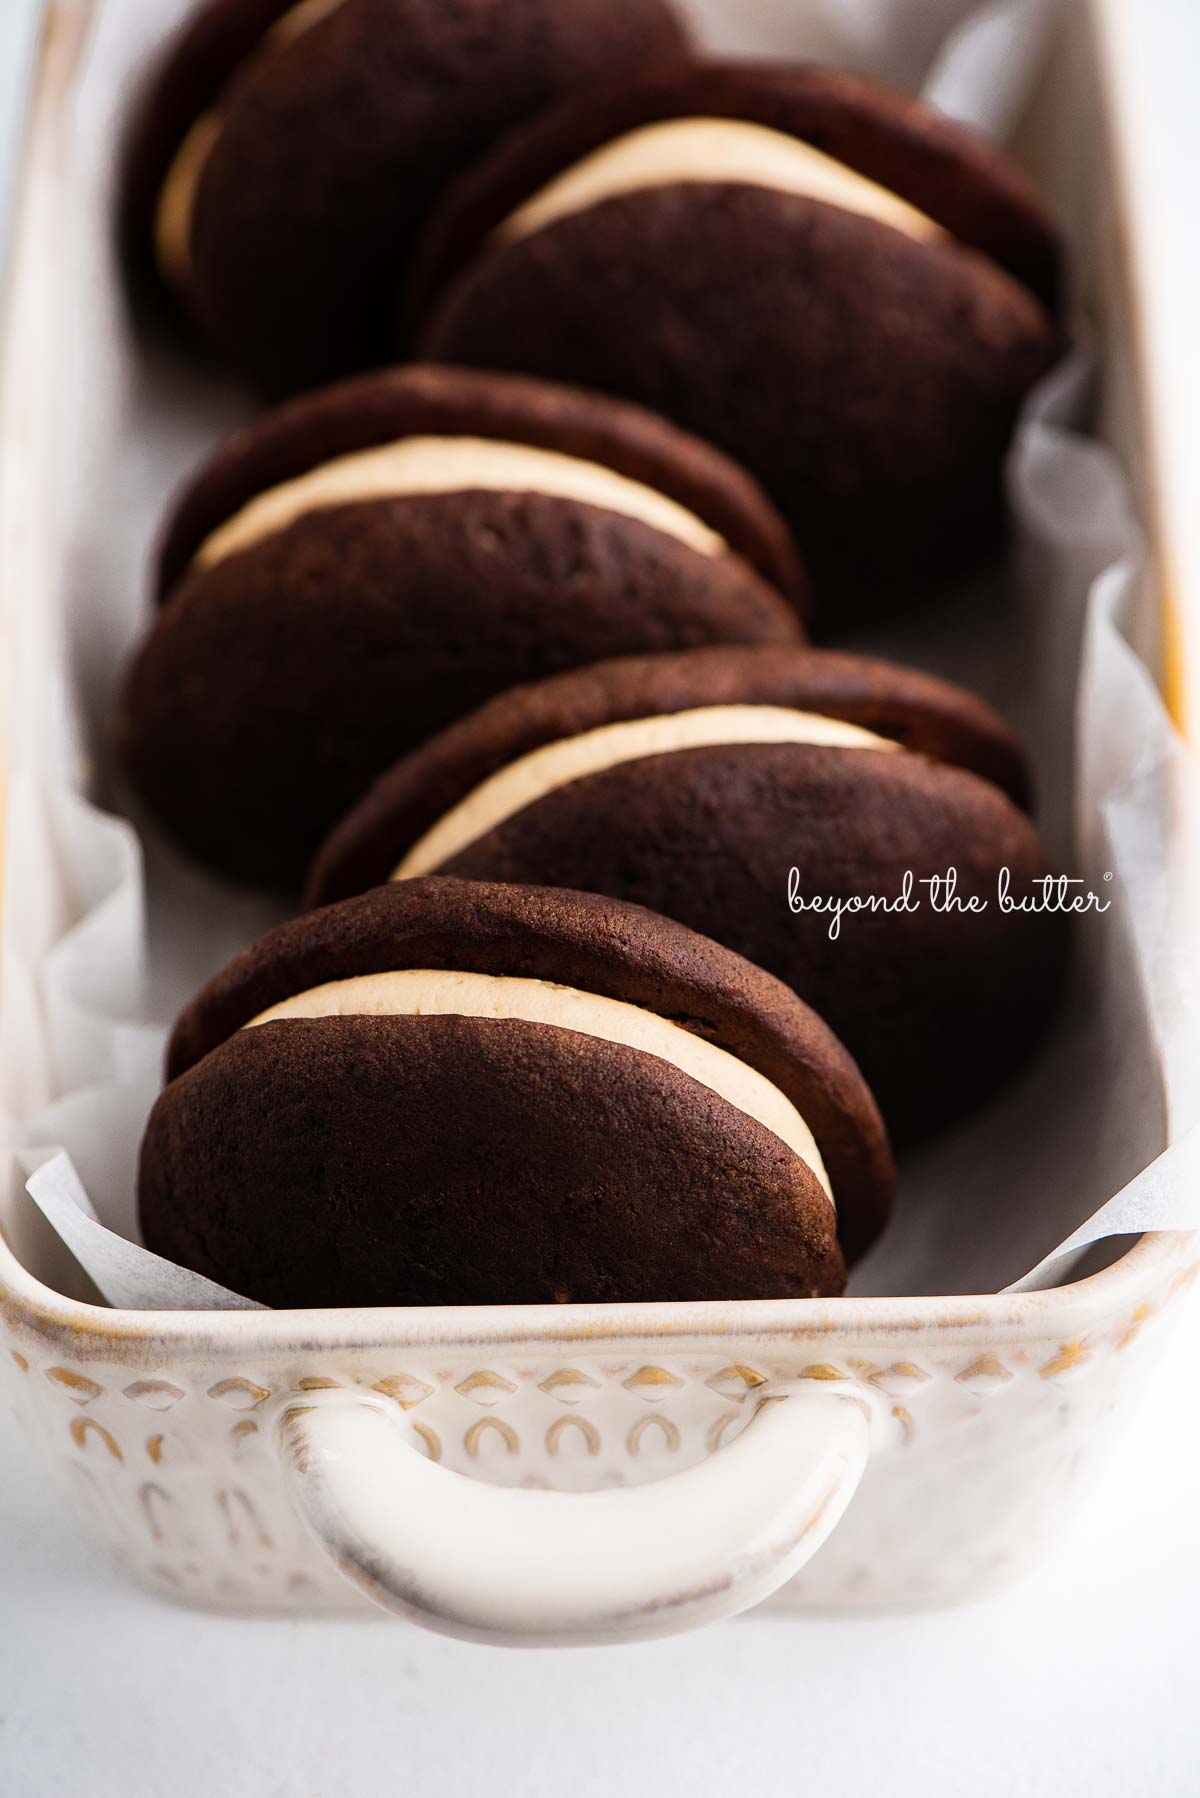
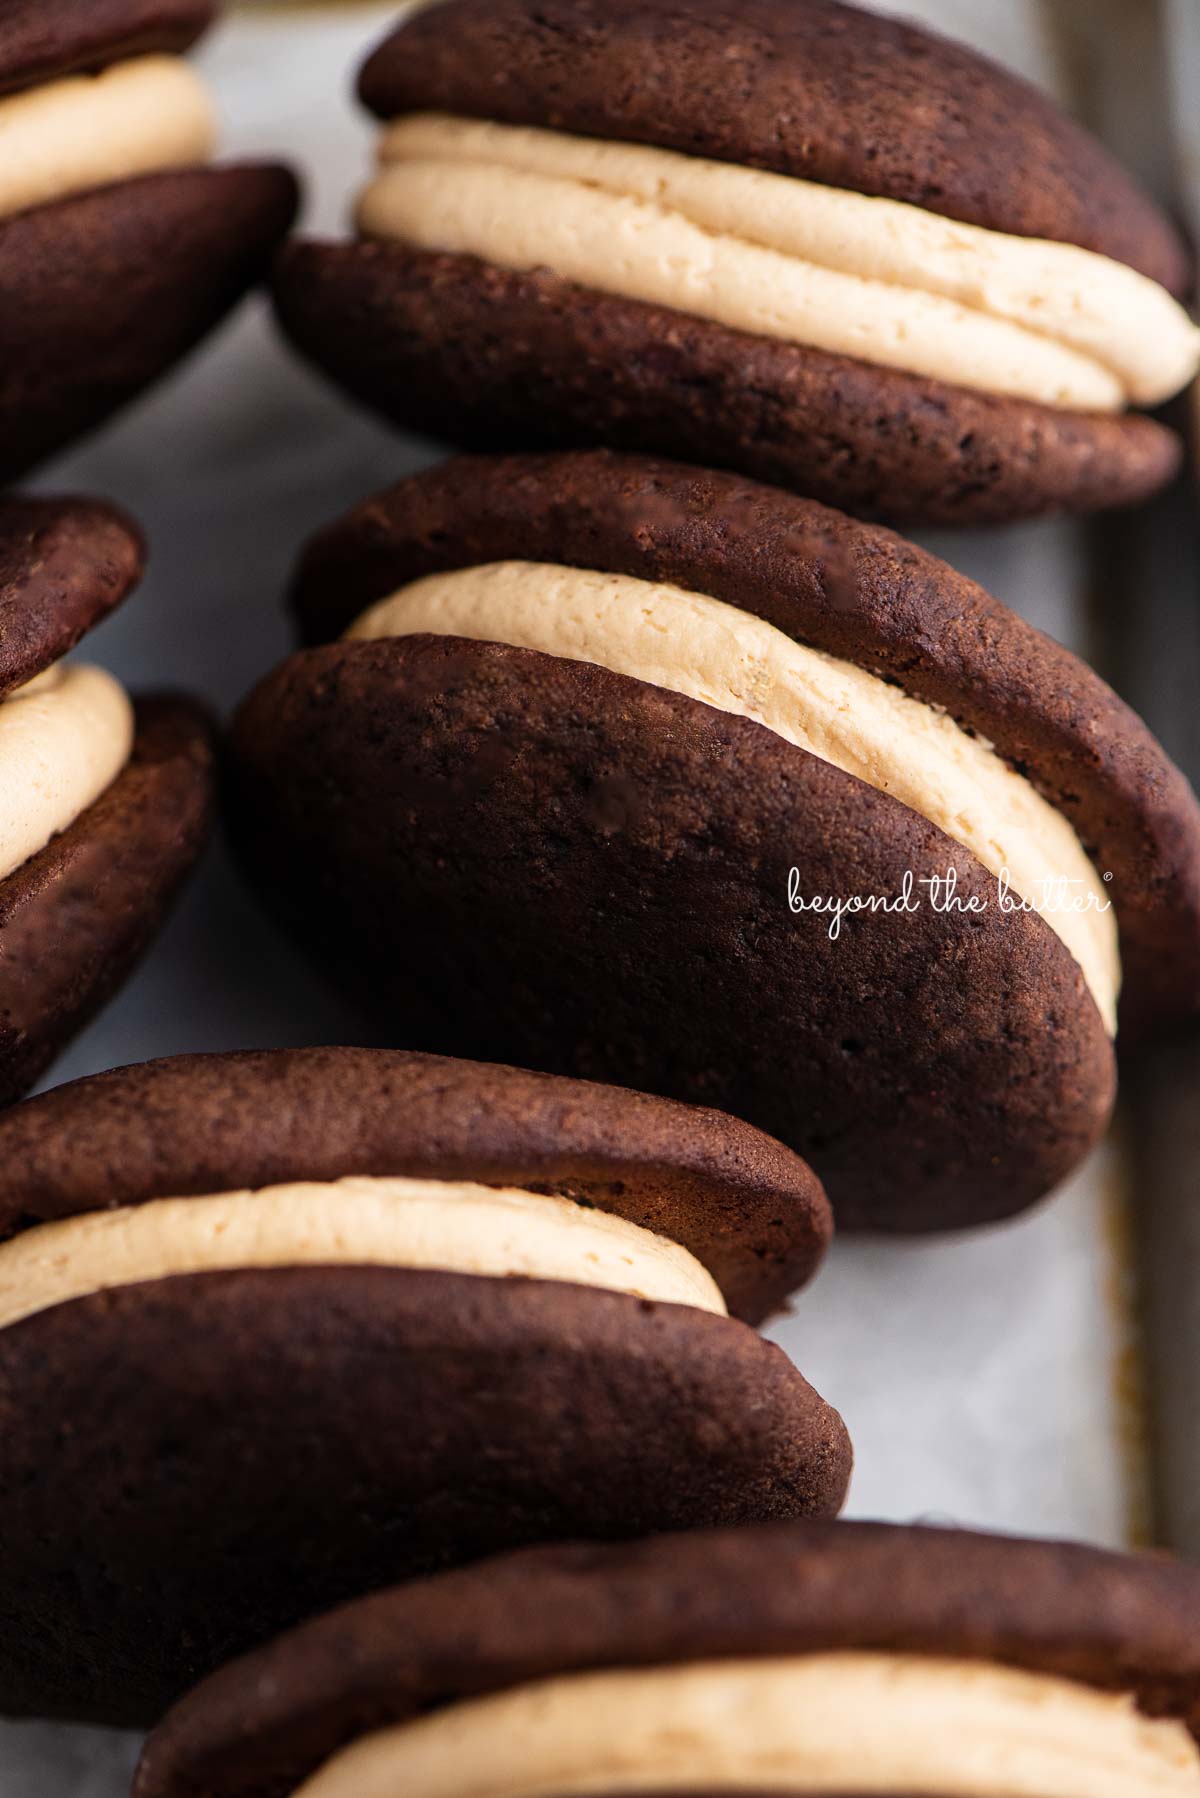
These Chocolate Peanut Butter Whoopie Pies combine soft and moist chocolate cakes with creamy peanut butter frosting sandwiched in between. They’re a classic, easy-to-make recipe that is perfect for any occasion, and my God, do they taste fantastic!
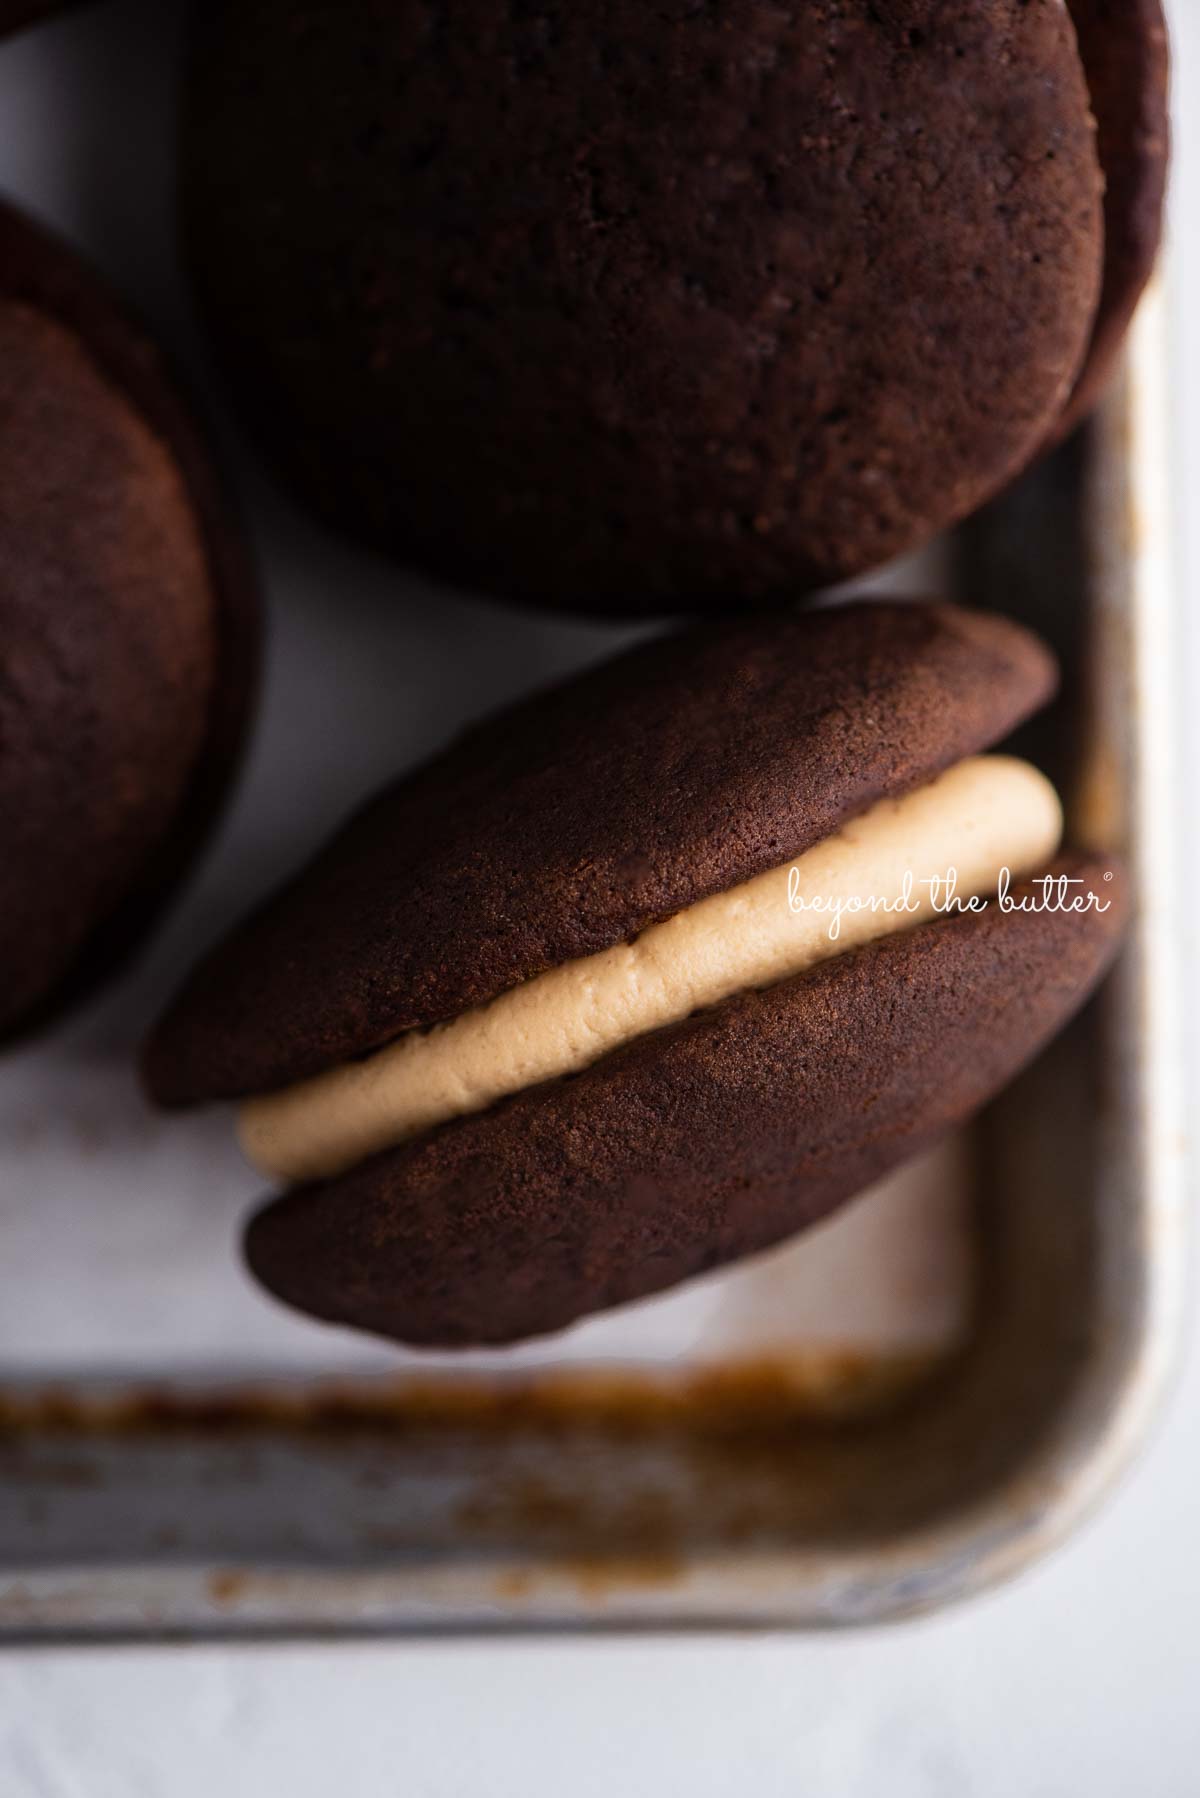
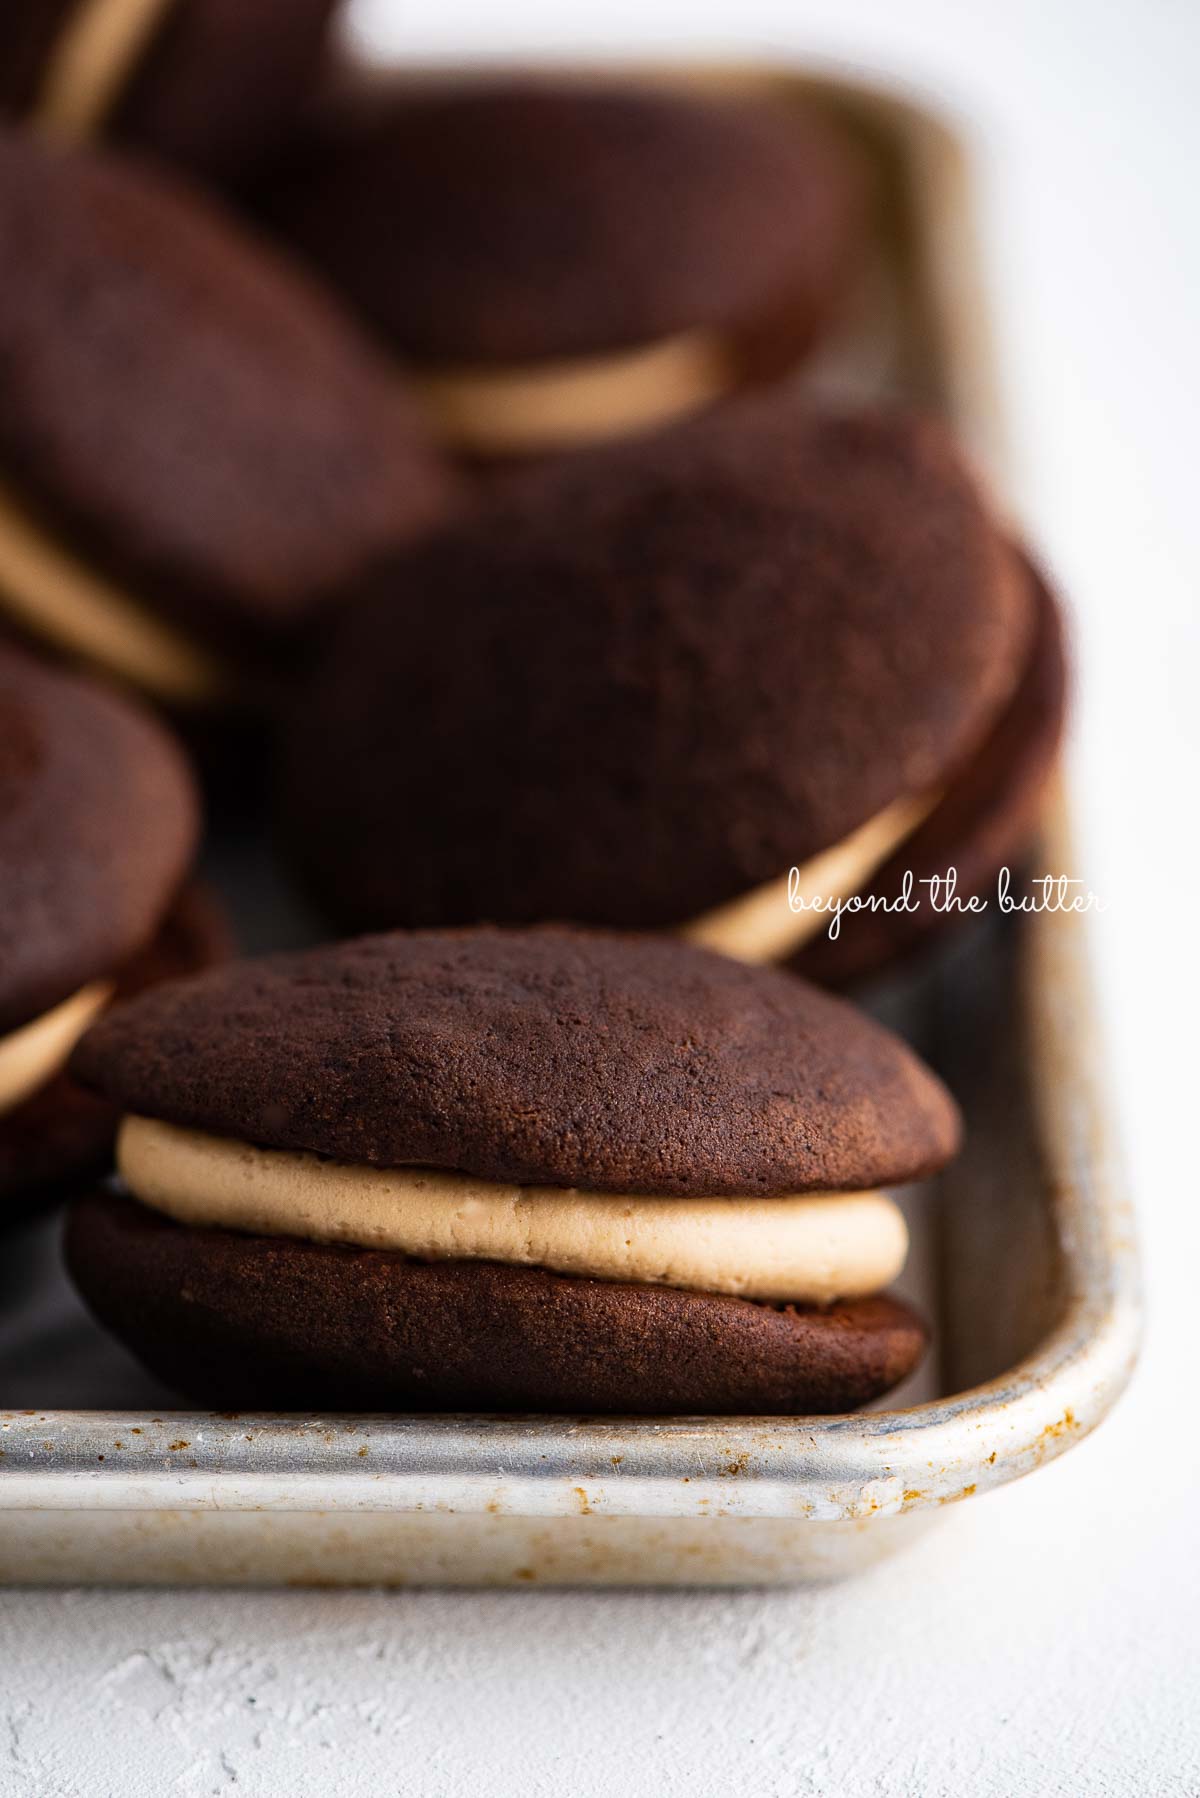
Table of Contents
- Behind the Recipe
- Is a Whoopie Pie a Cake, Pie, or Cookie?
- What is the History of the Whoopie Pie?
- How to Make Homemade Chocolate Peanut Butter Whoopie Pies
- Why Use Shortening in this Whoopie Pie Recipe?
- Quick Tips for Making the Best Chocolate Peanut Butter Whoopie Pies
- Try These Chocolate Peanut Butter Dessert Recipes!
- Chocolate Peanut Butter Whoopie Pies Recipe
Behind the Recipe
The classic whoopie pie with chocolate cake and vanilla buttercream frosting has been a huge favorite of mine since I was a kid!
I thought it would be fun, for my first whoopie pie recipe, to make one that’s a chocolate peanut butter combo. Because, after all, that is my favorite combo!
They’re really easy to make, taste fantastic, and they freeze well too! If you’ve never tried a whoopie pie before, you absolutely must!
Is a Whoopie Pie a Cake, Pie, or Cookie?
Whoopie pies are small cakes that are baked as cookies on a baking sheet.
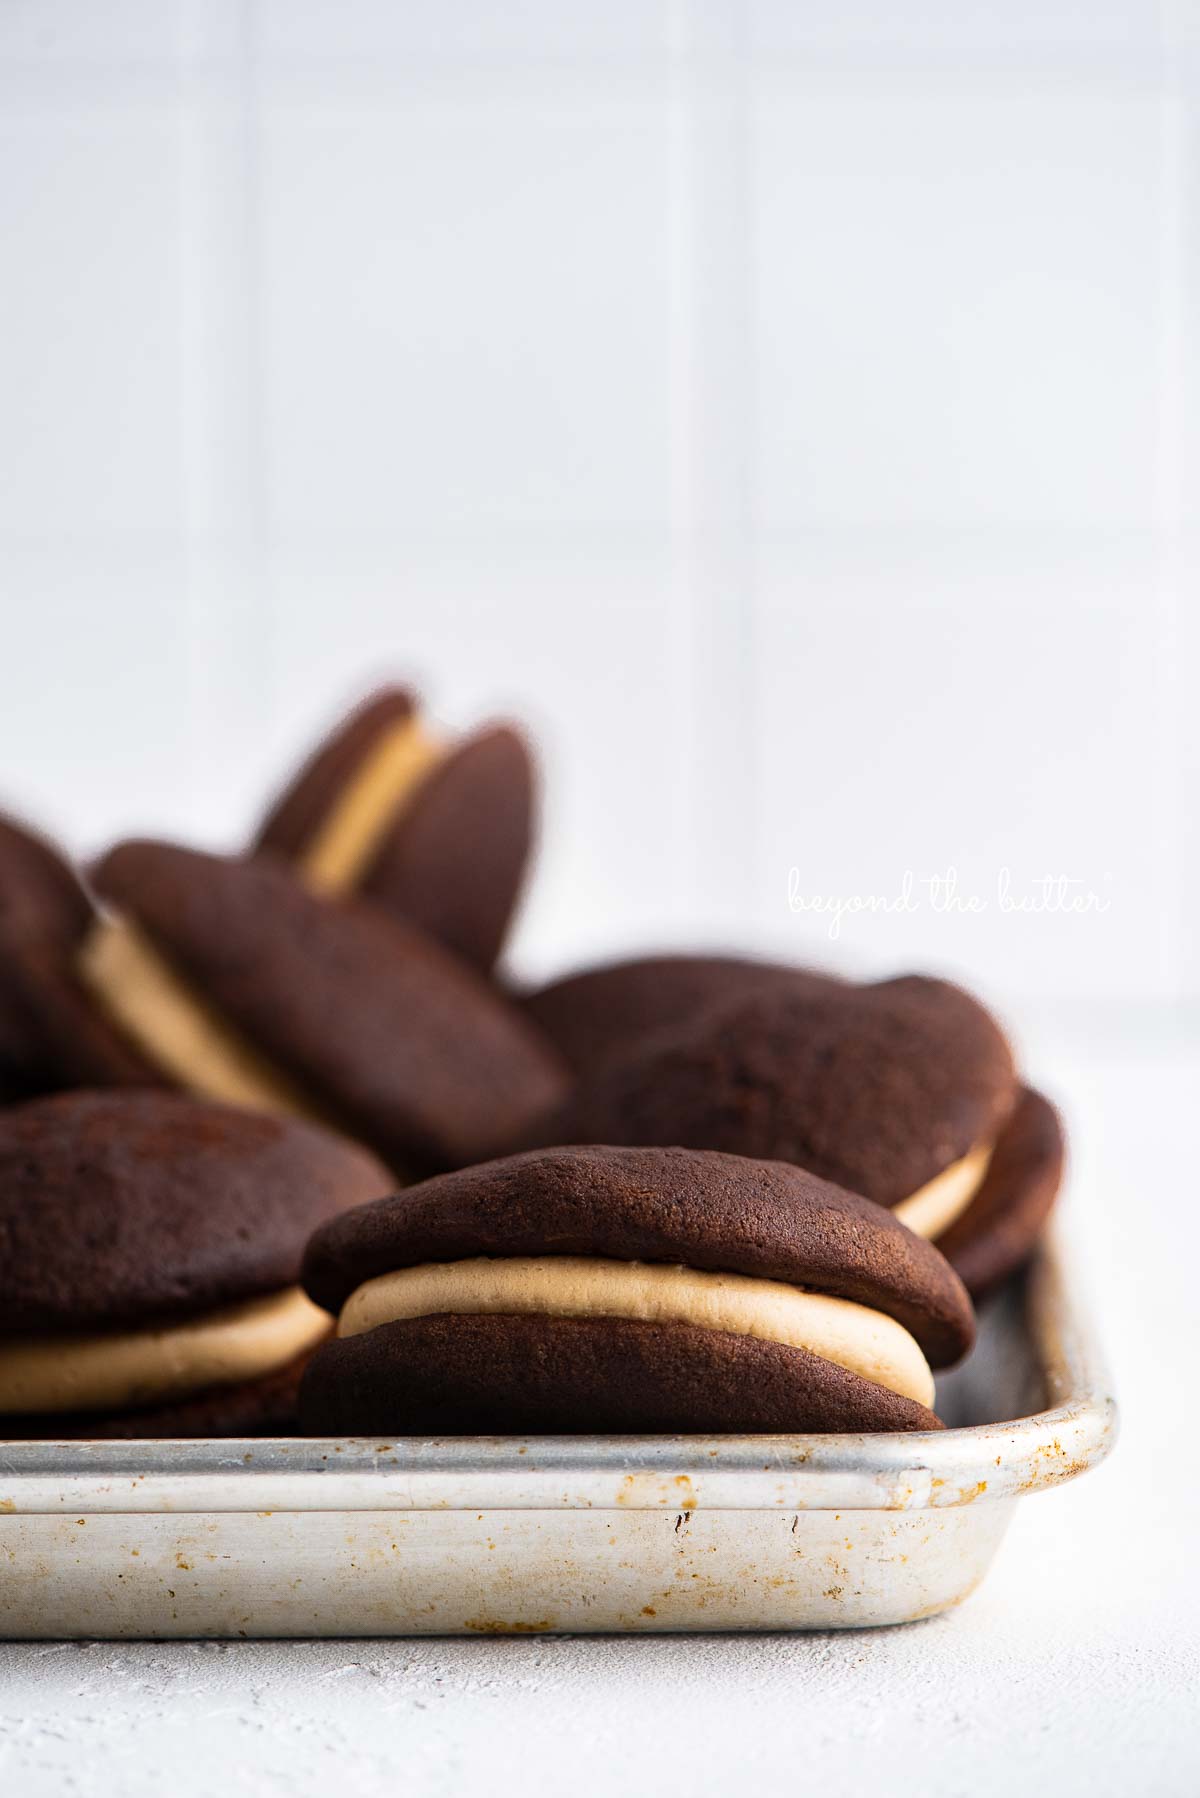
You take one of the small chocolate cakes, spread or pipe on the frosting, then top it with another small chocolate cake. Wah-la, a whoopie pie!
Some people have even referred to them as inside-out cupcakes, but I’ve always thought of them as sandwiched cakes.

What is the History of the Whoopie Pie?
Whoopie pies are a well-known Pennsylvania German and Lancaster Amish tradition known as “Gobs” to those living out in Western PA. They are also considered to be a classic from the New England states as well.
It’s believed that whoopie pies came from leftover cake batter that was placed in children’s lunches.
When the children opened their lunch and saw them, they would (allegedly) yell, “Whoopie!” I don’t know if this is exactly true or not, but what I do know is they are delicious…oh-so-delicious!
Over the years, there have been so many different variations of the whoopie pie made, but the classic has always been chocolate cake with marshmallow filling or vanilla buttercream frosting.
And if you ever get the chance, you must make your way to Strasburg, PA, for the Whoopie Pie Festival. I’ve been to it twice now, and holy cow, there are so many whoopie pies it is unreal!
They even have the largest whoopie pie ever on display!
How to Make Homemade Chocolate Peanut Butter Whoopie Pies
This chocolate peanut butter whoopie pies recipe is an easy one to whip up and needs very few ingredients! Below is a general overview of how to make them. for the full whoopie pie recipe, visit the recipe card below!
- Make the chocolate cakes. The chocolate cakes are made by first creaming the vegetable shortening and granulated sugar together. Then you add in the egg and vanilla extract. You’ll want to make sure to whisk your dry ingredients together well in a separate bowl before adding it along with the milk, warm water, and espresso powder to the rest of the mixing bowl. The batter will be on the lighter, fluffier side and not heavy or runny.
- Bake the chocolate cakes for 12-14 minutes at 375ºF. Let them cool on wire cooling racks.
- Make the peanut butter frosting. Cream the unsalted butter and peanut butter together, then add the vanilla extract, followed by the sifted powdered sugar.
- Assemble the chocolate peanut butter whoopie pies. You can pipe or spread the peanut butter frosting onto the flat side of a chocolate cake. Then place the second chocolate cake on top.
Why Use Shortening in this Whoopie Pie Recipe?
I use vegetable shortening in this recipe because it keeps the cakes from spreading out too much and leaves you with a nice, fluffy dome-shaped chocolate cake.
I also use shortening to keep my Super Soft Chocolate Chip Cookies or these Double Chocolate Chunk M&M Cookies from spreading a lot during baking.
Quick Tips for Making the Best Chocolate Peanut Butter Whoopie Pies
Tip No. 1: Use a cookie scoop. To scoop out the batter, I used my 1 1/2 tablespoon or medium size cookie scoop, which gave me roughly 3-inch diameter chocolate cakes. I was definitely generous when placing a scoop of the batter onto the baking sheet too.
You could even get away with using the 2-inch cookie scoop if you wanted to make them a little bigger.
Tip No. 2: How to store your whoopie pies. You can keep each whoopie pie tightly wrapped in plastic wrap out at room temperature for up to 2 days.
Alternatively, you can store them wrapped and kept in an airtight container in the fridge for up to about 5 days. Or, my favorite, you can wrap them tightly in plastic wrap, place them in a sealed freezer bag, and keep them in the freezer, where they can last about 3 months.
Tip No. 3: Storing the peanut butter frosting. If you’re not going to fill the whoopie pie cakes that same day, you can keep the peanut butter frosting covered tightly in the mixing bowl with plastic wrap in the fridge overnight.
When you’re ready, take it out of the fridge and allow it to come to room temp before filling the whoopie pie cakes. You may need to re-whip the frosting a little to bring it back to life.
Try These Chocolate Peanut Butter Dessert Recipes!
If you love this chocolate peanut butter whoopie pies recipe, then you’ll love these!


Chocolate Peanut Butter Whoopie Pies

Ingredients
whoopie pie cakes
- 2 cups All-Purpose Flour
- 1/2 cup Unsweetened Cocoa Powder
- 1 tsp Baking Soda
- 1/4 tsp Baking Powder
- 1/8 tsp Salt
- 1/2 cup Vegetable Shortening
- 1 cup Granulated Sugar
- 1 tsp Vanilla Extract
- 1 Large Egg, room temperature
- 1/2 cup Milk, any dairy milk can be used
- 1/2 cup Warm Water
- 1/2 tsp Espresso Powder, gets dissolved in the warm water
peanut butter frosting
- 1 cup Unsalted Butter, room temperature
- 1 cup Peanut Butter, creamy
- 2 1/2 cups Powdered Sugar, sifted
- 2 tsp Vanilla Extract
Instructions
whoopie pie cakes
- Adjust oven rack to 2nd level position (just above center) and preheat the oven to 375ºF. Line 2 baking sheets with parchment paper and set aside.
- In a large bowl, whisk together the all-purpose flour, unsweetened cocoa powder, baking soda, baking powder, and salt. Set aside.2 cups All-Purpose Flour, 1/2 cup Unsweetened Cocoa Powder, 1 tsp Baking Soda, 1/8 tsp Salt, 1/4 tsp Baking Powder
- Dissolve the espresso powder in warm water. Set aside.1/2 tsp Espresso Powder, 1/2 cup Warm Water
- Using your hand mixer or a stand mixer fitted with the paddle attachment beat the vegetable shortening and granulated sugar together on medium-high speed until light and fluffy. Add in the egg, vanilla extract, milk, and espresso powder dissolved in warm water, then mix until blended.1/2 cup Vegetable Shortening, 1 cup Granulated Sugar, 1 tsp Vanilla Extract, 1 Large Egg, 1/2 cup Milk
- Add in the whisked dry mixture, then mix on low speed until just combined. The batter will be on the lighter, fluffier side and not heavy or runny.
- Using a cookie scoop (I used my 1 1/2 tablespoon or medium-sized cookie scoop, drop a generous scoop of batter onto the lined baking sheet, spacing each cake about 1 1/2- to 2-inches apart. I got 6 cakes on each baking sheet. They will spread out, but not by a lot.
- Place in the oven and bake at 375ºF for 12-14 minutes or until the center of the cakes spring back when lightly pressed.
- Allow cakes to cool slightly on the baking sheet for about 5 minutes before transferring them to a cooling rack.
peanut butter frosting
- Using your hand mixer or a stand mixer fitted with the paddle attachment, beat the unsalted butter and peanut butter together until smooth. Add in the vanilla extract.1 cup Unsalted Butter, 1 cup Peanut Butter, 2 tsp Vanilla Extract
- Add in the sifted powdered sugar, then mix until well blended. Scrape down the sides of the bowl as needed.2 1/2 cups Powdered Sugar
- Using a small spatula or piping bag with a decorating tip of your choice, add the peanut butter frosting to the bottom of a whoopie pie cake. Then top with another cake.
- You can keep each whoopie pie tightly wrapped in plastic wrap at room temperature for up to 2 days. Alternatively, you can store them wrapped and kept in an airtight container in the fridge for up to about 5 days; or you can wrap them tightly in plastic wrap, then place in a sealed freezer bag, and kept in the freezer for up to 3 months.
Notes
- To scoop out the batter, I used my 1 1/2 tablespoon or medium size cookie scoop, which gave me roughly 3-inch diameter chocolate cakes. And I was definitely generous when I went to scoop out the batter to drop it onto the parchment-lined baking sheet.
- You could even get away with using the 2-inch cookie scoop if you wanted to make them a little bigger.
- If you’re not going to fill the whoopie pie cakes that same day, you can keep the peanut butter frosting covered tightly in the mixing bowl with plastic wrap in the fridge overnight. When you’re ready, take it out of the fridge and allow it to come to room temp before filling the whoopie pie cakes. You may need to re-whip the frosting a little to bring it back to life.
- You can easily double the whoopie pie cake and peanut butter frosting recipes for more whoopie pies.
- Recipe adapted from Discover Lancaster.
Nutrition
Nutritional information provided above is an estimate only and will vary based on specific ingredients used. See Nutritional Disclaimer for more info.


Am I able to use a 1:1 gluten free flour in this recipe without adding extra liquid or will it become dry?
I’ve never tested the recipe using a 1:1 gluten free flour, but you can try it out.
If I don’t have expresso powder can I just use half cup of coffee?
I’ve never made them using regular coffee (don’t drink it), so I can’t say for sure that it will work as well as espresso powder. You could try it out though and see if it works. Or you can try it with some instant coffee (dissolve it as you would the espresso powder).
Thank you for responding and In my head I meant instant coffee lol definitely trying this.
You’re welcome!
These were great, a little sweet ( but it is dessert ). I have 4 grown kids, their spouses and 5 grandkids. I made these for our July picnic. Everybody loved them. Luckily I made a double recipe, some of the neighbor kids came over for some. I was looking for a easy handheld dessert for the grandkids, these were perfect.
P.S.
We rolled these in M&M’s around the sides, probably added to the sweetness.
Hi Aurora! I’m so glad everyone loved the whoopie pies! I love that you rolled them in some M&Ms too! Very creative!
Overall very tasty recipe! The icing is DELICIOUS! My cakes turned out a bit dry so I might add some oil next time, but overall pretty good!
What’s with the milk and warm water, I dont see them in the recipe…
Hi Emily! They’re listed underneath the whoopie pie cakes ingredients and in step #4 of the instructions.
How could you go wrong with peanut butter whoopie pies?!! Love them!!
I know, right?!? Me too! These are so good (and slightly addictive)! 🙂
I looooove the history lesson and I am jelly about the whoopie pie festival. That sounds AMAZINGly fun. haha.
Thanks! I can’t remember how I had heard about the whoopie pie festival, but once I realized such a thing existed I knew I had to go! Lol! The world’s largest whoopie pie is a site to behold…not so much on a really hot and humid day though (like the one year). Haha!