These Irresistible Peanut Butter Tandy Kakes combine a moist vanilla sponge cake, a creamy peanut butter layer, and a rich, semi-sweet melted chocolate that’s spread evenly over the top. It’s a childhood, classic favorite recipe that’s easy to make, and—whether you call them tandy kakes, kandy kakes, or tandy cakes—they are simply out of this world!
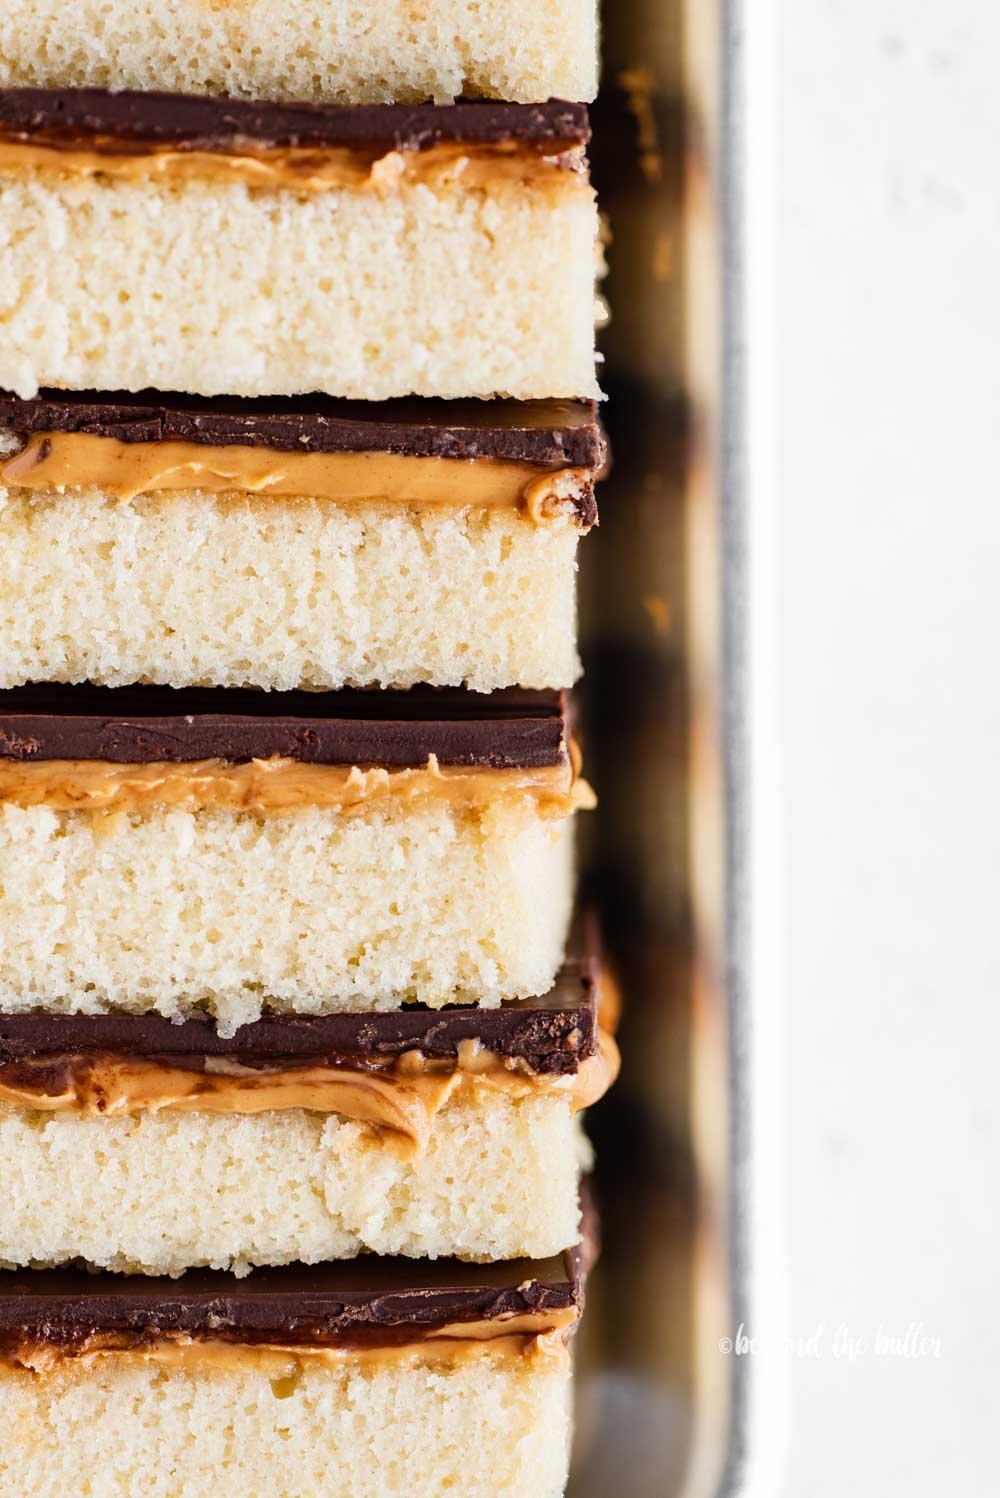
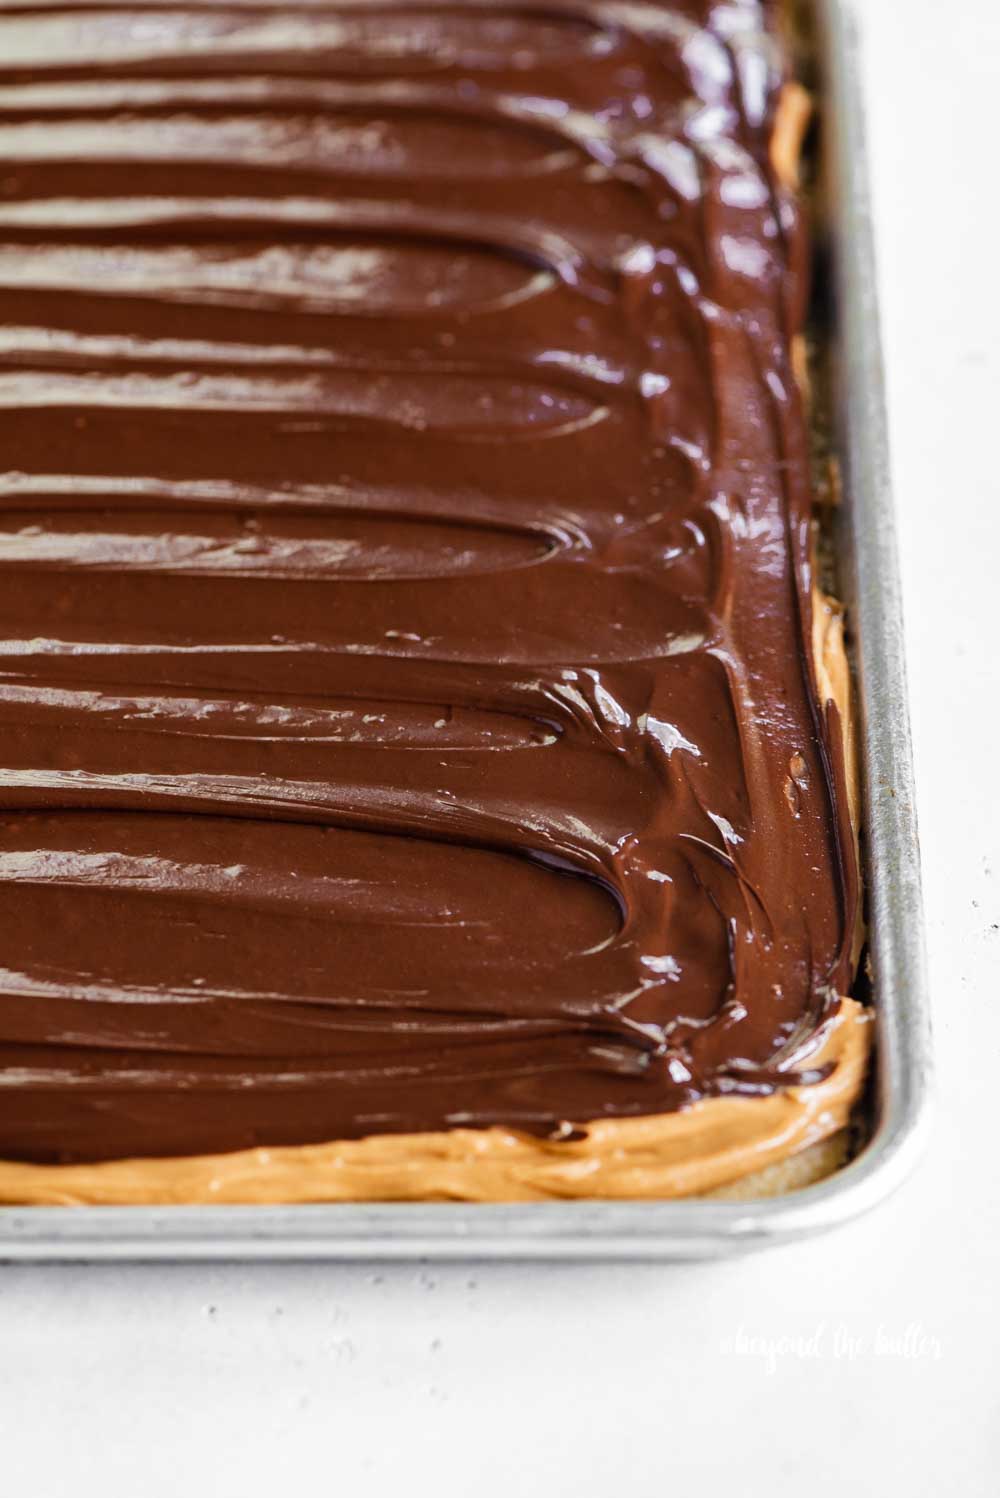
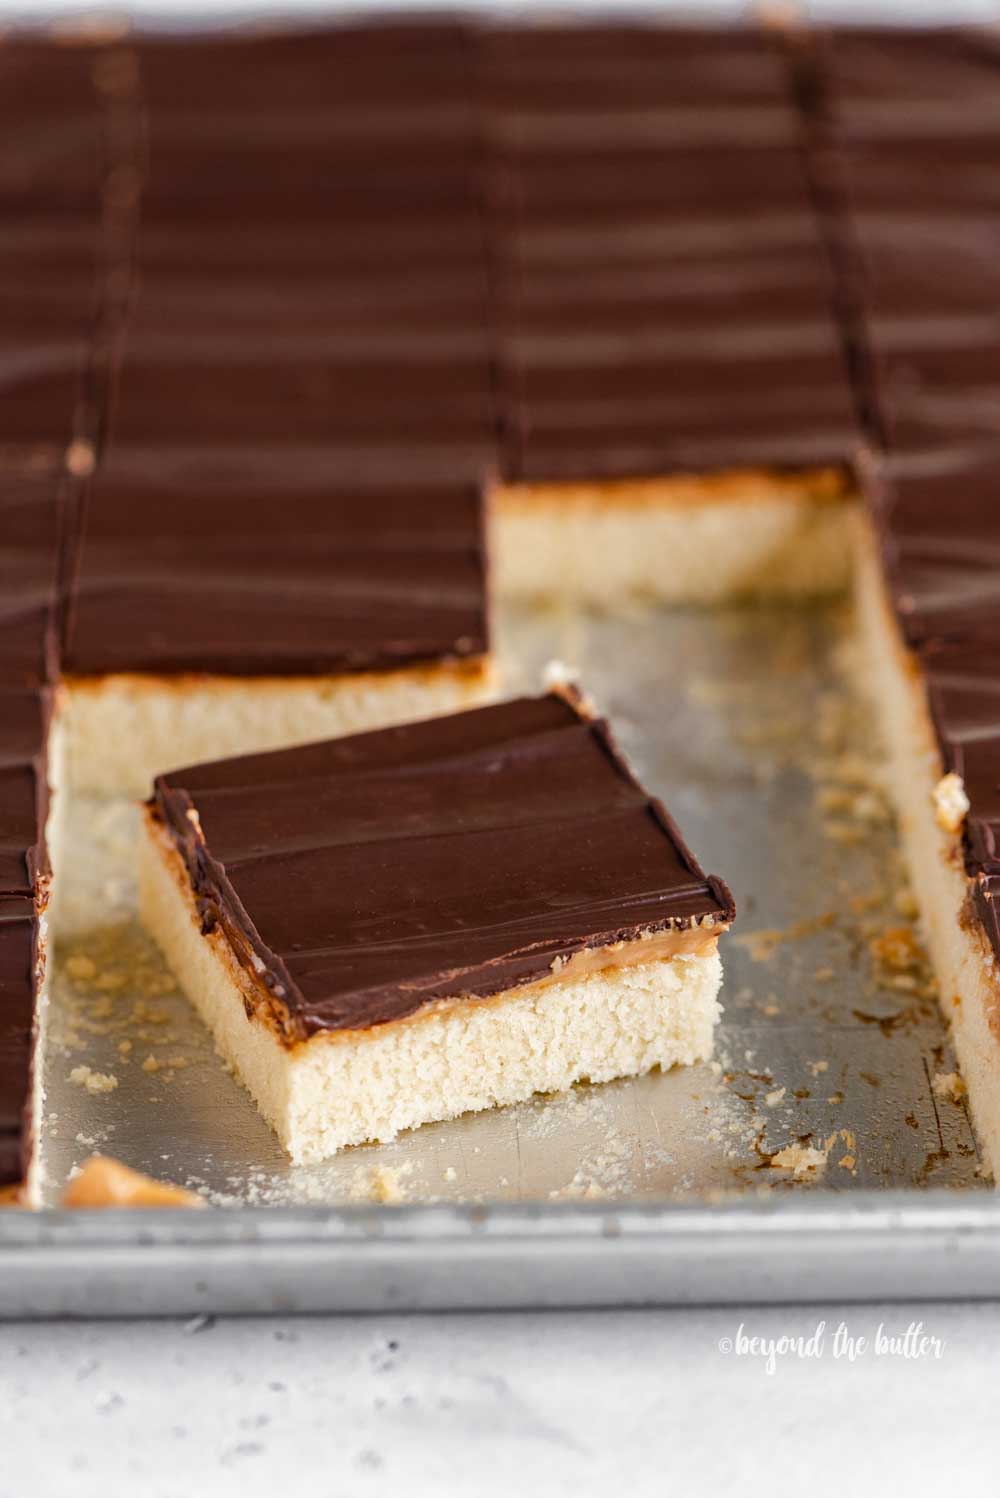
Table of Contents
Behind the Recipe
When I was a kid my Dad would bring home boxes of the different Tastykakes® from the local grocery store. The first box I would open (READ: tear into) was their Peanut Butter Tandy Kakes.
With that memory still fresh in my brain after all these years, I knew I wanted to share a homemade version of this classic with you all, which could, dare I say, rival the brand’s version.
If you’ve never heard of the Tastykakes brand before, they are a Philly-based product retail line of baked goods like donuts, pies, pastries, and snack cakes. And according to their website, their top-selling item in the entire Tastykake line of products is the…wait for it…PEANUT BUTTER KANDY KAKES!
And I’m totally not at all surprised by that fun fact!
Is it Peanut Butter Tandy Kakes or Kandy Kakes?
This classic chocolate peanut butter treat goes by a couple of names, actually—Tandy Kakes, Kandy Kakes, and a third one, Tandy Cakes.
I’ve always known them as Tandy Kakes which was the original name of the product from the store. That name later became Kandy Kakes to avoid confusion with another similar-sounding company.
Then there are others that simply call them Tandy Cakes. People interchange the names a lot, but they’re all correct and they all taste equally delicious!
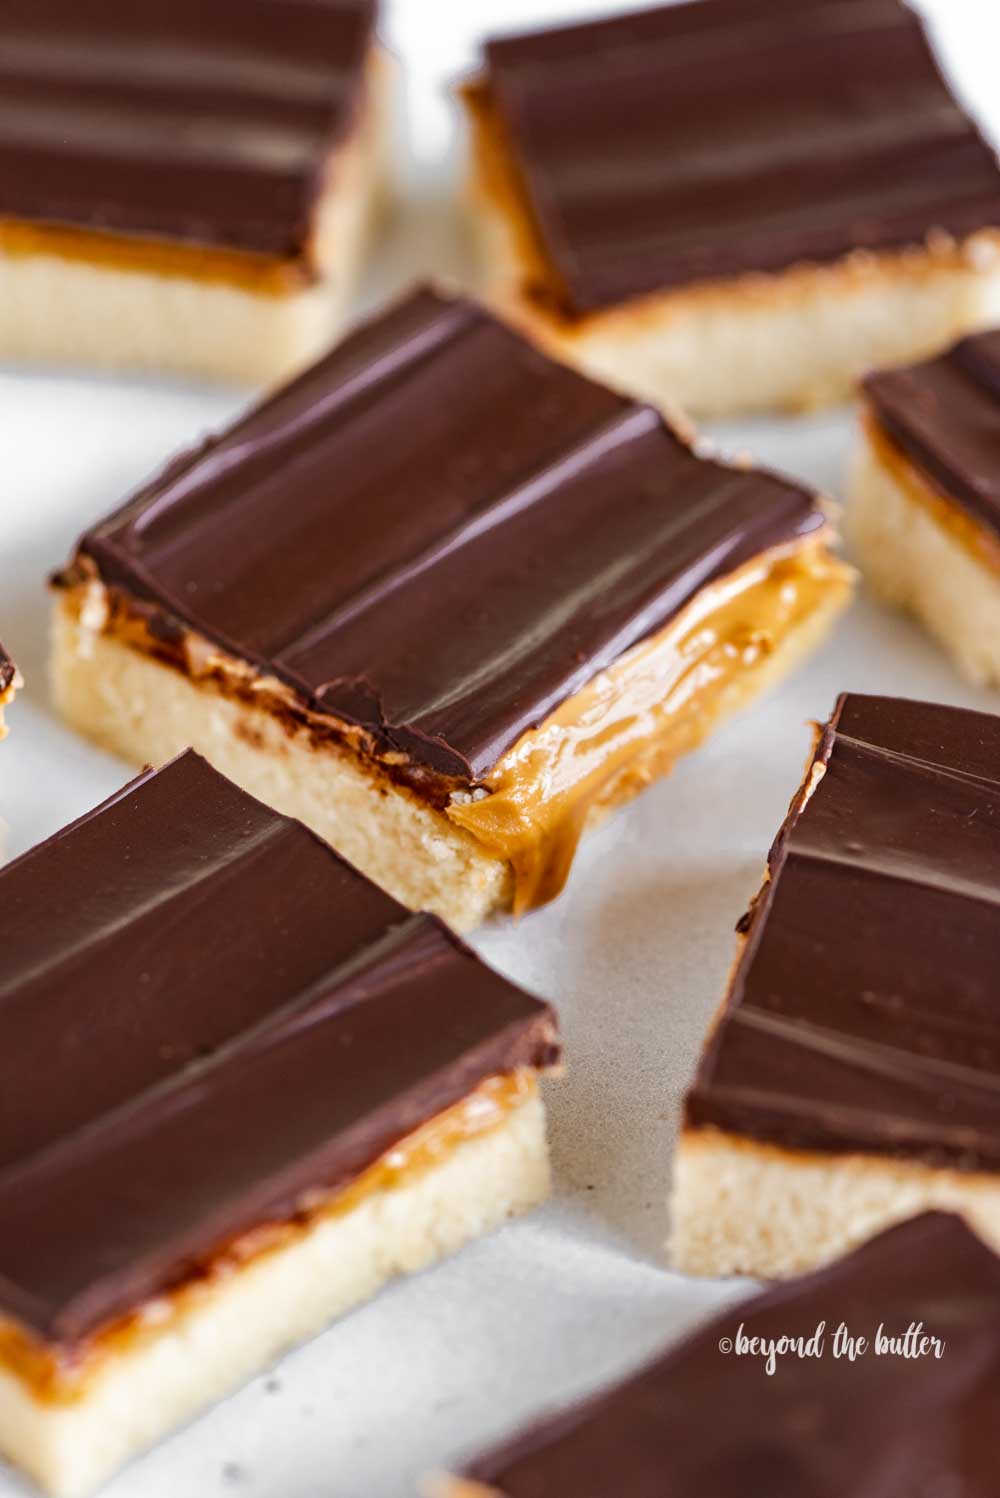
What are Peanut Butter Tandy Kakes?
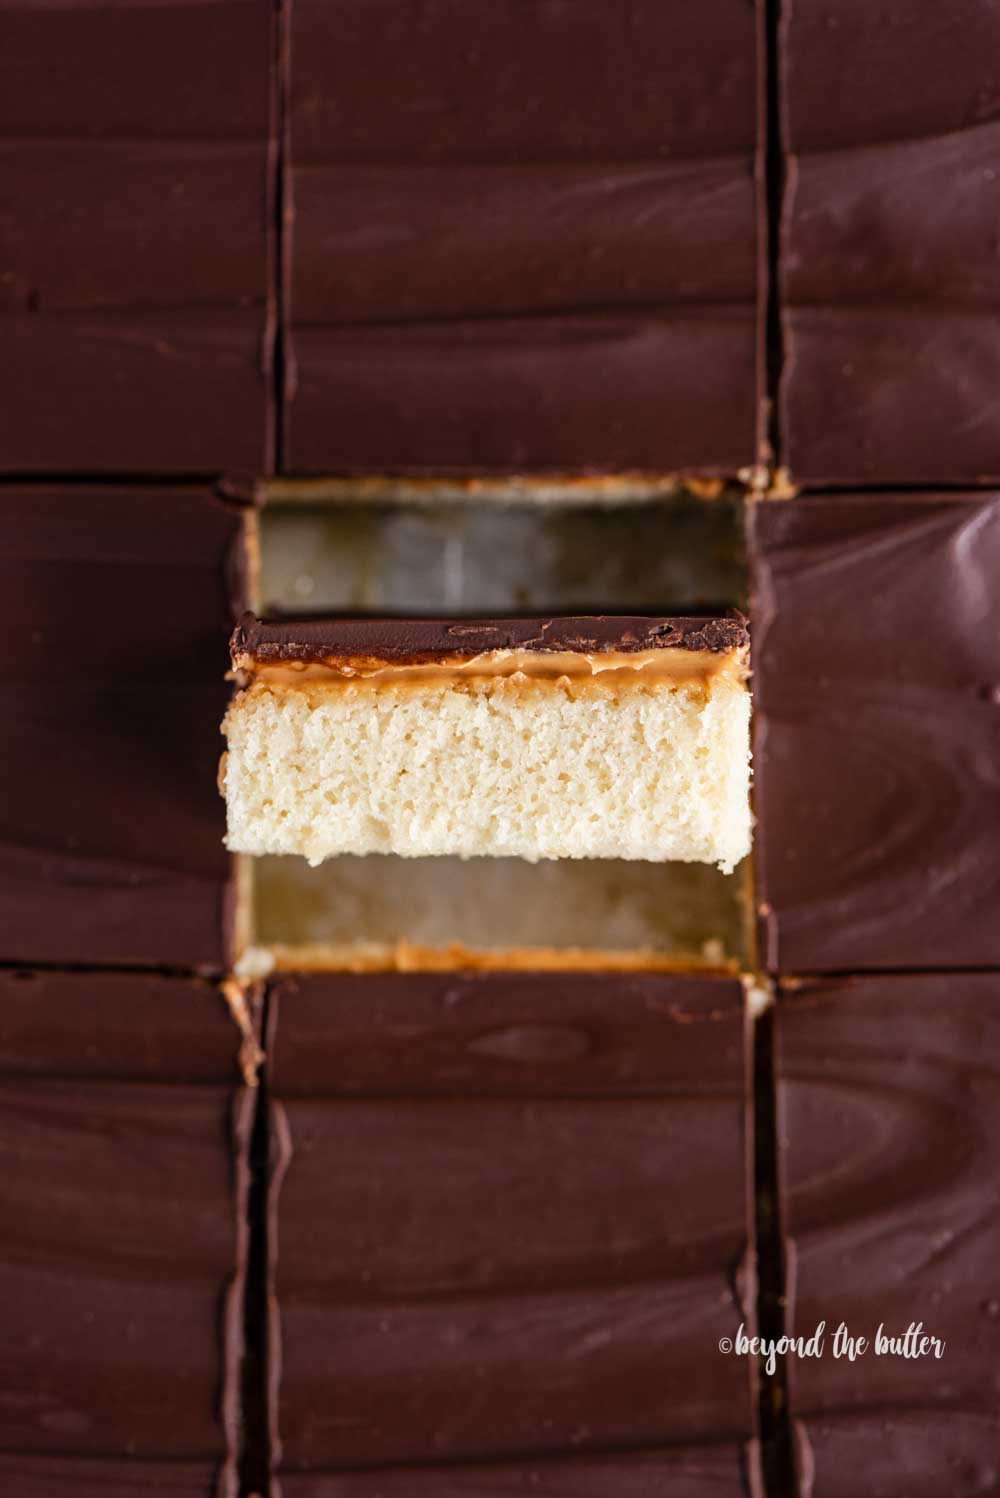
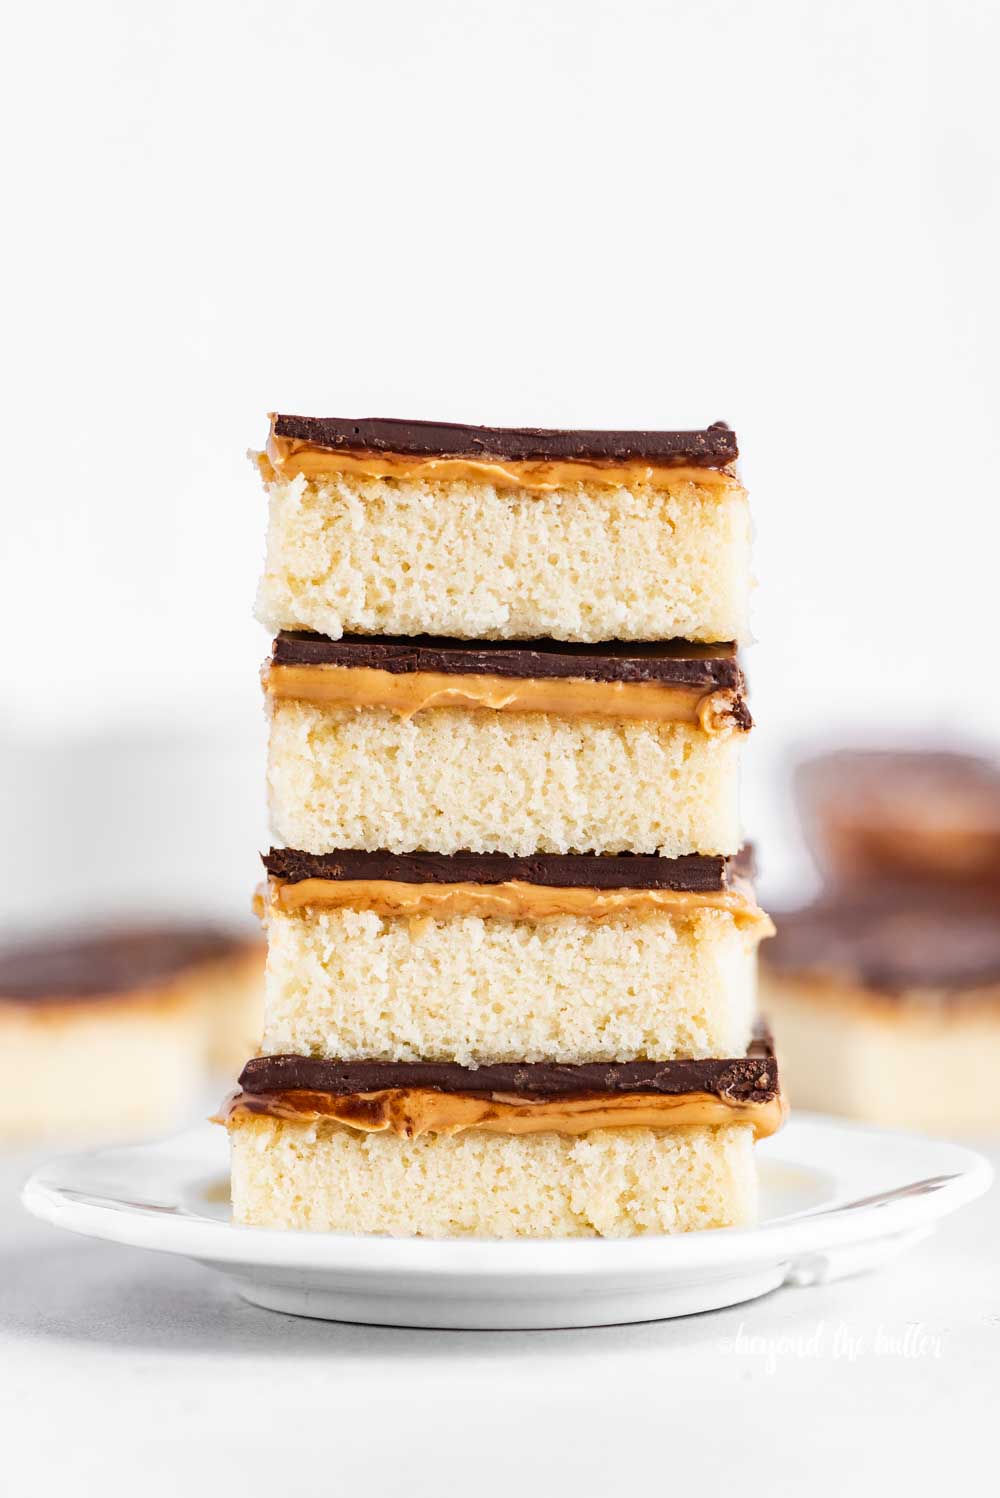
Peanut butter tandy kakes combine a moist vanilla sponge cake, with a layer of peanut butter, followed by a layer of melted chocolate that is poured evenly over the top.
Just writing that sentence makes me drool. Seriously.
Let’s Make Peanut Butter Tandy Kakes!
Whether it’s your first time making peanut butter tandy kakes or you simply need a refresher, here’s a general guide on how to make them!
- Prep your jelly roll pan. You will need a 15″ x 10″ x 1″ size jelly roll pan and a flour-based baking spray. I highly recommend Baker’s Joy. It’s just awesome and has never, ever failed me once.
- Make the vanilla sponge cake. You’ll need all-purpose flour, baking powder, salt, granulated sugar, vegetable oil, eggs, vanilla extract, and milk for this part. You can use a hand-held mixer, stand mixer, or keep it really simple and just use a large bowl and a whisk. Be careful not to over-mix the cake batter. Bake at 350ºF for 28-30 minutes.
- Add the peanut butter layer. My preference is to use creamy, no-stir peanut butter for this peanut butter tandy kakes recipe. The vanilla sponge cake needs to be almost cooled before you add the peanut butter. If it’s just a smidge warm—that’s okay.
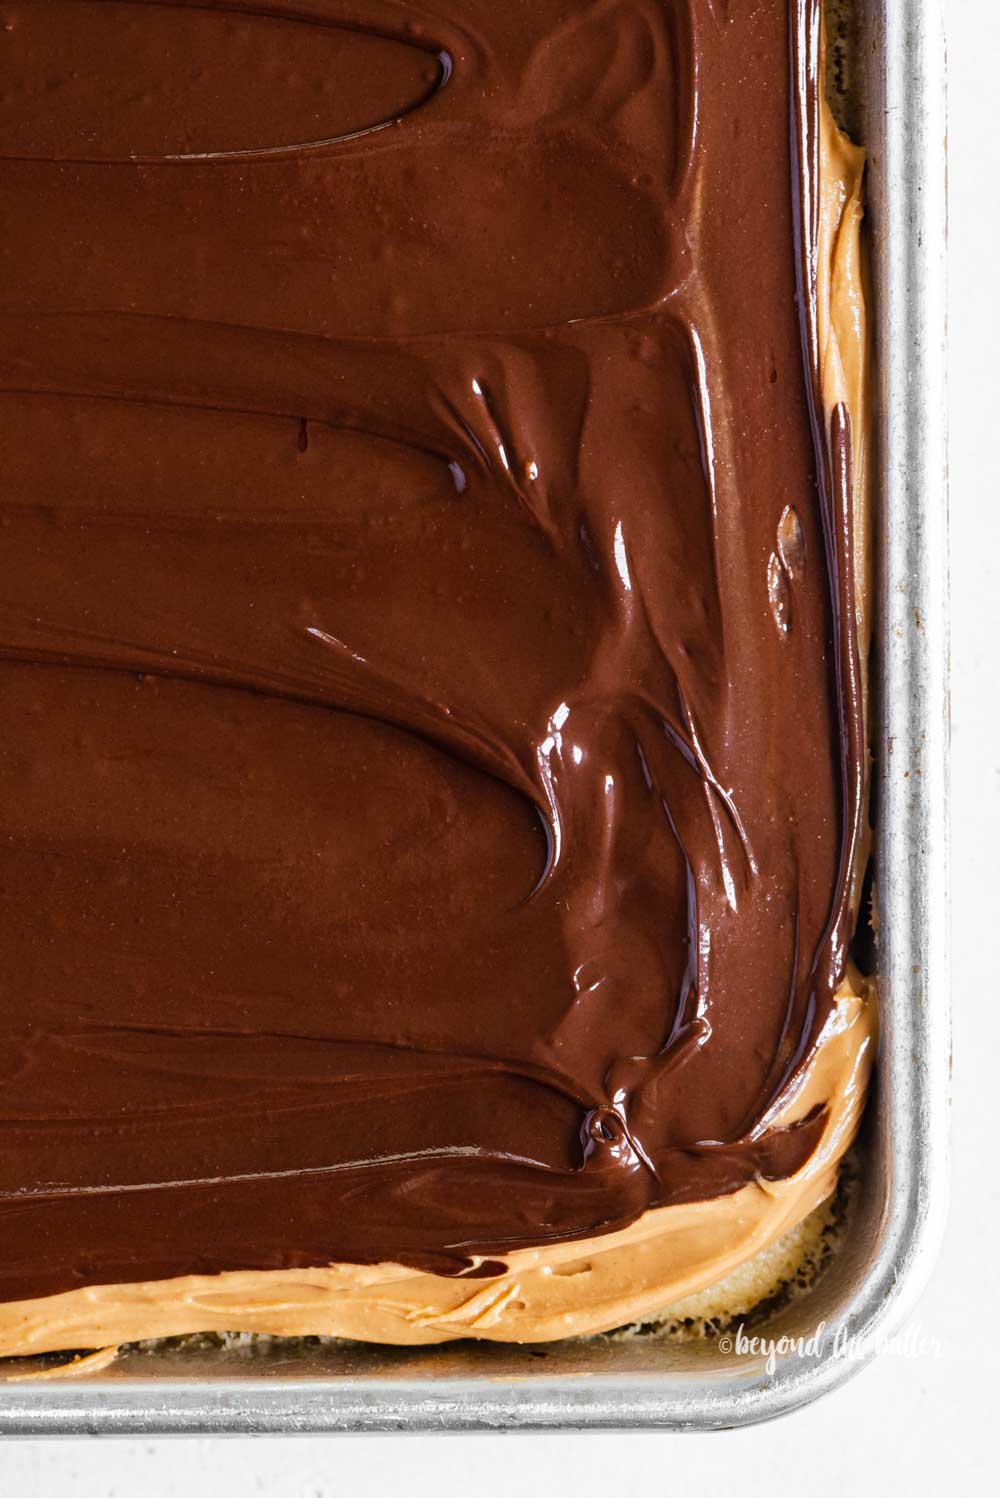
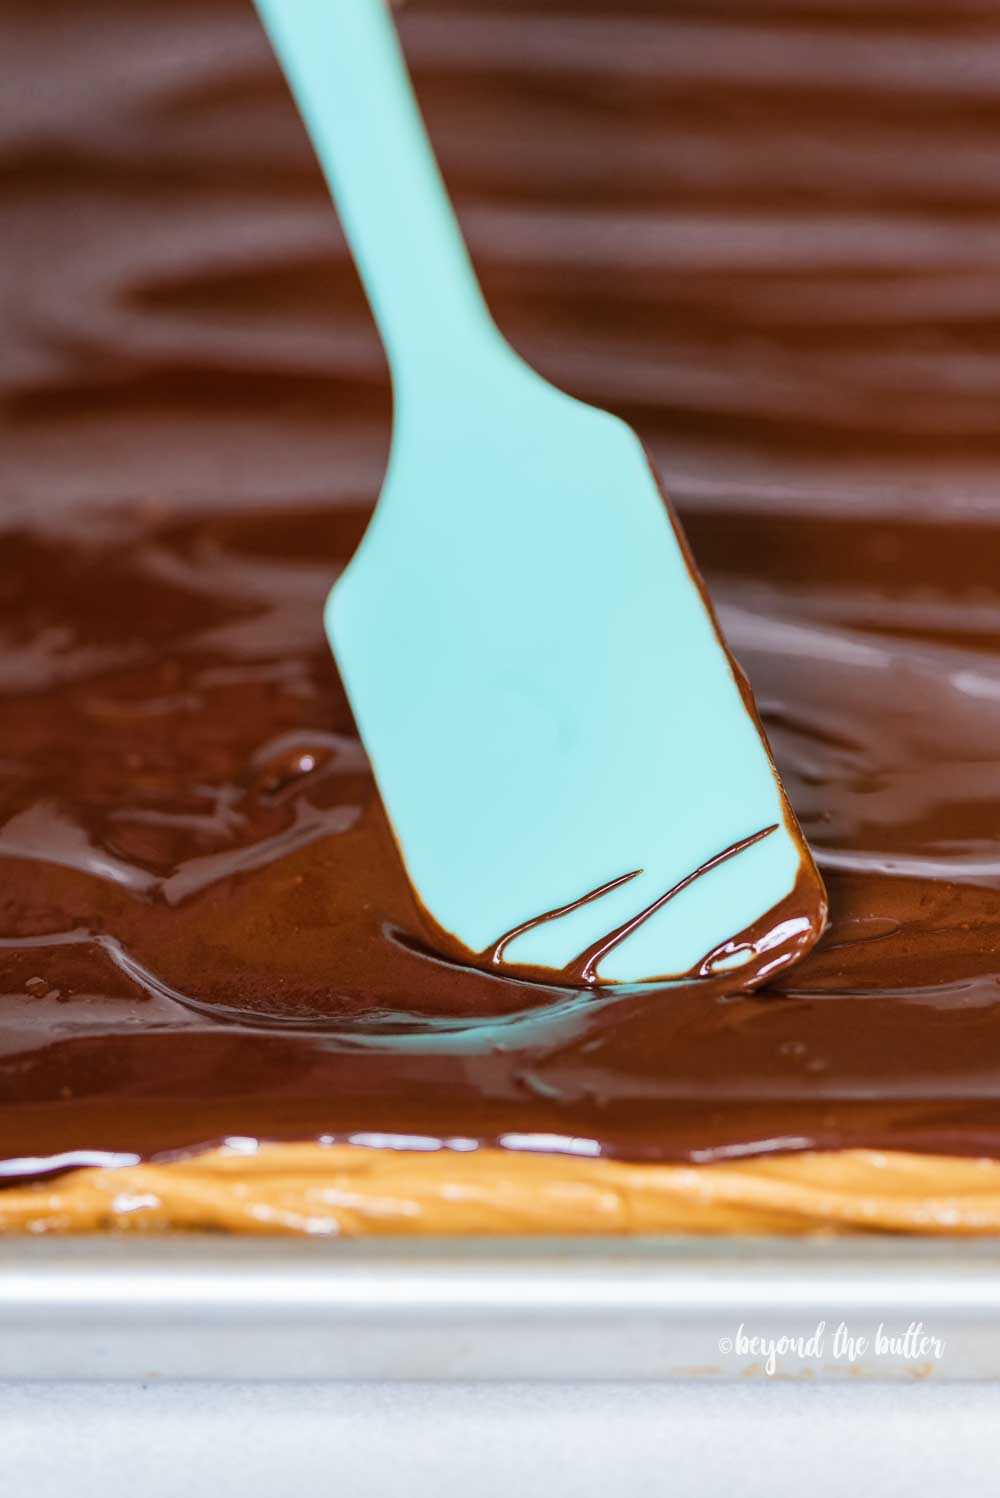
- Add the melted chocolate layer. You can microwave the semi-sweet chocolate chips and coconut oil together in the microwave, then apply the mixture to the top of the peanut butter immediately. Use an offset spatula for spreading the melted chocolate mixture.
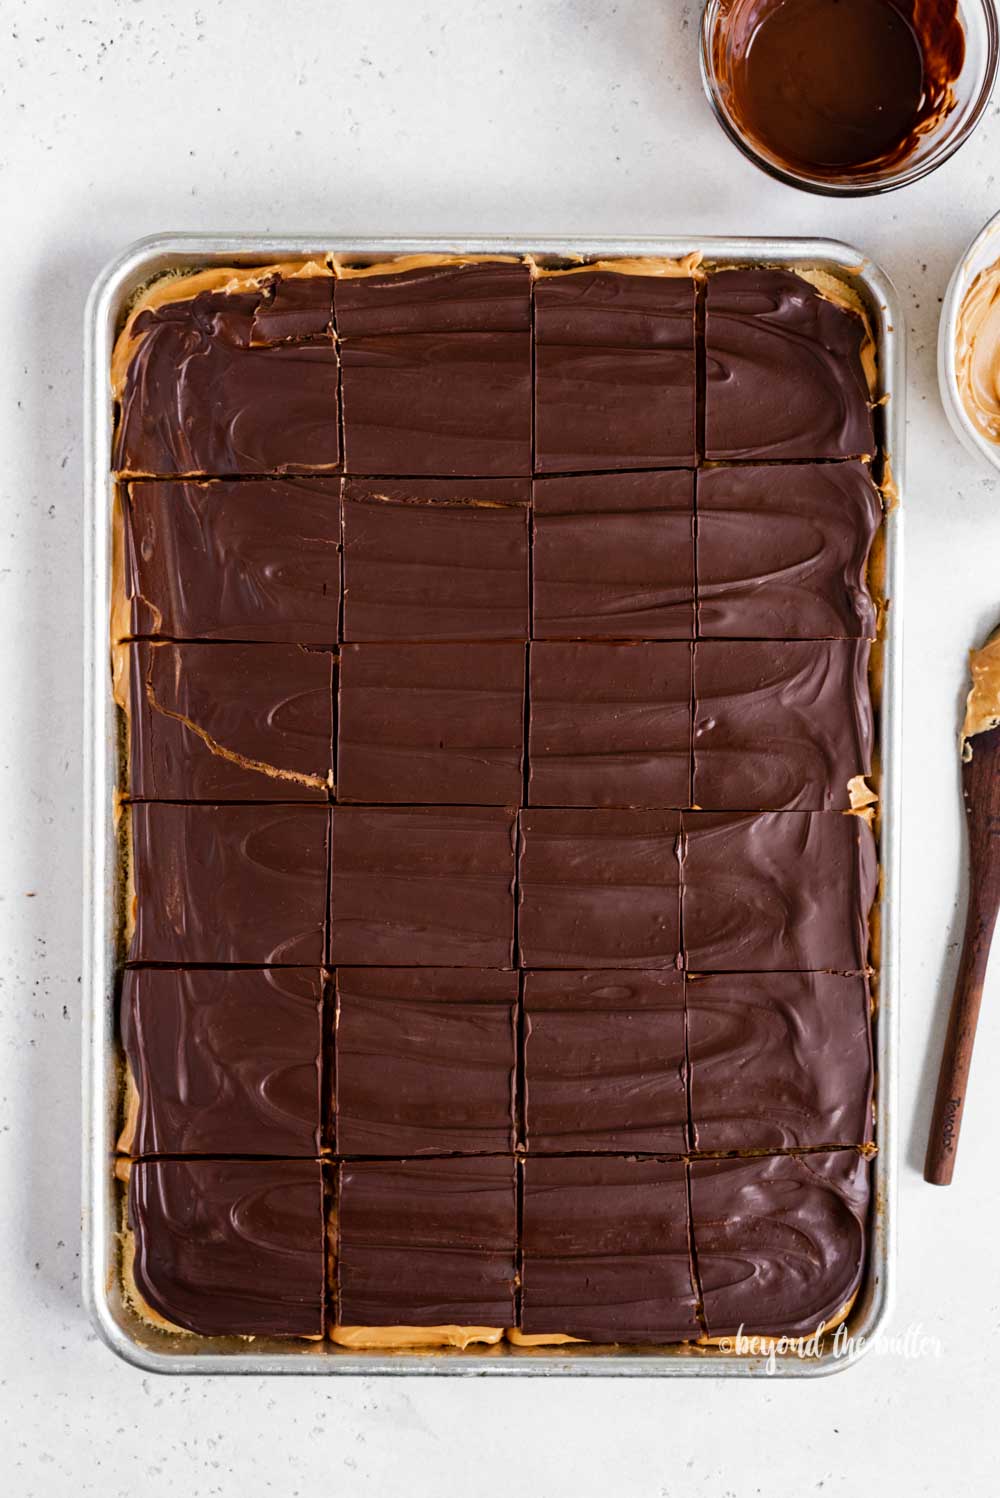
- Let it cool, then cut and enjoy. Refrigerate for 30 minutes to 1 hour before cutting the peanut butter tandy kakes into squares. These are best kept in the refrigerator in an airtight container.
Recommended Baking Tools
Recipe FAQs
If you only have the natural peanut butter where the oil separates, make sure to stir it up really well before spreading it over top of the sponge cake.
The vanilla sponge cake needs to be almost cooled before you add the peanut butter. If it’s just a smidge warm—that’s okay.
For the best results, use a 15″ x 10″ x 1″ jelly roll pan.
Craving More Chocolate Peanut Butter Desserts? Check These Out!


Irresistible Peanut Butter Tandy Kakes

Ingredients
- 2 cups All-Purpose Flour
- 1 tsp Baking Powder
- 1/2 tsp Salt
- 2 cups Granulated Sugar
- 2 tbsp Vegetable Oil
- 4 Large Eggs, room temperature
- 1 tsp Vanilla Extract
- 1 cup Milk
- 1 1/2 cups Creamy Peanut Butter, no-stir recommended
- 12 oz Semi-Sweet Chocolate Chips
- 1 tbsp Coconut Oil, optional add on with the chocolate chips
Instructions
- Adjust the oven rack to the 2nd level mark (just above center) and preheat your oven to 350ºF.
- Coat a 15″ x 10″ x 1″ jelly roll pan with a flour-based baking spray. Set to the side.
- In a medium-size mixing bowl whisk together the all-purpose flour, baking powder, and salt. Set to the side.2 cups All-Purpose Flour, 1 tsp Baking Powder, 1/2 tsp Salt
- Using your hand mixer or stand mixer fitted with the paddle attachment mix together the granulated sugar, vegetable oil, eggs, and vanilla extract on medium-high speed until fully combined.2 cups Granulated Sugar, 2 tbsp Vegetable Oil, 4 Large Eggs, 1 tsp Vanilla Extract
- Switching the mixing speed to low, alternate between adding the milk with the whisked dry mixture until just combined. Do not over mix.1 cup Milk
- Pour the batter into the prepared jelly roll pan, giving it a few light taps to get out any air bubbles before placing it in the oven.
- Bake for 28-30 minutes at 350ºF.
- Remove from the oven and place on a wire cooling rack to cool completely.
- Using a spatula or offset spatula, spread the peanut butter evenly over the top of the cake.1 1/2 cups Creamy Peanut Butter
- In a medium-sized bowl, melt the semi-sweet chocolate chips and coconut oil (optional) in the microwave in 45 – 60 second increments, stirring each time, until completely melted and smooth.12 oz Semi-Sweet Chocolate Chips, 1 tbsp Coconut Oil
- Pour the melted chocolate over the top of the peanut butter, then spread evenly over the top using a spatula or offset spatula.
- Refrigerate for 30 minutes – 1 hour before cutting into squares. These are best kept in the refrigerator in an airtight container.
Video
Notes
Nutrition
Nutritional information provided above is an estimate only and will vary based on specific ingredients used. See Nutritional Disclaimer for more info.


Can these be frozen?
Hi Rebecca! I sincerely apologize for the delay in my reply. Your comment (and many others) were sent to the spam folder of my comments. To answer your question, yes these can be kept frozen. I would chill them in the fridge first, slice them, then individually wrap in plastic wrap and keep stored in an airtight container.