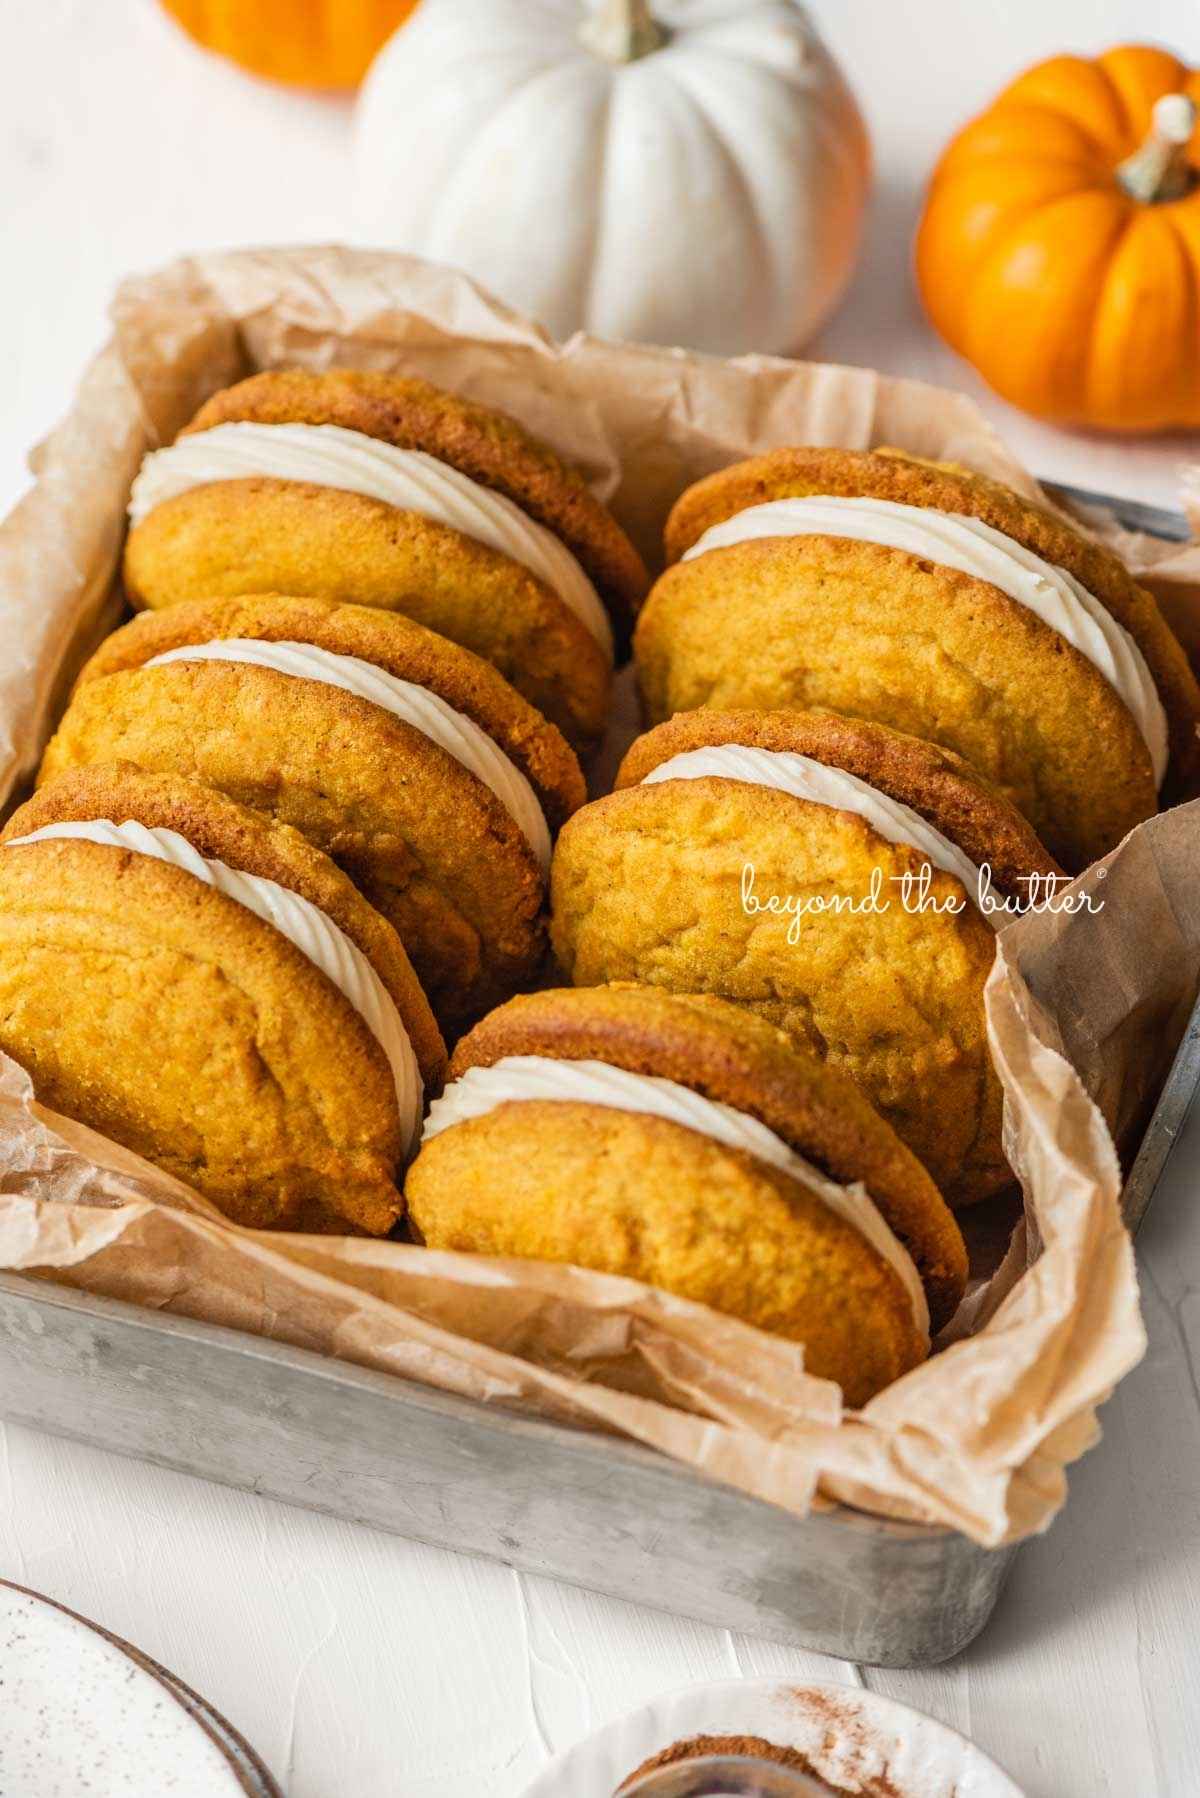
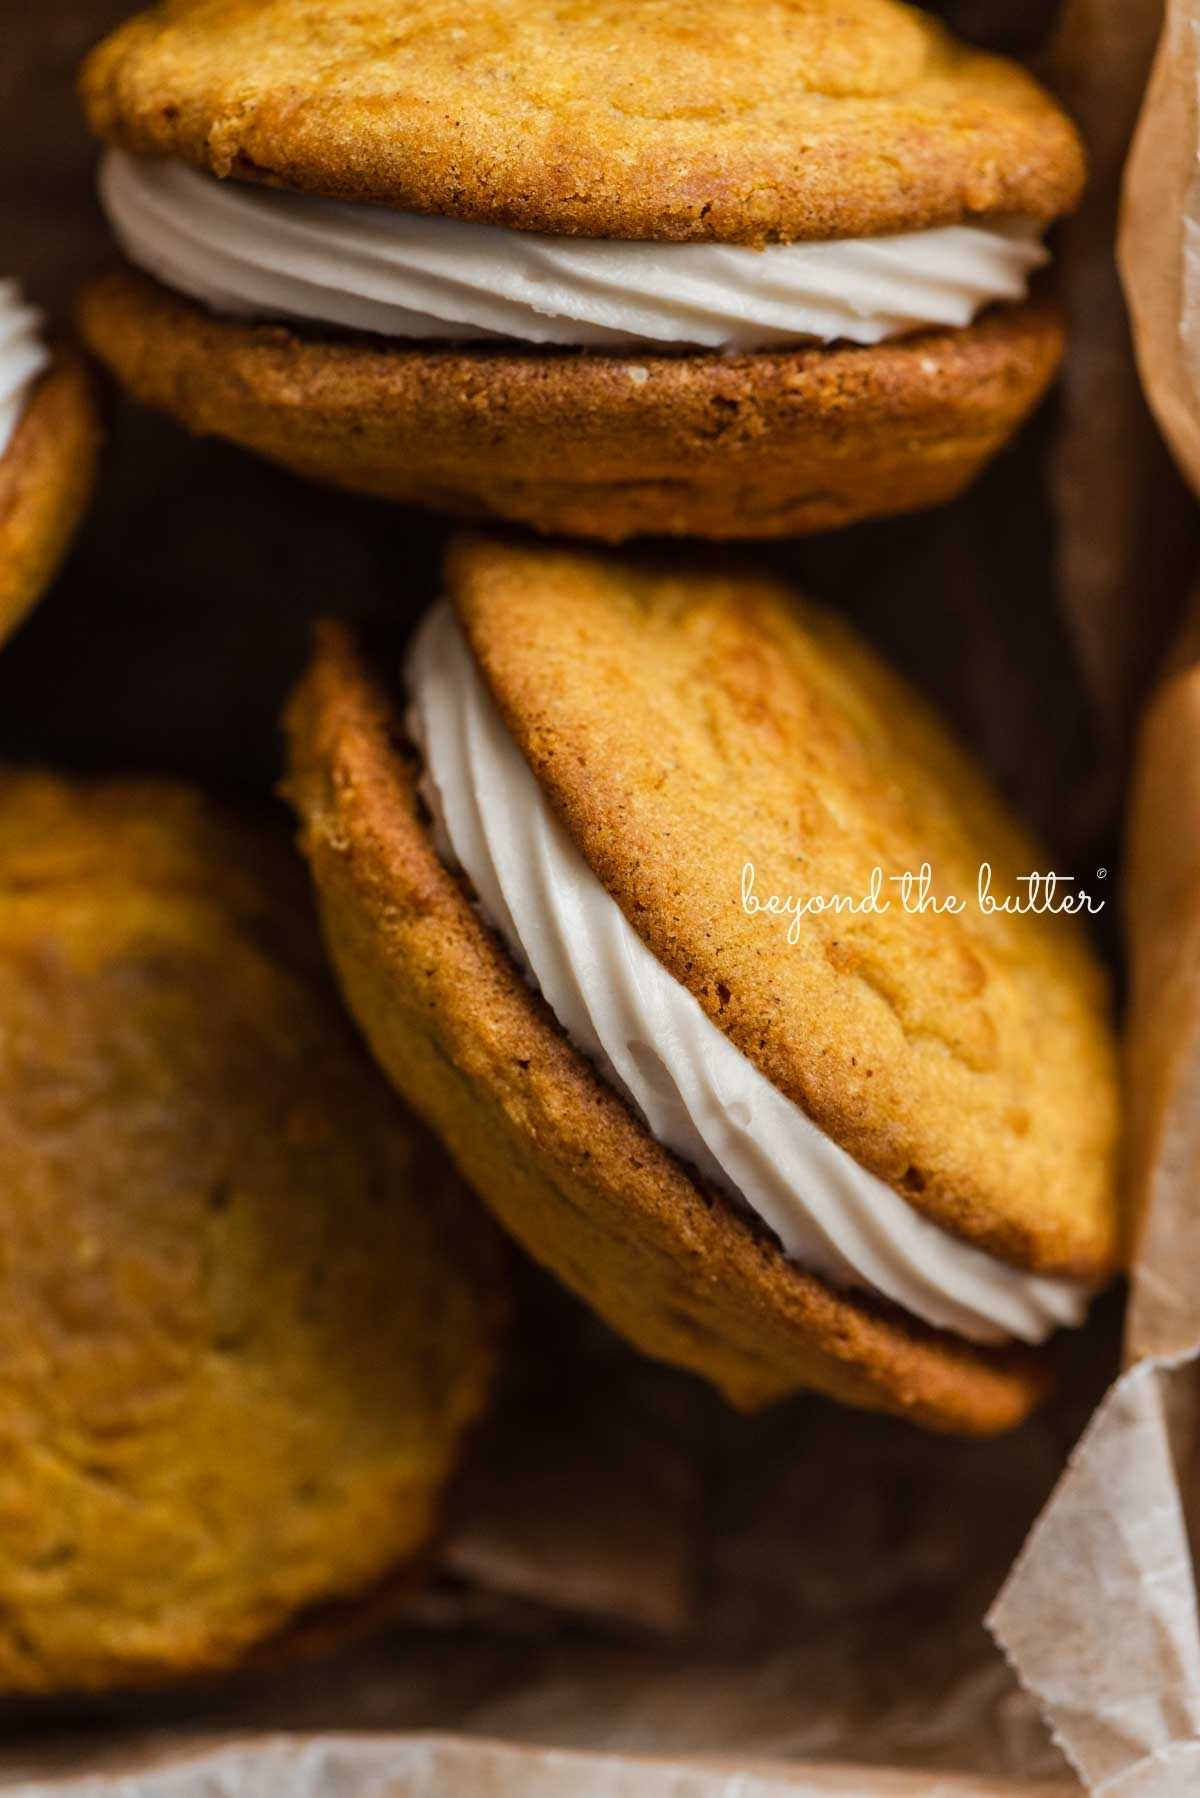
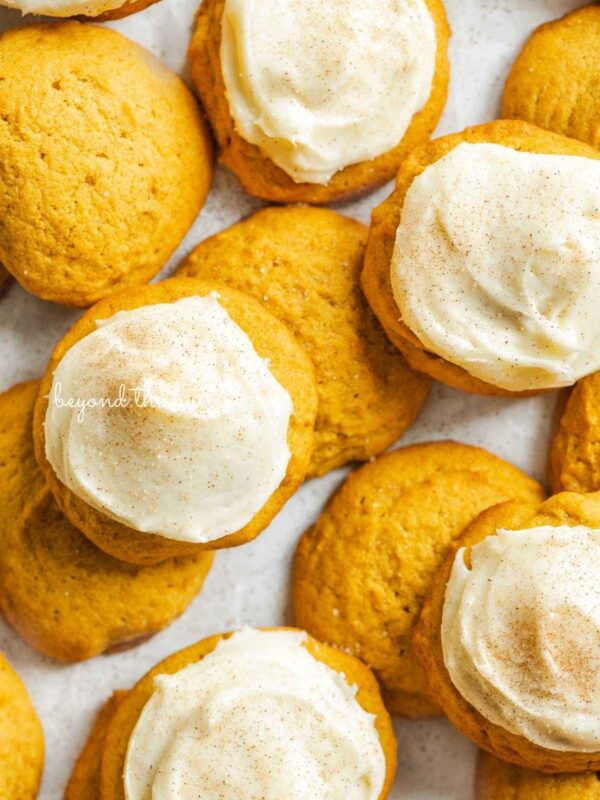
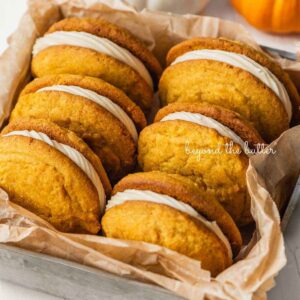
Satisfy your fall sweet tooth with this small batch of Pumpkin Whoopie Pies! With incredibly soft and flavorful pumpkin cakes sandwiched together with a maple cream cheese frosting, they will be a big-time favorite for sure!
Pin this now to find it later
Pin ItTable of Contents
Why you’ll love this recipe

This homemade pumpkin whoopie pies recipe was an easy adaptation from my Pumpkin Cinnamon Cookies recipe.
With their super-soft, cake-like texture, I realized they would make the perfect whoopie pies! It is basically the same recipe, but we’re just using a larger-sized cookie scoop and baking them slightly longer.
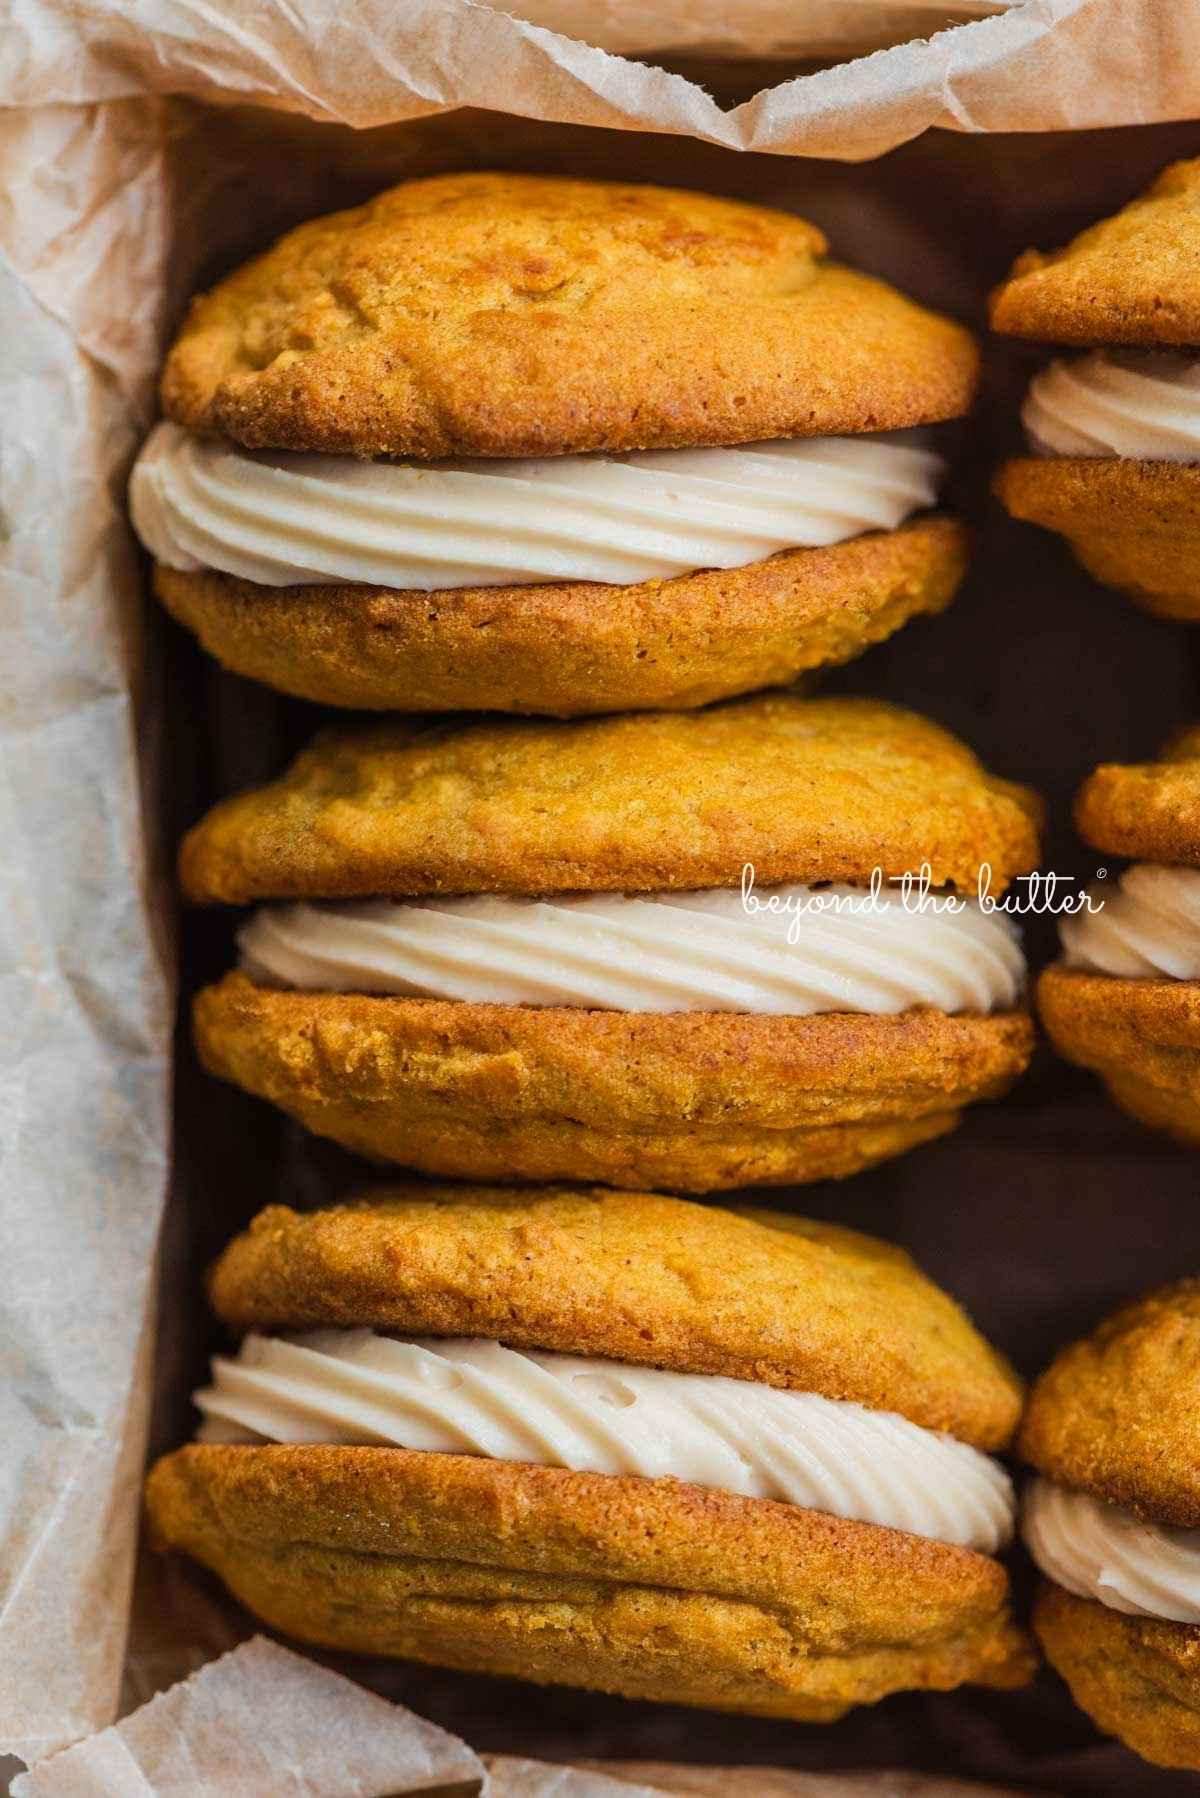
These whoopie pies are soft and moist, not overly sweet, and easy to prep! They pair nicely with the maple cream cheese frosting and taste delicious when chilled. It’s a small-batch recipe that makes seven medium-sized whoopie pies and is perfect as a fall-season after-dinner treat!
Enjoy!
Ingredients Needed
The following ingredients are needed to make these pumpkin whoopie pies with maple cream cheese frosting. Items noted in the bulleted list are key ingredients that need a bit more explanation.
Pumpkin Whoopie Pies
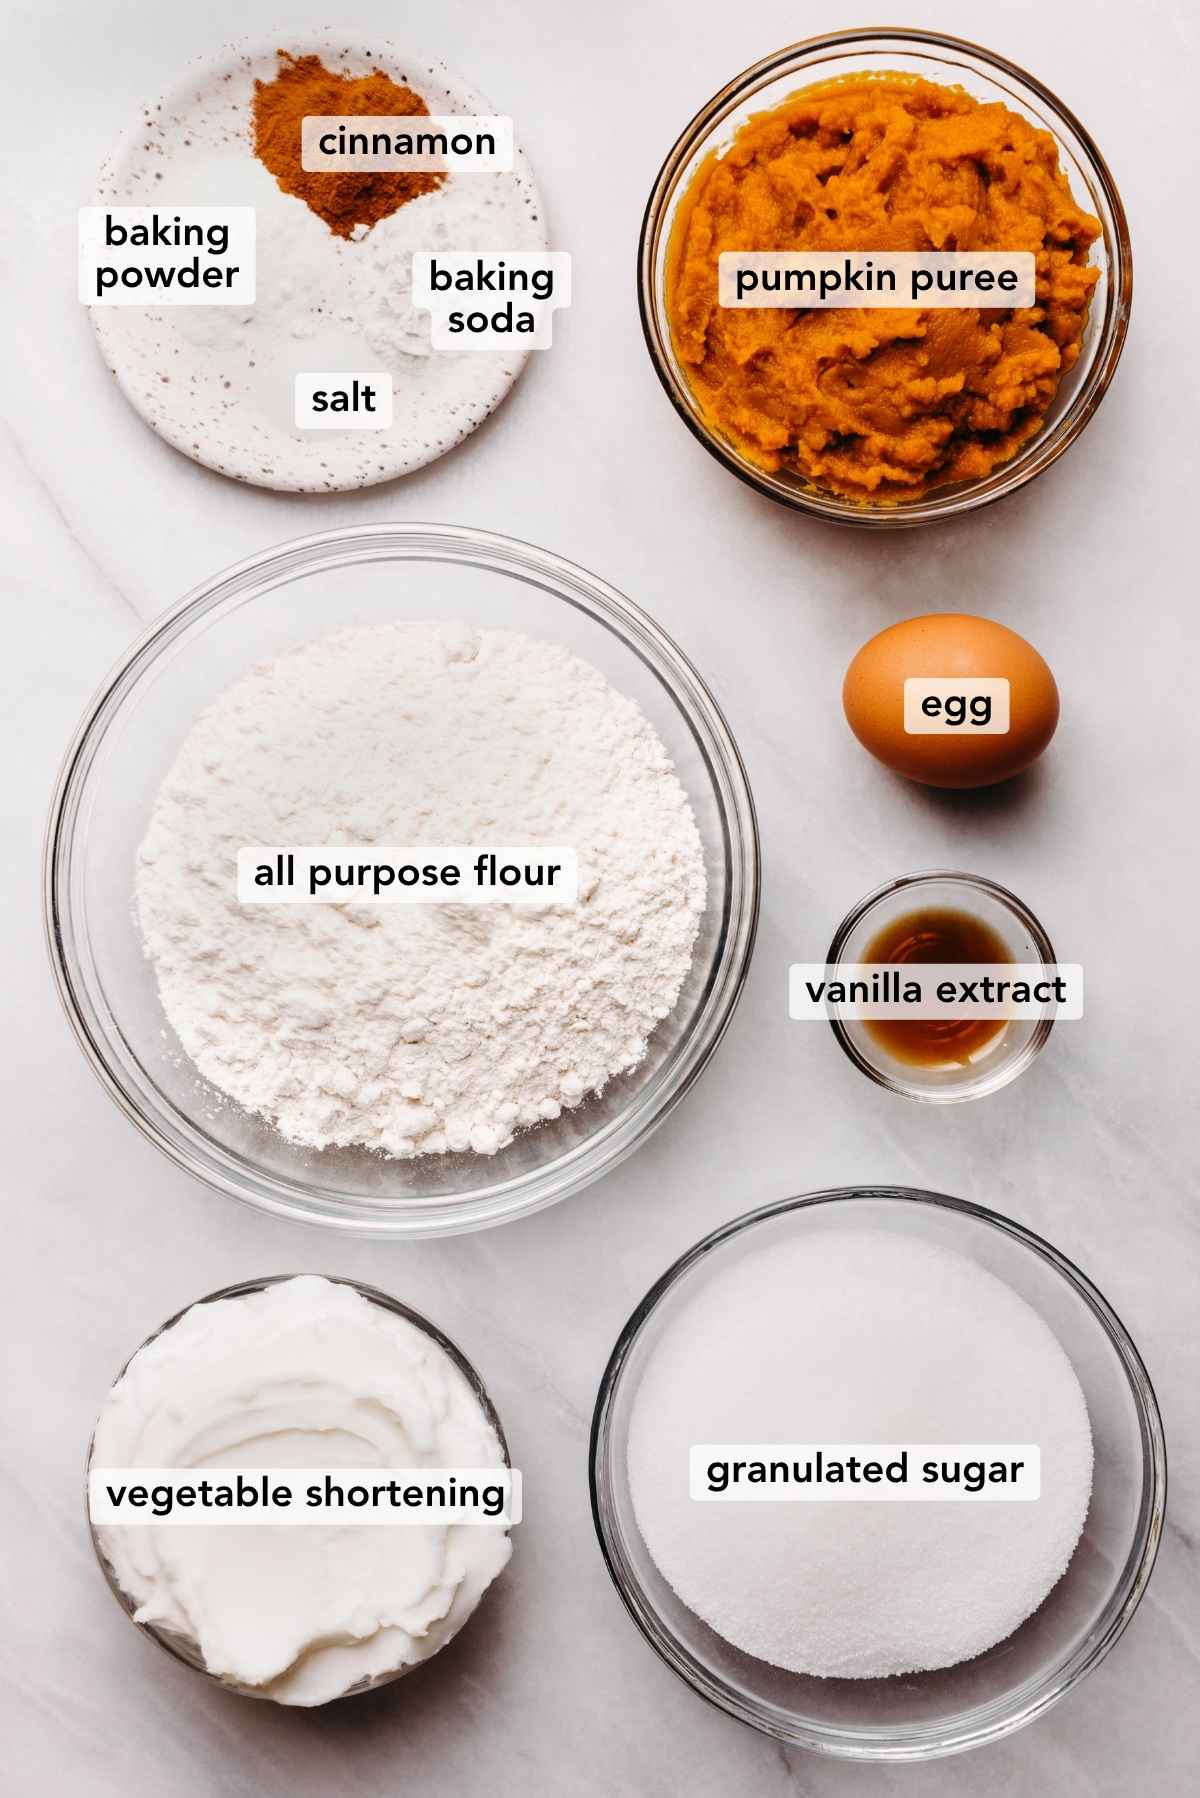
- All-Purpose Flour. I used the King Arthur brand, but use what you like best. I did not make this with any other type of flour.
- Cinnamon. Gives the pumpkin a nice added bit of flavor! For a more intense, bolder flavor, I recommend using a Vietnamese cinnamon. It is very good!
- Vegetable Shortening. I know some do not care for using vegetable shortening in their recipes, but I do recommend it for this, as it gives the whoopie pies their nice dome-like tops and keeps them from spreading much during baking.
- Canned Pumpkin. We’re using pumpkin puree and not pumpkin pie filling or pumpkin butter. I recommend using Libby’s Organic Canned Pumpkin.
Maple Cream Cheese Frosting
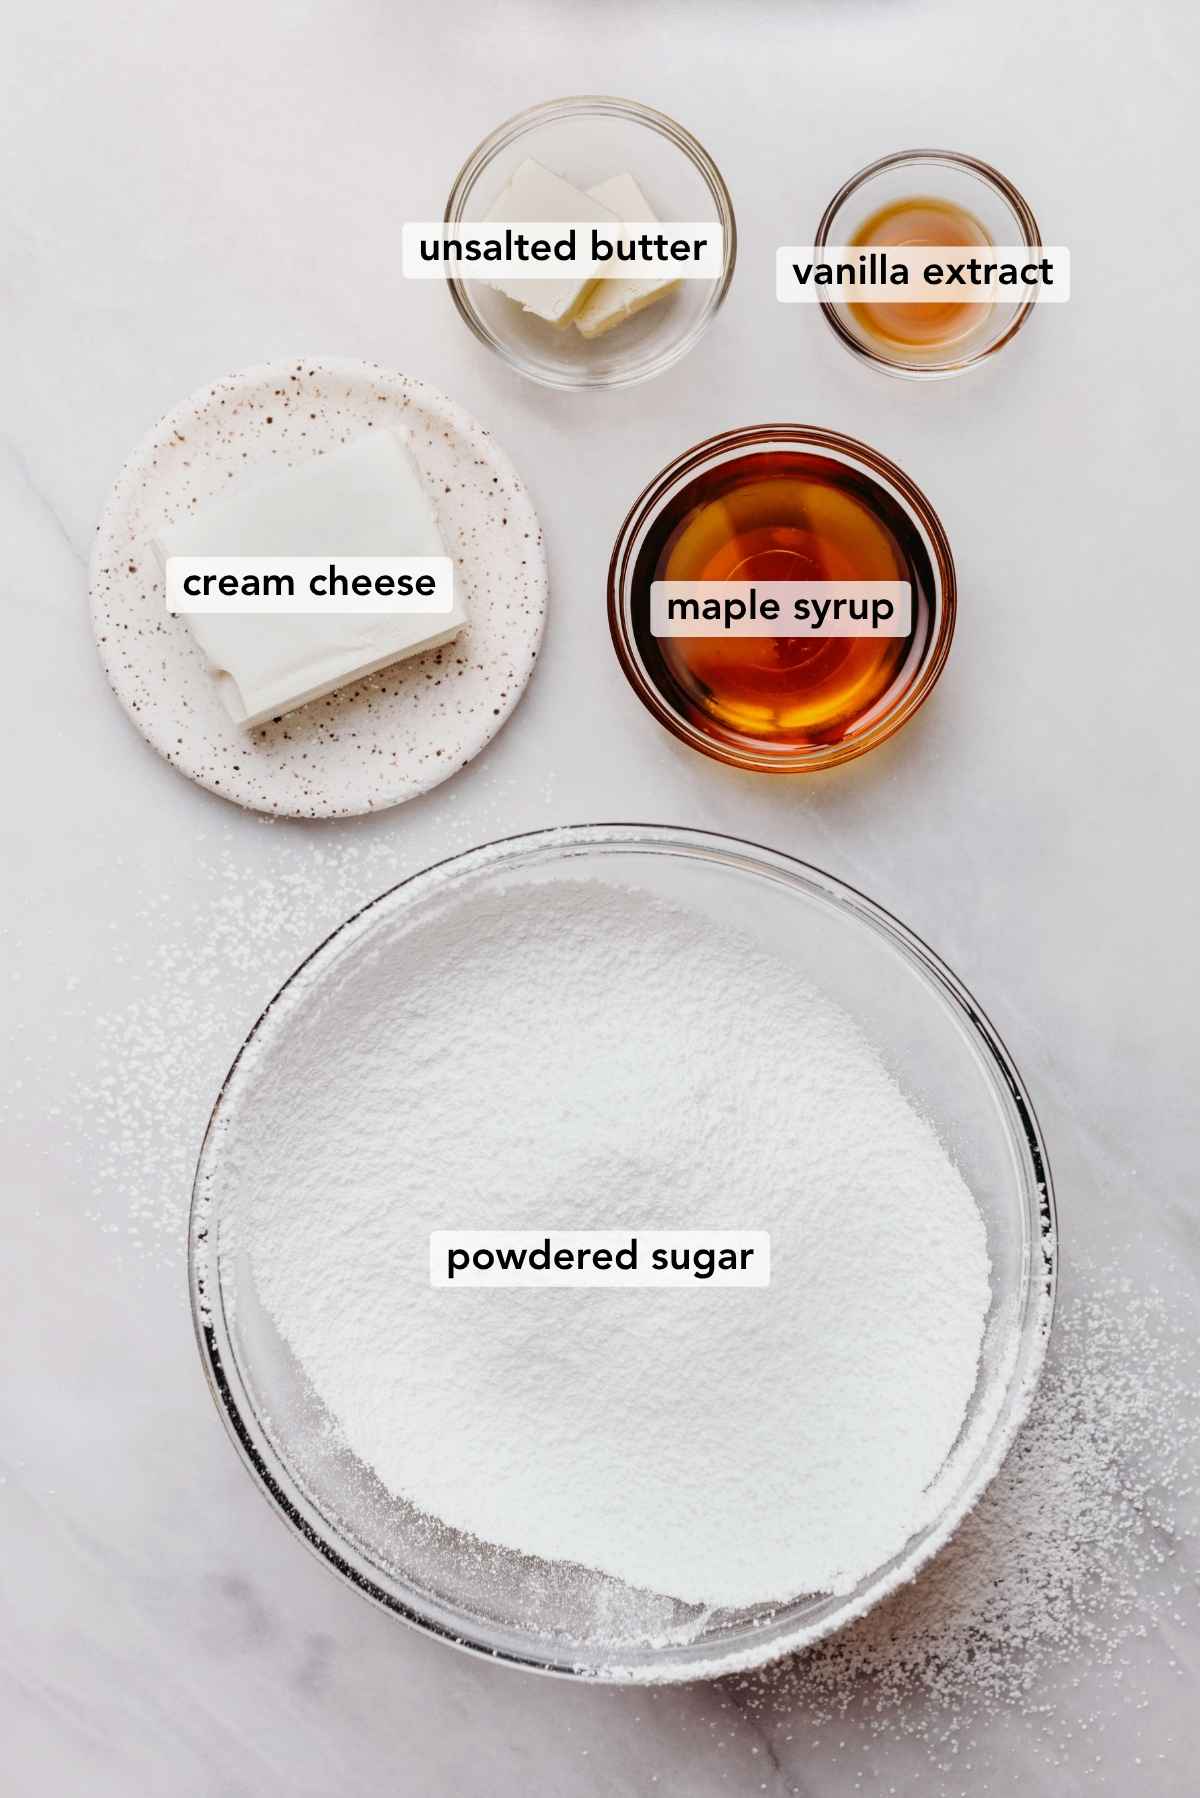
- Cream Cheese. I use the Philadelphia original cream cheese, but any brand will be fine as long as it’s the full-fat kind.
- Powdered Sugar. Ensure it’s sifted before adding it to the frosting mixture.
For quantities and instructions, please see the recipe card below.
How to Make the Recipe
Below is a quick overview of how to make this pumpkin whoopie pies recipe. For the full printable recipe, with US customary or metric measurements, visit the recipe card below.
Pumpkin Whoopie Pies
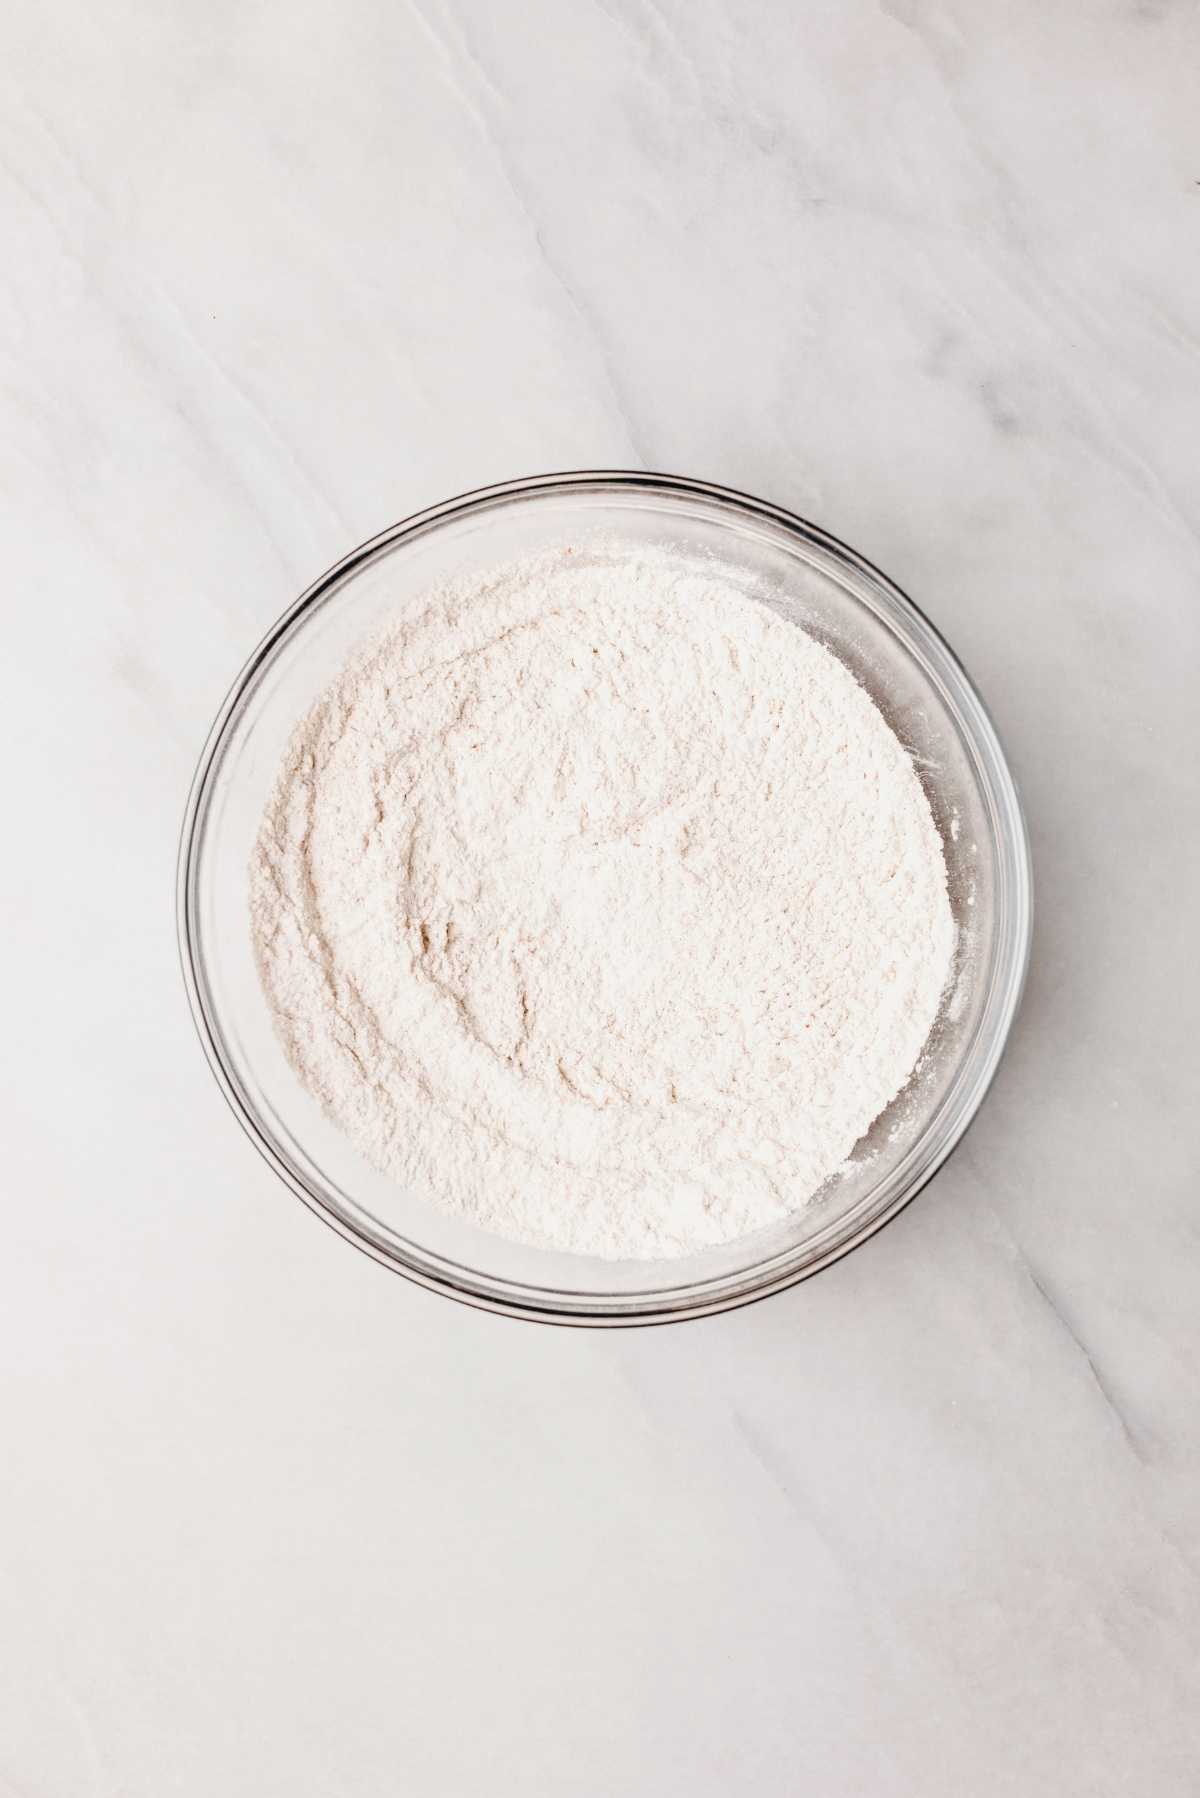
Step 1. Whisk together the flour, baking soda, baking powder, cinnamon, and salt. Set to the side.
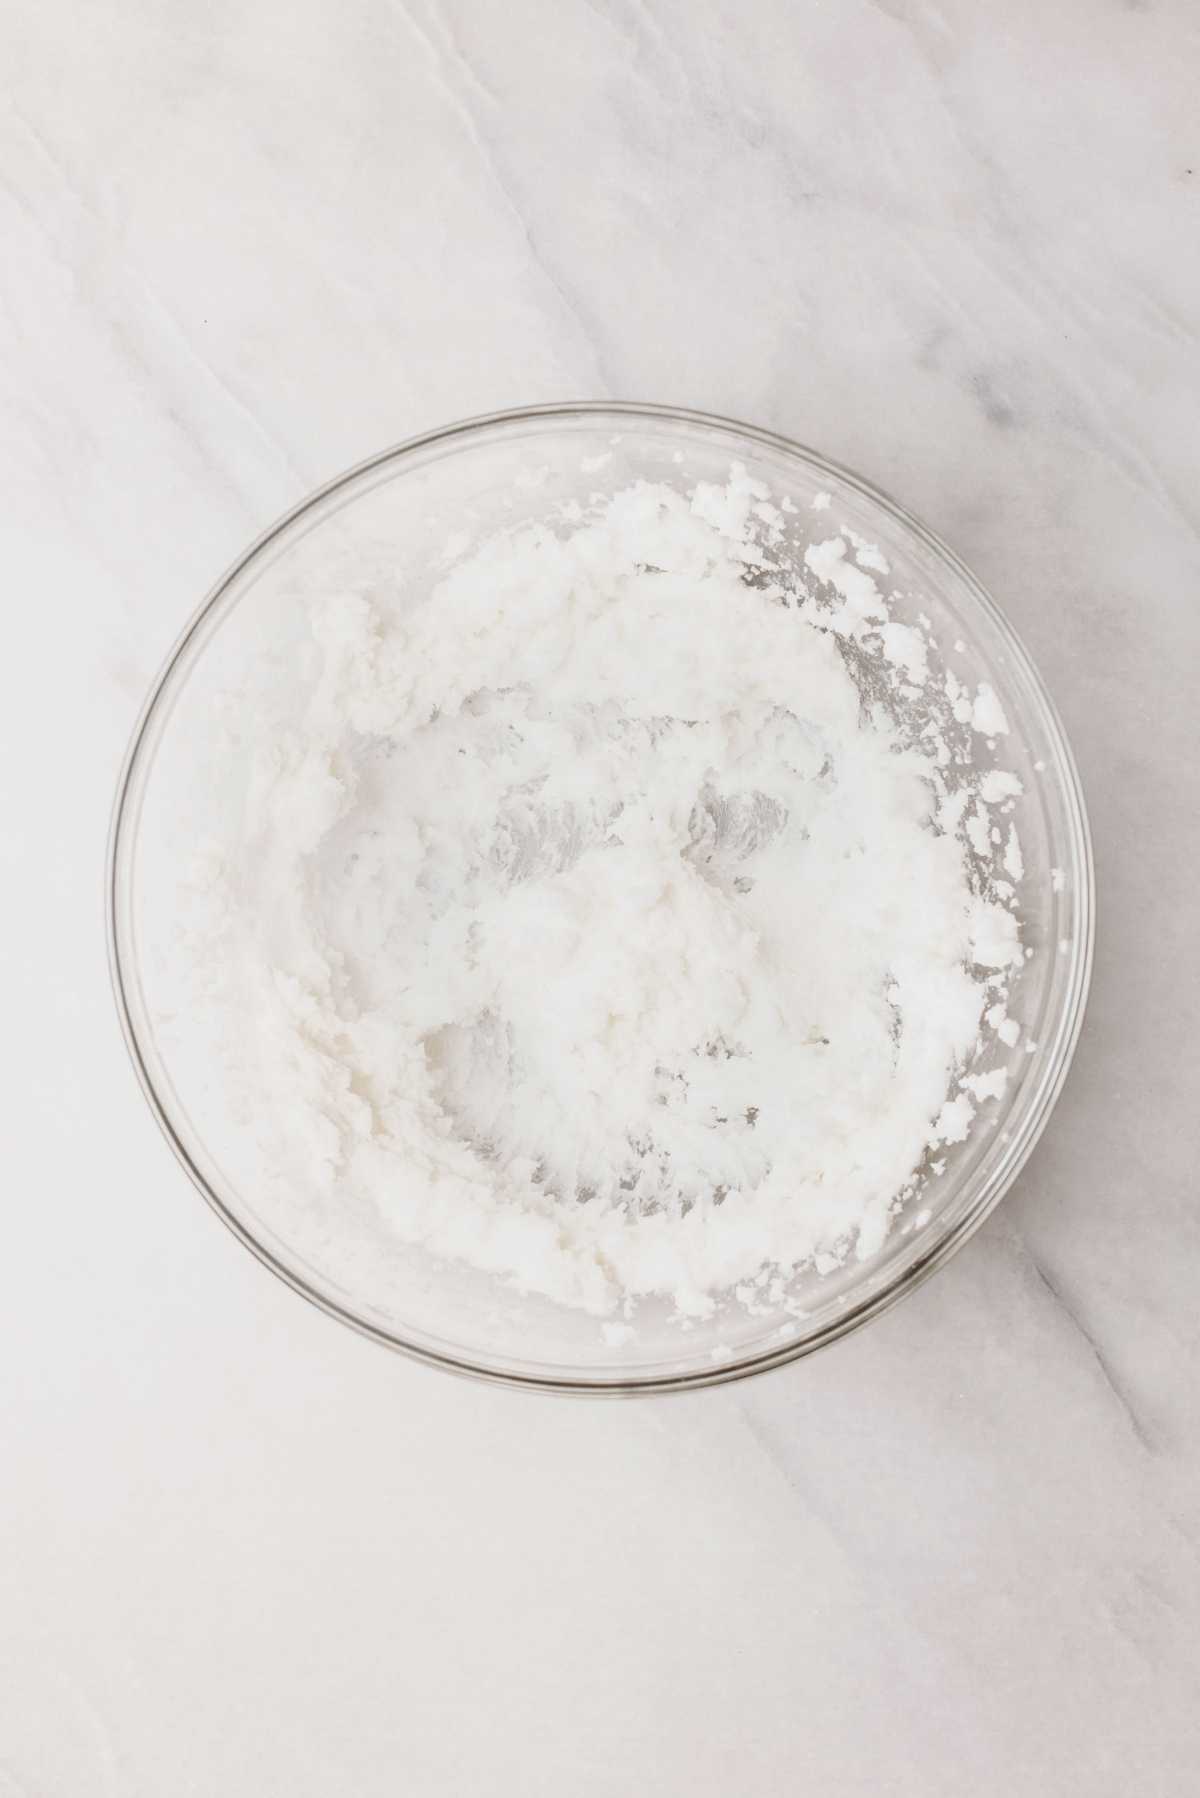
Step 2. Beat the shortening and sugar together until light and fluffy.
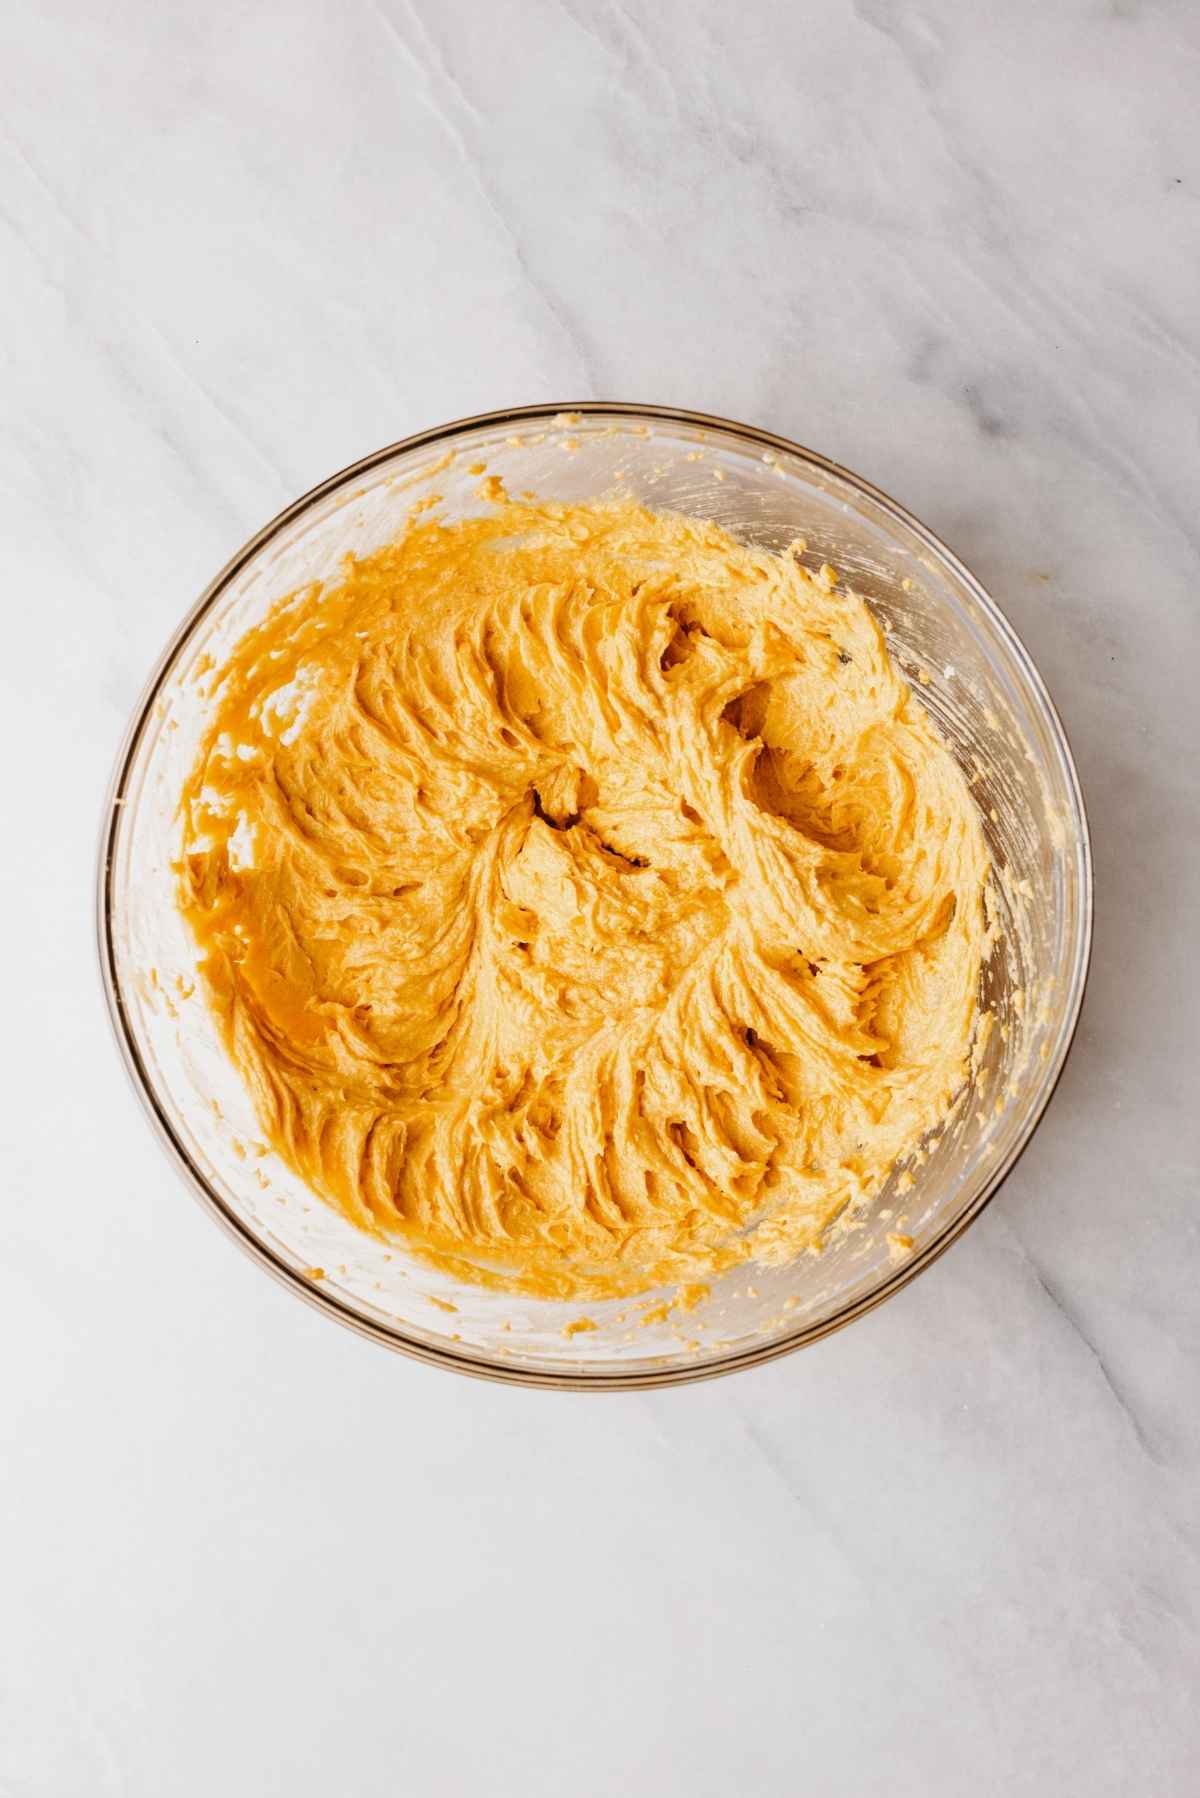
Step 3. Add in the egg, pumpkin puree, and vanilla extract. Mix until well blended.
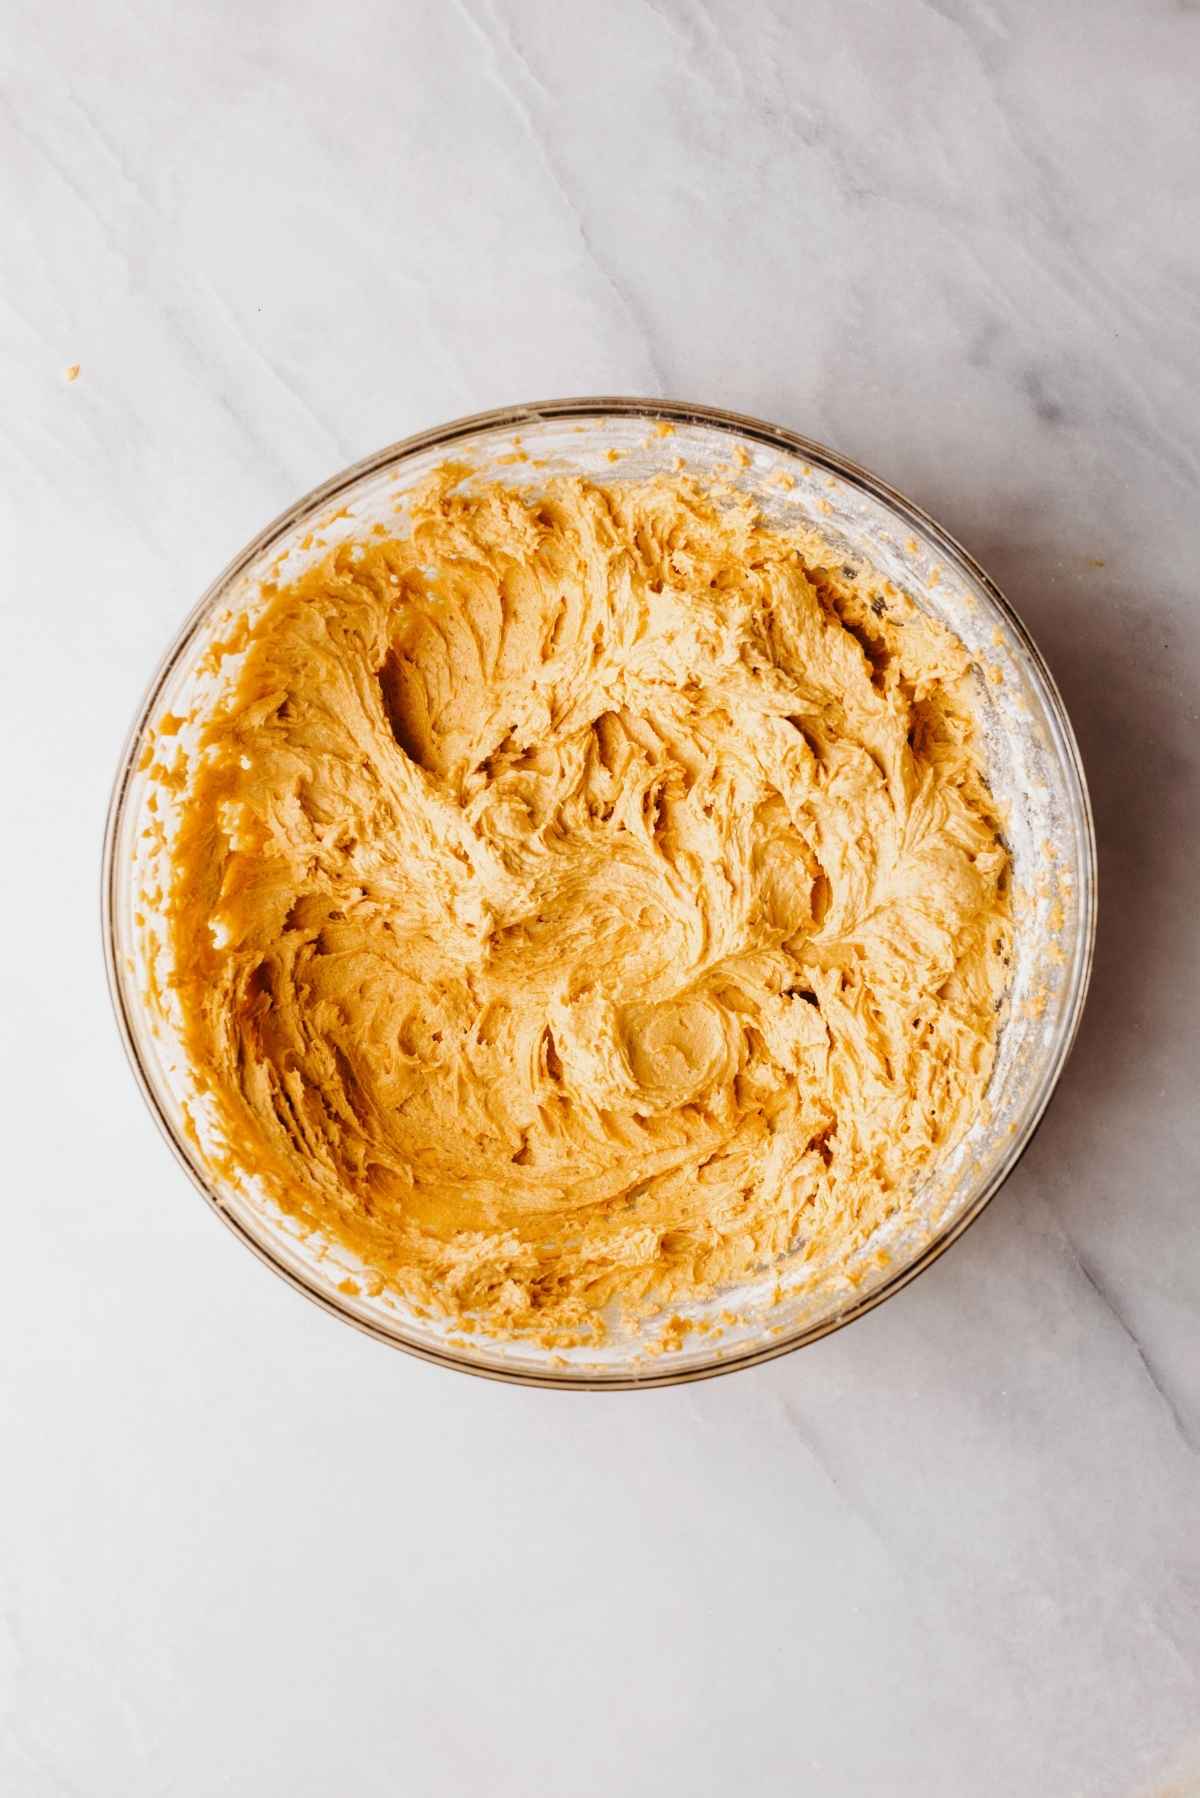
Step 4. Gradually add the dry ingredients to the wet ingredients. Mix until the batter is just combined.
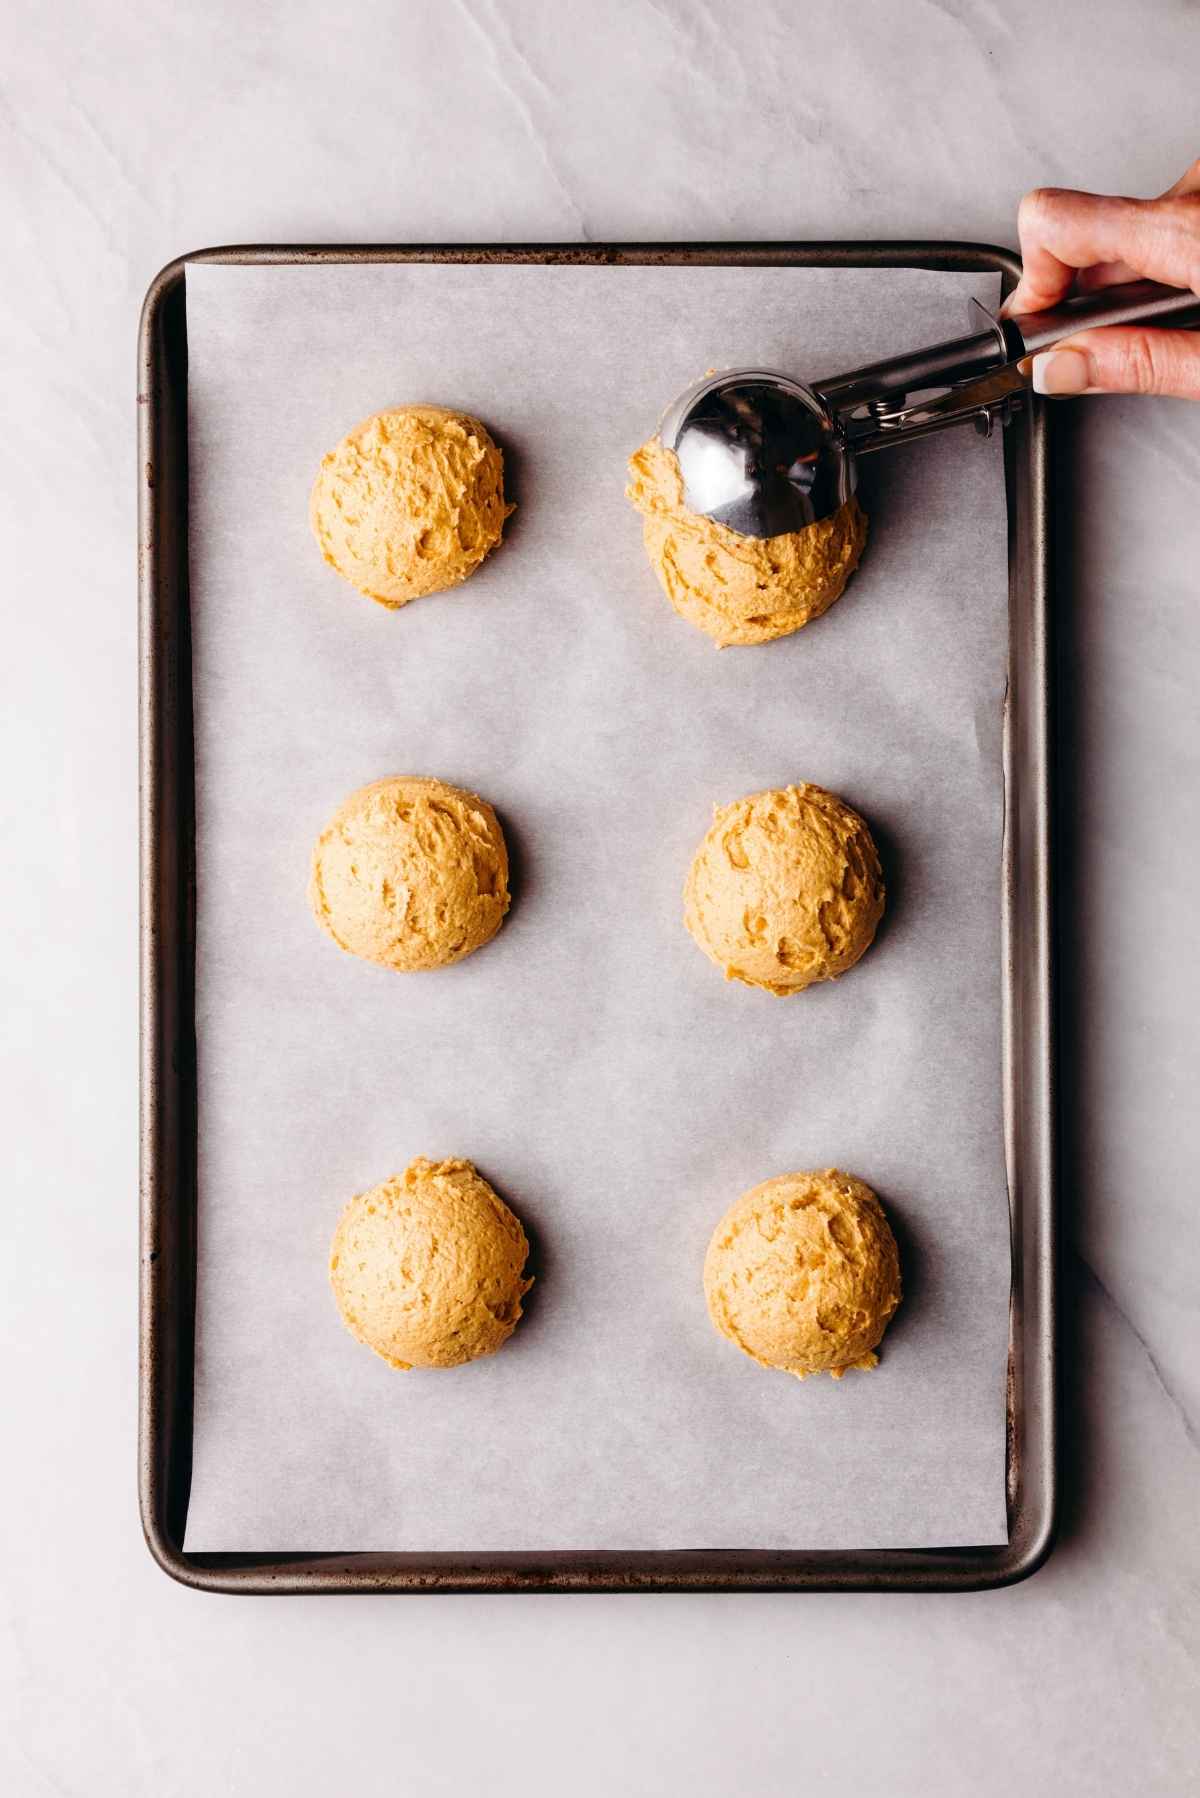
Step 5. Scoop the whoopie pie cake batter onto the baking sheet. Space 2 inches apart. Bake for 15-18 minutes at 350ºF.
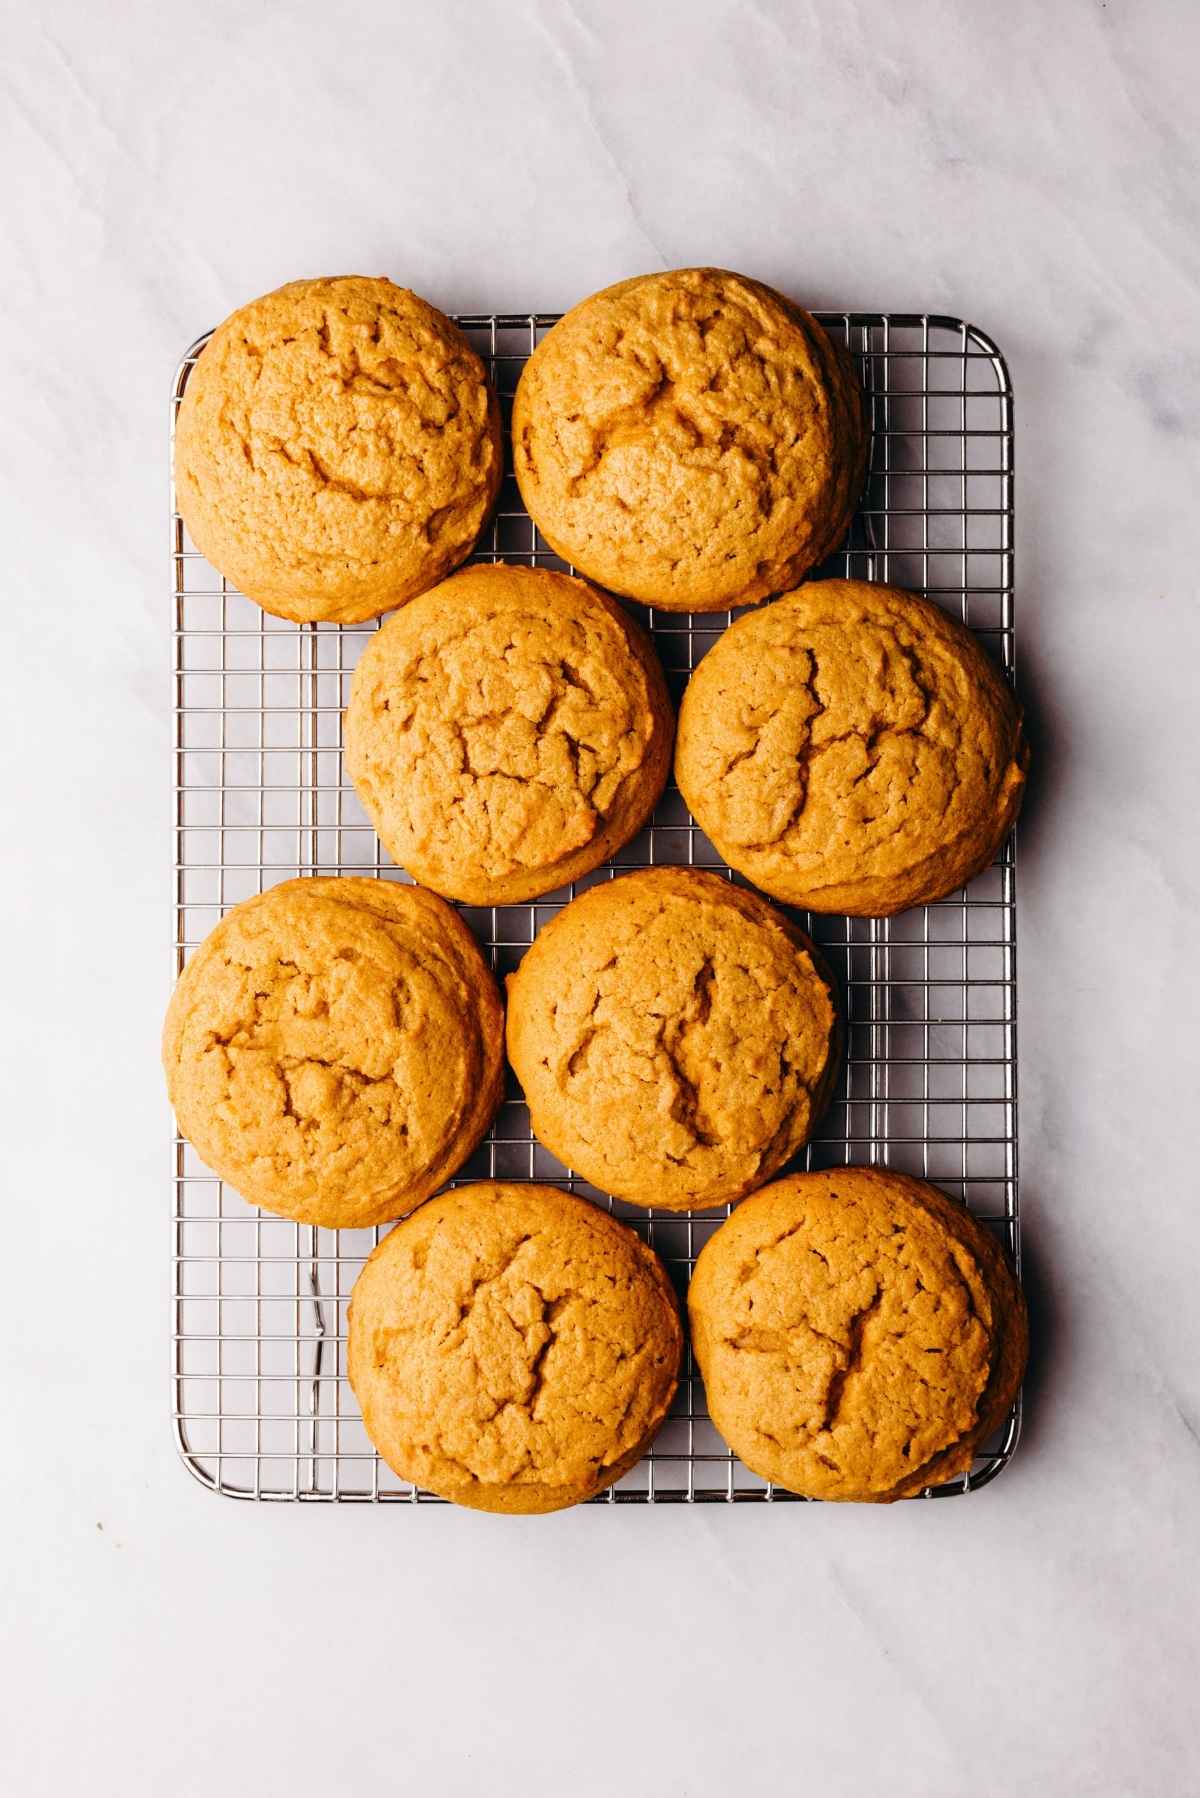
Step 6. Remove from oven, then transfer cookies to a cooling rack. The whoopie pie cakes should be completely cooled before frosting.
Maple Cream Cheese Frosting
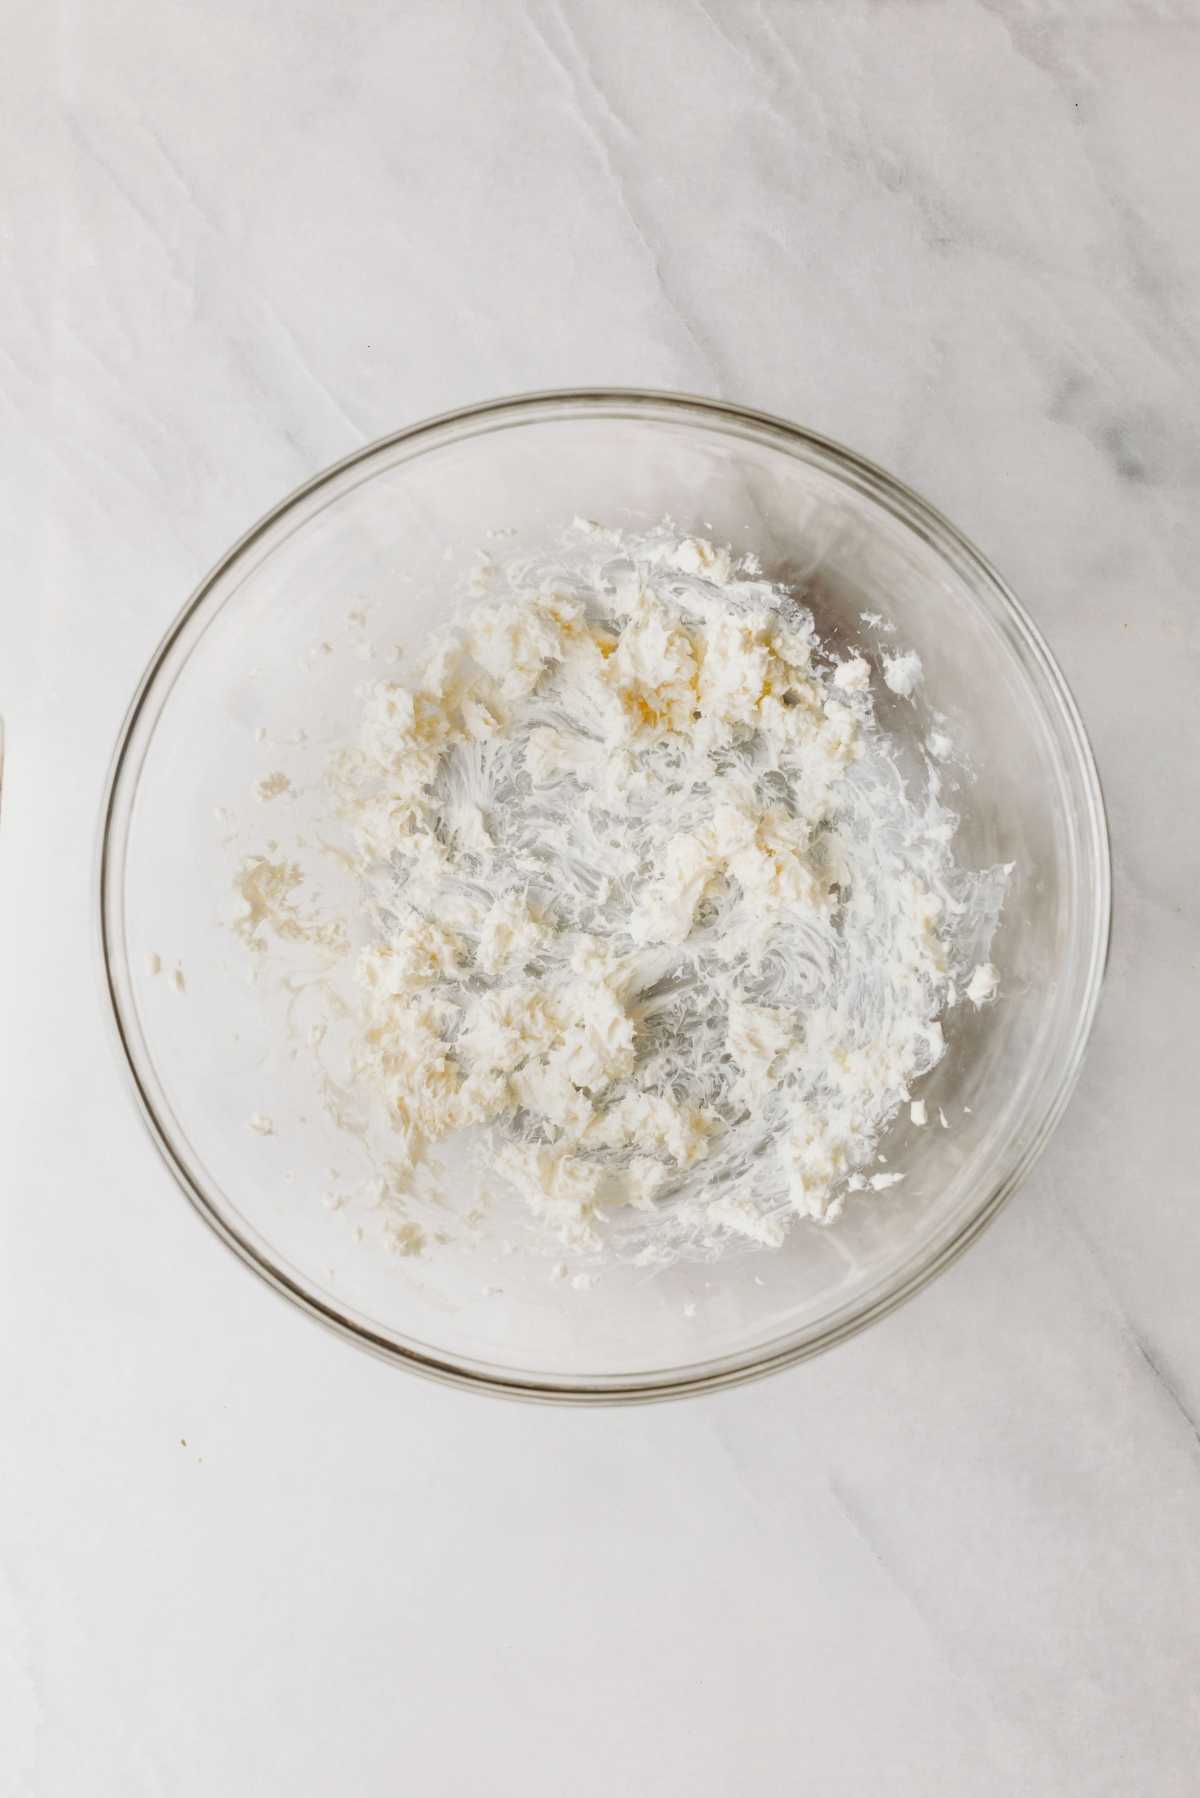
Step 1. Beat the cream cheese and unsalted butter together until smooth and well blended.
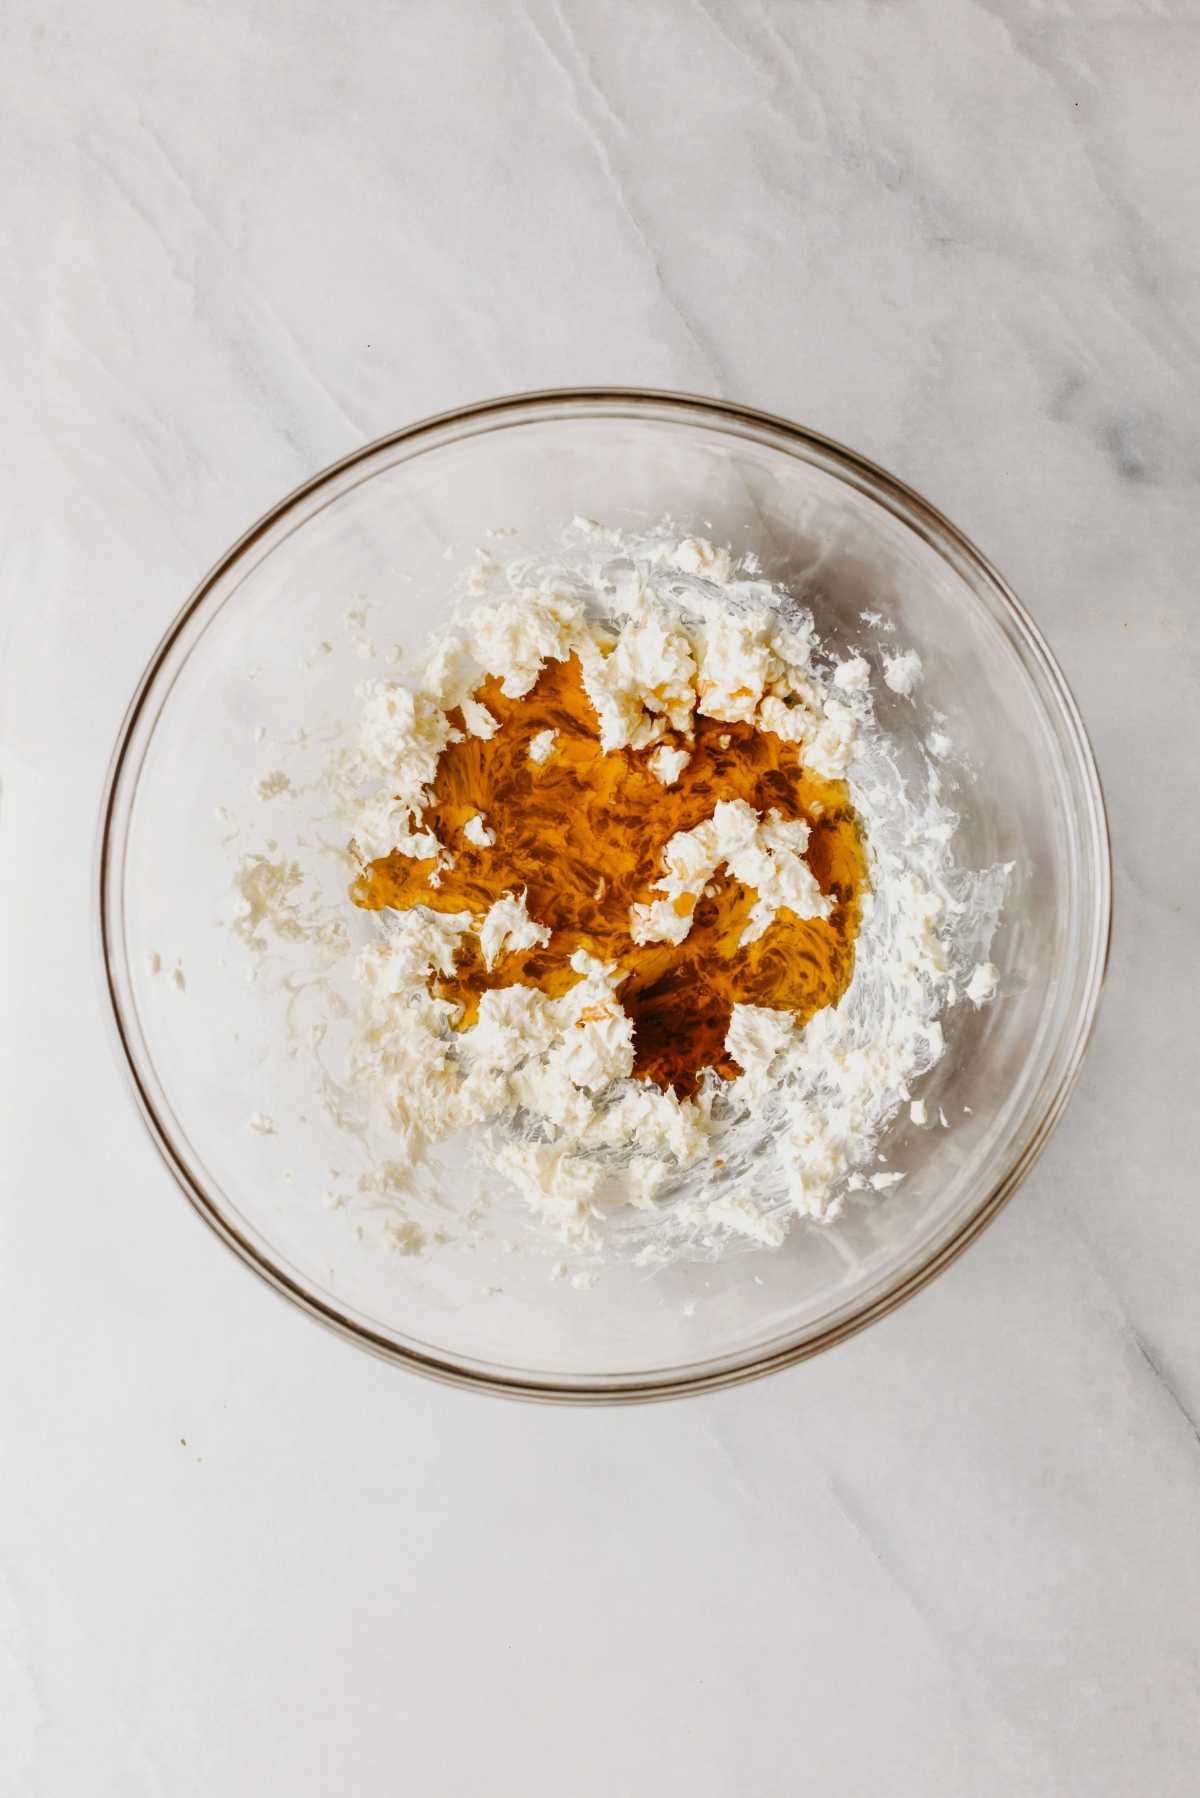
Step 2. Add in the vanilla extract and maple syrup.
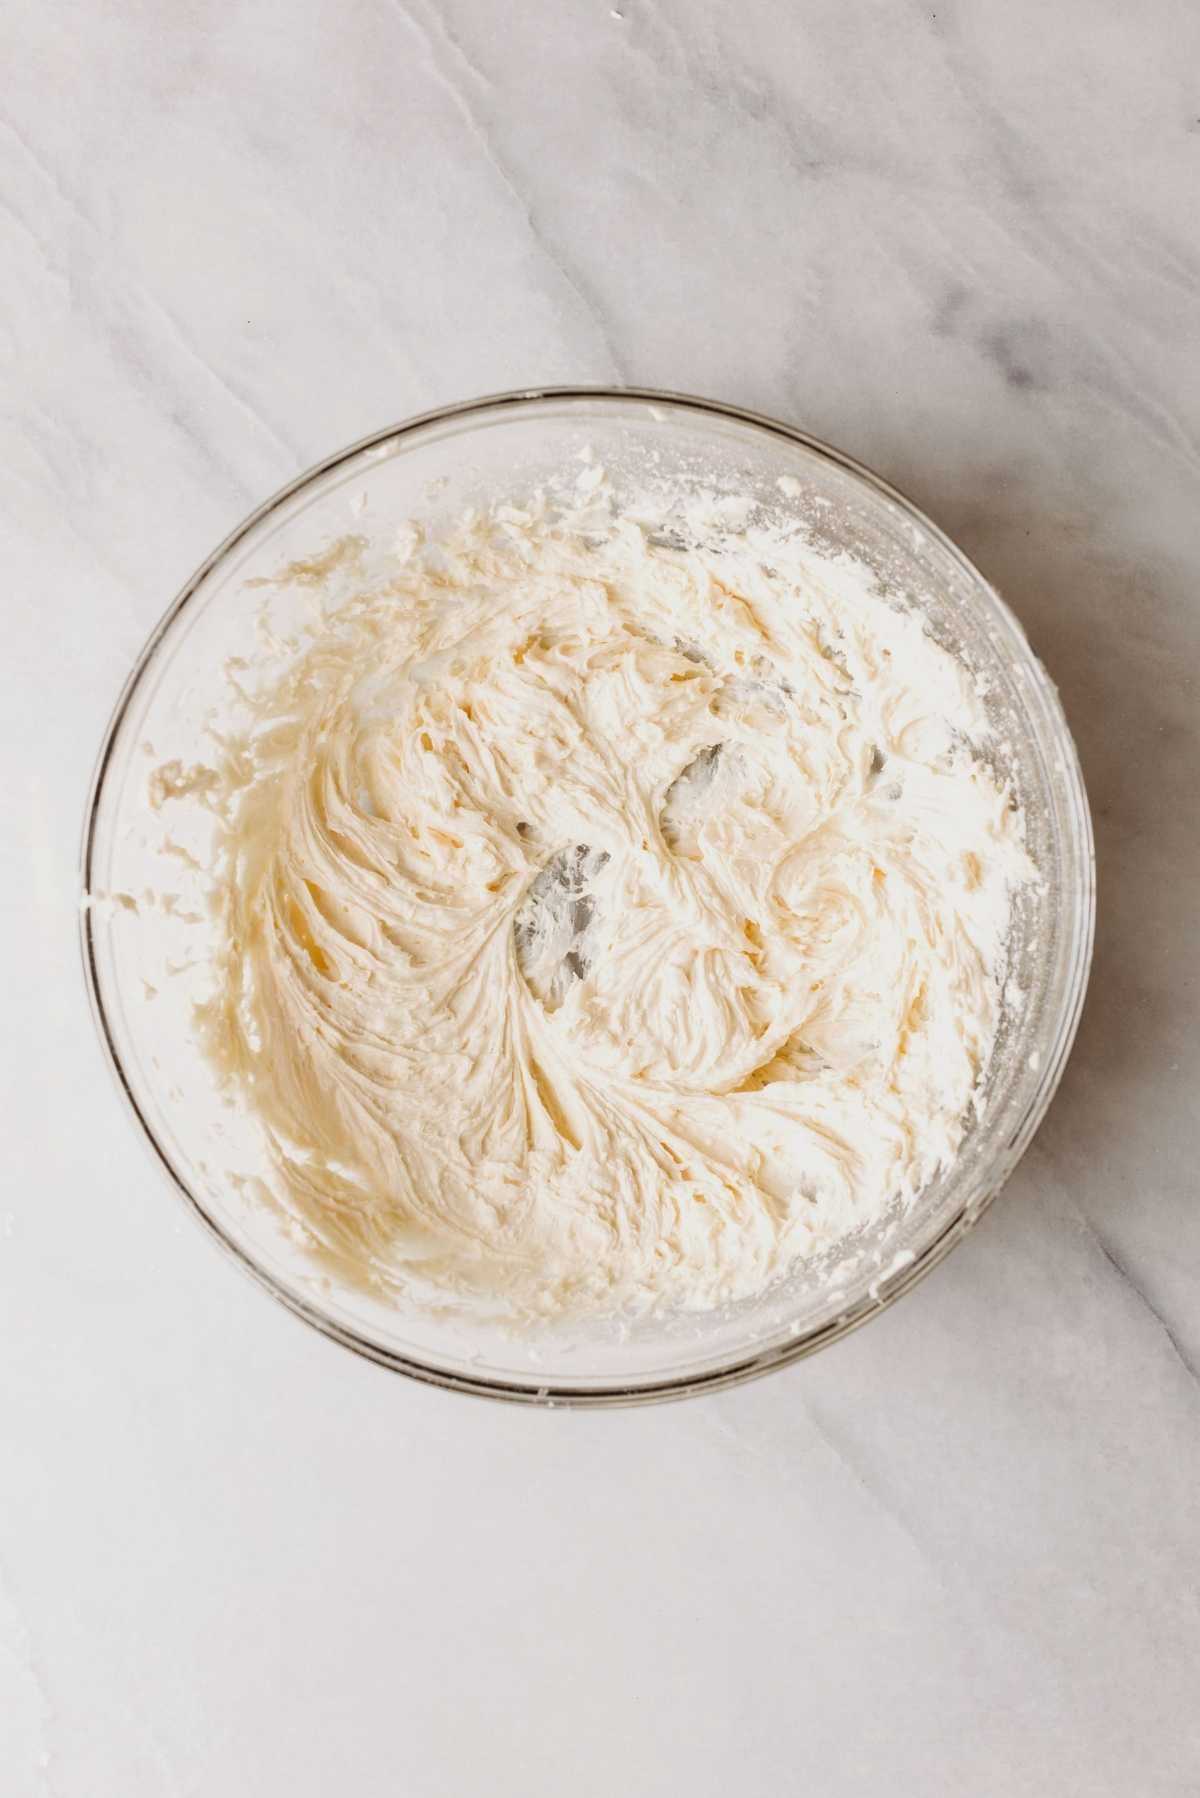
Step 3. Add in the sifted powdered sugar. Scrape down the sides of the bowl as needed.
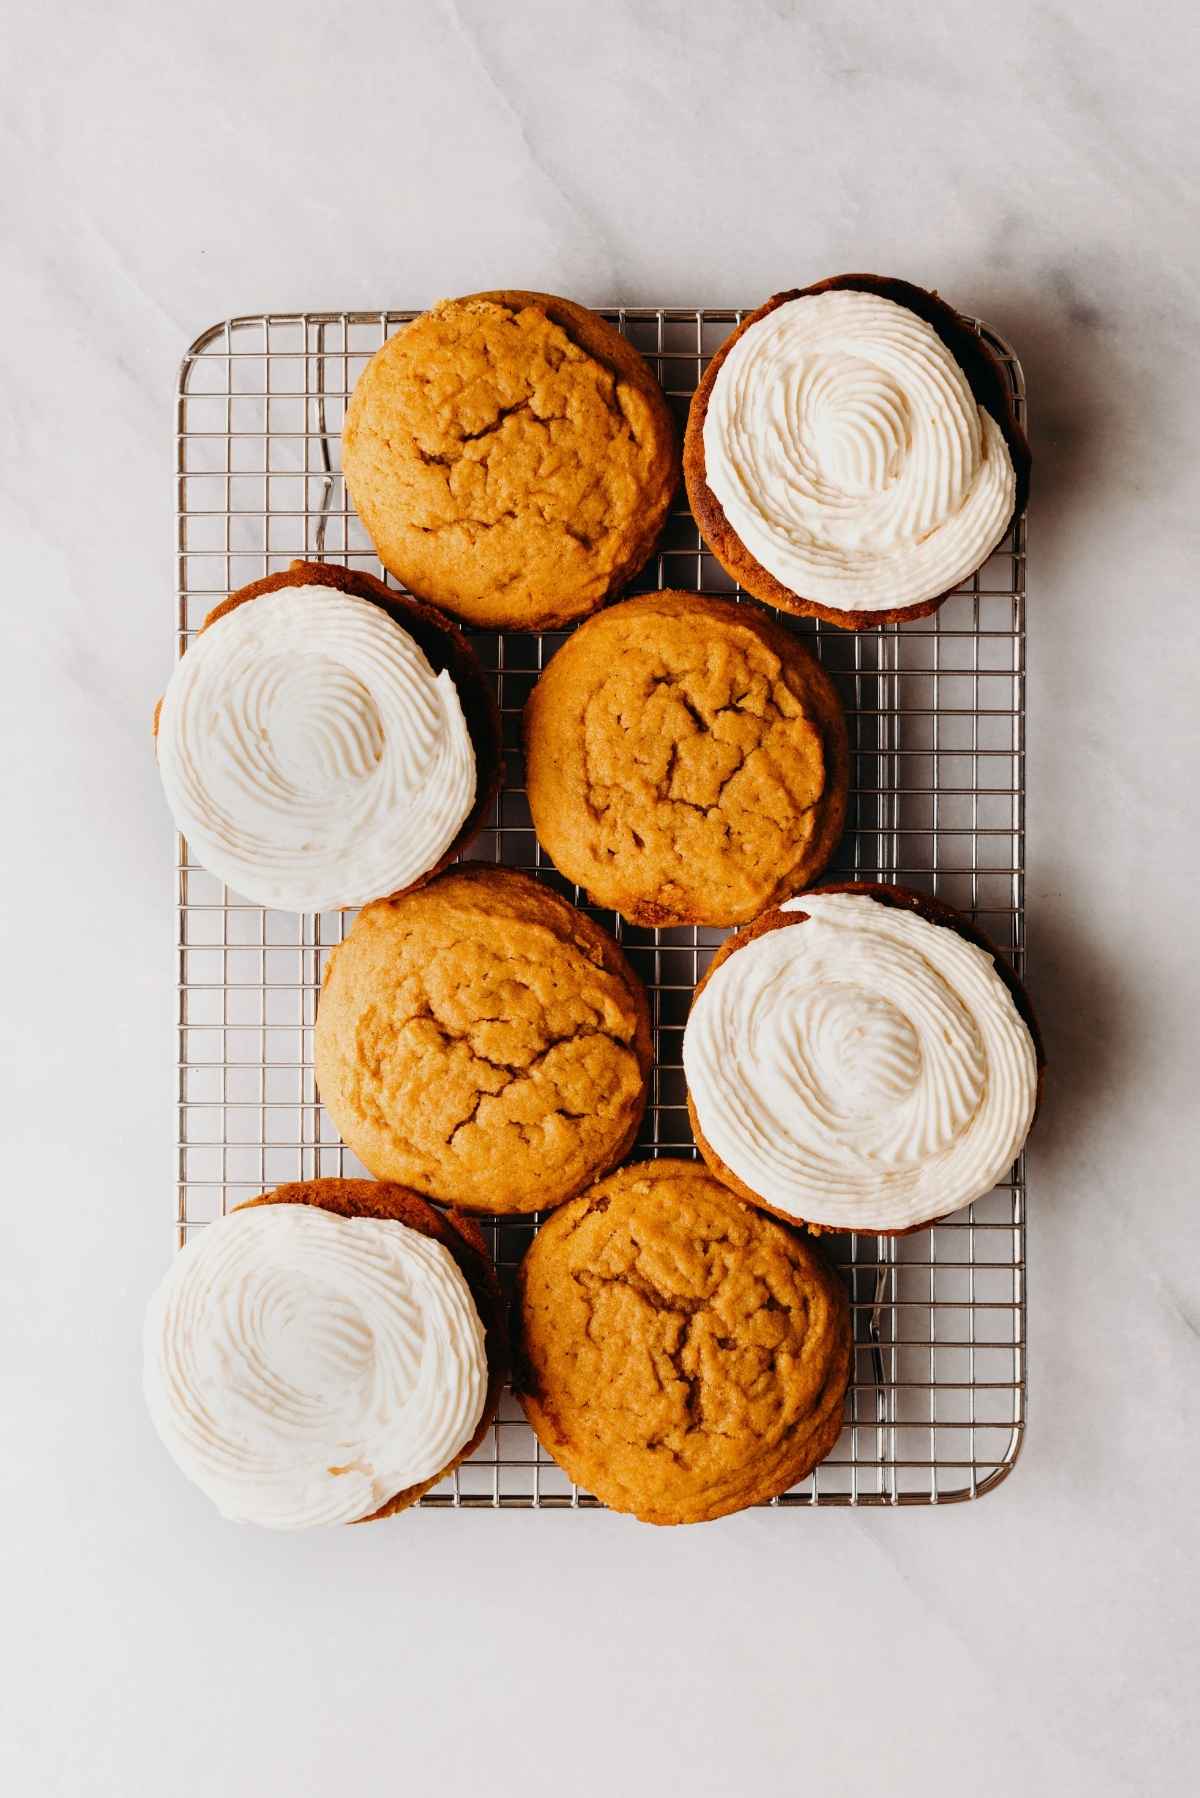
Step 4. Frost the cooled pumpkin whoopie pie cakes with maple cream cheese frosting.
Helpful Tips
- You can chill the dough. Since technically, this is a cookie recipe, you can chill the dough for up to 24 hours. This is handy if you can’t get to the baking part immediately. The pumpkin whoopie pie dough should be kept in the refrigerator and covered with plastic wrap.
- Space out your pumpkin whoopie pie cakes. I recommend not overcrowding your baking sheets. I baked six whoopie pie cakes per baking sheet, giving them enough space to fill out. They will rise into dome shapes and spread slightly, but not too much.
- You can bake the pumpkin cakes ahead of time. Another time-saver tip—you can bake the pumpkin whoopie pie cakes ahead of time. Keep them in a sealed container at room temperature, adding a layer of wax paper in between to prevent them from sticking to each other. They’ll keep at room temperature for up to 3 days in a tightly sealed container. If you notice the cakes are a little moist on top, leave the lid open to let some air in before frosting them.
- Amount of frosting. This maple cream cheese frosting recipe makes just enough to pipe all seven whoopie pies.
- Piping. I used the Wilton 8B decorating tip, which was very large but worked perfectly for these pumpkin whoopie pies. You can use any decorating tip you prefer or apply the maple cream cheese frosting with an offset spatula. Use a smaller decorating tip if making smaller-sized whoopie pies.
- Easily double the recipe. If you plan to feed more people, you can easily double the pumpkin whoopie pie cake recipe and the maple cream cheese frosting. I would also recommend making them smaller using the 1 1/2-tablespoon cookie scoop.
- Let the cakes cool. Before piping on the maple cream cheese frosting, ensure your pumpkin whoopie pie cakes have cooled completely. Otherwise, the cream cheese frosting will melt, which is not fun.
Recipe FAQs
For larger pumpkin whoopie pies, like the ones I made here, I recommend using a 3 1/2 tablespoon-size cookie scoop. The cookie scoop I used is size #16 from Solula. This will give you a roughly 3 1/2-inch-diameter domed cake. For smaller pumpkin whoopie pies, use a 1 1/2 tablespoon-size cookie scoop.
In a tightly sealed container, they will keep for up to a week in the refrigerator.
Yes, you can easily freeze these pumpkin whoopie pies! You will need plastic wrap and a sealed food container or freezer bag for storage. You can also just freeze them with plastic wrap. I recommend wrapping them in 2 layers of plastic wrap. Stored properly, homemade pumpkin whoopie pies will last about three months in the freezer. You can do this for my Chocolate Peanut Butter Whoopie Pies and Apple Cider Whoopie Pies as well!
More Pumpkin Desserts to Enjoy!


If you tried this Pumpkin Whoopie Pies Recipe or any other recipe on my website, please leave a 🌟 star rating and let me know what you thought in the 📝 comments below. Thanks for visiting!
Pumpkin Whoopie Pies
Ingredients
Pumpkin Whoopie Pies
- 2 cups All-Purpose Flour
- 1 tsp Baking Soda
- 1 tsp Baking Powder
- 1 tsp Cinnamon
- 1/8 tsp Salt
- 1 cup Vegetable Shortening , room temperature
- 1 cup Granulated Sugar
- 1 Large Egg, room temperature
- 1 cup Canned Pumpkin Puree
- 1 tsp Vanilla Extract
Maple Cream Cheese Frosting
- 4 oz Cream Cheese, room temperature
- 2 tbsp Unsalted Butter, room temperature
- 1 tsp Vanilla Extract
- 1/4 cup Maple Syrup
- 2 1/2 cups Sifted Powdered Sugar
Instructions
Pumpkin Whoopie Pies
- Adjust the oven rack to 2nd level position (just above center) and preheat the oven to 350ºF.
- Line 2 baking sheets with parchment paper or silicone mats and set to the side.
- In a medium-size mixing bowl, whisk together the flour, baking soda, baking powder, cinnamon, and salt. Set to the side.2 cups All-Purpose Flour, 1 tsp Baking Soda, 1 tsp Baking Powder, 1 tsp Cinnamon, 1/8 tsp Salt
- Using your hand mixer or stand mixer fitted with the paddle attachment, beat the vegetable shortening and granulated sugar on medium-high speed until light and fluffy.1 cup Vegetable Shortening , 1 cup Granulated Sugar
- Add in the egg, canned pumpkin puree, and vanilla extract and mix until completely blended. Scrape down the sides of the bowl as needed.1 Large Egg, 1 cup Canned Pumpkin Puree, 1 tsp Vanilla Extract
- Switch the mixer speed to low, gradually adding the dry ingredients until the cookie dough is just combined.
- Using a 3.4 tablespoon-sized cookie scoop, place the dough roughly 2 inches apart on the baking sheet. Bake for 15-18 minutes at 350ºF. Each pumpkin cake should have a nice golden brown edge to it.
- Remove from oven and allow cakes to cool on baking sheet for about 5-10 minutes before transferring them to a wire cooling rack. Cakes should be completely cooled before frosting.
Maple Cream Cheese Frosting
- Using your hand mixer or stand mixer fitted with the paddle attachment, beat the cream cheese and unsalted butter on medium-high speed until smooth and well blended. Add in the vanilla extract and maple syrup. Continue to mix until fully combined.4 oz Cream Cheese, room temperature, 2 tbsp Unsalted Butter, room temperature, 1 tsp Vanilla Extract, 1/4 cup Maple Syrup
- Switch the mixer speed to low gradually adding in the sifted powdered sugar until it's well blended. Scrape down the sides of the bowl as needed.2 1/2 cups Sifted Powdered Sugar
- Using the Wilton 8B piping tip, pipe a circle of frosting onto the bottom of one whoopie pie cake. Place another cake on top to sandwich it together. I start the piping tip in the center of the whoopie pie cake and move outward in a spiral shape.
- Place frosted whoopie pies in an airtight container in the refrigerator with a sheet of wax paper in between to keep them from sticking together. You can also tightly wrap each whoopie pie with plastic wrap, then place in a sealed container, and store in the freezer for up to 3 months.
Video
Notes
- Adapted from my Pumpkin Cinnamon Cookies recipe.
Nutrition
Nutritional information provided above is an estimate only and will vary based on specific ingredients used. See Nutritional Disclaimer for more info.


This site uses Titan Security to reduce spam. Learn how your comment data is processed .