
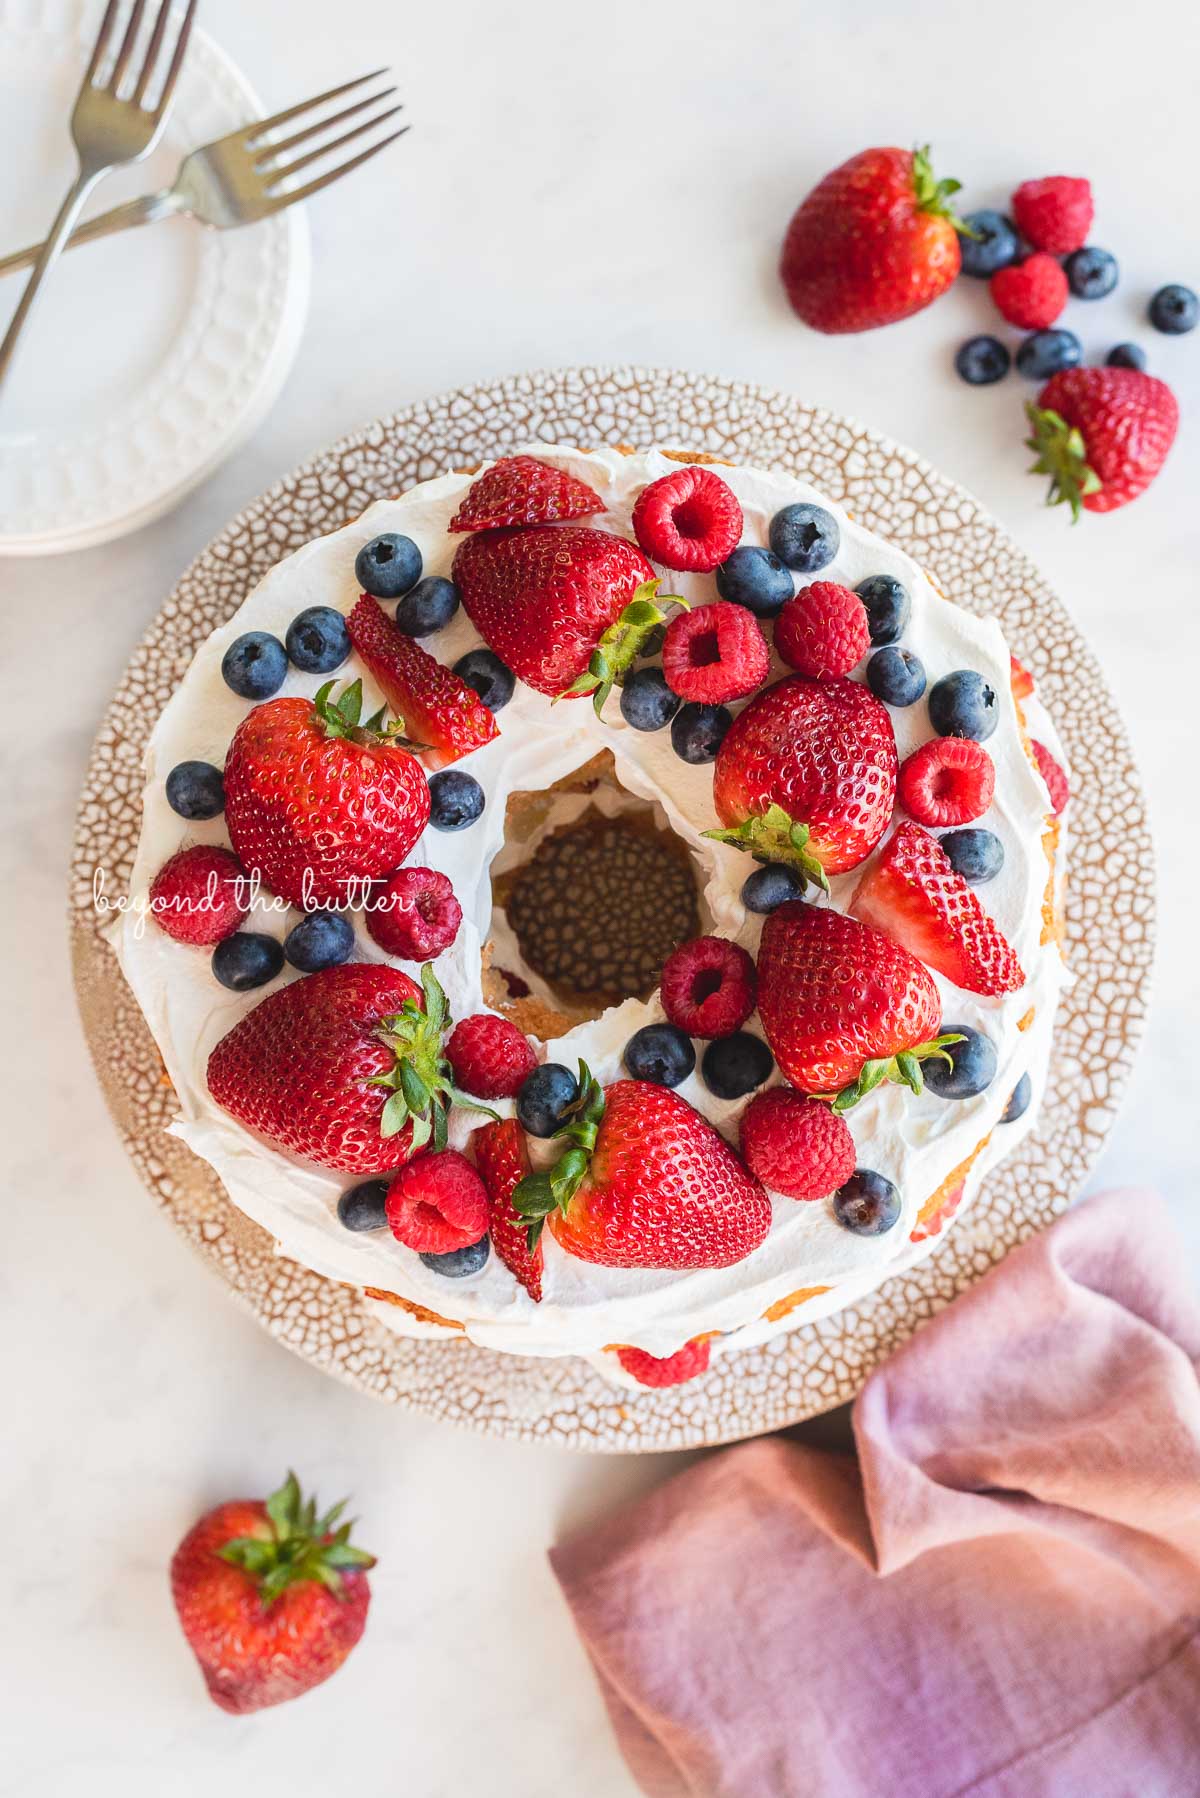
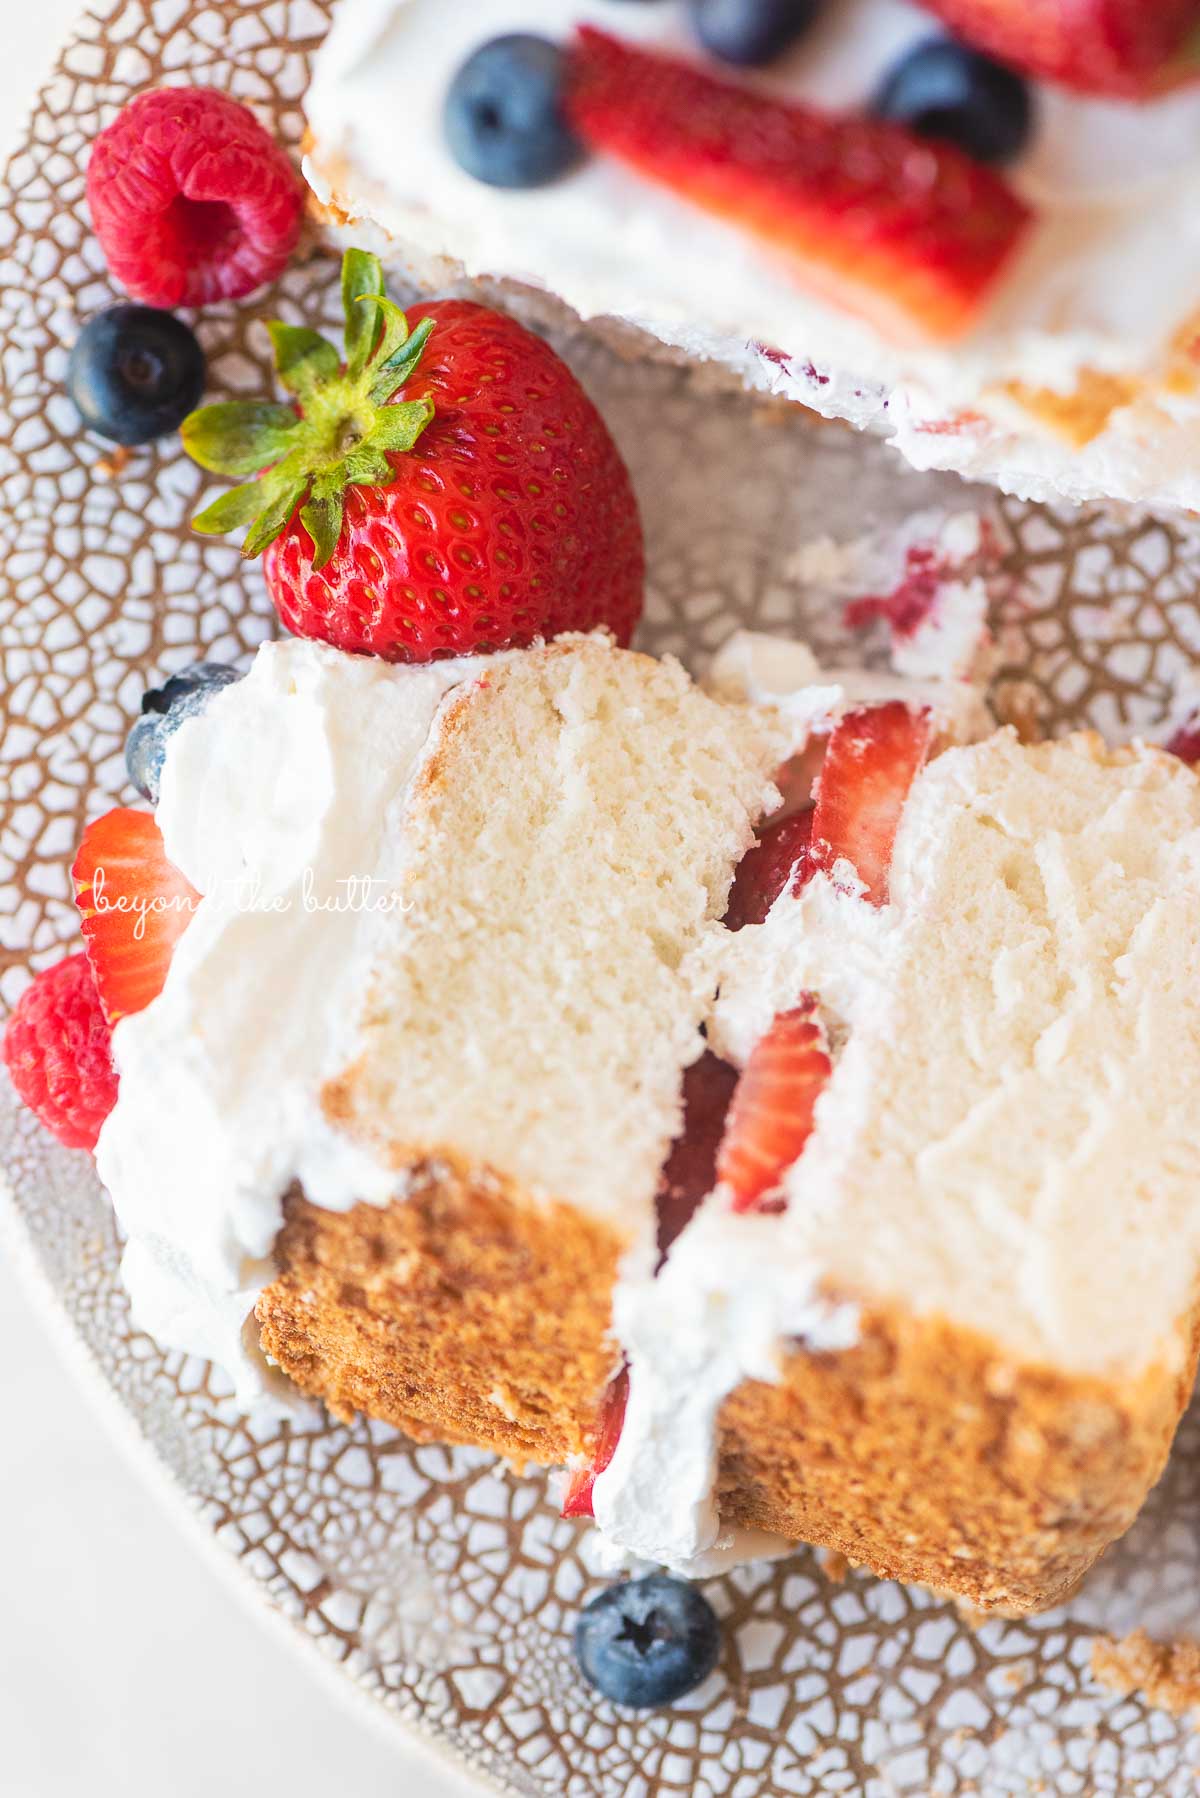
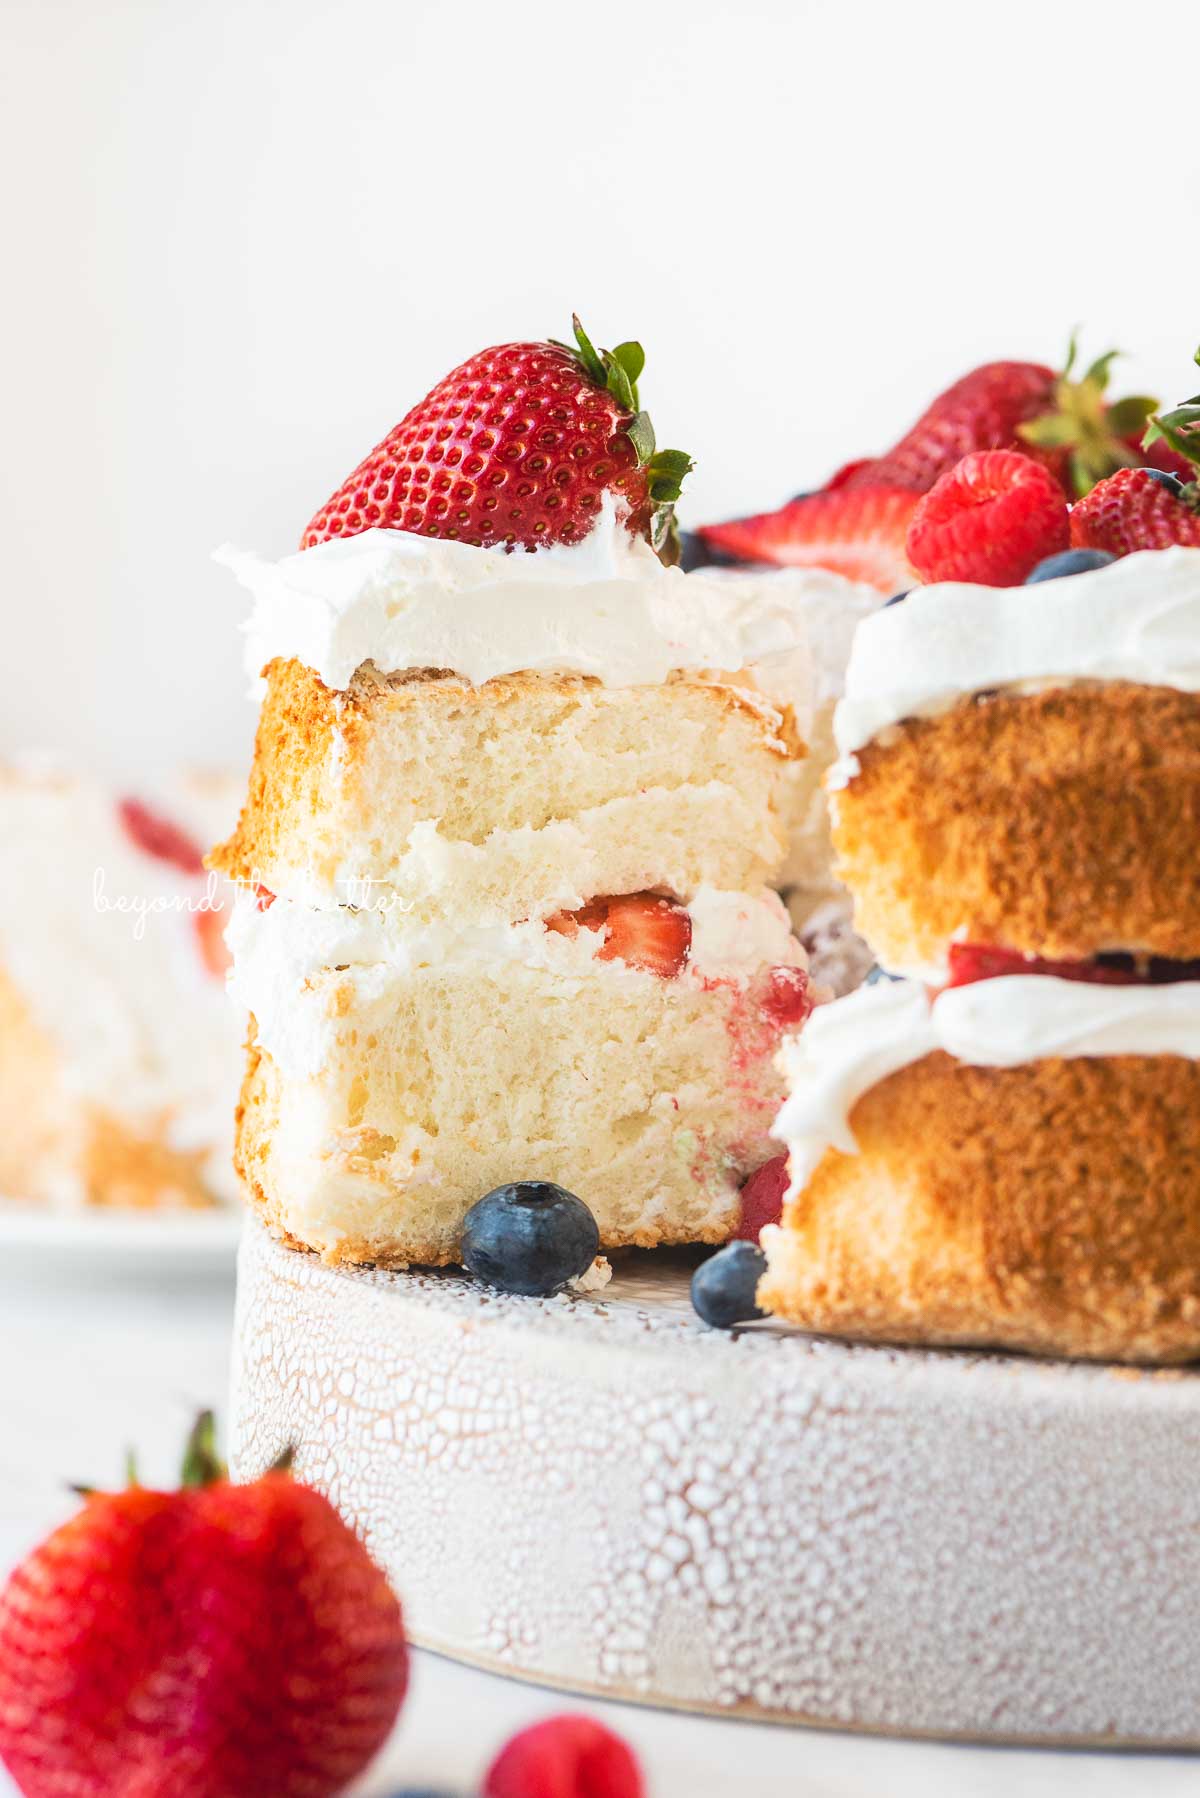
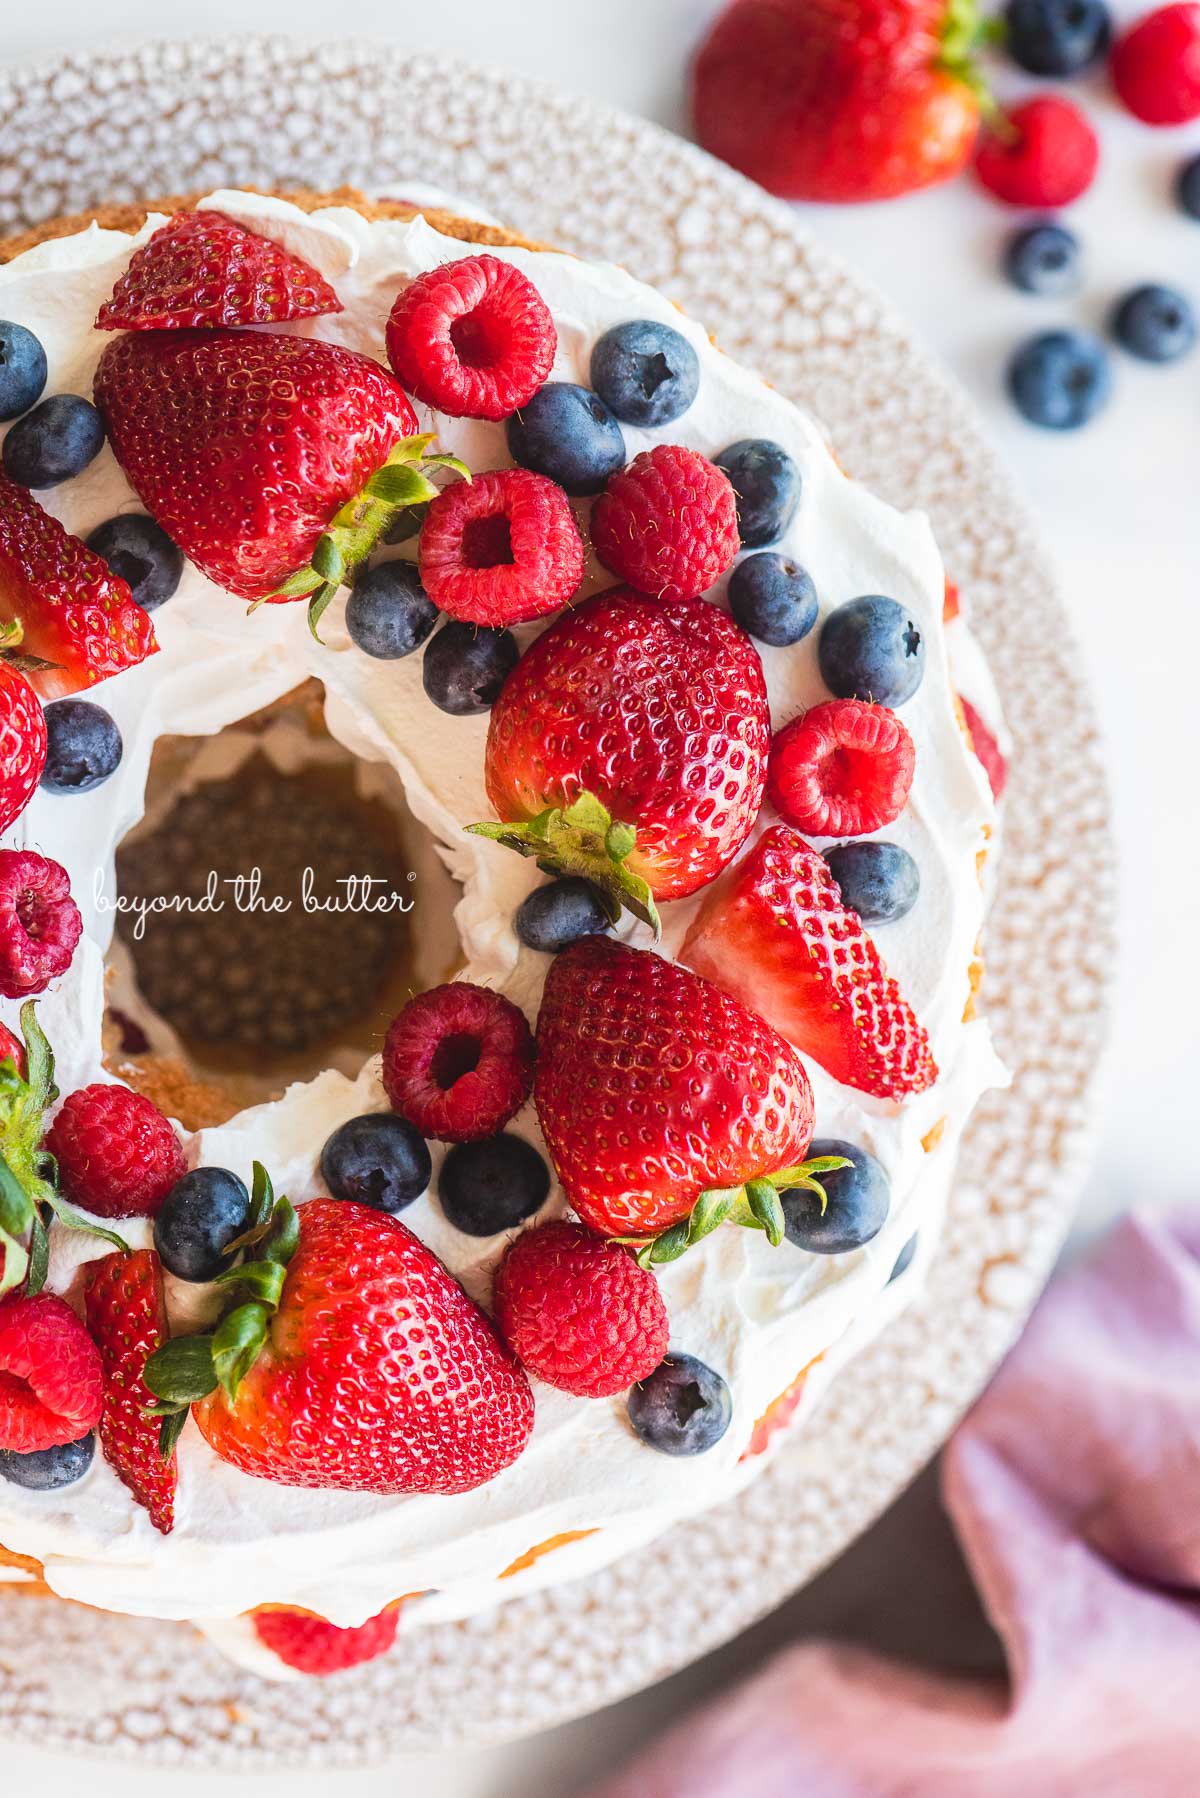
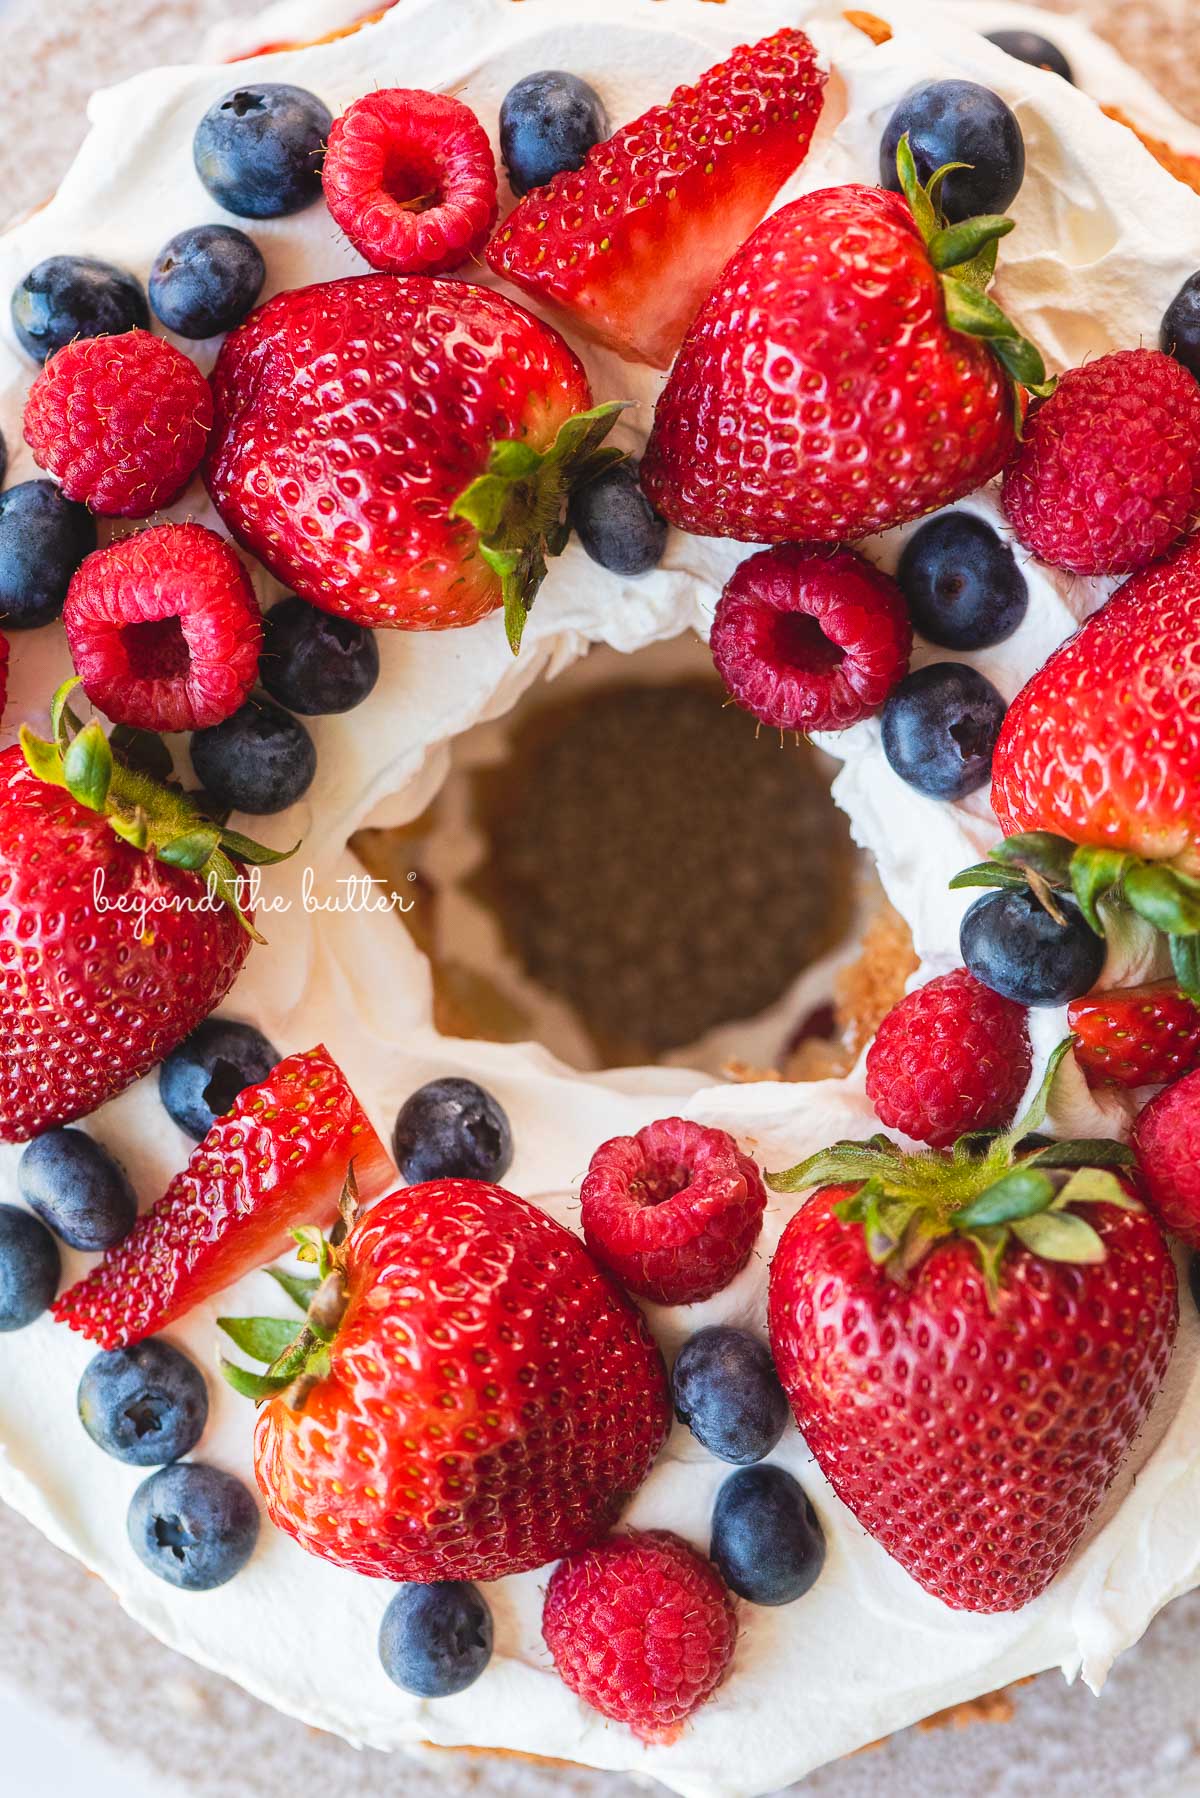
This Homemade Angel Food Cake is an easy-to-make classic summer dessert that is cut into two layers and topped with cool whip and fresh berries! It’s light and fluffy in texture and tastes incredibly delicious!
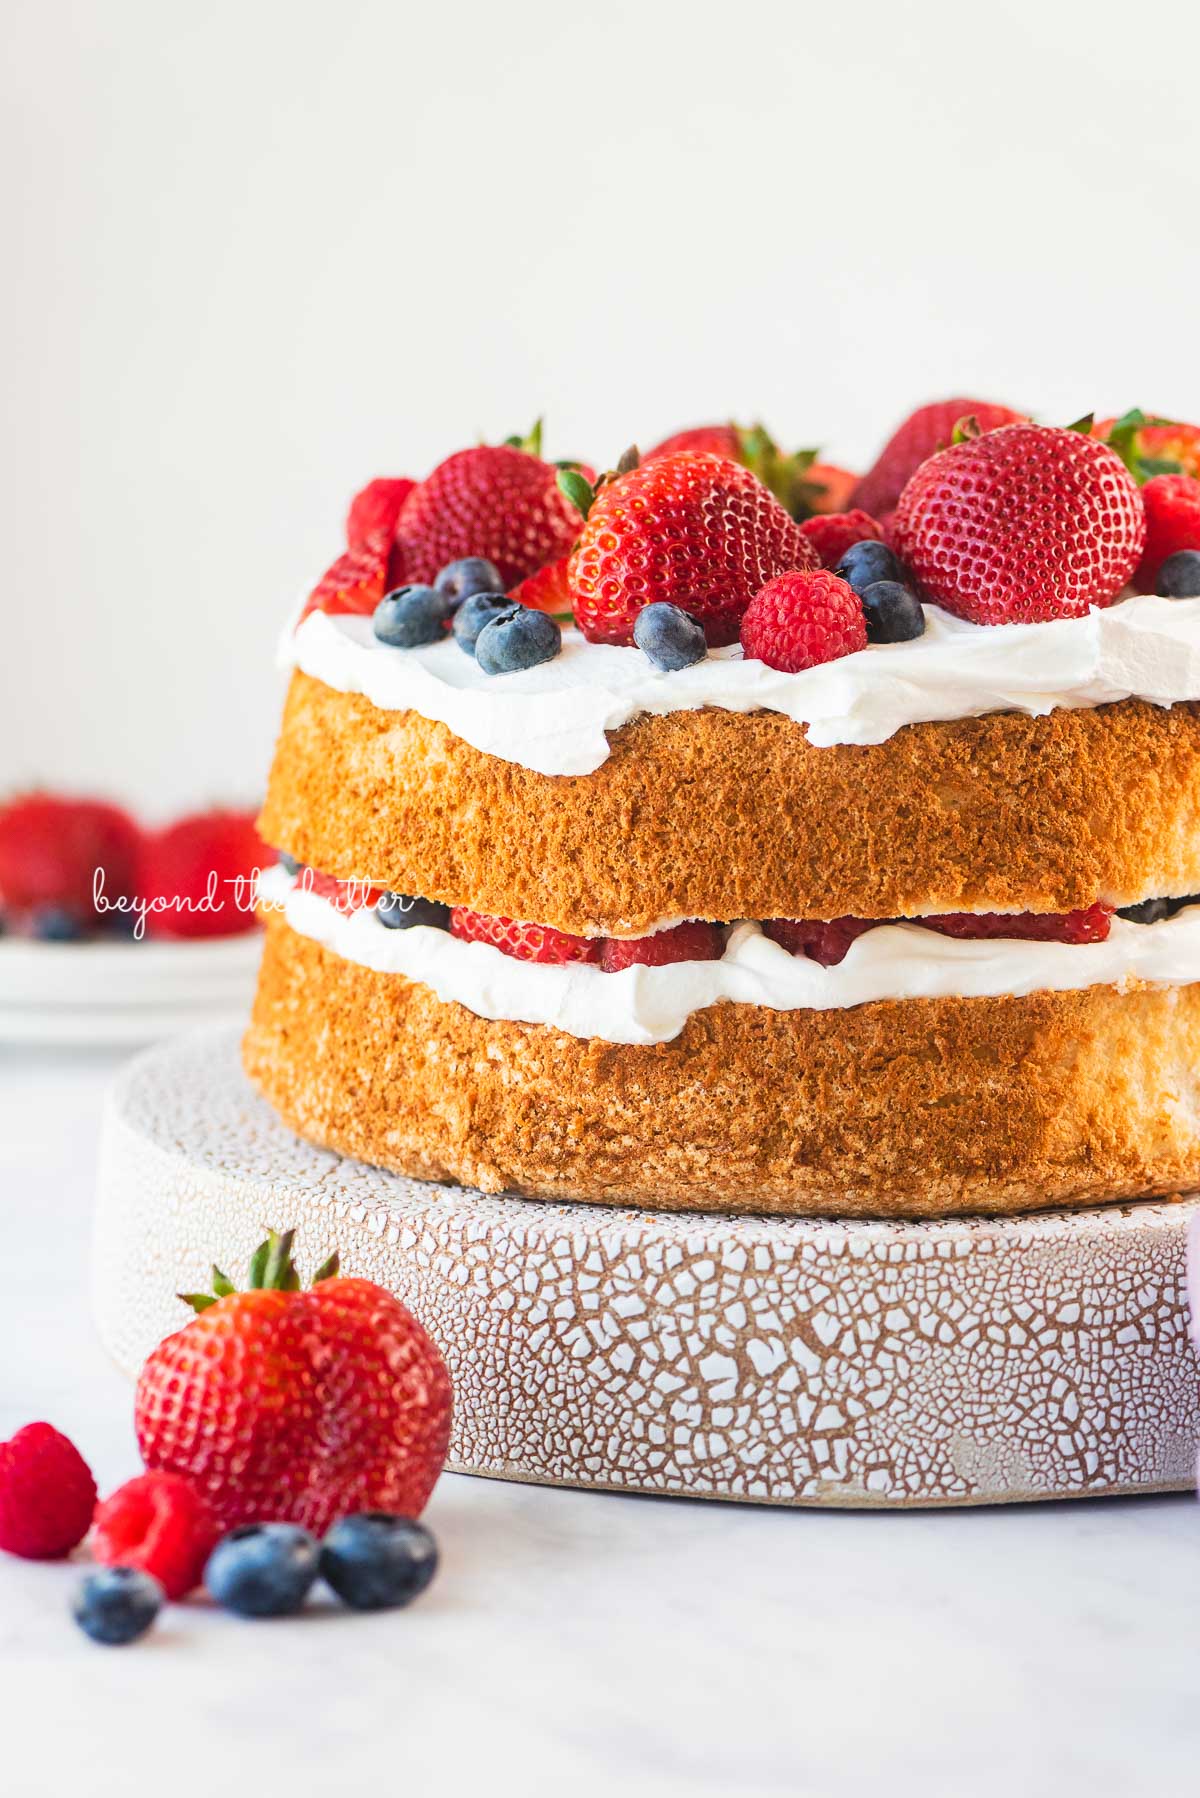
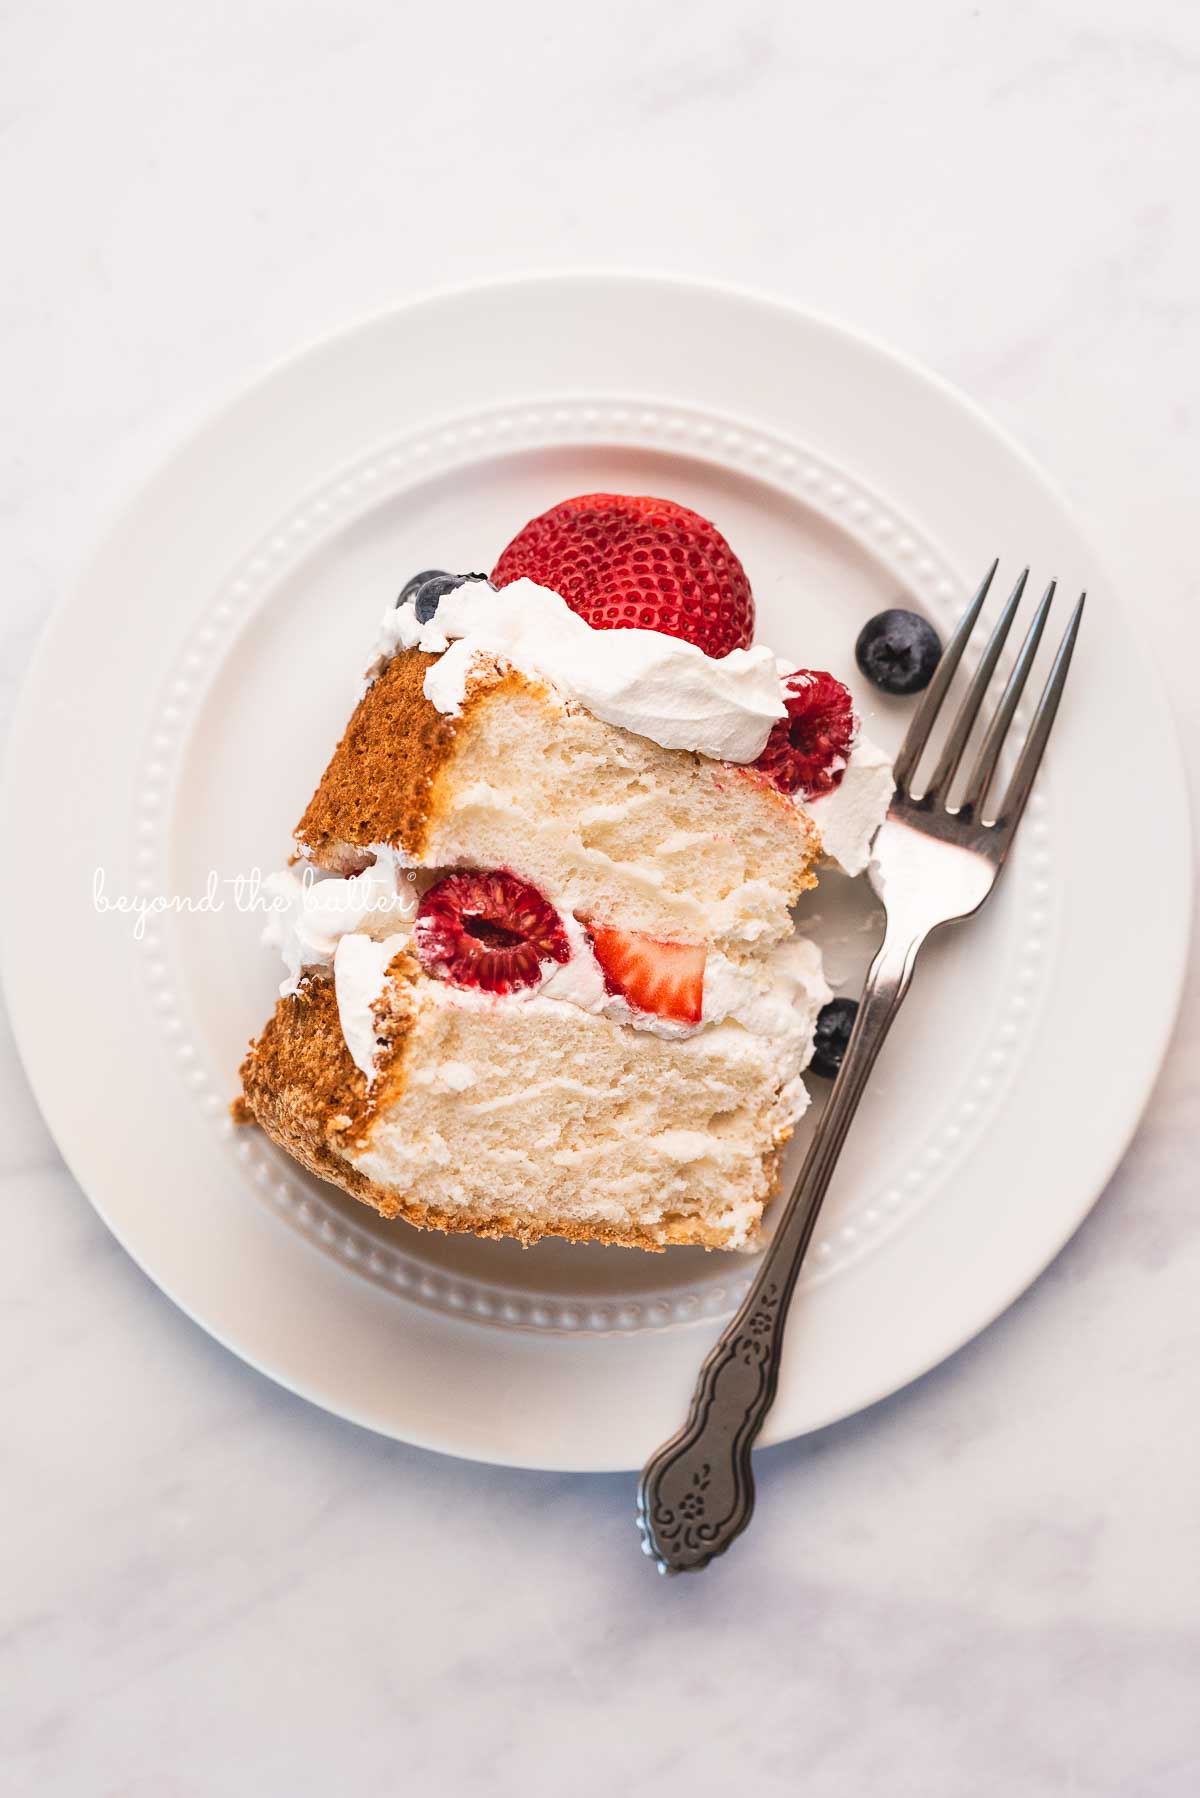

Table of Contents
Recipe Overview
You’ll need either a hand mixer or a stand mixer to make this angel food cake with berries recipe. Other baking tools needed are mixing bowls, an offset spatula, and a 10-inch tube pan.
Getting the egg whites to the correct stiff peaks consistency is really the only tricky part of this recipe. If you can keep your mixing bowl and whisk very clean (see tips below for this) and your egg whites free of any yolks, you’ll be good! To fold in your whisked dry ingredients, please use a spatula.
The other very minor part of this angel food cake recipe is the cake needs to cool upside down. I know it sounds weird, but it works! And the cake doesn’t fall out of the pan, I promise.
Grab Your Ingredients
To make this homemade angel food cake recipe, you’ll need:
- Granulated Sugar
- Cake Flour. Do not use all-purpose flour for this recipe.
- Salt
- Large Egg Whites. This is approximately 11 large eggs.
- Cream of Tartar. This helps to give the egg whites some stability as it forms stiff peaks.
- Vanilla Extract
- Almond Extract. I love the flavor this adds to the angel food cake!
- Cool Whip. To have this spread easily onto the cake, make sure it’s thawed.
- Berries. You can use raspberries, strawberries, blueberries, or whatever combination of berries you prefer!
Helpful Angel Food Cake Baking Tips
- Do not grease your tube pan!
- Before beating your egg whites, the mixing bowl and whisk need to be super clean. Any leftover grease or residue can totally derail this part of the recipe!
- You can give your mixing bowl and whisk some extra cleaning love by running a paper towel with some distilled white vinegar on it.
- A good test to see if your homemade angel food cake is done is by gently pressing your finger or the backside of a spoon into the top. If it immediately springs back, it’s done.
- Cool your angel food cake upside down to room temperature.
- If your tube pan doesn’t have legs, you can place 2 cans of equal height underneath to cool it upside down.
- Use a serrated knife to cut the angel food cake into 2 layers. It will cut much easier this way!
- Adding the cool whip and berries is an optional step. If added, the angel food cake should be cooled first.
Recommended Baking Tools
Recipe FAQs
No. Do not grease your tube pan when making angel food cake! This will prevent the cake from sticking to the sides and rising as it bakes.
To check if your cake is done, gently press your finger into the top of it. If it springs back, you can remove it from the oven. Don’t forget to cool it upside down on its legs or 2 cans of equal height.
Cooling an angel food cake upside down (or inverted) allows the cake to keep its volume.
If your tube pan does not have feet (like my Wilton tube pan), you can choose to use two cans that are the same height.
Give These Other Beyond the Butter Cake Recipes a Try!


Homemade Angel Food Cake

Ingredients
- 1 1/4 cups Cake Flour
- 1 3/4 cups Granulated Sugar
- 1/4 tsp Salt
- 1 1/2 cups Large Egg Whites (from 11 eggs)
- 1 tsp Cream of Tartar
- 1/2 tsp Vanilla Extract
- 1/2 tsp Almond Extract
- 8 oz Cool Whip , thawed, optional
- Raspberries , optional
- Strawberries, optional
- Blueberries, optional
Instructions
- Adjust the oven rack to 2nd level position (just above center) and preheat your oven to 350ºF.
- Whisk together the cake flour, granulated sugar, and salt. Set aside.1 1/4 cups Cake Flour, 1 3/4 cups Granulated Sugar, 1/4 tsp Salt
- Using your hand mixer or stand mixer fitted with the whisk attachment beat the egg whites on medium-high speed until they are very frothy and can form soft peaks (see notes).1 1/2 cups Large Egg Whites (from 11 eggs)
- Add in the cream of tartar, vanilla extract, and almond extract. Continue to beat until stiff peaks form.1 tsp Cream of Tartar, 1/2 tsp Vanilla Extract, 1/2 tsp Almond Extract
- With a spatula, gently fold in the whisked dry ingredients with the beaten egg whites. Do not use your mixer for this part.
- Place the batter into an ungreased 10 inch tube pan, then bake for 45 minutes at 350ºF or until top is a nice golden brown (see notes).
- After the cake is done, cool it upside down using the legs on your tube pan (if your tube pan has these) or on top of two equally sized cans.
- After it’s cooled completely, take a knife and gently run it along the edges before removing it from the pan.
- Using a serrated knife, cut the cake in half, length-wise, creating 2 layers. You can also choose to not cut it at all!
- Add a layer of cool whip, then a layer of berries. Place the next layer on top and repeat.8 oz Cool Whip , Raspberries
- Serve and enjoy!
Video
Notes
- The suggested recipe baking times noted do not include cooling.
- Do not grease your tube pan!
- Before beating your egg whites make sure your mixing bowl and whisk are super clean. Any leftover grease or residue can totally derail this part of the recipe!
- You can give your mixing bowl and whisk a little bit of extra cleaning love by running a paper towel with some distilled white vinegar on it.
- A good test to see if your angel food cake is done is by gently pressing your finger or the backside of a spoon into the top. If it immediately springs back, it’s done.
- Cool your angel food cake upside down to room temperature.
- If your tube pan doesn’t have legs, you can place 2 cans of equal height underneath to cool it upside down.
- Use a serrated knife to cut the angel food cake into 2 layers. It will cut much easier this way!
- Adding the cool whip and berries is an optional step. If added, the angel food cake should be cooled first.
- Recipe adapted from 1987 St. Stephen’s Family Recipe Cookbook and also inspired by Hoosier Homemade’s Angel Food Cake with Berries post.
Nutrition
Nutritional information provided above is an estimate only and will vary based on specific ingredients used. See Nutritional Disclaimer for more info.


Thanks for the amazing recipe. Can’t wait to make it. How do I make the cool whip though? Do you make it or buy it? And if you make it, can I have a recipe please?
Thanks again
You’re welcome! Cool whip is a brand of whipped topping that I bought from one of our local grocery stores. You can use any brand of whipped topping or make your own using heavy cream, a little vanilla extract, and powdered sugar to sweeten.
Perfect
Thanks!
This looks so delicious and not too difficult! Can’t wait to try it! I was wondering though can you make this the day before serving and if, so what’s the best way to store it? Thank you!
Yay! I hope you love it as much as I do! To answer your question, yes…you can certainly make it the day before serving! You can leave it out at room temp just make sure it’s covered so it doesn’t dry out. Alternatively, you can also keep it in the refrigerator covered as well. My preference is room temp, especially if you’re serving it the next day.