
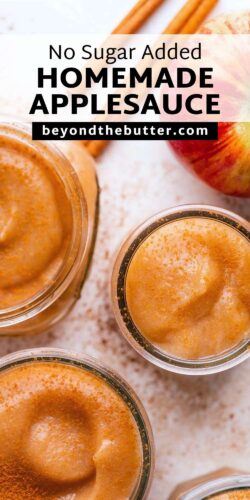
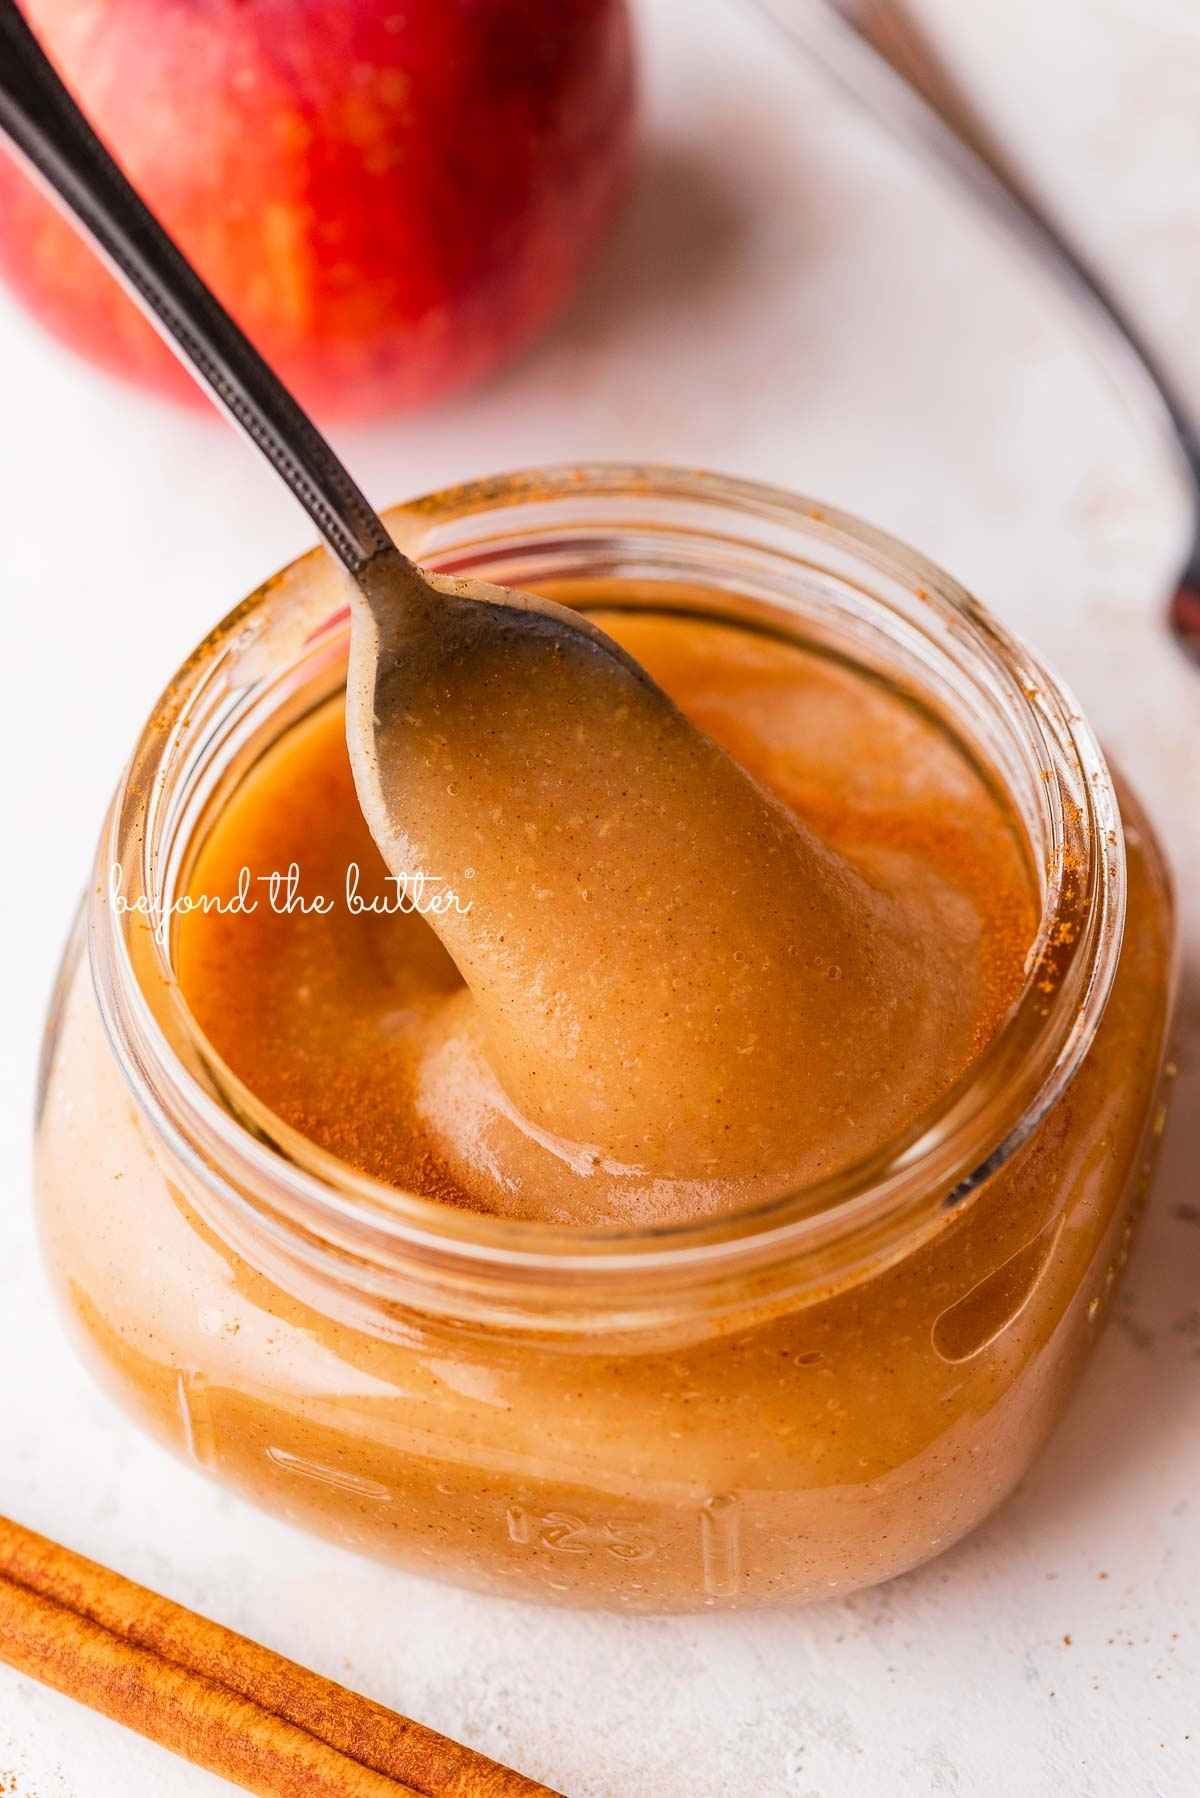
This No-Sugar-Added Homemade Applesauce is the easiest recipe you will ever make! All you need are apples and a little water to make this smooth, perfectly sweetened applesauce!
Pin this now to find it later
Pin ItTable of Contents
Why you’ll love this recipe
If you’re on the fence about whether or not to try this homemade applesauce recipe, don’t hesitate a single minute more, and here are four reasons why!
- No Sugar Added! No sugar, no preservatives, no anything! Besides the apples and a little bit of water, the only other ingredient you might want to add is cinnamon for homemade cinnamon applesauce, but that is it!
- Skins Stay On. To make this no-sugar-added applesauce even easier, we keep the skins on, which are rich in nutrients! They can also give the color of this applesauce a hint of pink.
- Easy to Freeze. You can buy several pounds of apples to make months’ worth of homemade applesauce, which keeps nicely in your freezer!
- The Taste. This applesauce recipe has the best flavor using Cortland apples! You honestly do not need any sweeteners whatsoever!
Ingredients Needed
Yes, the ingredient list for this no-sugar-added homemade applesauce recipe is very short! It’s also incredibly easy to make, too!
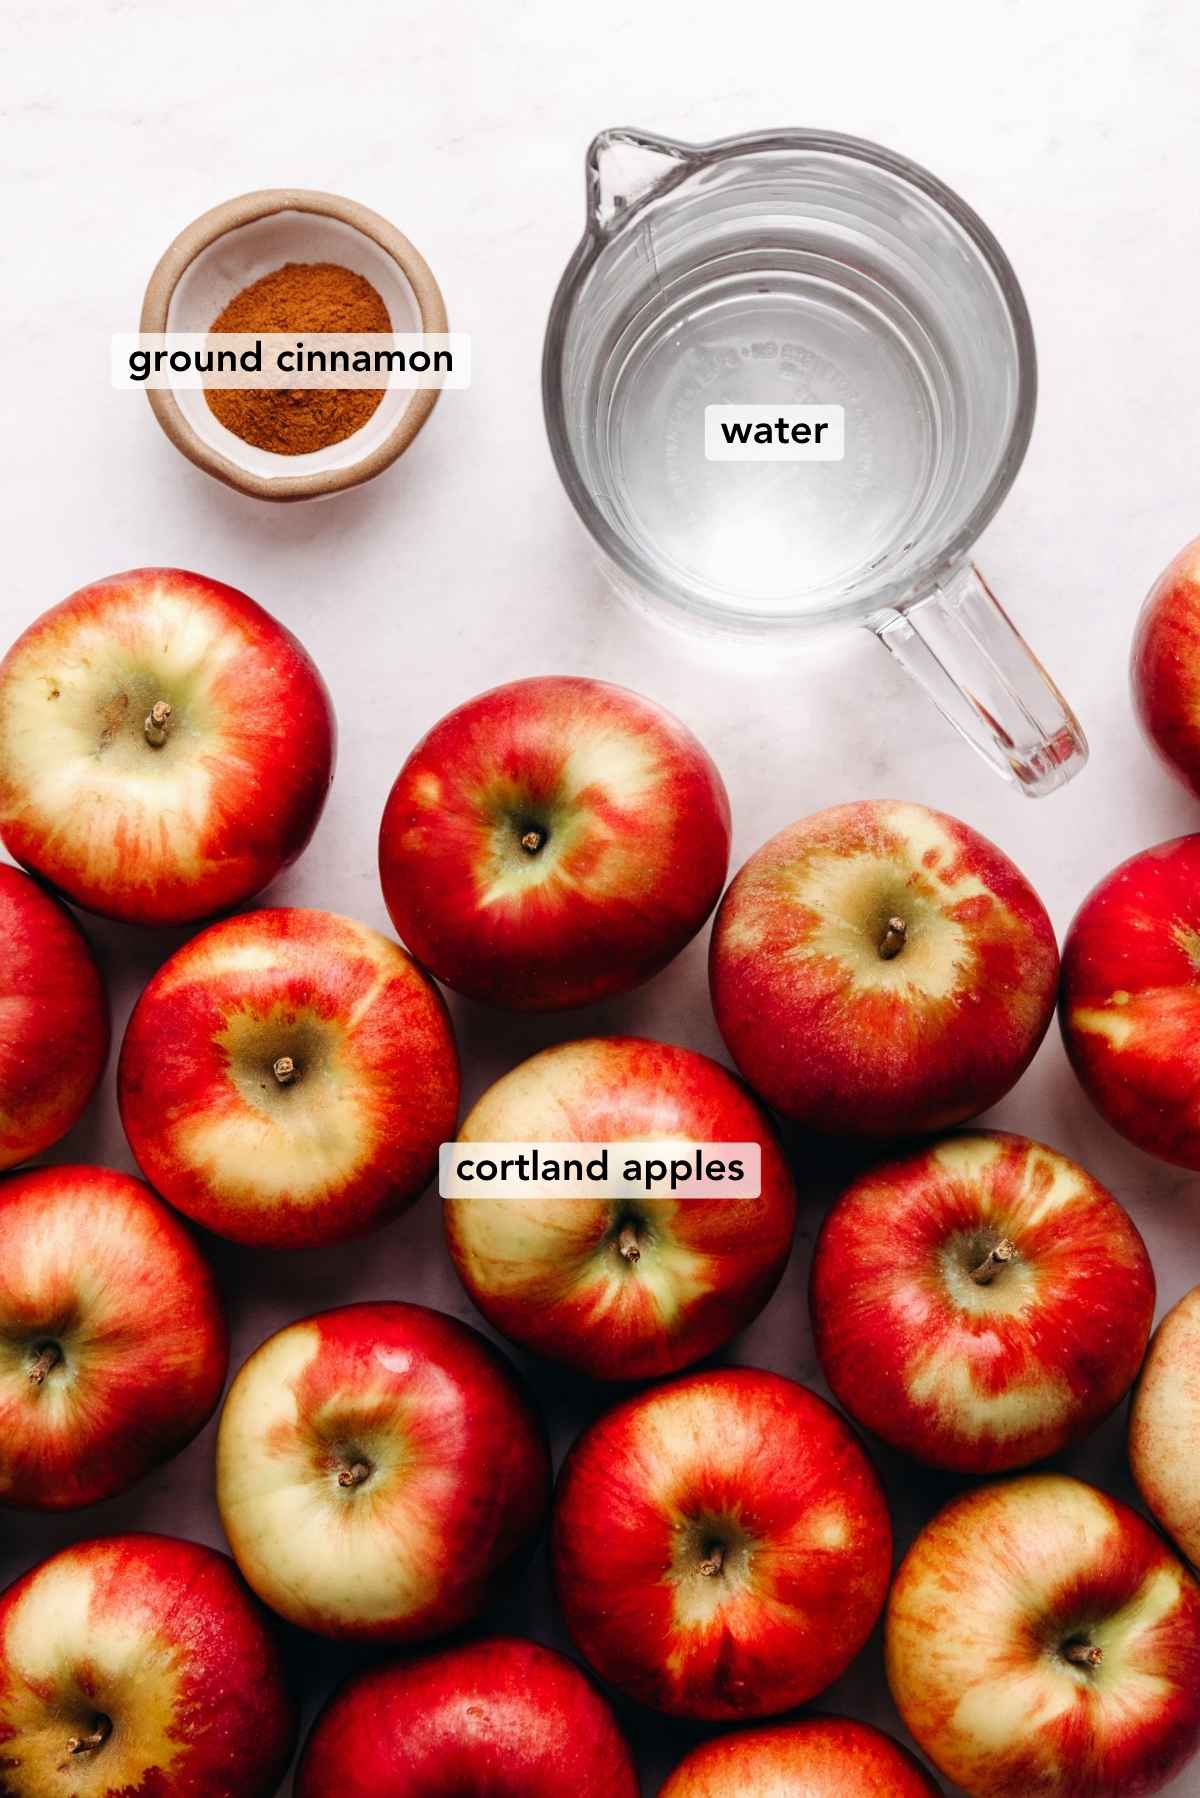
- Cortland Apples. You’ll need 4 pounds of Cortland apples. That’s the amount that worked perfectly with my 10.5-quart stockpot. You can go for more apples if you have a deeper stockpot to cook them in.
- Water. 1/2 cup of water gets added to the bottom of the stockpot before adding the apples. If you want thicker applesauce, reduce the amount of water to 1/3 cup.
- Ground Cinnamon. Add only if you wish to make the homemade applesauce cinnamon flavored. I used Vietnamese cinnamon from King Arthur Baking for this recipe, but use what you have available.
For quantities and instructions, please see the recipe card below.
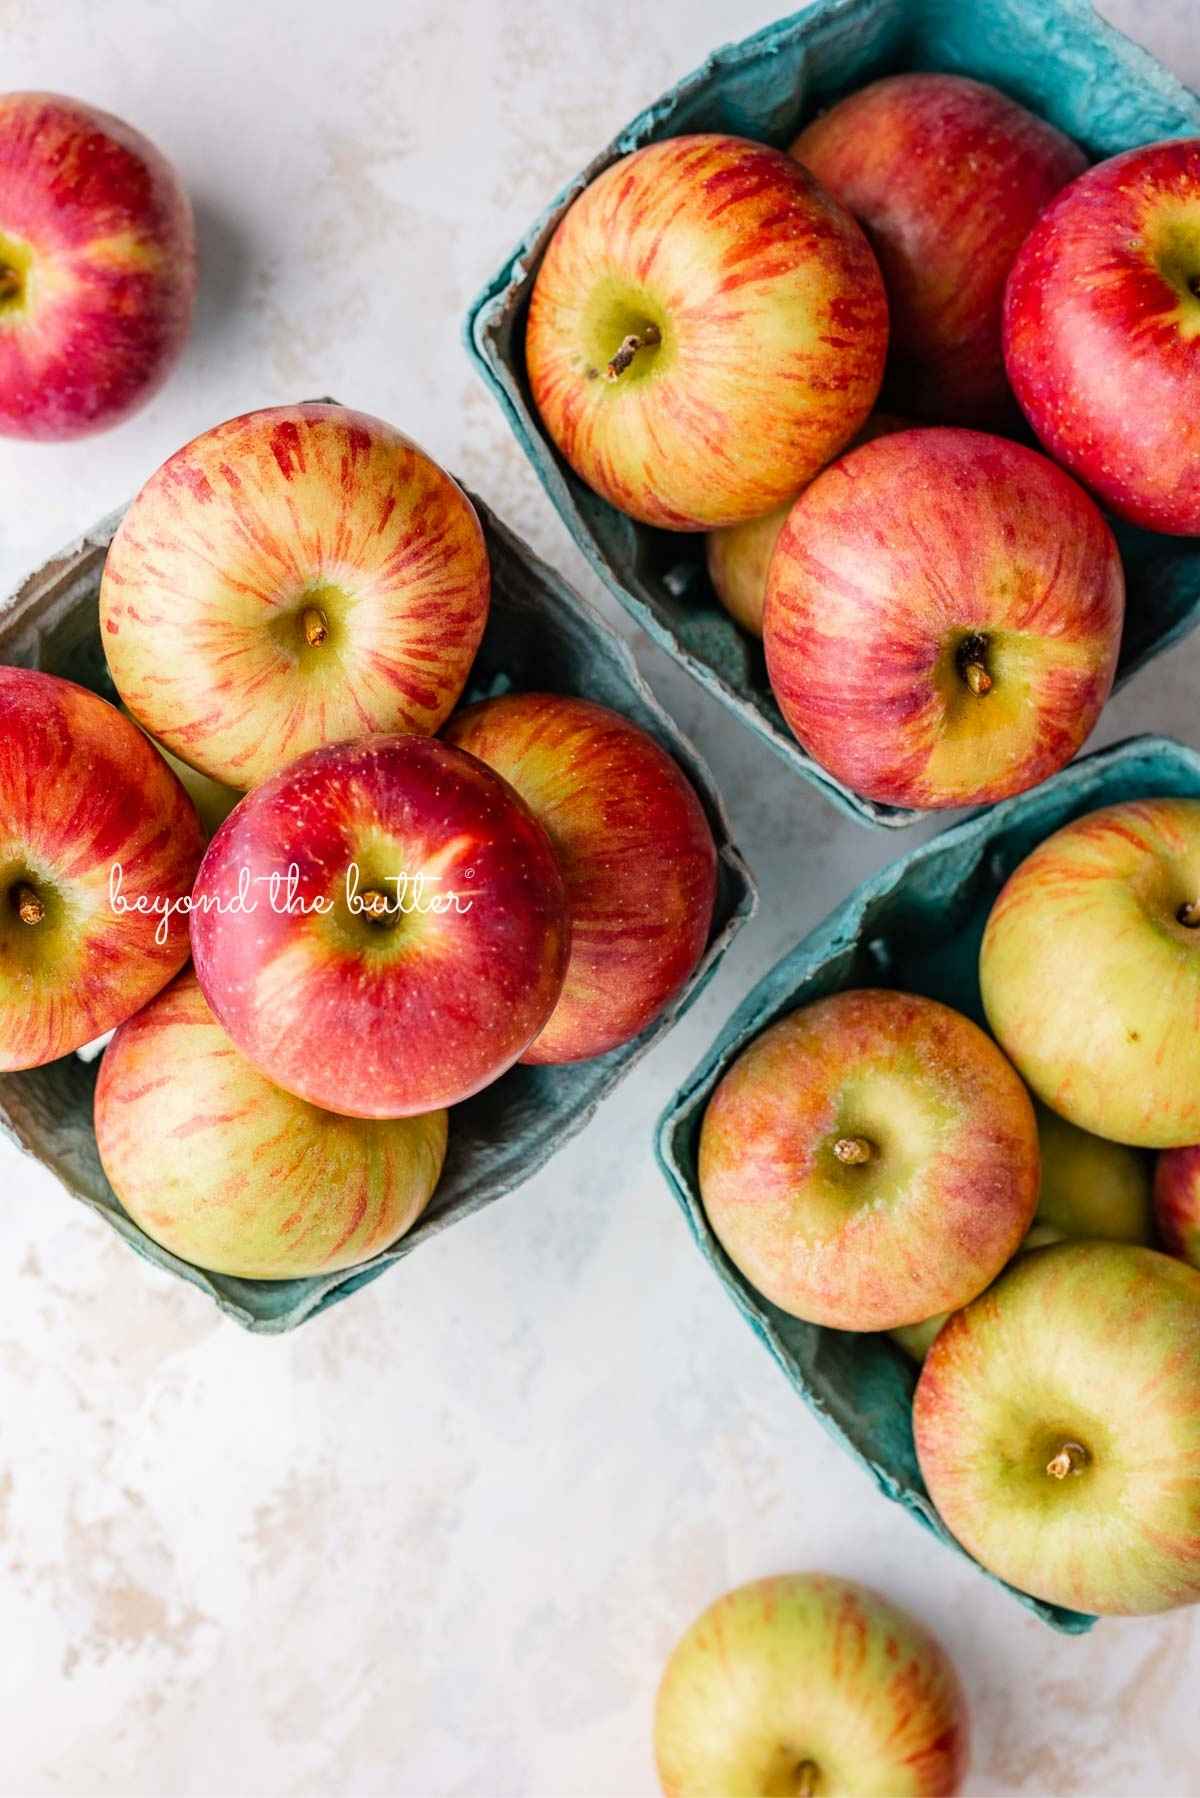
The Look and Taste of Cortland Apples
Cortland apples are a cross between McIntosh and Ben Davis apples, developed in New York in 1898. They are mildly tart in flavor and incredibly juicy, with crisp white flesh and thick, crisp skin that is primarily red. They’re great for eating, baking apple desserts like my Homemade Apple Pie, Apple Coffee Cake, or Apple Bundt Cake, and cooking—like making homemade applesauce!
Visit my FAQs section below for alternatives to using Cortland apples in homemade applesauce.
How to Make the Recipe
Below is a quick overview of how to make this easy, no-sugar-added homemade applesauce recipe. For the full printable recipe, with US customary or metric measurements, visit the recipe card below.
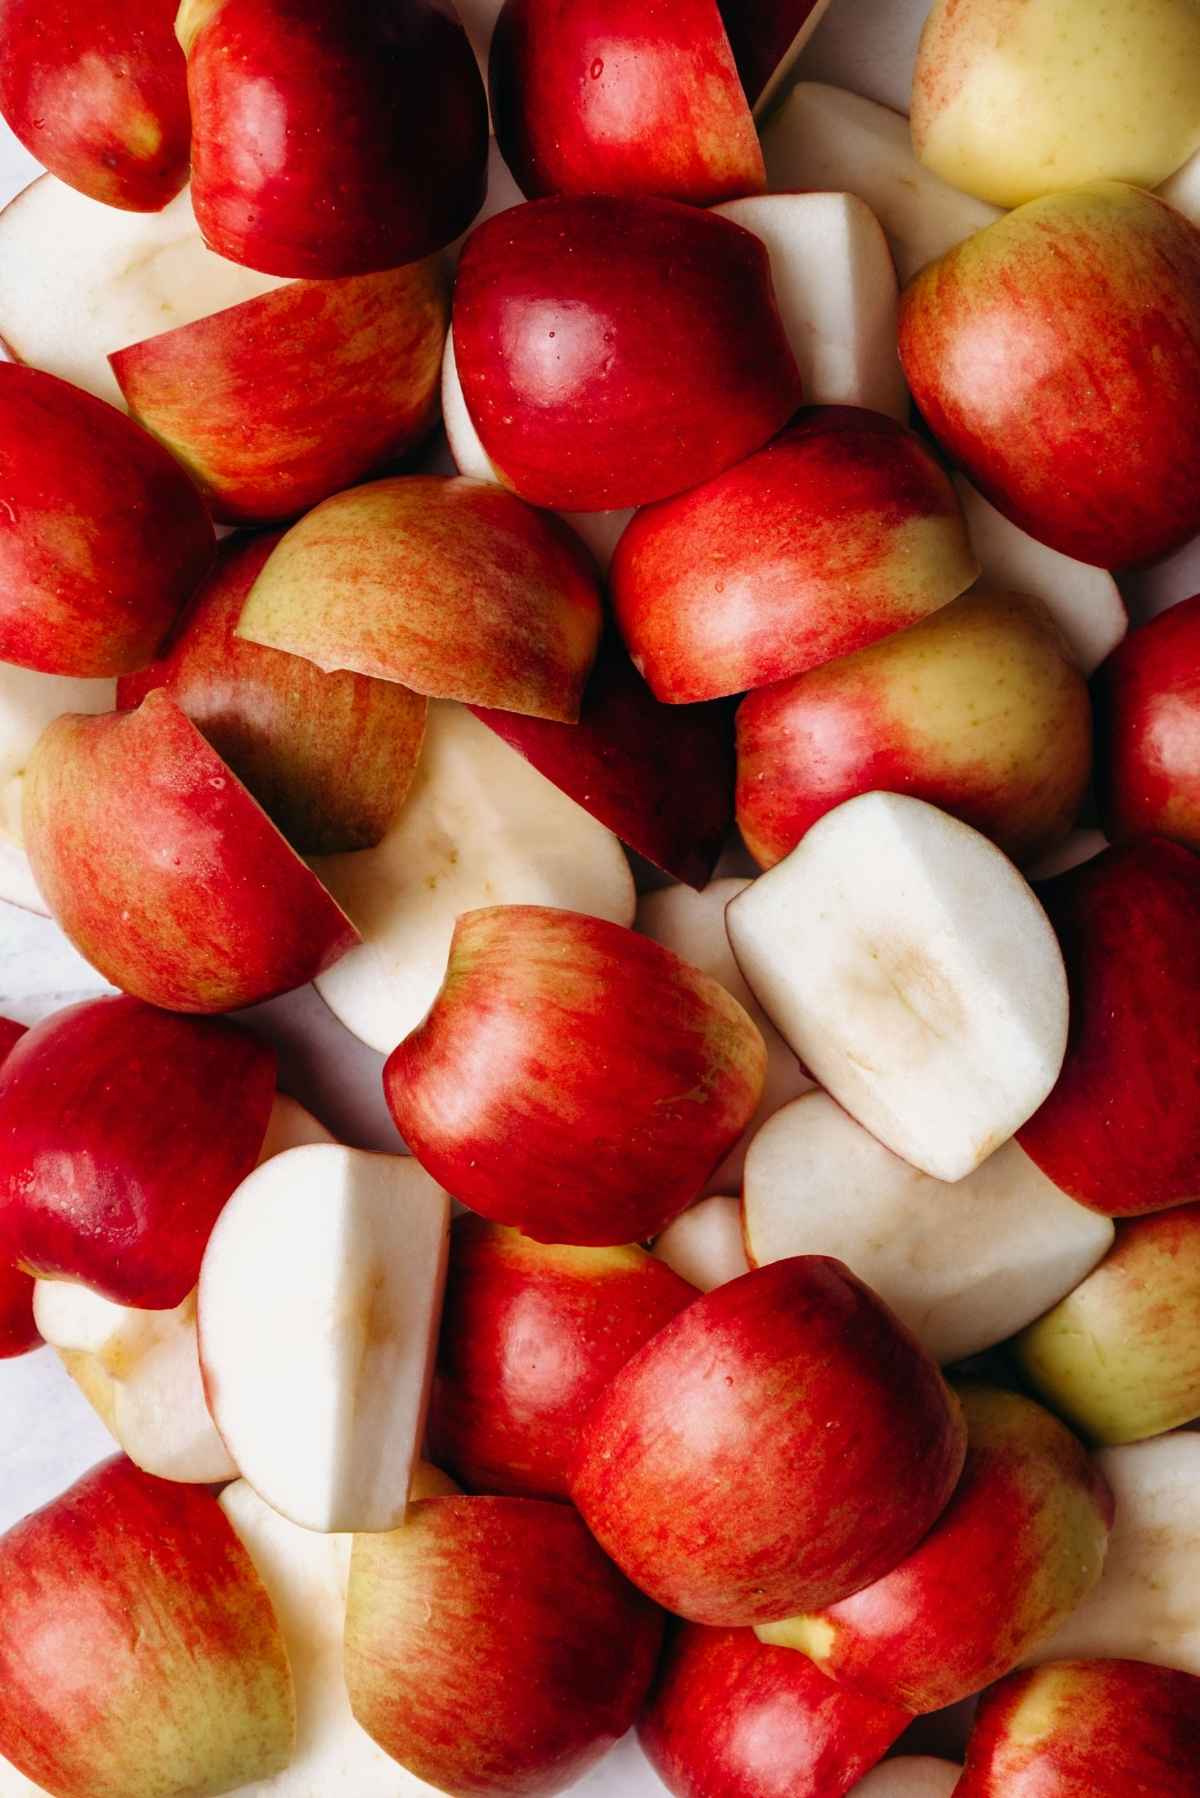
Step 1. Wash and quarter your Cortland apples. I wash all the apples in my sink filled with water. Give them a quick dry and then quarter them, removing the stem, core, and seeds.
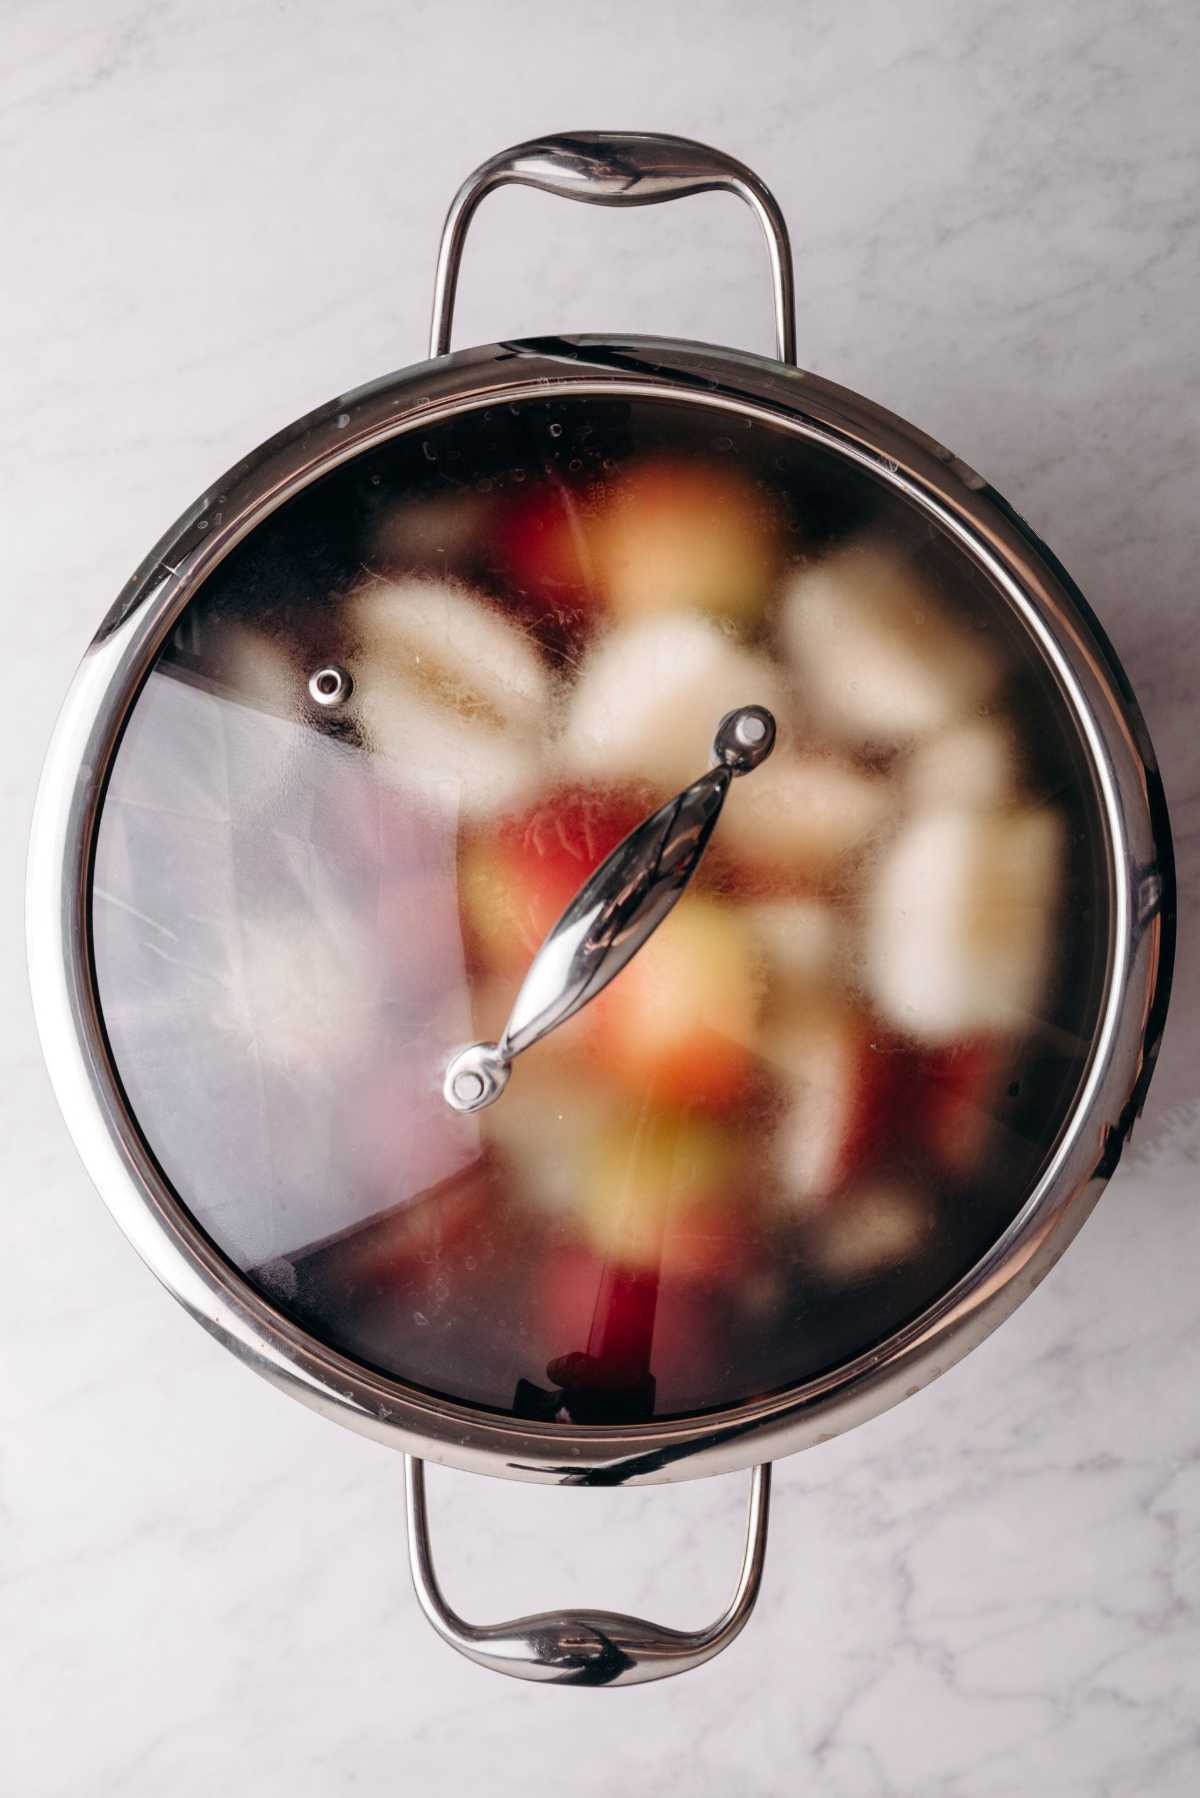
Step 2. Add the water and apples to a stockpot. Bring the water and apples to a boil, then immediately reduce to a simmer and cover with a lid.
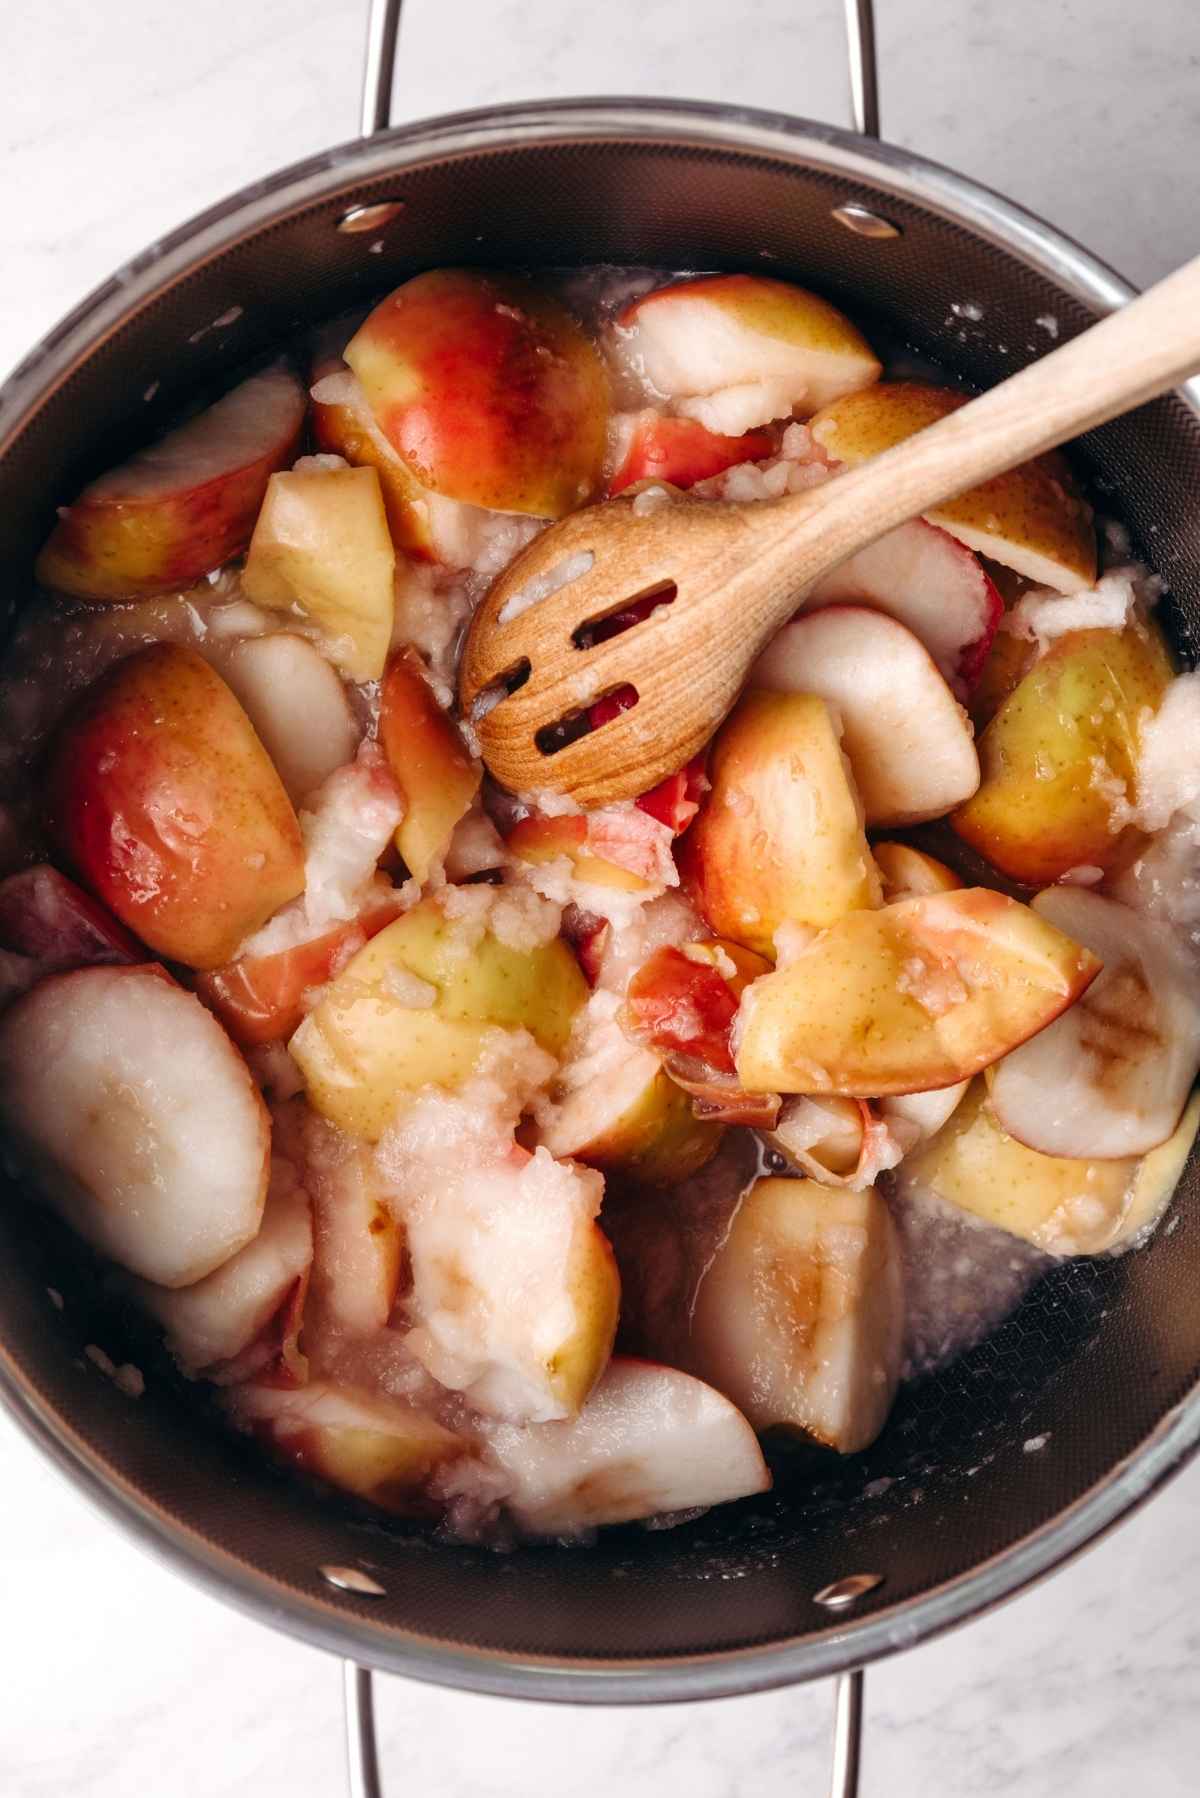
Step 3. Stir the apples every 5 minutes until softened. The apple skins should have either slid off or be about to.
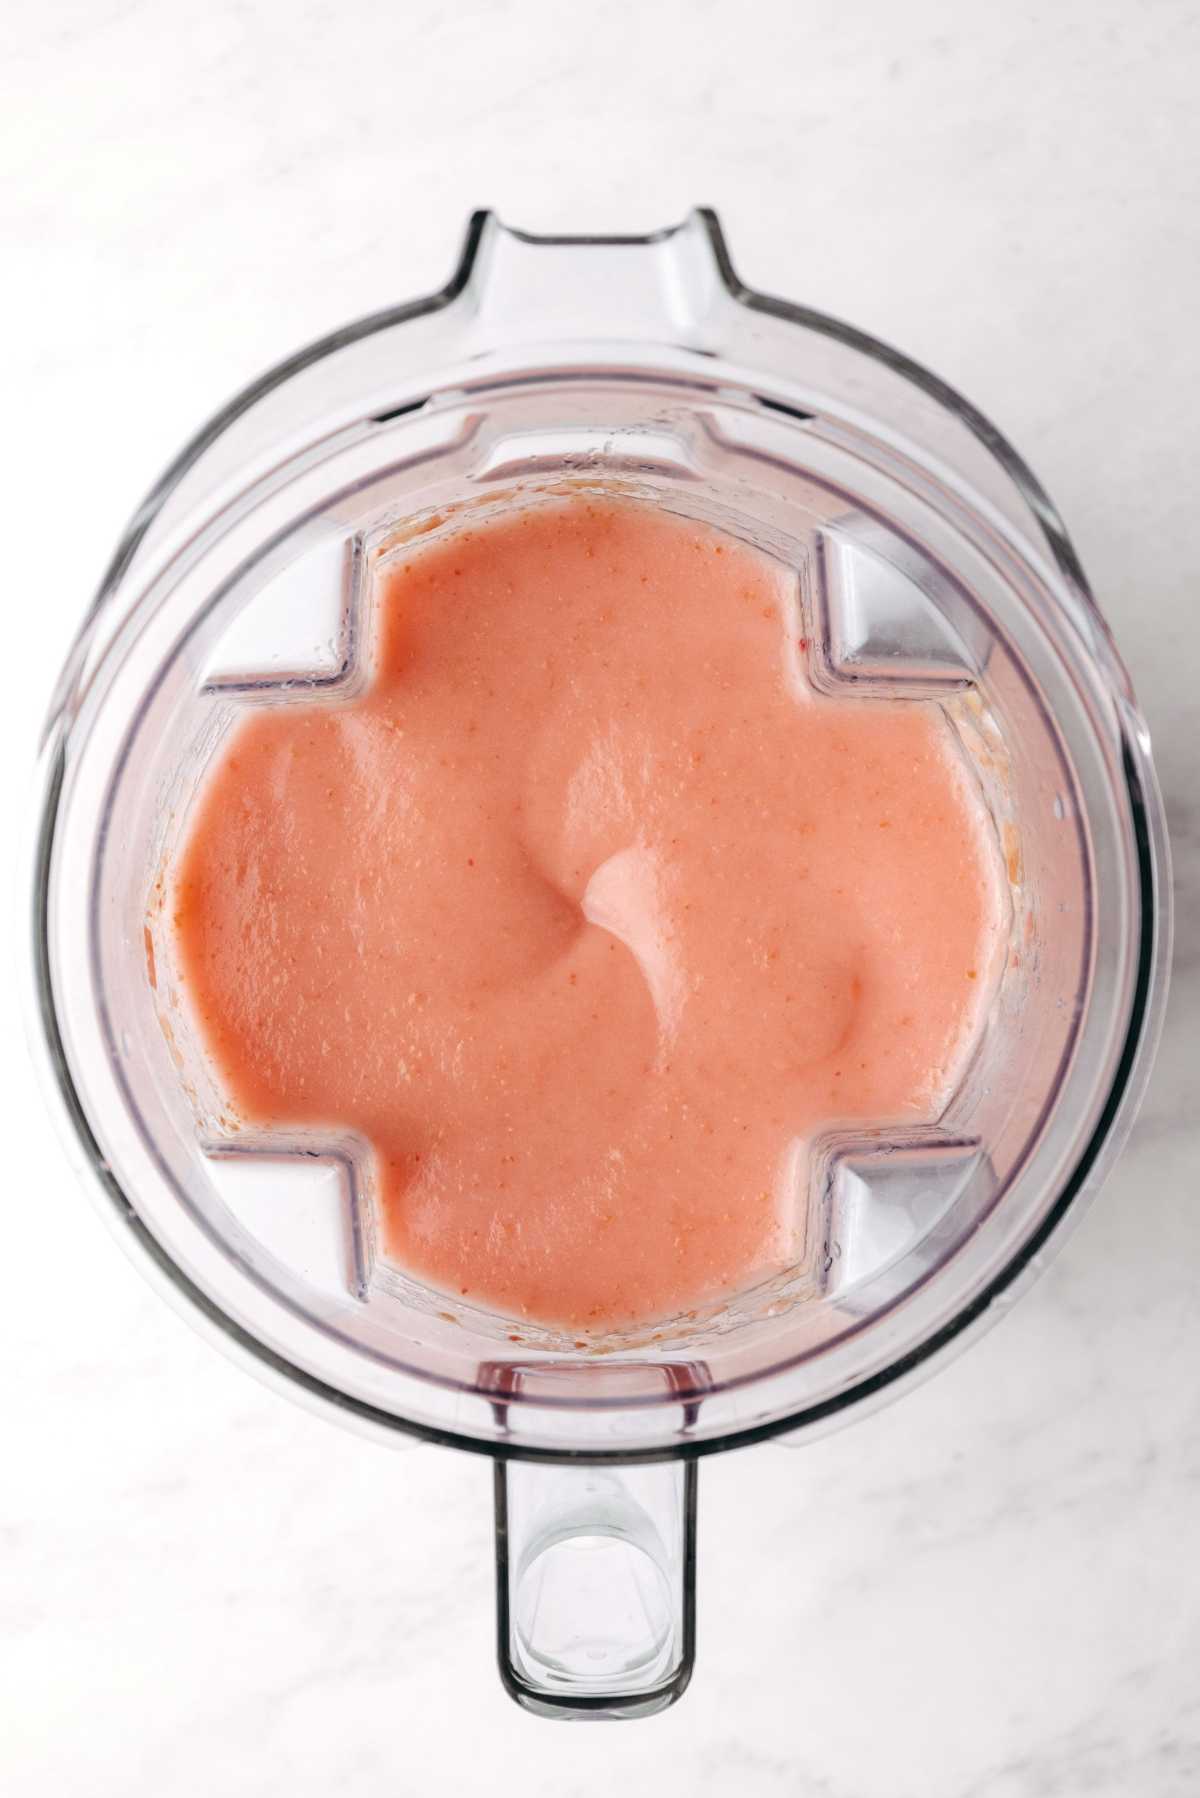
Step 4. Blend the softened Cortland apples in your blender. I fill my Vitamix to the 64-ounce mark, then start on the lowest setting and gradually increase the speed.
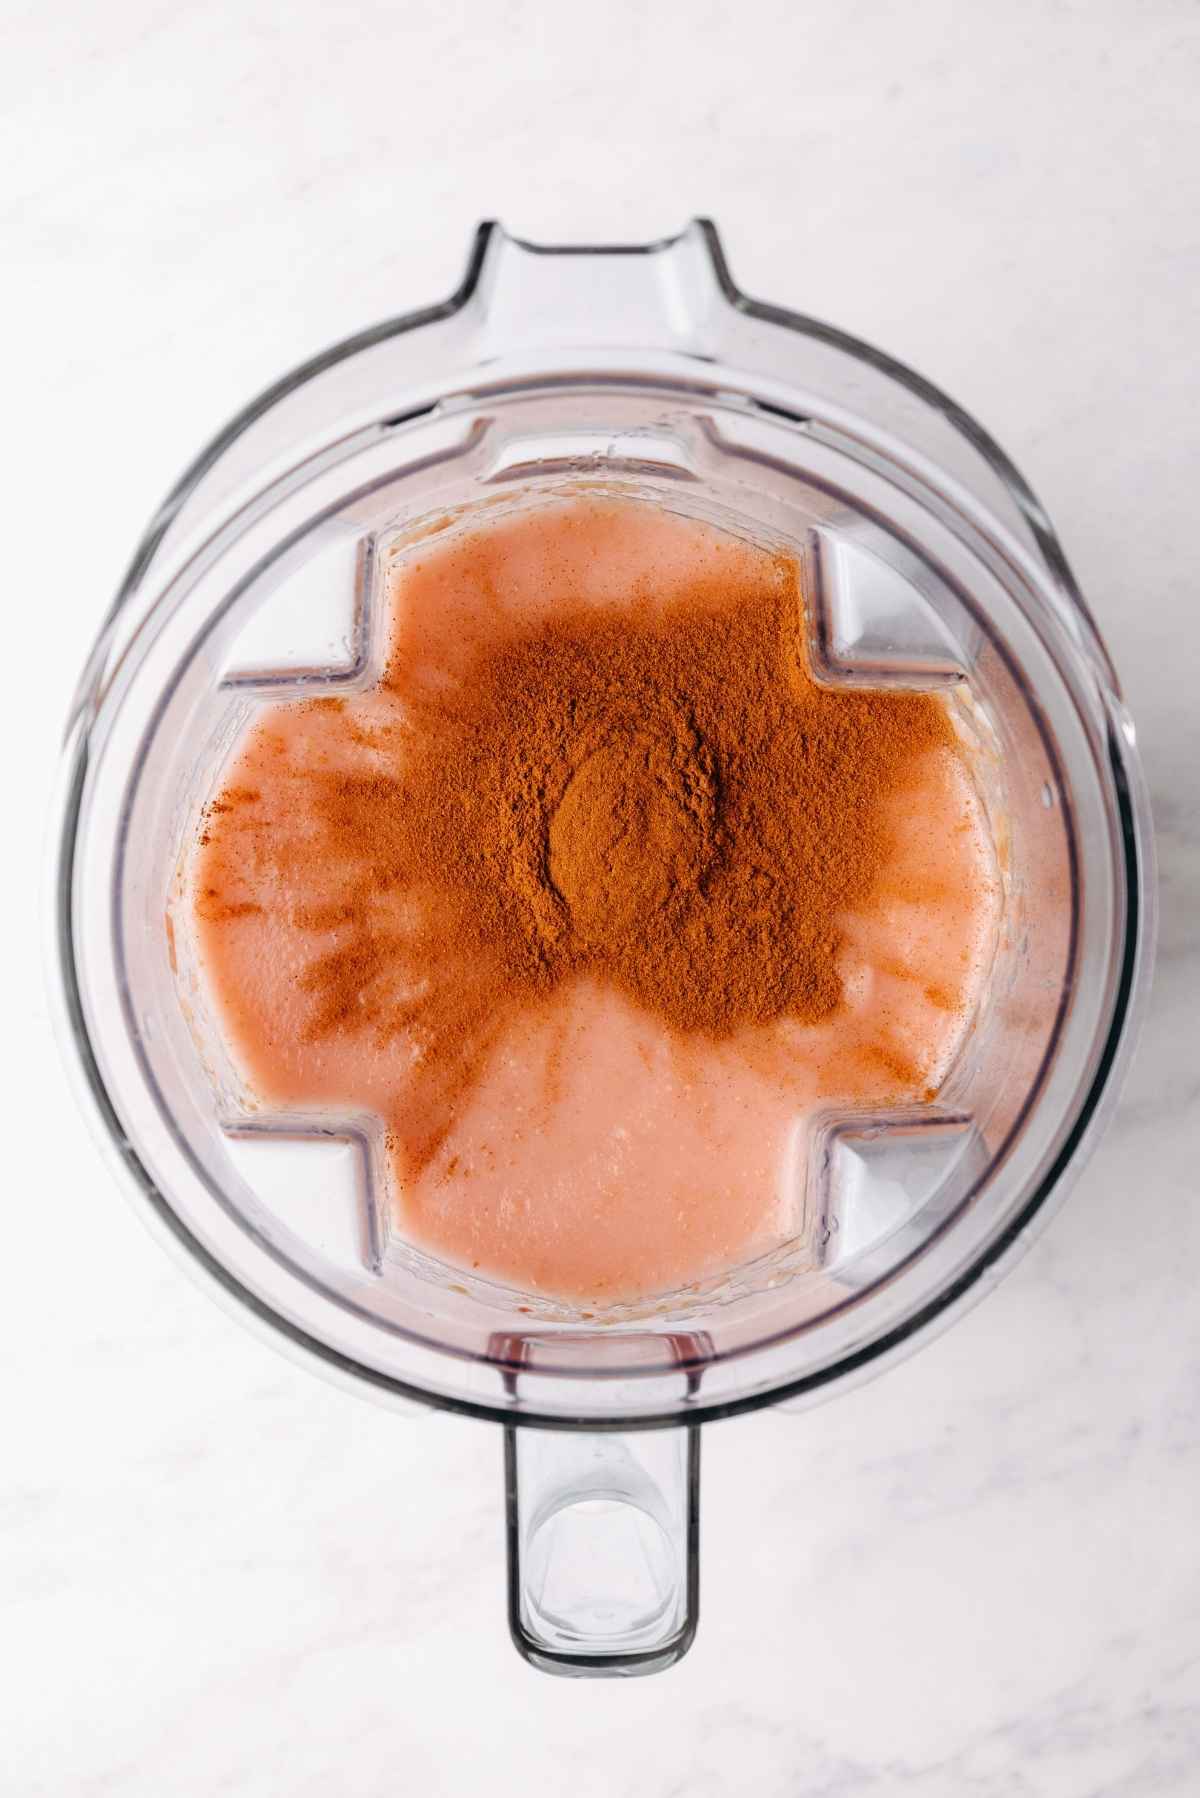
Step 5. Add in the ground cinnamon. But only if you like to make this homemade cinnamon applesauce. I add two heaping teaspoons to my Vitamix with 64 ounces of applesauce.
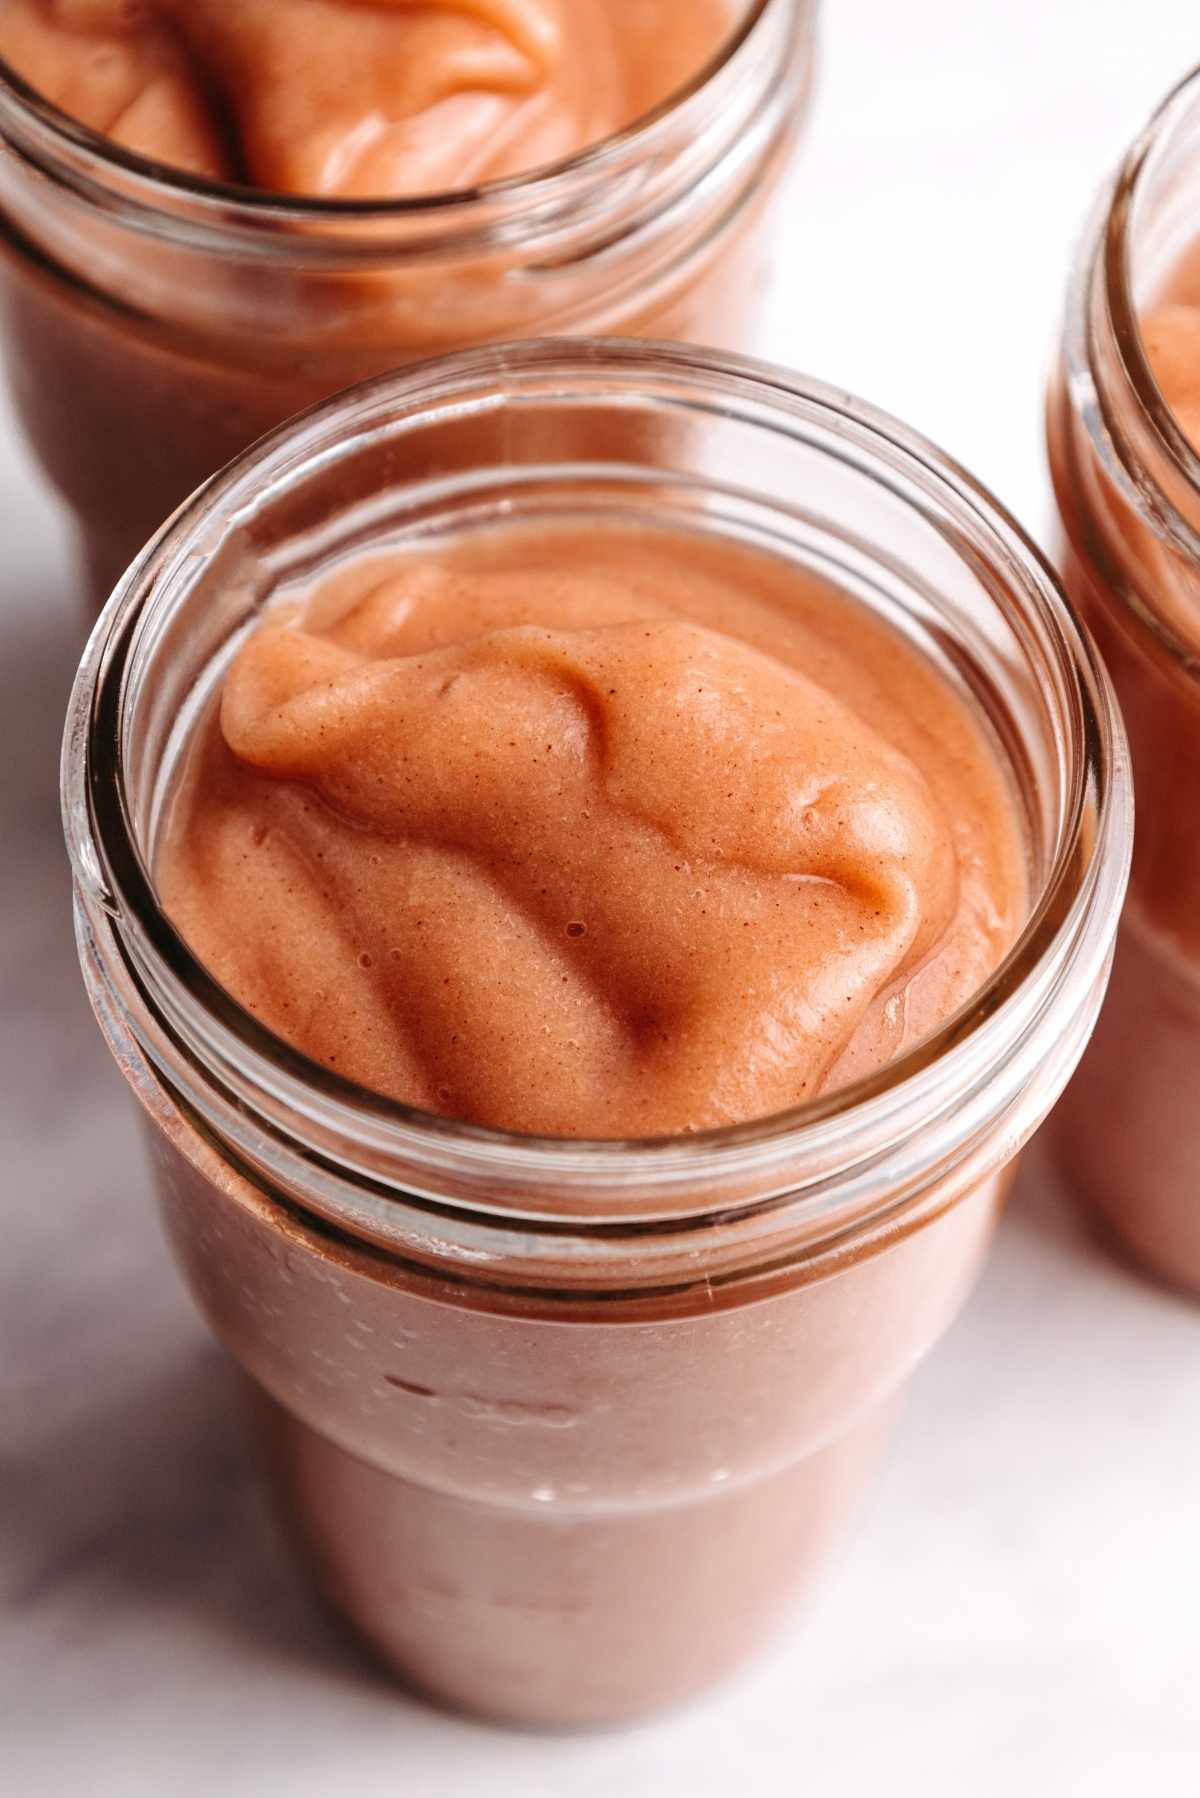
Step 6. Transfer the applesauce. Spoon the no-sugar-added homemade applesauce into your favorite food storage containers, then cool to room temperature before adding the lids. Label the lids with a permanent marker with the date it was made.
Storage
You can store homemade applesauce in the refrigerator in well-sealed containers for up to 10 days, or in the freezer for 3-4 months (but honestly, I’ve had it keep longer than that).
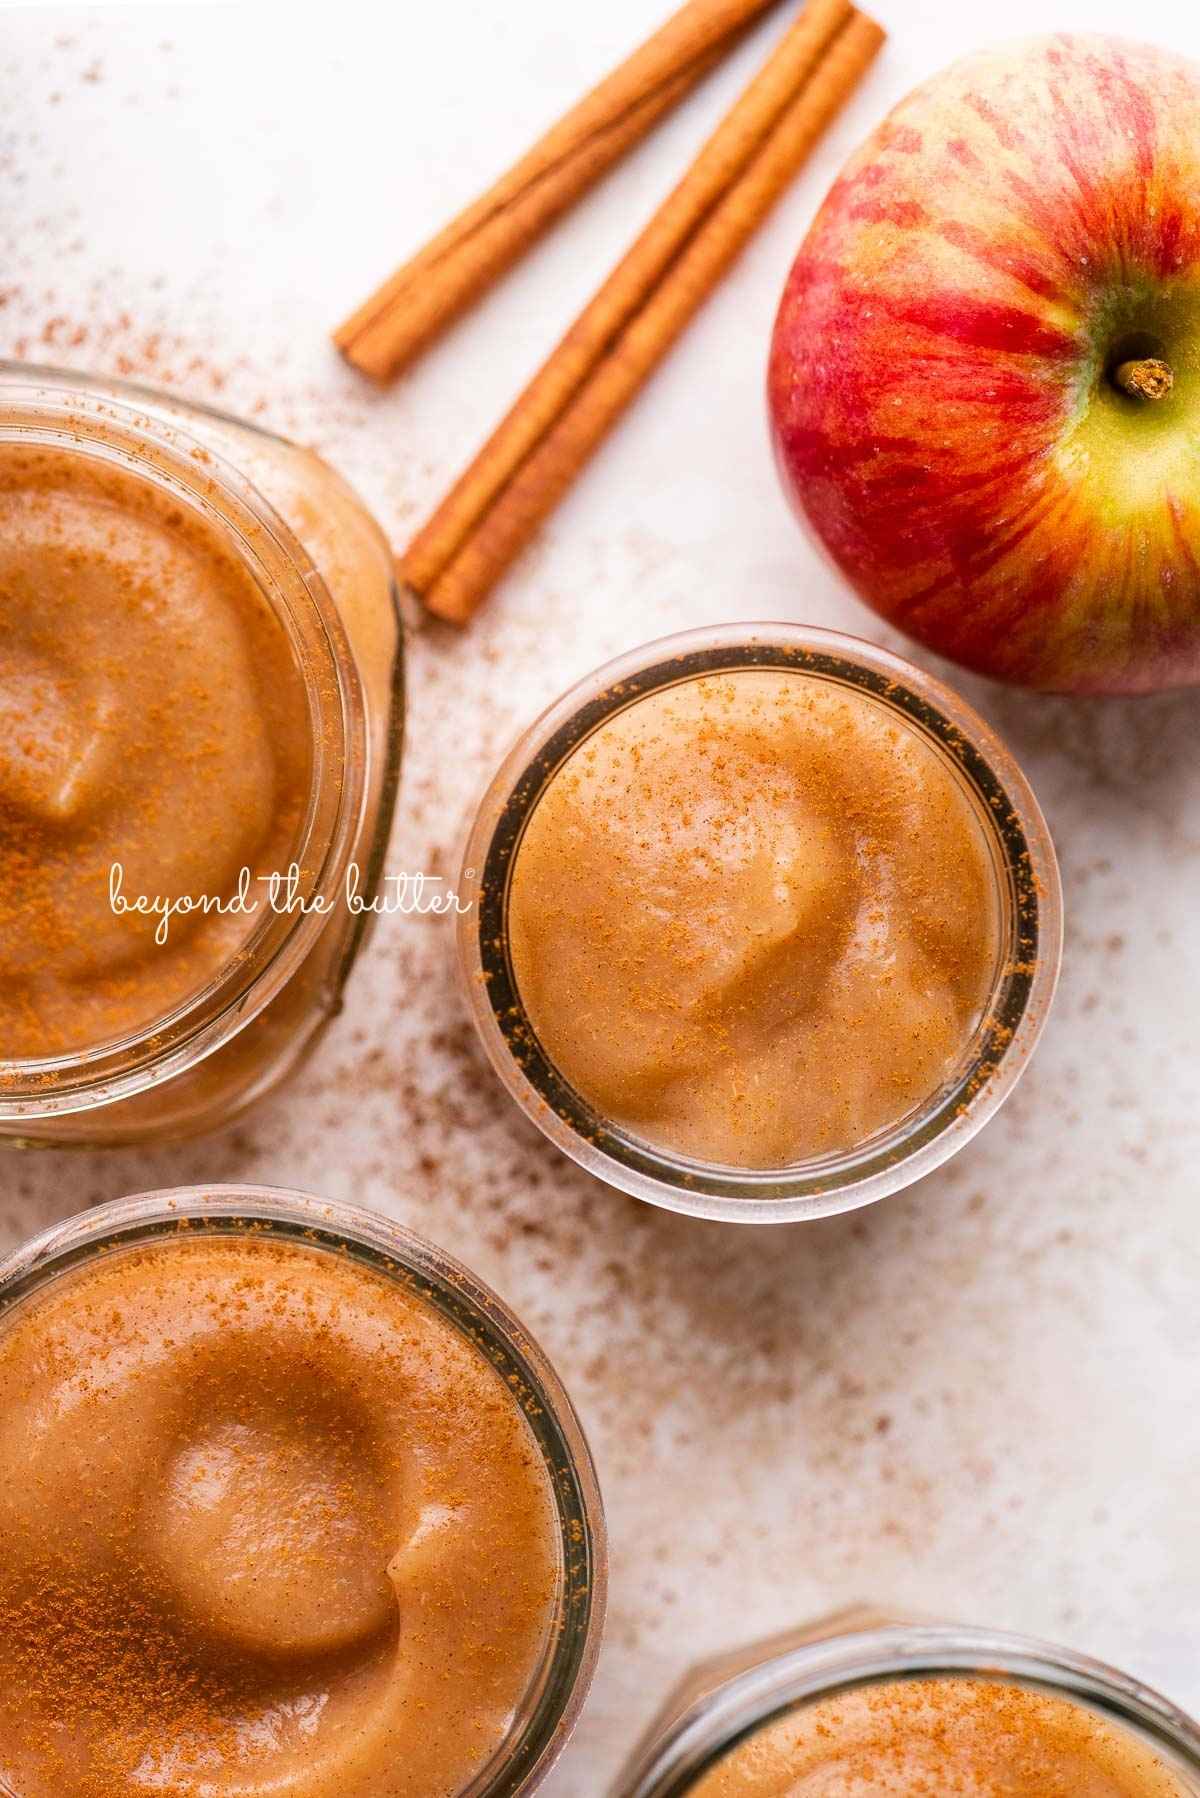
Helpful Tips
- Discarded apple cores (including stems, cores, and seeds) can be added to a compost bin.
- Cooking apples until they’re softened means that the apple skins have either slid off or are about to. Another good indicator that your apples are perfectly softened is when you can easily push the apple flesh with a spatula.
- Ensure you have a robust blender (like a Vitamix or Blendtec) that can easily blend apple skins and apples into smooth, creamy applesauce.
- If you love cinnamon applesauce, then adding the ground cinnamon is a no-brainer. If it’s not your thing, it’s very easy to leave out.
- Ensure your homemade applesauce has cooled completely to room temperature before adding the lids.
- I also recommend labeling the lids with a permanent marker, noting the date it was made.
- To make this easy homemade applesauce recipe without the apple skins, see the recipe card notes below. Your applesauce might be a little chunkier, but it will still be delicious!
Recipe FAQs
Have a question about this homemade applesauce recipe, but don’t see it below? Leave your question in the comment section below the recipe card.
McIntosh, Ambrosia, and Empire apples are great alternatives to the Cortland apples. McIntosh is more tart, so a little sugar may be added if you prefer. Empire is a sweeter, less tart version of McIntosh, so no sugar may be needed. Ambrosia apples are known for being sweet and less acidic, making them less likely to brown.
No, of course not! To make this easy homemade applesauce recipe without the apple skins, follow the instructions through step 3, then run the softened apples (including the skins) through an applesauce food strainer. Your applesauce might be a little chunkier, but it will still taste delicious!
If you get your apples days before making homemade applesauce, it’s best to keep them in a cool, dark place. Or if they’re kept in the refrigerator, they should be placed in the humidifier/fruit compartment.
You can store homemade applesauce in the refrigerator for up to 10 days or in the freezer for 3-4 months (but honestly, I’ve had it keep longer than that).
More Beyond the Butter® Recipes!


If you tried this Homemade Applesauce recipe or any other recipe on my website, please leave a 🌟 star rating and let me know what you thought in the 📝 comments below. Thanks for visiting!
No Sugar Added Homemade Applesauce
Ingredients
- 4 lbs Cortland Apples (or similar), washed and quartered with core and stems removed
- 1/2 cup Water
- 2 tsp Ground Cinnamon, optional
Instructions
- Wash and quarter your Cortland apples, removing the stem, core, and seeds.4 lbs Cortland Apples (or similar)
- Add the water and apples to a stockpot. Bring the water and apples to a boil, then immediately reduce it to a simmer, covering it with a lid.1/2 cup Water
- Stir the apples every 5 minutes until softened, placing the lid back on after stirring. The apples are ready to be pureed when the apple skins have either slid off or are about to, and you can smush the apple flesh easily with your spatula or spoon.
- Fill your blender to the max limit line (my Vitamix is the 64-ounce line) and blend the softened Cortland apples with the skins in your blender until smooth and creamy. I start off on the lowest setting, gradually increasing the speed to the max level. You may still see a few teeny tiny specks of the apple skins (this is okay).
- Add in the ground cinnamon if you wish to make this cinnamon applesauce.2 tsp Ground Cinnamon
- Spoon the no-sugar-added homemade applesauce into your favorite food storage containers, leaving about 1-2 inches of space at the top. Let them cool at room temperature completely before covering them with lids. Label the lids with permanent marker with the date it was made.
Video
Notes
Nutrition
Nutritional information provided above is an estimate only and will vary based on specific ingredients used. See Nutritional Disclaimer for more info.


This site uses Titan Security to reduce spam. Learn how your comment data is processed .