Having a long list of different family favorite desserts, this Pennsylvania Dutch Chocolate Funny Cake is my absolute number one! I can remember my Grammy making this classic treat for many family get-togethers, church functions, and birthdays—like mine! PA Dutch funny cake is part fluffy vanilla cake, part buttery, flaky pie crust, with a layer of chocolate in between. It may sound bizarre, but trust me on this one—it’s very, very good!

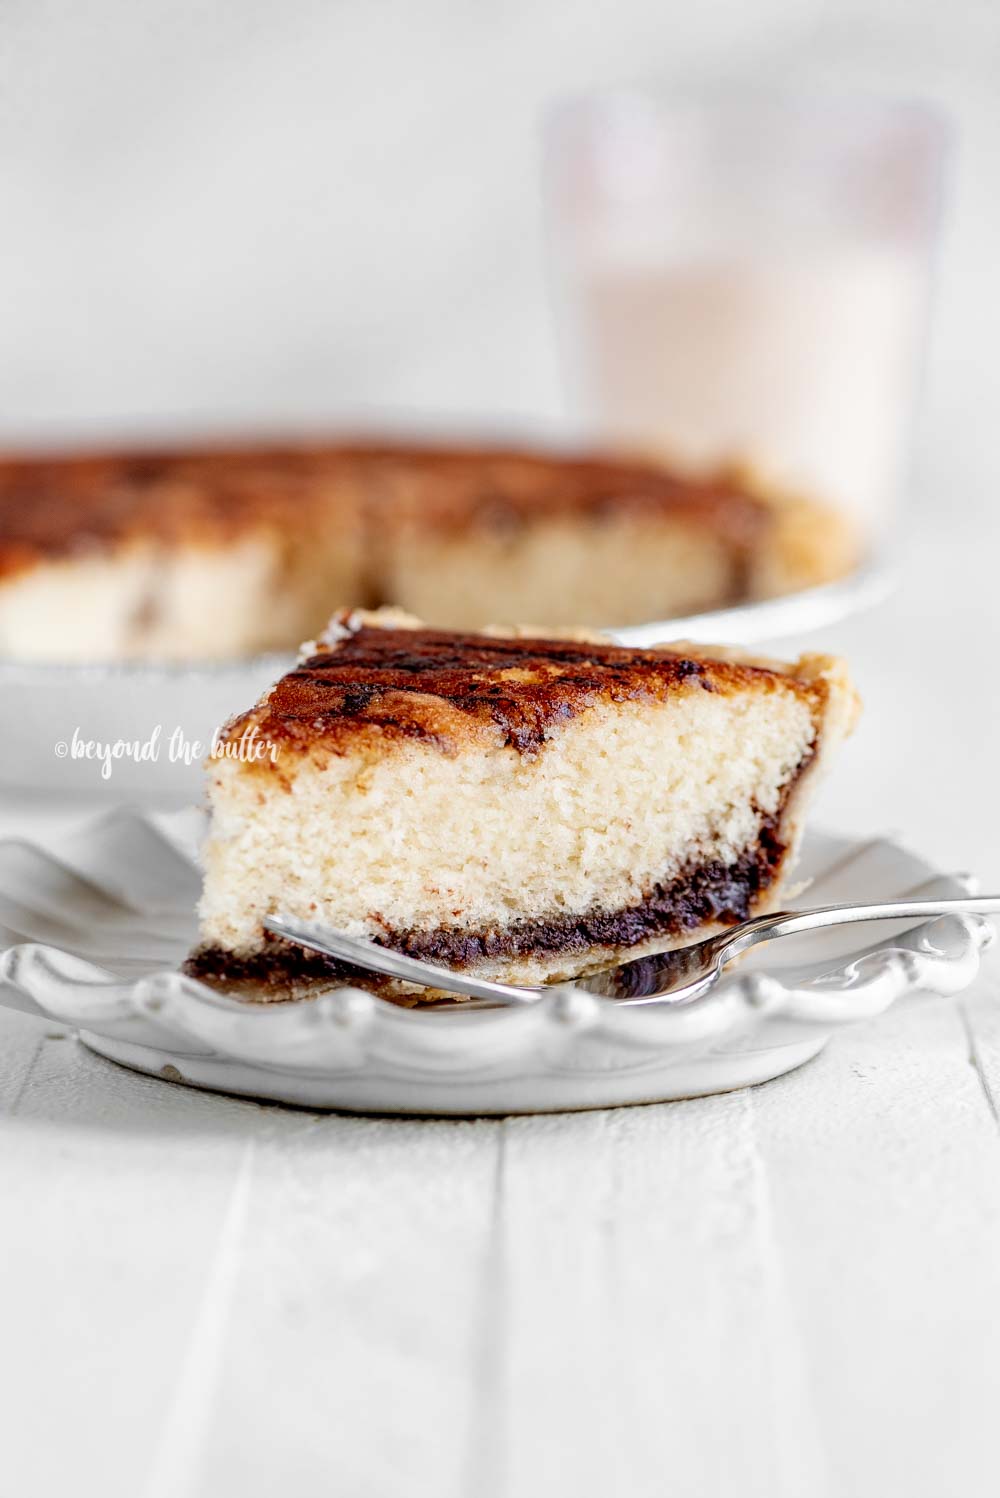
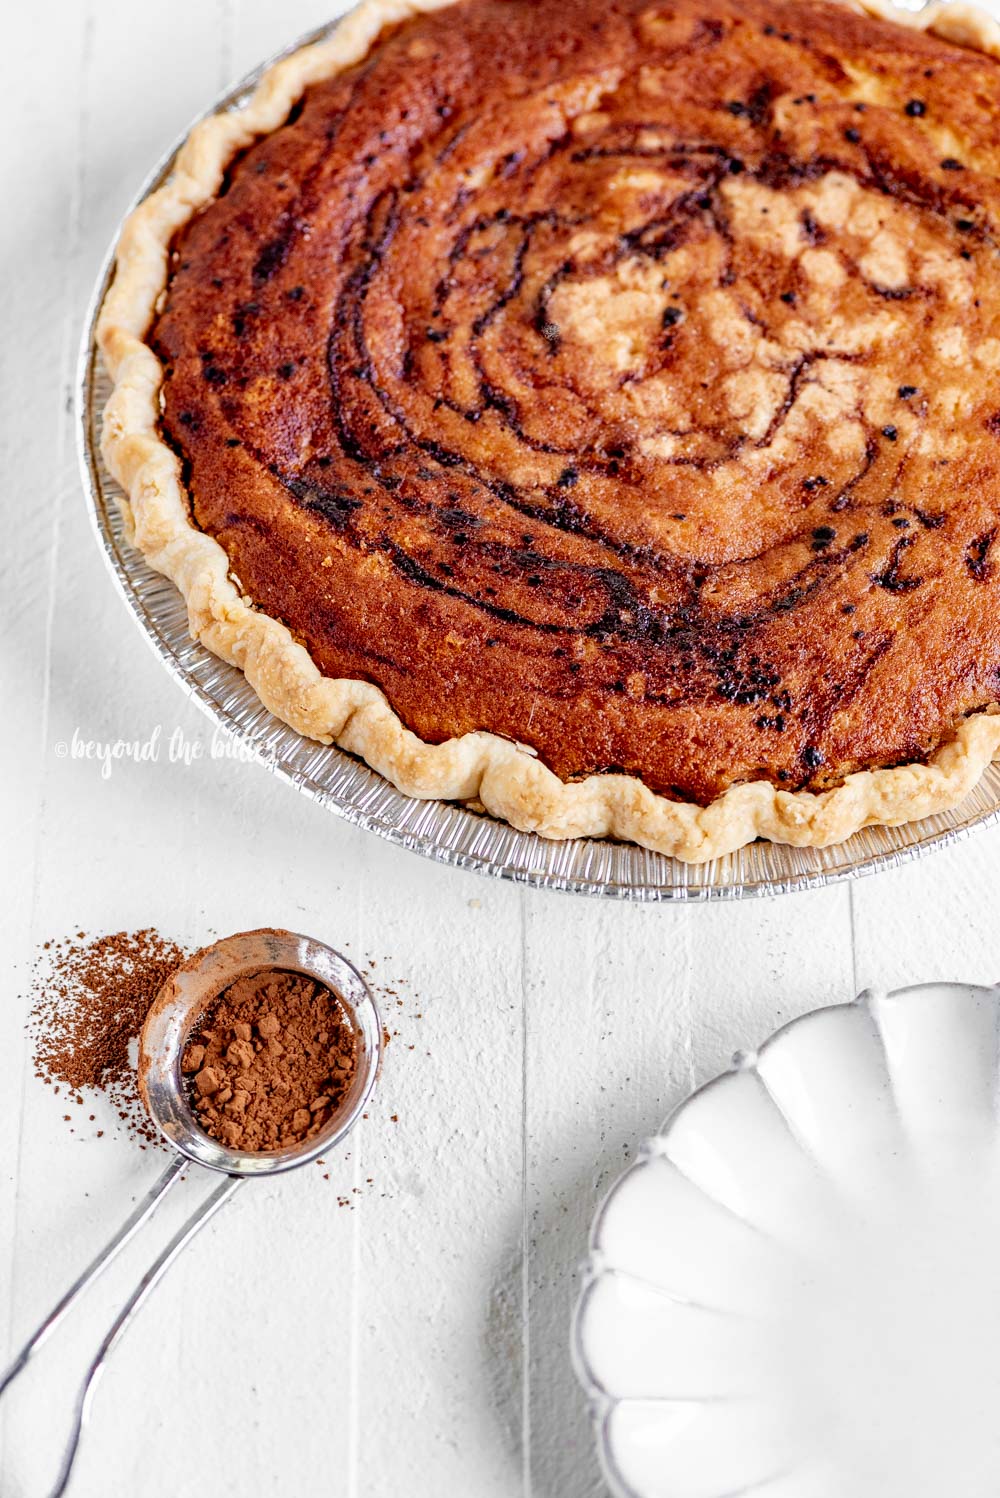
Table of Contents
What is a Funny Cake?
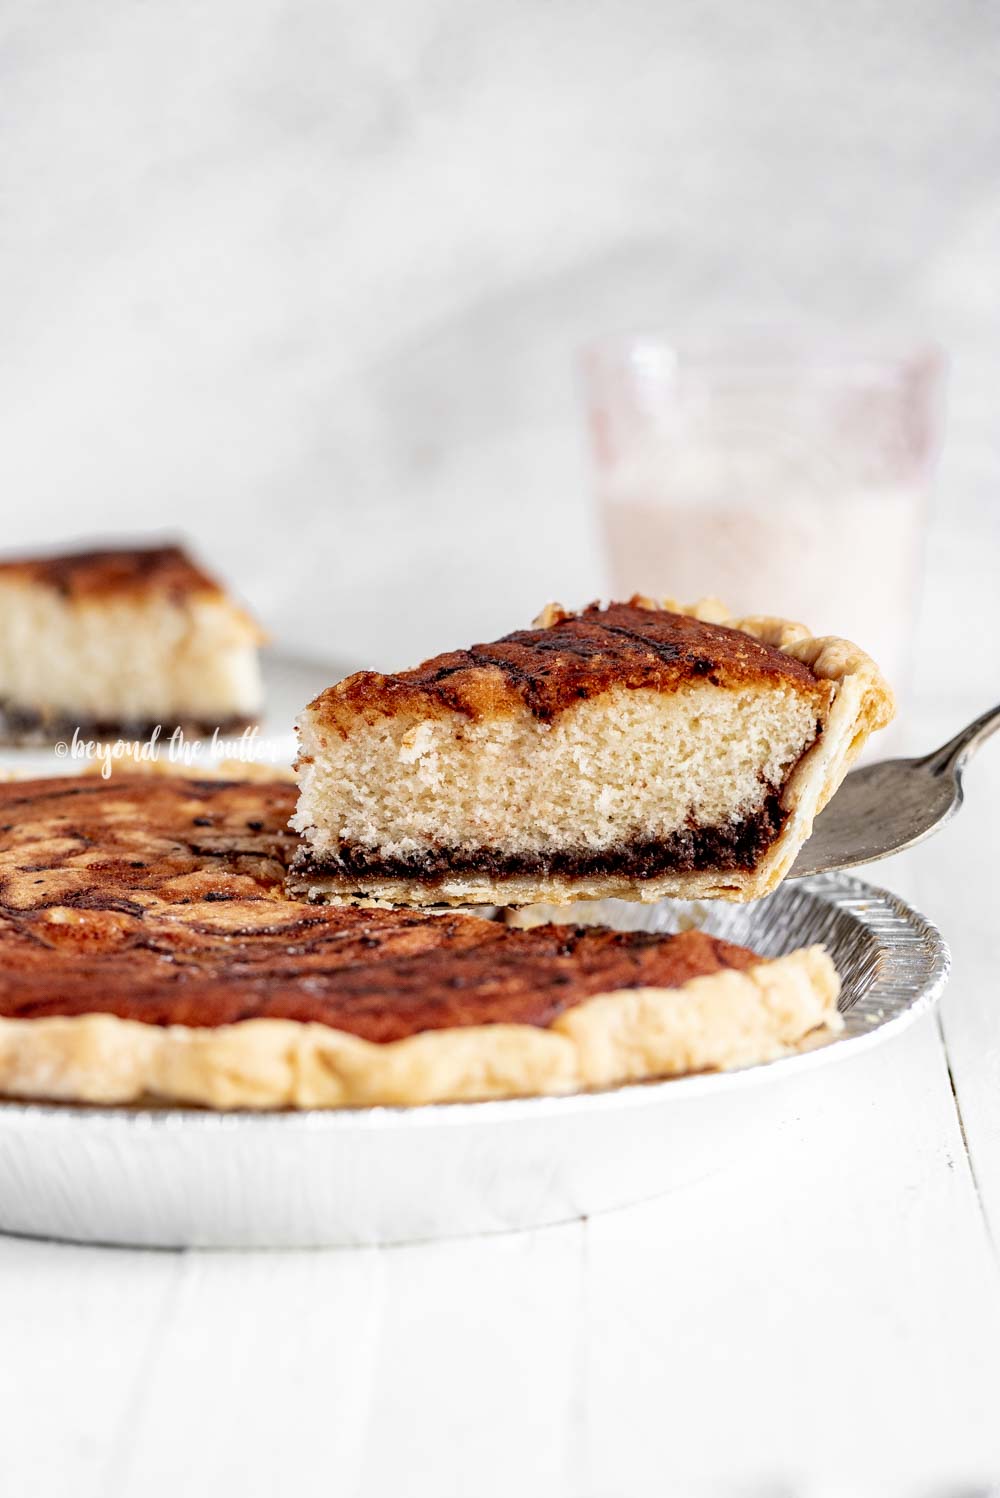
This is a question I get asked often whenever the subject of funny cake is brought up in a conversation. The Pennsylvania Dutch Chocolate Funny Cake is a moist, vanilla-flavored cake with a nicely swirled dark, golden brown top with a gooey layer of chocolate below that’s all baked in a homemade buttery, flaky pie crust.
Where Does the Name Funny Cake Come From?
According to Amish history—and from what I’ve heard—the “funny” comes from having a recipe that contains both a cake and pie together, as well as when you pour the chocolate over the top of the cake, and it sinks to the bottom during baking. Whether you find that funny or not, it is VERY good!
How to Make the Recipe
This Pennsylvania dutch chocolate funny cake treat is broken out into three parts: the homemade buttery, flaky crust, the vanilla cake top layer, and then the chocolate bottom layer. When you’re ready to assemble the funny cakes, place the pie plates onto a jelly roll pan or baking sheet. This will make it a lot easier to move them to the oven after you’ve added the cake batter and chocolate.
Homemade Buttery, Flaky Pie Crust
Making the homemade pie crust is the first part of this chocolate funny cake recipe. If you’re planning to purchase store-bought pie crust, then you can skip over this part.
The important thing to always remember when making pie crust is to make sure your butter, vegetable shortening, and water are all VERY COLD! The cold fats—butter and vegetable shortening—are what give pie crusts that flaky texture, and the ice-cold water allows the fats to stay cold and solid.
After you’ve finished making the pie dough, you’ll divide it up into two discs (approximately 1″ thick), then tightly wrap them in plastic wrap. Place them in the coldest part of your refrigerator, which is usually the very back, for a minimum of 1 hour before using them in this Pennsylvania Dutch Chocolate Funny Cake recipe.
Vanilla Cake Top Layer
The vanilla cake part of this recipe comprises all-purpose flour, baking powder, granulated sugar, vegetable shortening, eggs, vanilla extract, and milk. If you don’t have vegetable shortening, you can use butter in its place, but it may alter the cake’s texture. You’ll mix this up first, then pour it into the unbaked pie shells.
Chocolate Bottom Layer
The chocolate layer for this funny cake recipe comes together quickly. After making it, you’ll pour it over top of the cake layer. During baking, the chocolate will move to the bottom of the funny cake. Don’t worry; it won’t go through the pie crust!
Quick Tips Before Starting the Recipe
Below are a few quick tips for making the best Pennsylvania Dutch chocolate funny cakes.
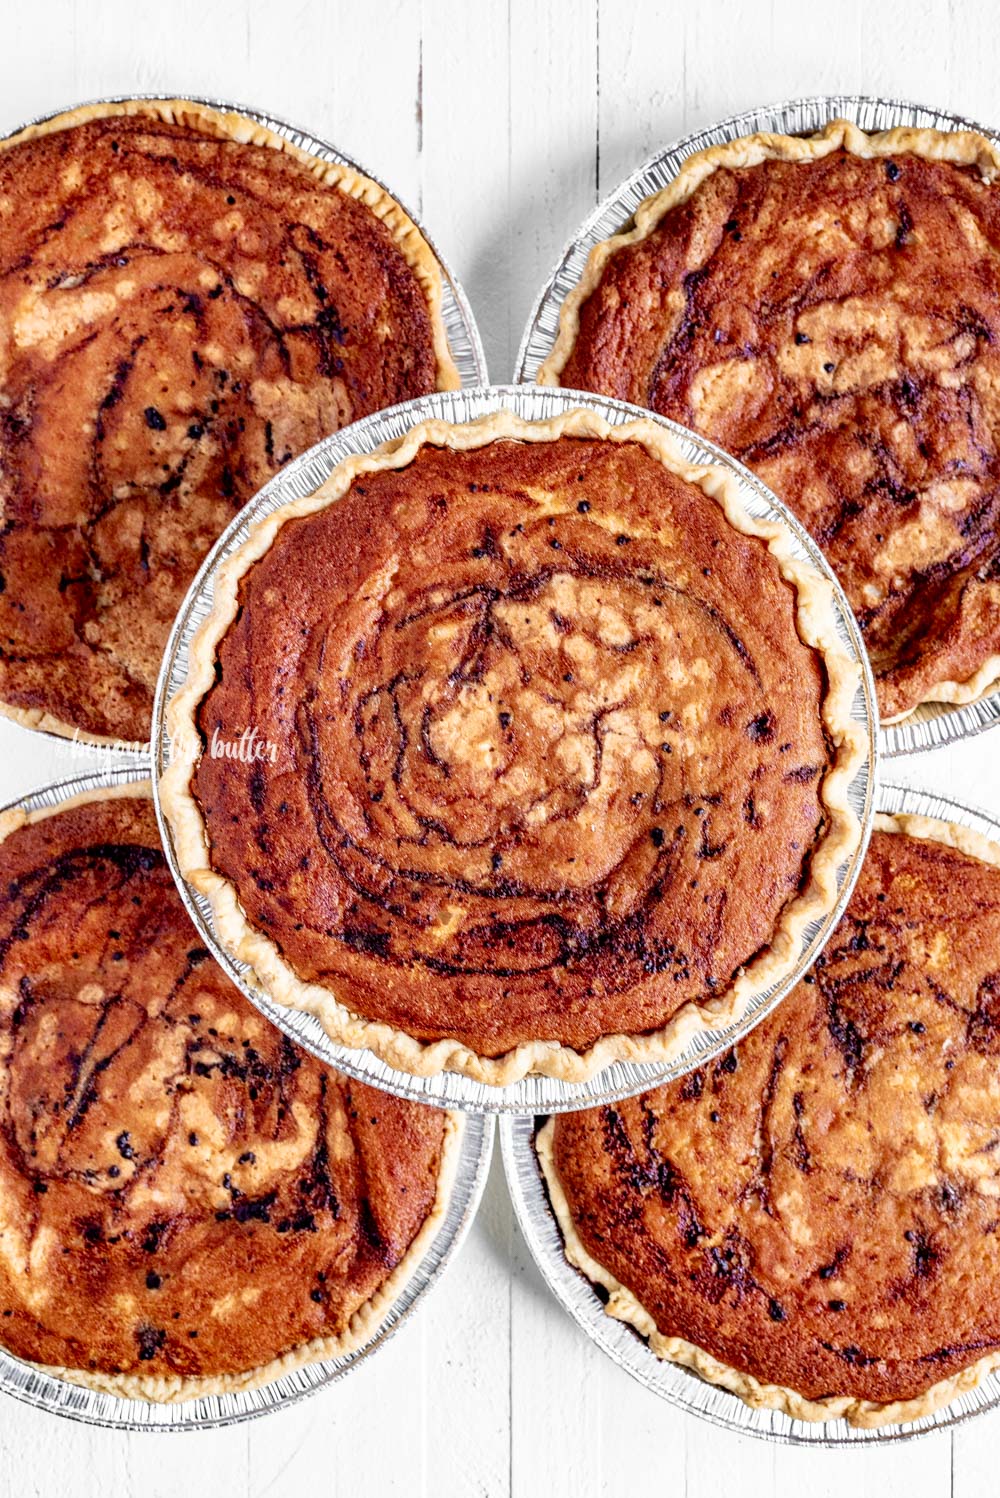
- You’ll need two 9-inch pie plates for this recipe. I suggest either these pie plates from USA Pan Bakeware or Pyrex pie plate. For something a little pricier, this beautiful Emile Henry 9″ pie dish is worth every penny! Or if you plan to make a bunch, as I did, you can buy the aluminum pie pans!
- Because this recipe makes two funny cakes, you can either half the recipe and just make one – or – you can make both and give one away to a friend!
- After making the homemade pie crust, it’s best to let it chill in the refrigerator for at least one hour before using it for this recipe.
- If making the pie crust from scratch isn’t your thing, you can use store-bought!
- I highly recommend placing both funny cakes on a baking sheet or jelly roll pan before adding the batter and chocolate. It really helps when moving them from the counter to the oven!
- I know it seems strange, but it’s important to remember to pour in the chocolate layer over the cake layer. The chocolate will sink to the bottom of the pie during baking. When pouring the chocolate layer over the cake layer, I find using a Pyrex Glass Measuring Cup easier. This way, you can monitor how much of chocolate you’ve poured into each.
- If pouring the chocolate over the top of the cake’s top layer sounds weird, you can always pour it into the unbaked pie shell and then add the cake batter. The top of your chocolate funny cake won’t have that nice chocolate swirled top, though.
Recommended Pie Baking Tools
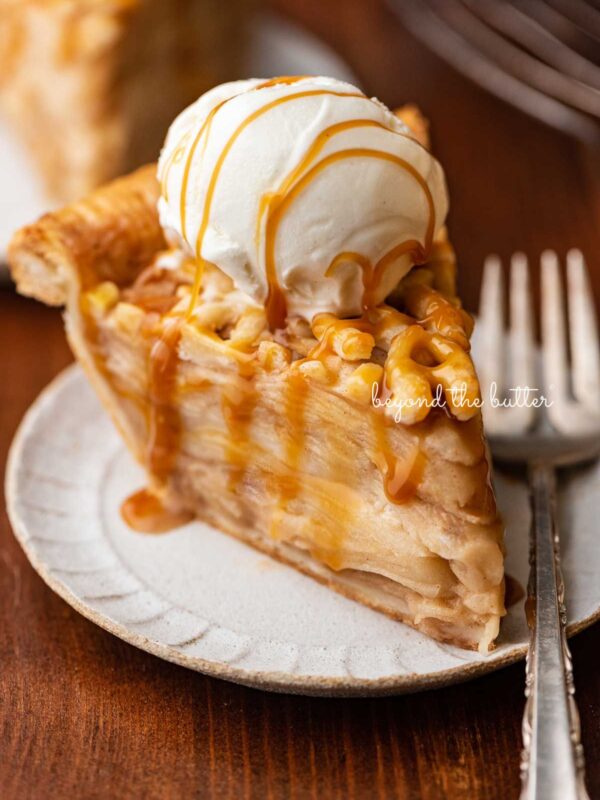
More Delicious Pie Recipes from Beyond the Butter®!


Pennsylvania Dutch Chocolate Funny Cake

Ingredients
homemade buttery flaky pie crust (makes 2, 9 inch pie crusts)
- 2 cups All-Purpose Flour
- 1 tsp Salt
- 6 tbsp Unsalted Butter, cold and cut into small cubes
- 1/2 cup Vegetable Shortening, cold and cut into cubes
- 4-6 tbsp Ice Cold Water
top cake layer
- 2 cups All-Purpose Flour
- 2 tsp Baking Powder
- 2 cups Granulated Sugar
- 1/2 cup Vegetable Shortening
- 2 Large Eggs, room temperature
- 1 tsp Vanilla Extract
- 1 cup Whole Milk
bottom chocolate layer
- 1 cup Granulated Sugar
- 1/3 cup Unsweetened Cocoa Powder
- 1 cup Boiling Water
- 1/2 tsp Vanilla Extract
Instructions
homemade buttery, flaky pie crust
- In a large mixing bowl and using a pastry blender (or two forks), mix together the all-purpose flour, salt, cold cubed butter, and cold vegetable shortening until you have small pea-size pieces. Some larger pea-size pieces are fine too! You can use a knife to clear out the pastry blender if it gets clogged as you mix everything together.2 cups All-Purpose Flour, 1 tsp Salt, 6 tbsp Unsalted Butter, 1/2 cup Vegetable Shortening
- Add in the ice cold water 1 tablespoon (tbsp) at a time, using a spatula or your hands until can form a ball and it is no longer crumbly. If there are any crumbly bits, just add the tiniest bit of water so they blend in with the rest of the dough.4-6 tbsp Ice Cold Water
- After forming the ball of pie dough, place it on a lightly-floured, clean surface and divide it in half using a pastry cutter. Pat each half into a 1″-1 1/2″ thick disc, then double wrap tightly in plastic wrap and place them in the coldest part of your refrigerator (usually the back) for a minimum of 1 hour.
chocolate funny cake
- Adjust the oven rack to the 2nd level mark (just above center) and preheat the oven to 375º F.
- On a well-floured, clean surface, roll out one of the discs of pie dough you made earlier (or unroll if using store-bought) ) and carefully place into the 2, 9″ pie plates. Trim and crimp the edges to your liking, then place it back in the refrigerator as you make the cake and chocolate layers.
- For the top cake layer: In a medium bowl, whisk together the all-purpose flour and baking powder. Set dry mixture aside.2 cups All-Purpose Flour, 2 tsp Baking Powder
- Using a hand mixer or stand mixer fitted with a paddle attachment on medium-high speed, cream the granulated sugar and vegetable shortening together until blended. Add in the eggs and vanilla extract, and mix until combined.2 cups Granulated Sugar, 1/2 cup Vegetable Shortening, 2 Large Eggs, 1 tsp Vanilla Extract
- Reduce the mixer speed to low and alternate between adding the dry mixture and milk. Mix together until just combined, then set aside.1 cup Whole Milk
- For the bottom chocolate layer: In a medium bowl, whisk together the granulated sugar and unsweetened cocoa powder.1 cup Granulated Sugar, 1/3 cup Unsweetened Cocoa Powder
- Slowly pour in the boiling water and add in the vanilla extract. Stir continuously until unsweetened cocoa powder is fully dissolved.1 cup Boiling Water, 1/2 tsp Vanilla Extract
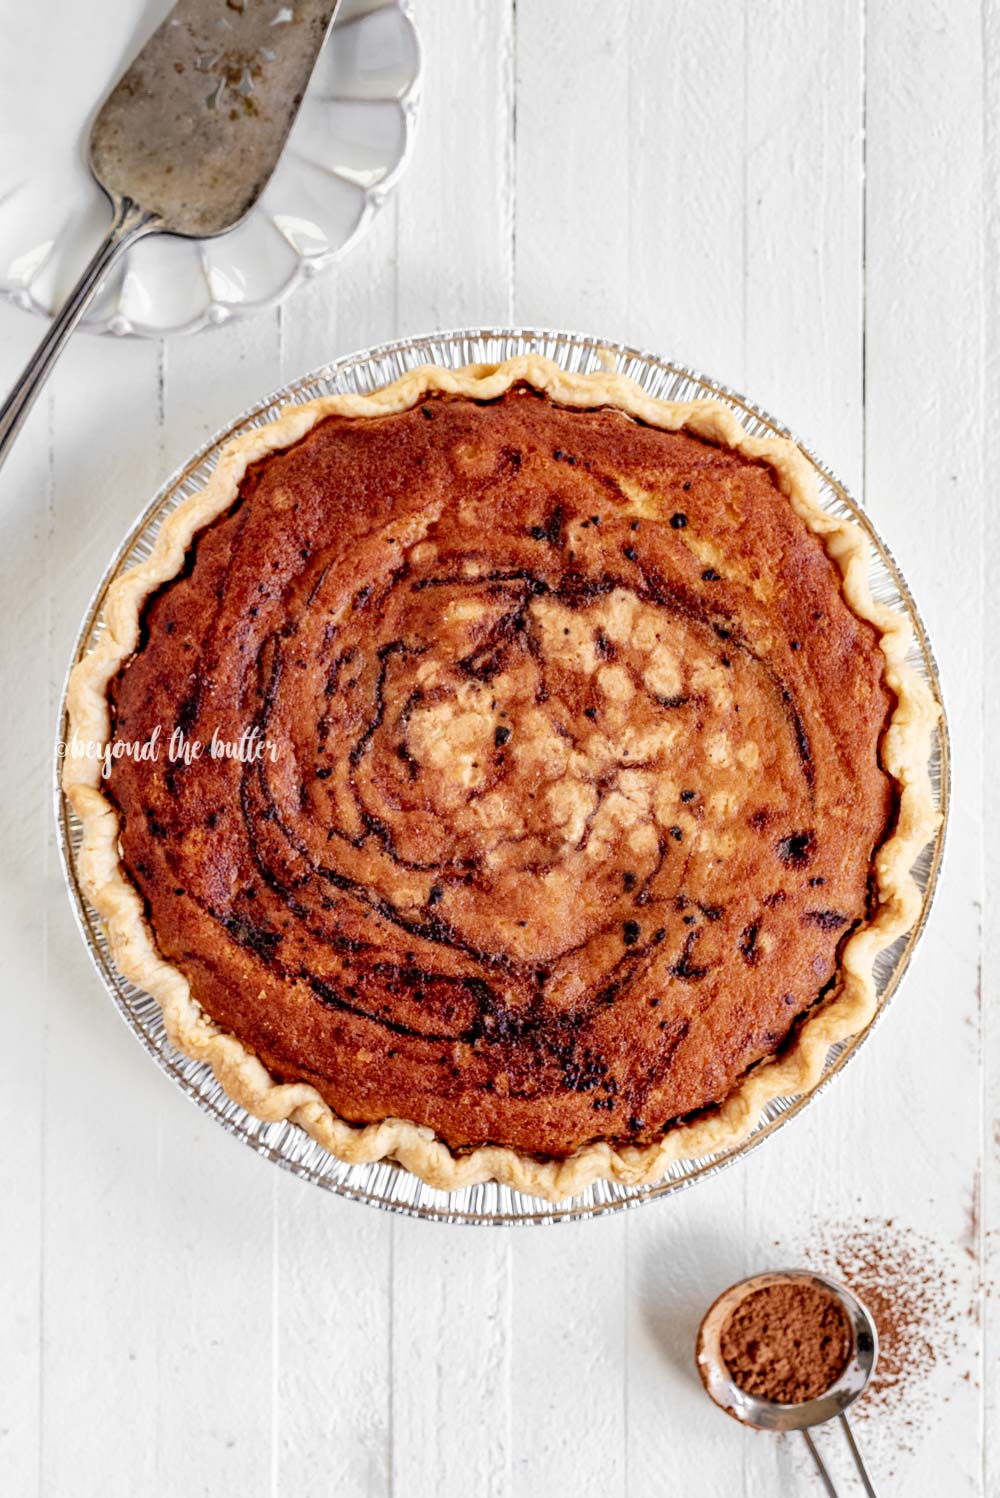
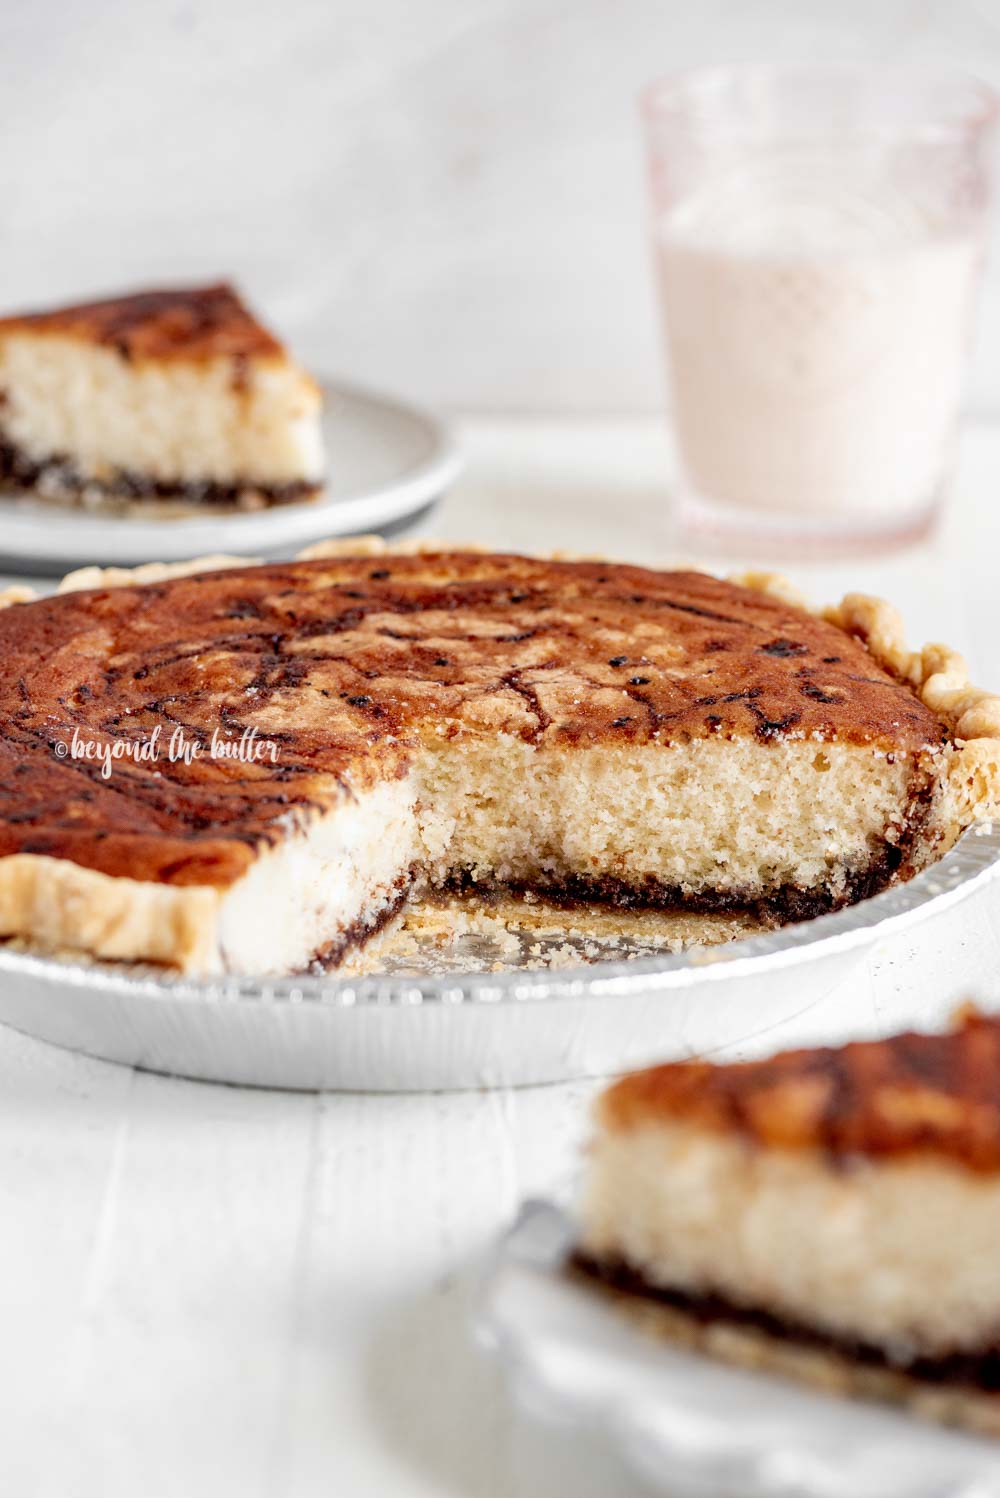
- Divide and pour the cake batter into the 2 unbaked 9″ pie crusts, then divide and pour the chocolate layer over top of each. The chocolate layer sinks to the bottom during baking which then forms the thick chocolatey layer on the bottom. It also gives the top of your funny cake a nice chocolate swirl on top!
- Place the funny cakes in the oven side-by-side and bake for 45-50 minutes or until a toothpick inserted in the center of the cakes comes out clean. Mine baked for almost the full 50 minutes. I highly recommend using a x-large baking sheet or jelly roll pan to move the funny cakes into the oven and removing when done. It makes it a lot easier!
- Remove from oven and allow to cool completely before serving.
Notes
- You’ll need two 9-inch pie plates for this recipe. I suggest either these pie plates from USA Pan Bakeware or Pyrex pie plate. For something a little pricier, this beautiful Emile Henry 9″ pie dish is worth every penny! Or if you plan to make a bunch, as I did, you can buy the aluminum pie pans!
- Because this recipe makes two funny cakes, you can either half the recipe and just make one – or – you can make both and give one away to a friend!
- After making the homemade pie crust, it’s best to let it chill in the refrigerator for at least one hour before using it for this recipe.
- If making the pie crust from scratch isn’t your thing, you can use store-bought!
- I highly recommend placing both funny cakes on a baking sheet or jelly roll pan before adding the batter and chocolate. It really helps when moving them from the counter to the oven!
- I know it seems strange, but it’s important to remember to pour in the chocolate layer over the cake layer. The chocolate will sink to the bottom of the pie during baking. When pouring the chocolate layer over the cake layer, I find using a Pyrex Glass Measuring Cup easier. This way, you can monitor how much of chocolate you’ve poured into each.
- If pouring the chocolate over the top of the cake’s top layer sounds weird, you can always pour it into the unbaked pie shell and then add the cake batter. The top of your chocolate funny cake won’t have that nice chocolate swirled top, though.
- Recipe adapted from my Grammy’s recipe and family cookbook ❤
- Please note the chocolate funny cake recipe shared in Taste of Home’s August/September 2020 issue was modified by the Taste of Home test kitchen to make this in deep dish pie plates. I have not tested their version of this recipe.
Nutrition
Nutritional information provided above is an estimate only and will vary based on specific ingredients used. See Nutritional Disclaimer for more info.


Going to try this one !!
350 oven?
Preheat the oven to 375ºF (Step 1 under the Chocolate Funny Cake section)
I also grew up in Allentown (go Canaries) and was looking for a comparable recipe made by my “back home” church.
So glad I found this one. Will serve it for this weekend at our family gathering!
Nice! I’m a former Bucks County girl so not too far from Allentown. I hope you enjoy this recipe!
I grew up mostly in Allentown, Pa but live in Virginia now. I had Funny Cake when I was younger and while visiting my Mother in Central Pa looked at all the Amish bakeries but no luck! I tried a couple recipes but wasn’t very successful ( I’m pretty inept in the kitchen) Then I found your recipe and they came out wonderful… I felt like Betty Crocker! All kidding aside, I’ve made them many times and shared them with many! Most people have never heard of Funny Cake and really enjoy them. Thank you so much
Thank you so much for making them and for leaving this kind review! I’m always surprised that the Amish/Pa Dutch bakeries in central PA don’t have funny cake either. To me, it’s a staple PA Dutch treat!
Hello Jennifer,
Growing up Pennsylvania Dutch, my mom made funny cakes every Friday, along with shoo fly’s. Really nice to see this recipe, very similar to my mom’s recipe and the one I make.
Thank you so much for sharing that with me, Noel! I remember my Grammy teaching me a little Pennsylvania Dutch when I was a kid and the only thing I remember is Guder Daag or Good Day 🙂 Hope you have a wonderful weekend!
I’m from eastern Pa. So this was often on the breakfast table on the farm..as my Mom got older she cut corners. She used deep dish purchased pie crust,a jiffy yellow cake mix and poured Hersheys syrup from the can on top..I often sprinkle crushed pecans on top. I don’t think they have jiffy yellow cake on the shelves anymore but a yellow box mix would likely make 2. This works for me,even though I’ve done the whole thing from scratch also.
I can’t wait to make this for my mom’s birthday!! If I am using a ready made frozen pie crust, do I need to blind bake it before assembly? Thank you for the recipe <3
Oh, that’s wonderful! No, you do not need to blind bake the pie crust first. I suggest baking it on a baking sheet for easier transfer in and out of the oven. And just to note, this recipe makes two, 9-inch funny cakes (pies), so make sure to halve the batter and chocolate parts if you’re only making one. I hope your Mom loves it and has a happy birthday!
Thank you so much – I will let you know how it turns out!! 🙂
I’d love that, thank you!