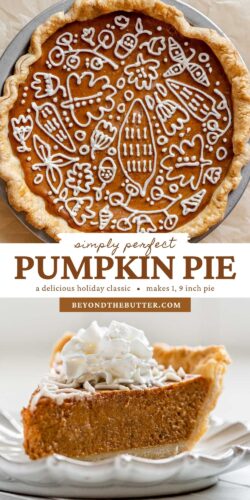
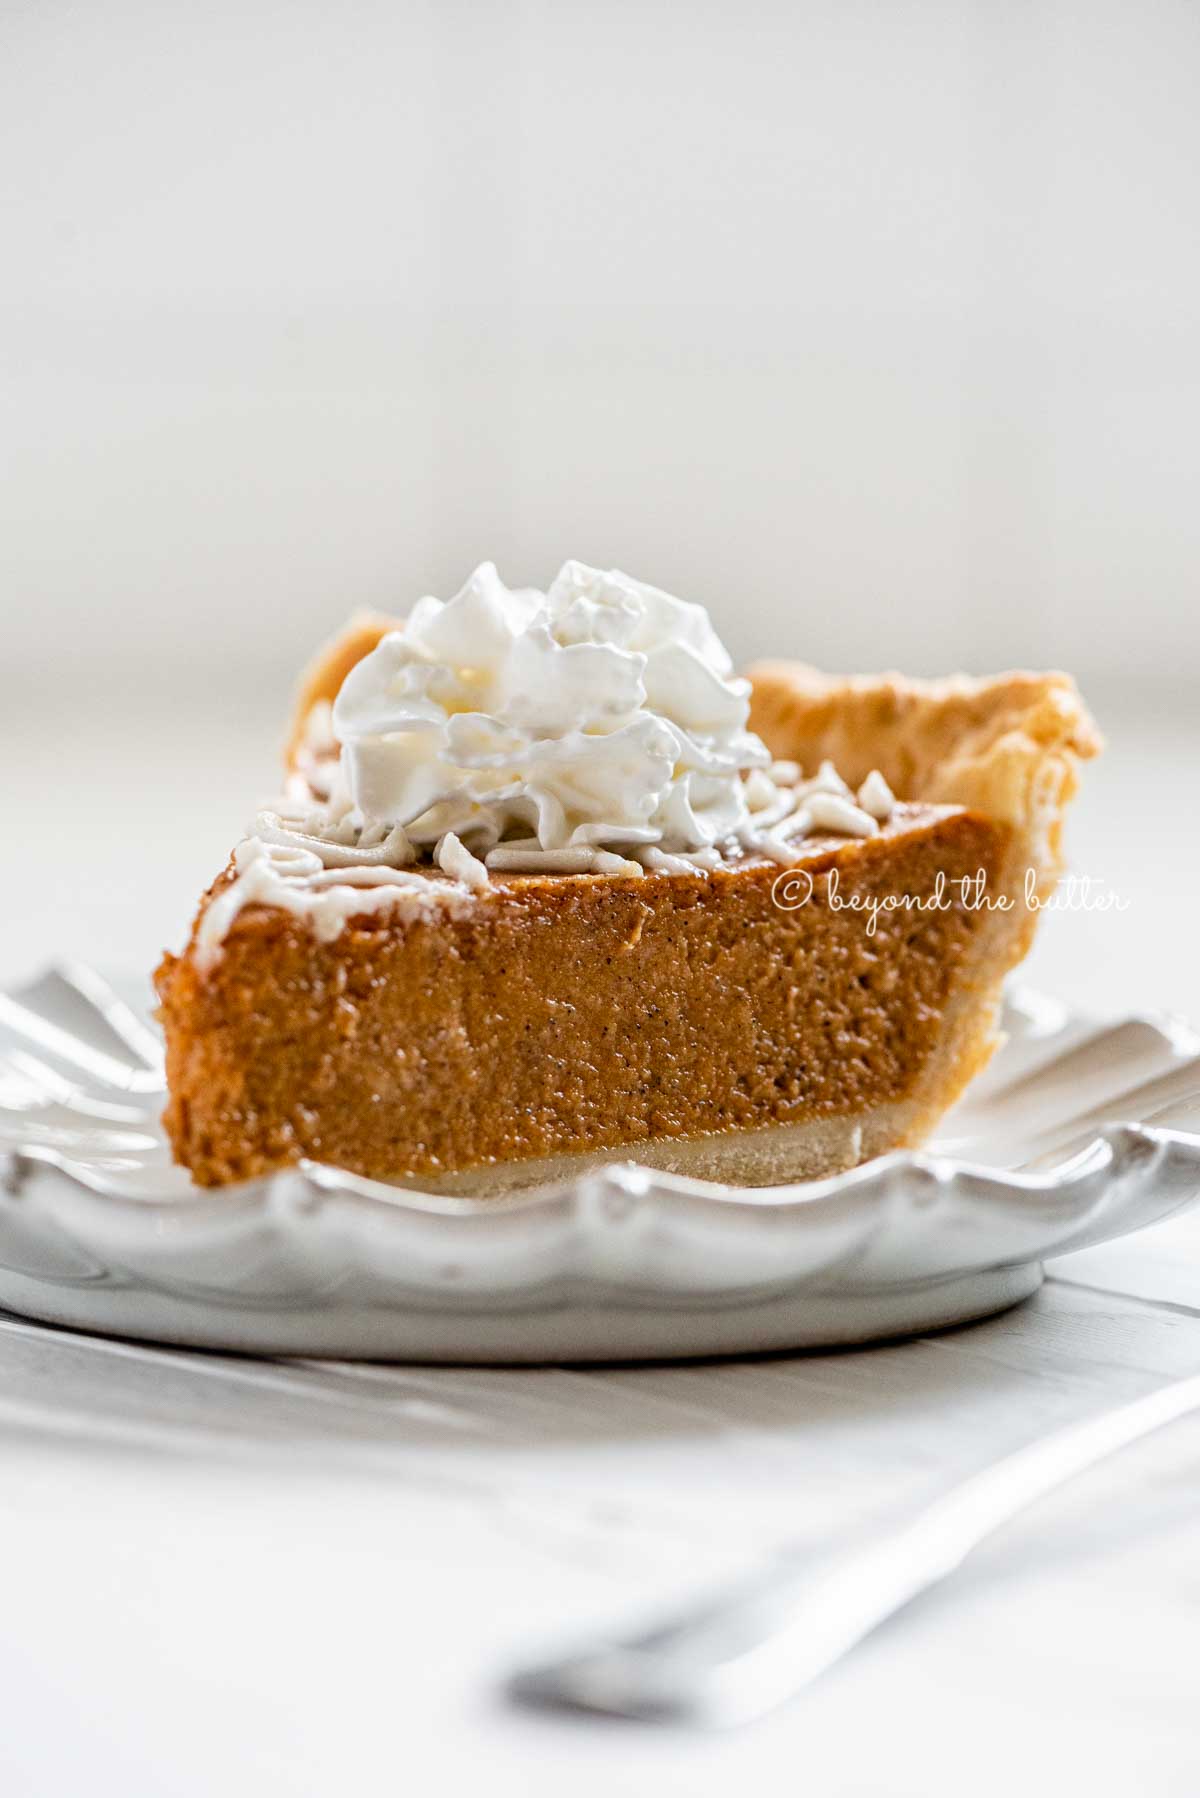
This perfect pumpkin pie recipe is an easy, one-bowl creation that combines a silky pumpkin custard filling with a simple homemade buttery pie crust. To take this classic pie to the next level, decorate the top with an equally easy-to-create cream cheese frosting design!
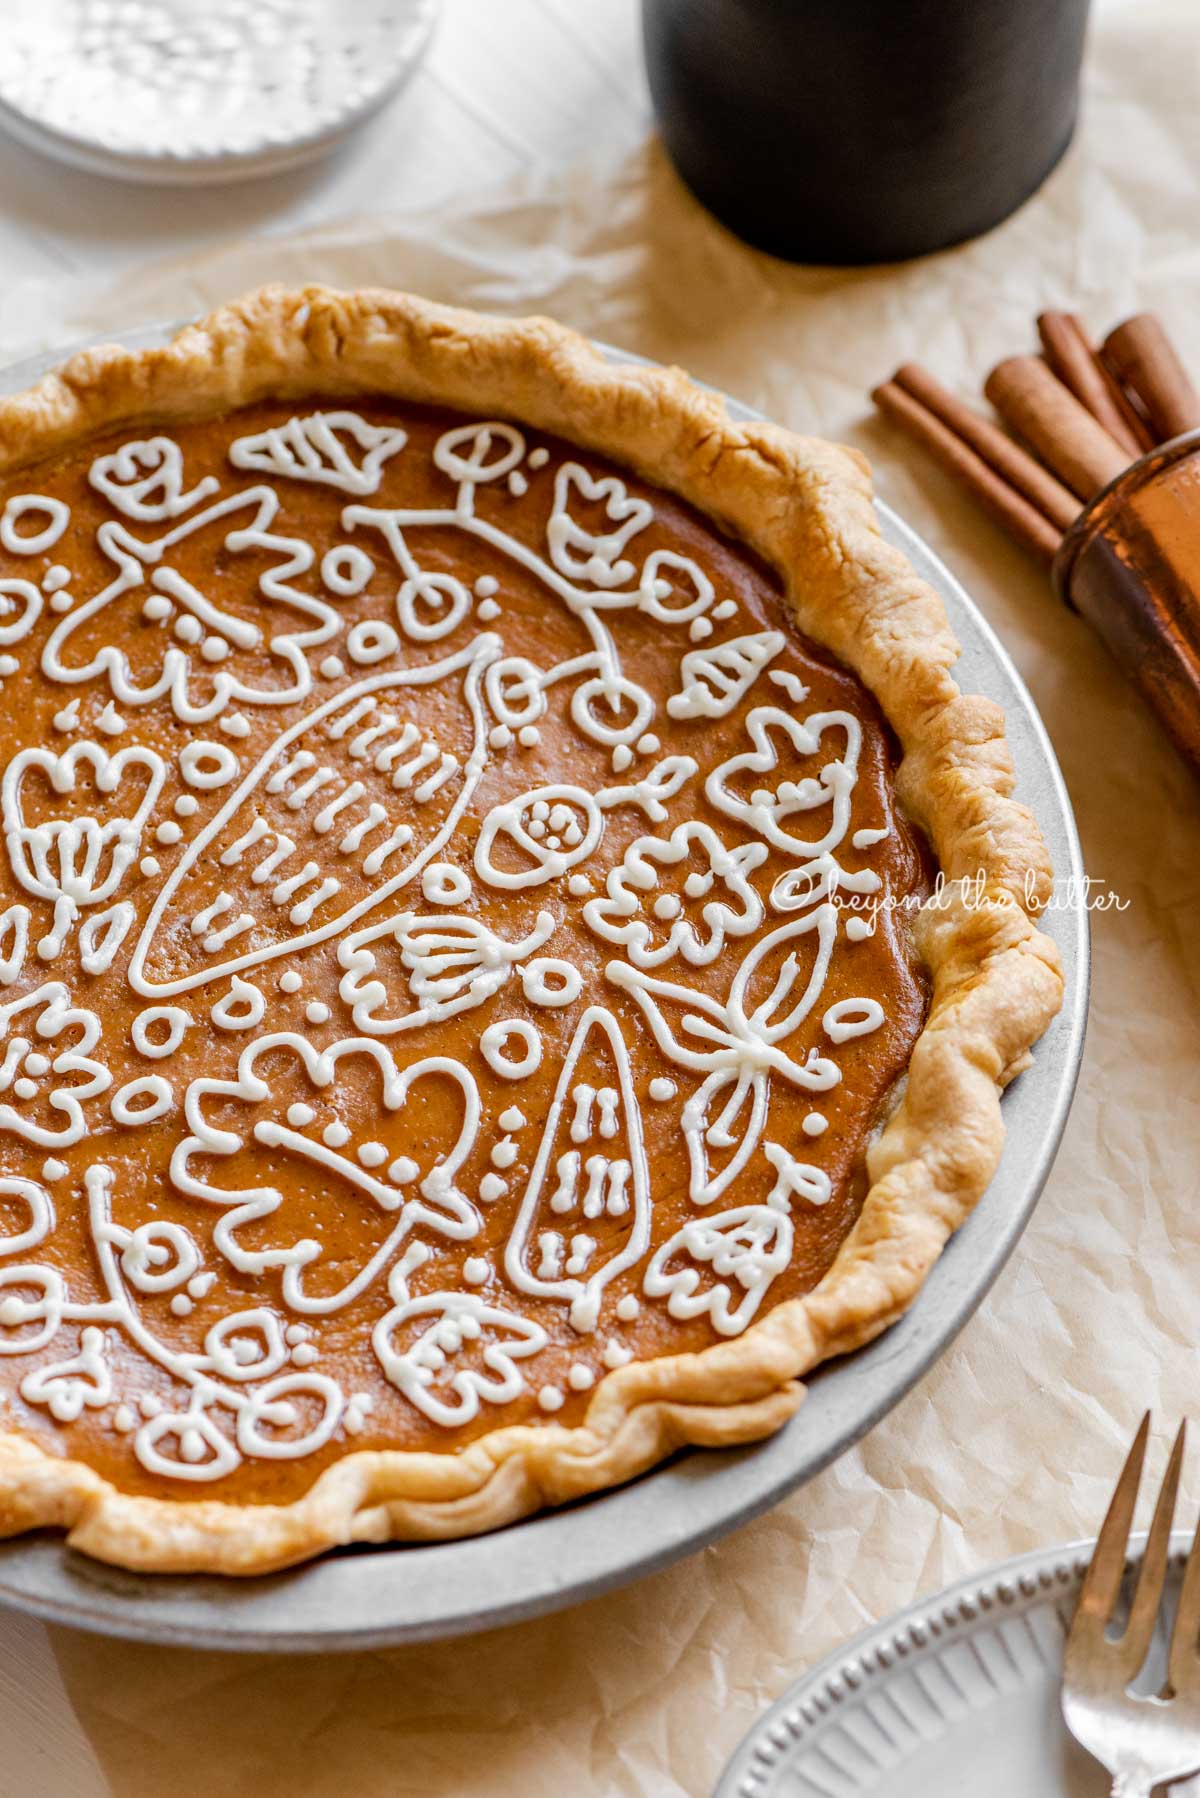
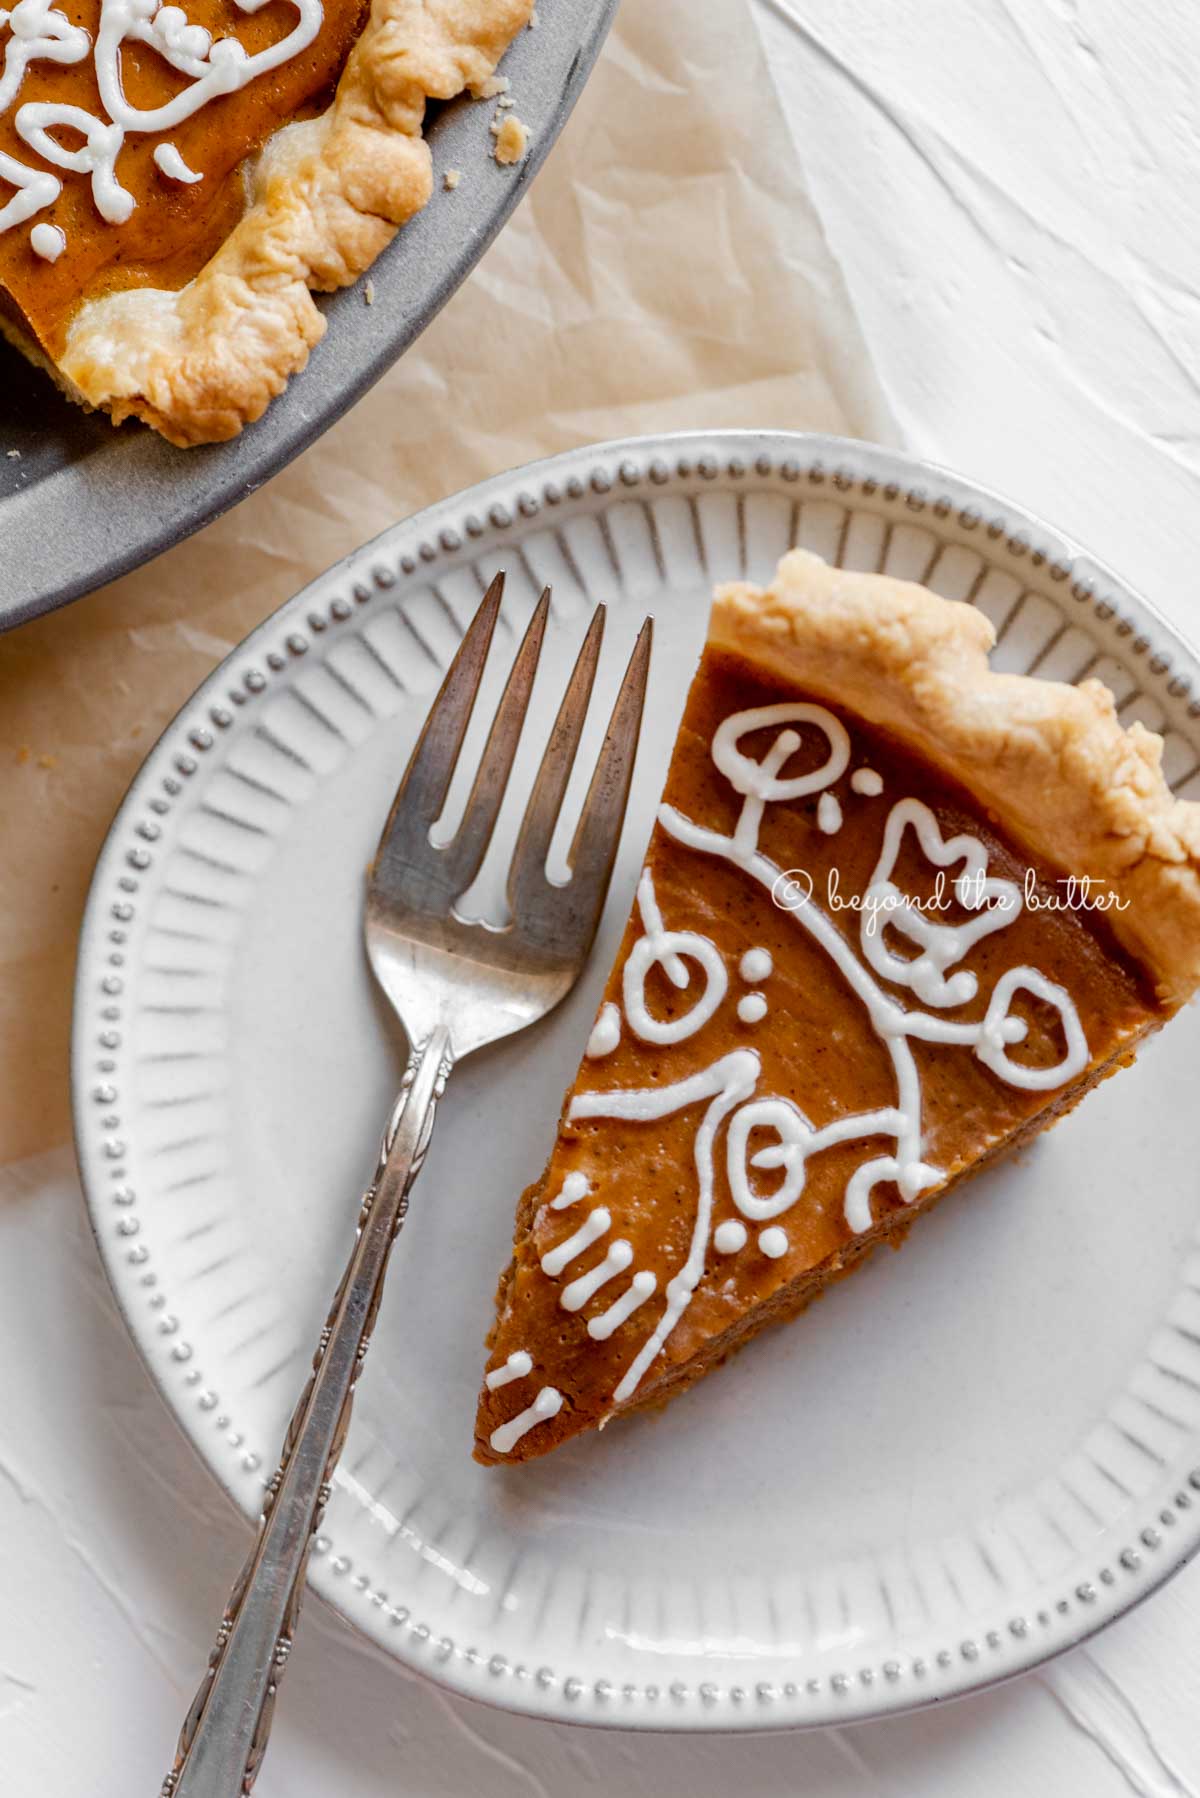
Table of Contents
Reasons You Will Love This Recipe
- it’s perfect—I think so, anyway 🙂
- the pumpkin pie filling is made in one bowl and with one whisk—no mixer is needed!
- smooth and creamy in texture
- all the pumpkin spice flavors in each bite
- pie crust can be homemade or store-bought
- easy to make
- perfect for the fall and the holiday season
- decorate the top with a simple cream cheese frosting design
Pumpkin Pie-Making Tips
Below are a few helpful tips when making this easy pumpkin pie recipe!
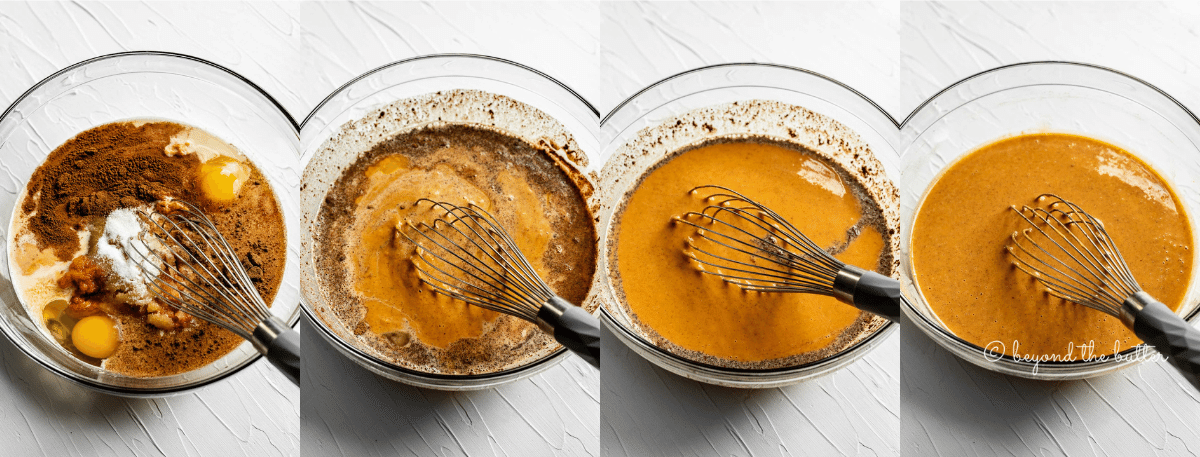
Skip the Mixer. Give your hand mixer and stand mixer the day off! To make the pumpkin pie filling, you only need one large mixing bowl and a whisk to bring this together. Easy peasy.
Use a Chilled Crust. This will keep your pie crust from slouching and can help prevent it from having a soggy bottom. There’s more on this below in the ‘tips for avoiding a soggy bottom when not par-baking your pie crust’ section.
Note the Baking Times. There are two baking times for this perfect pumpkin pie recipe: 425ºF for 15 minutes, then 350ºF for 40-45 minutes.
Embrace the Jiggle. Your pumpkin pie will be done baking with it still having a jiggly center. This is okay. The eggs within the pumpkin pie filling will continue to bake once you remove it from the oven.
Cool Completely. After removing your pumpkin pie from the oven, allow it to cool completely at room temperature. This can take anywhere from 2-3 hours. When done, you can cover it lightly with plastic wrap and place in the refrigerator to finish setting.
Recipe FAQs
No. These two ingredients can often get mixed up. For this perfect pumpkin pie recipe, you can only use evaporated milk. Sweetened condensed milk is a thicker consistency and far sweeter than evaporated milk.
I know I’m probably committing a cardinal sin in the baking world by not par-baking my pie crust for this pumpkin pie recipe, but so be it. I have made it with partially baked pie crusts before and without. Skipping the par-bake is just my personal preference. To avoid a soggy bottom crust without par-baking, read the tips below!
Tips for Avoiding a Soggy Bottom Pie Crust When Not Par Baking Your Crust
Use a Metal Pie Plate. I have glass, ceramic, and metal pie plates, but I find that I get a non-soggy bottom crust using metal.
Chill Your Pie Crust. After prepping my pie crust in the plate, I like to place it in the freezer for 30 minutes to 1 hour. If I’m making my crust a day ahead of time, I will do the initial 30 minutes – 1-hour freezing, then will wrap it up in several layers of plastic wrap and place it back in the freezer to sit overnight.
Bake Your Pumpkin Pie on a Preheated Jelly Roll Pan. I set the jelly roll pan in the oven while heating it up. Then I place the pie directly on top. I started doing this with my fruit pies, but now I do it for all the pies I bake. Placing the pie onto the hot jelly roll pan really does a good job in terms of getting the bottom crust to start baking before the pumpkin pie filling has a chance to make things soggy.
Egg Wash the Unbaked Bottom Pie Crust. Before adding your pie filling, you can brush on a thin layer of egg wash. This can help provide a barrier between the crust and the filling. I don’t always do this with my pies, but it does help when combined with the above tips!
For the egg wash, whisk one egg – OR – 1 egg white + 1 tablespoon of water in a small bowl. Use a pastry or silicone brush to apply to the bottom of the unbaked pie crust.
Freezing Pumpkin Pie
To freeze this perfect pumpkin pie, it should be fully baked, completely cooled, and set. Wrap it several times in plastic wrap, and then, for good measure, add a layer of aluminum foil. I like to write what it is on the foil with the date it was made.
Frozen homemade pumpkin pies will be good for up to a month in the freezer.
It is best to defrost the pumpkin pie the day before you’re ready to serve it by removing the plastic wrap and aluminum foil and placing it in the refrigerator for 10-12 hours.
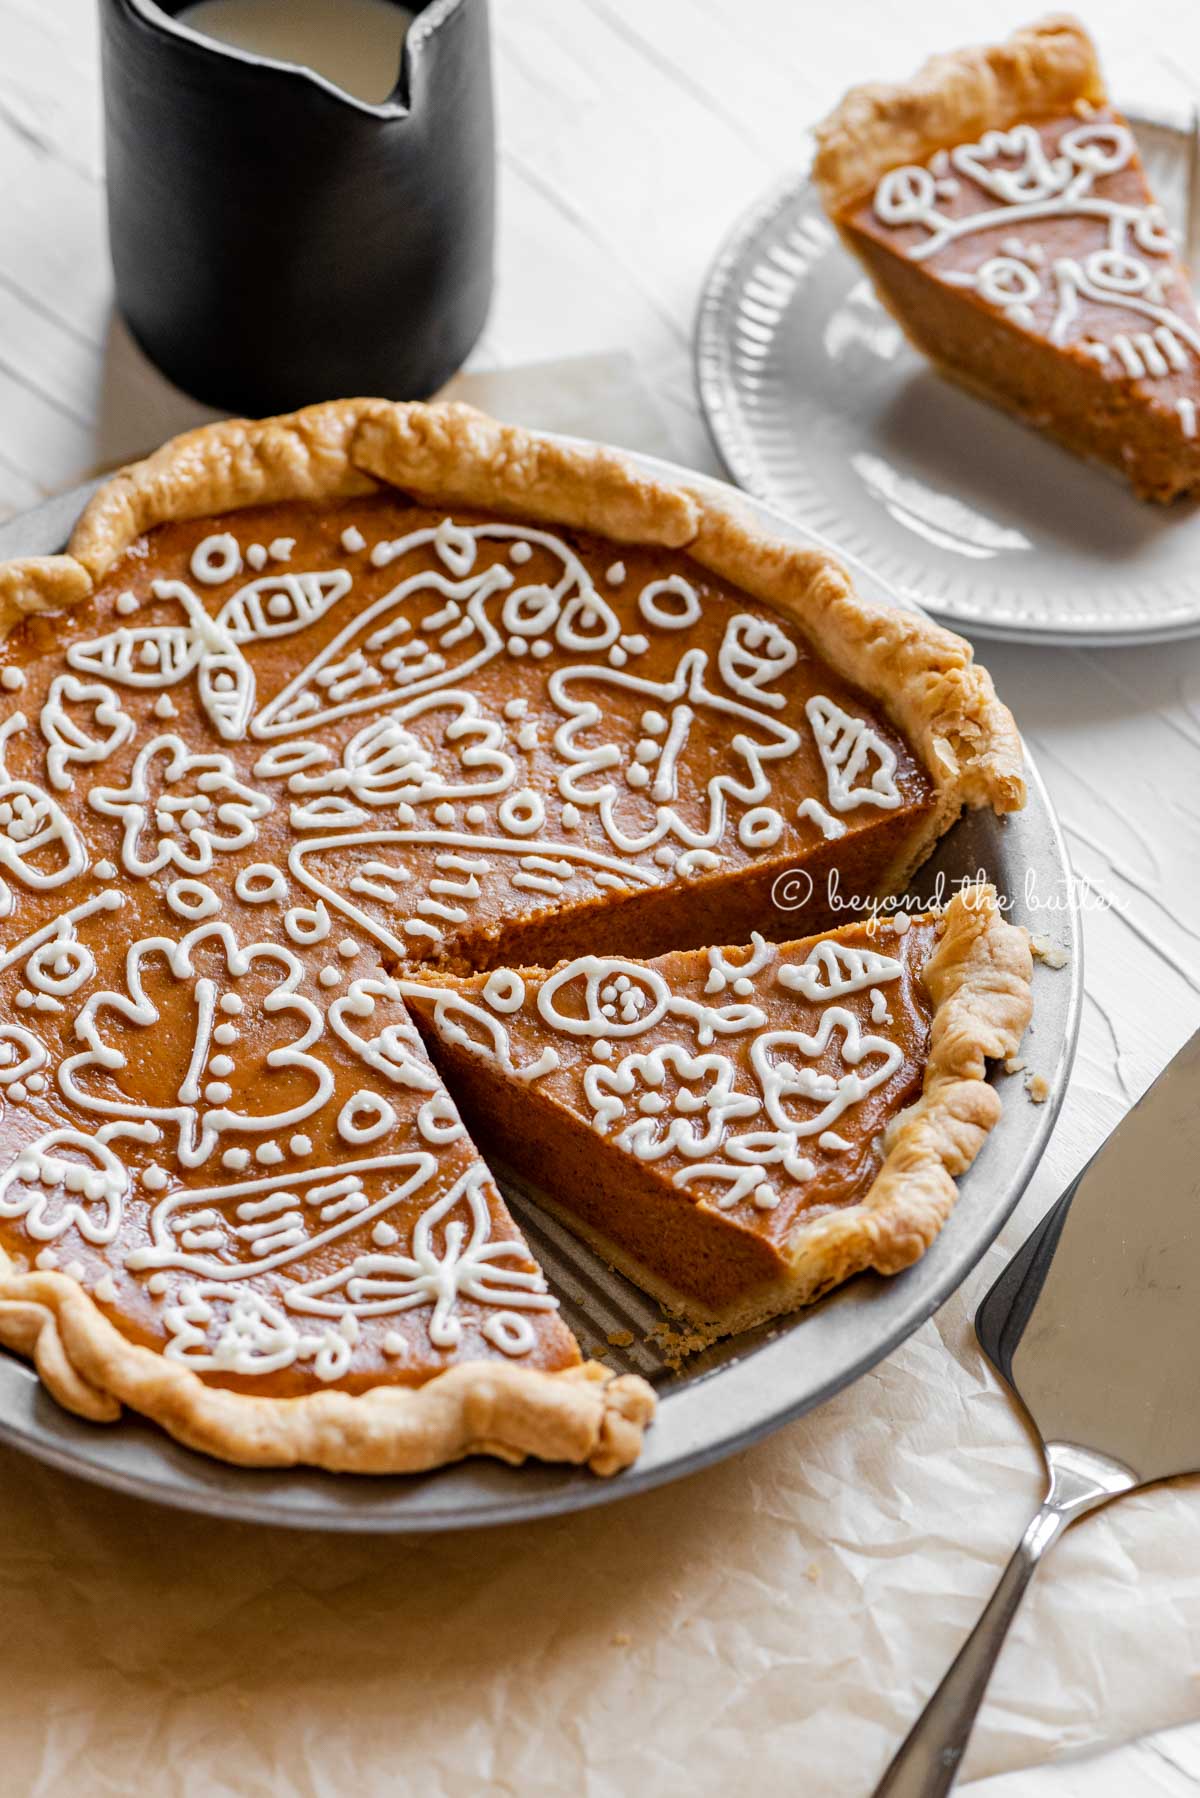
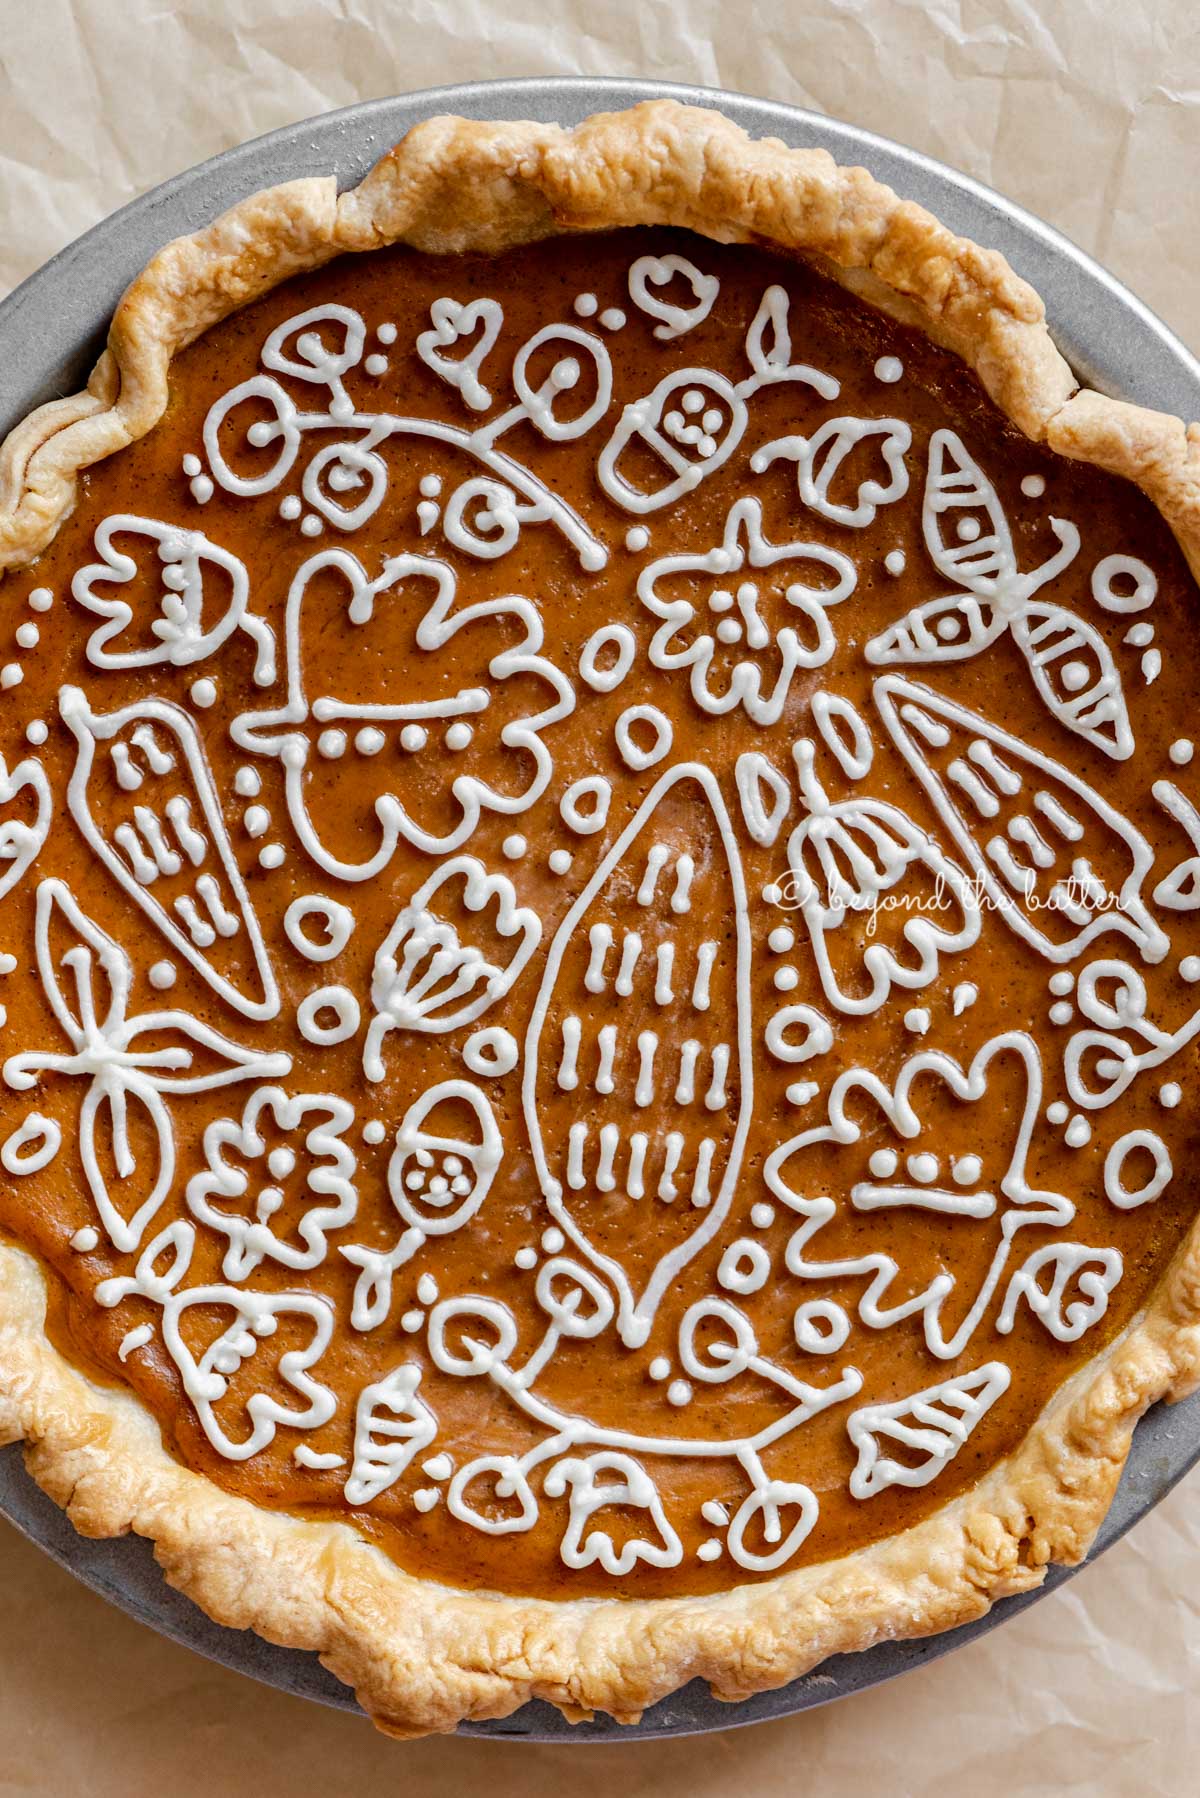
How to Create a Cream Cheese Frosting Design
If you would like to create a decorative top for your easy pumpkin pie, I highly suggest checking out this easy cream cheese frosting design tutorial. It requires only a few tools, and no experience is necessary!
Enjoy These Pumpkin Dessert Recipes


Perfect Pumpkin Pie

Ingredients
Homemade Pie Crust (makes 2, 9-inch pie crusts – you only need one)
- 2 cups All-Purpose Flour
- 1 tsp Salt
- 6 tbsp Unsalted Butter, cold and cut into cubes
- 1/2 cup Vegetable Shortening, cold and cut into cubes
- 4-6 tbsp Ice Cold Water
Pumpkin Pie Filling
- 15 oz Pumpkin Puree
- 12 oz Evaporated Milk
- 2 Large Eggs, room temperature
- 3/4 cup Granulated Sugar
- 1/2 tsp Salt
- 1 tsp Pumpkin Pie Spice
- 1 tsp Ground Cinnamon
Egg Wash
- 1 Large Egg, whisked
Instructions
Homemade Pie Crust
- In a large mixing bowl and using a pastry blender (or two forks), mix together the all-purpose flour, salt, cold cubed butter, and cold vegetable shortening until you have small pea-size pieces. Some larger pea-sized pieces are fine too!2 cups All-Purpose Flour, 1 tsp Salt, 6 tbsp Unsalted Butter, 1/2 cup Vegetable Shortening
- Add in 1 tablespoon of the ice-cold water, then (using a spatula or with your hands) work it into the pie dough mixture. Continue to add the ice-cold water, 1 tablespoon at a time, until the pie dough forms and it is no longer crumbly. If there are any crumbly bits, just add the teeny tiniest bit of cold water so they blend in with the rest of the dough.4-6 tbsp Ice Cold Water
- After forming the ball of pie dough, place it on a lightly-floured, clean surface and divide it in half using a pastry cutter. Pat each half into a 1″- 1 1/2″ thick disc, then double wrap it tightly in plastic wrap and place them in the coldest part of your refrigerator (usually the back) for a minimum of 1 hour.
Pumpkin Pie Filling
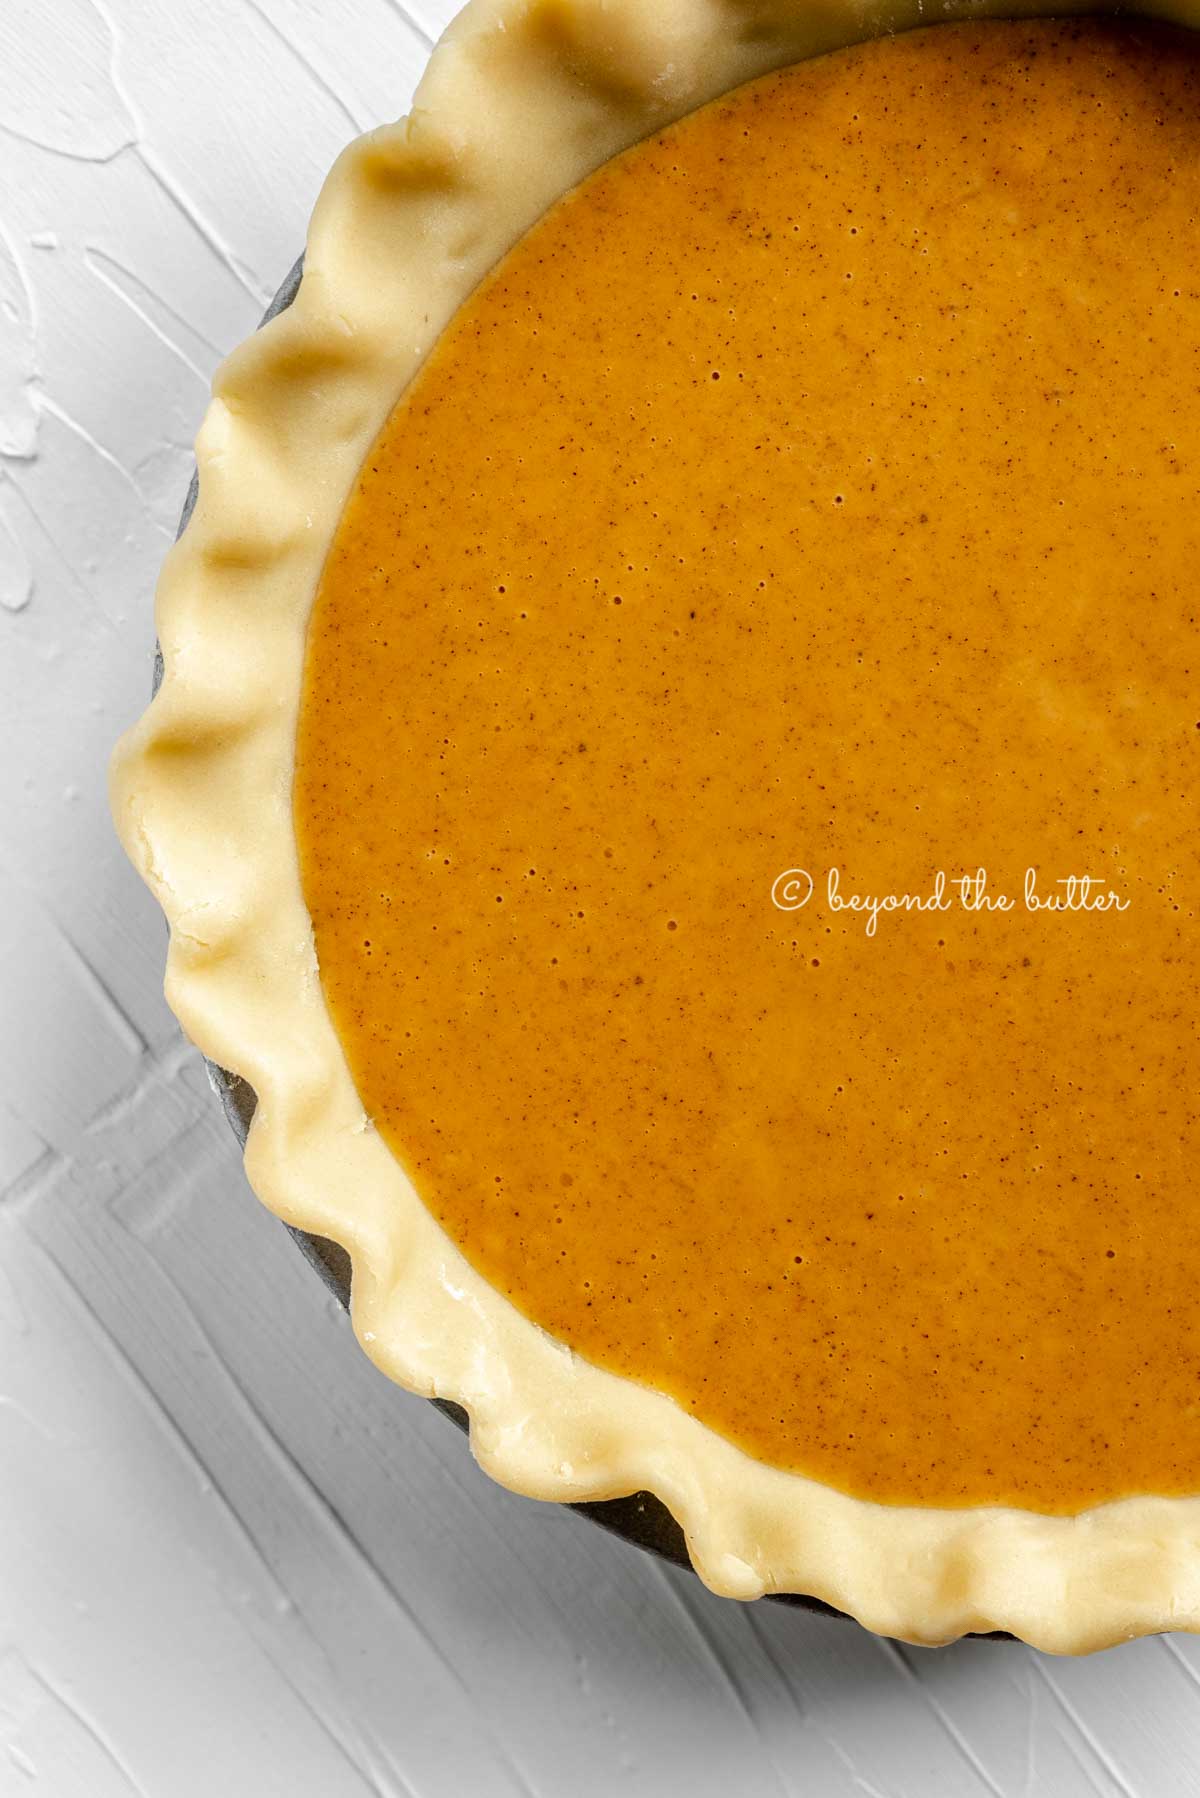
- Prepare the pie crust, place it into the 9-inch pie plate, and crimp edges in the style of your choosing. Set in the freezer for 30 minutes to 1 hour to chill.
- Adjust oven rack to 2nd level position (just above center), place a jelly roll pan or baking sheet on the rack, and preheat oven to 425ºF.
- In a large mixing bowl, whisk together the canned pumpkin puree, evaporated milk, 2 eggs, granulated sugar, salt, pumpkin pie spice, and ground cinnamon until well combined.15 oz Pumpkin Puree, 12 oz Evaporated Milk, 2 Large Eggs, 3/4 cup Granulated Sugar, 1/2 tsp Salt, 1 tsp Pumpkin Pie Spice, 1 tsp Ground Cinnamon, 1 tsp Salt
- Pour the pumpkin pie filling into the chilled pie crust, then with a pastry brush, lightly brush the crimped edges of crust with egg wash. You won't use the entire amount of egg wash.1 Large Egg
- Place the pie on directly top of the heated jelly roll pan or baking sheet in the oven. Bake for 425ºF for 15 minutes.
- Reduce the oven temperature to 350ºF and continue to bake for another 40-45 minutes. At this time, you can choose to add a silicone pie crust shield or strips of aluminum foil (or a sheet of aluminum foil with a hole cut out) to avoid over baking the crust.
- Your pumpkin pie will be ready to remove from the oven when there is still some jiggle in the center.
- Remove from oven and allow pie to cool and set on a wire cooling rack for at least 2-3 hours. Then cover lightly with plastic wrap and place in the refrigerator to chill.
Video
Notes
- This homemade pie crust recipe gives 2, 9 inch pie crusts. You can use the 2nd one to make another pumpkin pie or freeze it for another pie.
- Recipe adapted from St. Stephen’s Church cookbook and Libby’s
Nutrition
Nutritional information provided above is an estimate only and will vary based on specific ingredients used. See Nutritional Disclaimer for more info.


I forgot to click the stars the first time!
Thank you, Jodi!
I found this recipe from your web story. I just wanted to tell you that I absolutely love the idea of using cream cheese to decorate the top. I think I will give that a try. Thanks!
Oh, that’s awesome! I’m so glad you found me! And yes, the cream cheese route for the pumpkin pie is such a fun way to decorate it. And it’s easy to do too!
This recipe was so simple (easy to follow) and delicious! The pies came out perfect. Also the tips for pie crust were great. No soggy bottom! :p
Yay no soggy bottom! I’m happy to hear the tips worked and it was delicious! Thank you SO much for making this, my apple pie, and chocolate pecan pie!