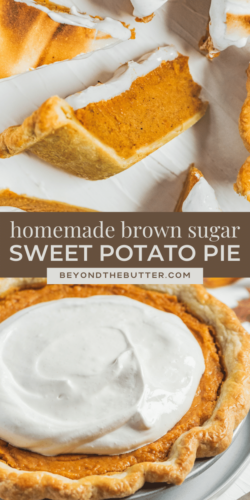
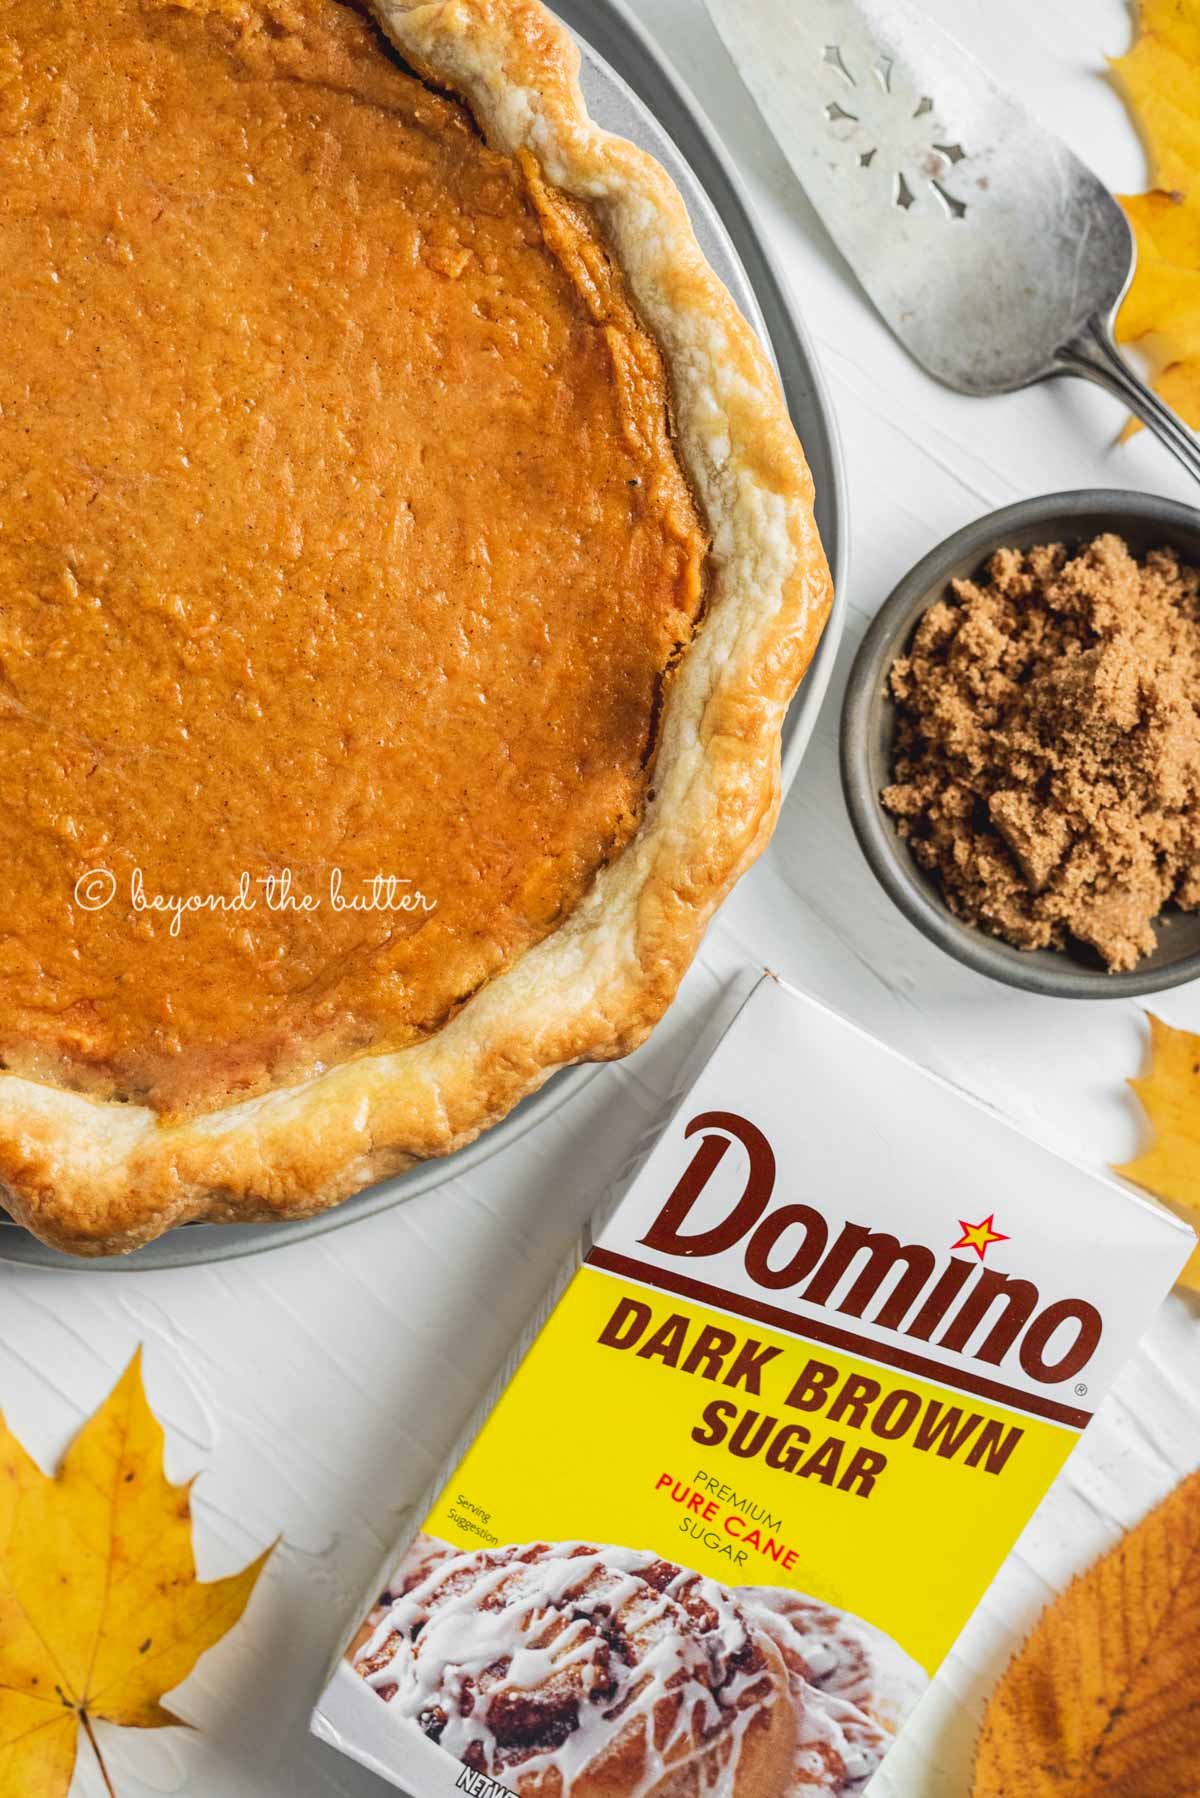
This classic Brown Sugar Sweet Potato Pie is the perfect holiday celebration! It’s an easy-to-follow recipe that combines a creamy sweet potato filling with a rich, buttery homemade pie crust. Enjoy this wonderful dessert as-is, with a dollop of whipped topping, or with this toasted marshmallow meringue.
This sweet potato pie recipe post is sponsored by Domino® Sugar. All thoughts and opinions are 100% my own. Thank you for supporting the brands that help make Beyond the Butter possible!
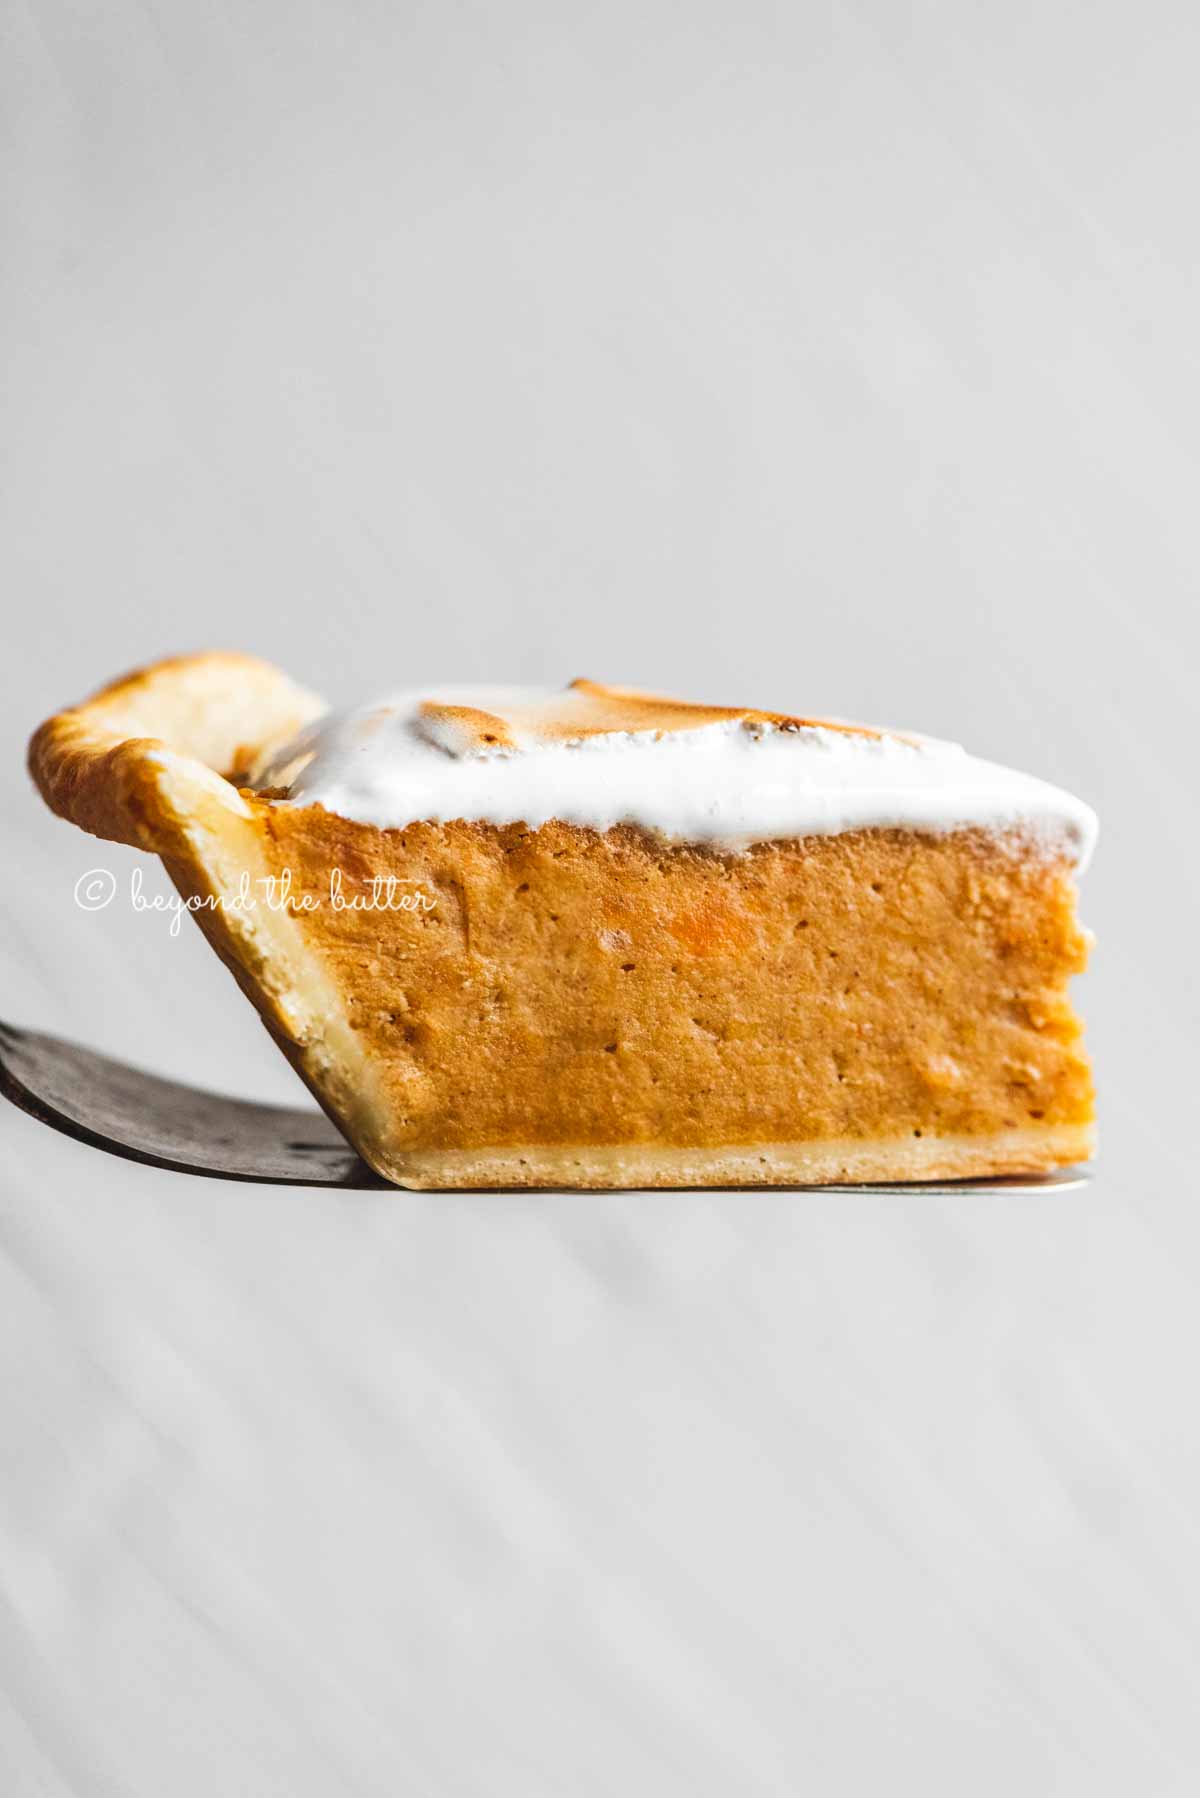

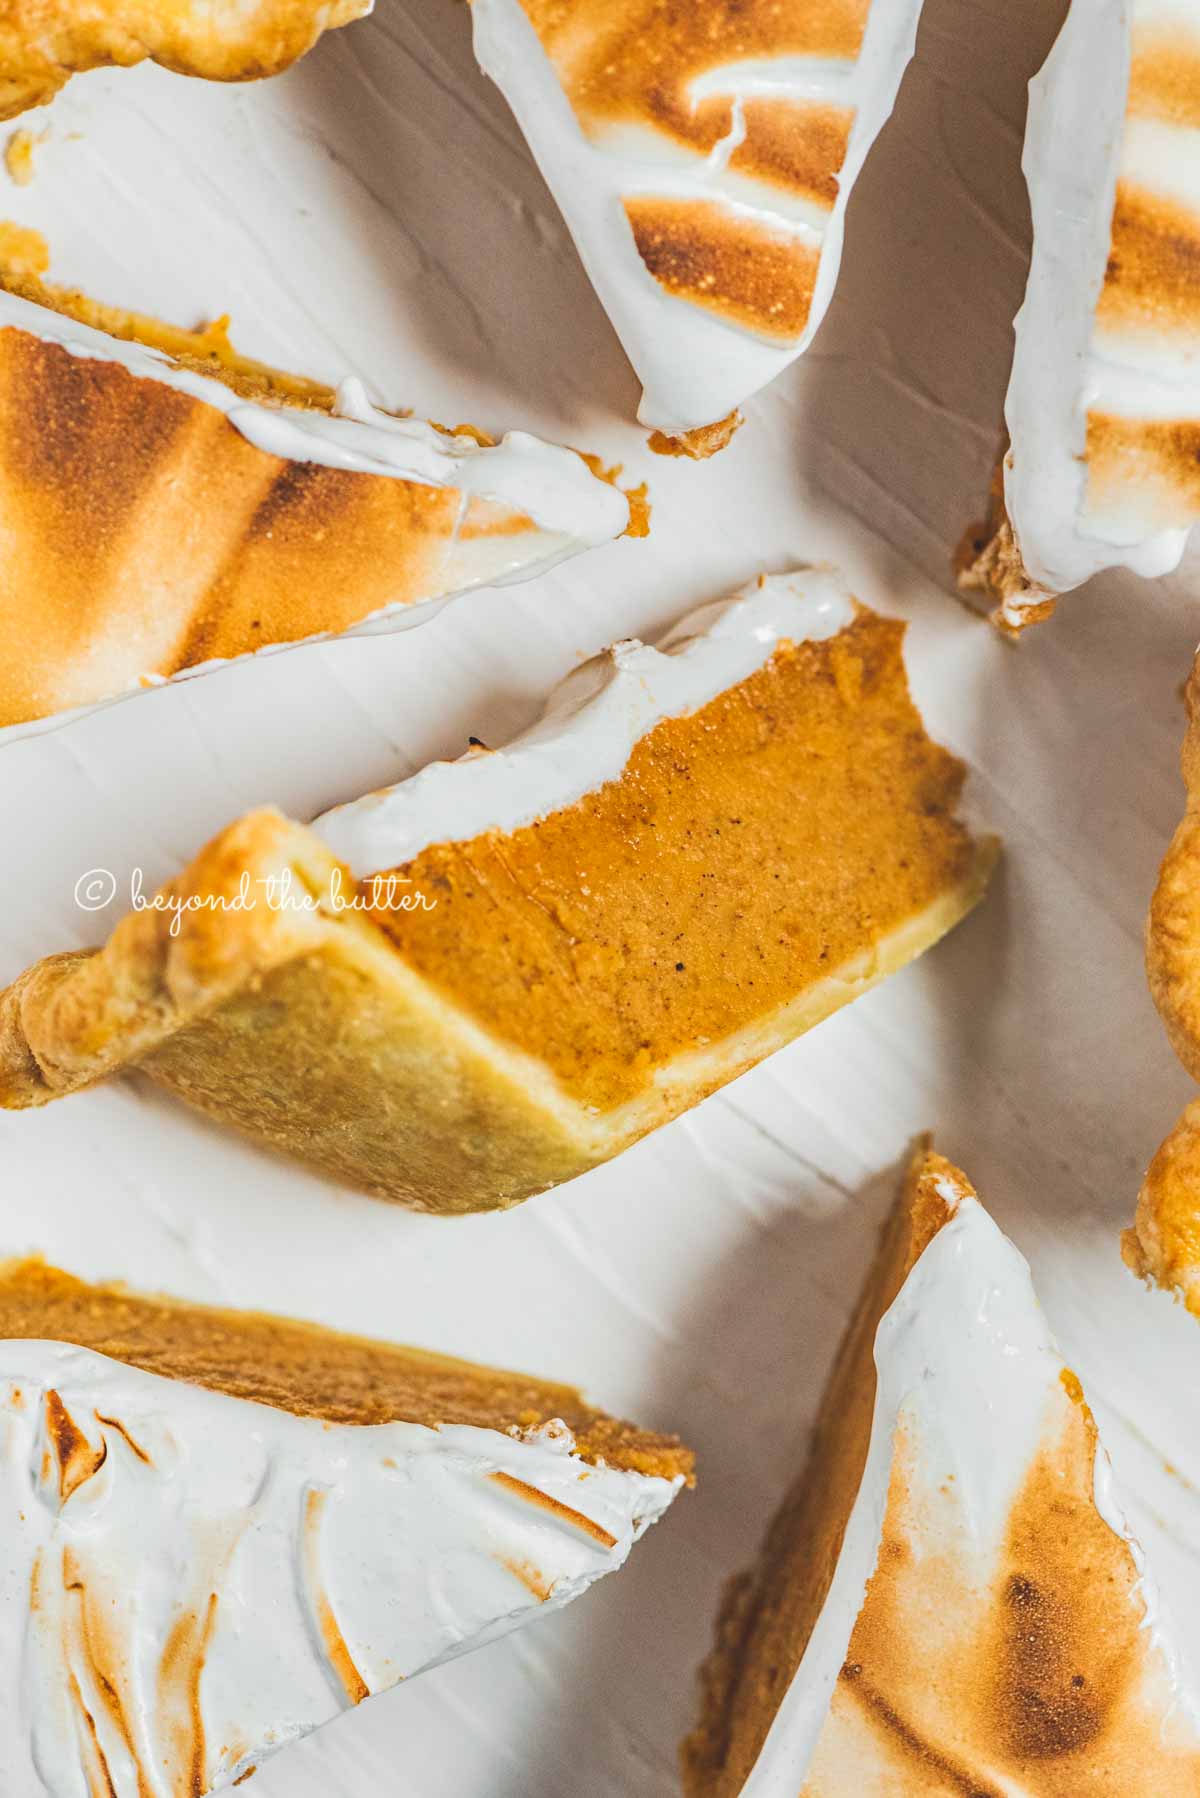
Table of Contents
4 Reasons You’ll Enjoy This Recipe
The taste. Perfectly sweetened pureed sweet potatoes blended with a few fall spices and paired with the toasted marshmallow meringue—so good! This brown sugar sweet potato pie will be a favorite with your family for years to come!
The consistency. With each bite, you get a little bit of the creamy sweet potato filling and the homemade buttery pie crust. It is perfect!
Perfect for the holidays! Enjoy this classic pie recipe at Thanksgiving with your family, or show someone you care about them by surprising them with this pie.
An easy-to-follow and make recipe. Some prep work is involved with making this sweet potato pie recipe, but you can do some of it in advance, making your actual baking day less stressful! In fact, you can make the entire pie ahead of time!
Ingredients Needed
Below are the staple ingredients you’ll need to make the homemade sweet potato pie filling. To see the complete list of ingredients for the pie crust and marshmallow meringue topping, scroll down to the full recipe!
- Sweet Potatoes. About three medium sweet potatoes are needed, or about 2 pounds. You can use canned sweet potatoes in a pinch, but fresh is best here. You want to boil, then simmer the potatoes until they are very tender. If your fork can easily pierce the potato with ease, you’re good to go!
- Unsalted Butter. Ensure it’s at room temperature, so it blends easily with the mashed sweet potatoes.
- Domino® Golden Sugar. This is a less processed, cup-for-cup replacement for white granulated sugar. It bakes and dissolves just like granulated white sugar but gives you a hint of molasses flavor with a light golden brown color. Highly recommend!
- Domino® Dark Brown Sugar. This dark brown sugar adds such a nice, rich flavor to the sweet potato pie filling it deserves to be included in the recipe title!
- Evaporated Milk. Not to be confused with sweetened condensed milk or heavy cream. This recipe calls for 3/4 cup. If you use a 12-ounce can, you can save the remaining half to make another brown sugar sweet potato pie!
- Eggs. 2 are needed for this recipe. They should be added to the pie filling mixture slightly beaten.
- Vanilla Extract. Pure is best over imitation, but use what you have available!
- Spices and Salt. For the spices, you’ll need ground cinnamon, ground nutmeg, and ground ginger.
- All-Purpose Flour. Just three tablespoons are needed, but it helps to thicken the filling just a bit.

Helpful Tips for Making Sweet Potato Pie
Prep the Sweet Potato Puree. Not including peeling and cutting the sweet potatoes into chunks, the boiling and simmering take roughly 25-30 minutes. If you can make the sweet potato puree in advance, this will help cut down the time spent in the kitchen the day of baking. The sweet potato puree will keep in a well-sealed food container for up to 5 days in the refrigerator.
Prep Your Pie Crust. I also recommend making the pie crust in advance too. This includes prepping it in the pie plate.
If making it the day before, you can simply wrap it once in plastic wrap and place it in your refrigerator.
If making it days, weeks, or up to 3 months in advance, double wrap it in plastic wrap, then cover it in aluminum foil to prevent freezer burn.
Note the Baking Times. There are two baking times for this recipe: 425ºF for 15 minutes then 350ºF for 40-45 minutes. My brown sugar sweet potato pie did well at 40 minutes.
Add a Pie Crust Shield. You can do this at the 15 minute mark or with 15-20 minutes left of baking. I’ve used a silicone pie shield that adjusts to the size of your pie plate, but you can also use a sheet of aluminum foil with a hole cut out in the center.
To get the sizing right, turn a pie plate upside down on your counter, then place a sheet of aluminum foil over the top. Press down along the edges of the bottom of the pie plate to mark where you’ll be cutting. Lift up, then pierce the center of the circle with scissors, and cut out your circle.
I typically save this and reuse it for when I’m baking a lot of pies.
Embrace the Jiggle. Your sweet potato pie will be done baking with it still having some jiggle to the center. This is totally okay. The eggs within the pie will continue to bake once you remove it from the oven.
Cool Completely. After removing the sweet potato pie from your oven, allow it to cool completely at room temperature. This can take anywhere from 2-3 hours. Your pie will also sink down some as it cools. When done cooling, cover it lightly with plastic wrap and put it in the fridge to chill until ready to serve. I don’t recommend leaving this out at room temperature.
Ways to Avoid a Soggy Bottom Pie Crust
- Use a Metal Pie Plate. Glass and ceramic are fine, but I find that I get a non-soggy bottom crust using metal.
- Chill Your Pie Crust. Chill your pie crust for at least 1 hour before rolling it out. Also recommended—prepping the pie crust on your plate and placing it in the freezer while you make the sweet potato puree. See my previous tips above if making the pie crust several days or months before.
- Bake Your Pie on a Preheated Jelly Roll Pan. Set the jelly roll pan in the oven while heating it up. Then place the pie directly on top. I do this when baking all of my pies. A baking steel (for pizza) or a baking sheet works equally as well.
- Egg Wash the Unbaked Bottom Pie Crust. Before adding your pie filling, brush on a thin layer of egg wash. This helps provide a barrier between the crust and the filling. I rarely do this with my pies, but it can help when combined with the above tips! Save the rest for the pie crust edges!
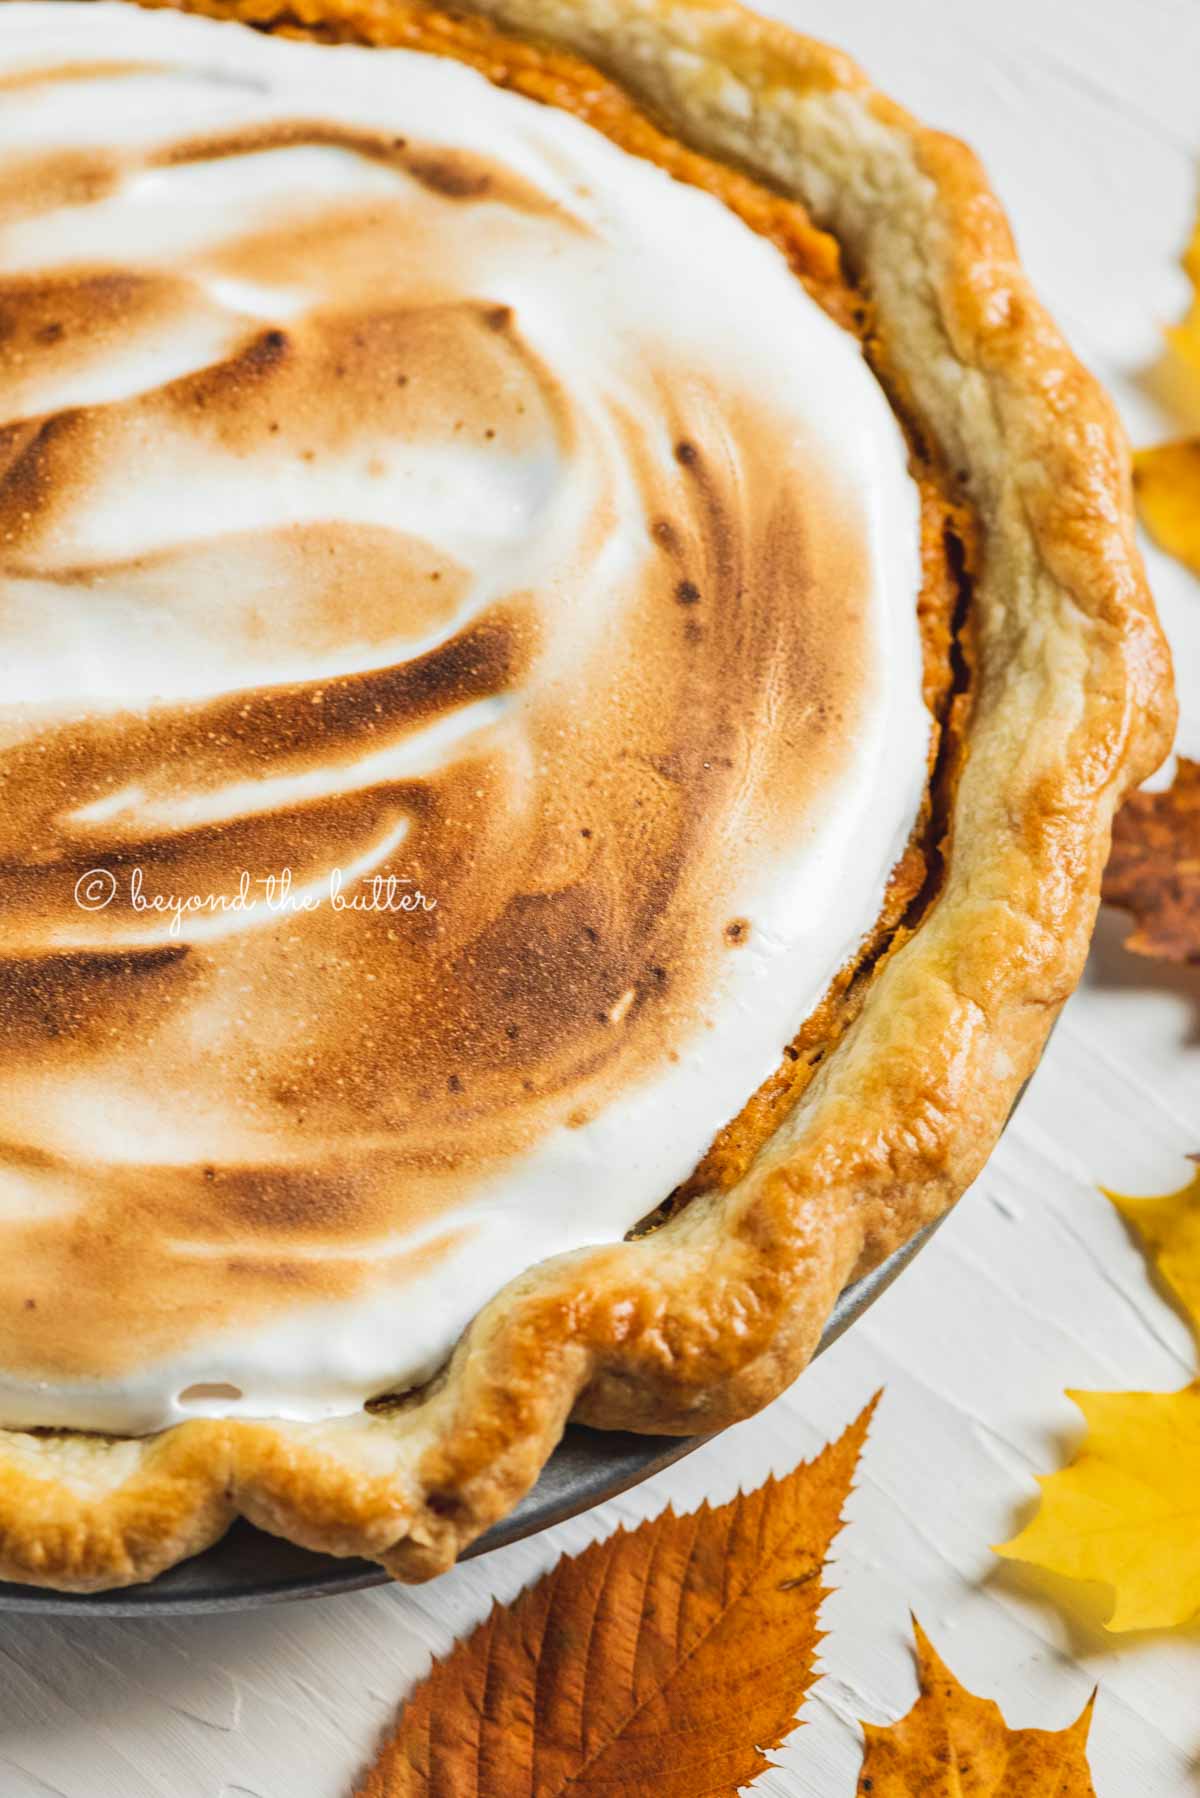
Toasting Marshmallow Meringue
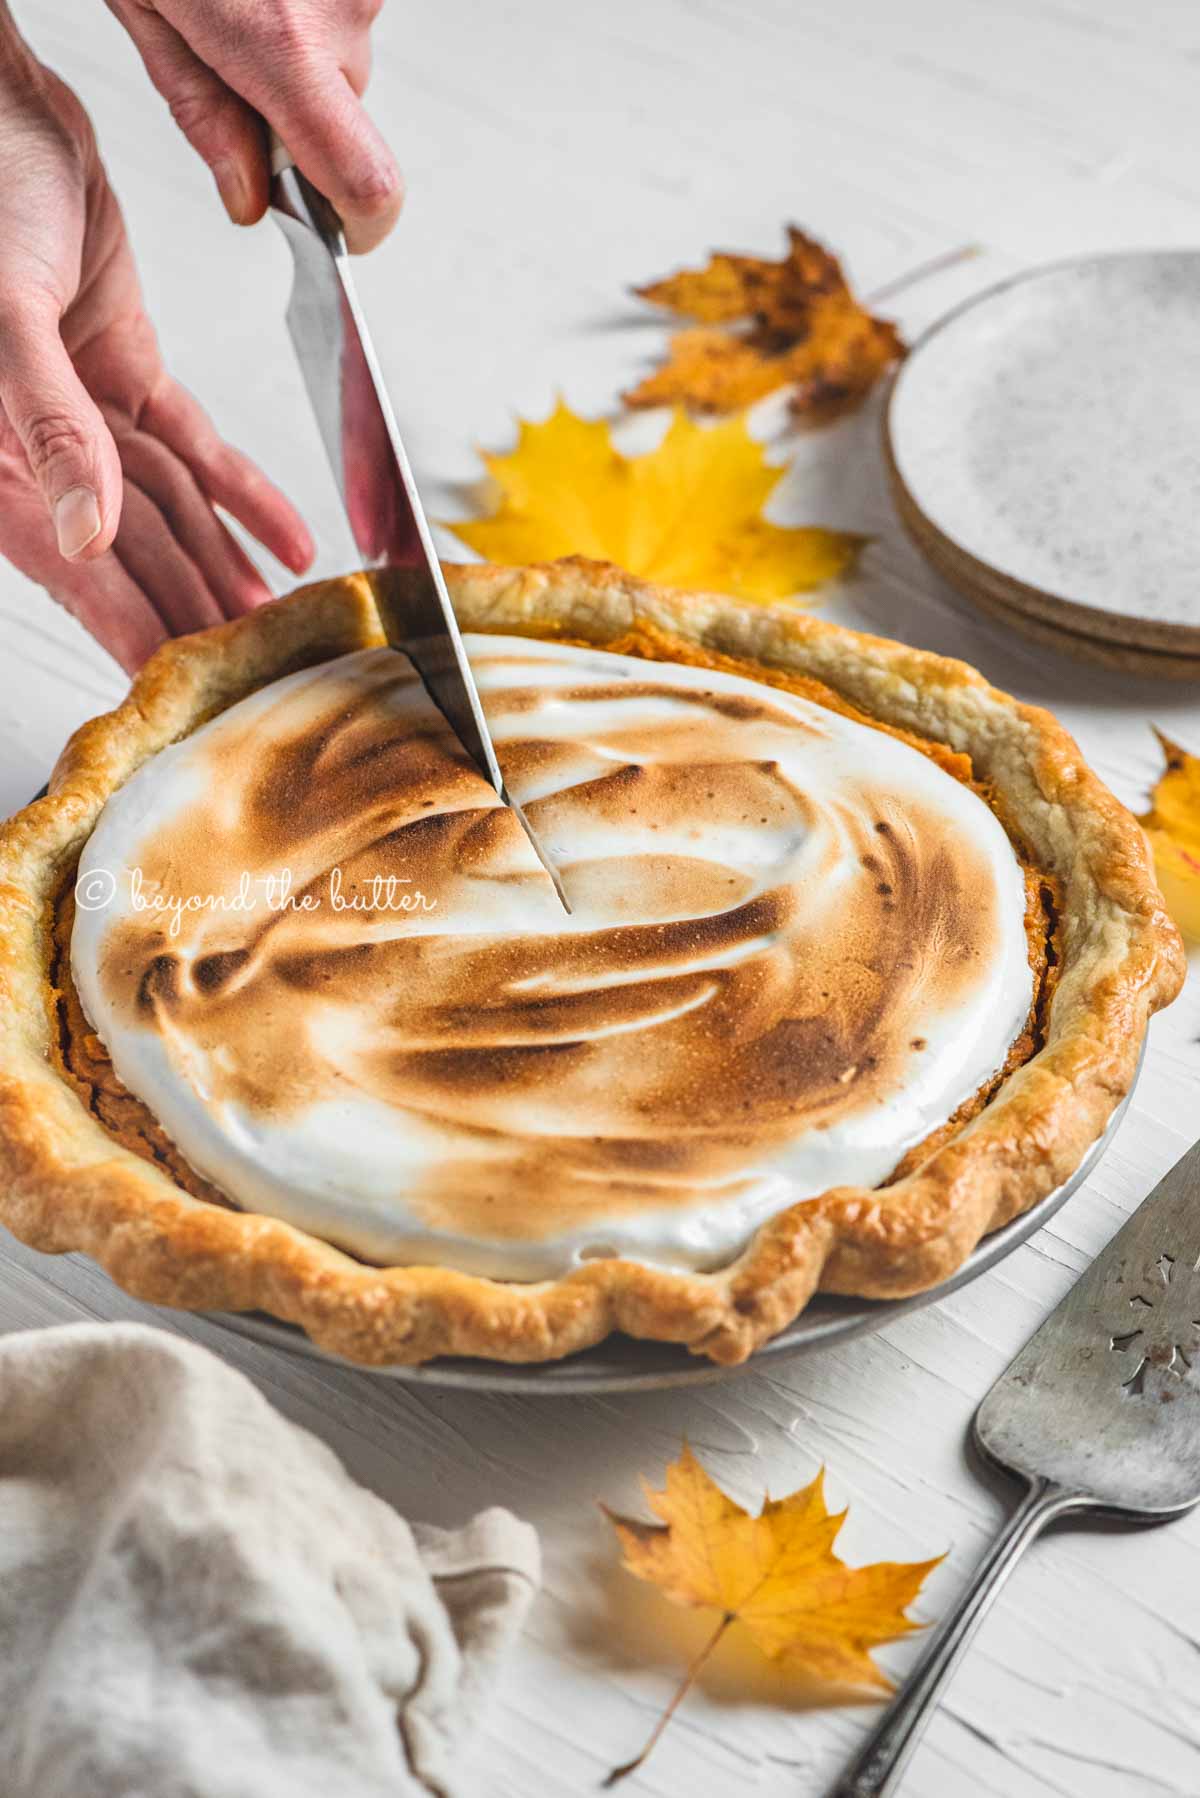
If topping your brown sugar sweet potato pie with the marshmallow meringue, you can either gently broil it in the oven or you can use a small kitchen blow torch. Please use caution using either method.
For tips on broiling marshmallows in the oven, see my Layered S’mores Brownies recipe!
How to Make an Egg Wash
This is super simple to do and gives your pie crust a nice golden brown edge!
For the egg wash, whisk 1 egg – OR – 1 egg white + 1 tablespoon of water in a small bowl. Use a pastry or silicone brush to apply to the edges of your pie crust and/or pie crust bottom of the unbaked pie crust.
Freezing
This sweet potato pie and many of my other fall favorite pies can be frozen to enjoy later.
To freeze a homemade sweet potato pie it should be fully baked and completely cooled and set. Wrap it 2-3 times in plastic wrap and then, for good measure, add a layer of aluminum foil. I like to write what it is on the foil with the date it was made.
Frozen homemade sweet potato pies will be good for up to a month in the freezer.
Enjoy More Fall Favorite Pies!


The Best Brown Sugar Sweet Potato Pie

Ingredients
homemade butter pie crust
- 1 1/4 cups All-Purpose Flour
- 2 tsp Domino Sugar® Golden Sugar
- 1/2 tsp Salt
- 1/2 cup Unsalted Butter, very cold and cubed
- 1/4 cup Ice Cold Water
sweet potato pie filling
- 4 Large Sweet Potatoes, peeled and cut into small chunks
- 1/2 cup Unsalted Butter, room temperature
- 1/2 cup Domino Sugar® Golden Sugar
- 1/4 cup Domino Sugar® Dark Brown Sugar
- 3/4 cup Evaporated Milk
- 2 Large Eggs, slightly beaten
- 1 tsp Vanilla Extract
- 1/2 tsp Ground Cinnamon
- 1/2 tsp Ground Nutmeg
- 1/4 tsp Ground Ginger
- 3 tbsp All-Purpose Flour
- 1/4 tsp Salt
egg wash
- 1 Large Egg, whisked for egg wash
marshmallow meringue topping (optional)
- 2 Large Egg Whites, room temperature
- 1/2 cup Granulated Sugar
- 1/8 teaspoon Cream of Tartar
- 1/8 teaspoon Salt
- 1/2 teaspoon Vanilla Extract
Instructions
homemade butter pie crust
- In a large mixing bowl whisk together the all-purpose flour, granulated sugar, and salt.1 1/4 cups All-Purpose Flour, 2 tsp Domino Sugar® Golden Sugar, 1/2 tsp Salt
- Using a pastry blender (or two forks), cut in the cold unsalted butter until you have small pea-size pieces. Some larger pea-size pieces are fine too!1/2 cup Unsalted Butter
- Add in the ice cold water, then using a bench scraper or spatula work it into the pie dough mixture. Rotate the bowl as you scrape the mixture from one side of the bowl to the other until there is not more visible signs of water.1/4 cup Ice Cold Water
- Using your hands, begin to scoop up the dough then press it down with your fingers. Rotate the bowl and repeat, folding the dough until it has formed. Don’t forget to include any dry bits of the pieces that may have fallen underneath the dough.
- Place the pie dough onto a lightly-floured, clean surface. Pat into a 1″- 1 1/2″ thick disc, then double wrap it tightly in plastic wrap and place in the coldest part of your refrigerator (usually the back) for a minimum of 1 hour. Double wrapping the dough keeps any air from getting in and drying the dough out. The pie dough will keep in the refrigerator for about 2-3 days. If freezing, double wrap and place in a freezer storage bag where it should keep for up to 3 months.
sweet potato pie
- Bring chunks of sweet potatoes to a boil in a medium saucepan that’s filled with water just covering the sweet potatoes. Reduce the heat to low, then cover and simmer about 15-20 minutes or until sweet potatoes are very tender.4 Large Sweet Potatoes
- While the sweet potatoes simmer, roll out your prepared, chilled pie crust to about 12-14 inches in diameter.
- Carefully place the rolled out dough into a 9 inch pie plate. Fold the excess pie dough under, then crimp the edges with a fork. Place the prepared pie crust into either the refrigerator or freezer as you work on the sweet potato filling.
- Adjust oven rack to 2nd level position (just above center), place a jelly roll pan or baking sheet on the rack, and preheat oven to 425ºF.
- Drain the sweet potatoes in a colander, then transfer to a mixing bowl of a stand mixer fitted with a paddle attachment.
- Beat the sweet potatoes on medium-high speed until completely mashed and smooth.
- Add in the remaining 11 ingredients (unsalted butter to the salt) and beat on medium-high speed until well blended and smooth.1/2 cup Unsalted Butter, 1/2 cup Domino Sugar® Golden Sugar, 1/4 cup Domino Sugar® Dark Brown Sugar, 3/4 cup Evaporated Milk, 2 Large Eggs, 1 tsp Vanilla Extract, 1/2 tsp Ground Cinnamon, 1/2 tsp Ground Nutmeg, 3 tbsp All-Purpose Flour, 1/4 tsp Salt, 1/4 tsp Ground Ginger
- Pour the sweet potato pie filling into the chilled pie crust, then with a pastry brush, lightly brush the crimped edges of crust with egg wash. You won’t use the entire amount of egg wash.1 Large Egg
- Place the pie on directly top of the heated jelly roll pan or baking sheet in the oven. Bake for 425ºF for 15 minutes.
- Keeping the oven door closed, reduce the oven temperature to 350ºF and continue to bake for another 40-45 minutes. At this time, you can choose to add a silicone pie crust shield or a sheet of aluminum foil with a hole cut out to avoid over baking the crust.
- Your sweet potato pie will be ready to remove from the oven when there is still some jiggle in the center.
- Remove from oven and allow pie to cool and set on a wire cooling rack for at least 2-3 hours. As the pie cools it will settle. Once cooled, place in the refrigerator to chill.
- Decorate with marshmallow meringue, whipped topping, or pipe a cream cheese frosting design onto the top. These are all optional toppings. This sweet potato pie is perfect as-is too!
- Keep the pie stored in the refrigerator and covered tightly in plastic wrap for up to 4-5 days.
marshmallow meringue topping
- Using a bain-marie or double boiler, heat the egg whites and granulated sugar over 1 – 1.5 inches of simmering water, continually whisking until the sugar has fully dissolved (about 5-6 minutes). You can do a quick test by rubbing a little of the mixture between your pointer finger and thumb to make sure all sugar granules have dissolved.2 Large Egg Whites, 1/2 cup Granulated Sugar
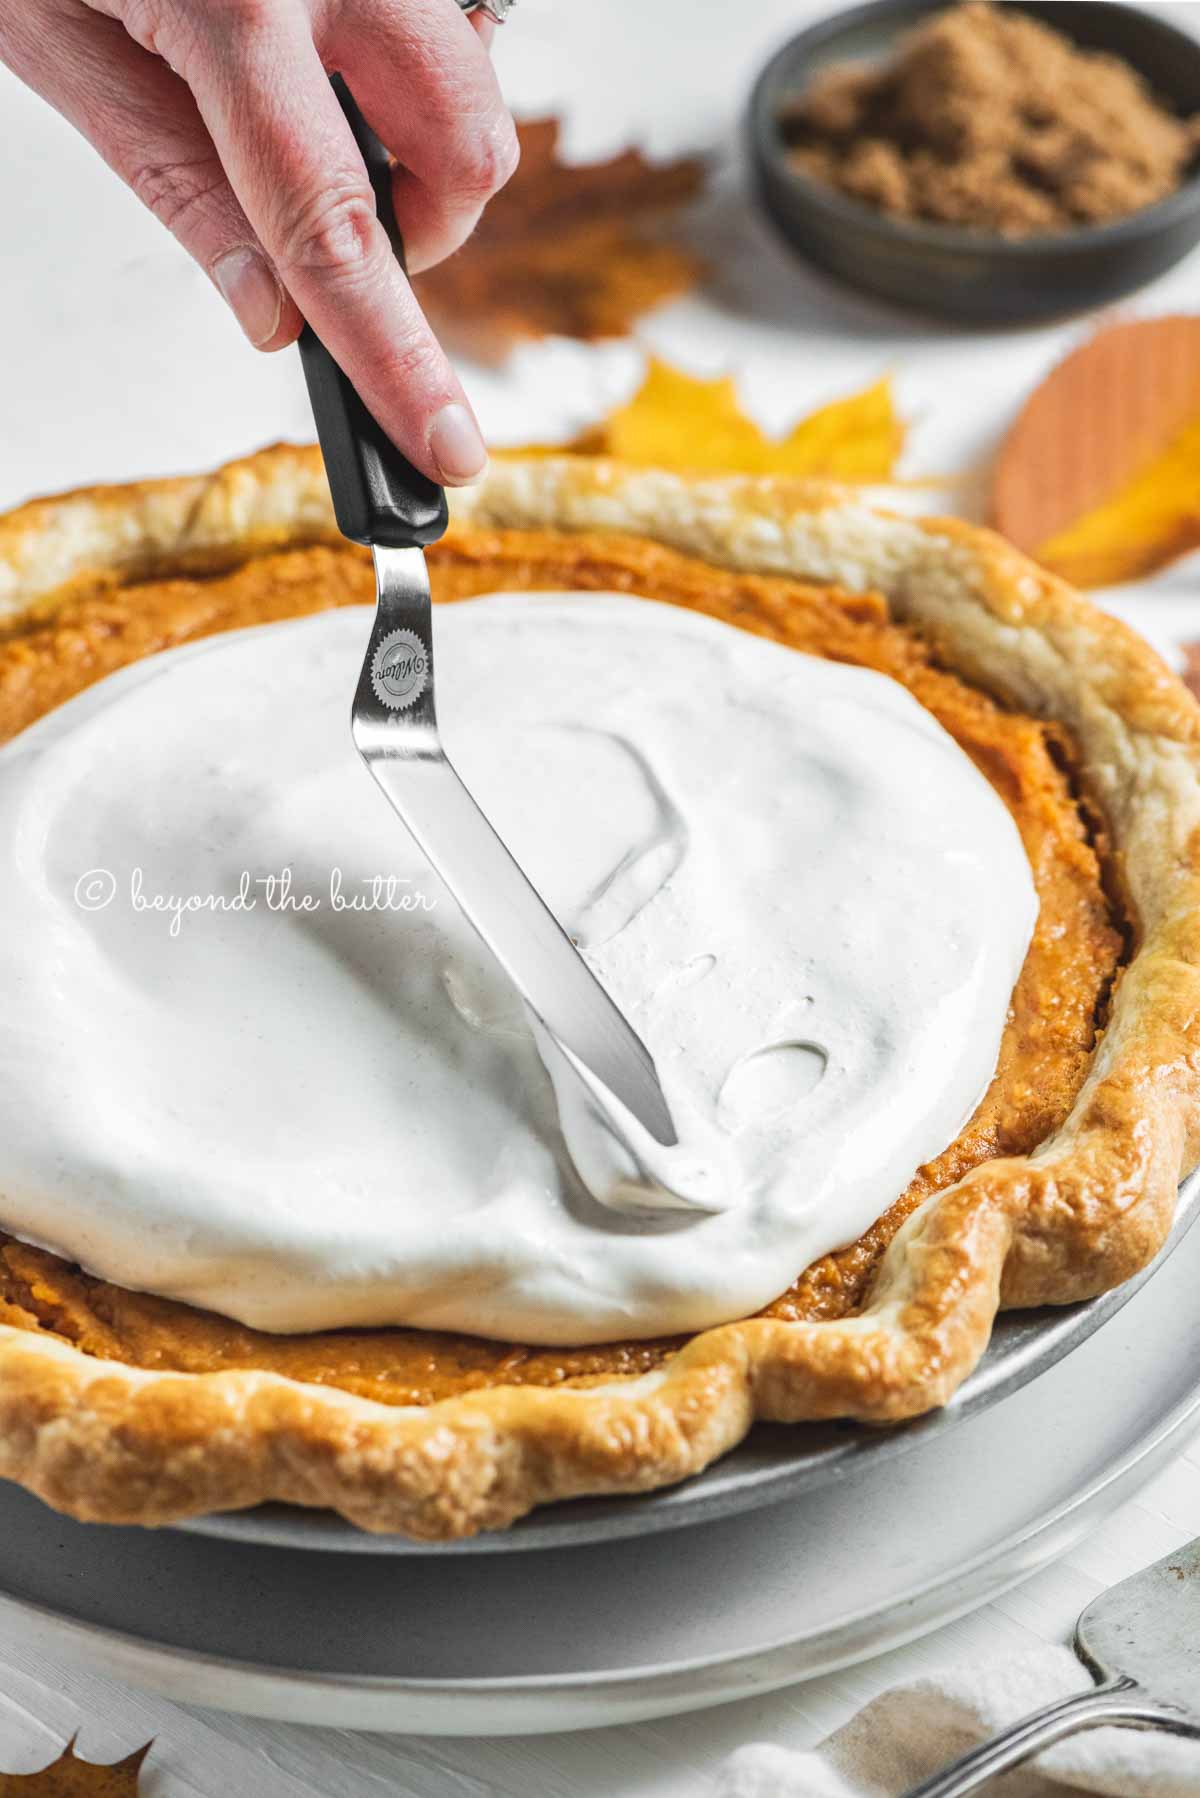
- Transfer the hot mixture to a mixing bowl of a stand mixer fitted with the whisk attachment and set the speed to high. When the mixture initially reaches the soft peaks stage, add in the cream of tartar, salt, and vanilla extract. Continue to mix on high speed right until stiff, glossy peaks form (about 10 minutes).1/8 teaspoon Cream of Tartar, 1/8 teaspoon Salt, 1/2 teaspoon Vanilla Extract
- Top the cooled brown sugar sweet potato pie with the marshmallow meringue topping and, if desired, lightly toast the top using your oven's broiler setting or use a small kitchen blowtorch.
Video
Notes
- Note there are 2 bake times for this recipe. 15 minutes at 425ºF, then reduce to 350ºF and bake for an additional 40-45 minutes.
- The prep time noted above includes prepping and rolling out the pie crust, preparing the sweet potatoes for the filling, making the filling, and assembling the pie. There is also a minimum chill time of 1 hour noted for the pie crust.
- To make the egg wash, whisk 1 egg – OR – 1 egg white + 1 tablespoon of water in a small bowl.
- Adding the marshmallow meringue topping is an optional step. You can also add dollops of whipped topping, add a decorative cream cheese frosting design, or enjoy as-is!
- Keep the sweet potato pie in the refrigerator covered tightly for up to 4-5 days.
- To freeze the sweet potato pie, allow it to cool and set completely. Wrap tightly in plastic wrap twice, then cover with aluminum foil. The pie will keep for up to 1 month.
Nutrition
Nutritional information provided above is an estimate only and will vary based on specific ingredients used. See Nutritional Disclaimer for more info.


This site uses Titan Security to reduce spam. Learn how your comment data is processed .