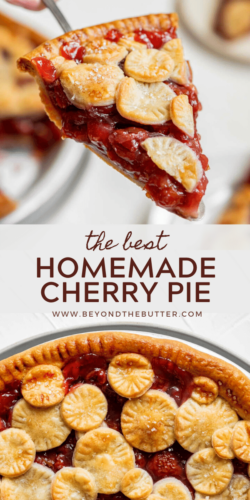
Each bite of this Homemade Cherry Pie gives you a thick and perfectly sweetened cherry pie filling that’s paired with a flaky, buttery pie crust that’s made from scratch. It’s a delicious, easy-to-make classic that is a must-try any time of the year!
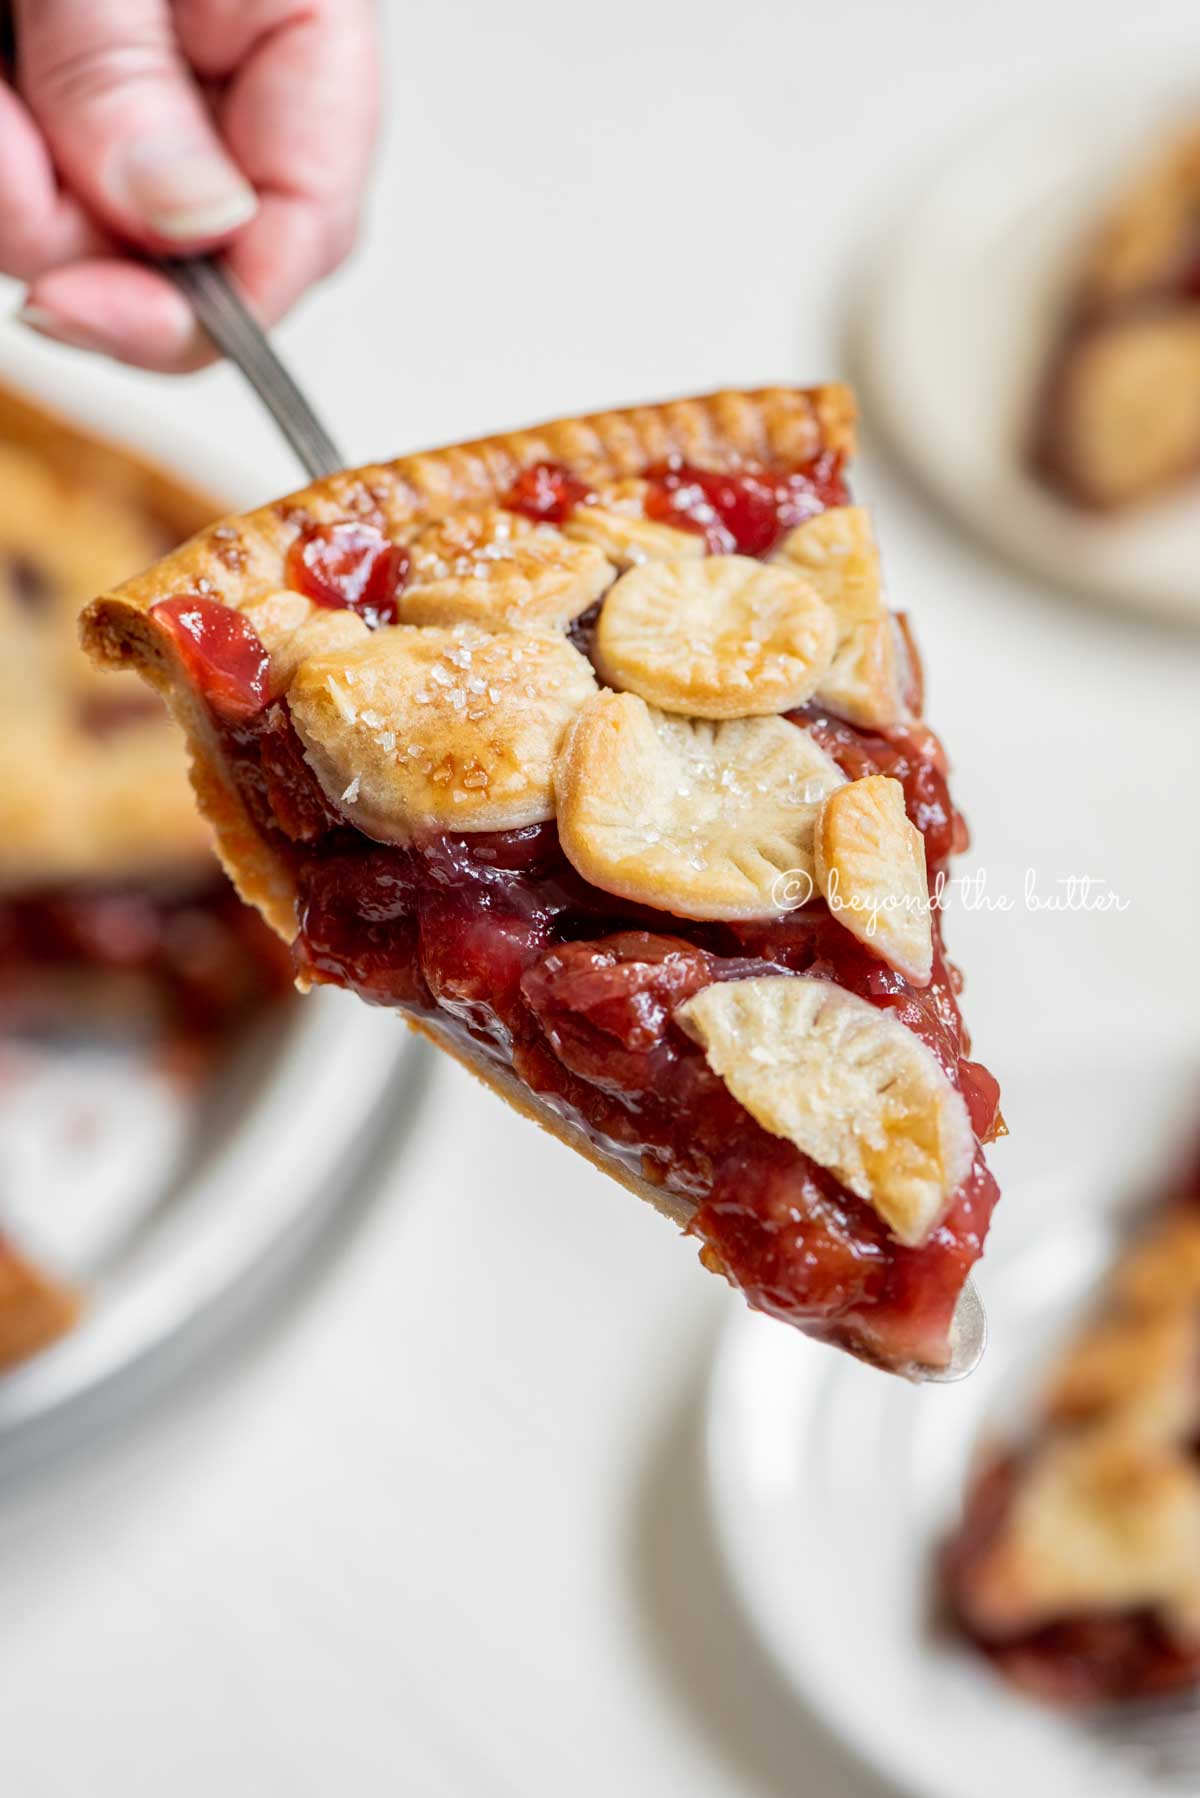
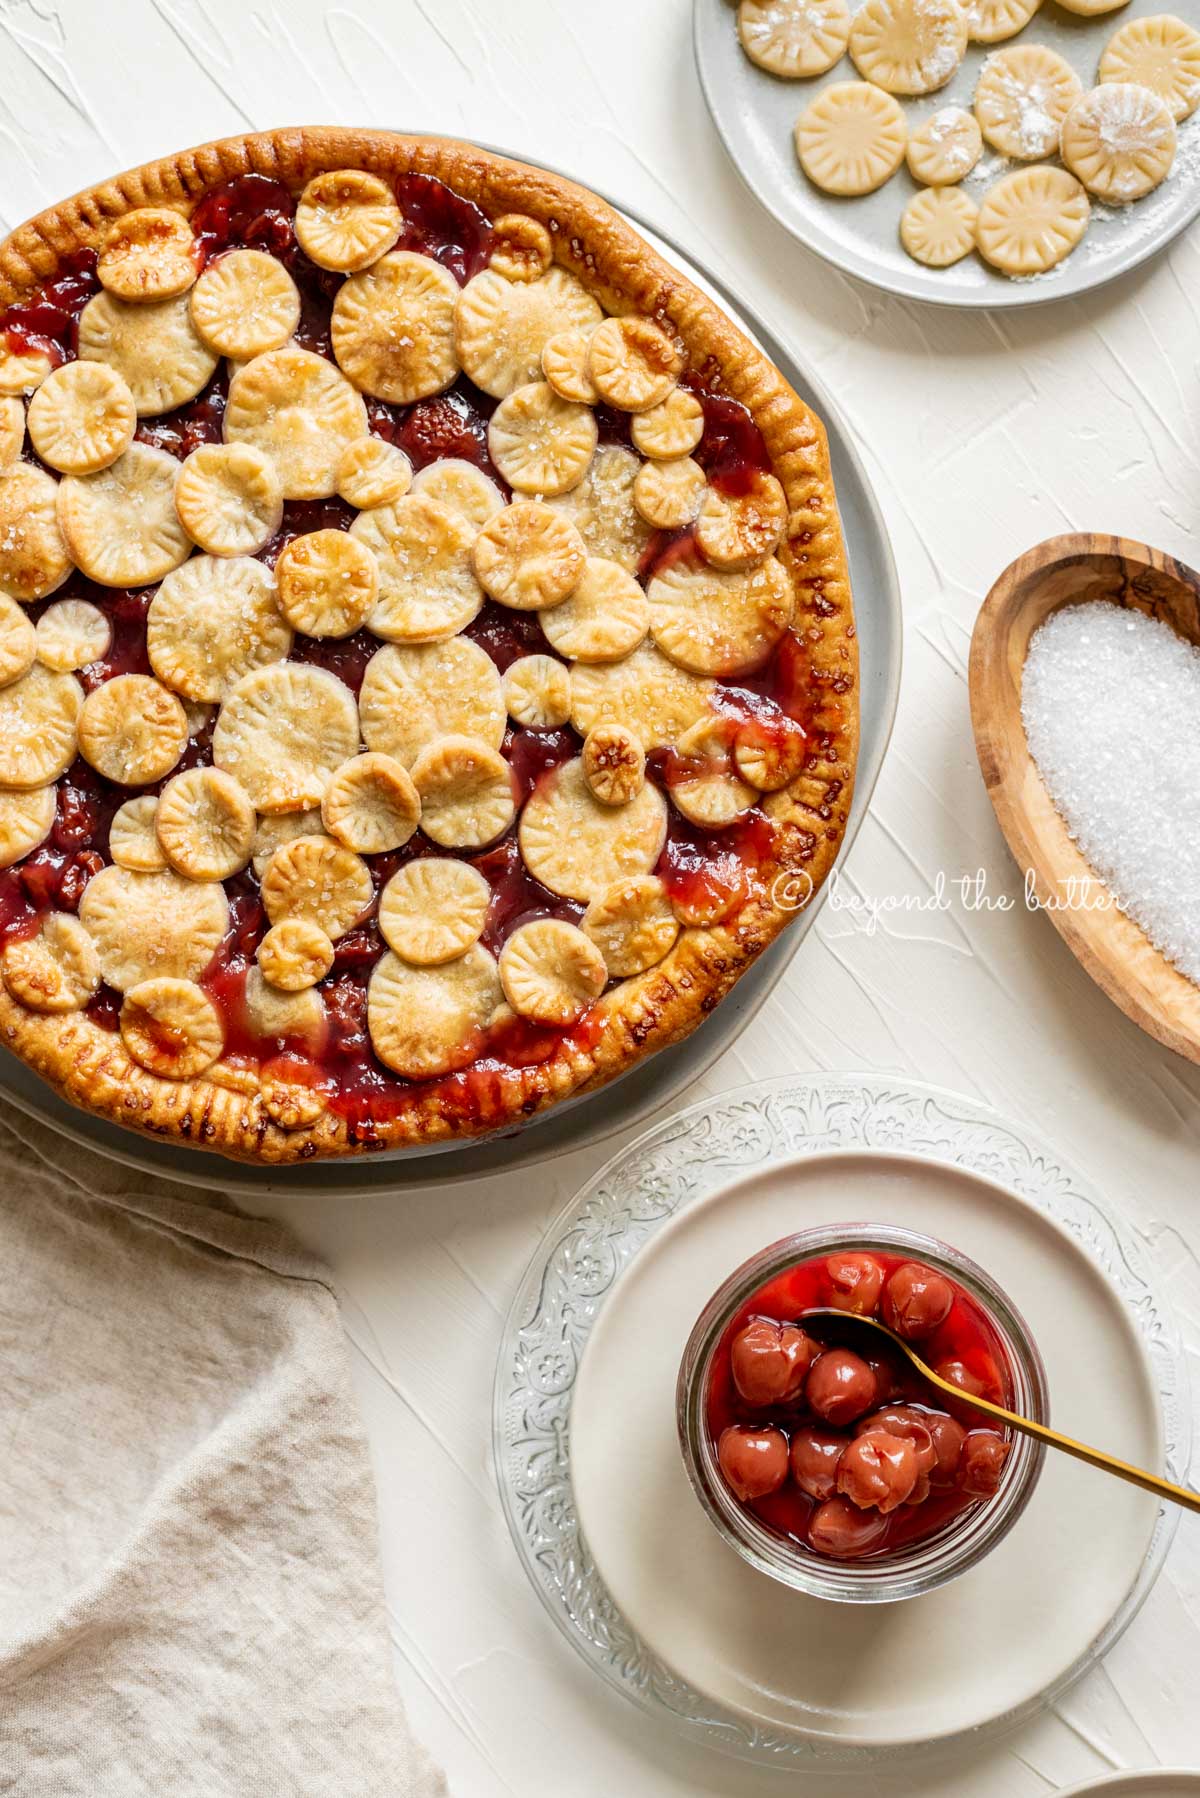
Table of Contents
A Dedication to My Father-in-Law
This dedication is from the original post of my Homemade Cherry Pie on 11/19/2018.
The recipes I post here mostly come from memories of mostly my childhood or young adult years. Today’s homemade cherry pie post is something that will now be a new tradition in our home, and it’s dedicated to my father-in-law, who passed away yesterday from cancer. This cherry pie was one of the last things he requested, and it was an honor to make it for him.
He actually asked for it to be like his mother used to make, but because I don’t have that recipe and time was of the essence, I scoured the cookbooks I had and online for the next best thing. Not to say that I rush through my pie baking, but for this one, even with it being a simple design, I took my time making sure it was absolutely perfect.
It was the least I could do for someone who had treated me like I was his own, especially after losing my own father to cancer 4 years ago.
My father-in-law was a brilliant, smart, and funny man. He was different and quirky, and I loved that about him because I’ve always felt like that’s who I am. We’d always say hello and goodbye with a typical Euro kiss on the left cheek and a kiss on the right, and then a big bear hug. From the moment I met him, he instantly made me feel like I was part of the family and, naturally, would then give me a hard time about how I liked my steak cooked.
Do I have any well-done steak lovers out there? Anyone?
I’ll miss watching the occasional Eagles game with him while eating shrimp dipped heavily in a cocktail sauce he swears was spicy and our yearly birthday cards that were more of a history lesson than anything else.
I was fortunate enough to get one last card on my birthday this year back in the beginning of November. It was basically a short and sweet “Happy Birthday, Jenn…” followed by several paragraphs and photos of his time spent teaching over in India.
I miss this guy so much already. This post and this pie are for you, my dear father-in-law. Thank you for all the love you gave me…and for all those filet mignons you said you’d have to start grilling hours before dinner time. You were the best father-in-law I could have ever asked for.
Love, Jenn
How to Make the Recipe
Let’s talk about how to make this canned cherry pie recipe! The full, detailed recipe can be found below.
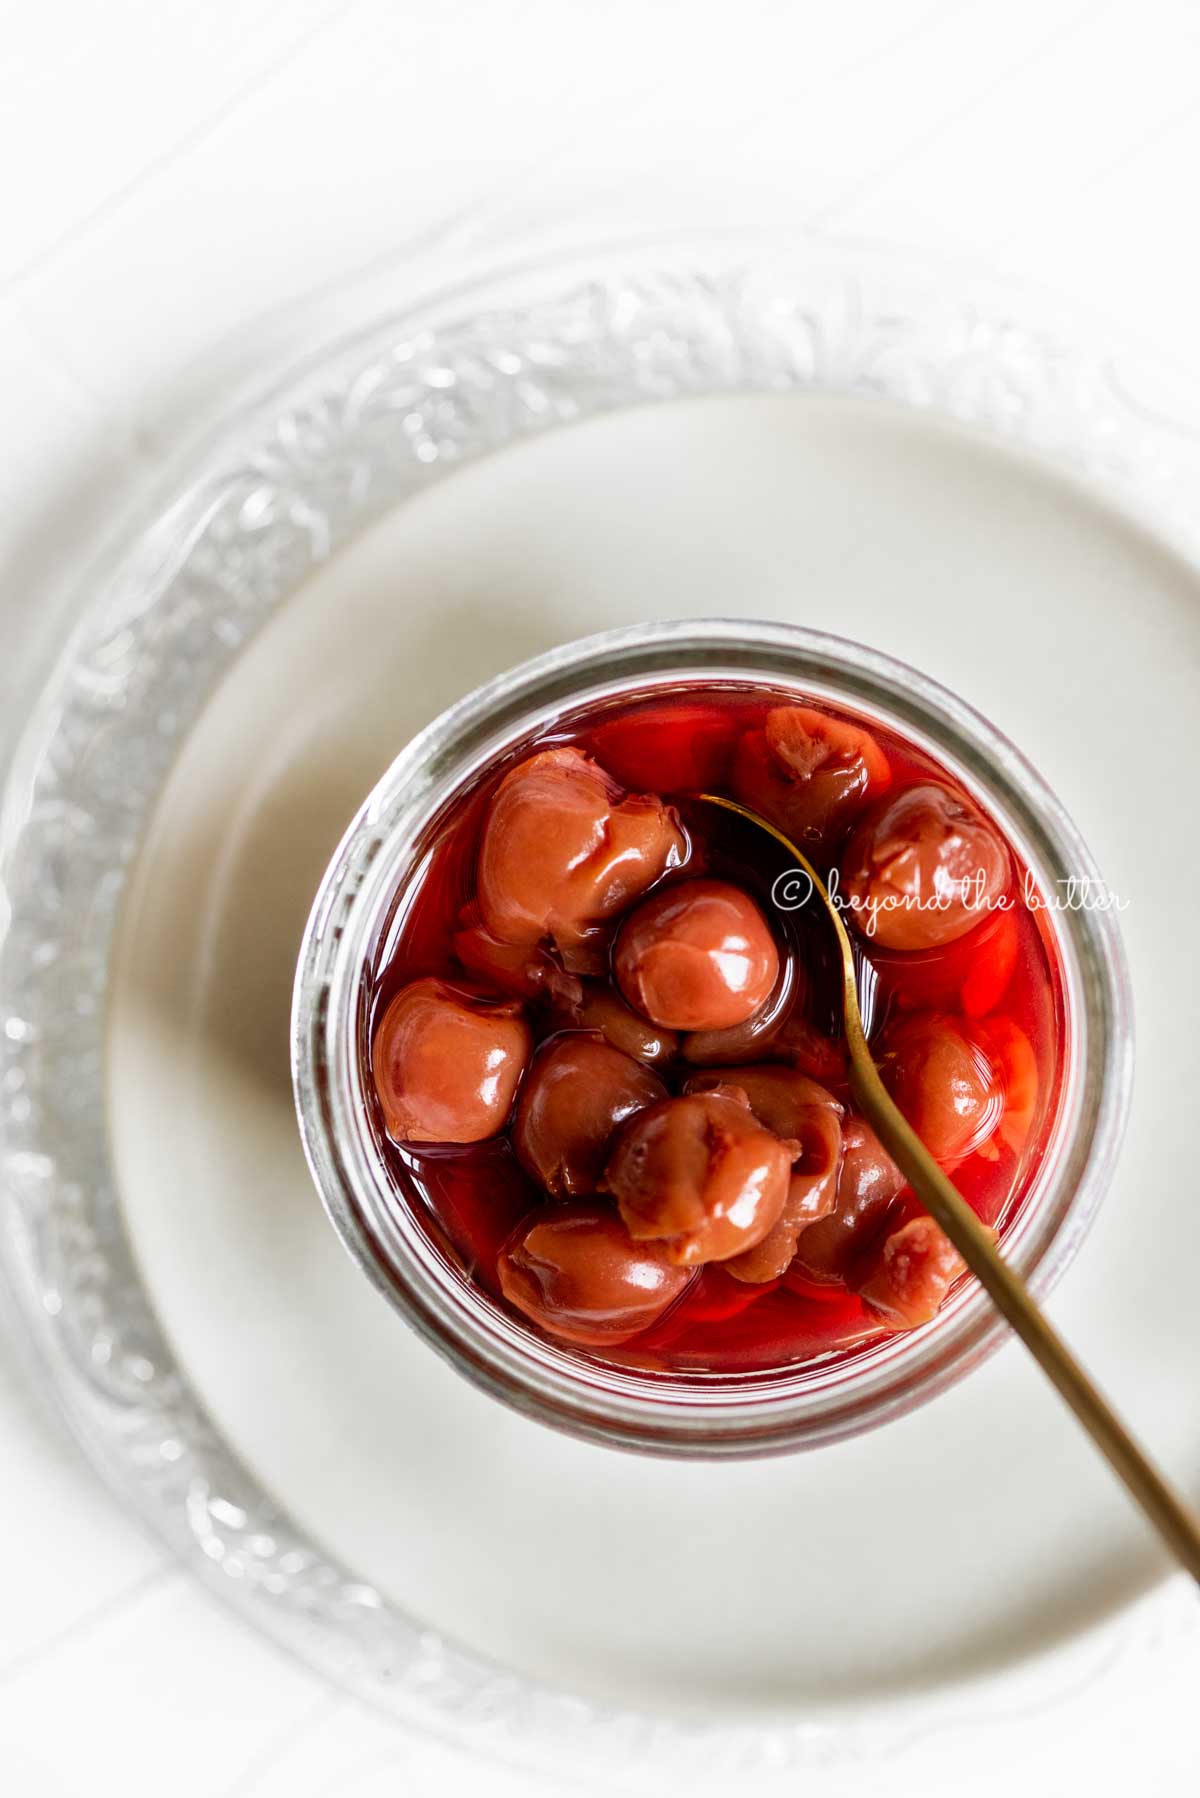
Make the pie filling. It uses six ingredients—canned cherries packed in water, cornstarch, granulated sugar, a pinch of salt, almond extract, and vanilla extract. Let it cool completely before adding it to the pie crust, or make it in advance!
Make the pie crusts. You will need 2. Have the pie crusts made ahead of time and chilled for a minimum of 1 hour. Also—for the best pie crusts—ensure all your fats and water are very cold!
Prep the pie crusts. Roll it out, place it into the pie plate, trim it, then add a decorative crimp to the edges. For the top crust, you can be as creative as you’d like to be.
For more helpful pie crust tips, you can check out my Easy Homemade Apple Pie or Perfect Pumpkin Pie recipes.
Bake the cherry pie. This recipe has two baking times. The first is at 425ºF for 15 minutes, followed by 375ºF for 30-40 minutes.
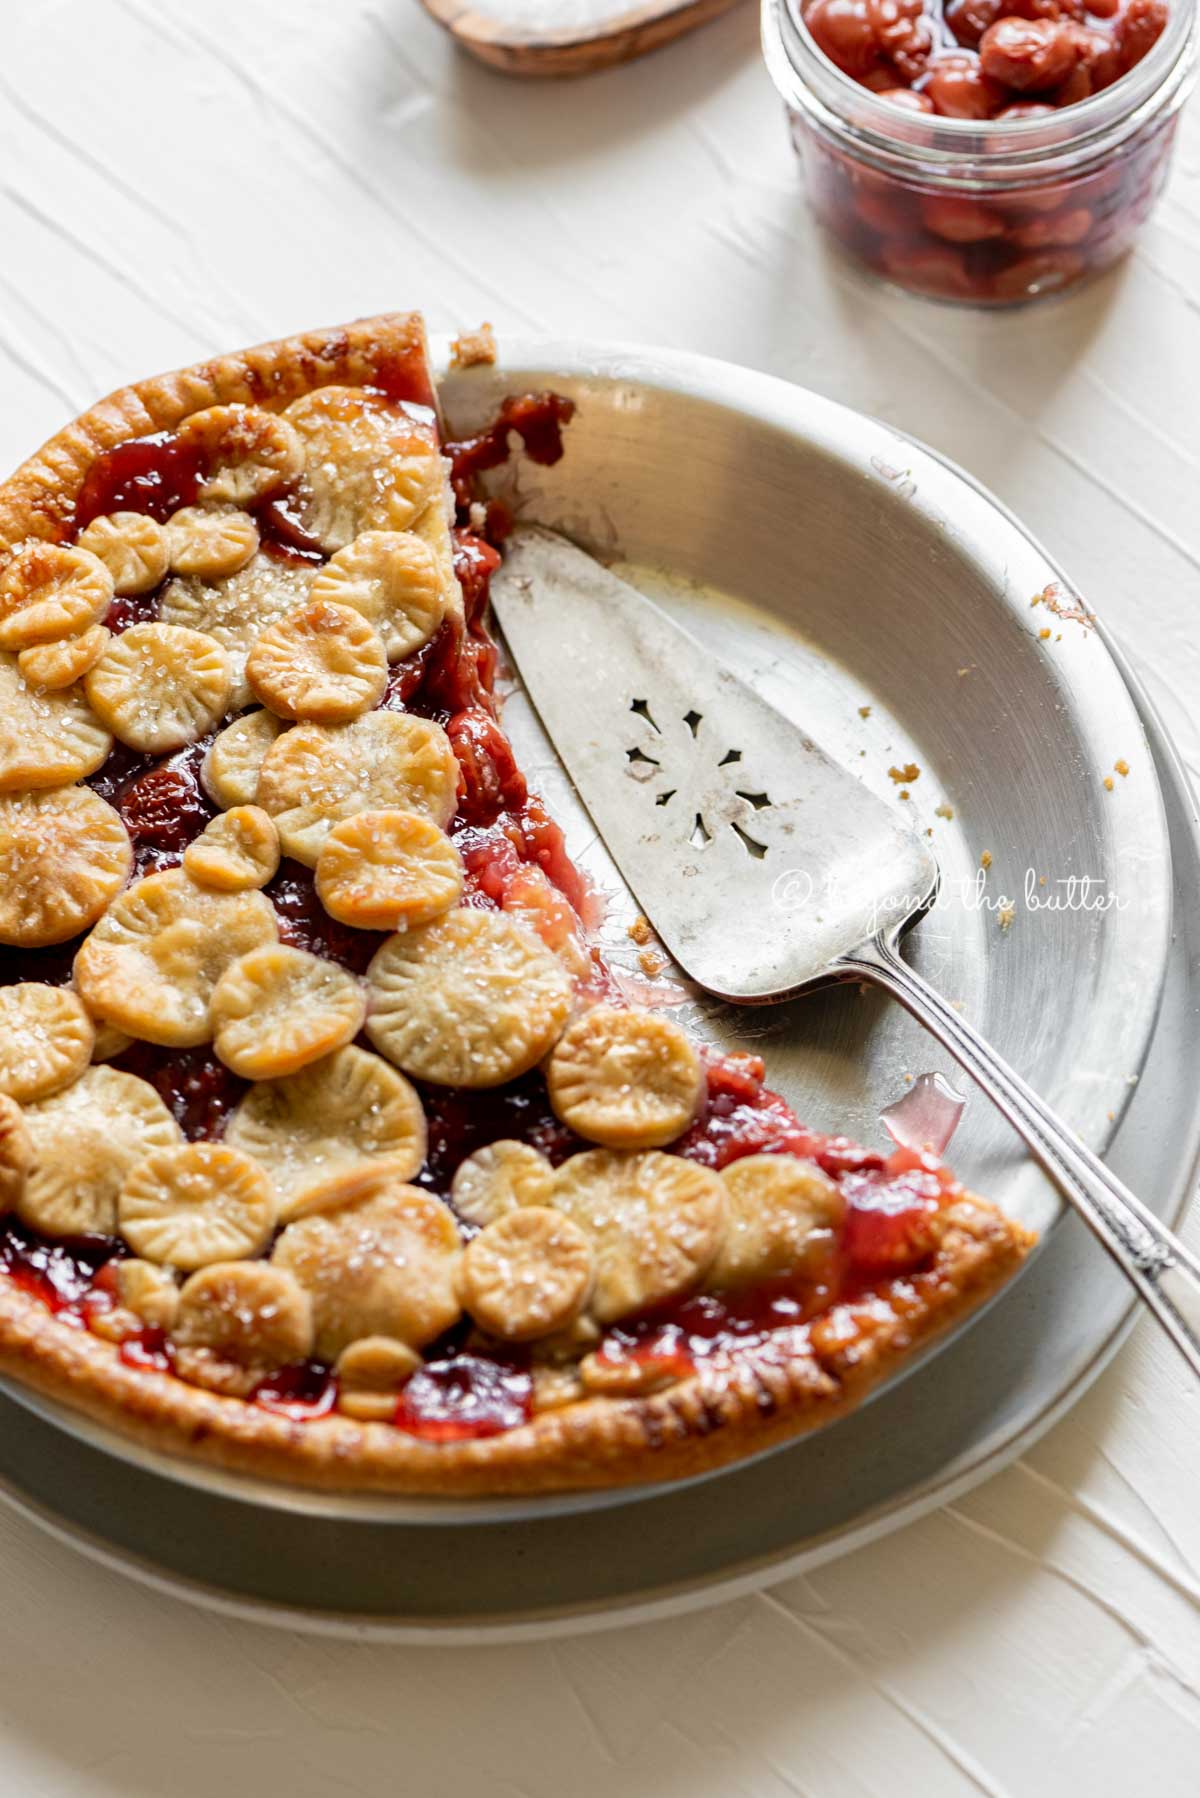
Let it cool. Allow the cherry pie to cool to room temperature on a wire cooling rack (about 2-3 hours) before serving. You can also choose to refrigerate it after it’s cooled.
Both methods allow the cherry pie to set; it just depends on how you and your guests like cherry pie—room temperature or chilled. When kept in the refrigerator, the homemade cherry pie will last up to 5 days in the refrigerator covered with aluminum foil.
Homemade Cherry Pie Filling Tips
Use canned cherries packed in water. When they’re packed in syrup, it makes for an overly sweetened pie. Given we’re already adding some granulated sugar to this homemade cherry pie recipe, there’s just no need for the syrup.
I like to use Oregon Specialty Fruit’s red tart cherries packed in water. You can usually find them in the canned fruit aisle. Be careful not to get the kind that is packed in heavy syrup! Another fun way to use these red tart cherries is to make my Chocolate Cherry Bourbon Slab Pie. It’s incredibly delicious!
Don’t forget the water. When adding the cherries to the saucepan, don’t forget to include 1 1/2 cans of the water that is in the canned cherries. Here’s how I do it:
I pour the first can (cherries and water) into the saucepan.
For the second can, I first add half of the water from the can using the lid as a filter to keep the cherries out (use your best judgment here). I pour the remaining water and cherries into a colander.
Then, for the third can, I empty that entirely into the colander to drain the water. Give it a few shakes to get as much of the water out, then add the cherries into the saucepan.
Make your cherry pie filling in advance. It doesn’t take long to make this pie filling, but allowing it to cool completely does. I always like this cherry pie filling better anyway after storing it in the refrigerator for a day or two. It helps prevent a soggy bottom crust too.
Bring to a boil. After you have mixed all the ingredients together in the saucepan, it’s important to let it come to a boil before you reduce it to low heat. This will get the cornstarch working to thicken as the pie filling cools down.
Keep it stored in the fridge. Homemade cherry pie filling can last up to 2 weeks if kept in a well-sealed food container in the fridge. Plastic or glass containers work perfectly fine.
Freezing Cherry Pie
To freeze your homemade cherry pie, it should be fully baked, completely cooled, and set. Place it uncovered in the freezer until solid. Then wrap it several times in plastic wrap, followed by a layer or two of aluminum foil. I also like to write what it is on the foil with the date it was made.
Frozen homemade cherry pies will keep for up to 6 months in the freezer.
Just like my perfect pumpkin pie, homemade apple pie, and blueberry crumble pie recipes, it’s best to defrost the cherry pie the day before you’re ready to serve it. Leave one layer of aluminum foil, then place it in the refrigerator for 10-12 hours.
Creative Ways to Decorate Pie Crust
Below are a few ways that you can decorate your homemade cherry pie!
- Basic Air Vent Cuts. Roll out the pie crust, then cut a few simple slits into the crust for air vents.
- Lattice. Cut out strips, then overlap them in a creative pattern. I did this for my Strawberry Rhubarb Pie. It’s not perfect, but it sure tastes good!
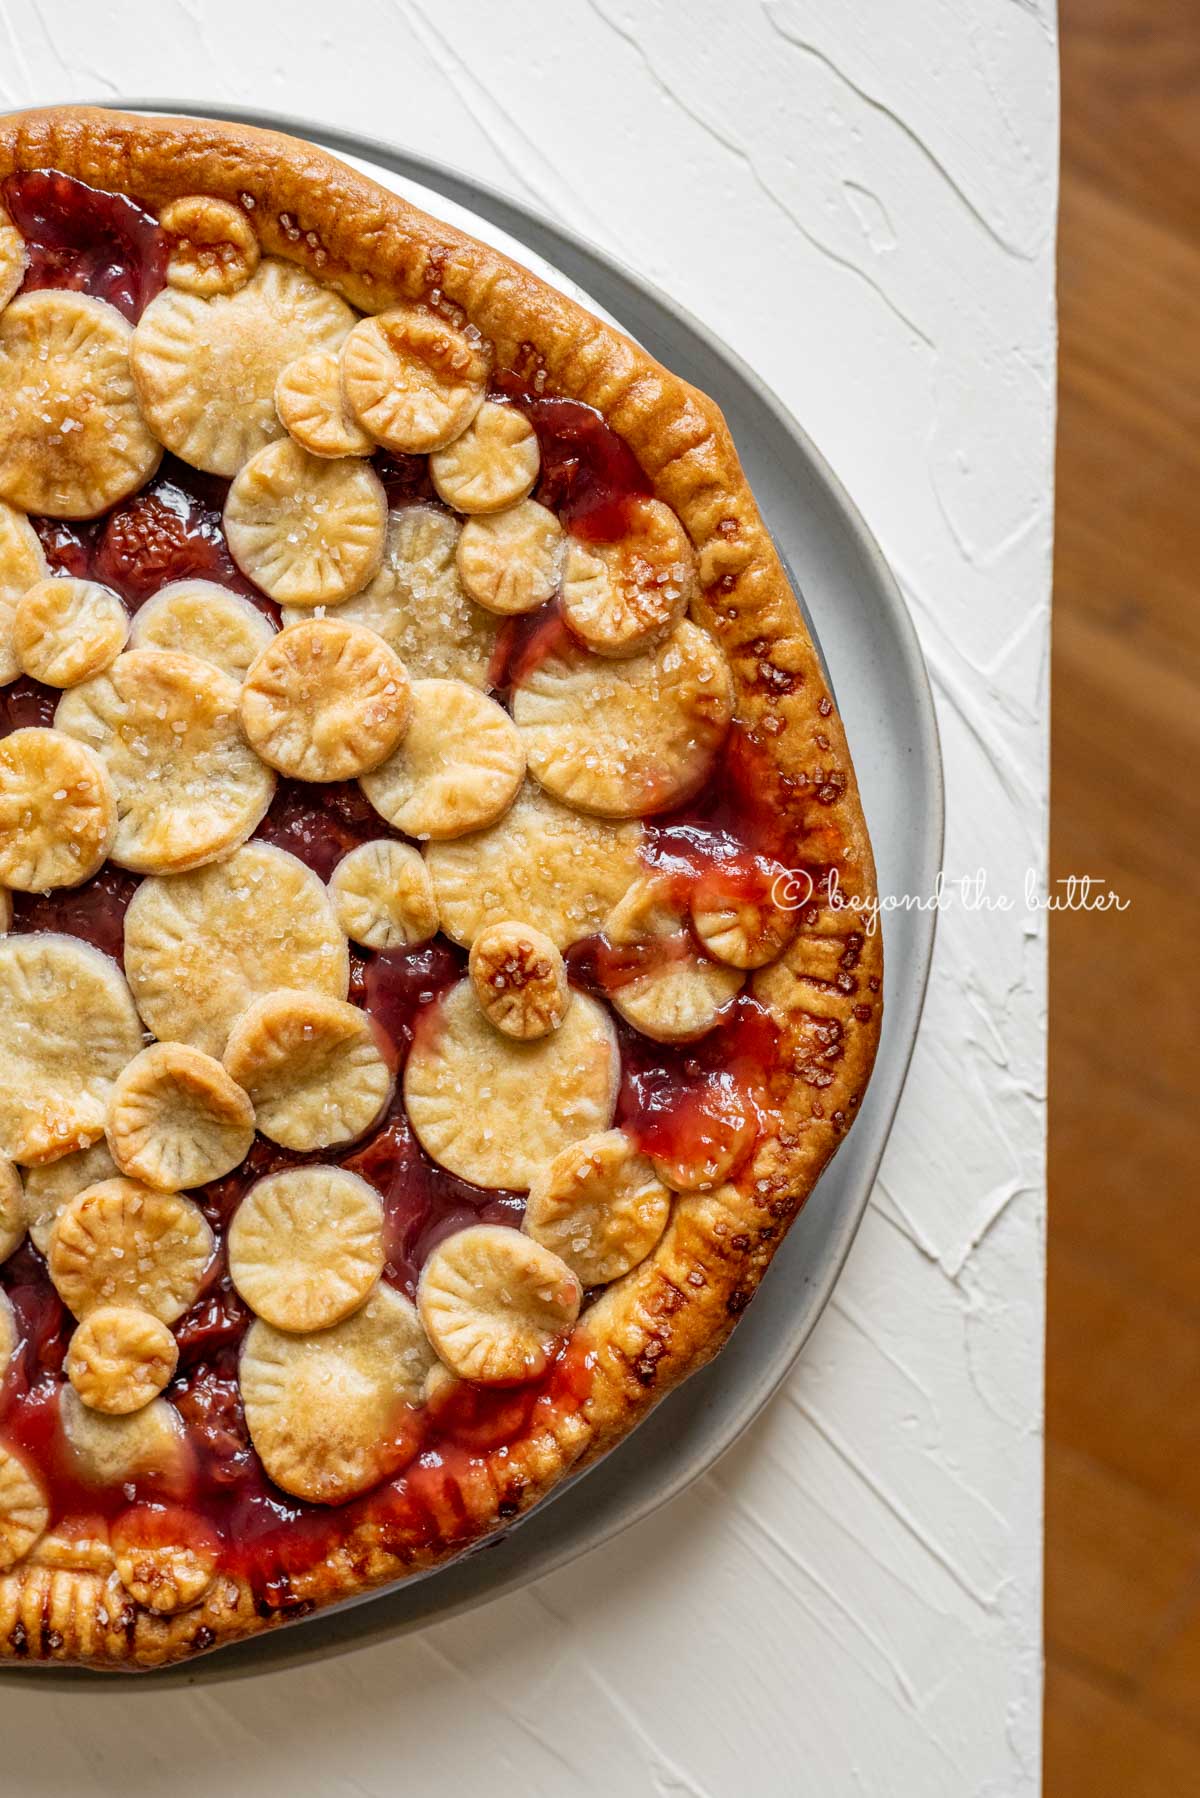
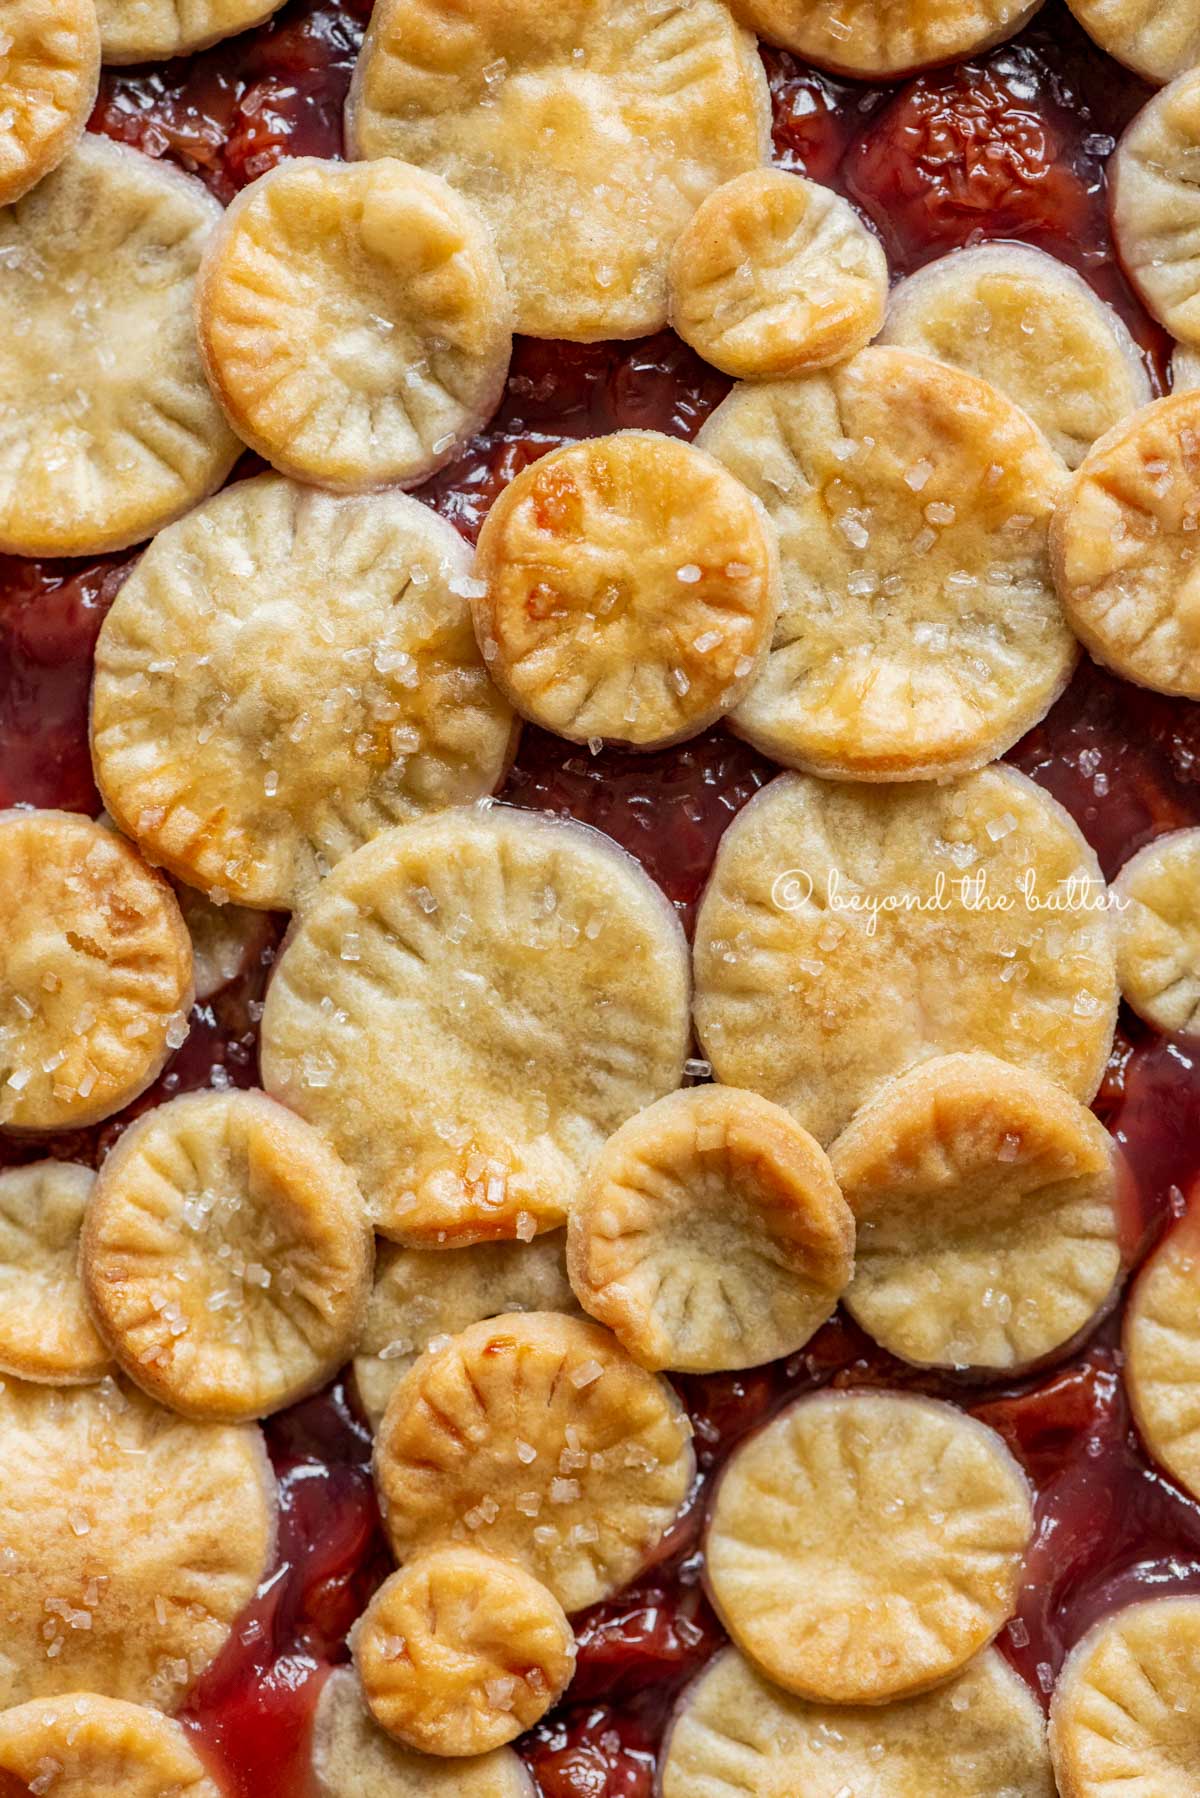
- Cookie Cutters. These are probably my favorite way to get creative with the top crust. You can roll out the dough, then cut out a pattern, or you can cut out shapes and place them directly on top of the filling.
For some examples of using cookie cutters, check out my Easy Homemade Apple Pie, where I used alphabet cookie cutters as well as the two below. The one on the left is one of the cherry pies I made recently using my small dala horse shape! The other was for this update recipe post.

Essential Pie Baking Tools
When making this easy cherry pie recipe, I recommend any of these baking tools.
More Delicious Pies from Beyond the Butter®!


If you tried this Homemade Cherry Pie Recipe or any other recipe on my website, please leave a 🌟 star rating and let me know what you thought in the 📝 comments below. Thanks for visiting!
Homemade Cherry Pie

Ingredients
homemade pie crusts
homemade cherry pie filling
- 3 cans Red Tart Cherries Packed in Water, plus the water from 1 1/2 cans
- 4 tbsp Cornstarch
- 1 1/2 cups Granulated Sugar
- 1/8 tsp Salt
- 1/4 tsp Vanilla Extract
- 1/4 tsp Almond Extract
optional egg wash and garnish
- 1 Egg or Egg White with 1 tbsp Water, for egg wash (optional)
- Sparkling Sugar, for garnish (optional)
Instructions
homemade pie crusts (makes 2, 9 inch pie crusts)
- In a large mixing bowl and using a pastry blender (or two forks), mix together the all-purpose flour, salt, cold cubed butter, and cold vegetable shortening until you have small pea-size pieces. Some larger pea-size pieces are fine too!
- Add in 1 tablespoon of the ice cold water, then (using a spatula or with your hands) work it into the pie dough mixture. Continue to add the ice cold water, 1 tablespoon at a time, until the pie dough forms and it is no longer crumbly. If there are any crumbly bits, just add the teeny tiniest bit of cold water so they blend in with the rest of the dough.4-6 tbsp Ice Cold Water
- After forming the ball of pie dough, place it on a lightly-floured, clean surface and divide it in half using a pastry cutter. Pat each half into a 1″- 1 1/2″ thick disc, then double wrap it tightly in plastic wrap and place them in the coldest part of your refrigerator (usually the back) for a minimum of 1 hour.
homemade cherry pie filling
- In a large saucepan, bring the cherries (plus the water from 1 1/2 cans), cornstarch, granulated sugar, salt, vanilla extract, almond extract to a boil. Reduce it to a medium-low heat, stirring continuously until it thickens and bubbles.3 cans Red Tart Cherries Packed in Water, 4 tbsp Cornstarch, 1 1/2 cups Granulated Sugar, 1/8 tsp Salt, 1/4 tsp Vanilla Extract, 1/4 tsp Almond Extract
- Remove from heat and pour into a large glass mixing bowl (metal is fine too) and allow it to cool completely before adding to the filling. See tips for making cherry pie filling in the main post.
assembling the cherry pie
- Adjust your oven rack to the center position, placing a jelly roll pan, baking sheet, or (my preference) baking steel on top of the rack. Preheat the oven to 425ºF.
- Prepare bottom pie crust and place into pie plate. Trim the edges, if needed, but do not crimp the edges yet.
- Pour the cooled cherry pie filling into the pie crust and place second pie crust over top in a design of your choosing (lattice, cookie cutter, etc). Trim top crust then fold and pinch/blend top crust to the bottom. Crimp the edges.
- Using a pastry brush, add the egg wash to the edges and top of your pie crust. Sprinkle the edges with sparkling sugar, if desired.1 Egg or Egg White with 1 tbsp Water, Sparkling Sugar
- Place the pie along with a sheet of parchment paper onto the preheated jelly roll pan, baking sheet or baking steel and bake for 15 minutes at 425ºF.
- Leaving the pie in the oven, reduce the oven temperature to 375ºF and bake for another 30-40 minutes. At this time – or – with 15-20 minutes left of baking, you can choose to add strips of aluminum foil, a sheet of aluminum foil with a hole cut out, or a silicone pie shield to prevent the crust from over browning.
- Remove the pie from the oven and allow it to cool on a wire rack completely (about 2-3 hours) before serving. Alternatively, you can place the pie in the fridge after cooling to chill. Both methods will allow the filling to set properly.
Notes
- You can easily substitute the homemade pie crusts for store-bought. I recommend letting them sit out at room temperature for 5-10 minutes before unrolling to avoid cracking.
- Recipe adapted from A Taste of Bedminster Elementary cookbook and the Artful Parent.
Nutrition
Nutritional information provided above is an estimate only and will vary based on specific ingredients used. See Nutritional Disclaimer for more info.


An incredibly beautiful tribute, Jenn! Sounds like you had an amazing father in law and I’m so sorry for your loss! Sending you hugs!
P.s and yes, well done is the only way 😉
Kendra, thank you so much for this sweet note and the hugs! It really means a lot to me!