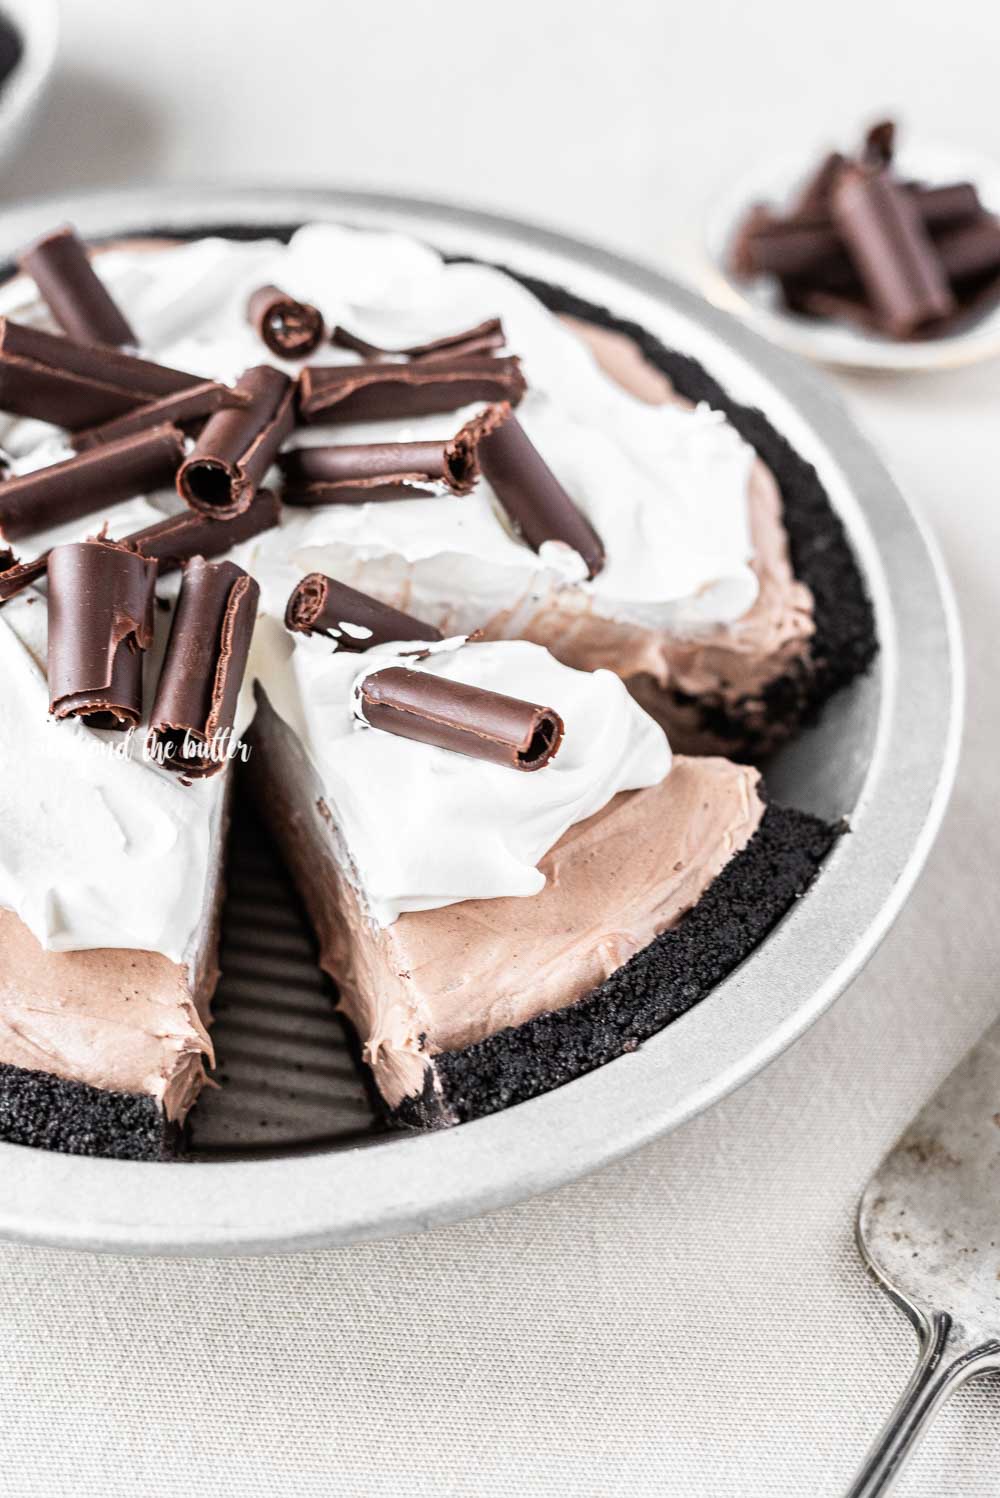
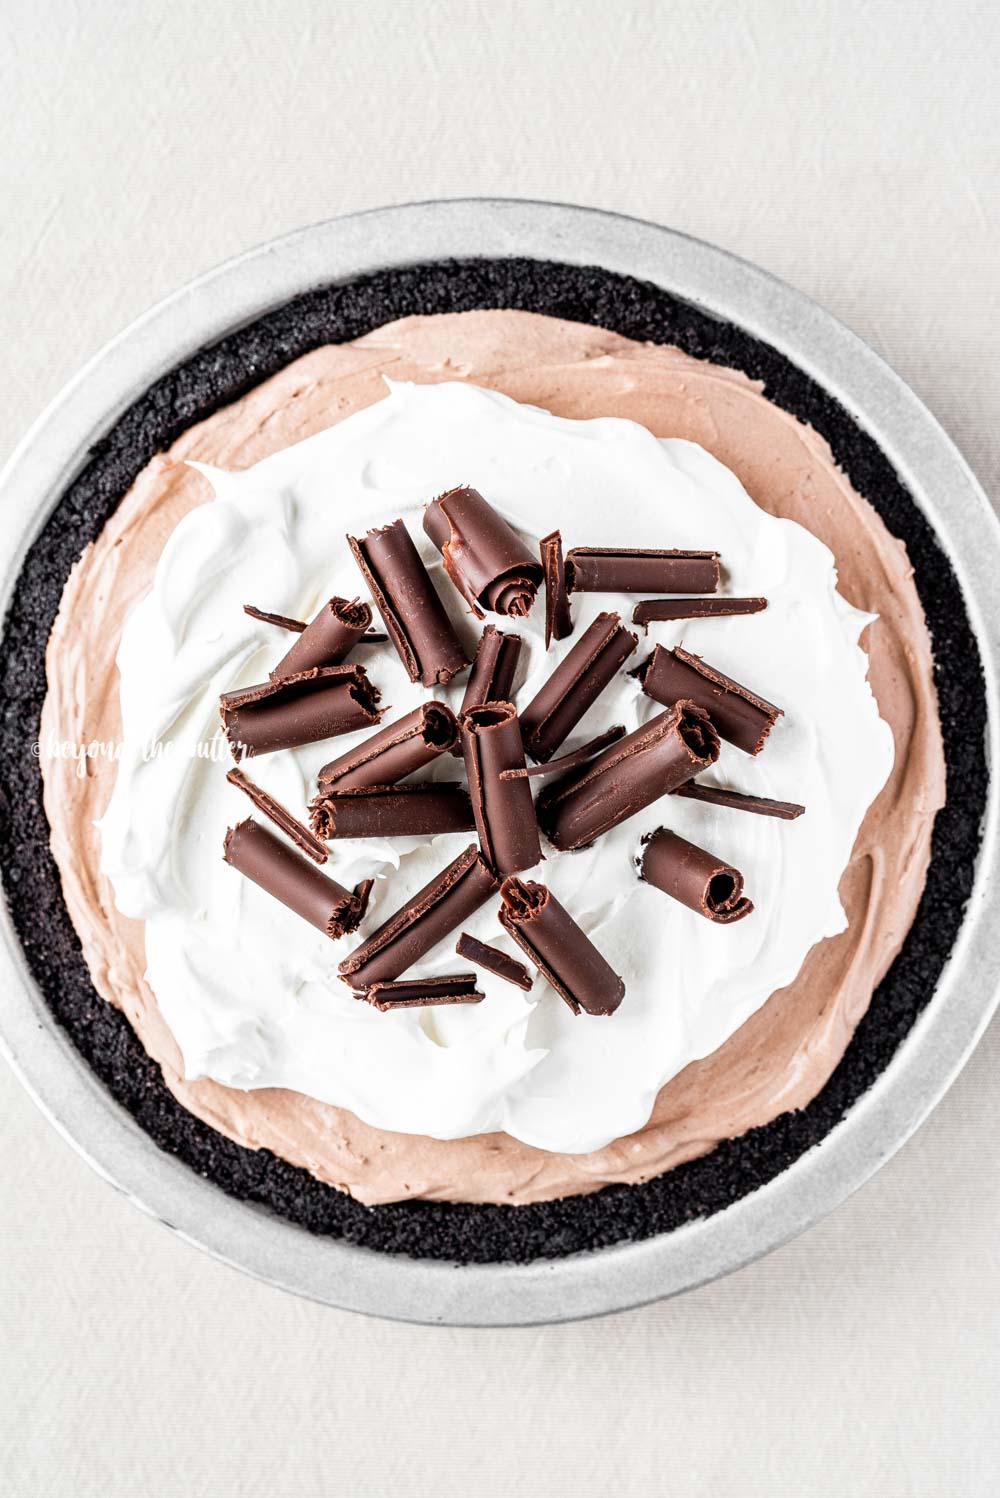
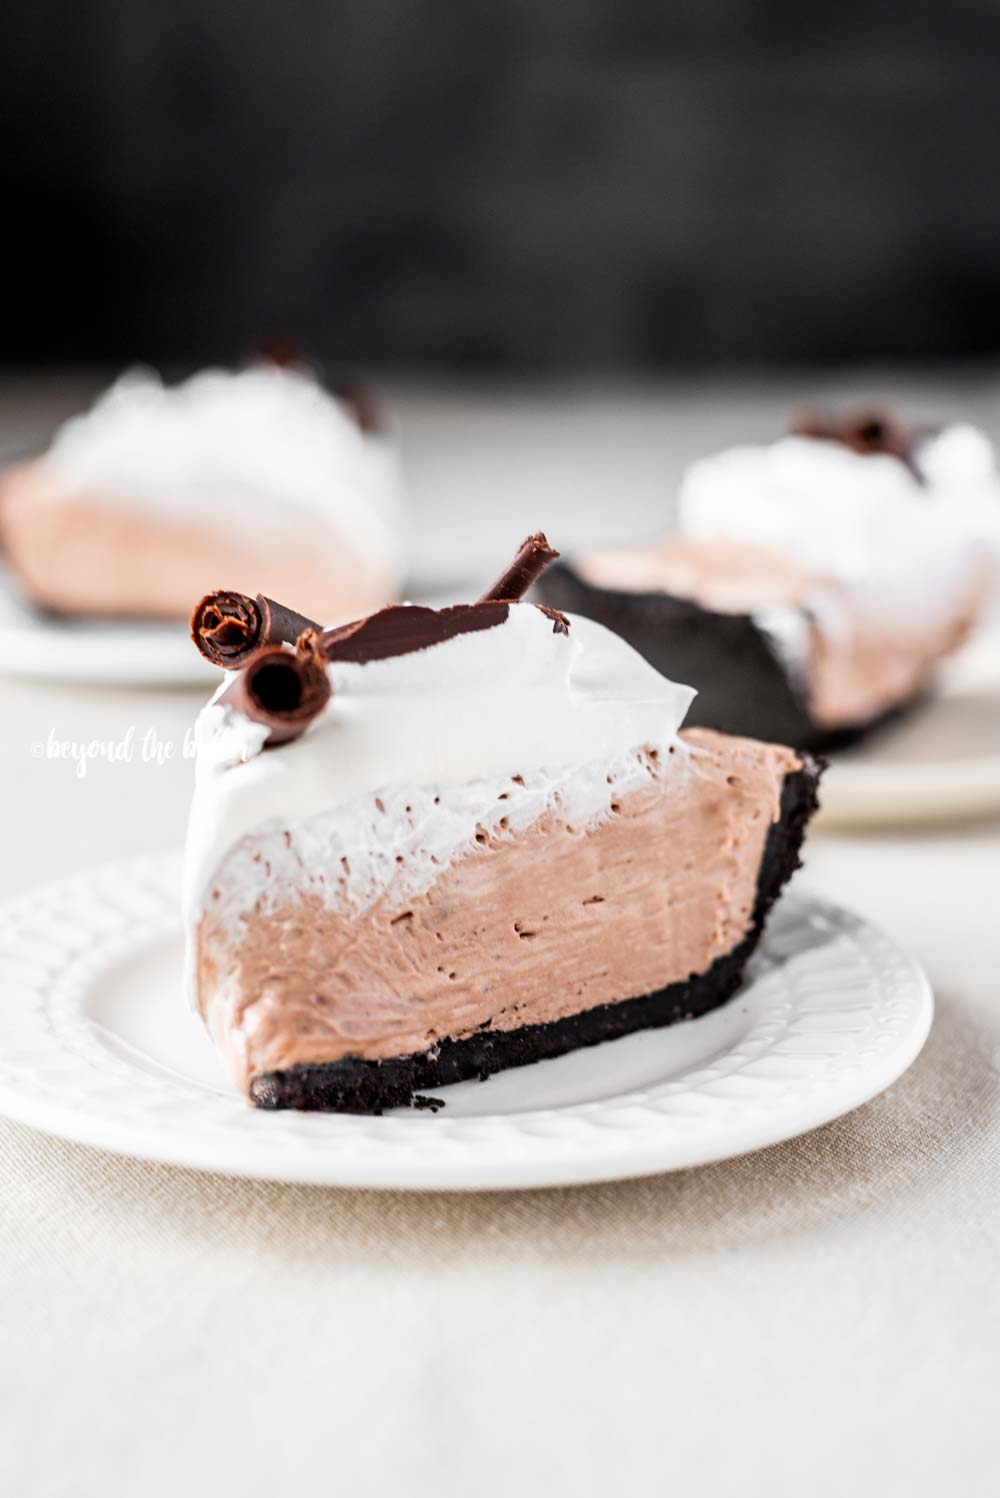
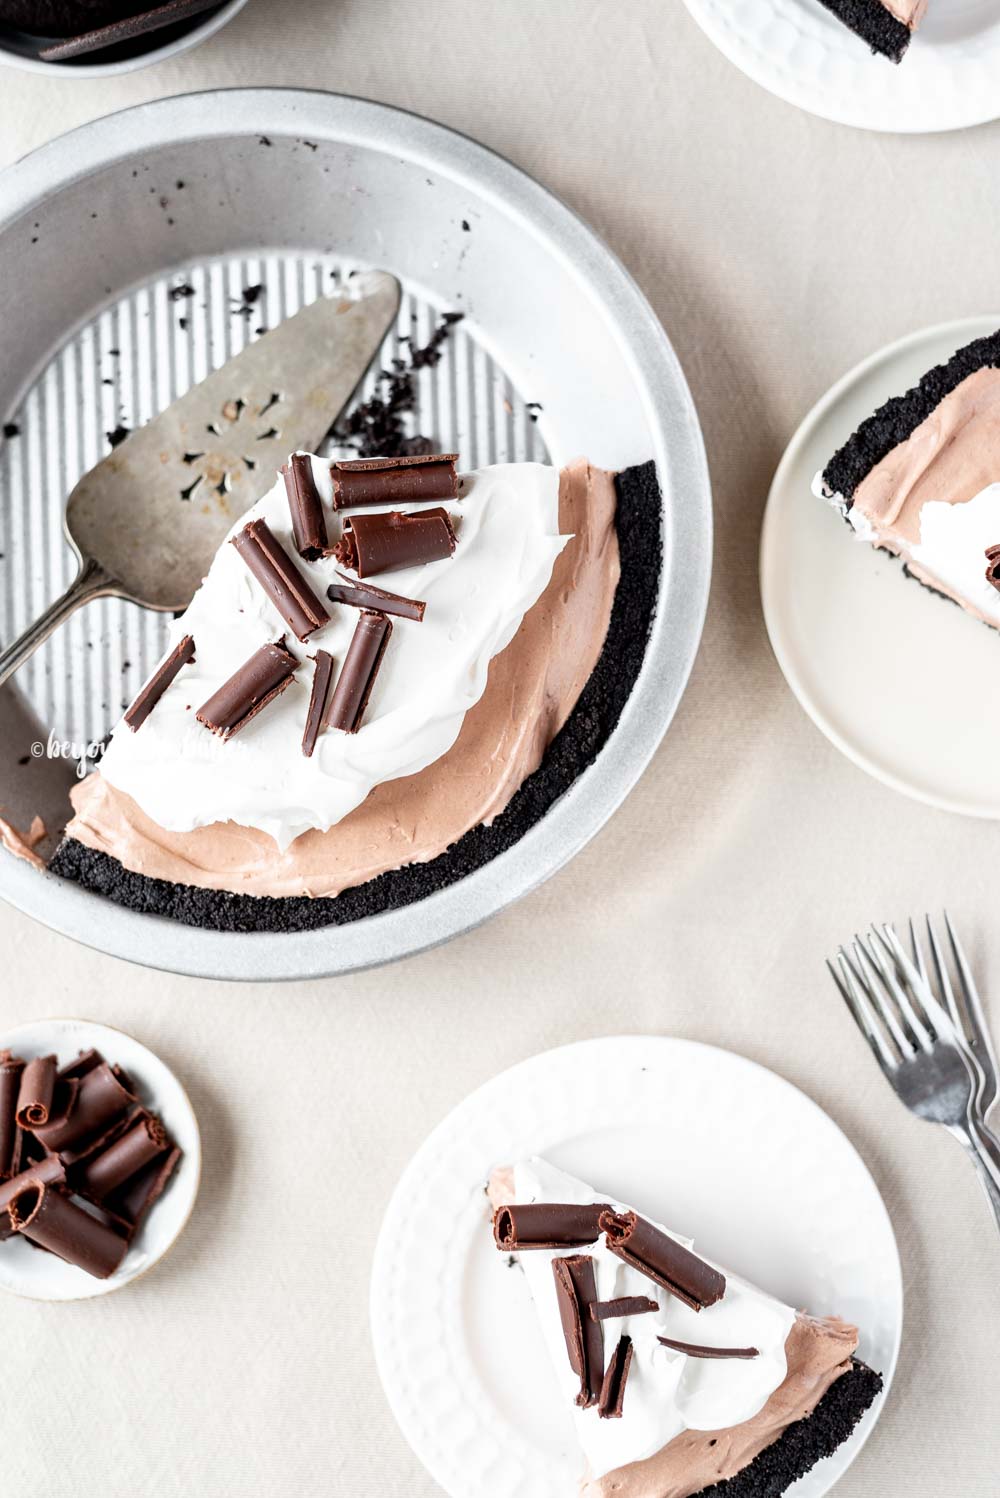
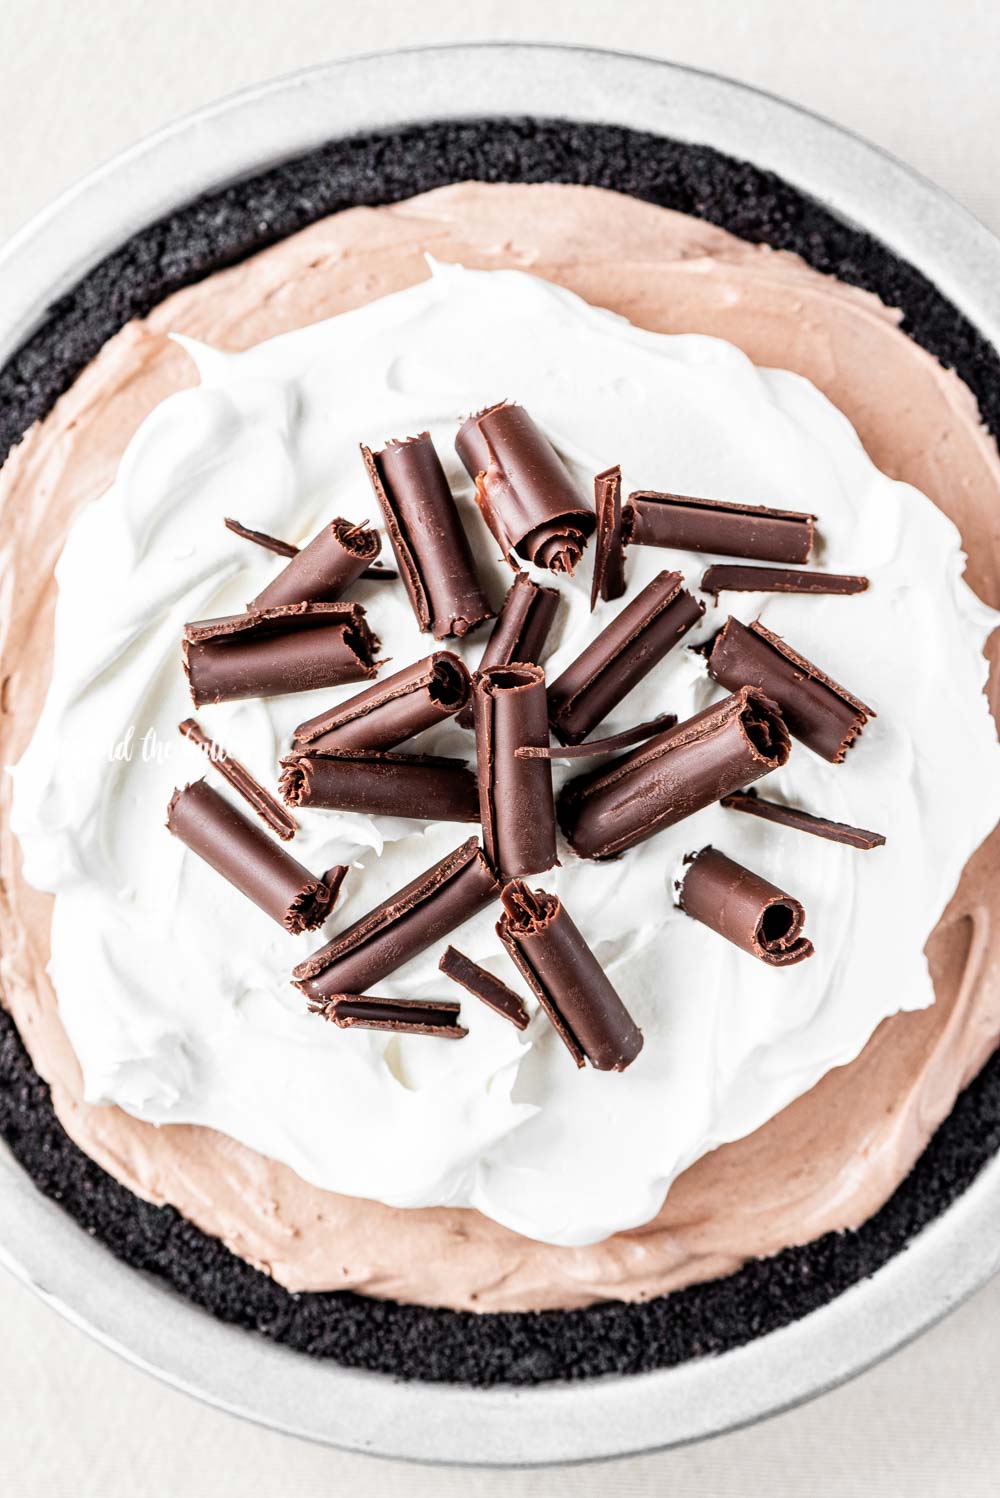
This No Bake Chocolate Cream Pie with Chocolate Wafer Crust is one of the most, if not the, easiest dessert recipe to make! It combines a buttery, chocolate wafer crust and a creamy chocolate pie filling that takes less than twenty minutes total to whip up! Garnish the top with Cool Whip, chocolate curls, chocolate syrup, or extra chocolate wafer crumbs you might have left over!
Jump to:
Ingredients Needed
To make this super easy chocolate cream pie recipe, you'll need the following ingredients.
For the chocolate wafer crust, you'll need:
- Chocolate Wafers - approximately 28 wafers are needed. I like to use Nabisco's brand.
- Granulated Sugar - only 1 tablespoon is needed.
- Unsalted Butter - 5 tablespoons. The butter gets melted, then added to the pie crust mixture
You can swap out the chocolate wafers for the same amount of Oreos.
For the chocolate cream pie, you'll need:
- Cream Cheese - only 8 ounces (1 package) is needed, but it needs to be softened and at room temperature
- Granulated Sugar
- Vanilla Extract
- Unsweetened Cocoa Powder
- Milk - any kind can be used. I used 1%.
- Cool Whip - 8 ounces (1 container) is needed for the pie filling, but if you'd like to use this as a garnish, I recommend getting 2.
- Additional garnishes like chocolate curls, chocolate wafer crumbs, or chocolate syrup
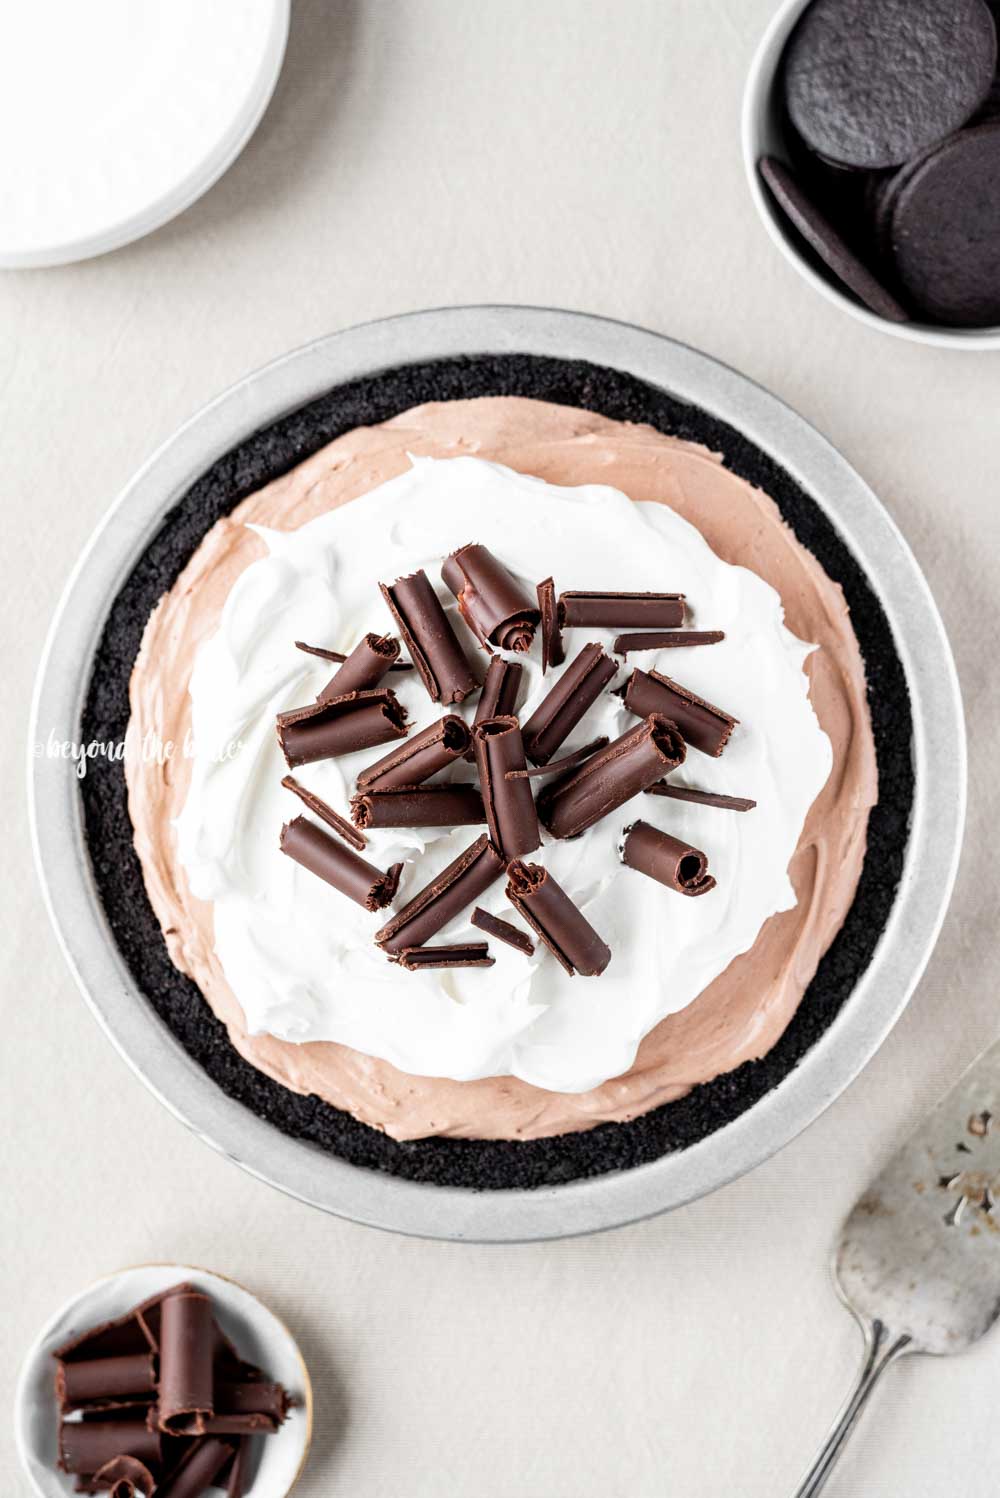
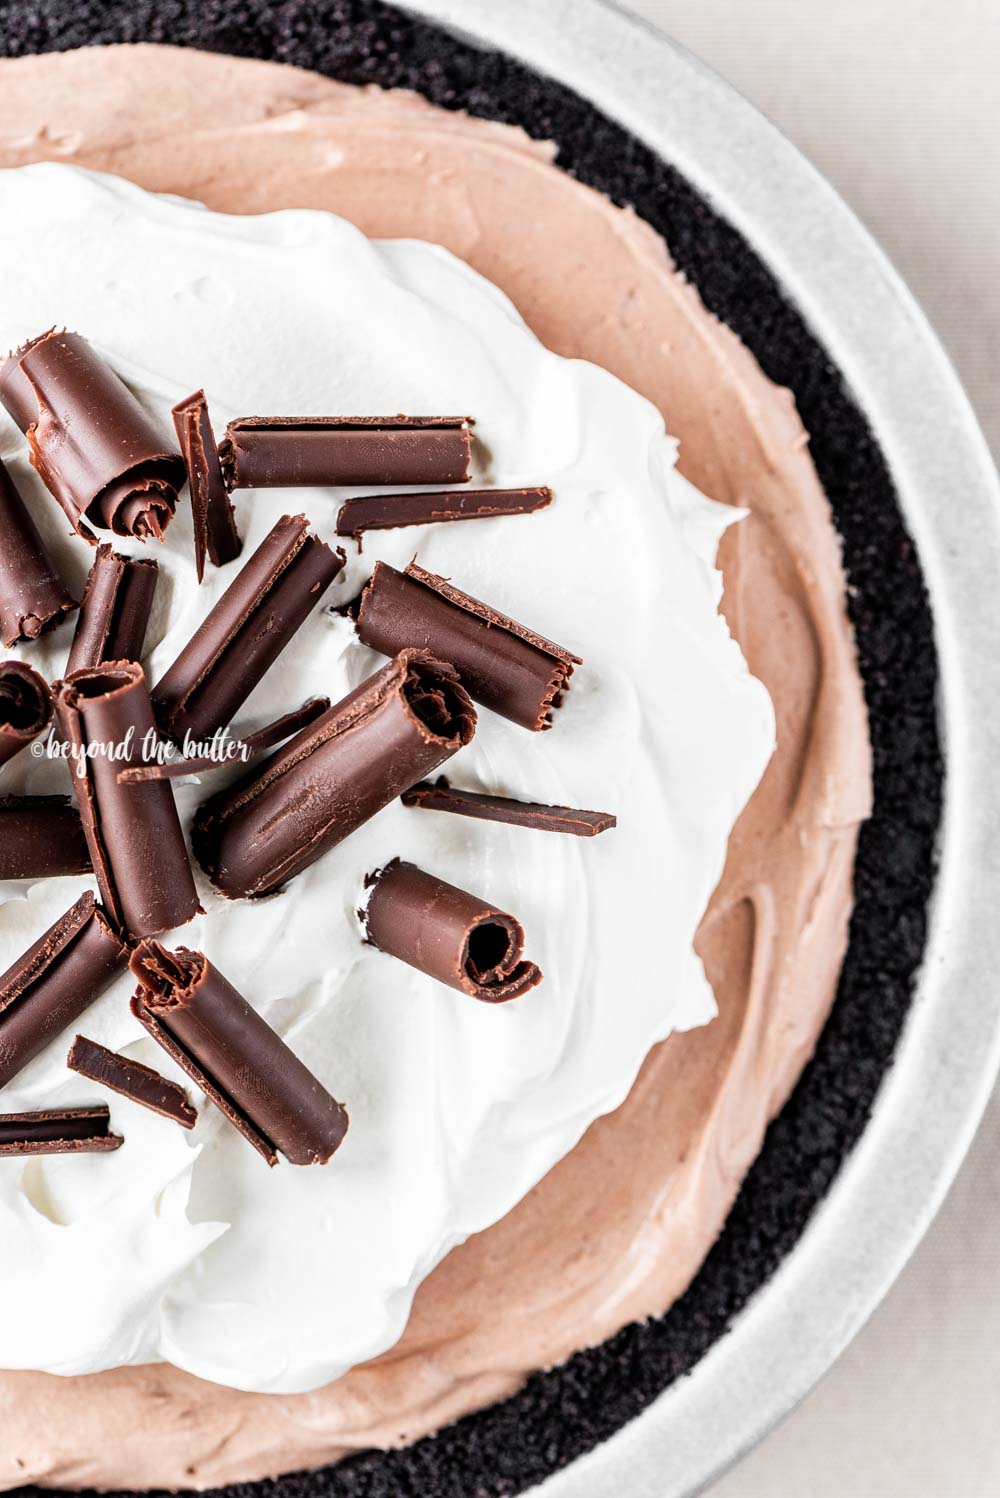
How to Make No Bake Chocolate Cream Pie
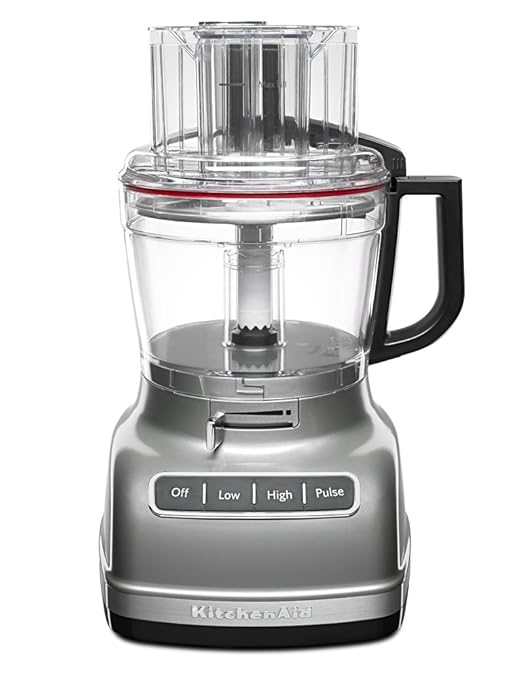
To make the chocolate wafer crust, it's best to have a food processor, but if you don't that's okay! You can easily crush up the chocolate wafers in a plastic bag using a rolling pin or meat tenderizer (something hammer-like and heavy is good!).
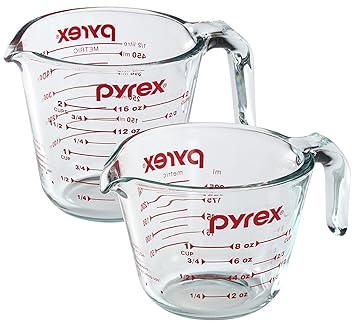
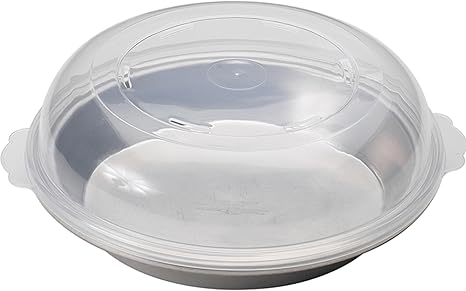
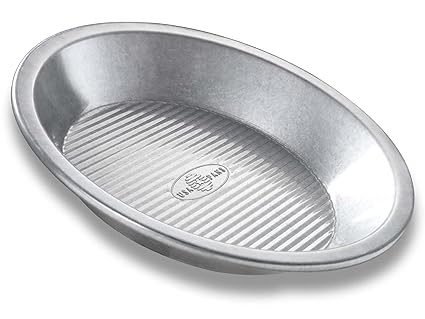
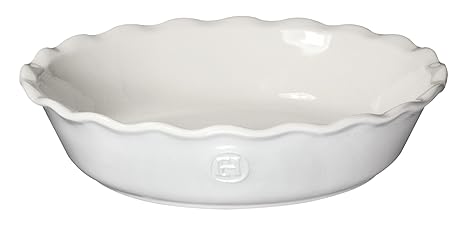
Once you add the melted butter and granulated sugar, the chocolate wafer crust should be like the texture of wet sand. It should easily form to the inside pie plate that you press it into as well. You can use your clean, washed hands to press the chocolate wafer crust into the pie plate or you can use a spatula or the bottom of a measuring cup. I prefer to use the measuring cup because it smooths and level the pie crust out nicely.
Place the chocolate wafer crust in the freezer for a minimum of 30 minutes. Alternatively, you can bake it for 8-10 minutes at 325ºF. If you bake it, you will need to let it cool before adding the pie filling.
The number one important tip to remember with the chocolate cream pie filling is to make sure your cream cheese is softened and at room temperature. If it's the slightest bit cold or firm, you will end up with little tiny annoying lumps in your filling.
You can read a few helpful tips on how to fix those lumps over on my S'mores Cheesecake recipe page.
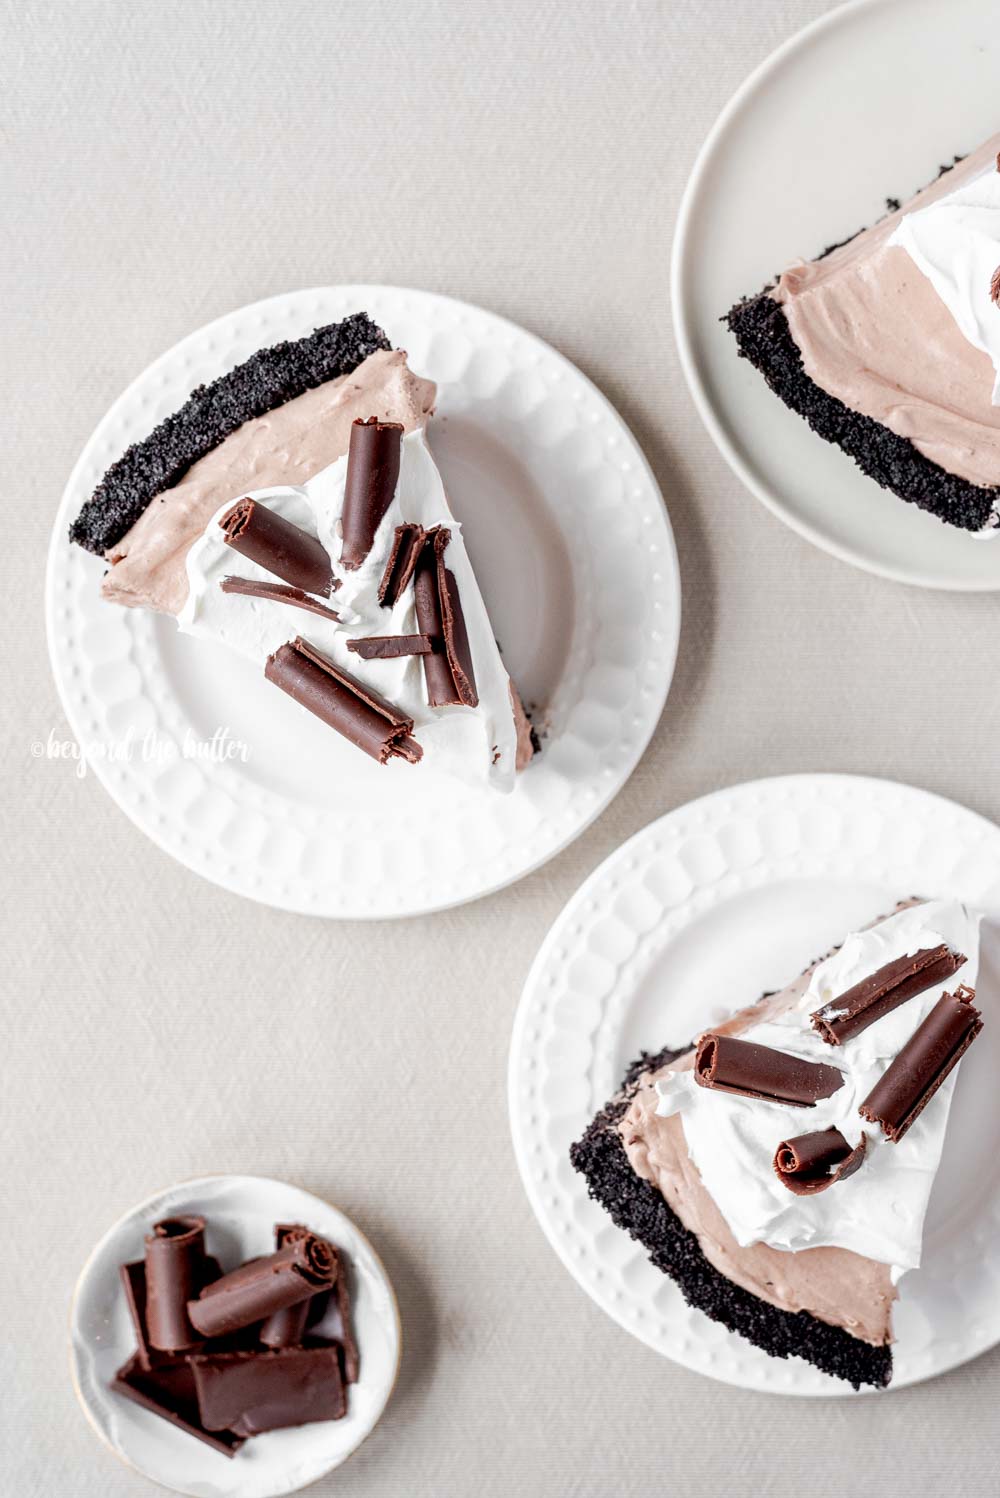
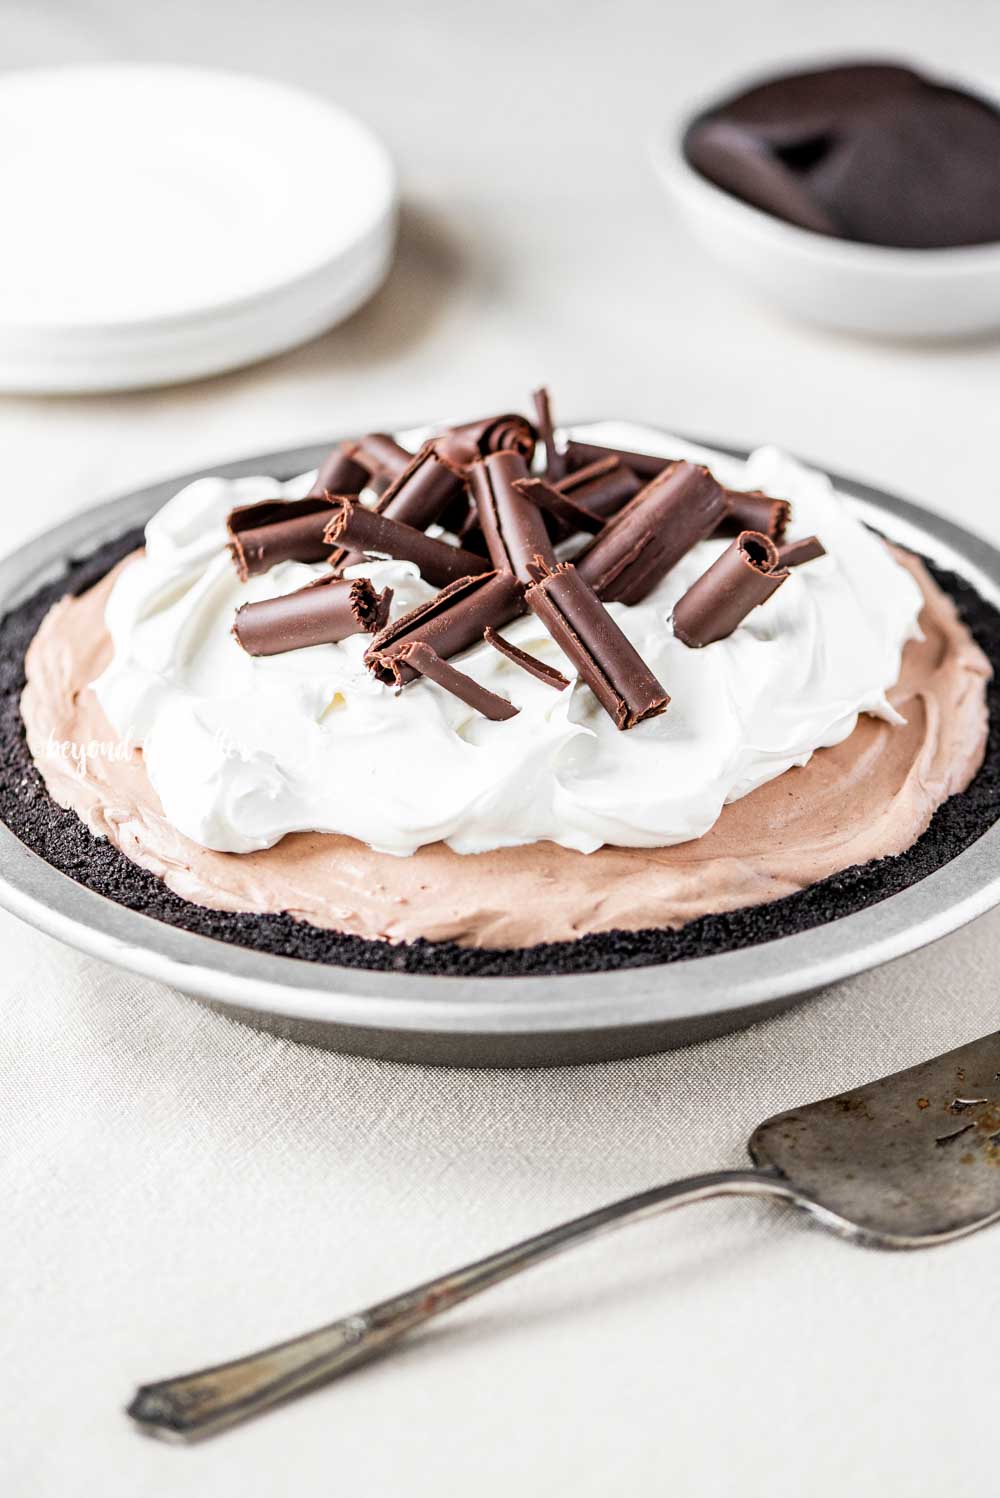
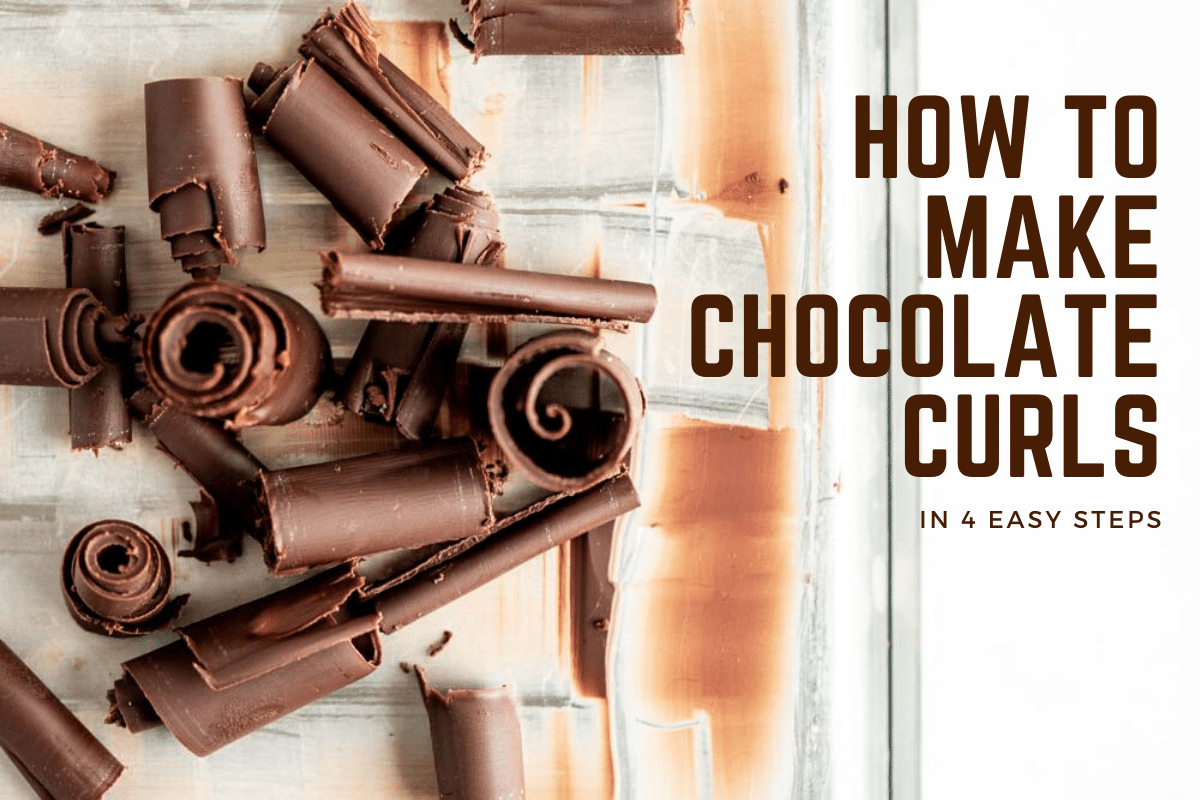
How to Make Homemade Chocolate Curls
If you'd like to garnish your No-Bake Chocolate Cream Pie with some homemade chocolate curls, check out this tutorial! It even includes step-by-step videos!
Try These No Bake Pie and Tart Recipes!
📖 Recipe
No Bake Chocolate Cream Pie
Author:Ingredients
chocolate wafer pie crust
- 1 ½ cups Chocolate Wafers (approximately 28 wafers) (finely crushed)
- 1 tablespoon Granulated Sugar
- 5 tablespoon Unsalted Butter (melted)
chocolate cream pie
- 8 oz Cream Cheese (softened and at room temperature)
- ½ cup Granulated Sugar
- 1 teaspoon Vanilla Extract
- ⅓ cup Unsweetened Cocoa Powder
- ⅓ cup Milk (any dairy type can be used)
- 8 oz Cool Whip (if using as the garnish, get 2, 8 ounce containers)
Instructions
- chocolate wafer crust
- Using a food processor, pulverize the chocolate wafer cookies into fine crumbs.1 ½ cups Chocolate Wafers (approximately 28 wafers)
- Add the granulated sugar and melted butter then pulse until the chocolate wafer crust forms.1 tablespoon Granulated Sugar, 5 tablespoon Unsalted Butter
- Press the crust into the bottom and sides of a 9 inch pie plate, then place in to the freezer to chill (for a minimum of 30 minutes) while you make the chocolate cream pie.
- chocolate cream pie
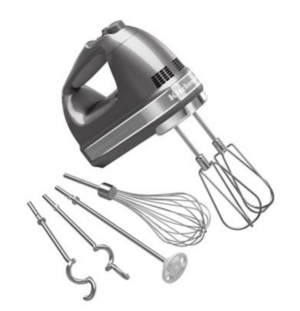
- Using your hand mixer or stand mixer fitted with the paddle attachment, beat the cream cheese, granulated sugar, and vanilla extract on medium-high speed until well blended.8 oz Cream Cheese, ½ cup Granulated Sugar, 1 teaspoon Vanilla Extract
- Switching the mixer speed to low, add in the unsweetened cocoa powder alternatively with the milk until mixture is completely smooth.⅓ cup Unsweetened Cocoa Powder, ⅓ cup Milk
- Fold in the Cool Whip until well combined.8 oz Cool Whip
- Spoon the pie mixture into the pie shell. Chill for a minimum of 4 hours or until firm (or freeze).
- Garnish with toppings of your choice like more Cool Whip, chocolate curls, chocolate syrup, or extra chocolate wafer crumbs.
Recipe Notes
- If you'd like to garnish your No-Bake Chocolate Cream Pie with some homemade chocolate curls, check out this tutorial!
Nutrition
Nutritonal information provided above is an estimate only and will vary based on specific ingredients used.












Jessica says
I love recipes from Beyond the Butter and make them often. One thing that was slightly irritating about this recipe was that I looked at the ingredients and make my shopping list, only to find out when I went to make the pie that you need additional cool whip to top the pie and isn’t listed in the ingredients. It would be helpful to list additional cool whip in the ingredients list for topping if you want your pie to look like the photo.
Jennifer says
Hi Jessica! Thanks for your feedback! I do note under 'what ingredients will I need to make this no-bake chocolate cream pie?' that if using the cool whip as a topping, I recommend getting a 2nd, 8 ounce container. I will add this to the recipe though too.
Michele says
I made this wonderful pie yesterday and took it to work to share. It was a BIG hit!!! Rave reviews!! It was super quick and easy to make. I opted to make and bake the crust instead of using a store bought crust. Def gonna keep this recipe and make it again. A great choice for the holidays or anytime!! Chocolate Cream Pie for the WIN!! ????
Jennifer says
Woohoo! Chocolate Cream Pie for the win indeed! Thank you for the feedback, Michele! It makes me super happy to hear it was such a big hit!
Ben Myhre says
No, it is never too late to share cake. lol. Your pictures look beautiful here!
Jennifer says
I know, it was kind of silly question. Lol! Thanks Ben!!